
- Joined
- Feb 25, 2016
- Messages
- 1,448
- Likes
- 2,914
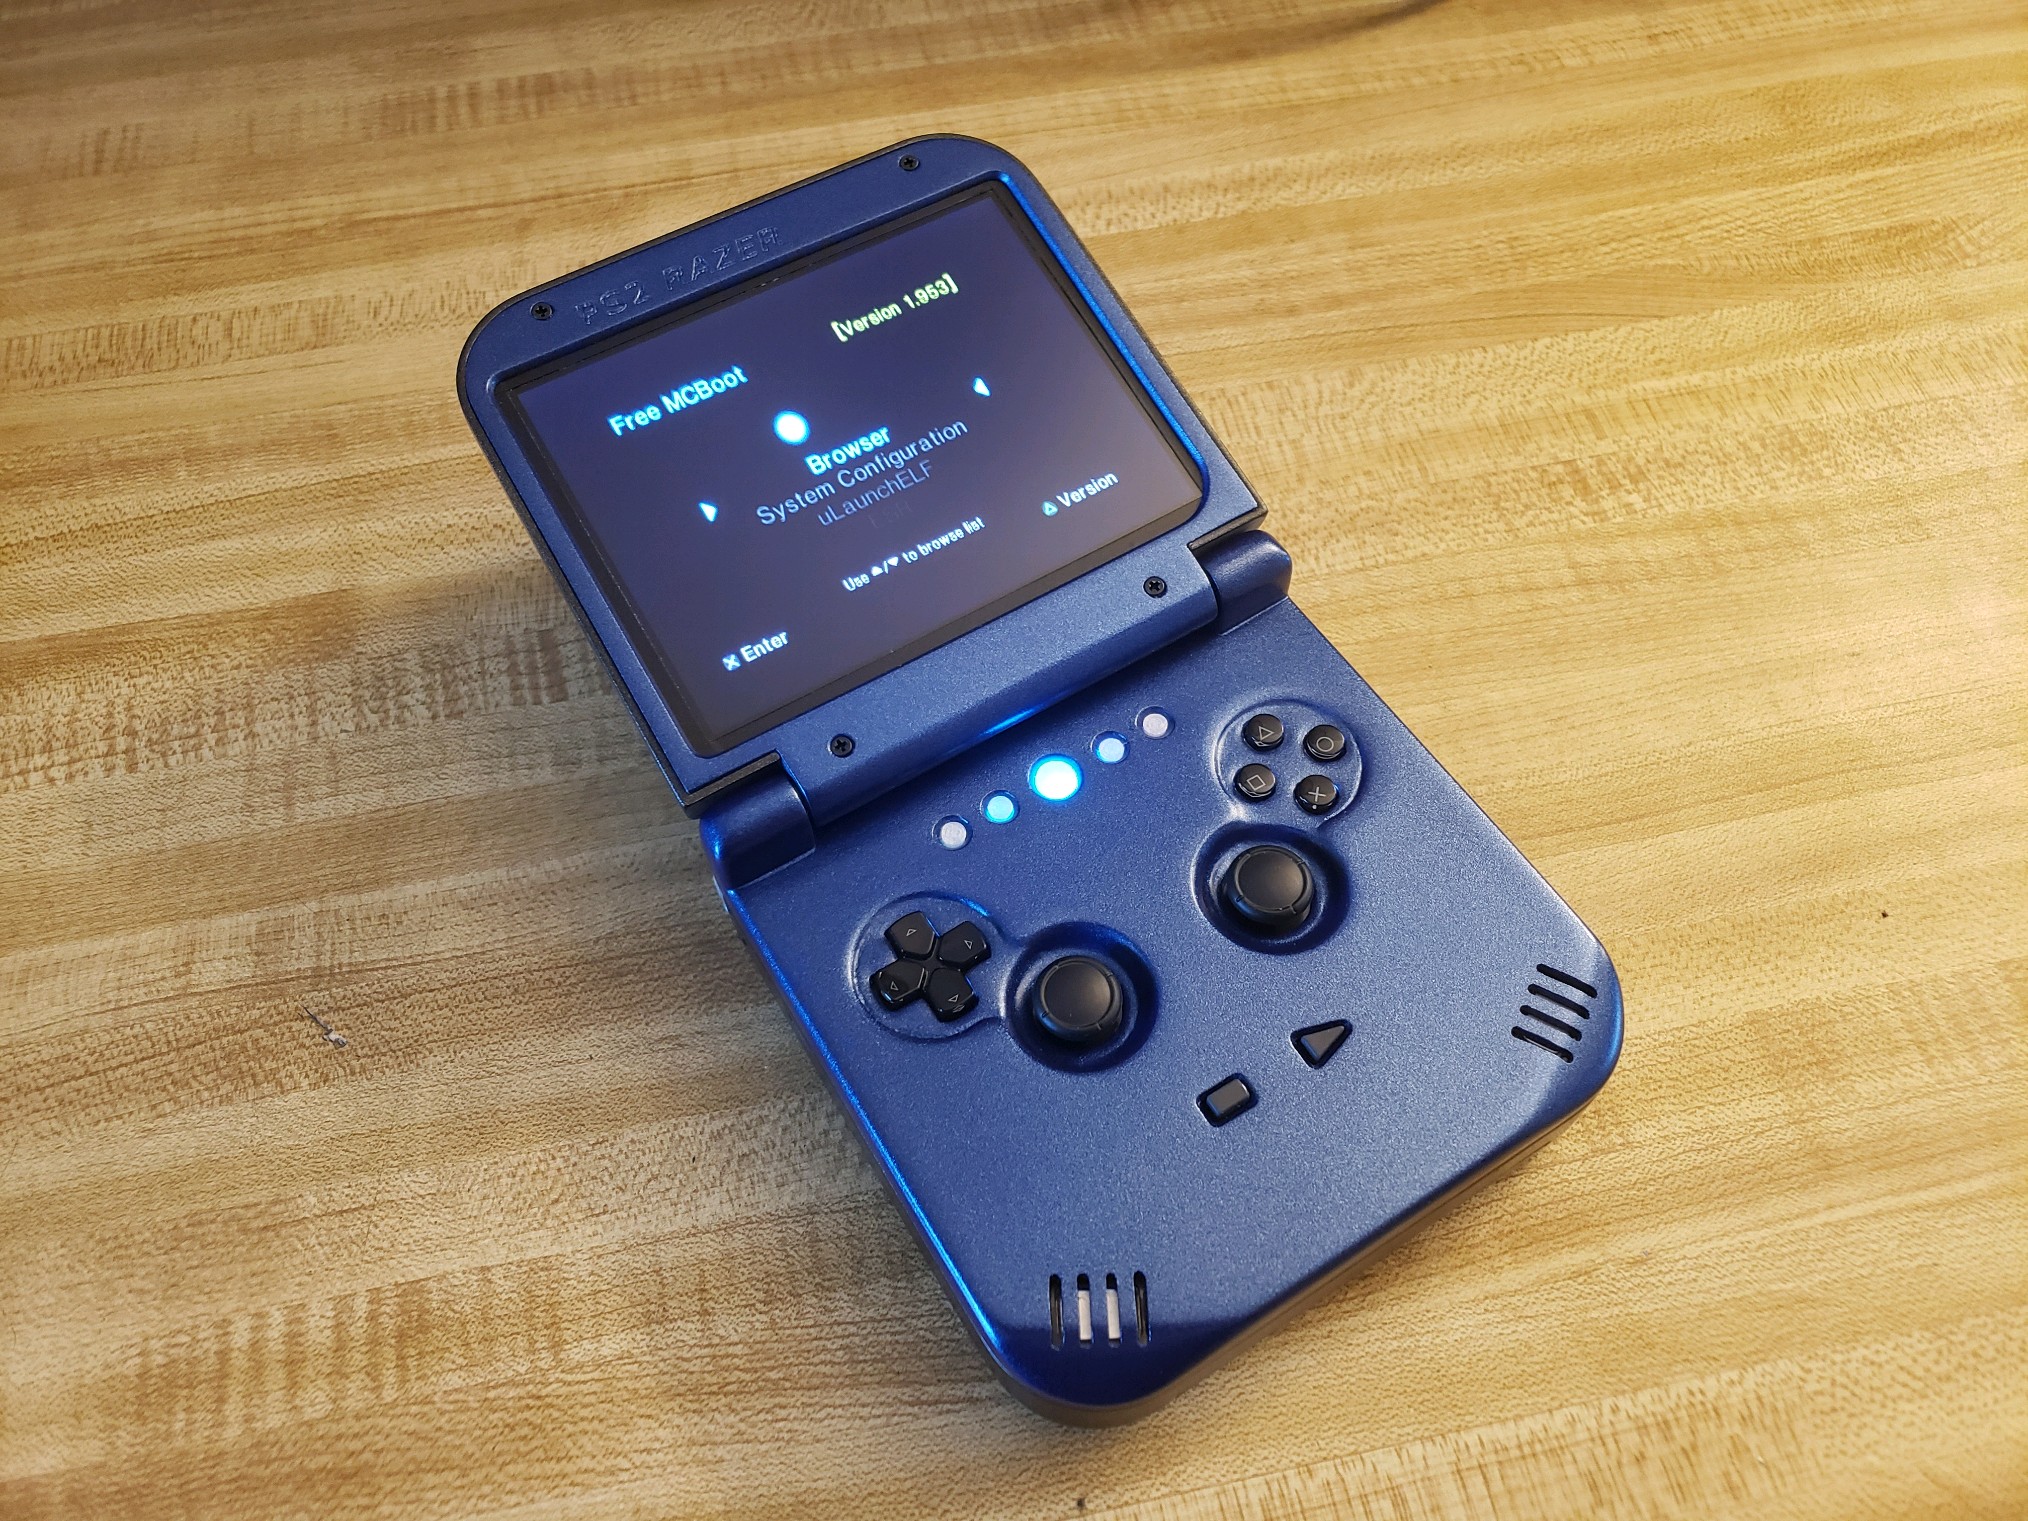
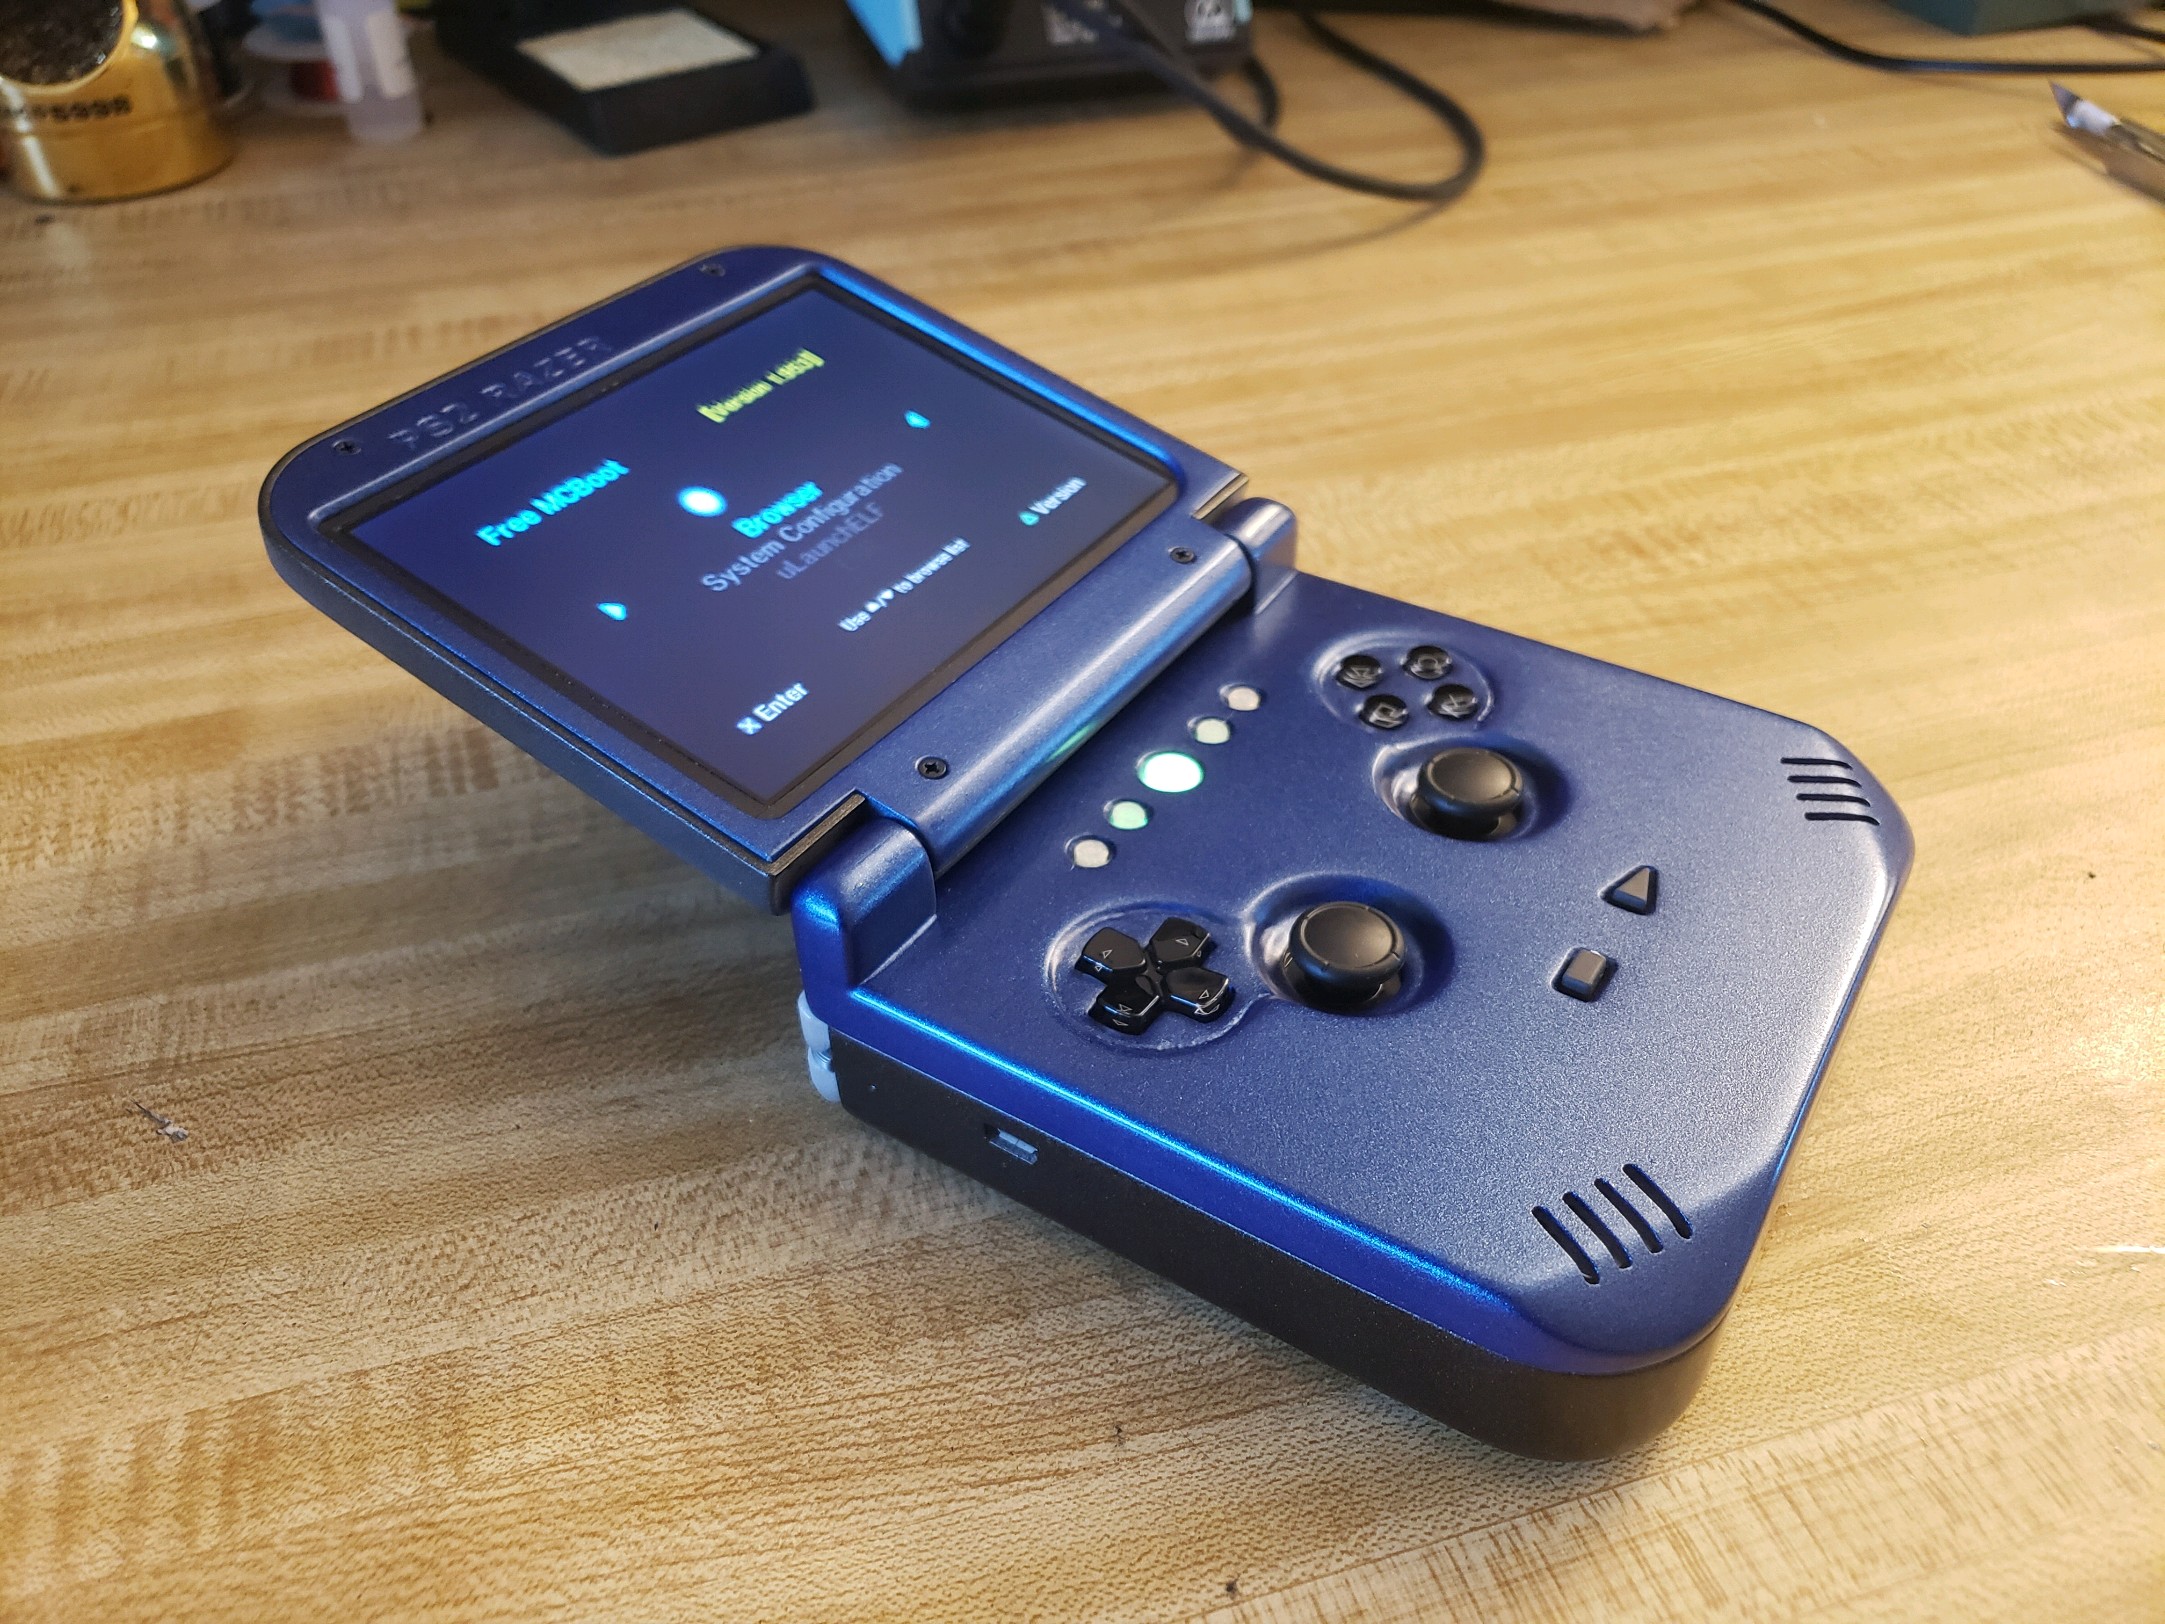
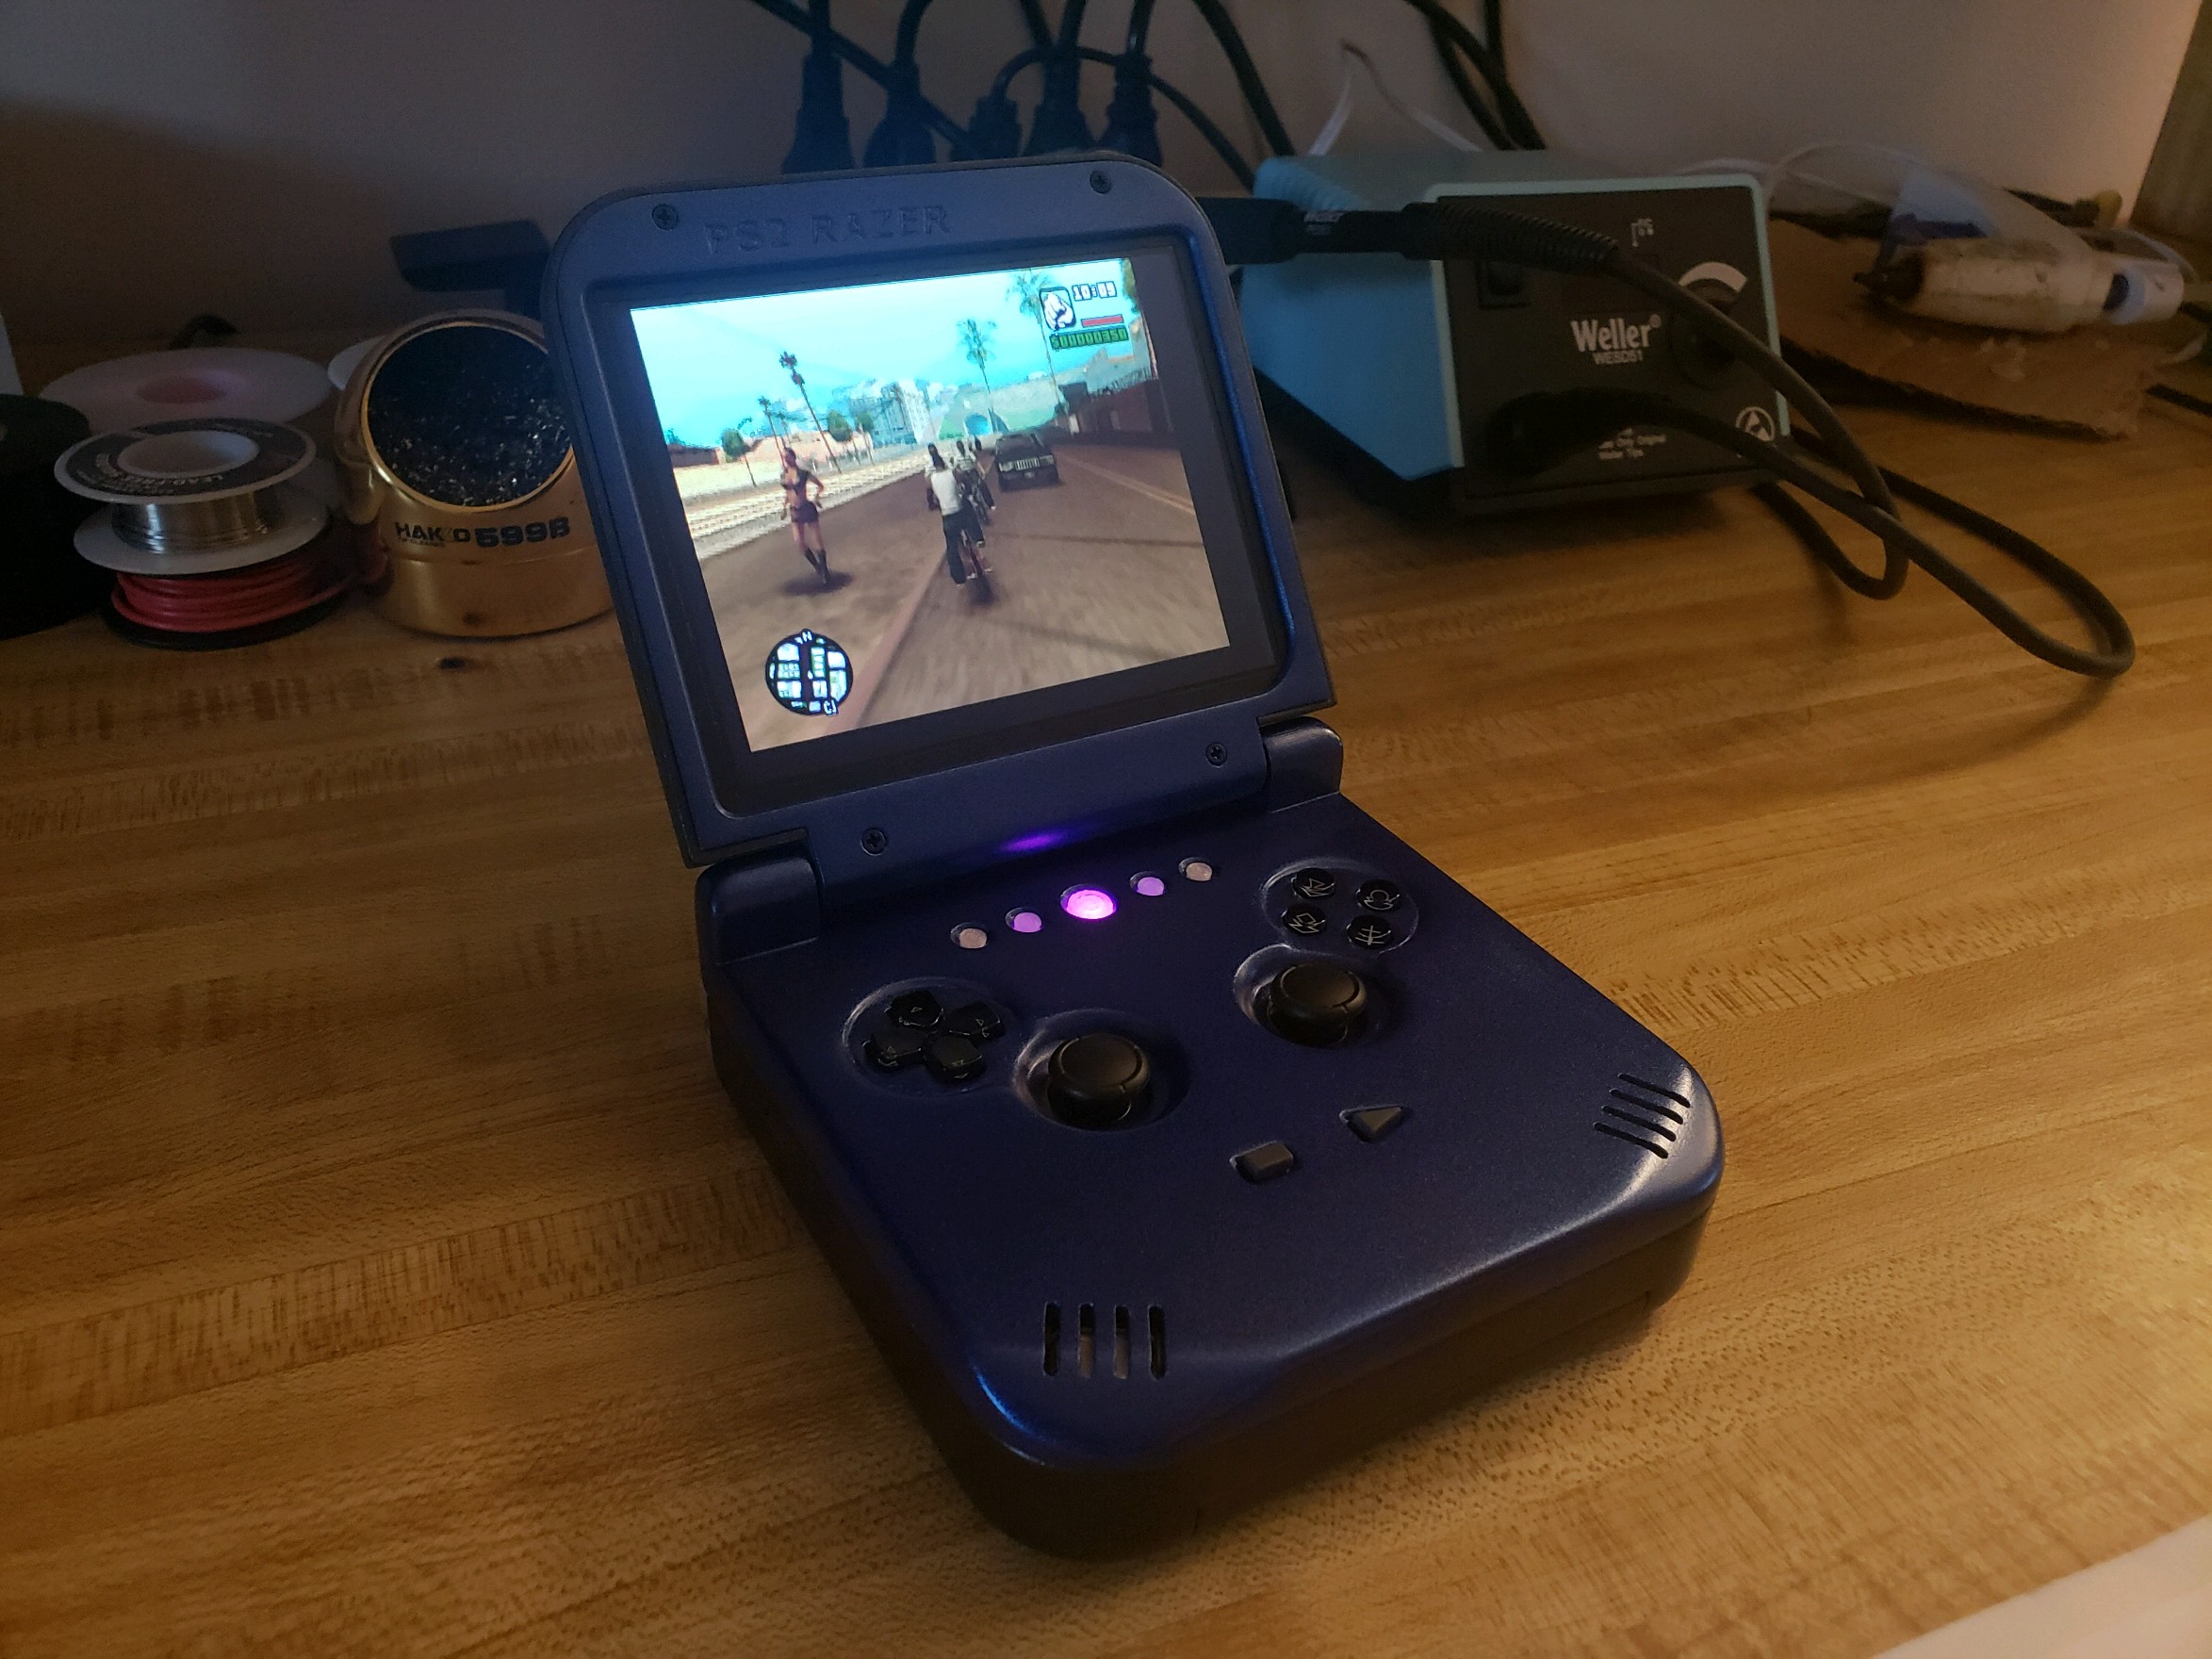
The PS2 Razer - my summer 2018 competition entry
Overview:
Official Sony PS2 79003 motherboard with Free McBoot
PowerS2
PS2+
5” 4:3 VGA screen with custom video dac
Custom I2S digital audio amp with speakers and headphones
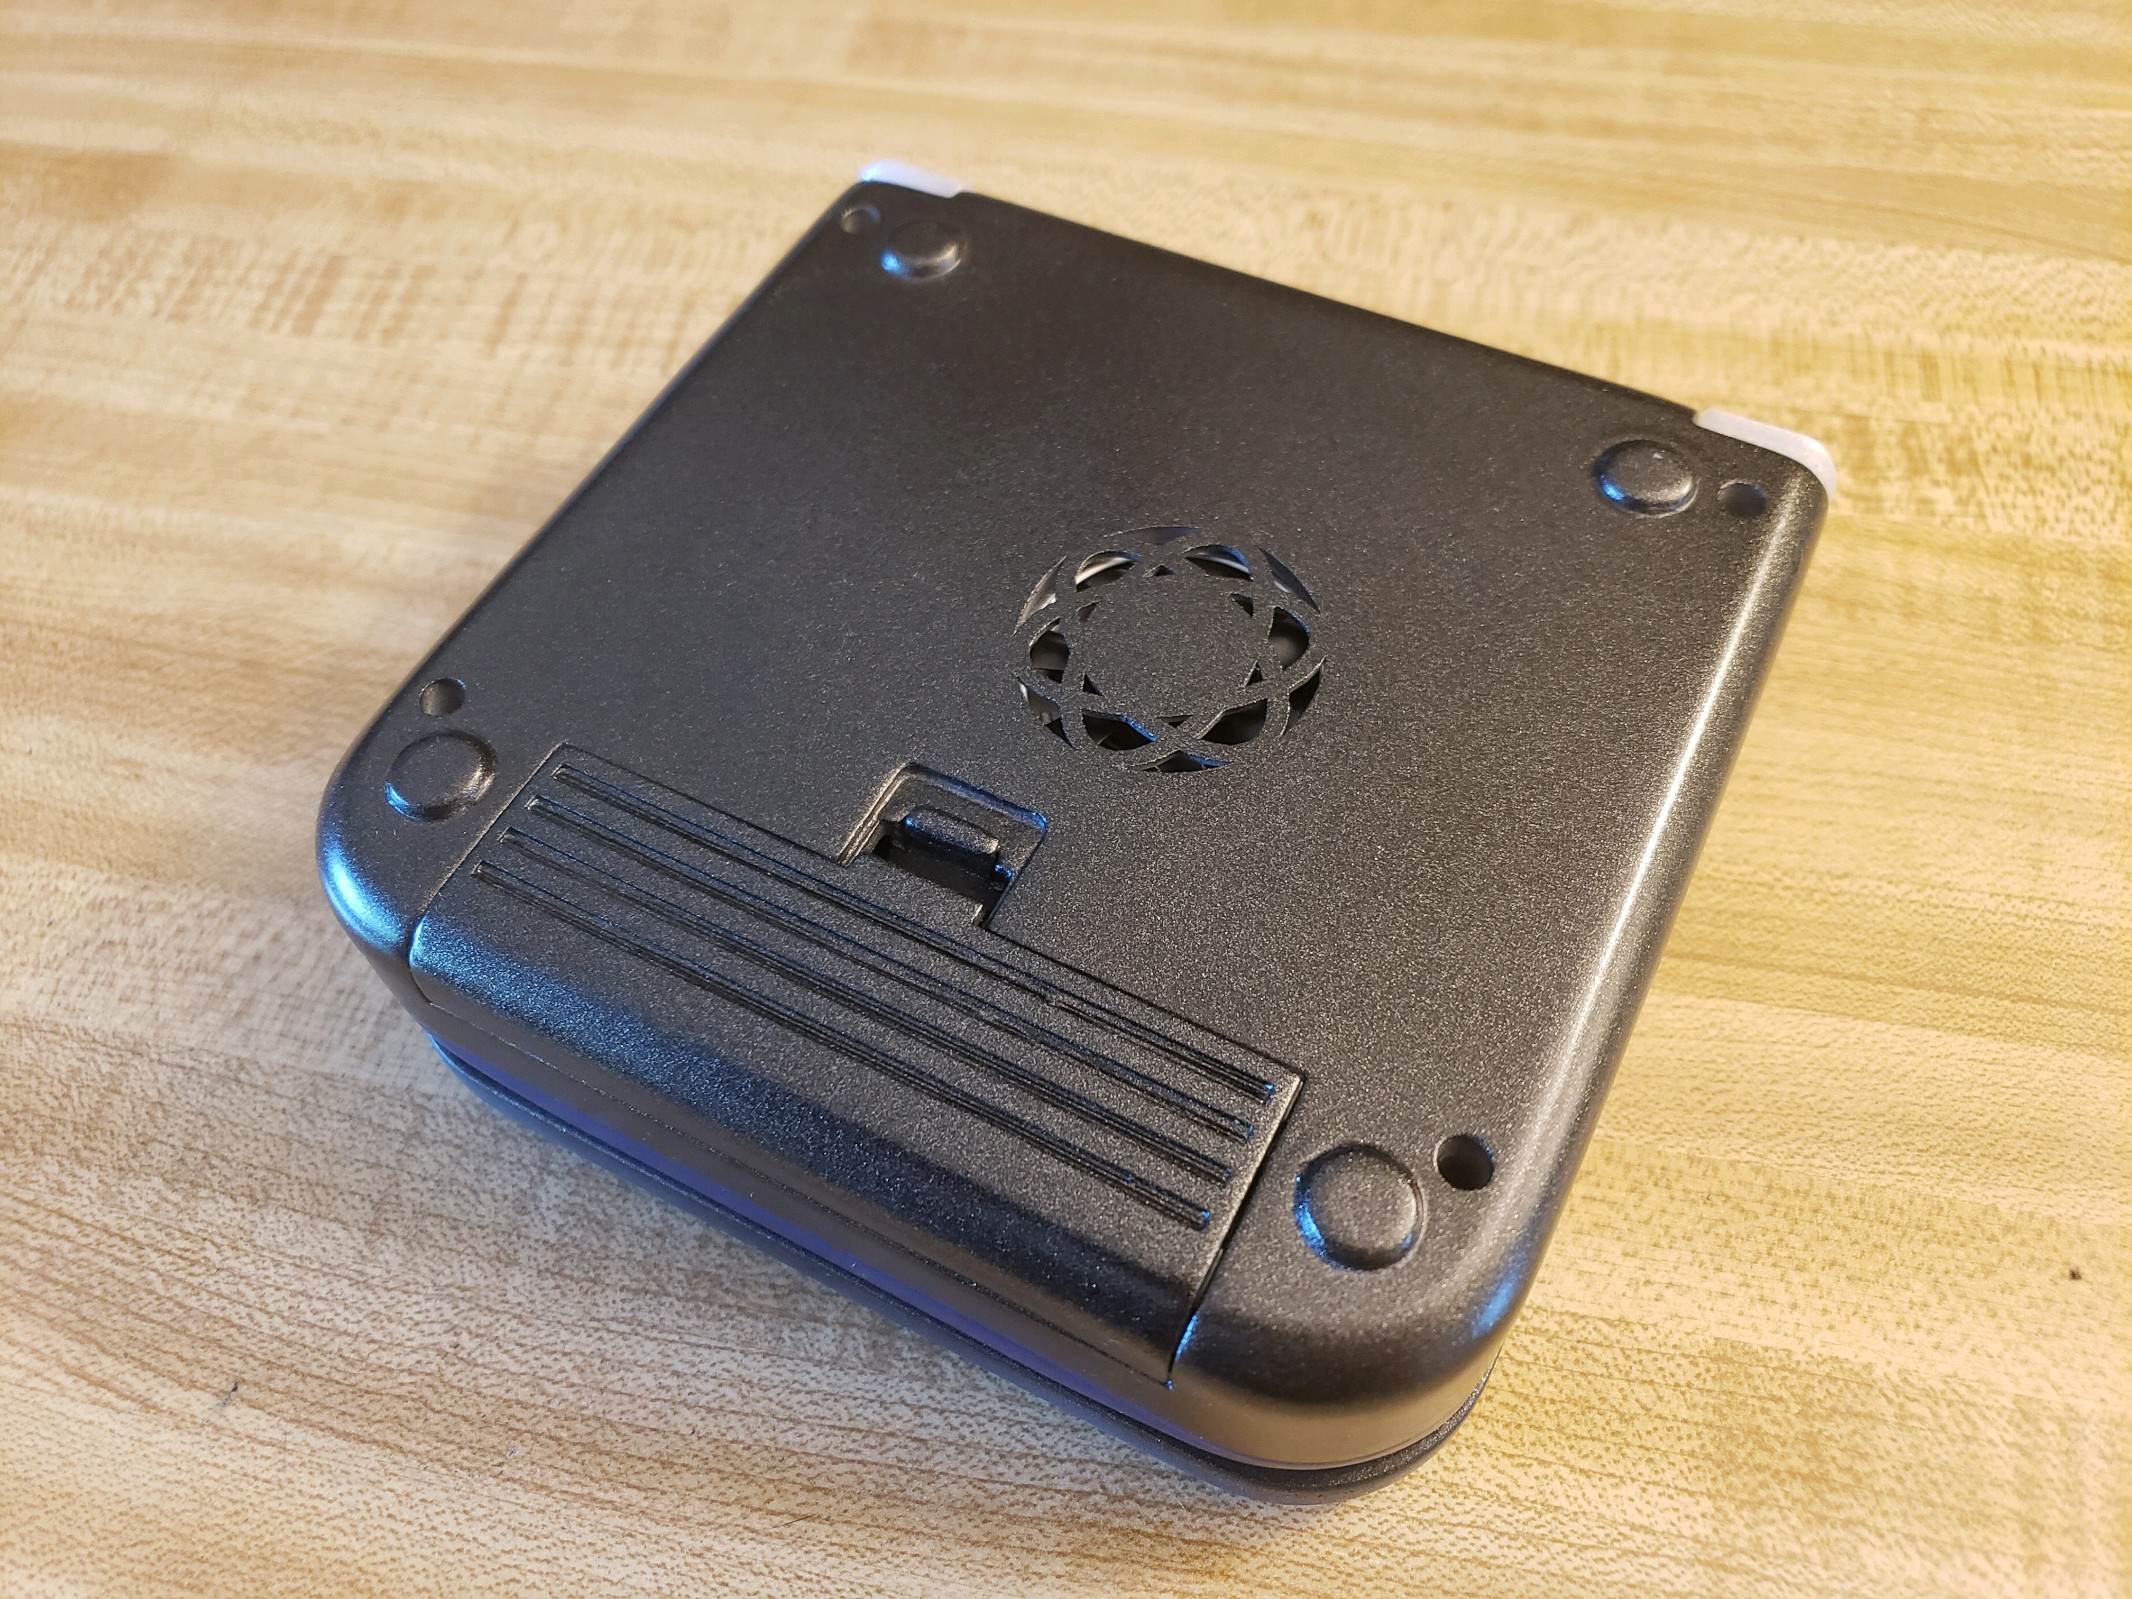
Removable 20700 battery cell ~1.5 hour
Internal Raspberry Pi3
Micro USB port attached to PS2 USB (used for adding homebrew)
Dpad and action buttons from PSVita, start/select from PS2, joysticks from NSwitch, and 3D printed shoulder buttons
The only glue used was for routing wires from the trimmed PS2 motherboard, everything is installed with screws
The competition was a lot of fun this year and I’d like to thank the BitBuilt crew and Noah for putting on another great competition. Good luck to all the other completed entries!
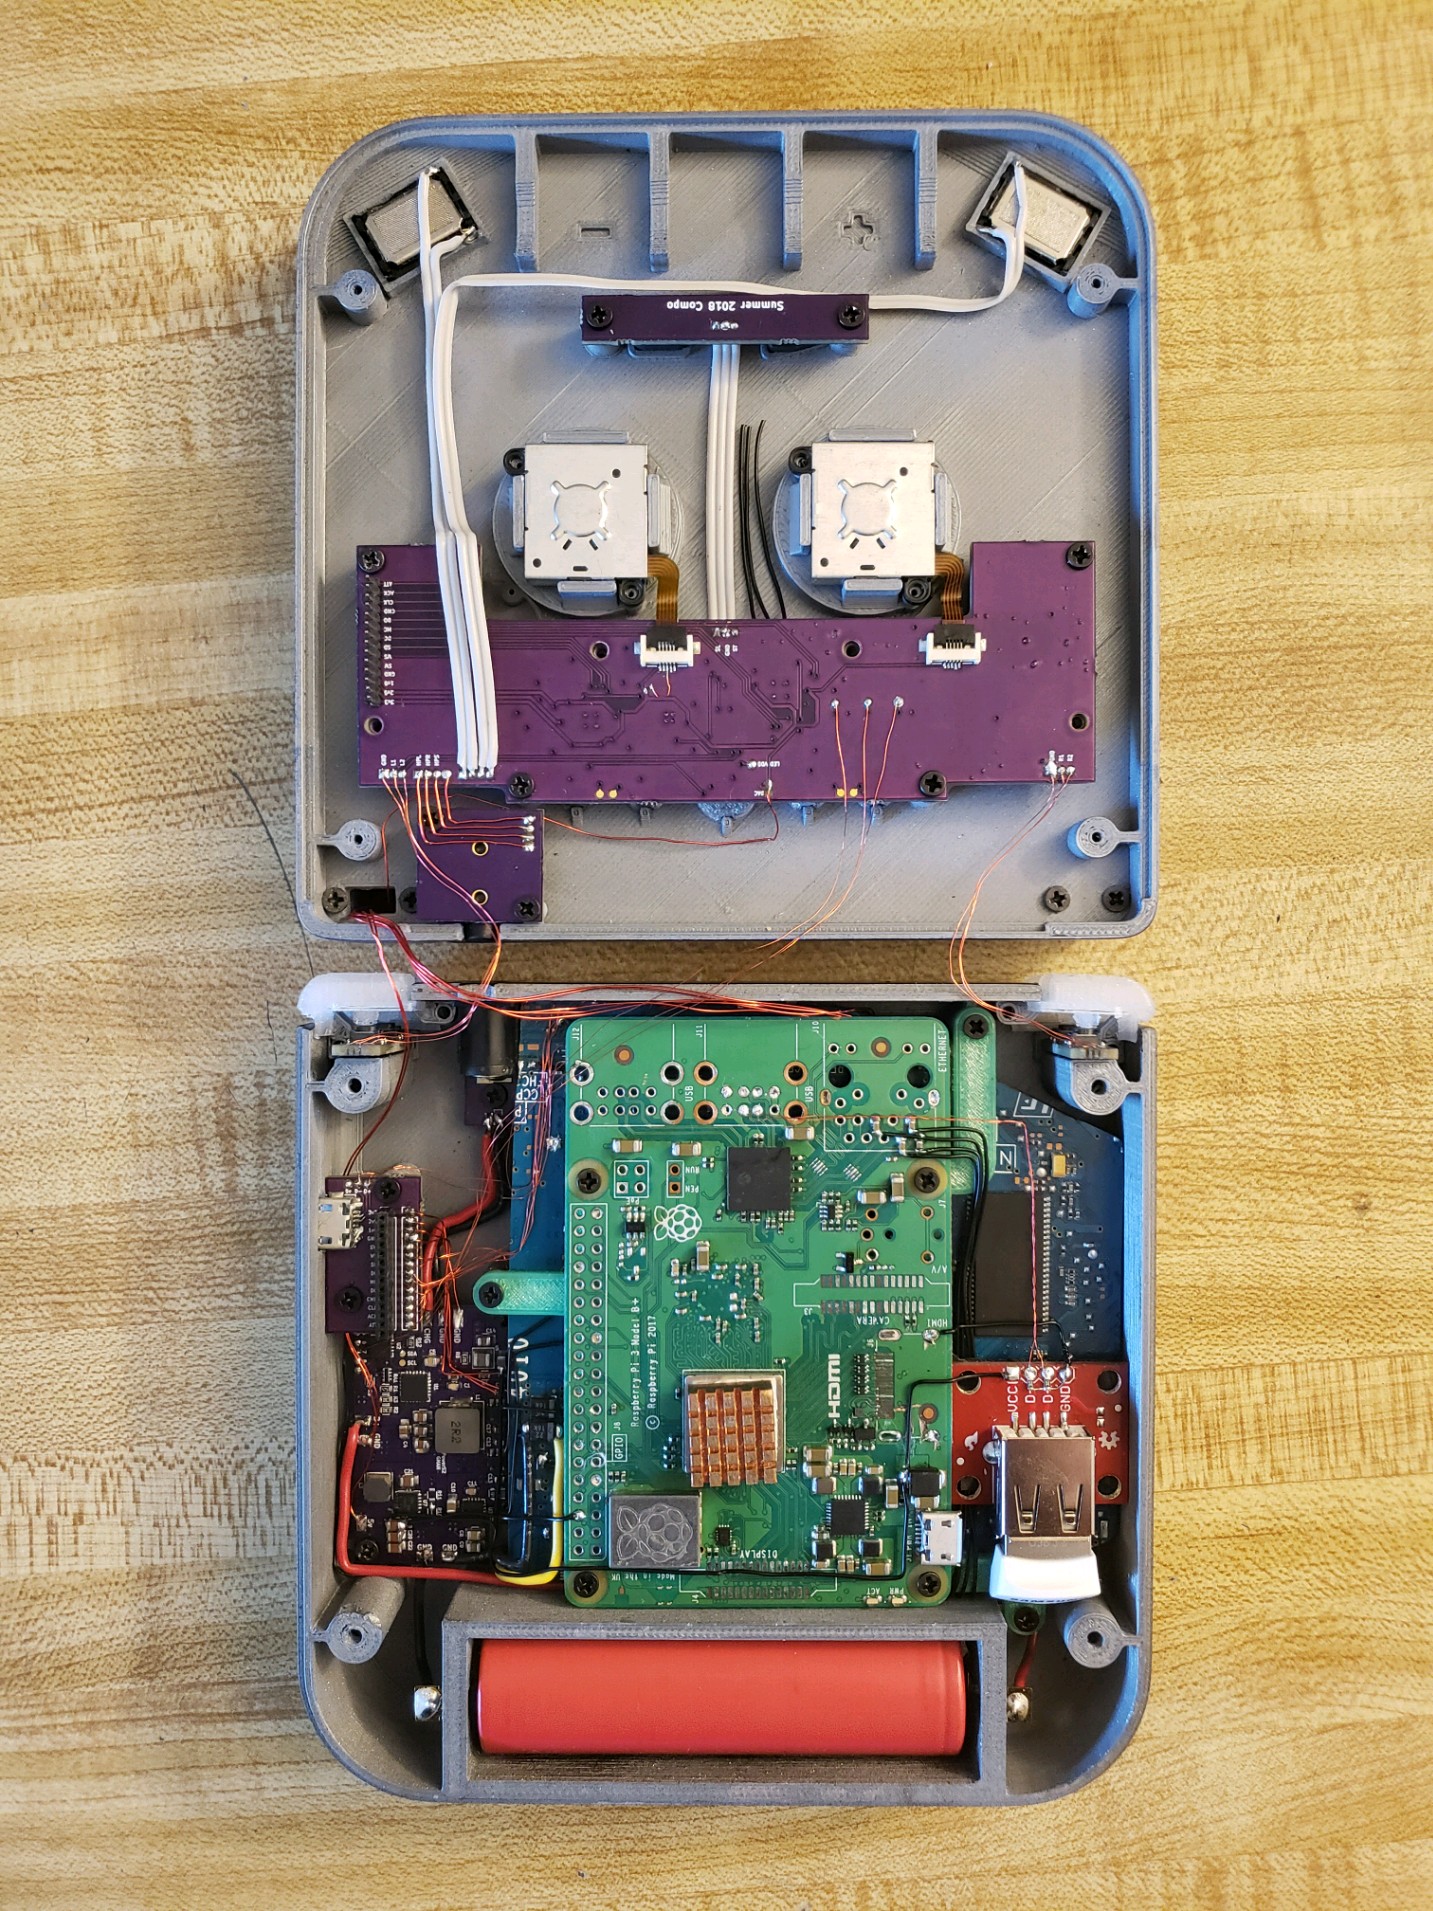
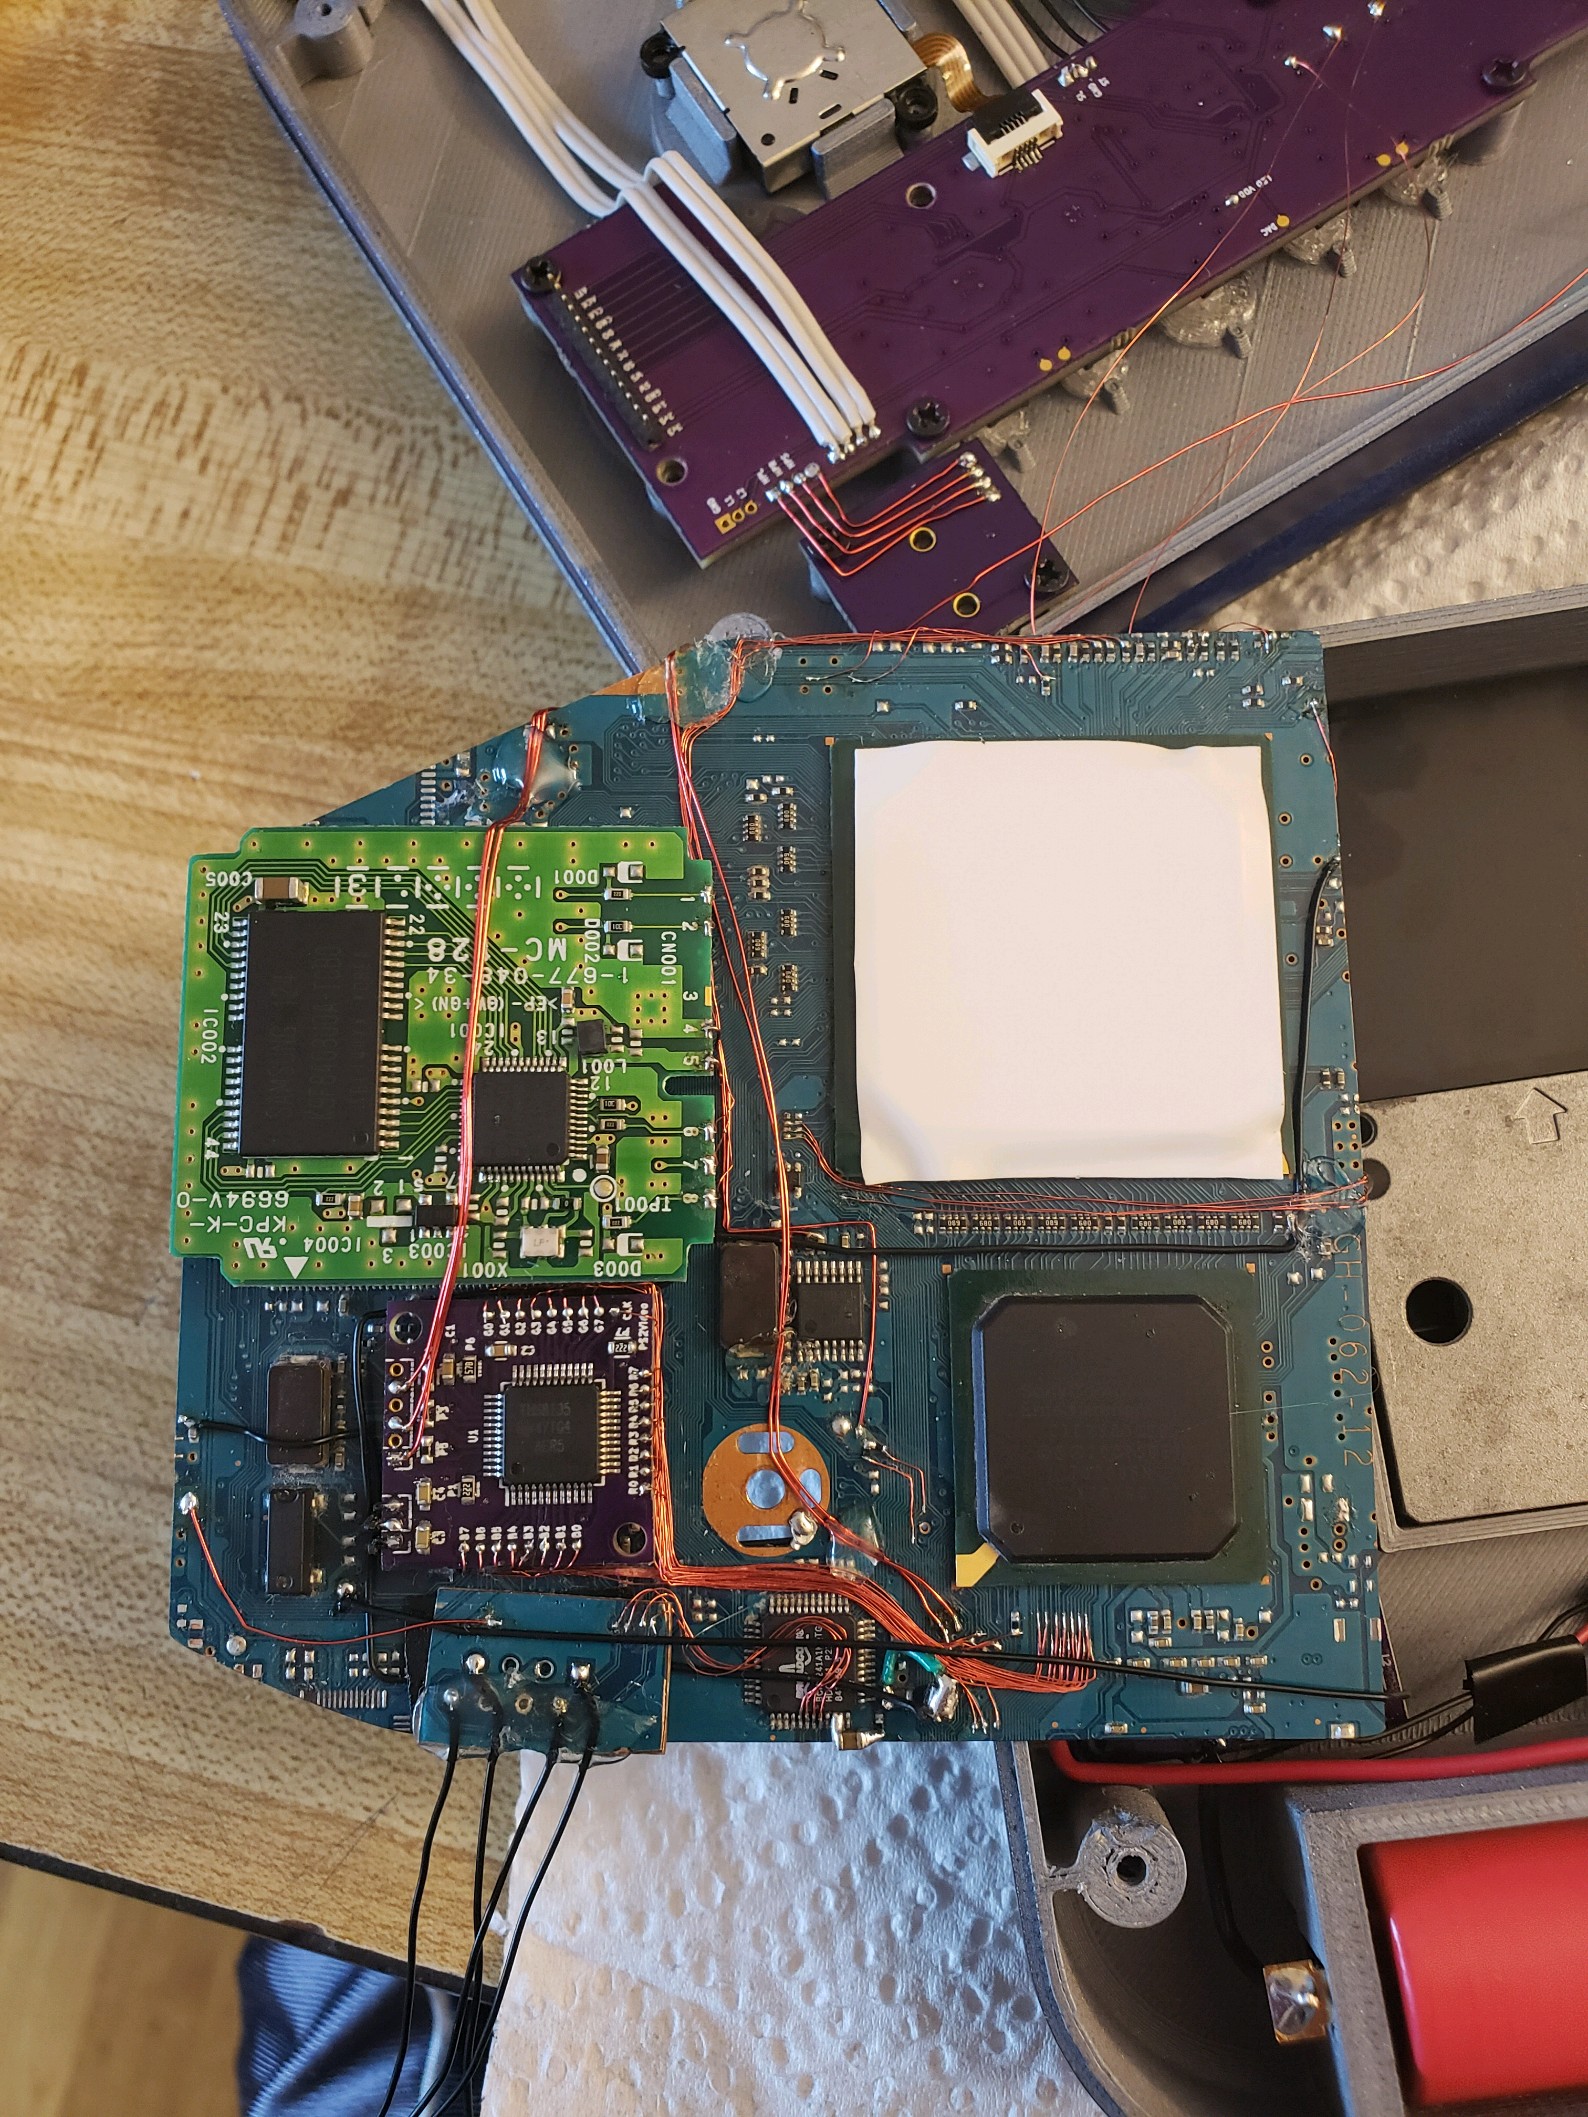
The "Expert" PS2 trim. Free McBoot, Custom video dac with 24bit rgb wiring, and recycled the ethernet pads to retain some passives on the bottom side.
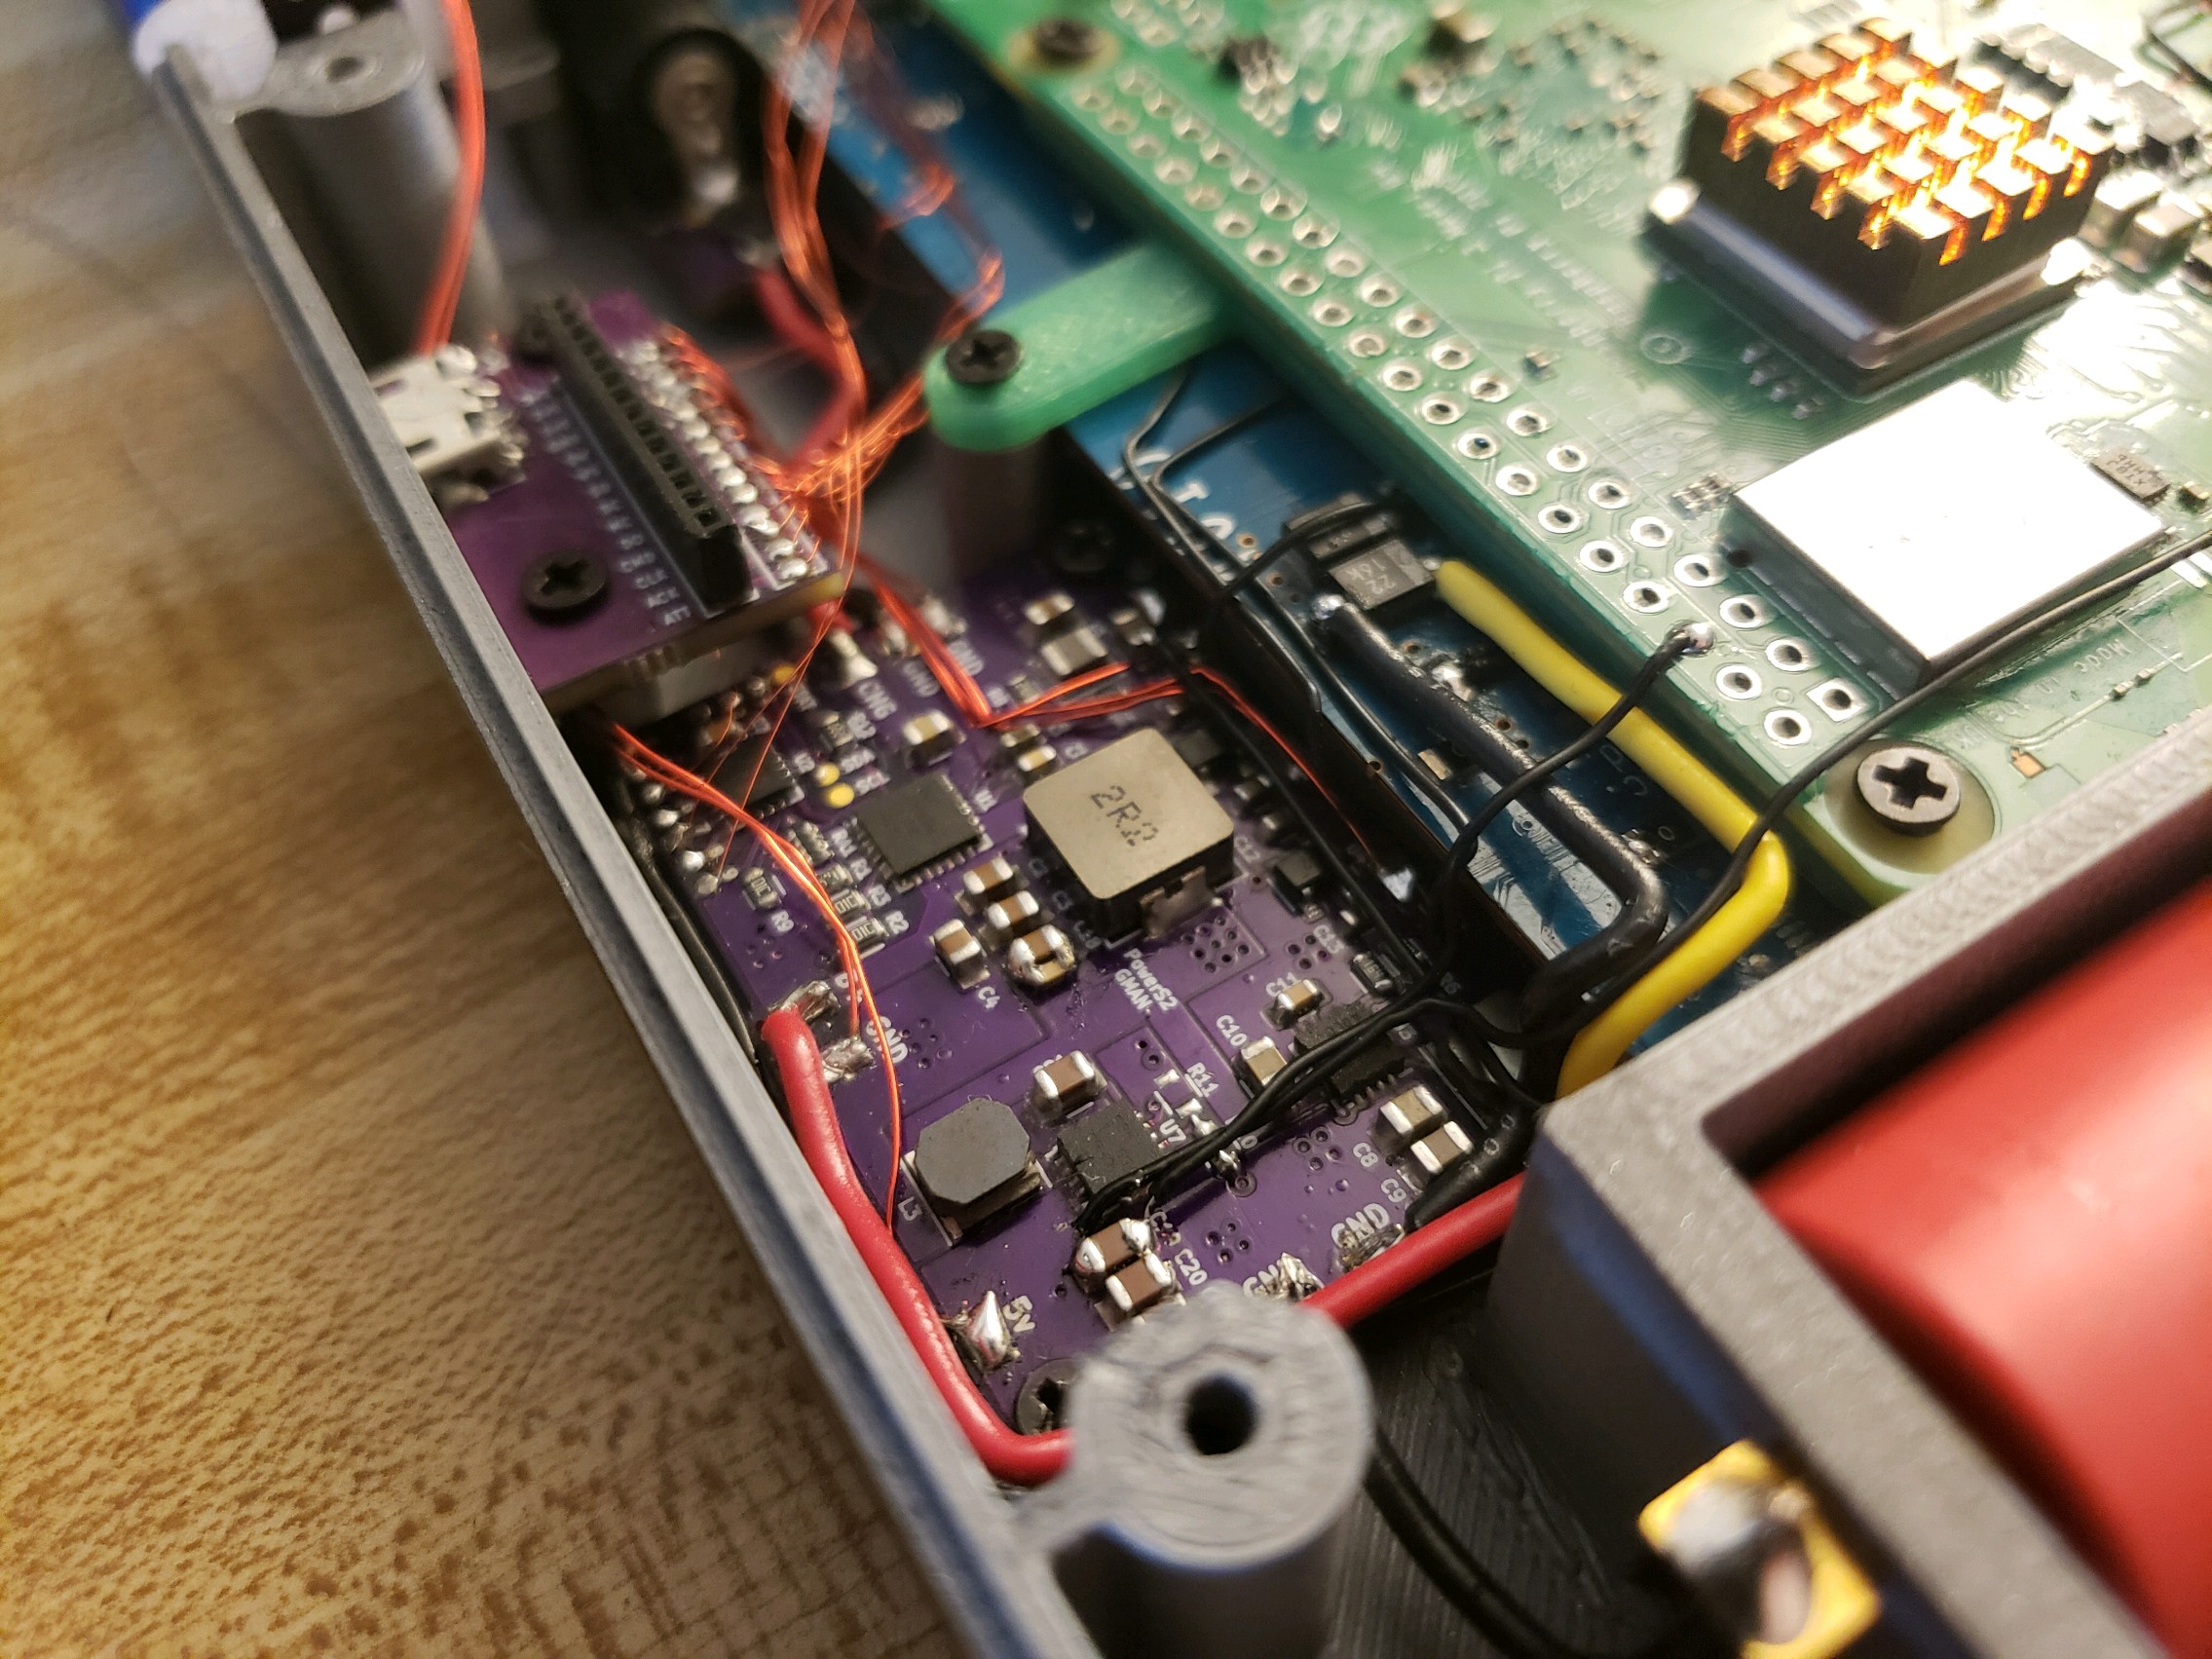
PowerS2 and slightly overlapping it is the connector pcb to minimize some bulk of the wiring between the top and bottom half.
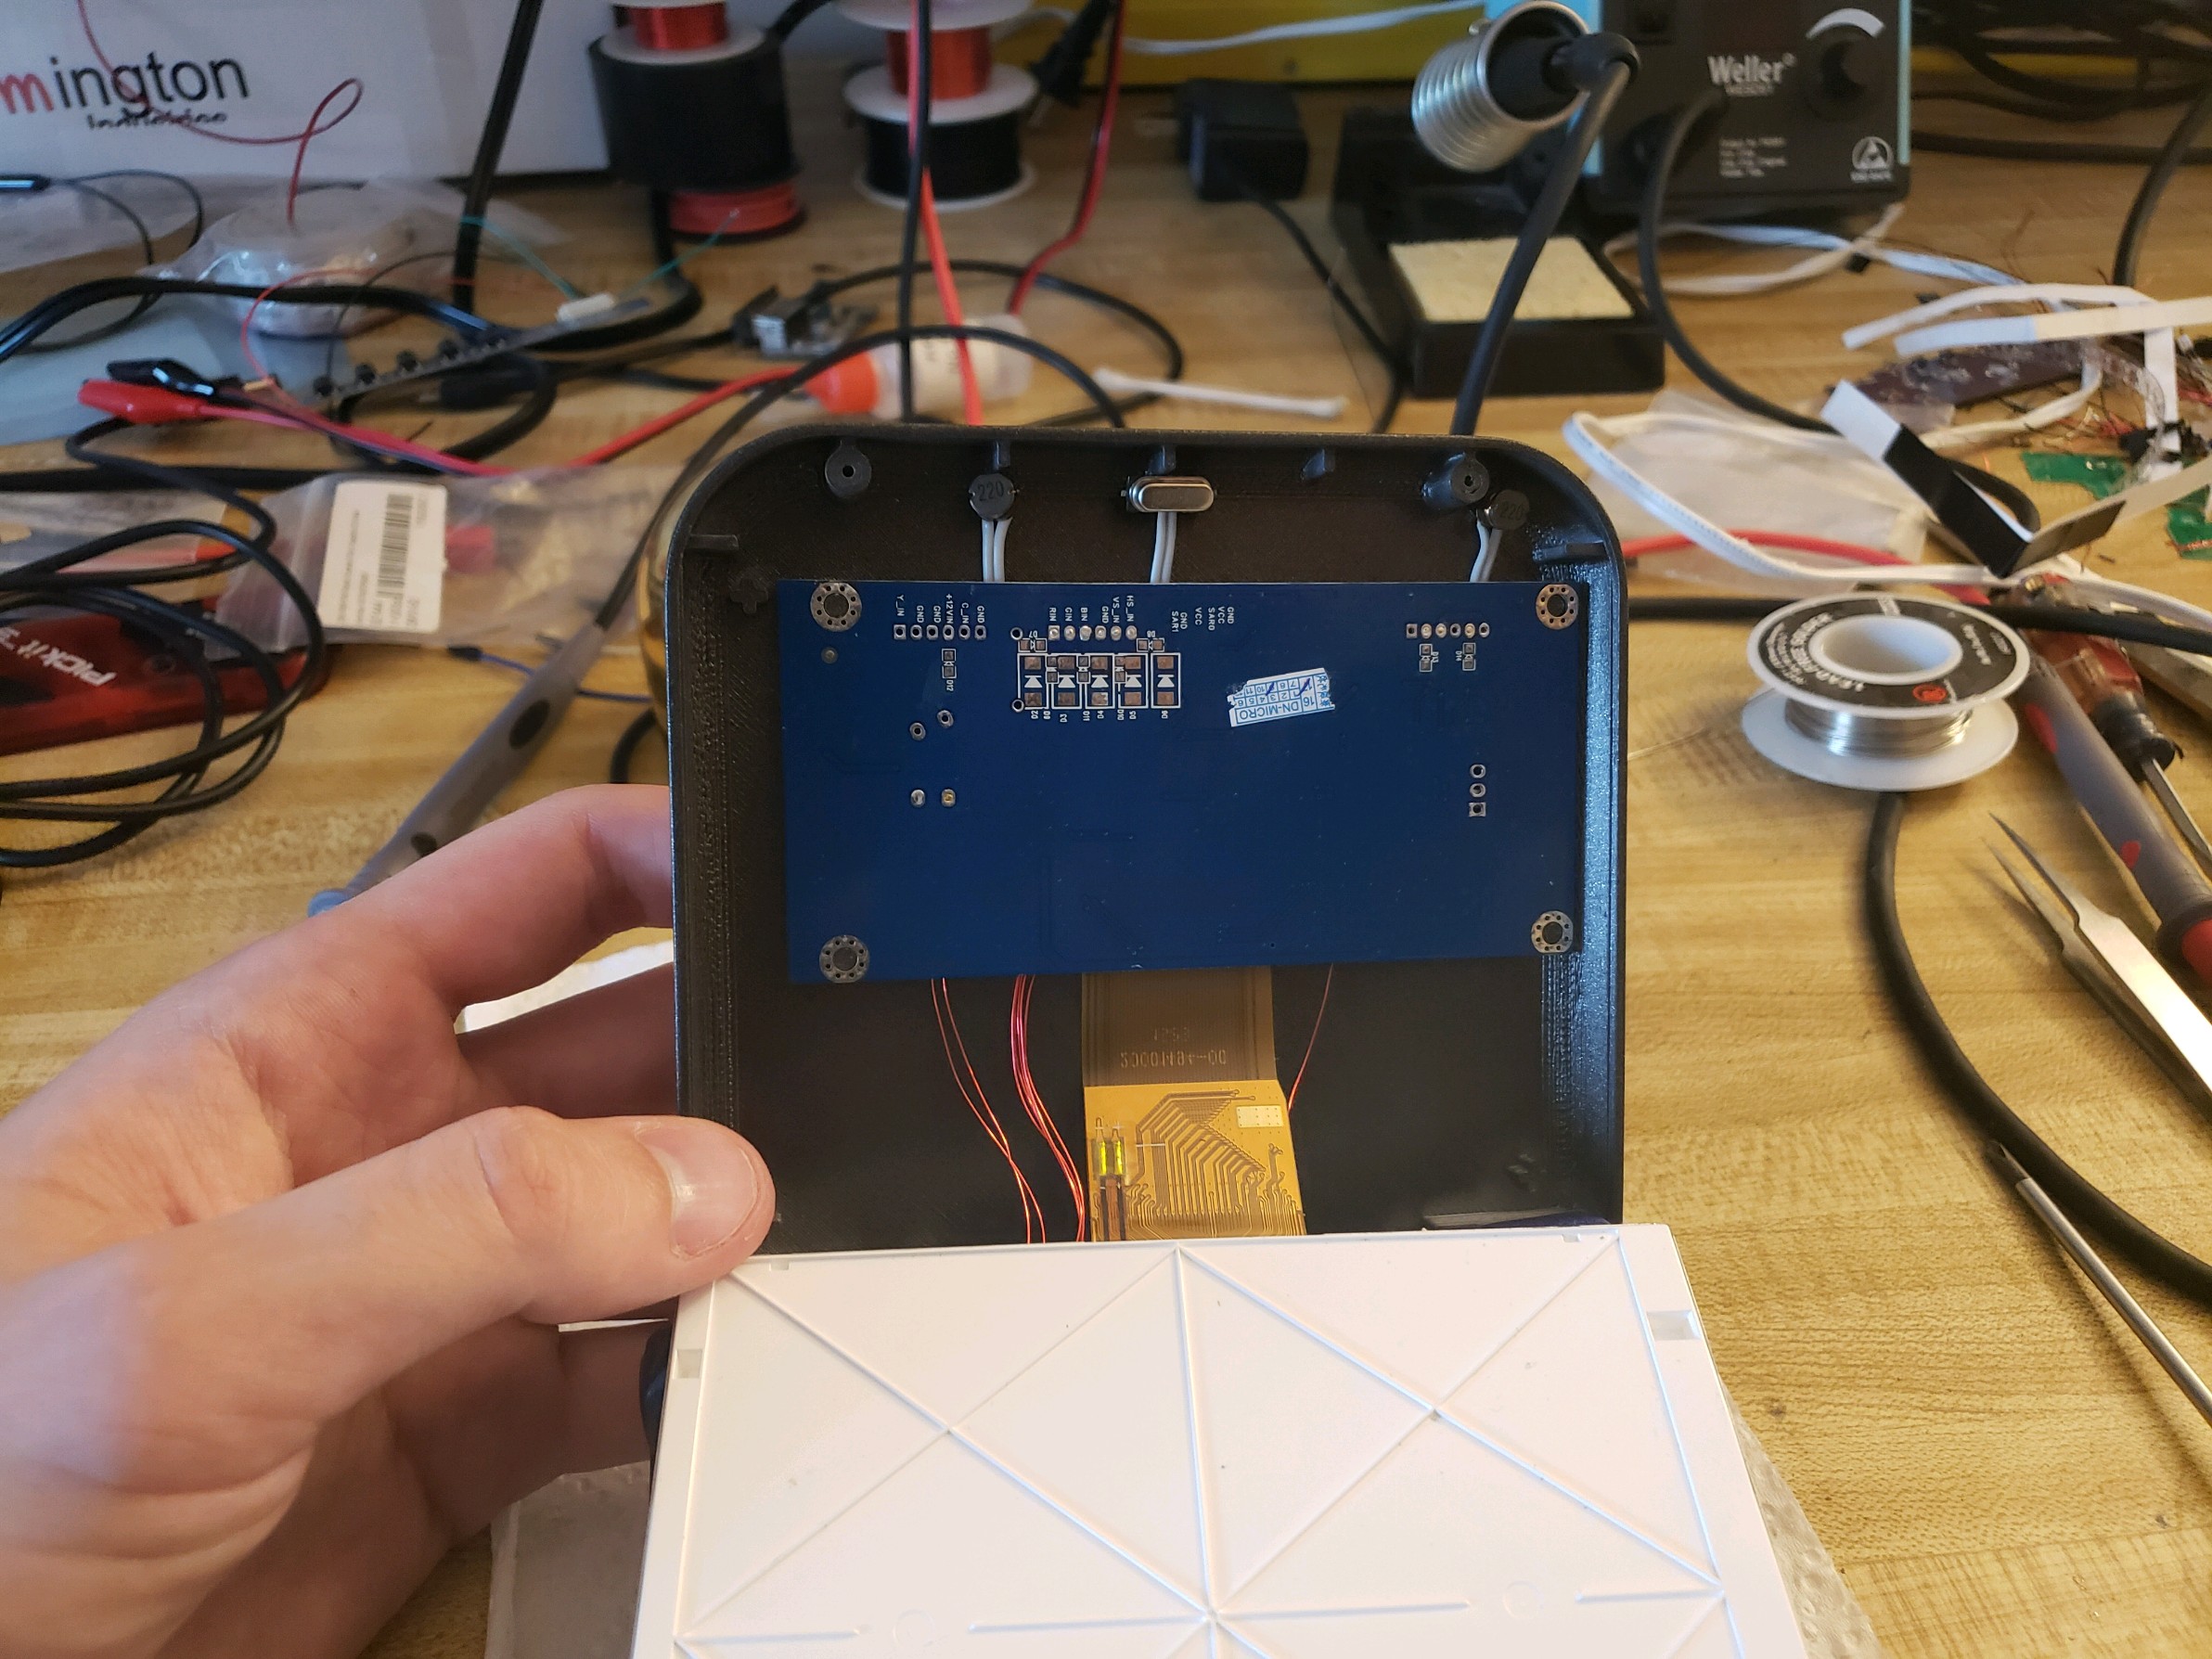
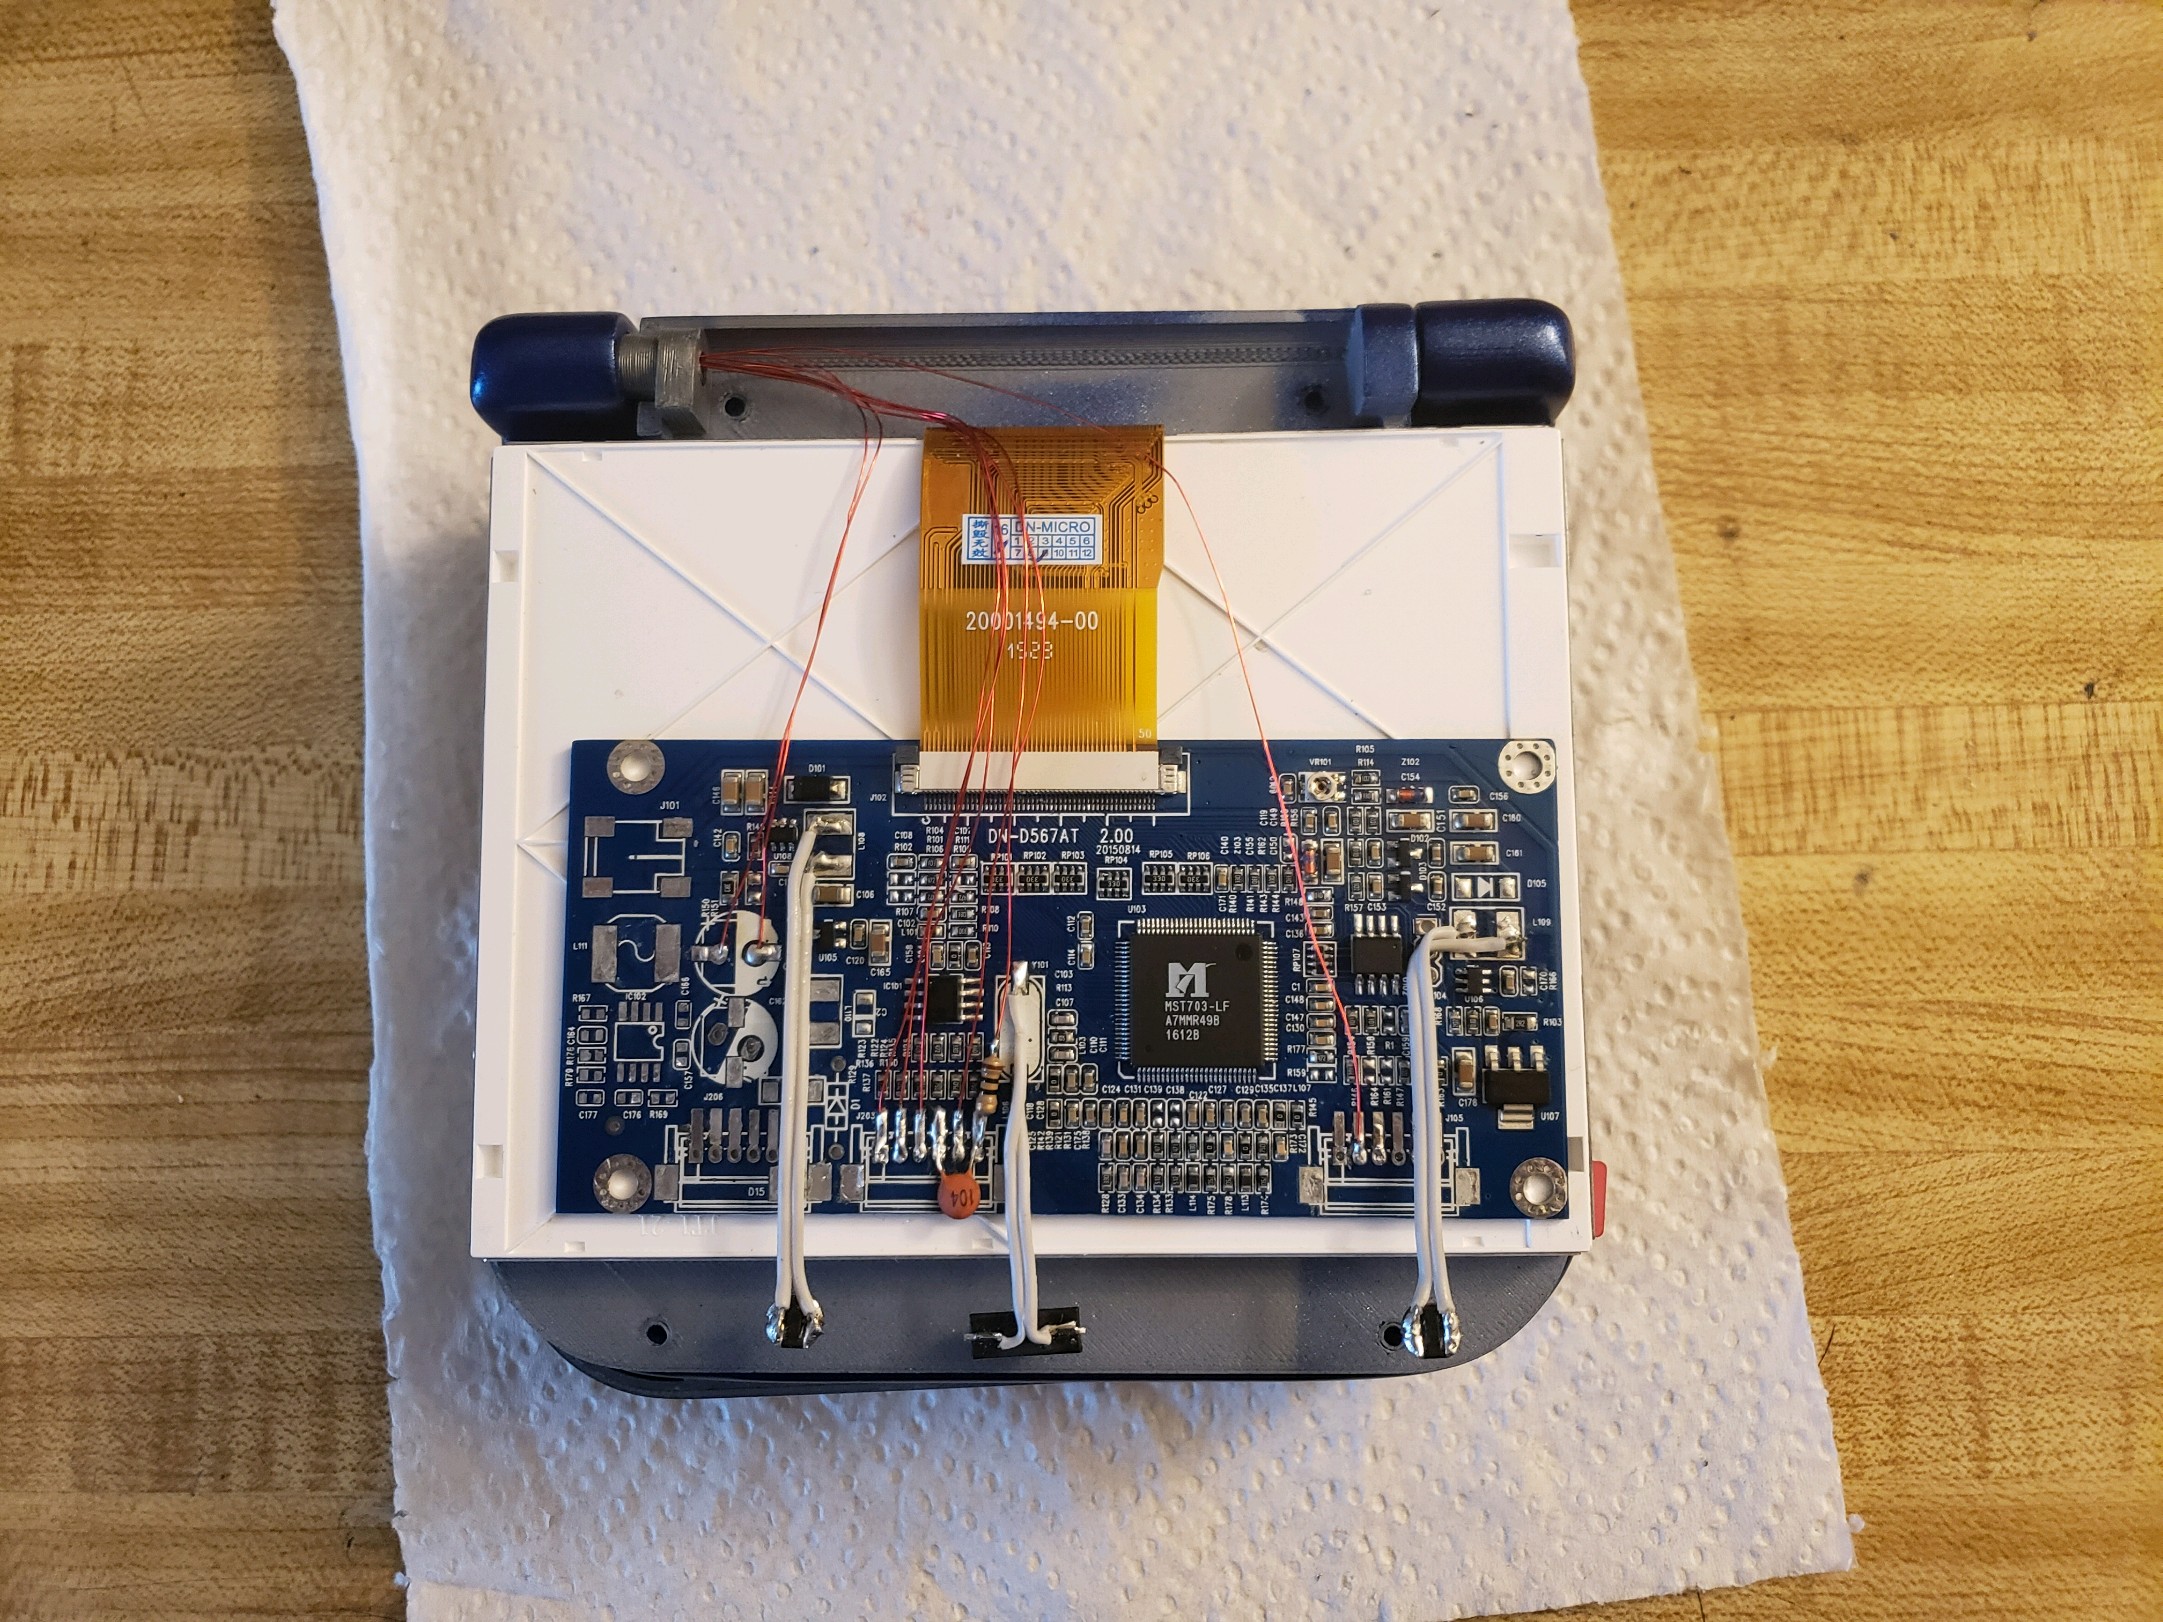
The screen assembly is seriously one of my favorite parts. The driverboard pops into the mounting posts, the LCD is placed on top of the pcb. One side of the case is slid into the DS spring hinge, and the 3D printed hinge for wire routing is slid into the mating hinge, finally the screen case is screwed together, friction holding in the hinge.
Overview:
Official Sony PS2 79003 motherboard with Free McBoot
PowerS2
PS2+
5” 4:3 VGA screen with custom video dac
Custom I2S digital audio amp with speakers and headphones
Removable 20700 battery cell ~1.5 hour
Internal Raspberry Pi3
Micro USB port attached to PS2 USB (used for adding homebrew)
Dpad and action buttons from PSVita, start/select from PS2, joysticks from NSwitch, and 3D printed shoulder buttons
The only glue used was for routing wires from the trimmed PS2 motherboard, everything is installed with screws
The competition was a lot of fun this year and I’d like to thank the BitBuilt crew and Noah for putting on another great competition. Good luck to all the other completed entries!
The "Expert" PS2 trim. Free McBoot, Custom video dac with 24bit rgb wiring, and recycled the ethernet pads to retain some passives on the bottom side.
PowerS2 and slightly overlapping it is the connector pcb to minimize some bulk of the wiring between the top and bottom half.
The screen assembly is seriously one of my favorite parts. The driverboard pops into the mounting posts, the LCD is placed on top of the pcb. One side of the case is slid into the DS spring hinge, and the 3D printed hinge for wire routing is slid into the mating hinge, finally the screen case is screwed together, friction holding in the hinge.
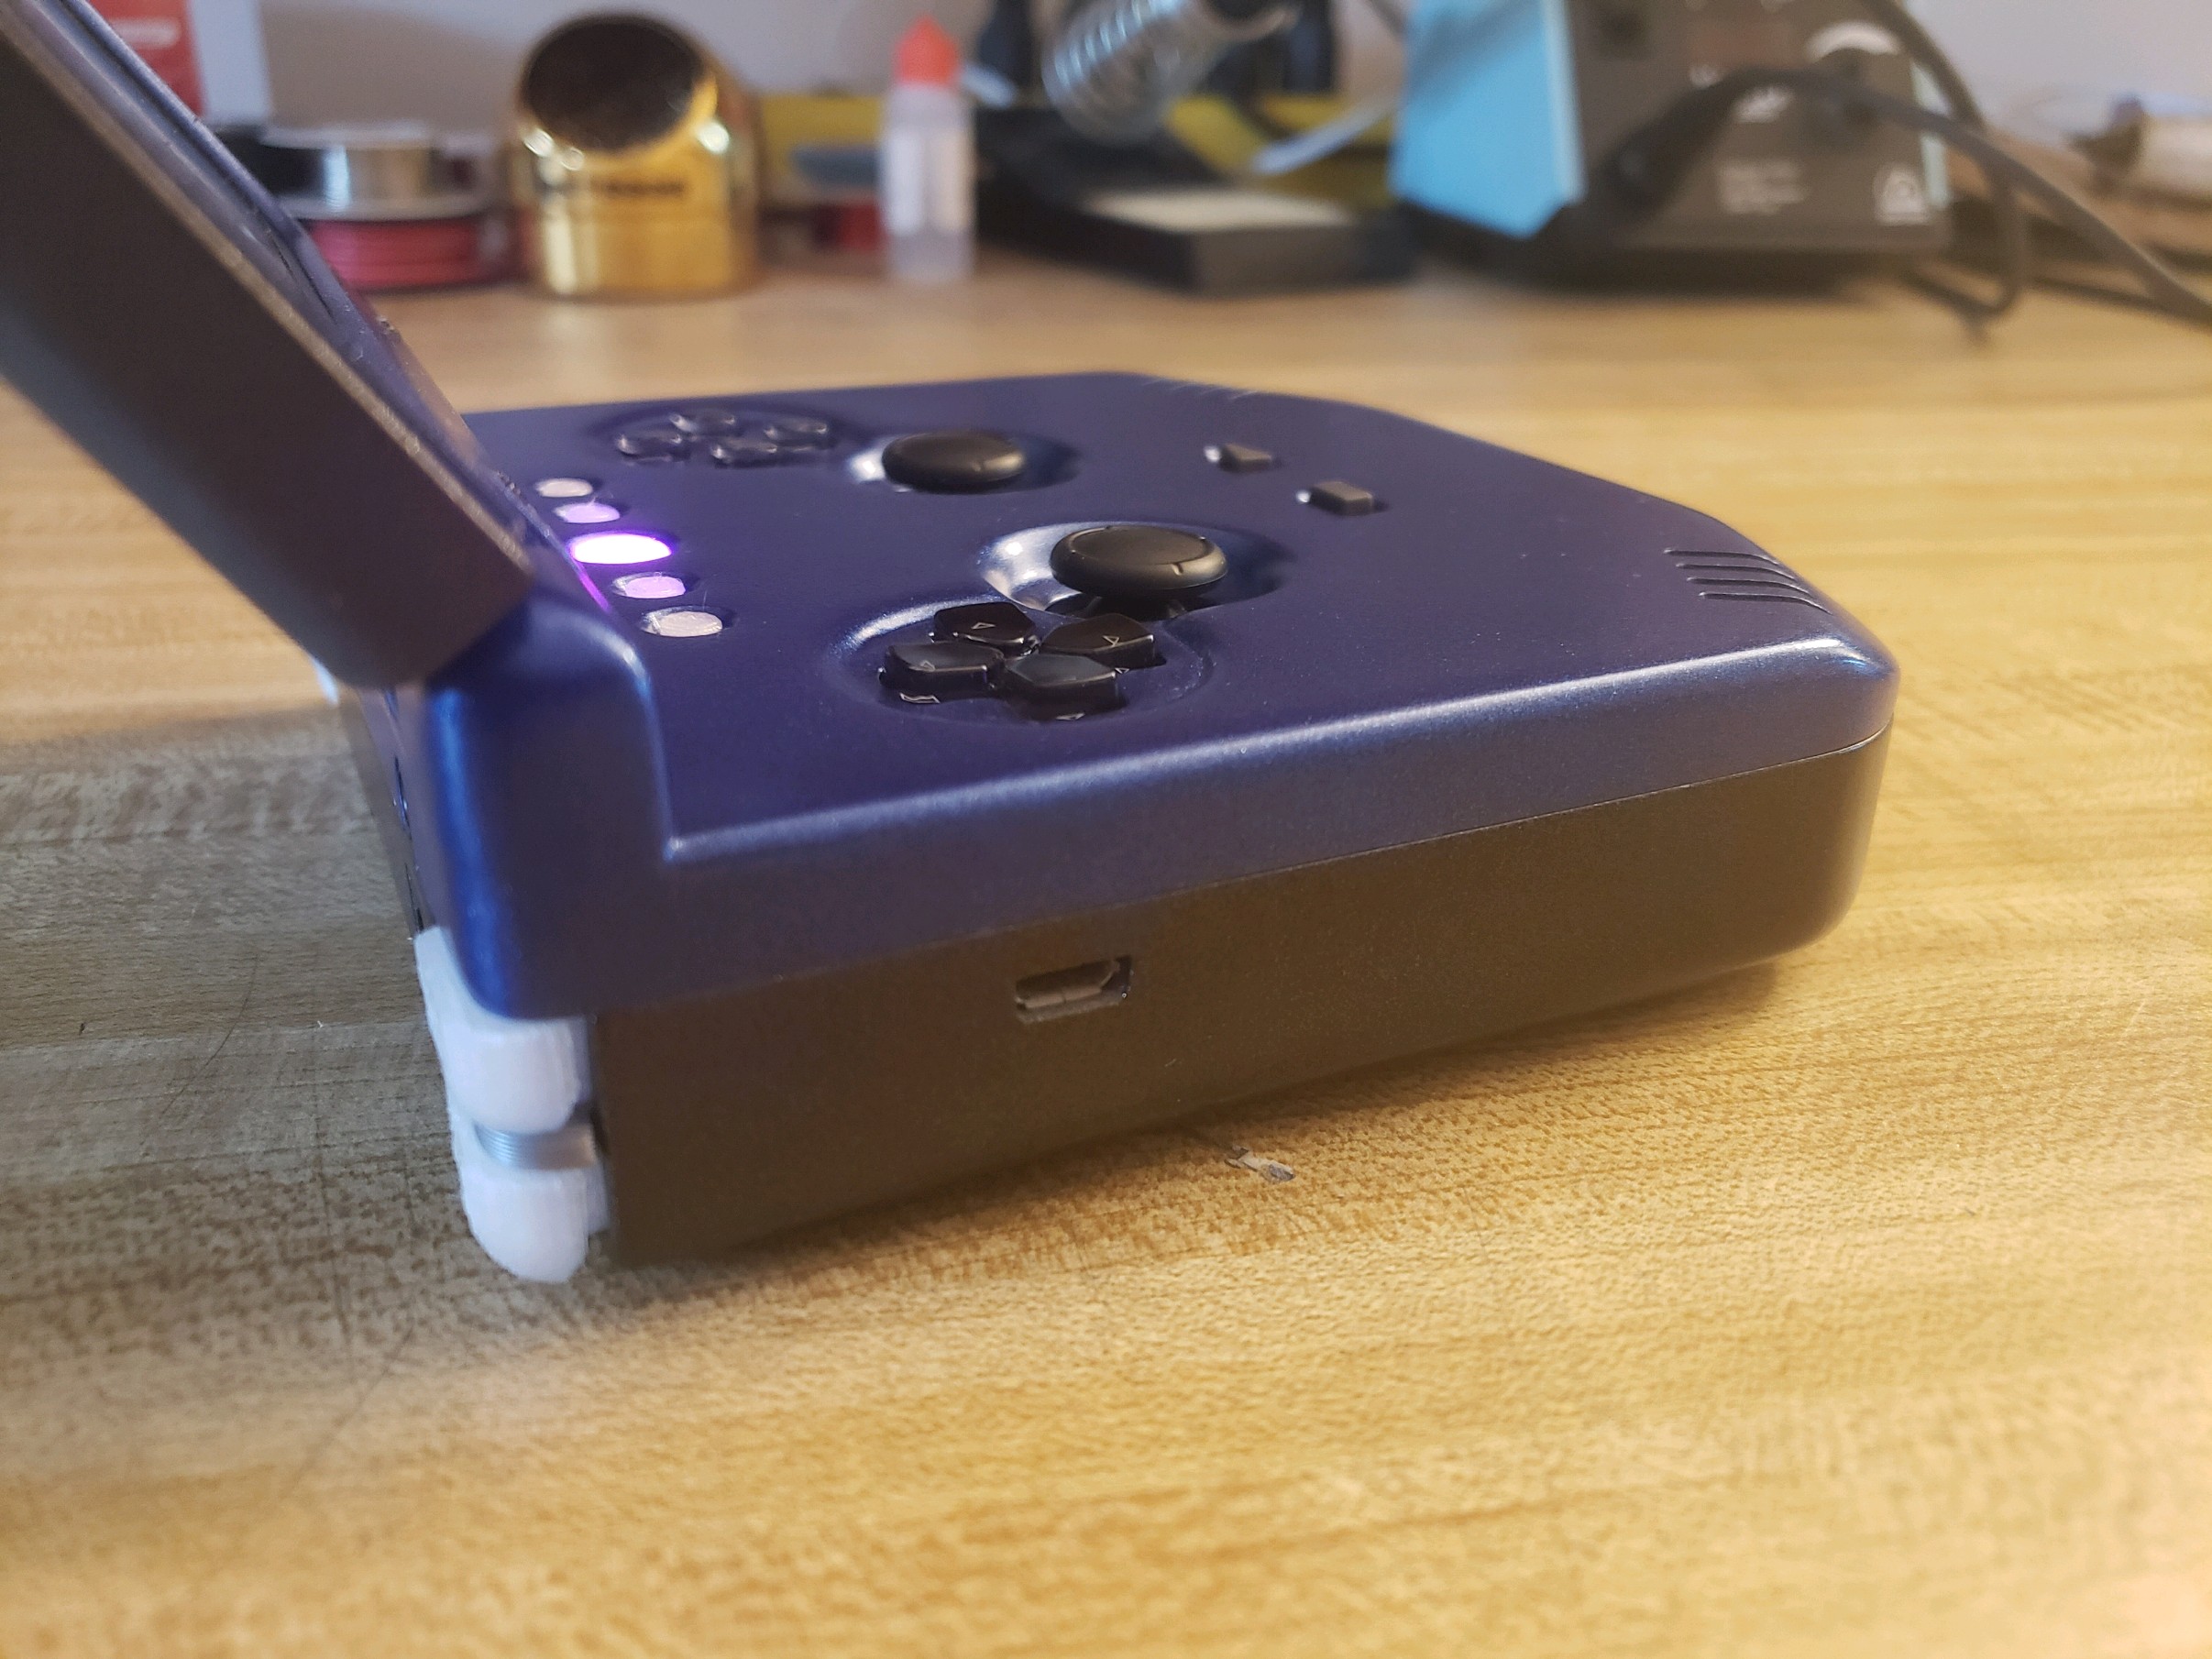
PowerS2: Custom regulators (1.2v, 1.8v, 2.5v, 3.3v, and 5v), battery charging/protection system, On/Off button, PS2 autoboot, and RGB LED visuals
PowerS2 UI: Hold button for over 1 second to turn on/off. Tap button to cycle through led status modes. Mode 1: off, Mode 2: RGB fade sequence, Mode 3: Battery voltage level demonstrated from LED color green to yellow to red. The system periodically monitors the battery voltage when it is turned on. When the battery voltage drops below 3.5v, the status mode automatically switches to mode 3 to warn the user. The power up sequence includes ps2 autoboot which automatically presses the reset button to turn the ps2 on after the voltage regulators are enabled. PowerS2 is always turned on as long as the battery voltage is above depletion. When it is in the off state, the MCU is put into low power sleep mode to conserve battery power.
Internal Raspberry Pi3 used for ethernet game loading, internal USB drive, and eventually adding games over wifi. Lot of potential to use this for.
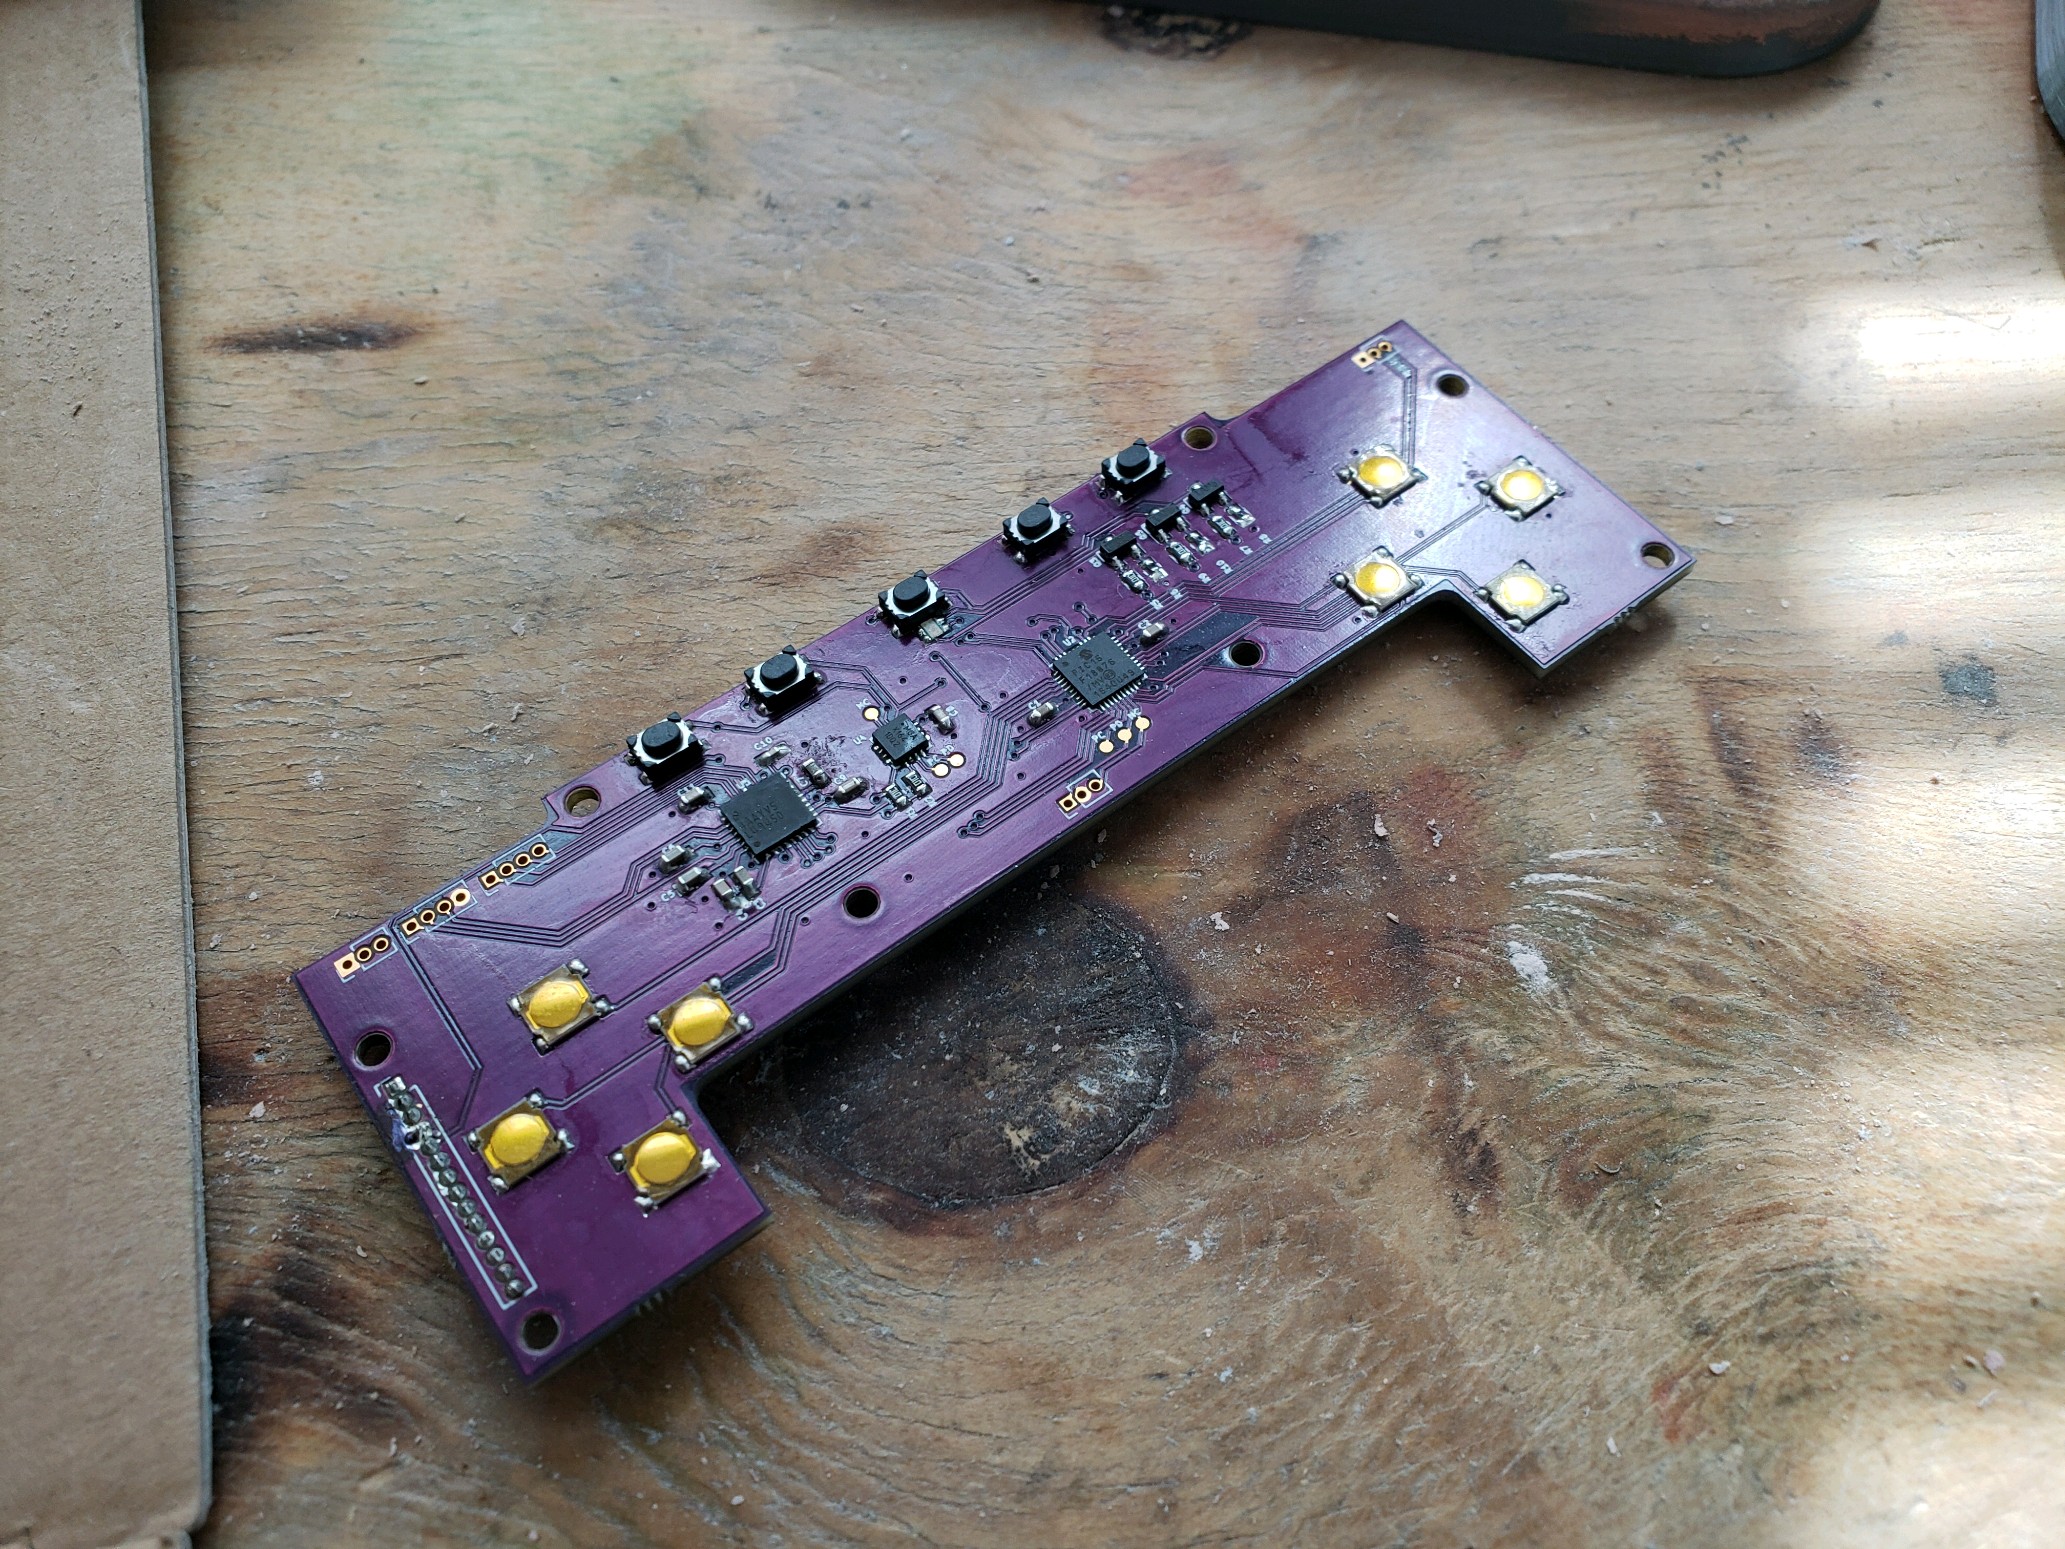
This custom PS2+ is a dualshock 2 controller emulator with switch joysticks and button macro for controlling screen menu buttons. Hold R1 and Left for “menu button”, R1 and Up for “Plus”, R1 and Down for “Minus”. (this feature isn’t entirely working yet, I didn’t have time to order a single supply op-amp for voltage buffering, the transistor buffer I’m using currently is not entirely sufficient). Once this is addressed, I can add a power-on sequence in PS2+ that will automatically center the video on the display. I’d also like to thank @Matthew and @Dave Mackintosh for their contributions to PS2+, it is a group project.
The controller pcb has the LM49450 I2S amp and microcontroller built in. My goal is to eventually absorb the audio amp control into PS2+, it is certainly possible but it is too early.
Lastly on the controller pcb, there is an RGB led and three transistor buffers controlled by PWM from PowerS2.
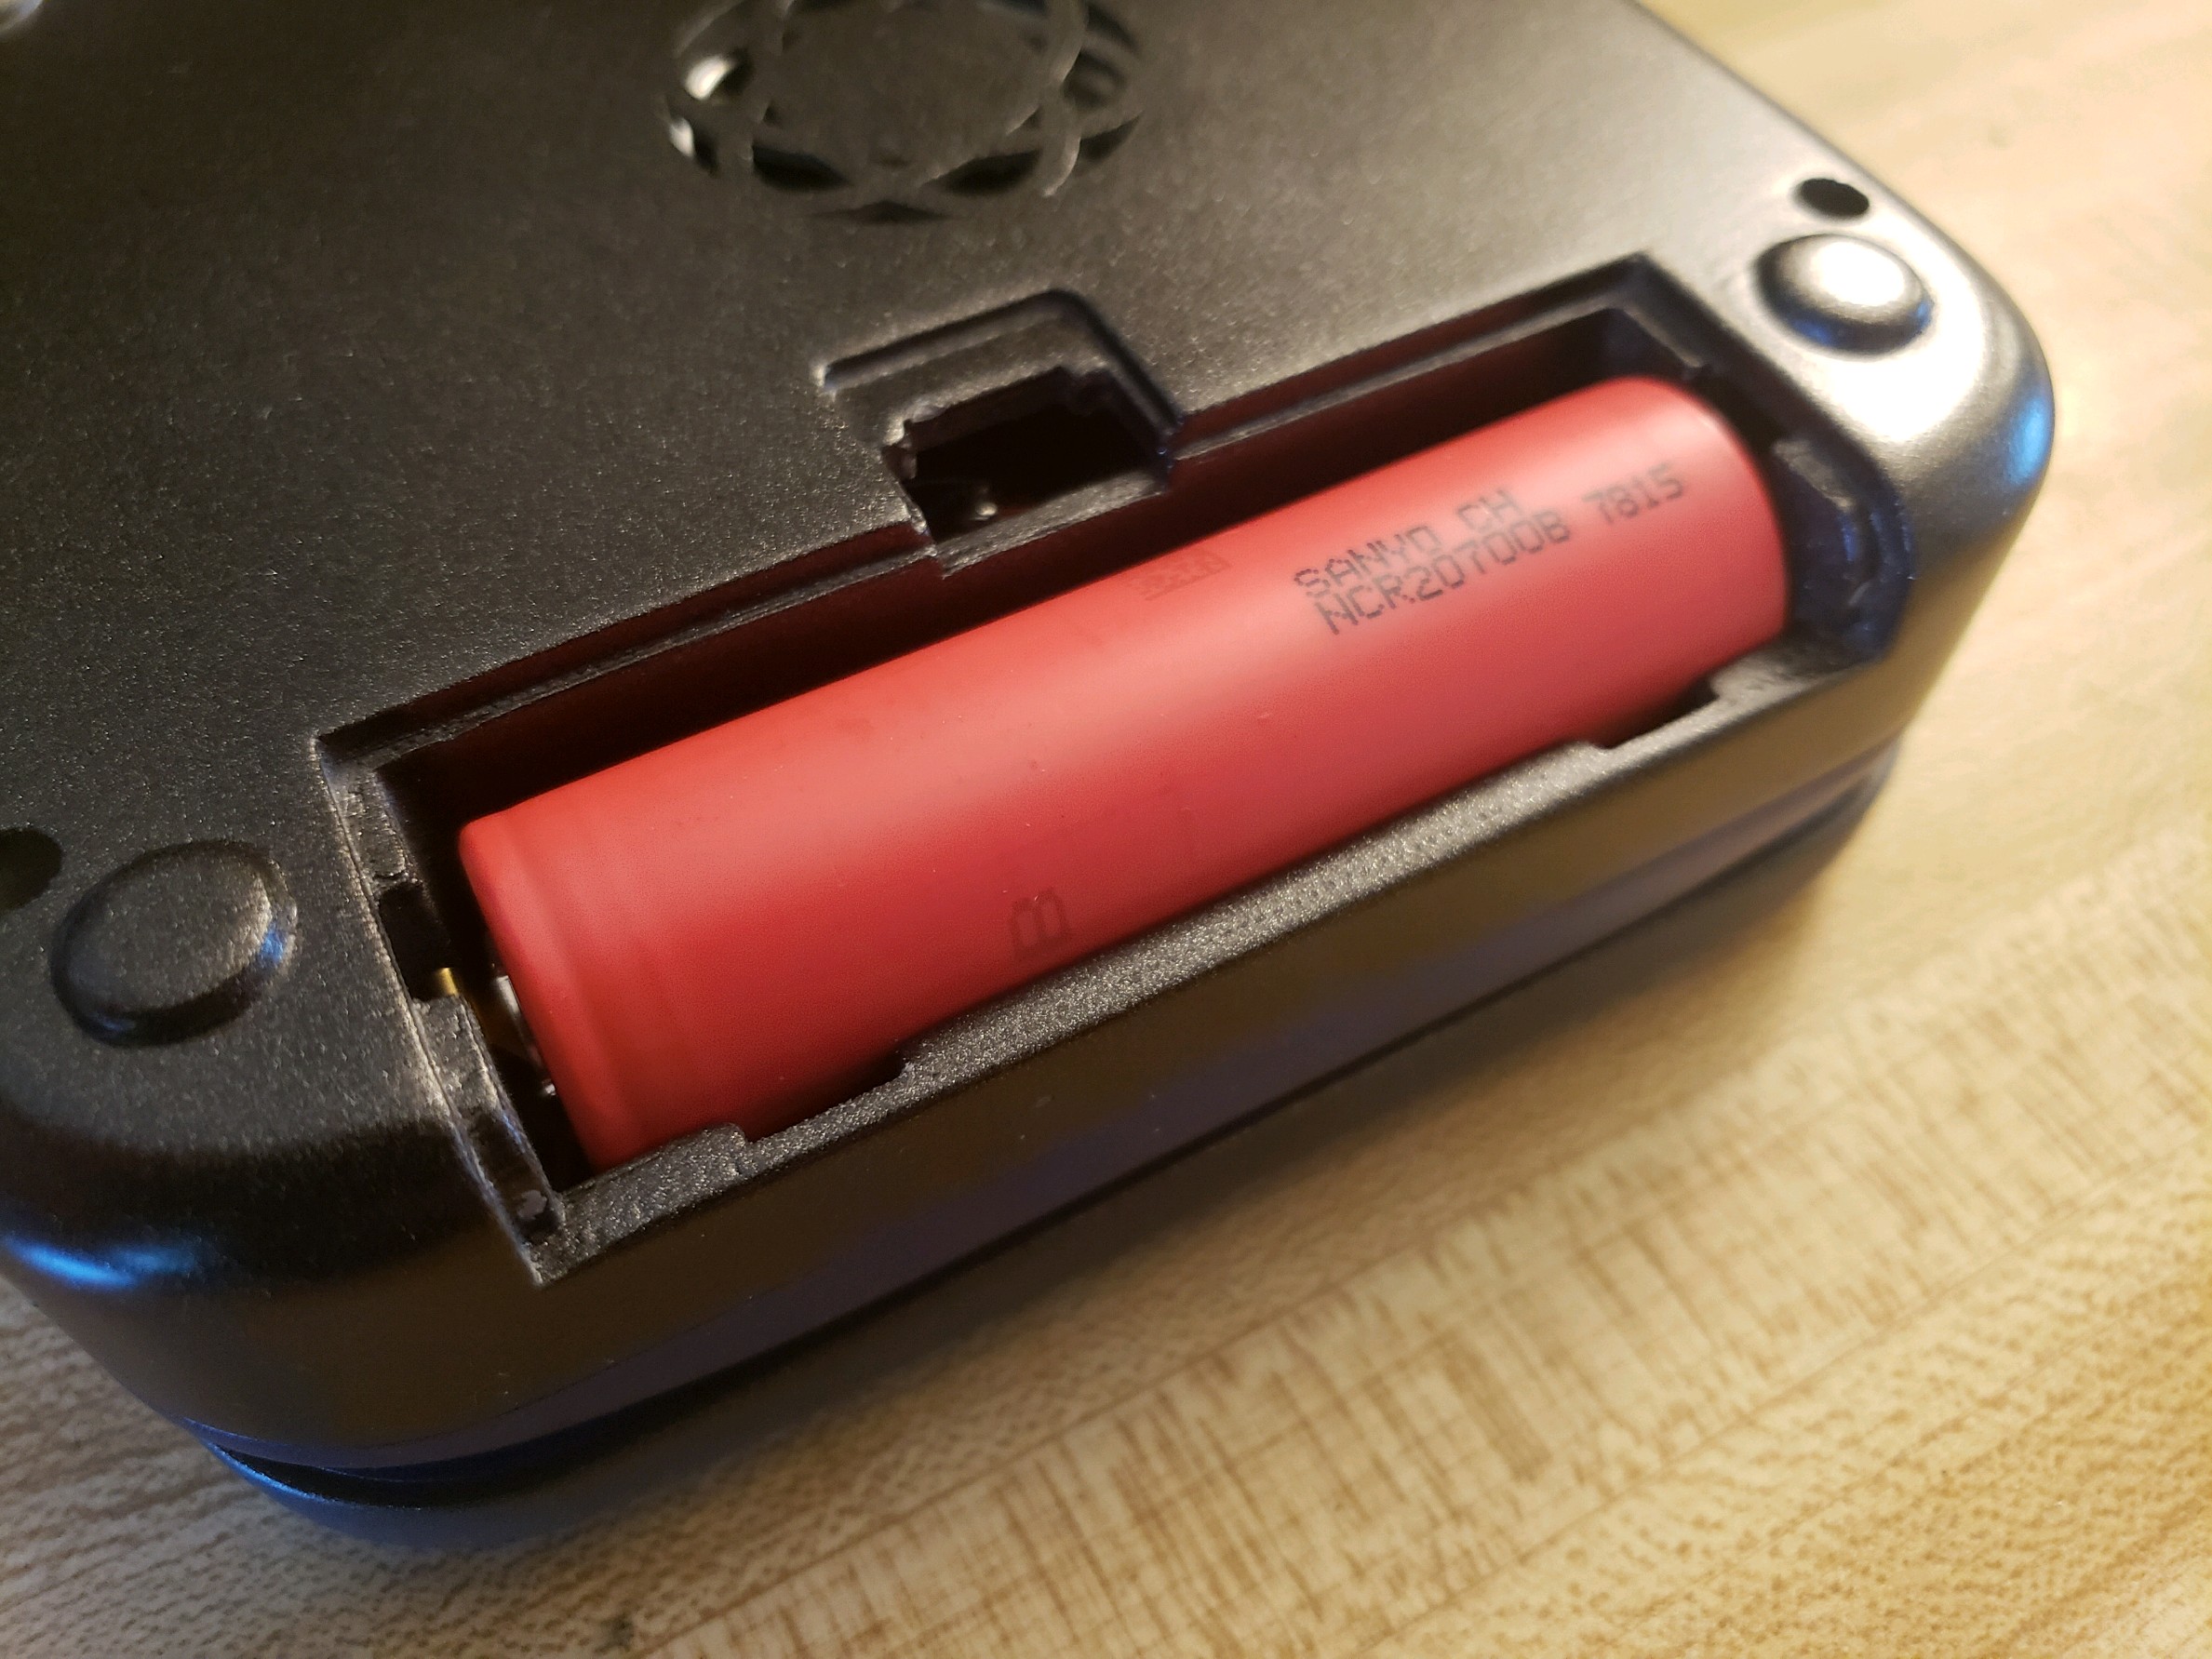
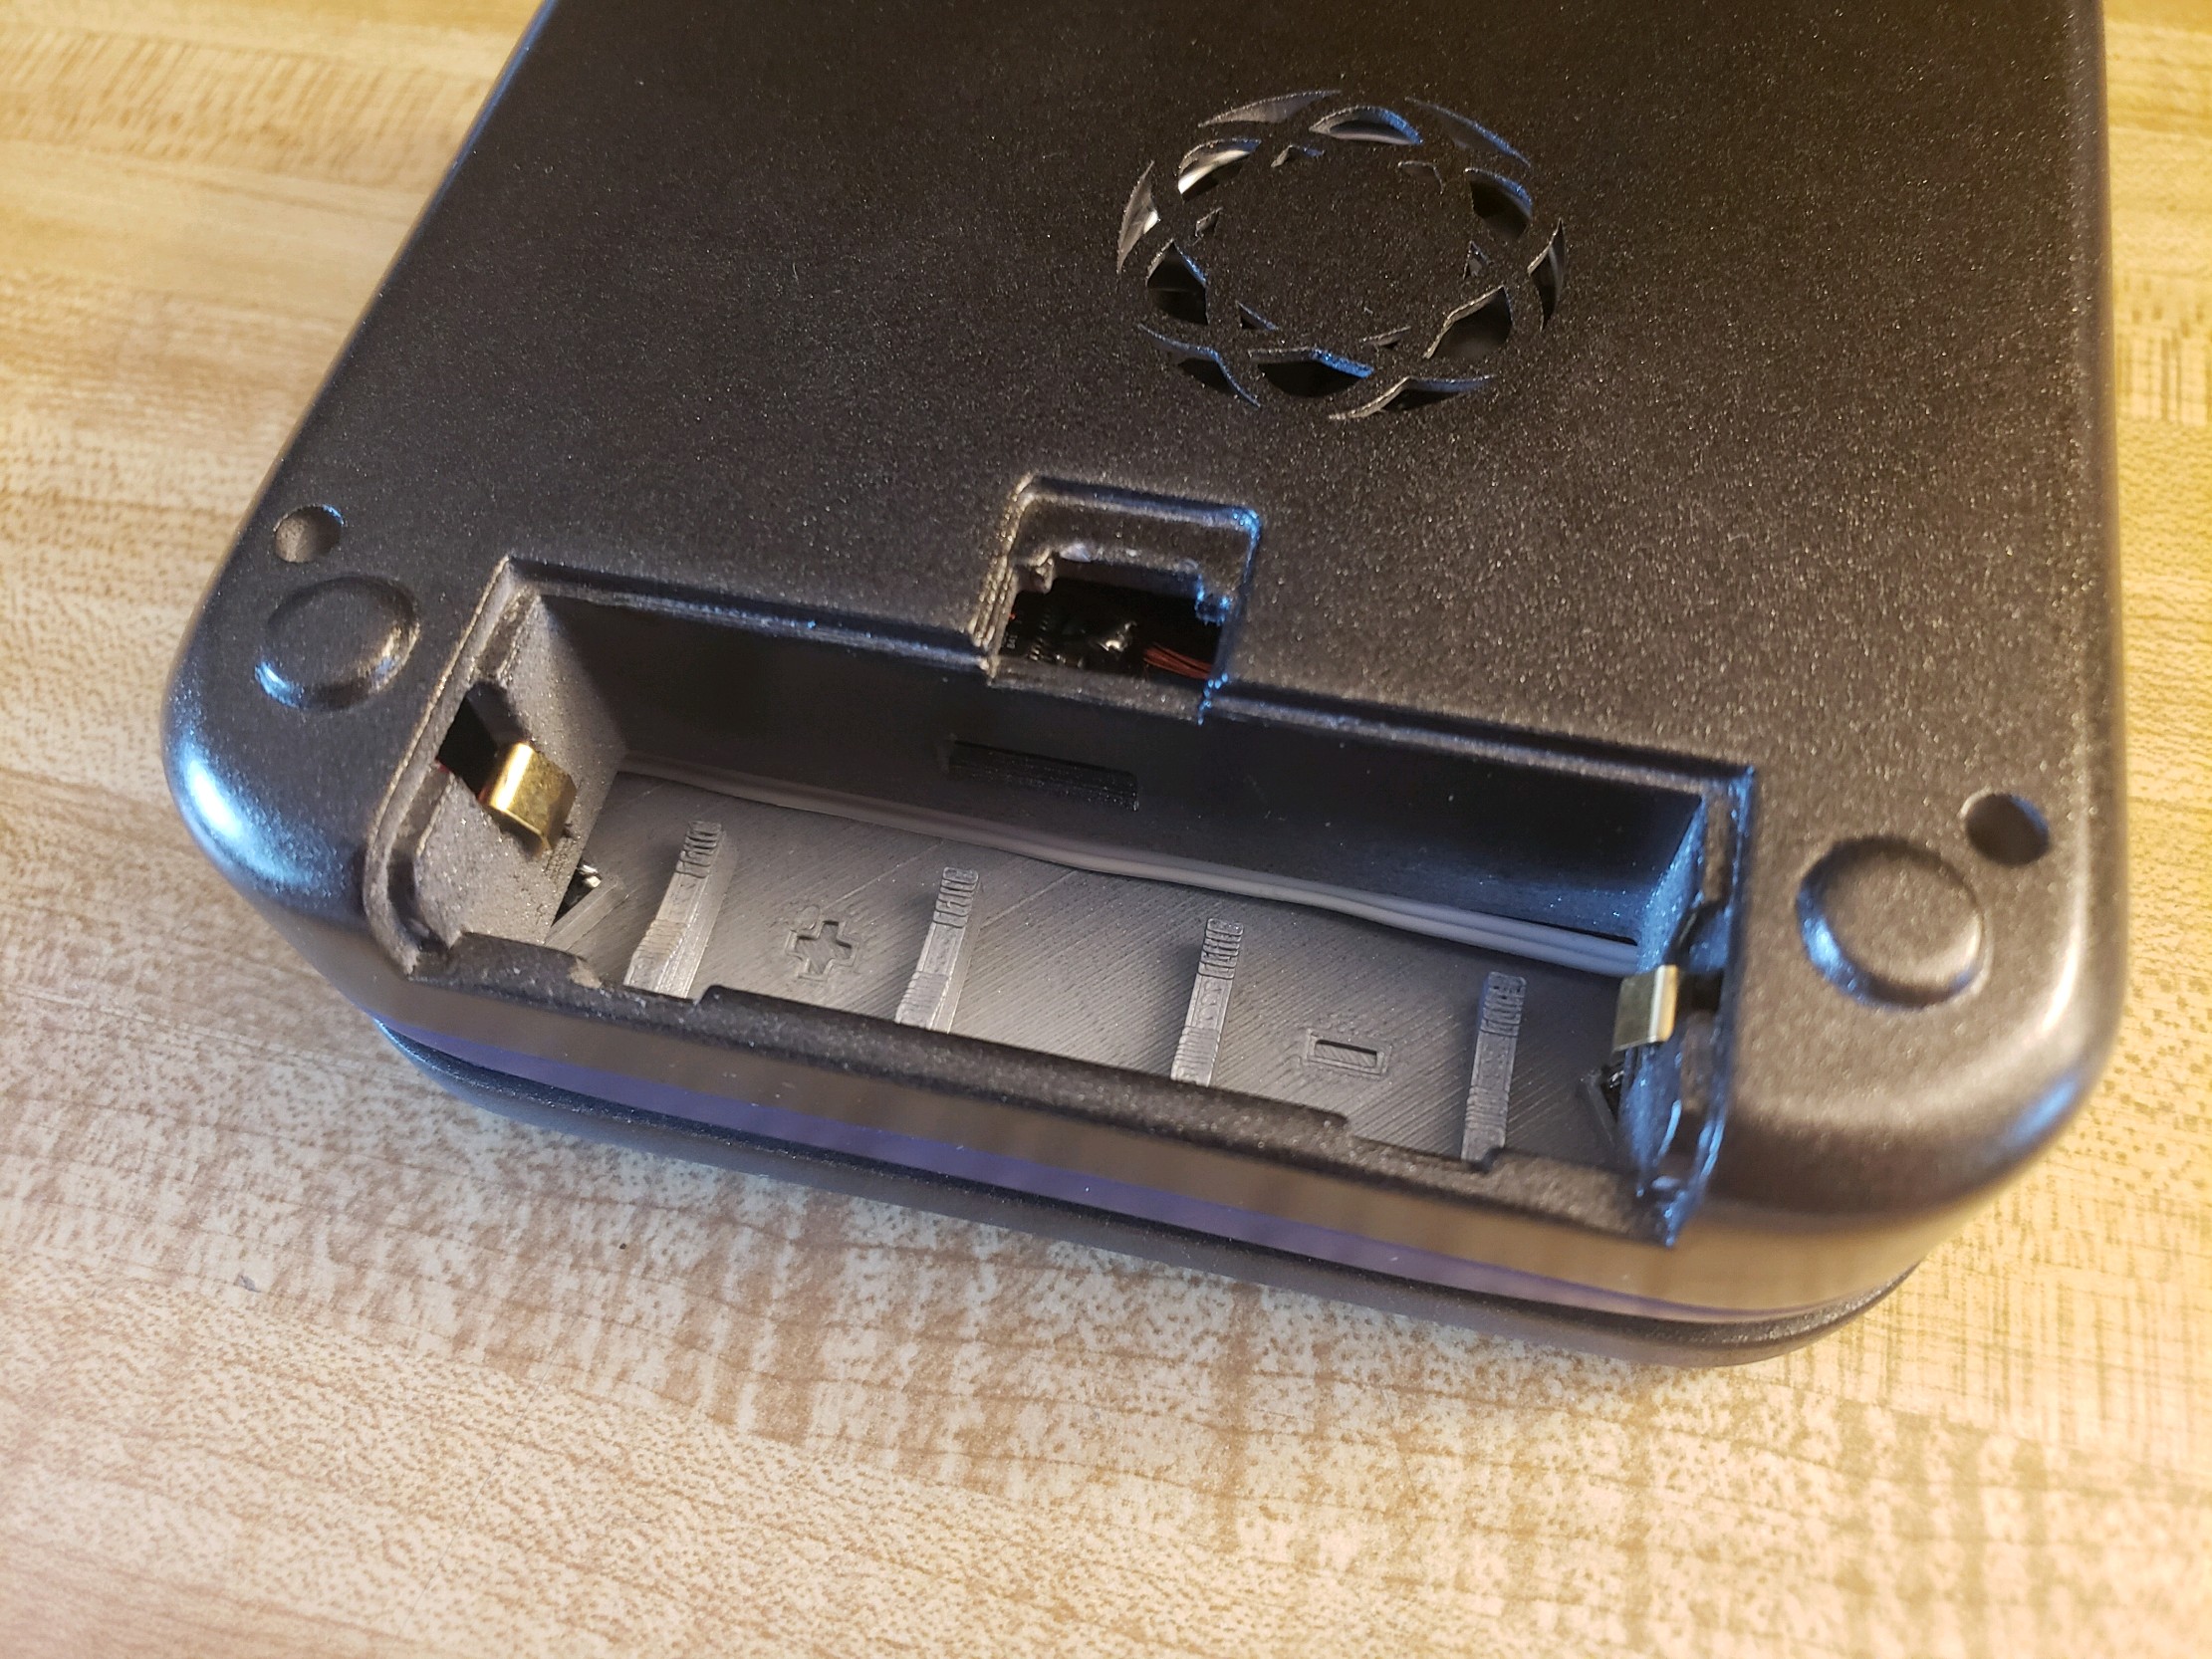
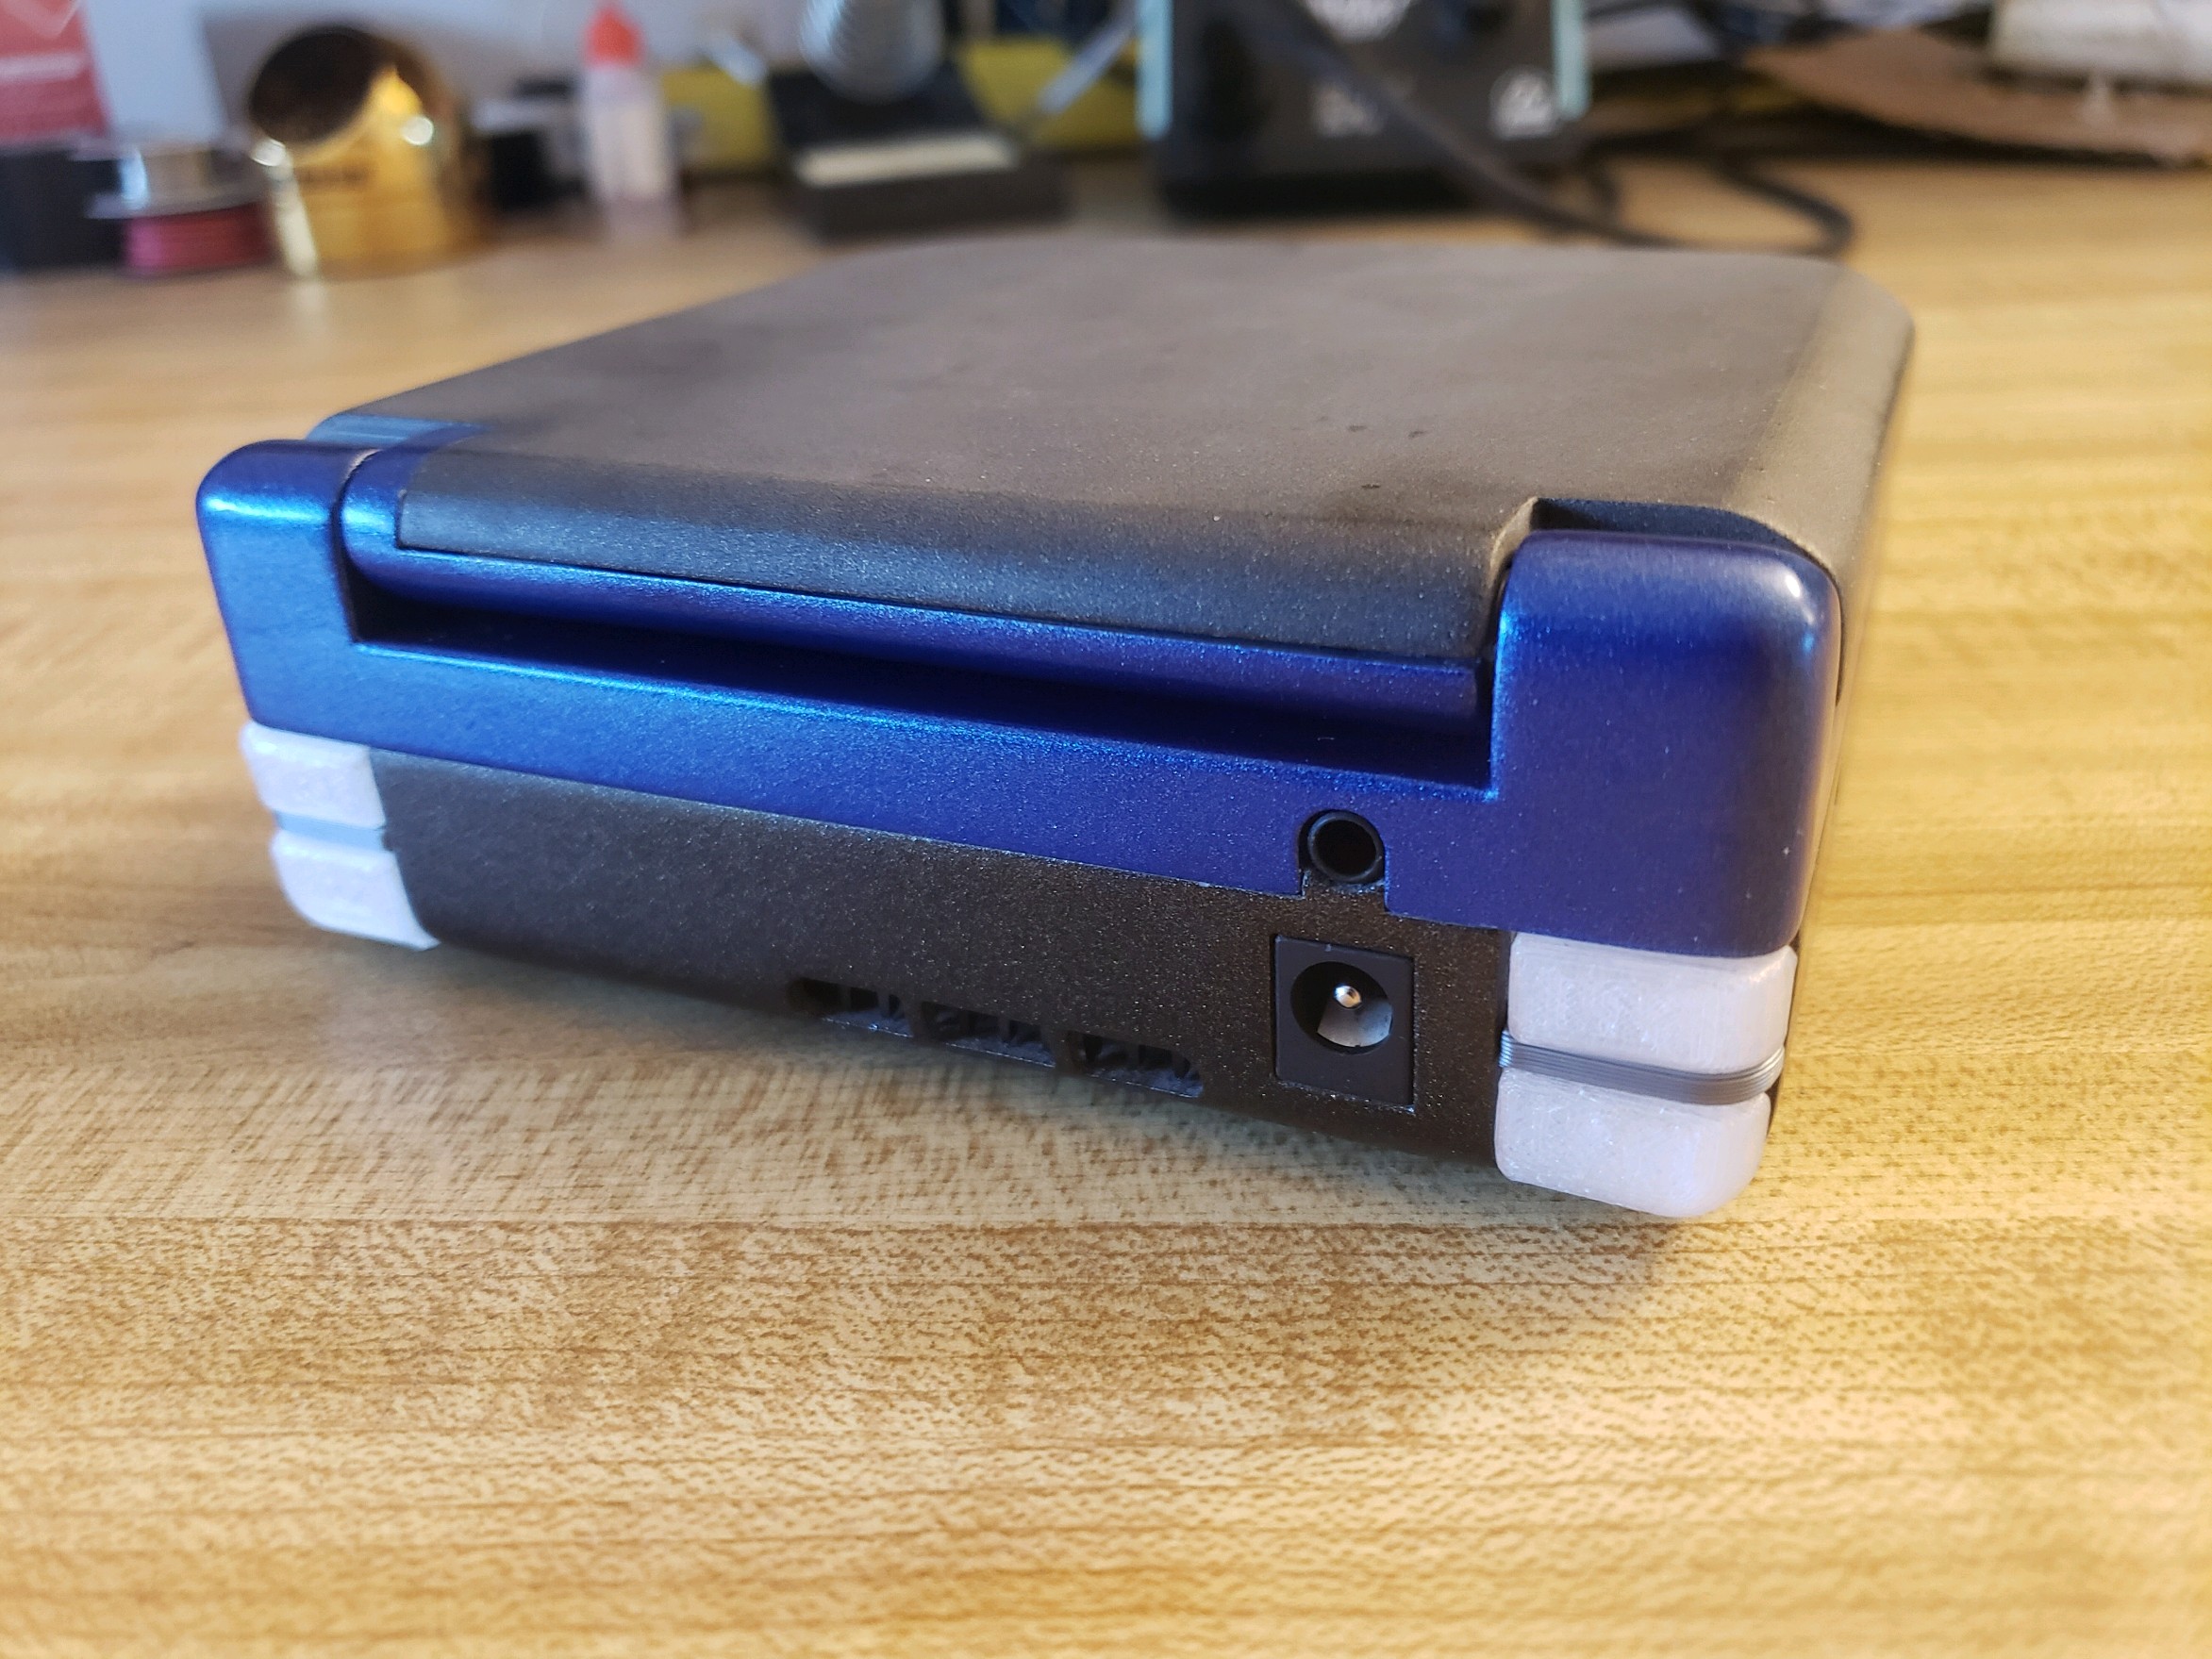
Removable battery cell with snap-in back door for quick access. No GihadS2 here.
PowerS2 UI: Hold button for over 1 second to turn on/off. Tap button to cycle through led status modes. Mode 1: off, Mode 2: RGB fade sequence, Mode 3: Battery voltage level demonstrated from LED color green to yellow to red. The system periodically monitors the battery voltage when it is turned on. When the battery voltage drops below 3.5v, the status mode automatically switches to mode 3 to warn the user. The power up sequence includes ps2 autoboot which automatically presses the reset button to turn the ps2 on after the voltage regulators are enabled. PowerS2 is always turned on as long as the battery voltage is above depletion. When it is in the off state, the MCU is put into low power sleep mode to conserve battery power.
Internal Raspberry Pi3 used for ethernet game loading, internal USB drive, and eventually adding games over wifi. Lot of potential to use this for.
This custom PS2+ is a dualshock 2 controller emulator with switch joysticks and button macro for controlling screen menu buttons. Hold R1 and Left for “menu button”, R1 and Up for “Plus”, R1 and Down for “Minus”. (this feature isn’t entirely working yet, I didn’t have time to order a single supply op-amp for voltage buffering, the transistor buffer I’m using currently is not entirely sufficient). Once this is addressed, I can add a power-on sequence in PS2+ that will automatically center the video on the display. I’d also like to thank @Matthew and @Dave Mackintosh for their contributions to PS2+, it is a group project.
The controller pcb has the LM49450 I2S amp and microcontroller built in. My goal is to eventually absorb the audio amp control into PS2+, it is certainly possible but it is too early.
Lastly on the controller pcb, there is an RGB led and three transistor buffers controlled by PWM from PowerS2.
Removable battery cell with snap-in back door for quick access. No GihadS2 here.

")

")

