
After a couple of months of gathering information, it is time to begin my first wii portable. I have planned out almost everything and want your input to tweak some of my ideas.
Materials:
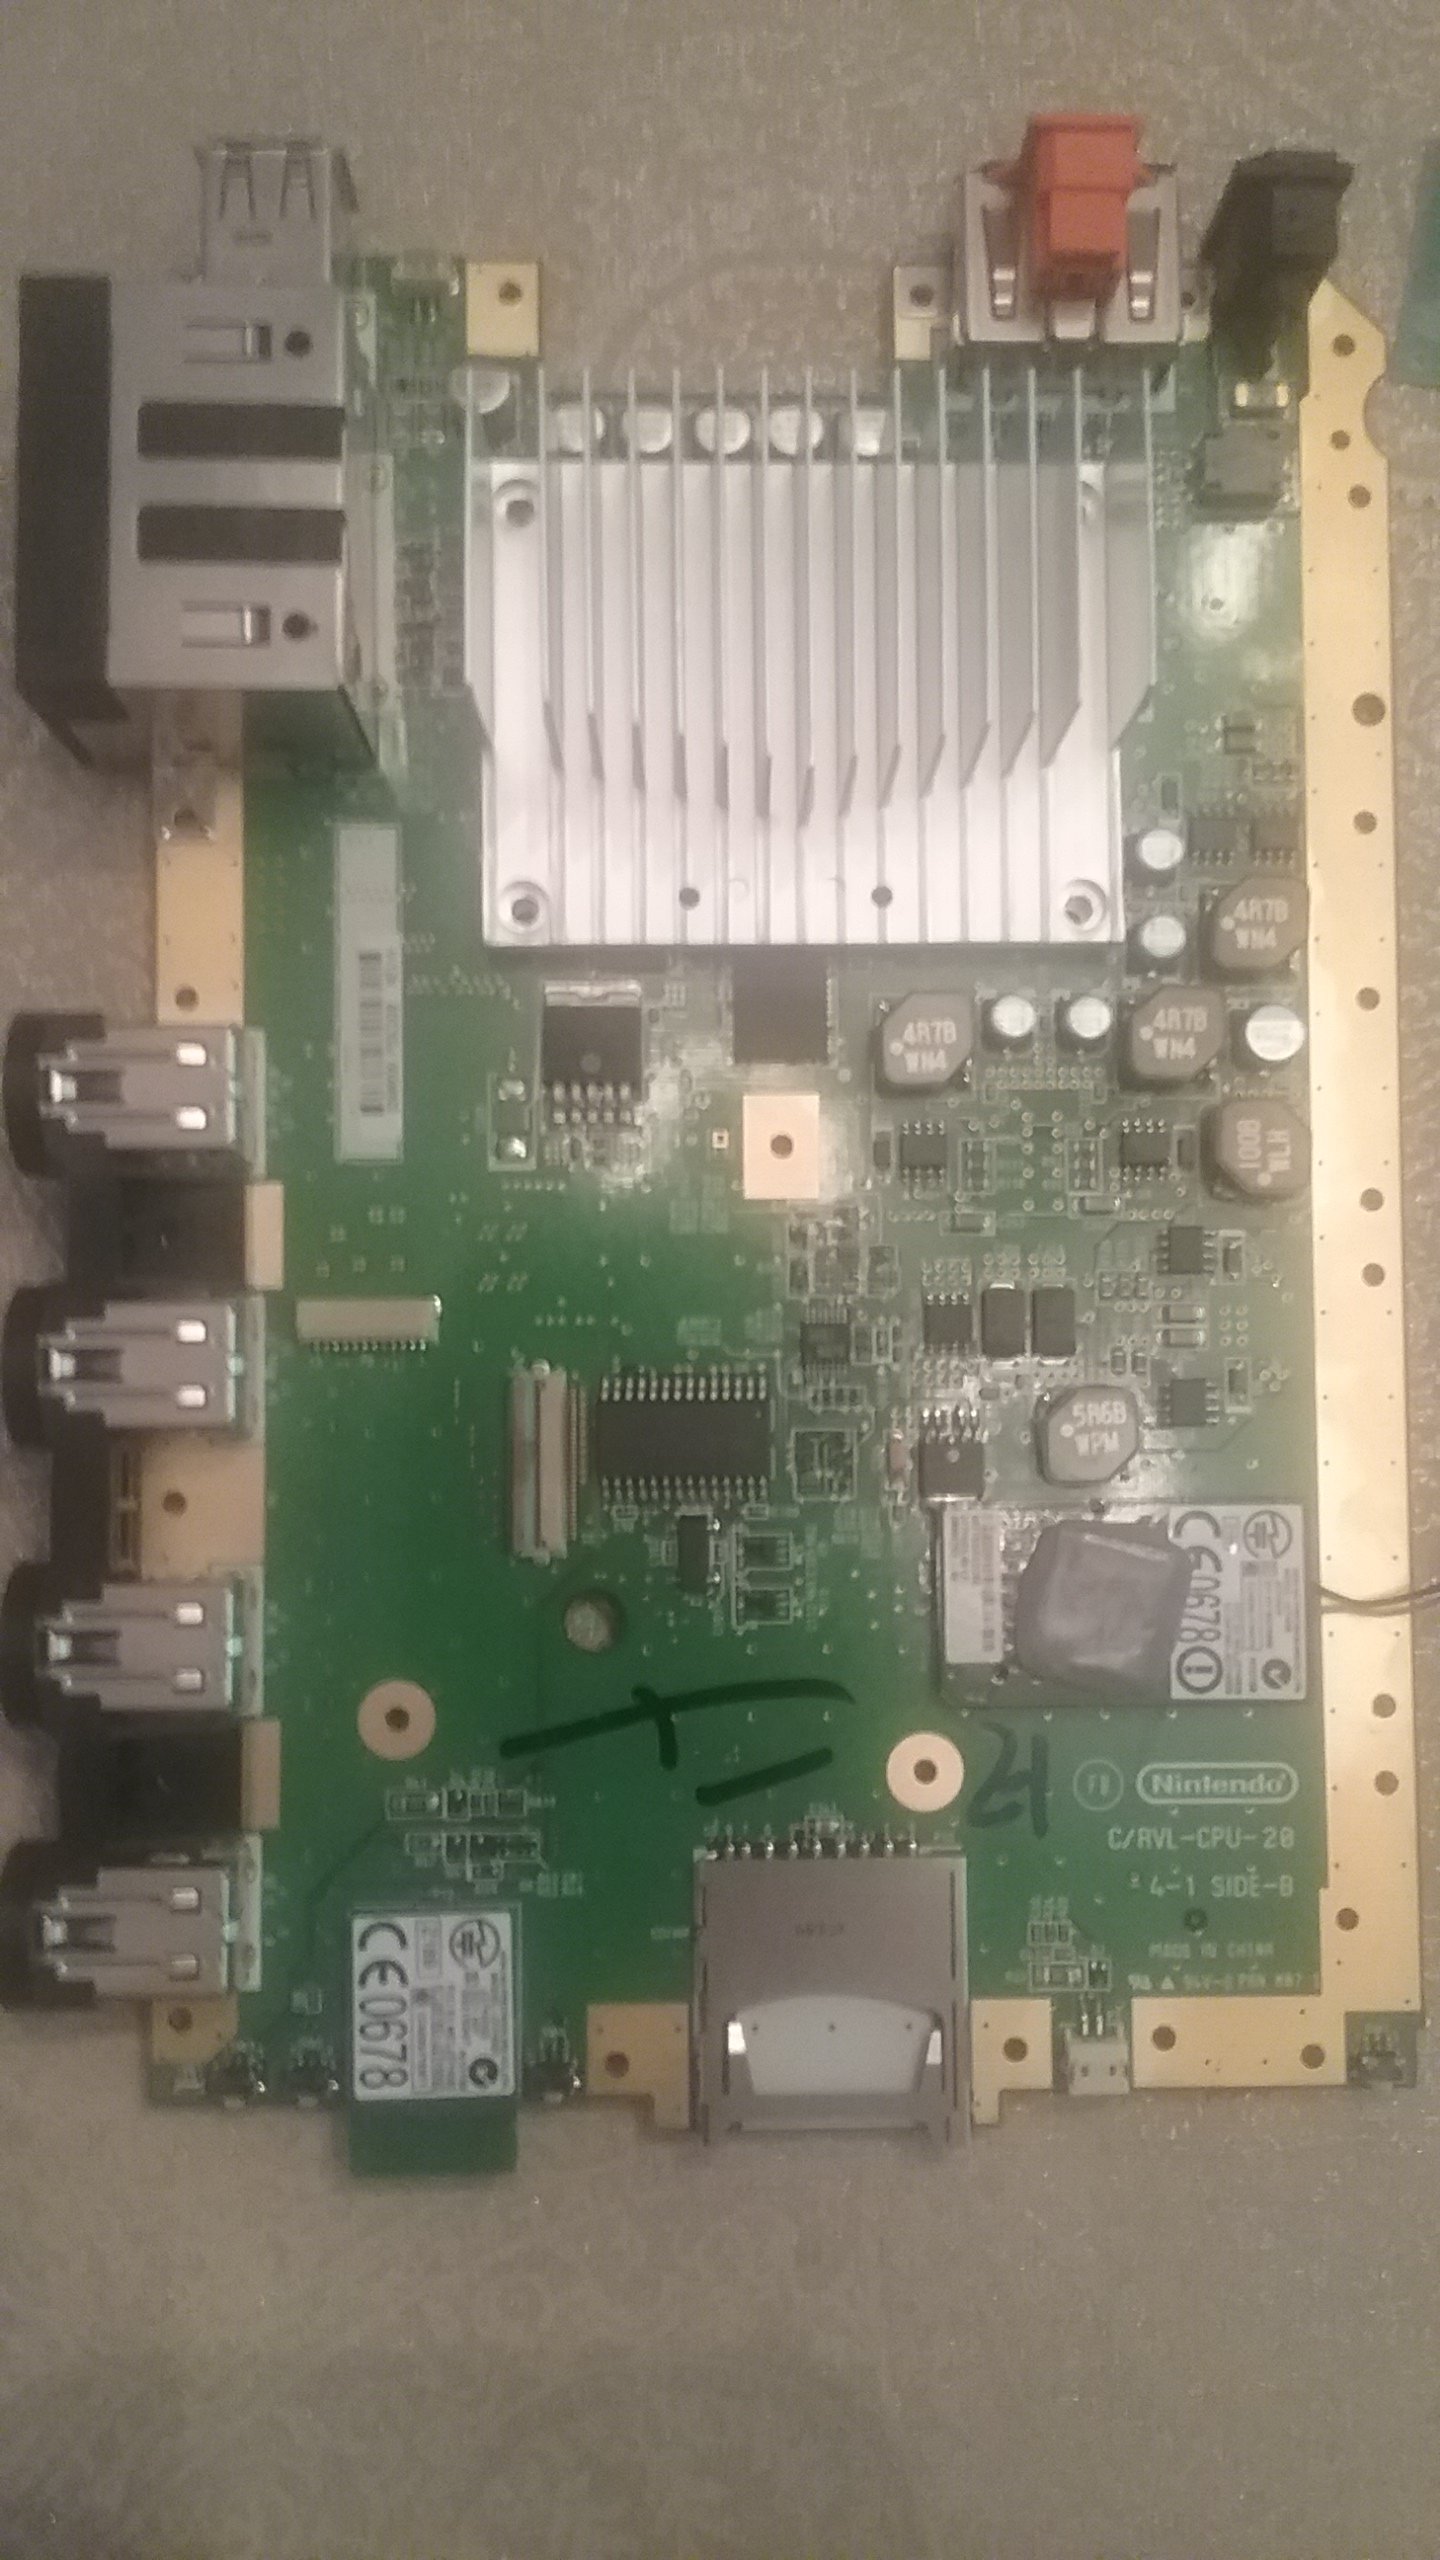
1. 1 untrimmed 6 layer Wii
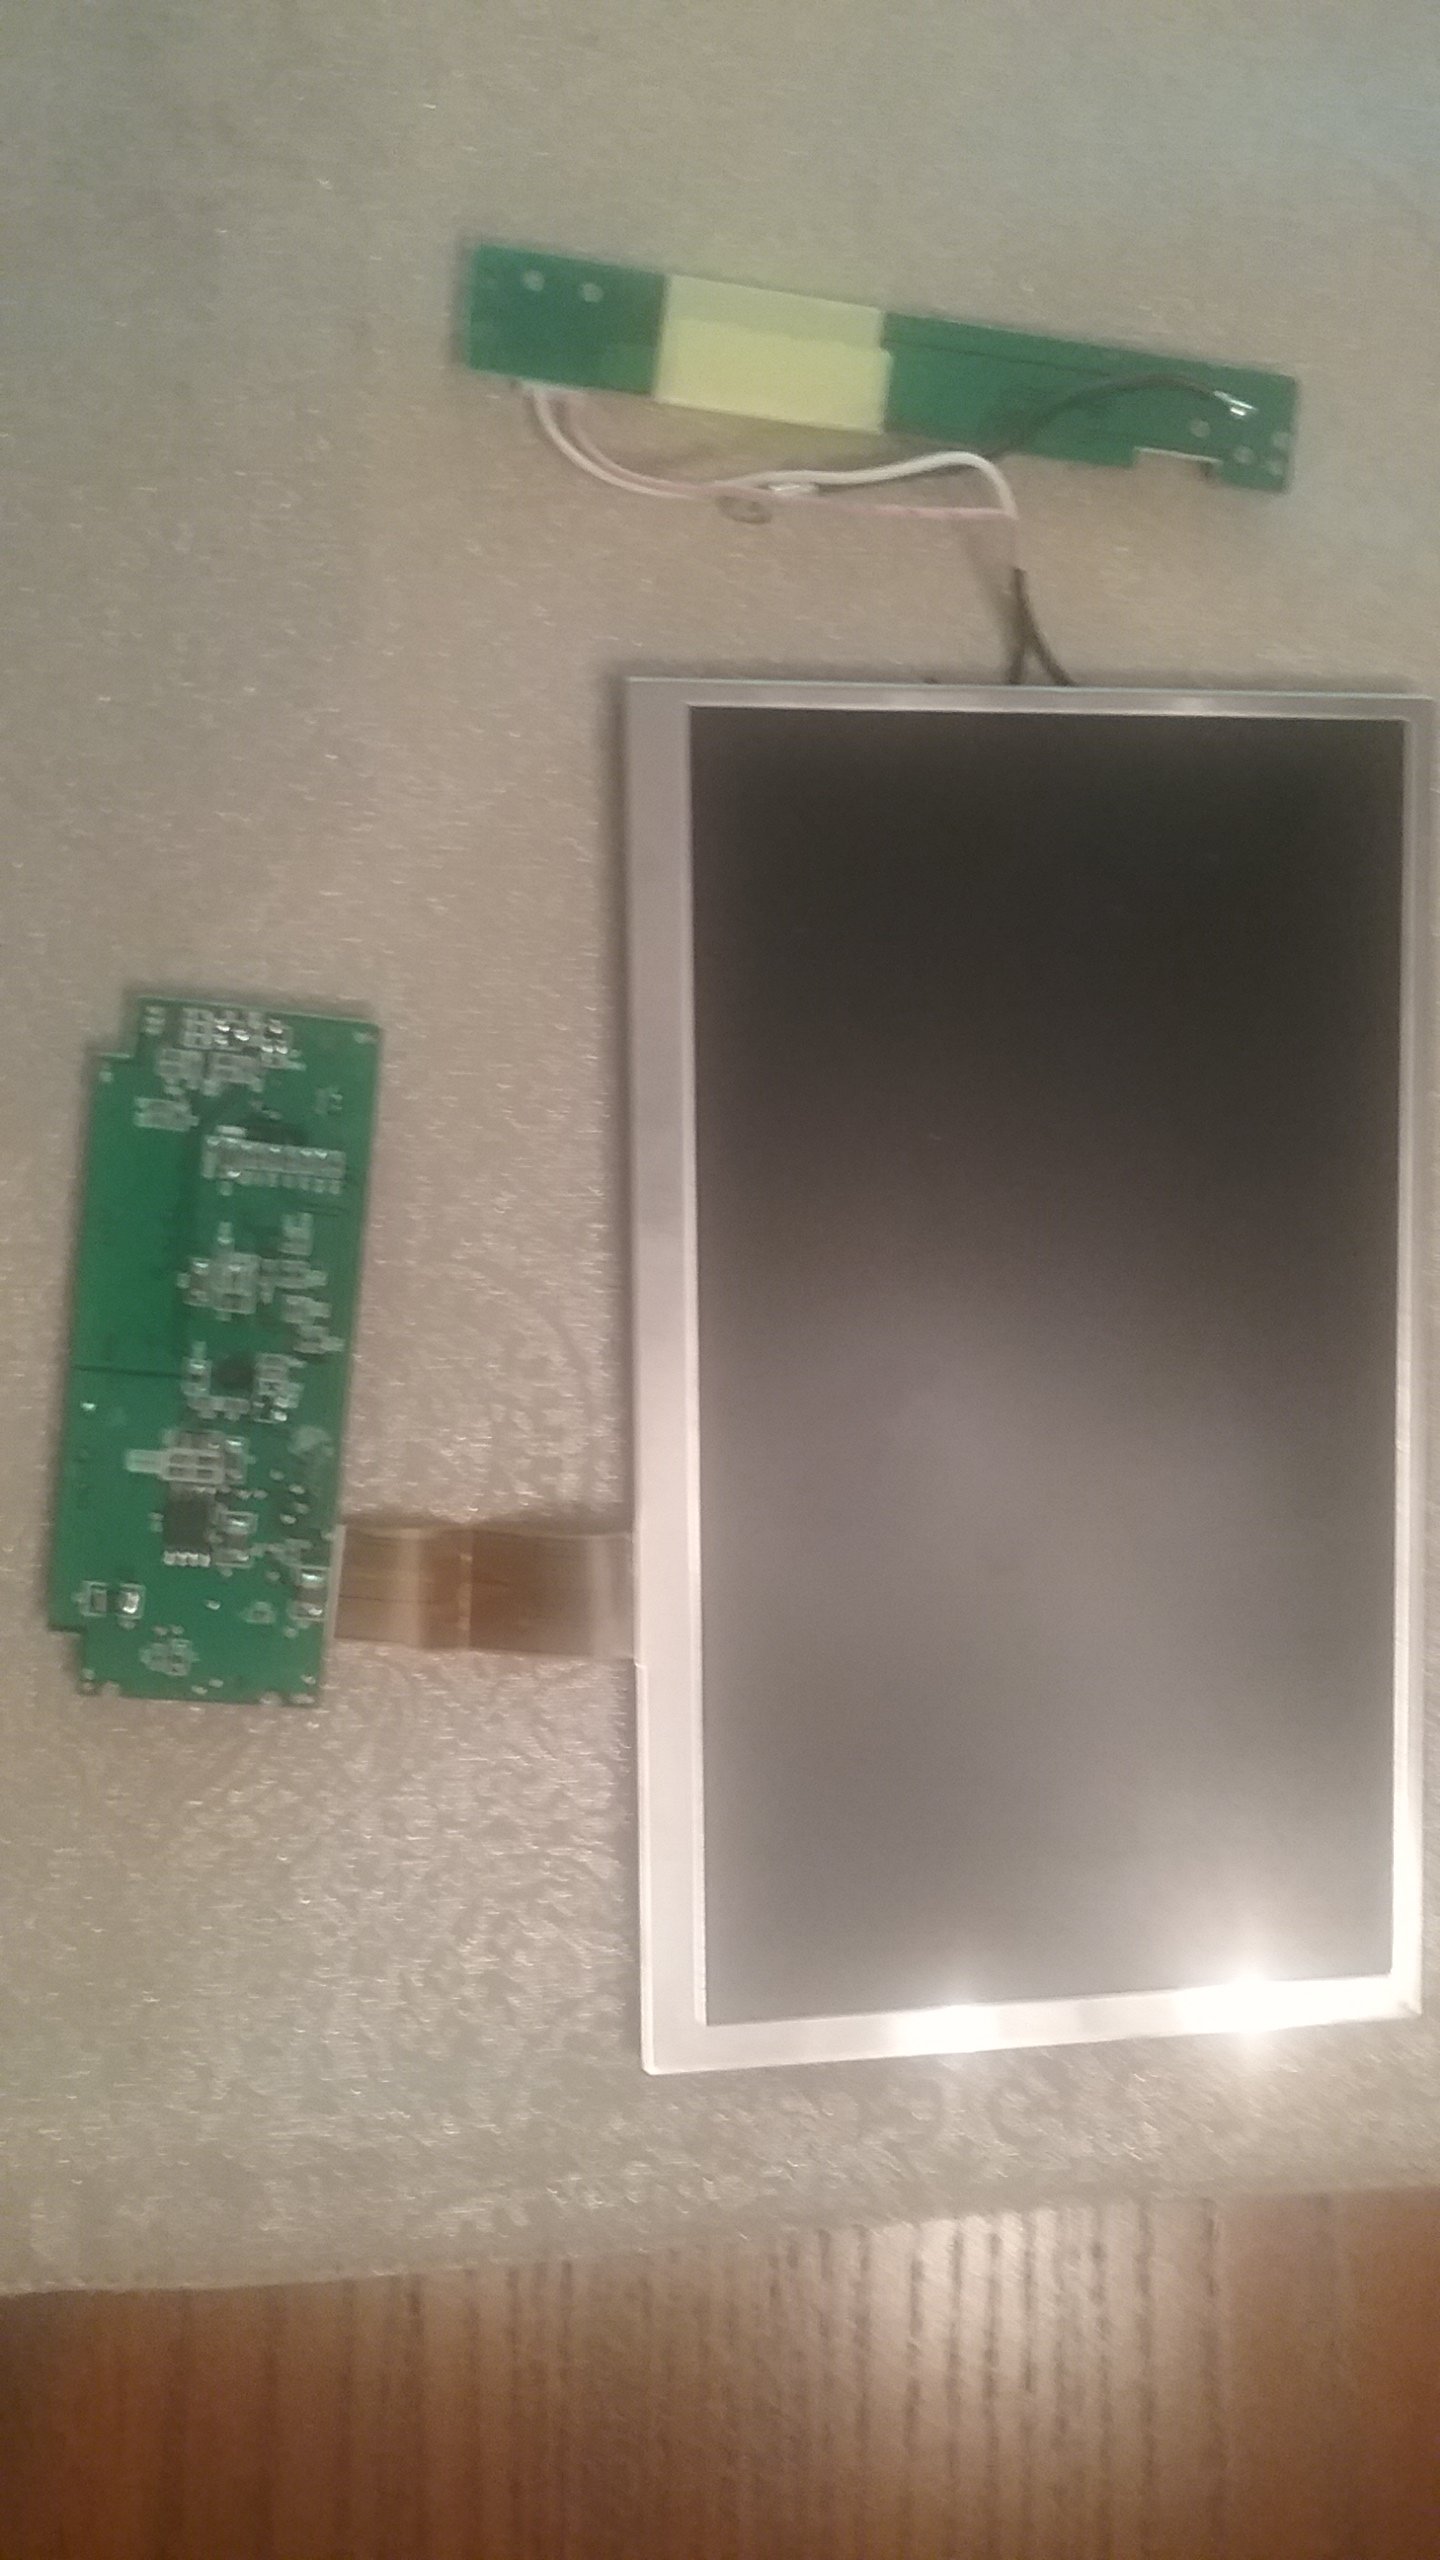
2.Astar PD-3020 portable dvd player for 7" screen and speakers
3. Case will be decided by poll.
4. GC+ board for controls
5. A bunch of different tact switches to connect to GC+
6. Battery able so supply 12v.
7. PortabalizeMii
Here are some pictures of the parts I have collected so far. Pardon my bad phone camera.

Here are a couple links for a battery. Do u guys have any suggestions?
http://m.ebay.com/itm/Portable-12V-...3D141728974752&_trksid=p2056116.c100408.m2460
http://m.ebay.com/itm/141728974752?_trksid=p2385738.m2548.l4275&_mwBanner=1
http://alexnld.com/product/dc-12v-1...rTzBU8Clx2twVhE1Jo4FH0nIcTKrYMOVGcaApTq8P8HAQ
Wish me luck as I start my journey.
Materials:
1. 1 untrimmed 6 layer Wii
2.Astar PD-3020 portable dvd player for 7" screen and speakers
3. Case will be decided by poll.
4. GC+ board for controls
5. A bunch of different tact switches to connect to GC+
6. Battery able so supply 12v.
7. PortabalizeMii
Here are some pictures of the parts I have collected so far. Pardon my bad phone camera.
Here are a couple links for a battery. Do u guys have any suggestions?
http://m.ebay.com/itm/Portable-12V-...3D141728974752&_trksid=p2056116.c100408.m2460
http://m.ebay.com/itm/141728974752?_trksid=p2385738.m2548.l4275&_mwBanner=1
http://alexnld.com/product/dc-12v-1...rTzBU8Clx2twVhE1Jo4FH0nIcTKrYMOVGcaApTq8P8HAQ
Wish me luck as I start my journey.
") they are likely garbage.
they are likely garbage.