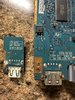
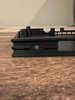
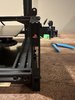
I ended up using an identical motherboard; same color of PS2 and everything. I ended up needing to do exactly what Wesk said. I attached one of the legs of the tact to the ground point right here. You'll need to be mindful of the screw post that is there and ensure none of the solder obstructs it, we're talking a very small blob of solder here, just enough to make the connection. After that, just bend the leg of the tact switch and solder it directly.
View attachment 29384
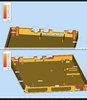
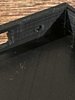
After that, I'd recommend securing the back end with some hot glue like I did:
View attachment 29385
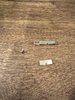
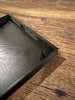
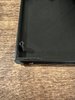
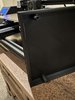
When you mount it into the case, you will notice that nothing sits under the tact to keep you from slowly pressing it down each time you power cycle the console. I just filled in the blank space with hot glue:
View attachment 29387
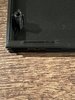
The amount I used to fill it in in this picture actually ended up being too much and I had to re-do it, but that should give you the right idea. Just make sure you don't obstruct the screw post with any of the hot glue or solder. I was really rather careful when distributing the hot glue around the screw post on mine, but despite this I ended up having to remove some of it.
Hopefully this helps!