- Joined
- Apr 19, 2021
- Messages
- 7
- Likes
- 6
As mentioned in the project thread, I've edited Wesk's files to use a cheap Arduino Micro SD module rather than chopping up an SD Micro to full sized adapter. I've had bad experiences with those in the past so I wanted to avoid them completely. What these are more durable, there is one setback- the module doesn't have an ACK connection so wiring up a switch would have to be done differently. For my build, this is fine because I wired up an internal Nyko memory card and don't plan on using the ports ever. So I also made some dummy memory card placeholders. Also, please note that the memory card placeholder was intended to be a semi-permanent solution in my build. It's not intended to be inserted and removed easily. You'll most likely have to open up your case in order to remove it once plugged in.

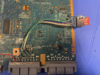
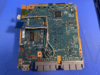
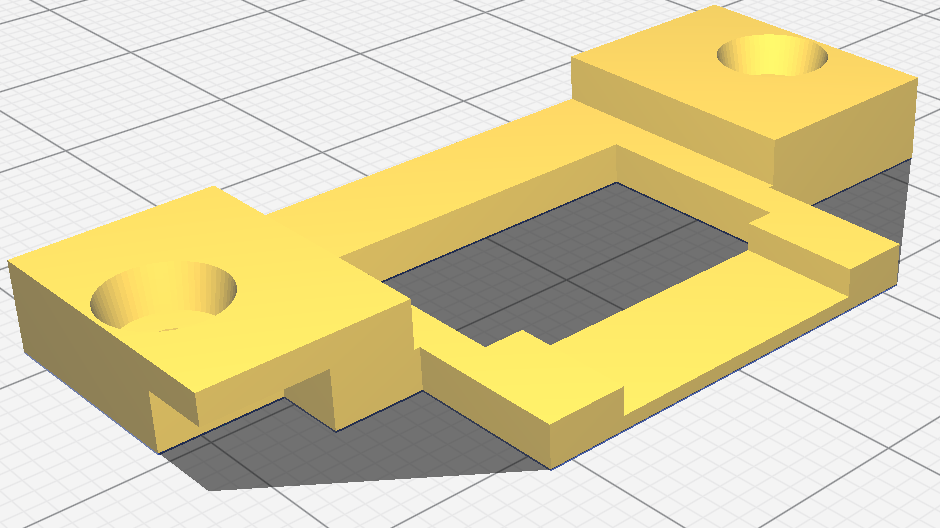
Now, my board was a SCPH-79001, so it was basically the same other than the lid detection switch was actually part of the power button board. The reset line was the same to get function from the board but that portion of the board was missing completely. So I created a simple spacer in order to place a tactile switch such as this one with a 5-8mm pole in the center of the same location.
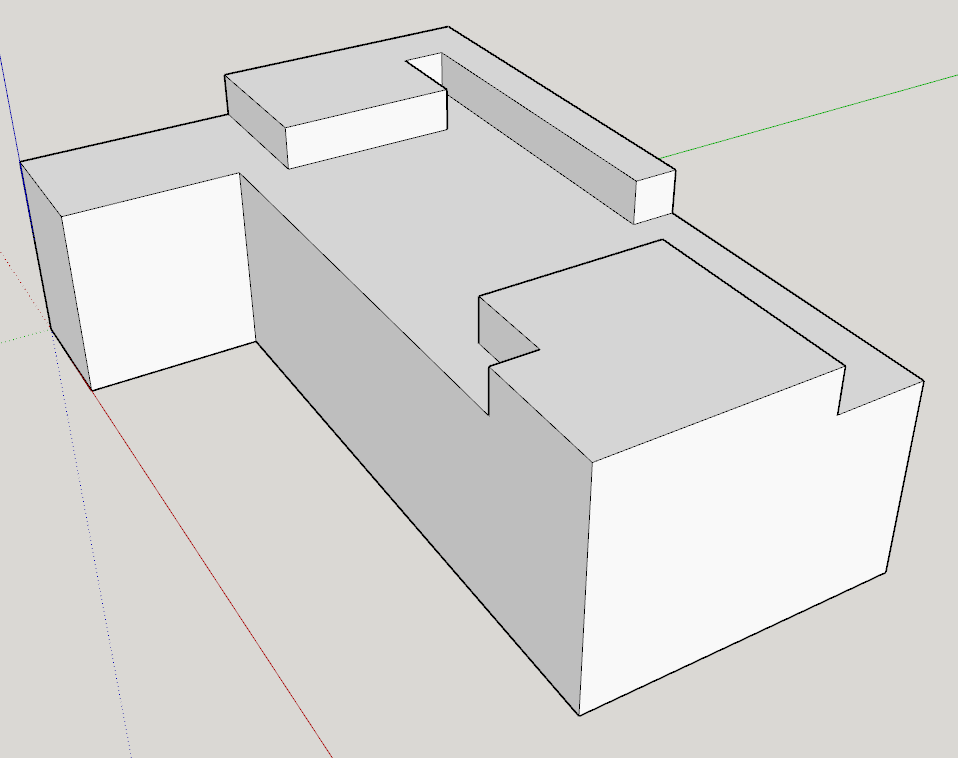
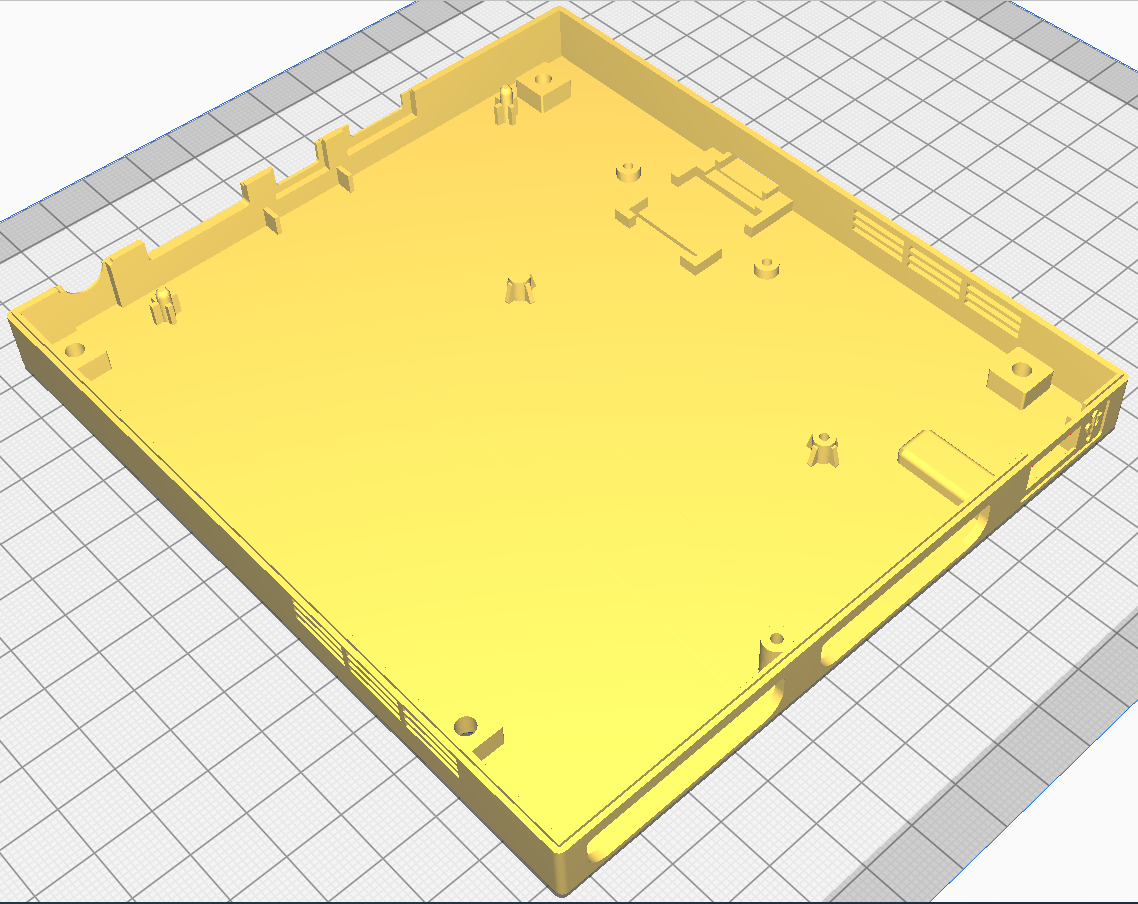
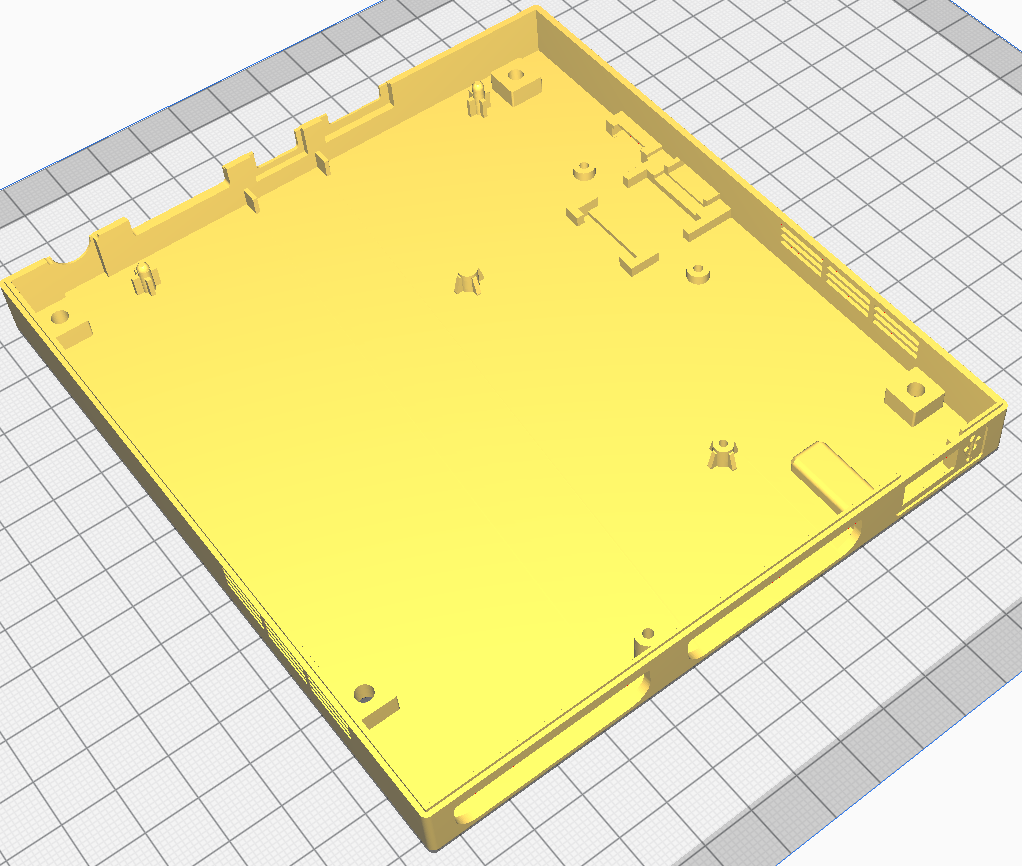
As for the case, I've remixed two different versions. One with the hole for the intended memory card switch by the original author and one without.
And so, the Micro SD card slot cover:
Hopefully this is useful for someone.
EDIT: Added a version for the Adafruit Module. There is a bottom for the footprint, a version for with or without the switch and the SD Cover for that version all in one zip. The top is the same for all of the other versions and whatnot.
Now, my board was a SCPH-79001, so it was basically the same other than the lid detection switch was actually part of the power button board. The reset line was the same to get function from the board but that portion of the board was missing completely. So I created a simple spacer in order to place a tactile switch such as this one with a 5-8mm pole in the center of the same location.
As for the case, I've remixed two different versions. One with the hole for the intended memory card switch by the original author and one without.
And so, the Micro SD card slot cover:
Hopefully this is useful for someone.
EDIT: Added a version for the Adafruit Module. There is a bottom for the footprint, a version for with or without the switch and the SD Cover for that version all in one zip. The top is the same for all of the other versions and whatnot.
Attachments
-
48.8 KB Views: 80
-
292.7 KB Views: 67
-
299.3 KB Views: 74
-
47.9 KB Views: 76
-
931 bytes Views: 76
-
765 KB Views: 58
Last edited: