PS2 Ultra Slim

As expected the name brand ElectronAnalog worked Flawlessly and after a few internal adjustment I have put together my second one. I'll fix the ps2 Logo later. That being said I hope anyone who plans to order from AliExpress make a separate order directly through ElectronShepard
1000072951.webp
1000072949.webp
 
@DGVaniX
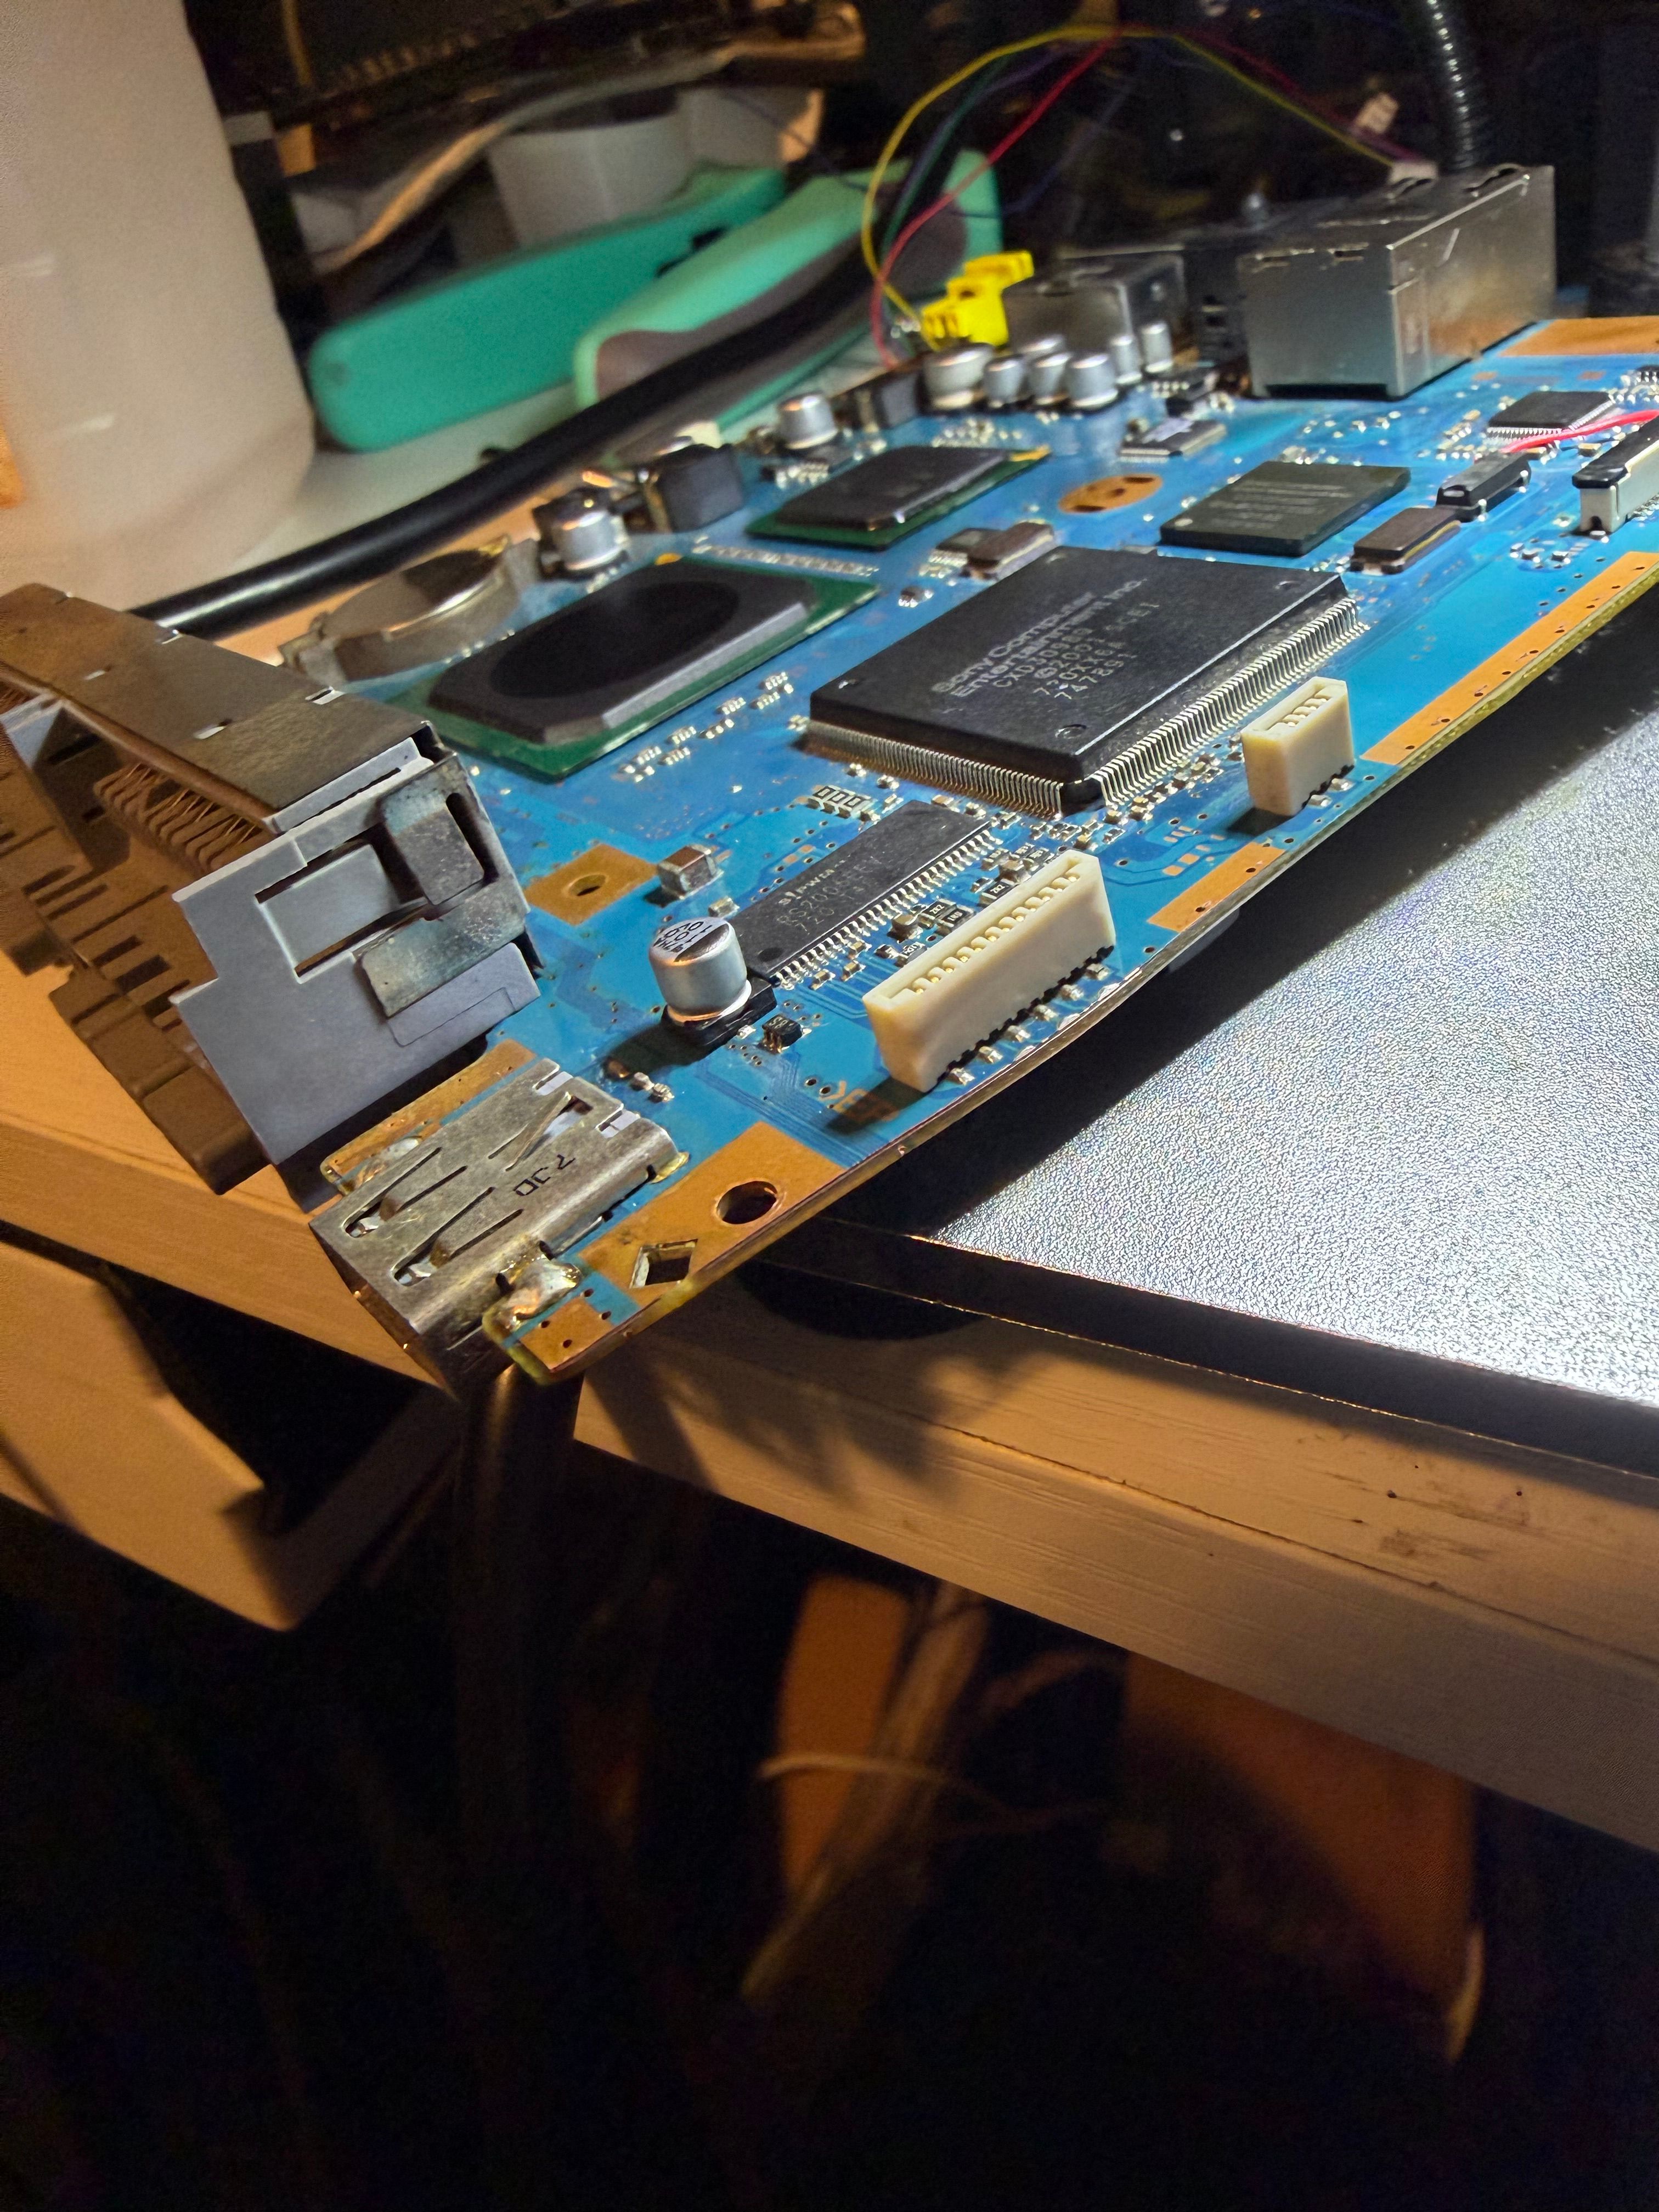
I’ll drop this here for now, since I include this mod in a lot of my Ultra Slim builds—but if we continue we should probably go to a different thread as we may get into some details of just the BlueRetro.

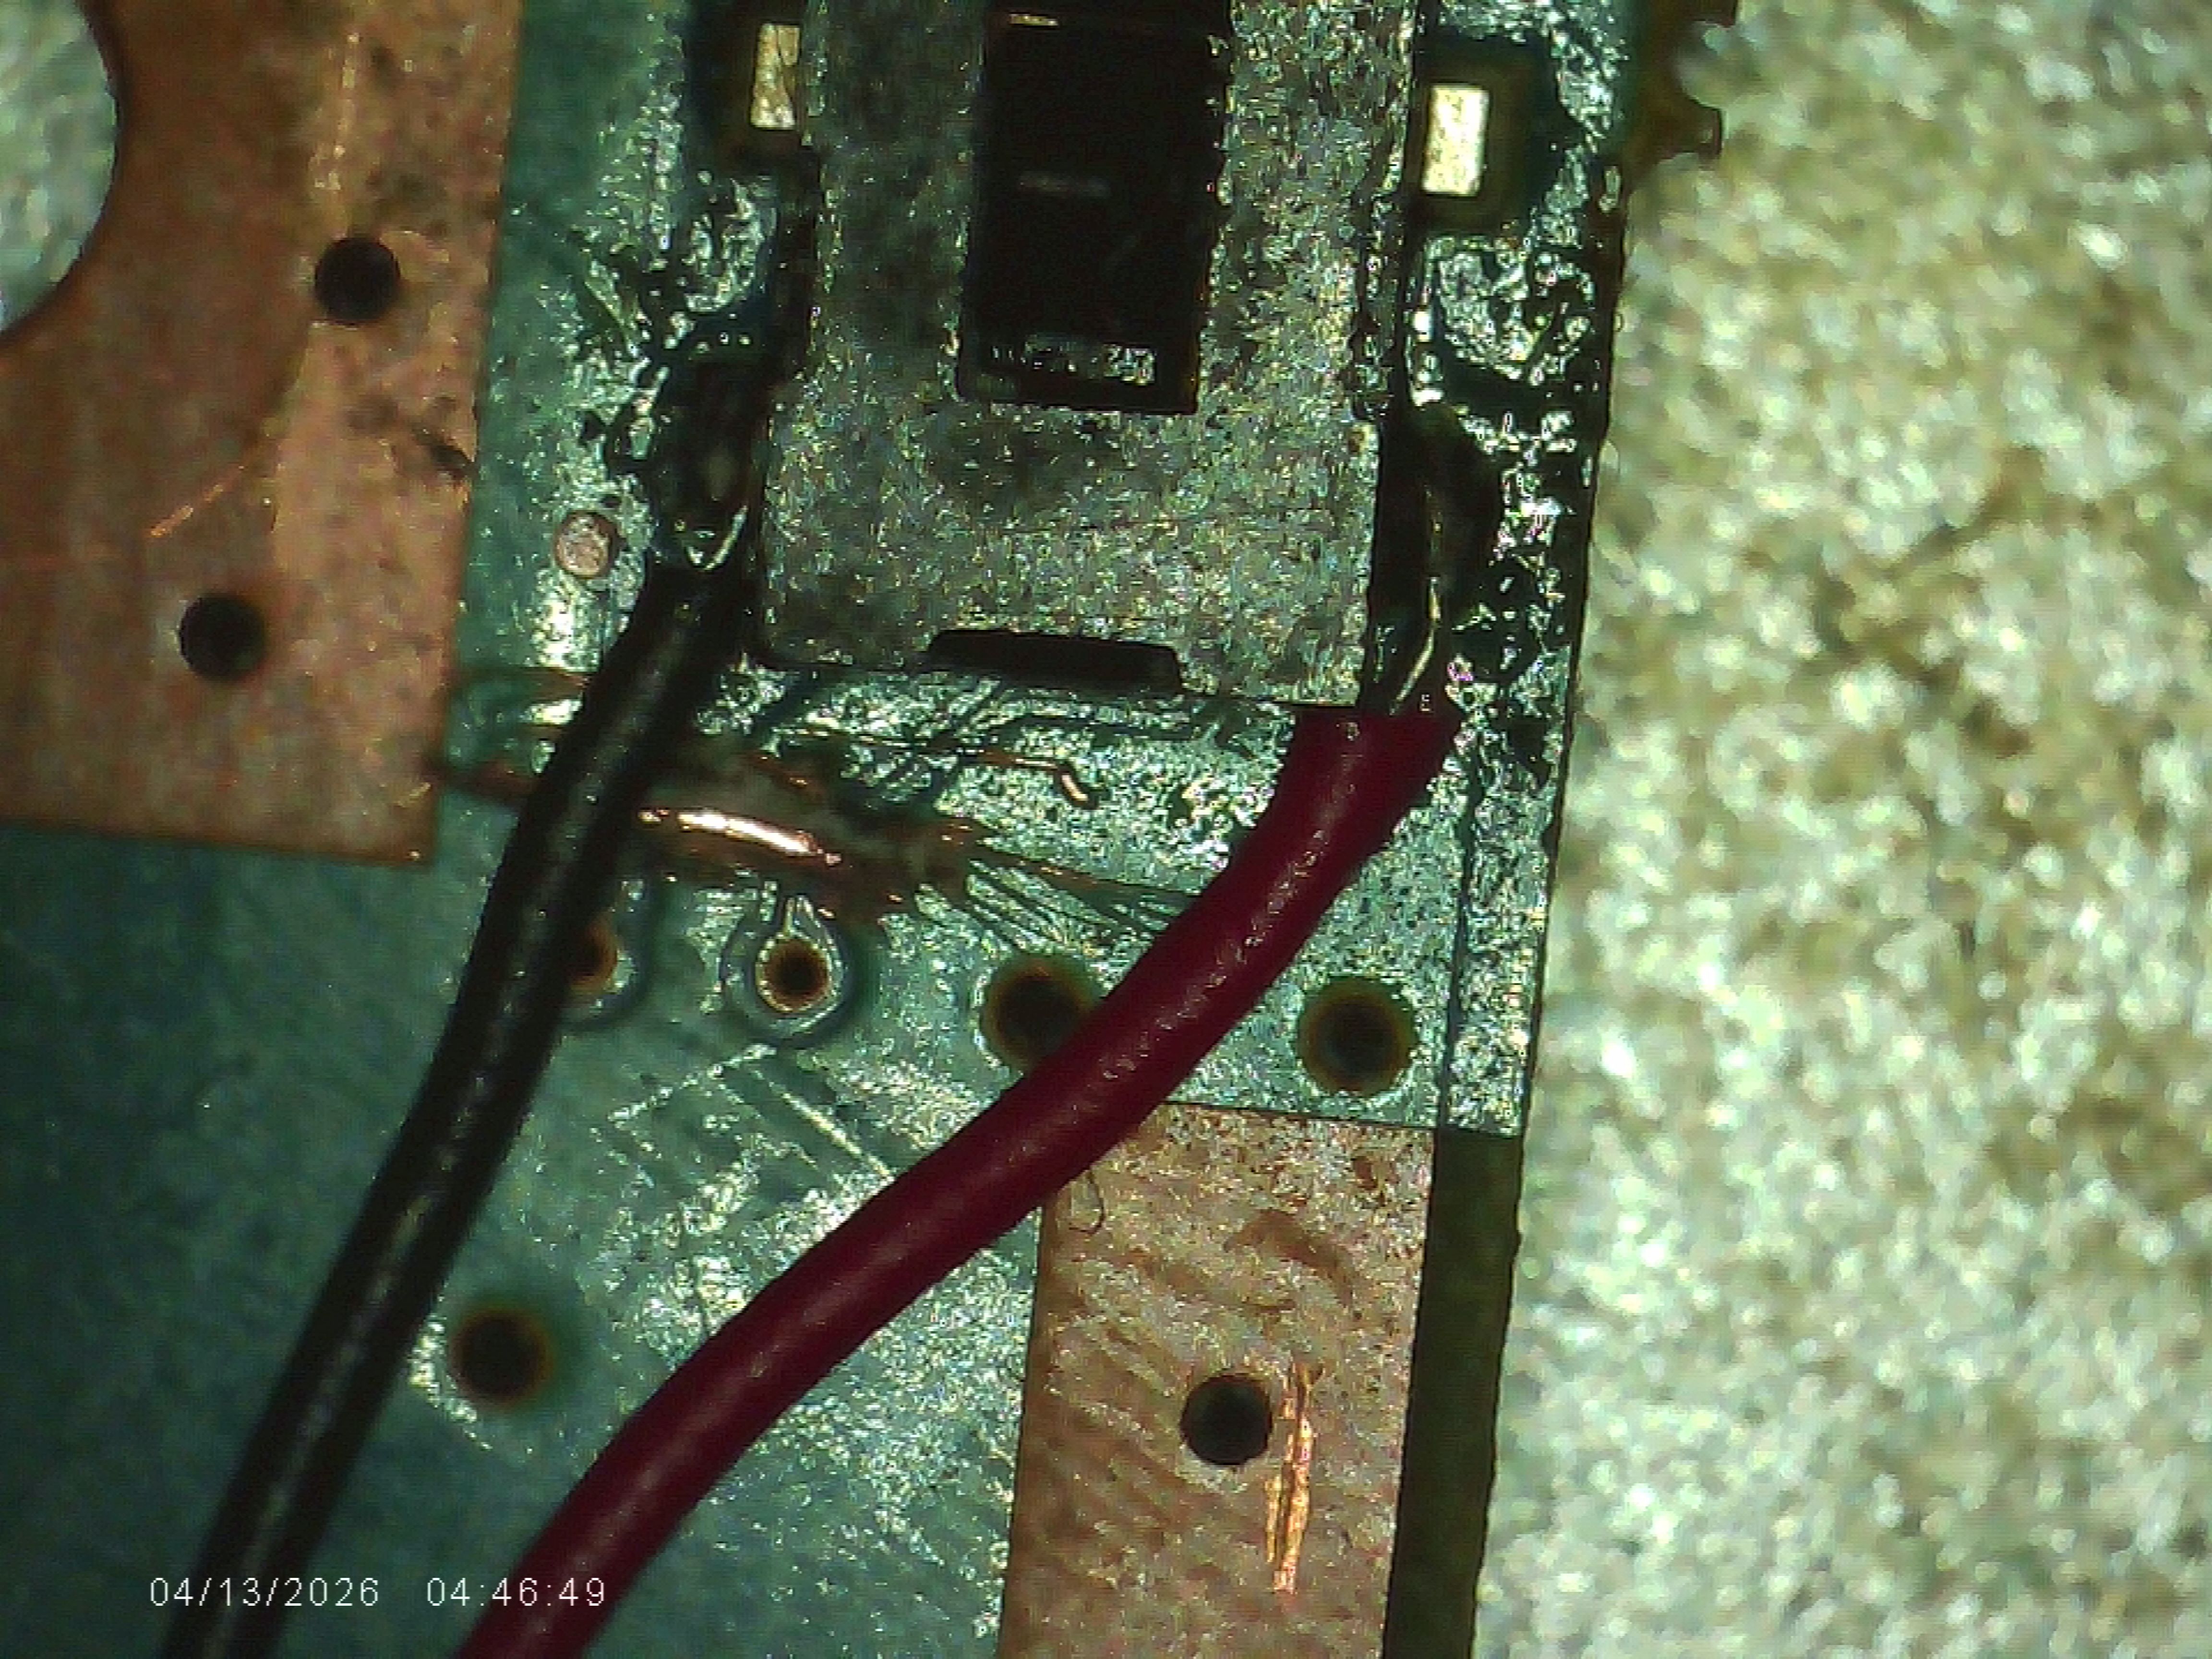
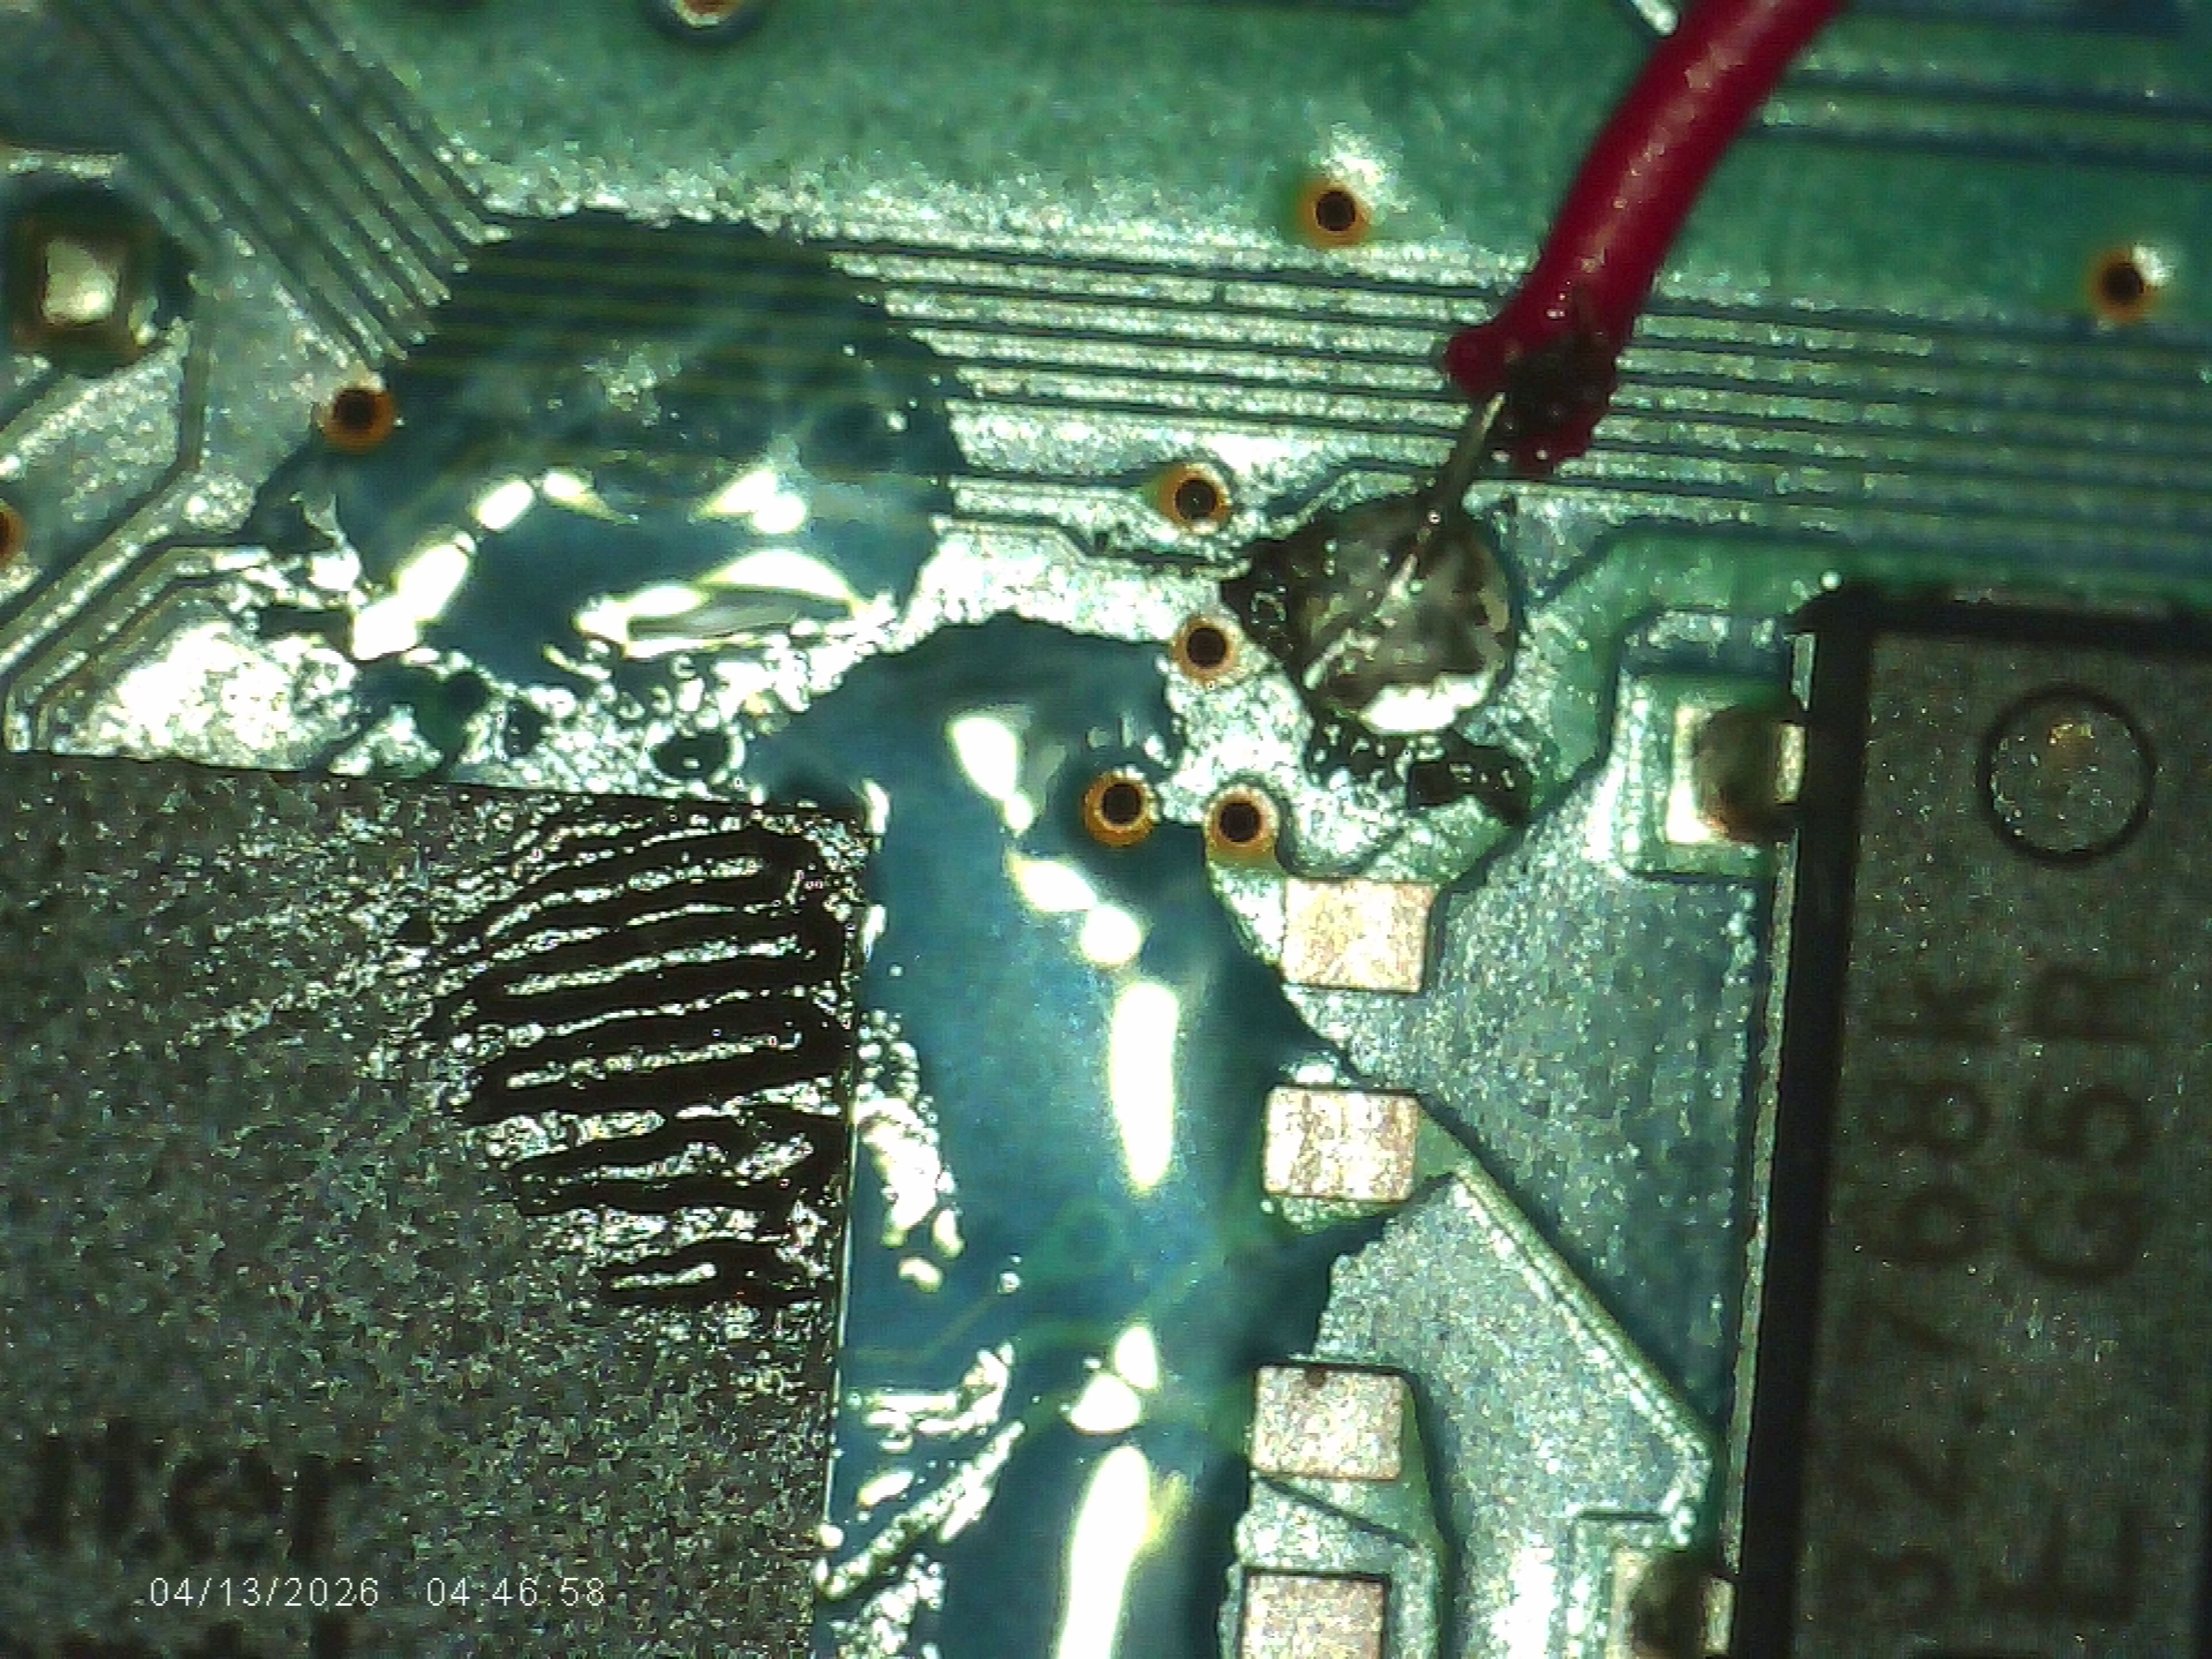
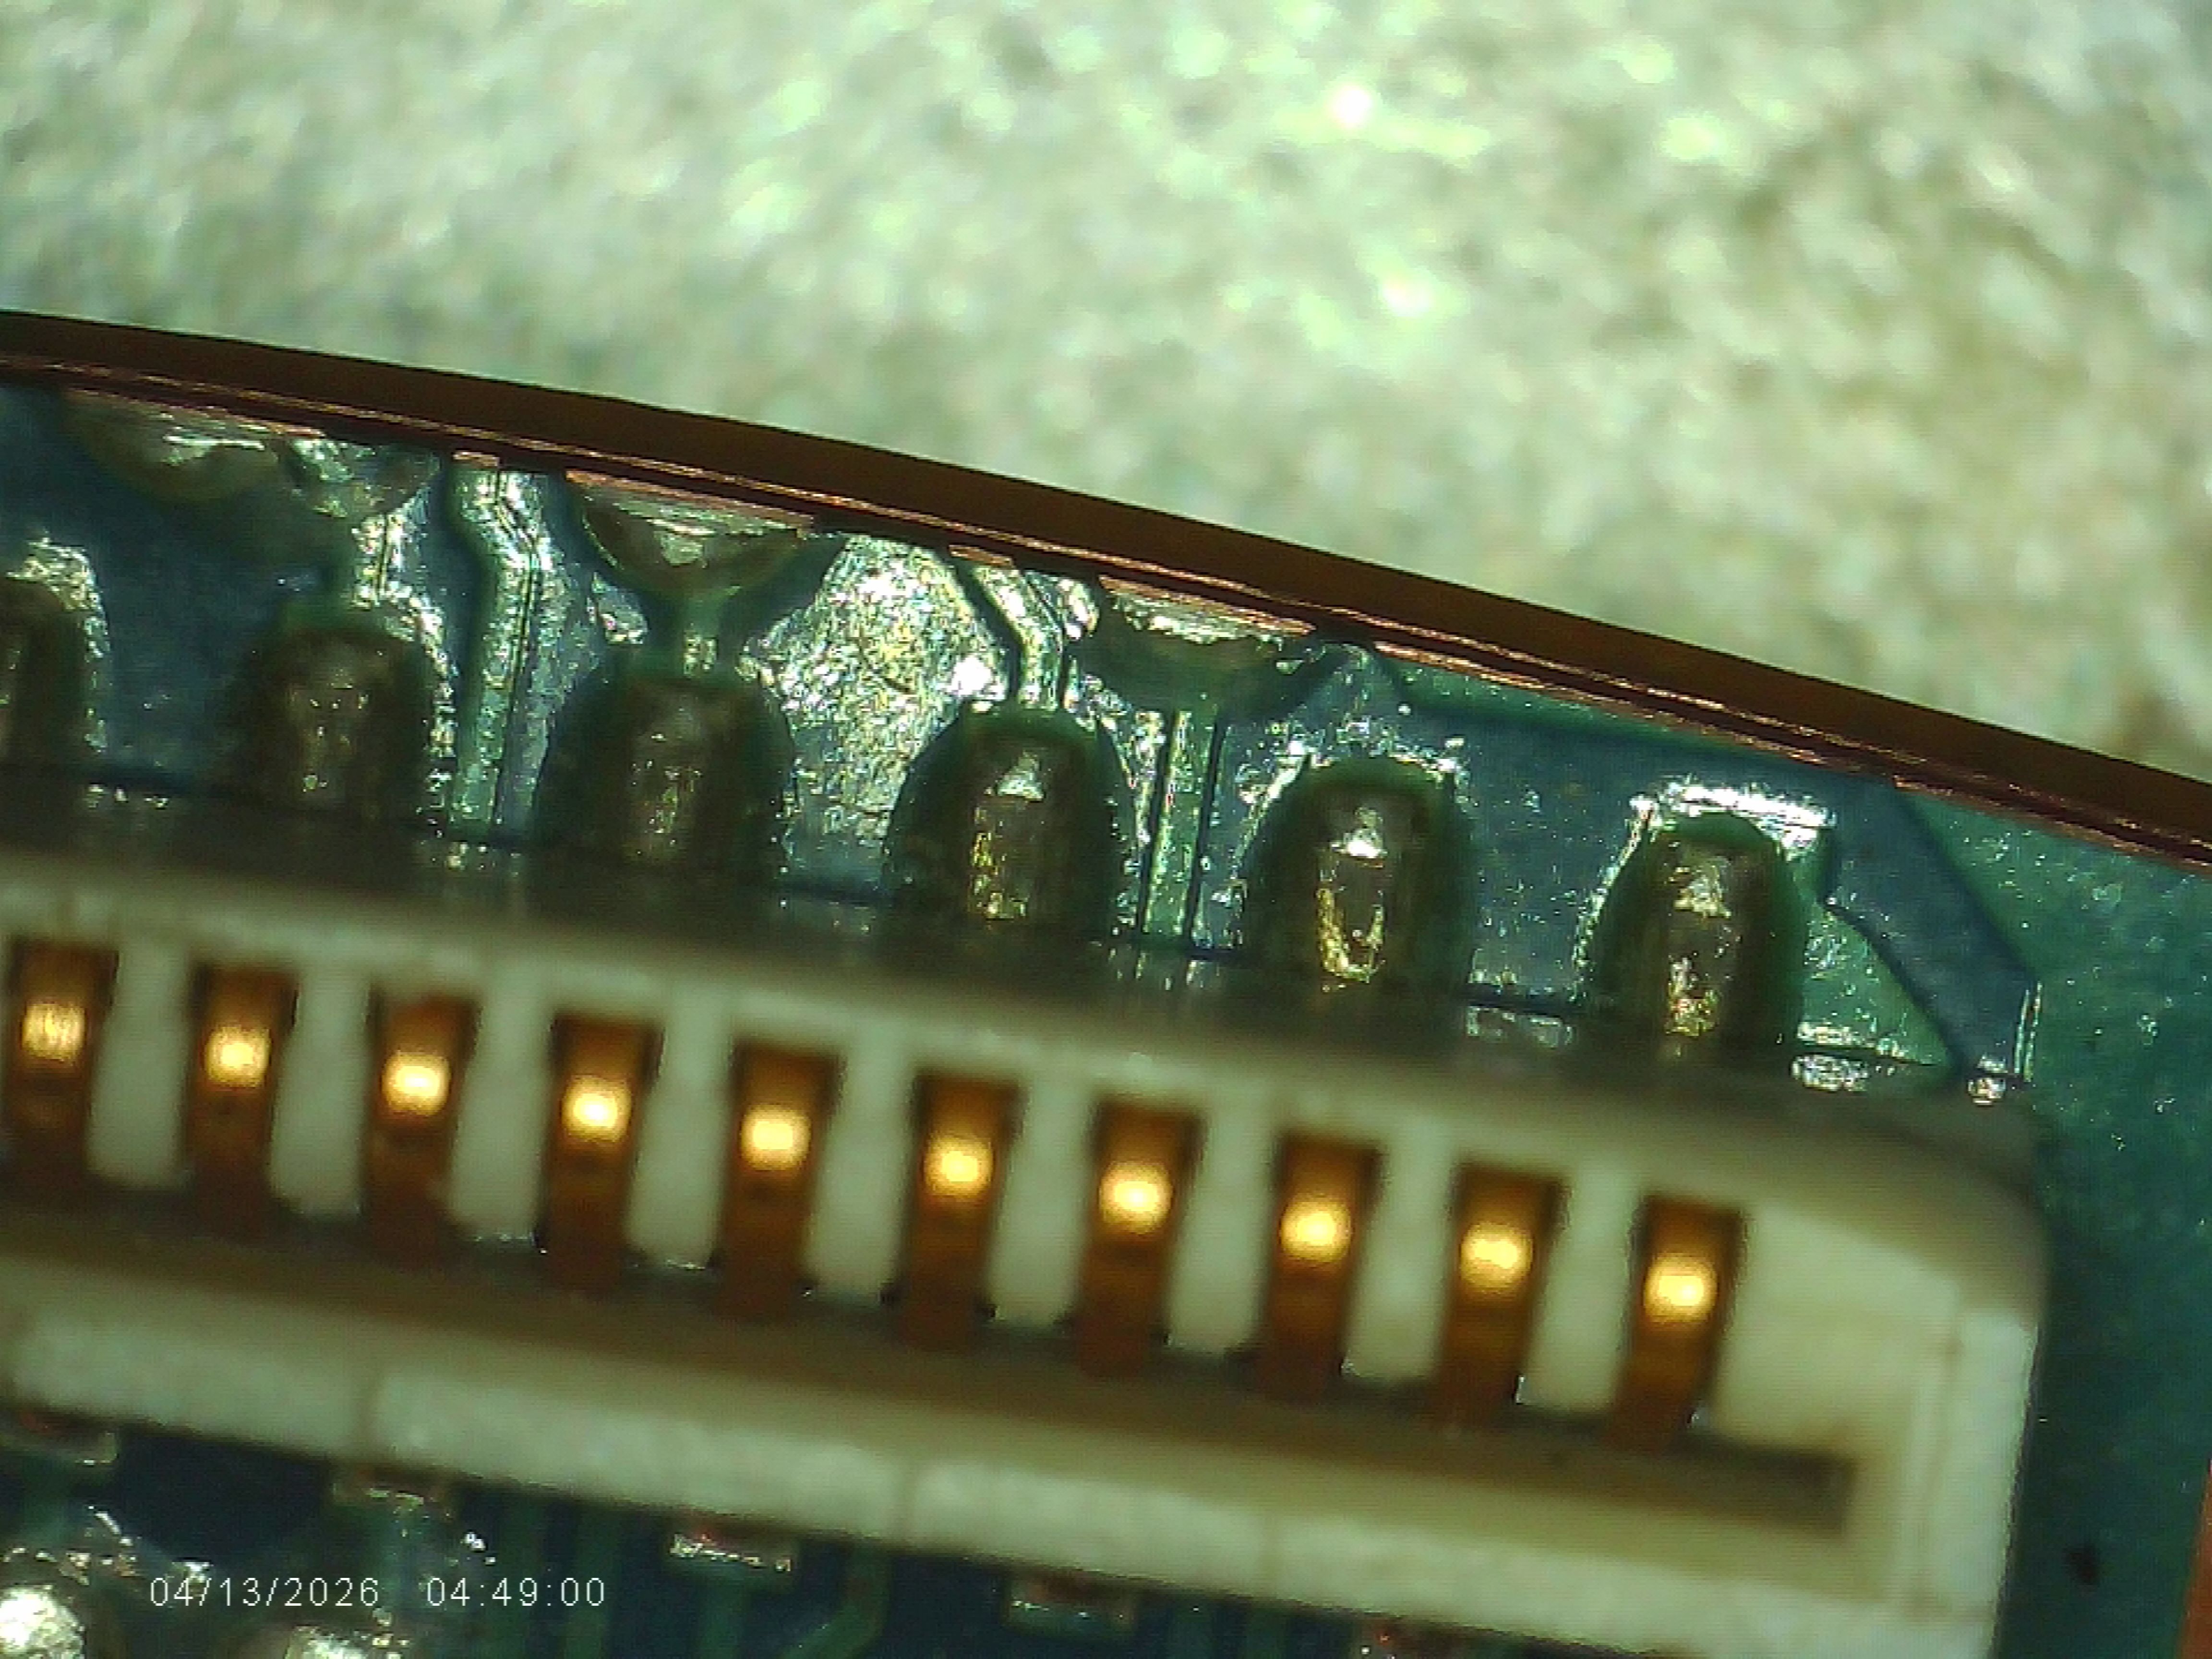
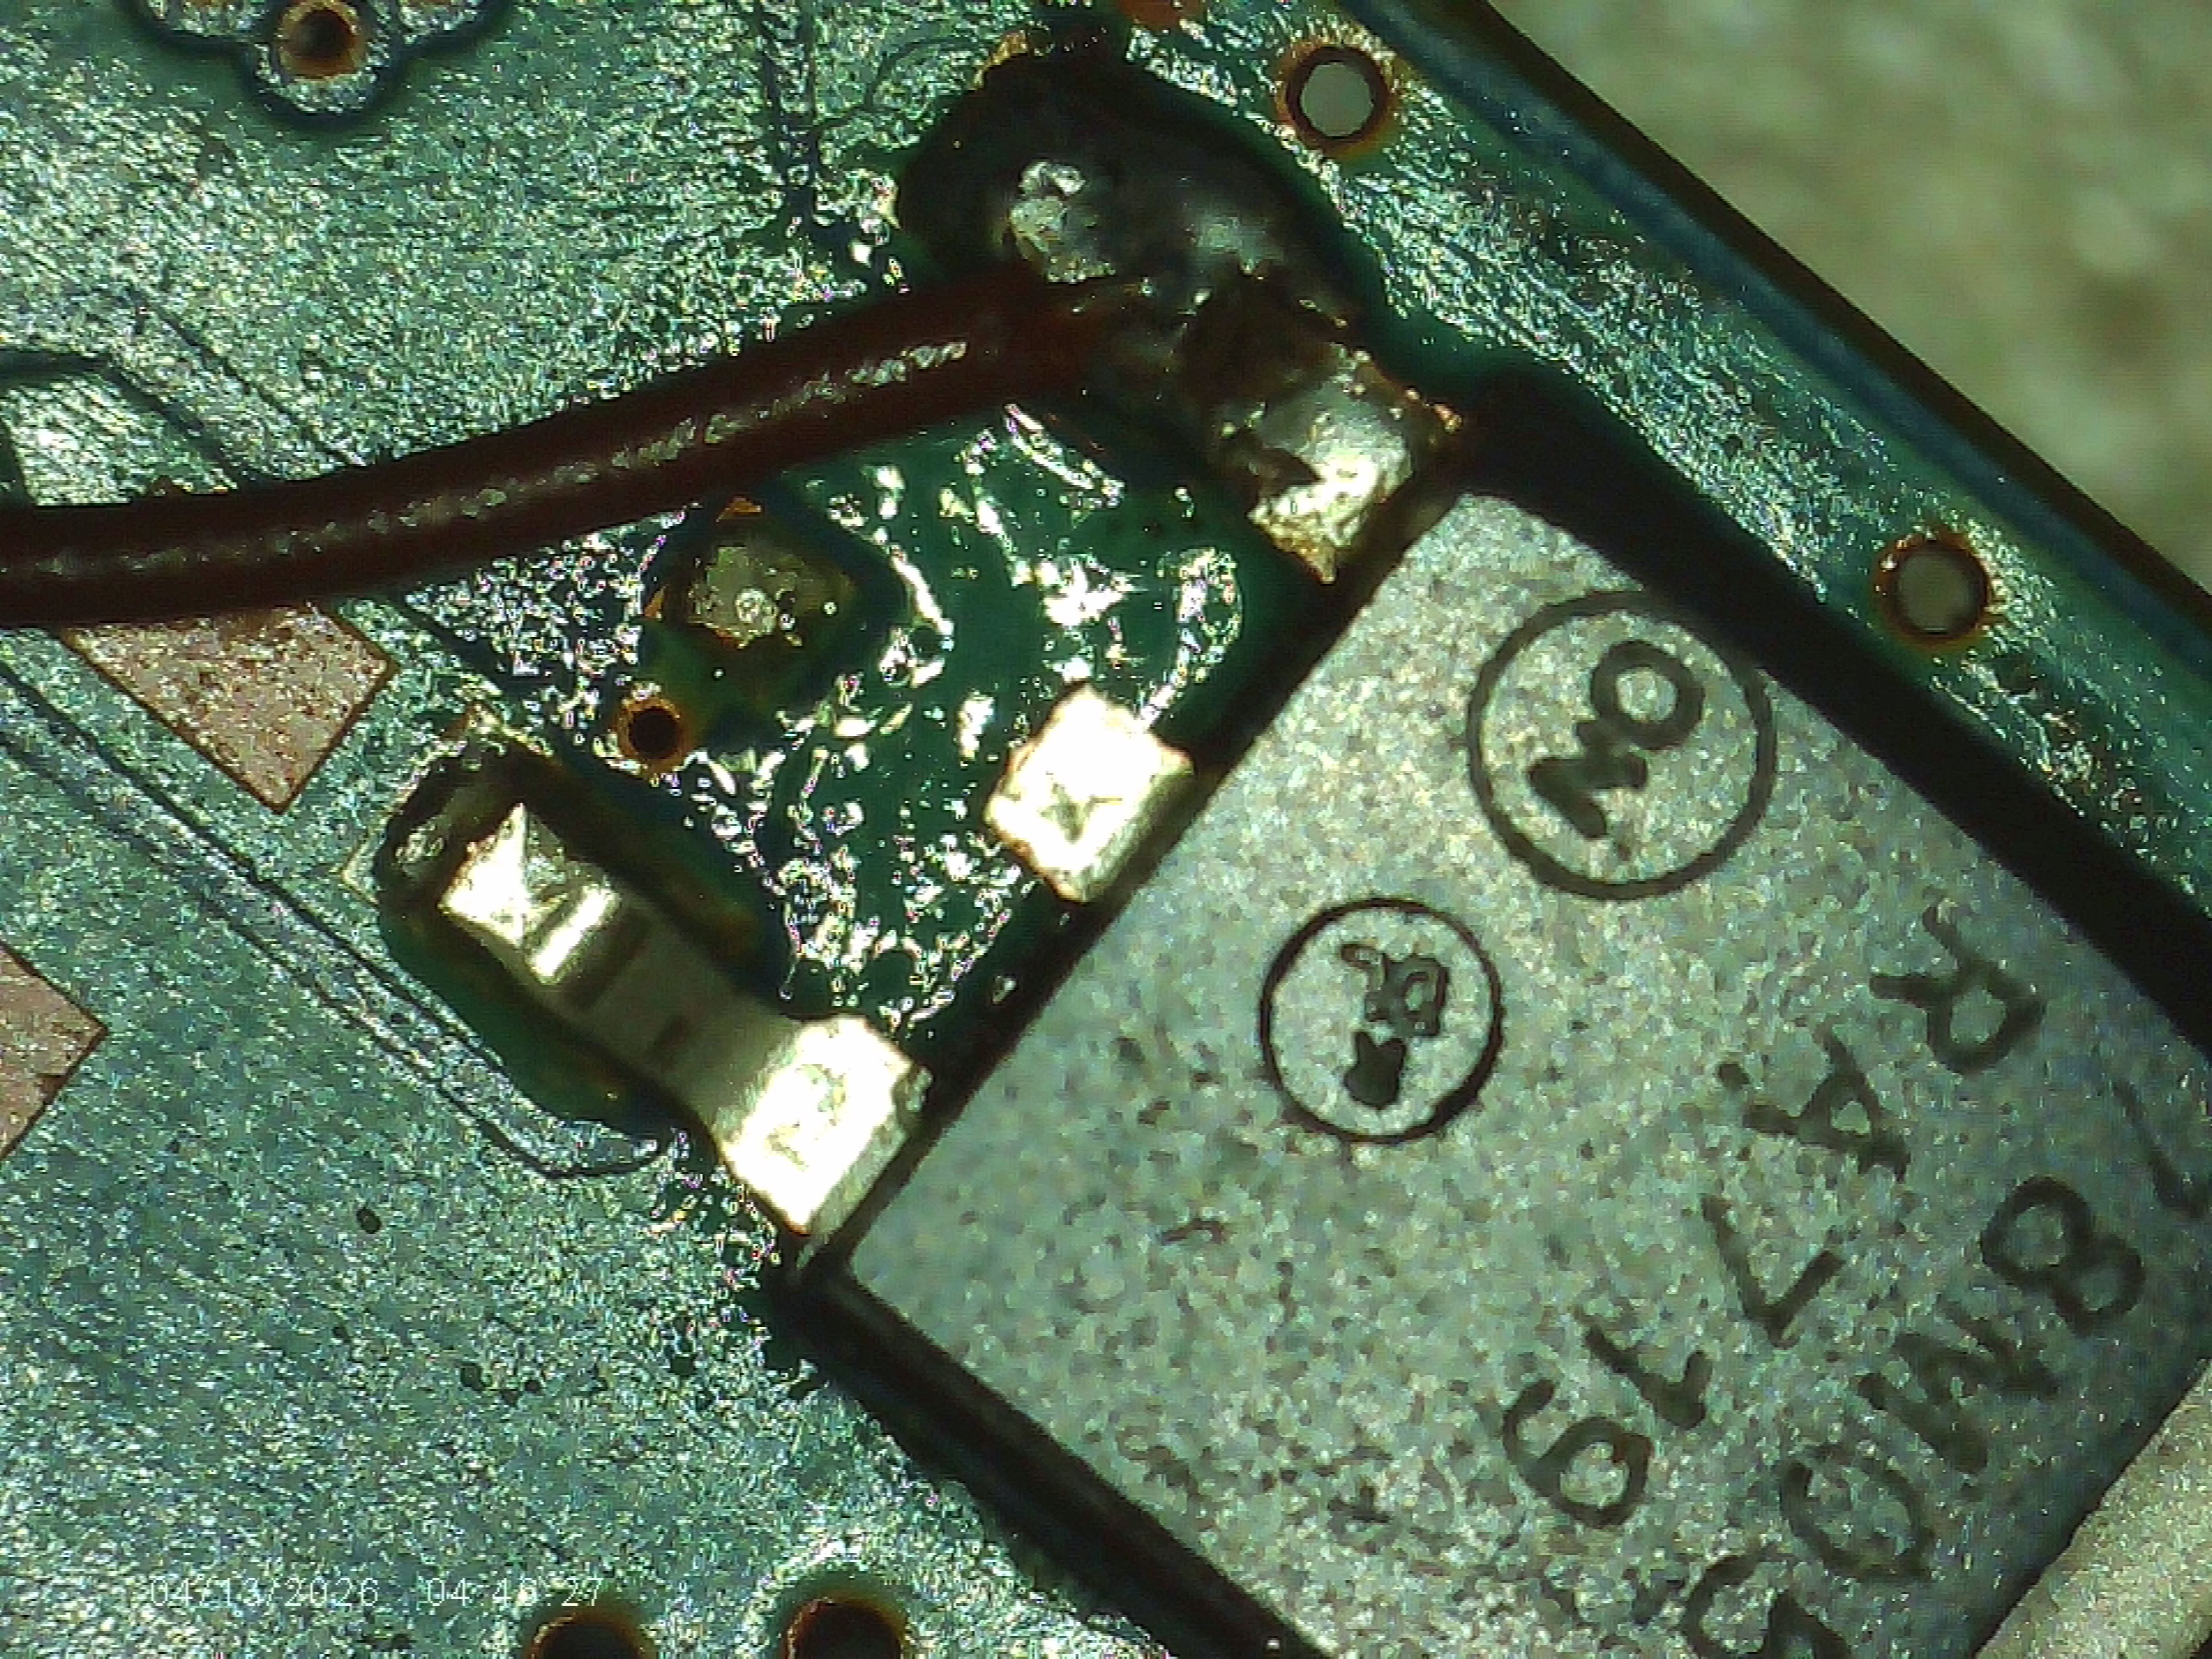
This isn’t the same as simply soldering in a BlueRetro Core. This is the internal BlueRetro HW2 "enhanced" install, which allows you to power on, power off, and reset the console using a Bluetooth controller. It functions exactly the same as Gusse's "Methylene" so exact, it uses the Methylene FW.

I've been working on a tutorial for the fat and slims—it’s not quite finished, but for now, it lives in a thread over on the "PS2 Scene" Discord (highly recommend joining if you haven’t already).

Below is a screenshot of the BOM (in a diagram form) to help you get started. I originally set out to follow Darthcloud’s HW2 internal BlueRetro install, but I ended up creating what I jokingly call a “poor man’s Methylene”—or the “Ali-thylene.” To be clear, my intent was never to reverse-engineer Gusse’s work—just to build the internal HW2 install. However, I found myself naturally converging with elements of Gusse’s design as I progressed.

I’ve since reached out to Gusse and received his permission to write a tutorial on this DIY version. He was completely supportive. Honestly, this might convince some folks to just buy the Methylene, because it really does save time and avoids a lot of potential headaches.

That said, this DIY method is cheaper—but it’s a lot more work. Still, it was a rewarding challenge, and I learned a ton from the process.


Please remember to support and credit Darthcloud and Gusse—they’ve both contributed amazing work to the scene.


View attachment 38543View attachment 38544
Just finished an internal hw2 mod on an scph 70012 with the help of your documentation. Many thanks. For others interested in completing the mod, I found the hardest part to be isolating the controller detect pin
 
Need the download for the sd card holder piece so I can have it printed also, or is this a piece I can salvage from a donor console?
 
After stumbling across this project i decided to give it a go. The only modding i have done before was installing pico chips into switches so this is new to me. i sourced a donor console on ebay and tested it when received and it powered on and output video as expected, i followed along with the youtube video and after cutting and sanding the board, soldering the 5v line back to the usb chip, and wiring up the reset switch, i am no longer getting video output. Has anyone else experienced this? or can offer some guidance? i have checked all fuses and looked at the trimming guide to check voltages and everything looks good.
 
After stumbling across this project i decided to give it a go. The only modding i have done before was installing pico chips into switches so this is new to me. i sourced a donor console on ebay and tested it when received and it powered on and output video as expected, i followed along with the youtube video and after cutting and sanding the board, soldering the 5v line back to the usb chip, and wiring up the reset switch, i am no longer getting video output. Has anyone else experienced this? or can offer some guidance? i have checked all fuses and looked at the trimming guide to check voltages and everything looks good.
Got pics?
 
Trying to upload them, i know i read not to use image hosting sites but i cant seem to find an option to post them directly

8sgW3YqZrO.jpg
P6ERdjdLTl.jpg
Z1UbM5E9AX.jpg
ppDcTBtdLx.jpg
GaNQQFIPp7.jpg
csCYhFfp_o.jpg
CqMi7XC7sJ.jpg
NR0qhTfeiw.jpeg
Try disconnecting the 5v to the USB just to rule that out. Nothing else that you've done is likely to impact the console booting.
 
Ah, ok—because it’s both sound and audio, and it seems like its booting, I have a feeling it’s voltage-related.


What’s going on in this picture? What is the board being powered by?
2026-04-14_09h27_57.webp
 
Last edited:
Ah, ok—because it’s both sound and audio, and it seems like its booting, I have a feeling it’s voltage-related.


What’s going on in this picture? What is the board being powered by?
View attachment 42368
I’ll have to pull up the trimming guide and check voltages again. But in that picture it’s not being powered. That’s just some excess wire on my desk. I power it with a regular ps2 slim power cord.
 
went through and rechecked, according to the trimming guide all voltage is present where needed
Are you checking with your display still connected? So there is a load on your A/V circuit.

A common cause of A/V related issues is a resistor array to have a bad resistor(s) (open) or even one or more of the ferrite beads might be cracked (open) connection but they would not affect both sound and audio. In my experience to not have both sound and audio ive found a short somewhere. f I remember right, the 5v for the a/v was on a voltage divider. So its important to measure with the display still connected to know you get a full 5v at the A/V port.
 
Last edited:
Are you checking with your display still connected? So there is a load on your A/V circuit.

A common cause of A/V related issues is a resistor array to have a bad resistor(s) (open) or even one or more of the ferrite beads might be cracked (open) connection but they would not affect both sound and audio. In my experience to not have both sound and audio ive found a short somewhere. f I remember right, the 5v for the a/v was on a voltage divider. So its important to measure with the display still connected to know you get a full 5v at the A/V port.
I was not measuring with the display connected, but with the display connected i am still seeing 5v in the display port.
 
Ok, any debris left over on the board? Very small, lodged in anywhere? I guess check all the resitor arrays, ferrite beads.
 
Back
Top