
Arzeon
.
- Joined
- Apr 6, 2018
- Messages
- 9
- Likes
- 18
- Portables
- 1
Hi there everyone. Nice to meet all of you!
I'm Arzeon! I'm completely new to this forum and any forum in general . At first I just roamed around on this forum without creating an account for my love of looking at Wii portables because they are like an unreachable dream to me since I never before this project held a soldering iron in my hands and was completely ignorant when it comes to tinkering. Well that changed since one month ago since I decided to make this project to "test the waters" and as a first step to getting familiar with building a portable. I felt it would be very fitting to post this project on this forum, as it is the very forum that inspired me to pickup this hobby. As you might have guessed by now I want to get into the portablizing scene, so i'll be counting on you guys
 ") .
.
Building this portable took me one month. I was being a bit ambitious but I think it payed off this time around. I've acquired some skills such as soldering, programming an ardruino/teensy using c language, frankencasing, spray painting and a little bit of 3d modelling (which I ended up not using in my project due to it being unprofessional).
The Emulation Boy features and specs include:
if you want to checkout the teensy 2 code and the internal wiring of the portable click here.
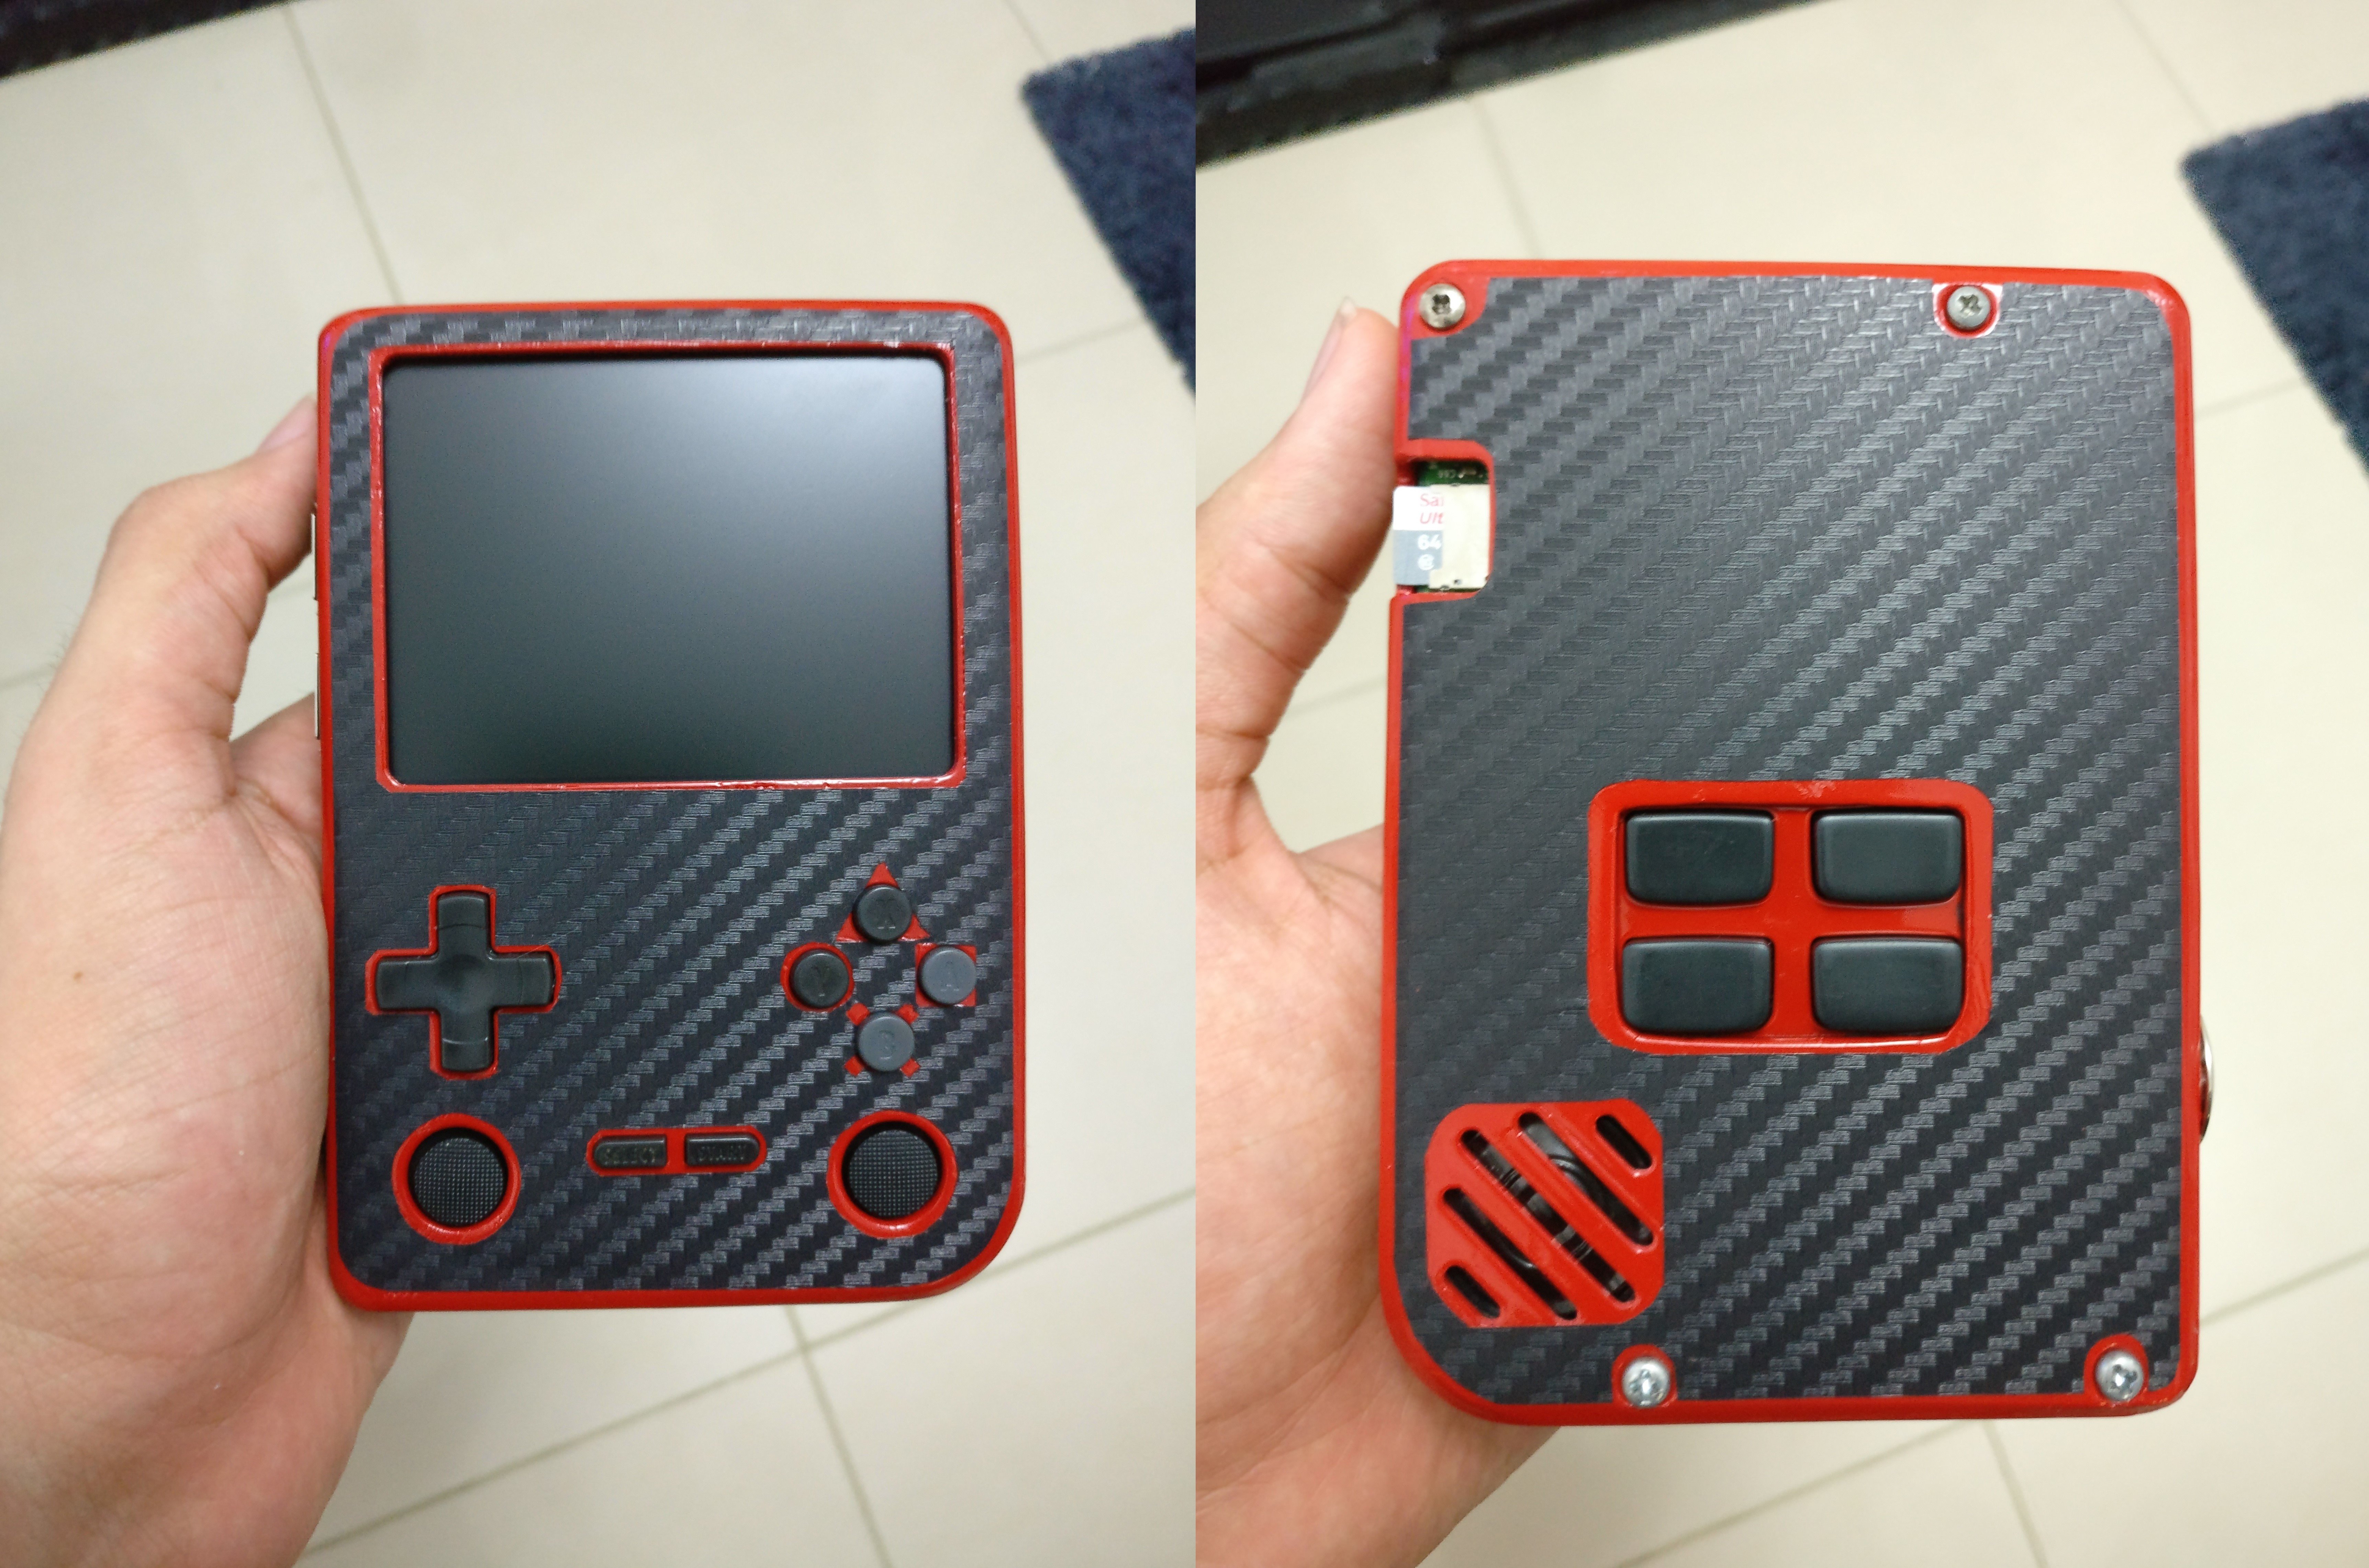
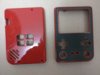
Here is the finished product!
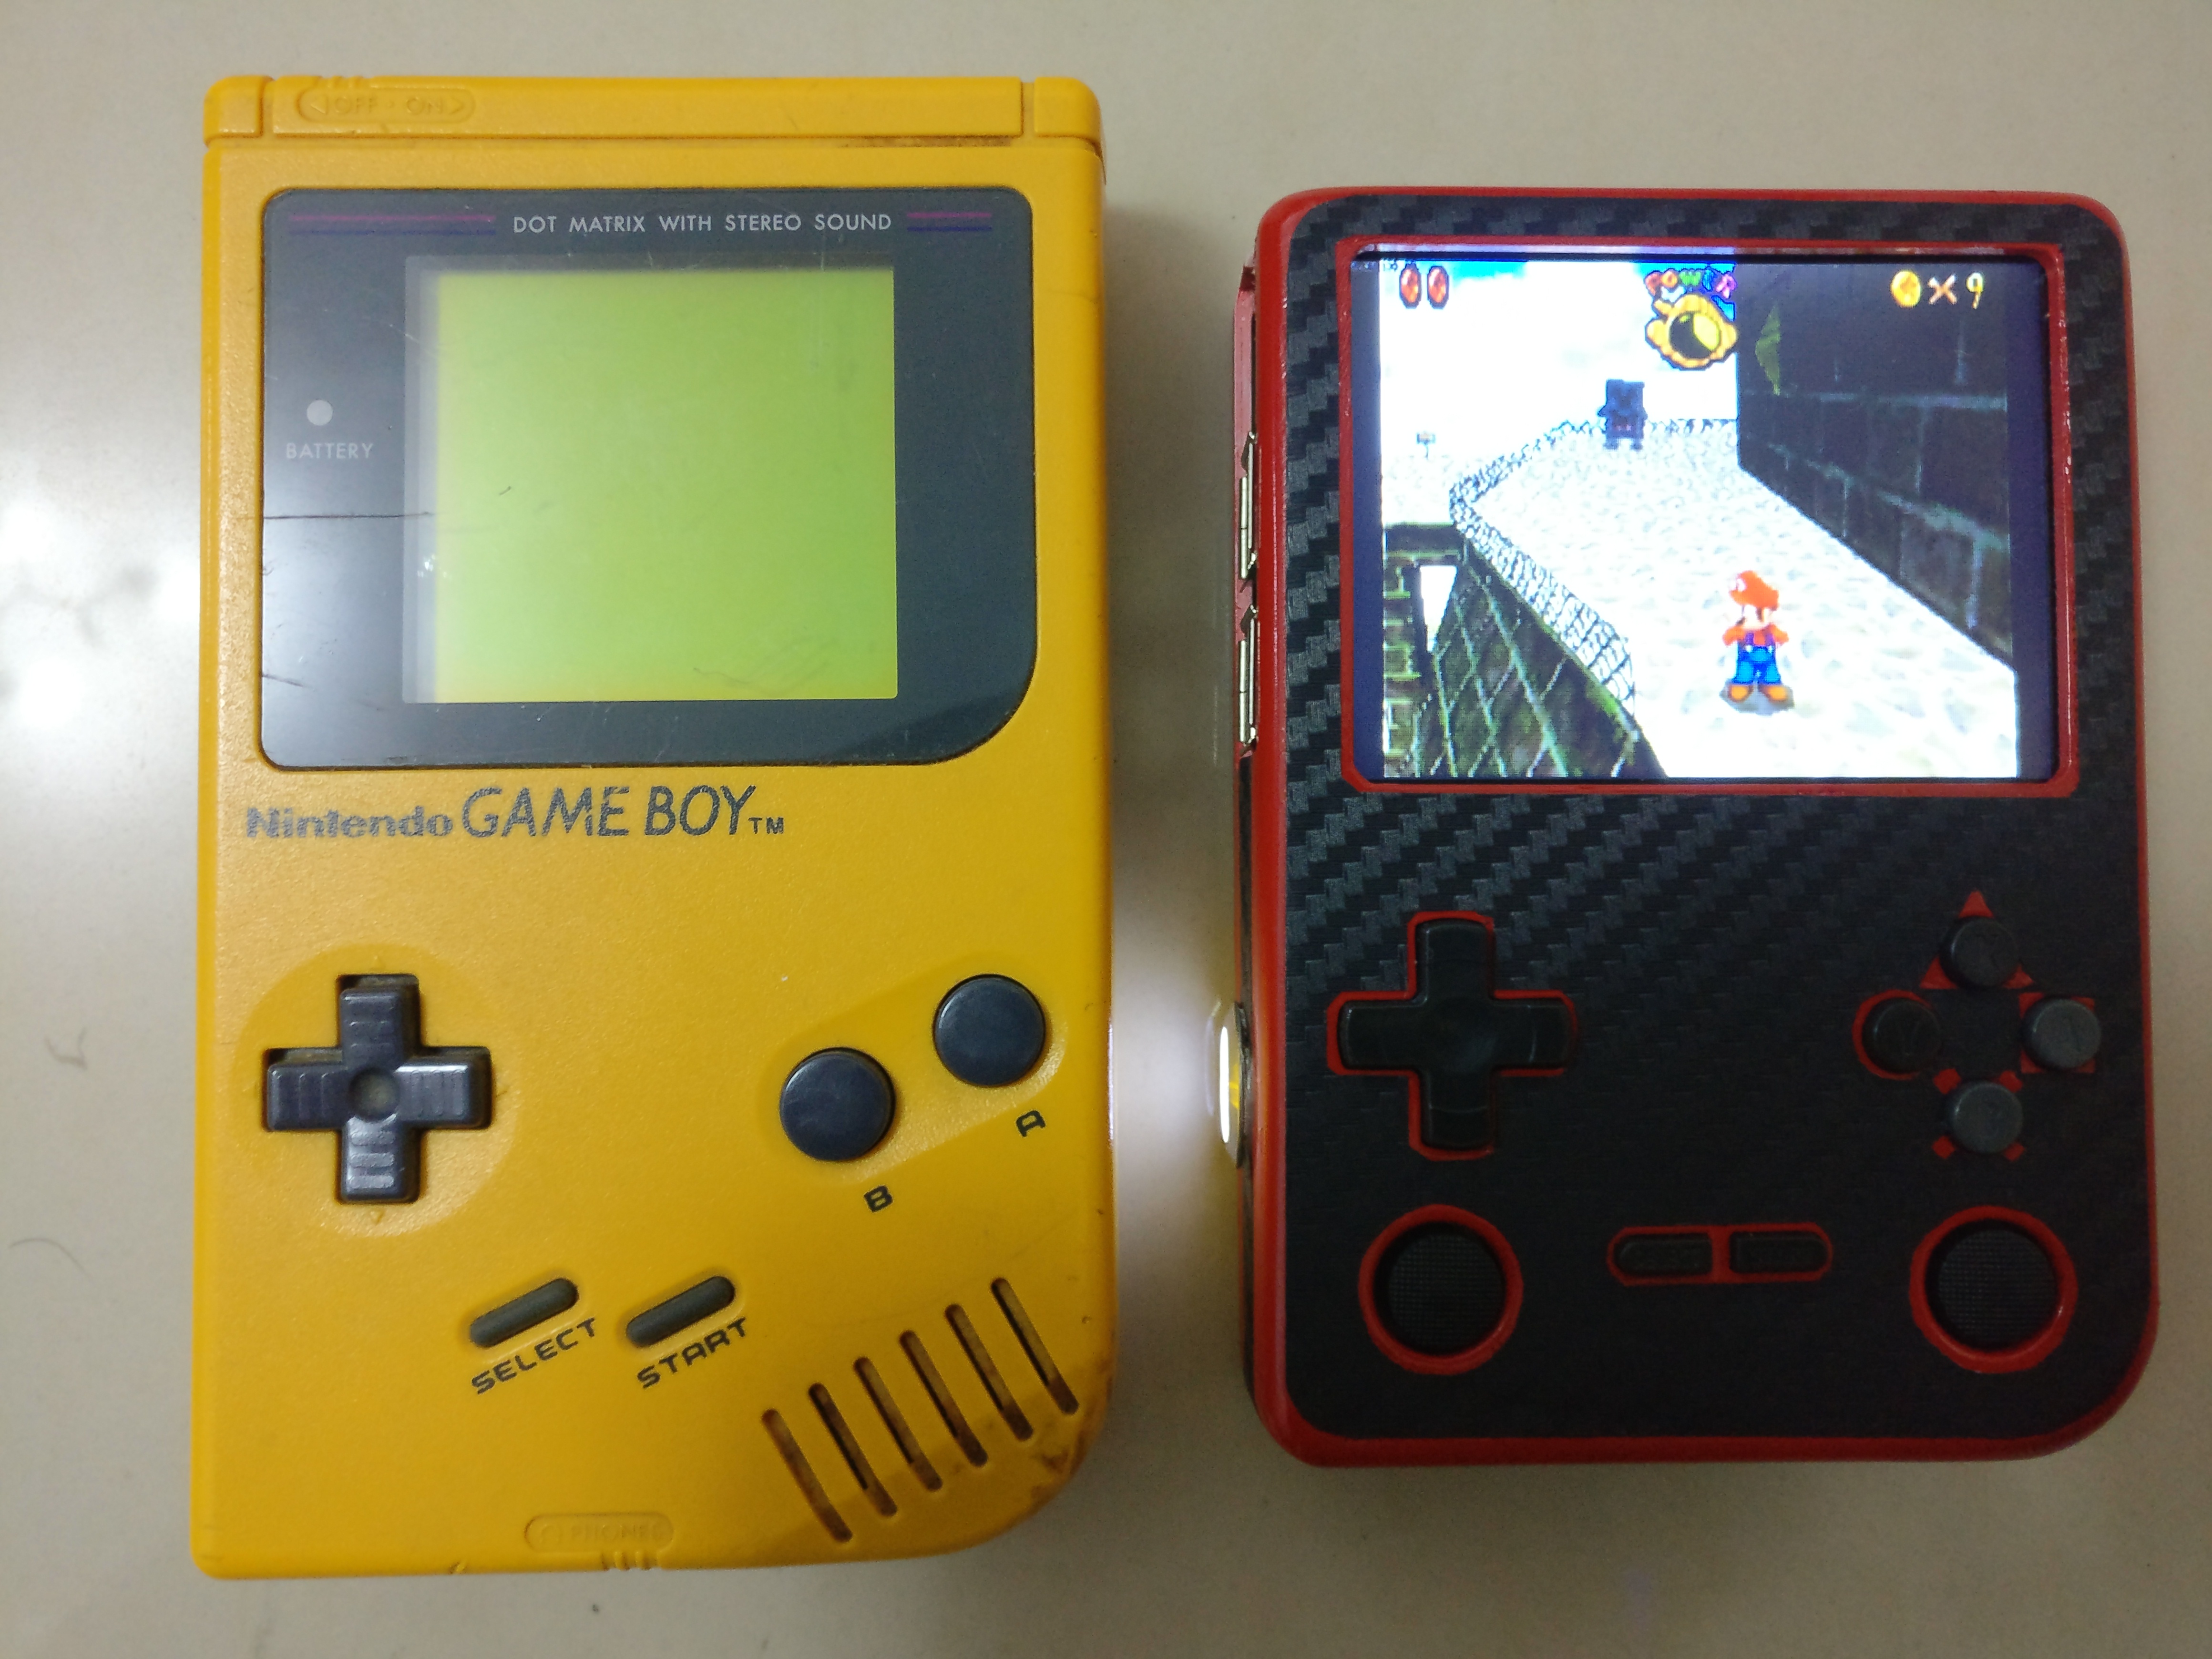
The emulation boy's size compared to my battered up DMG Gameboy from when I was a fetus. It is running Super Mario 64 using Drastic emulator(It runs flawlessly). I will show off more games and emulators once I find the time to make a proper video
And here is the log of my project:
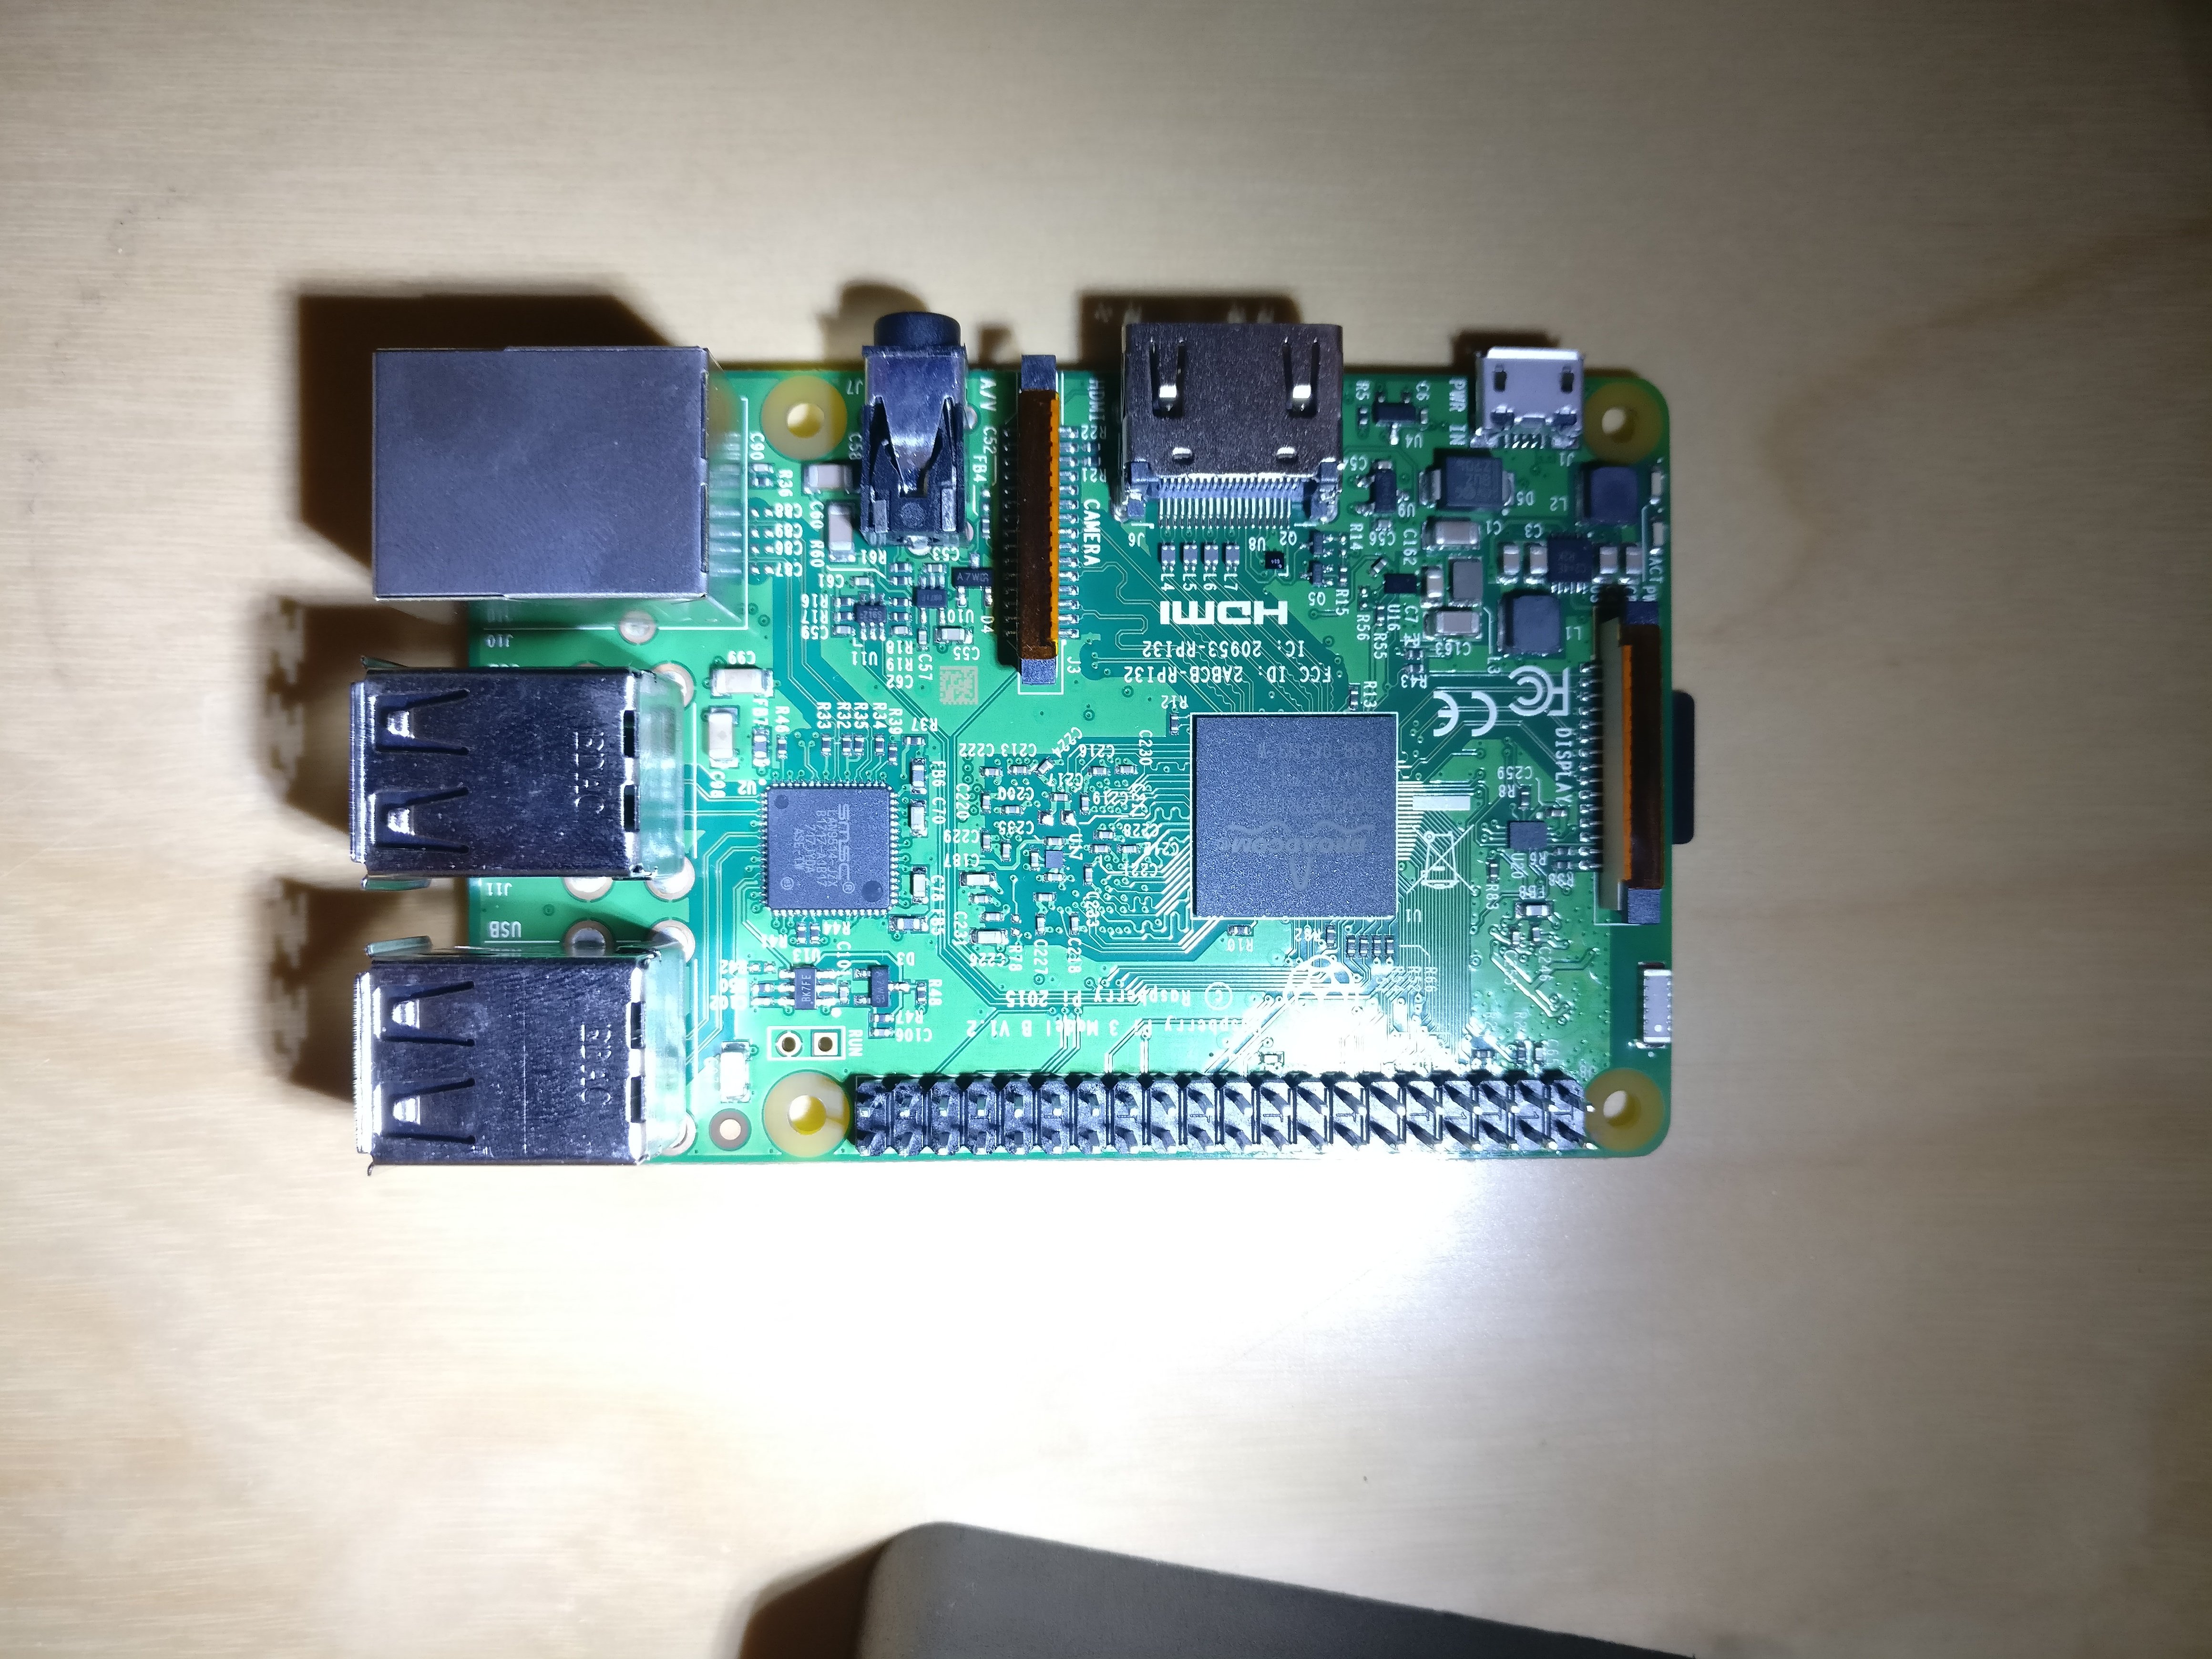
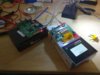
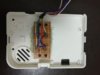
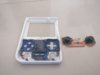
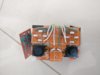
first I desoldered the GPIO header pins and the Ethernet port and I removed the display and camera connector. (Sadly I forgot to take pictures of the slimmed down board since this was my first solder/desolder job and it wasn't very easy...)
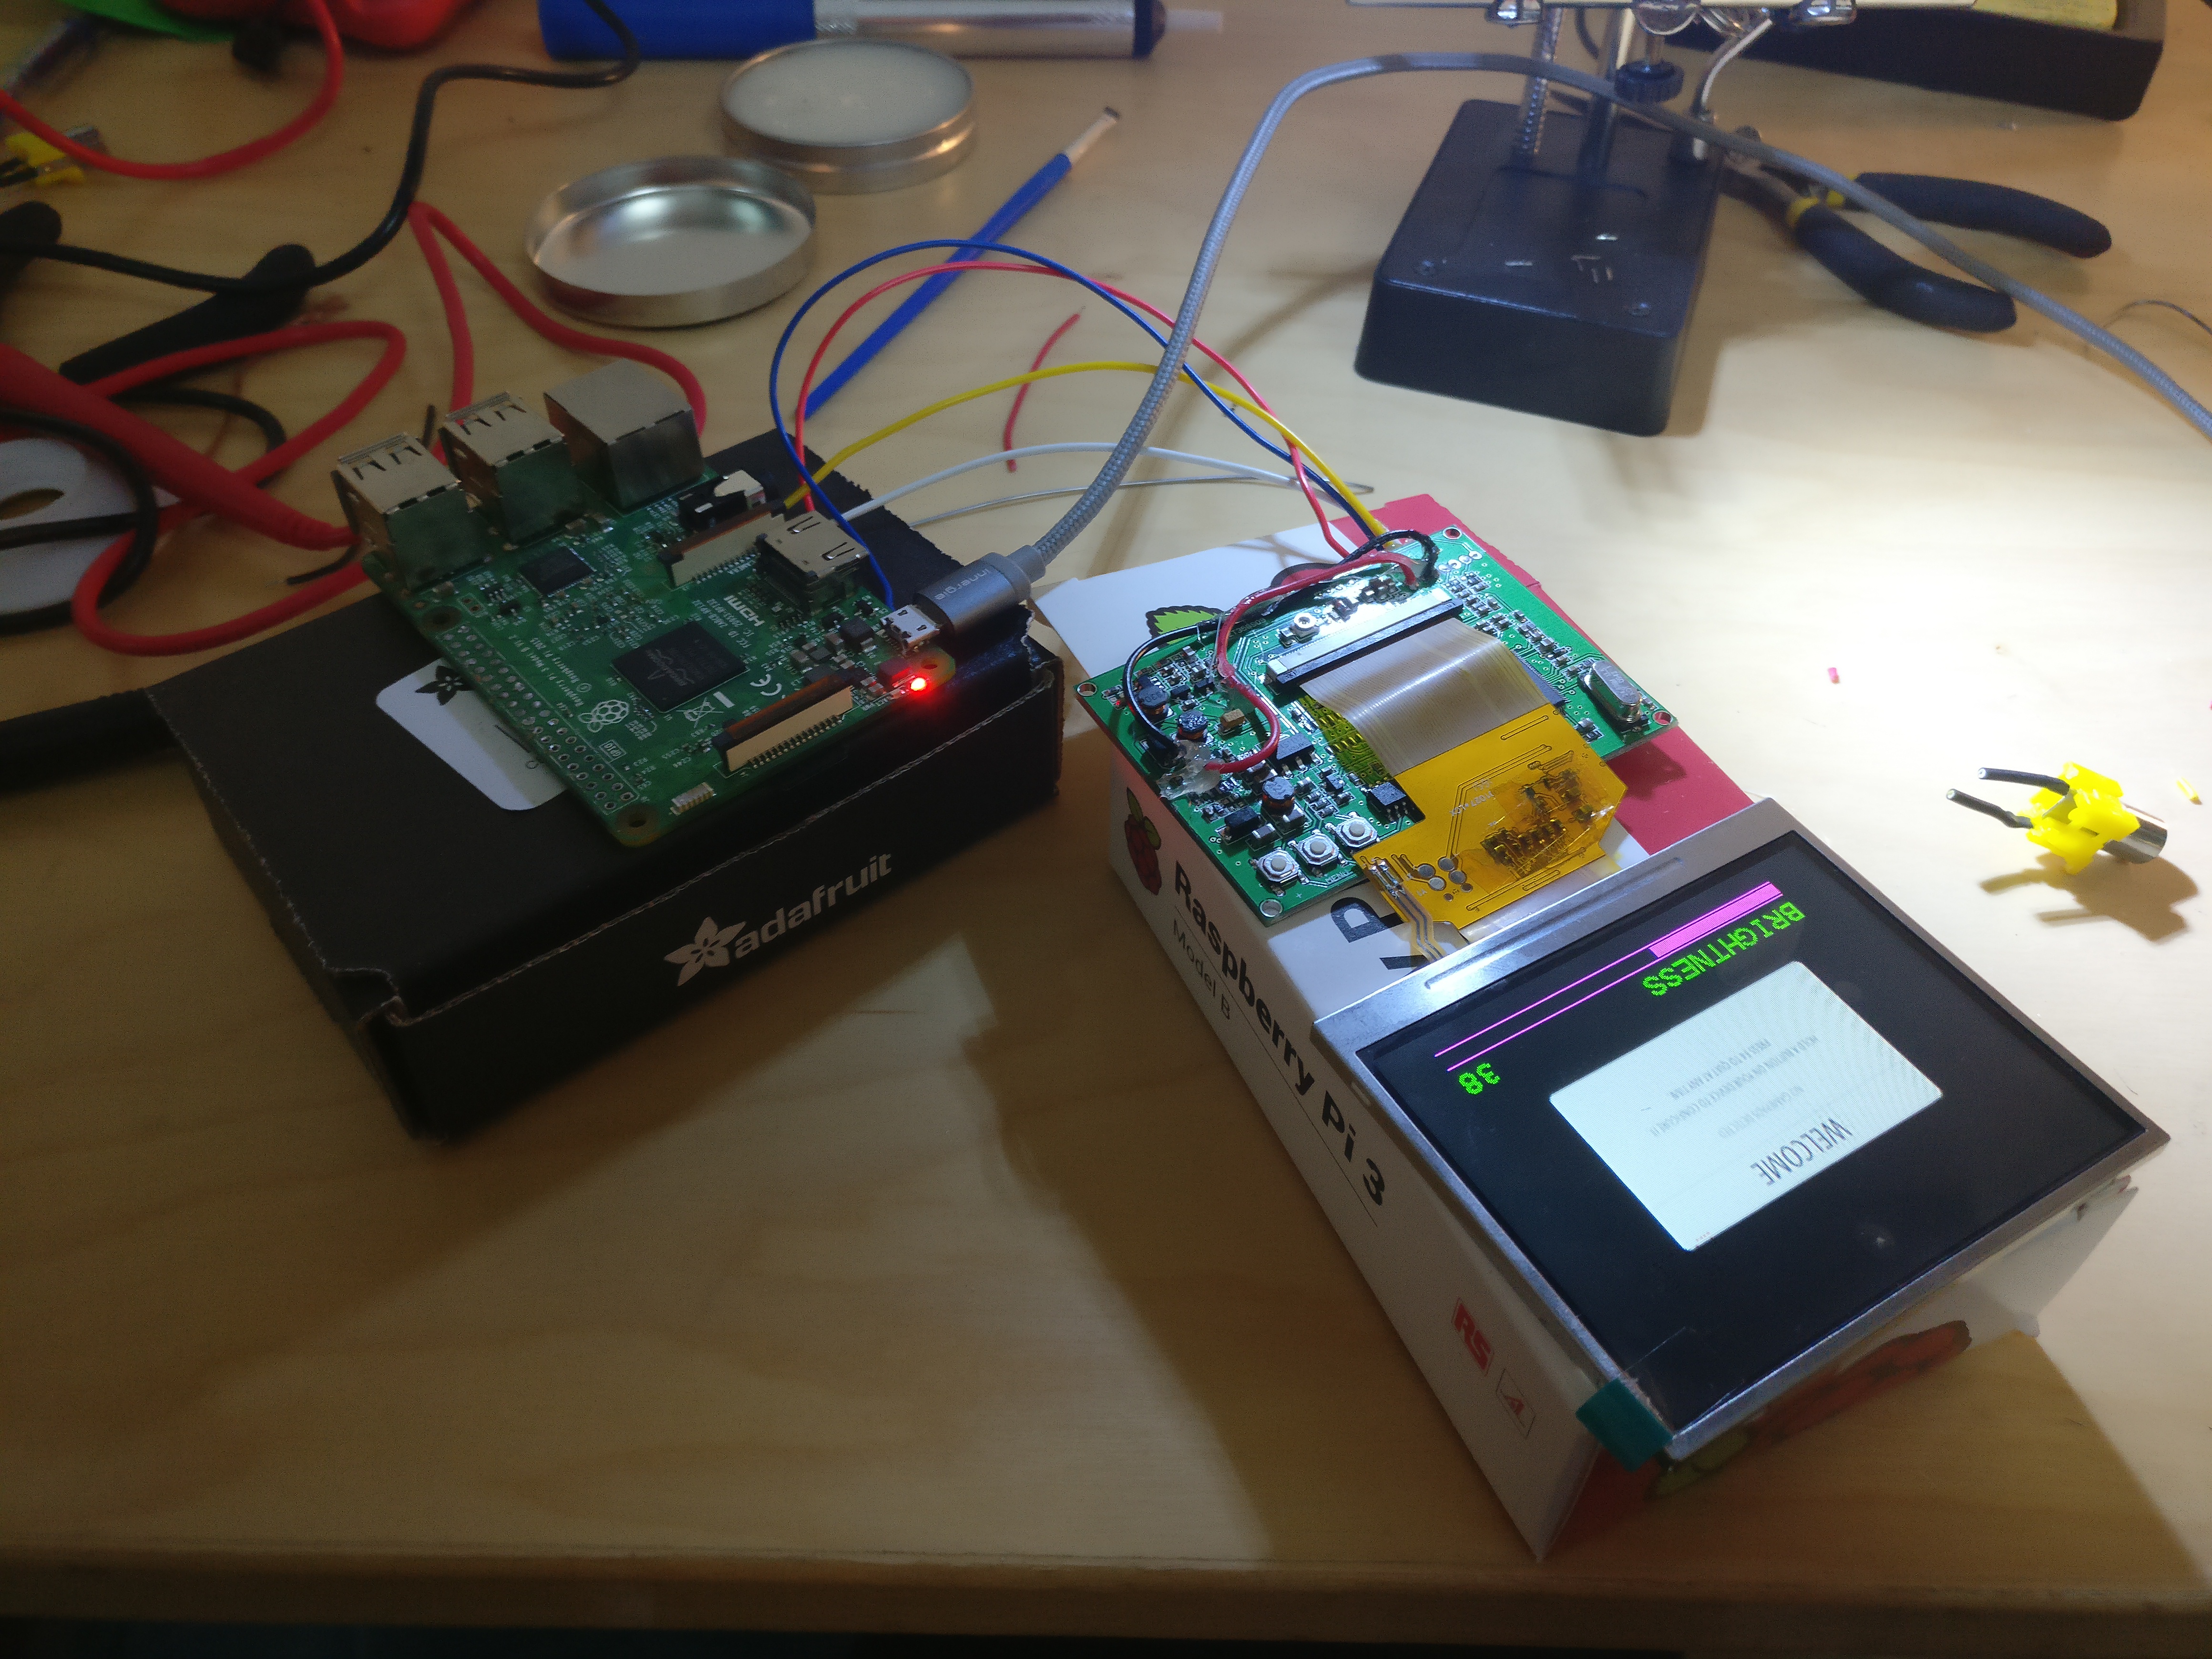
Then I modified the composite display controller board to run of of 5V. After modifying it I soldered the AV1, Vcc and GND to the raspberry pi 3. I temporarily soldered the Vcc and GND wires to the micro usb port test pads.
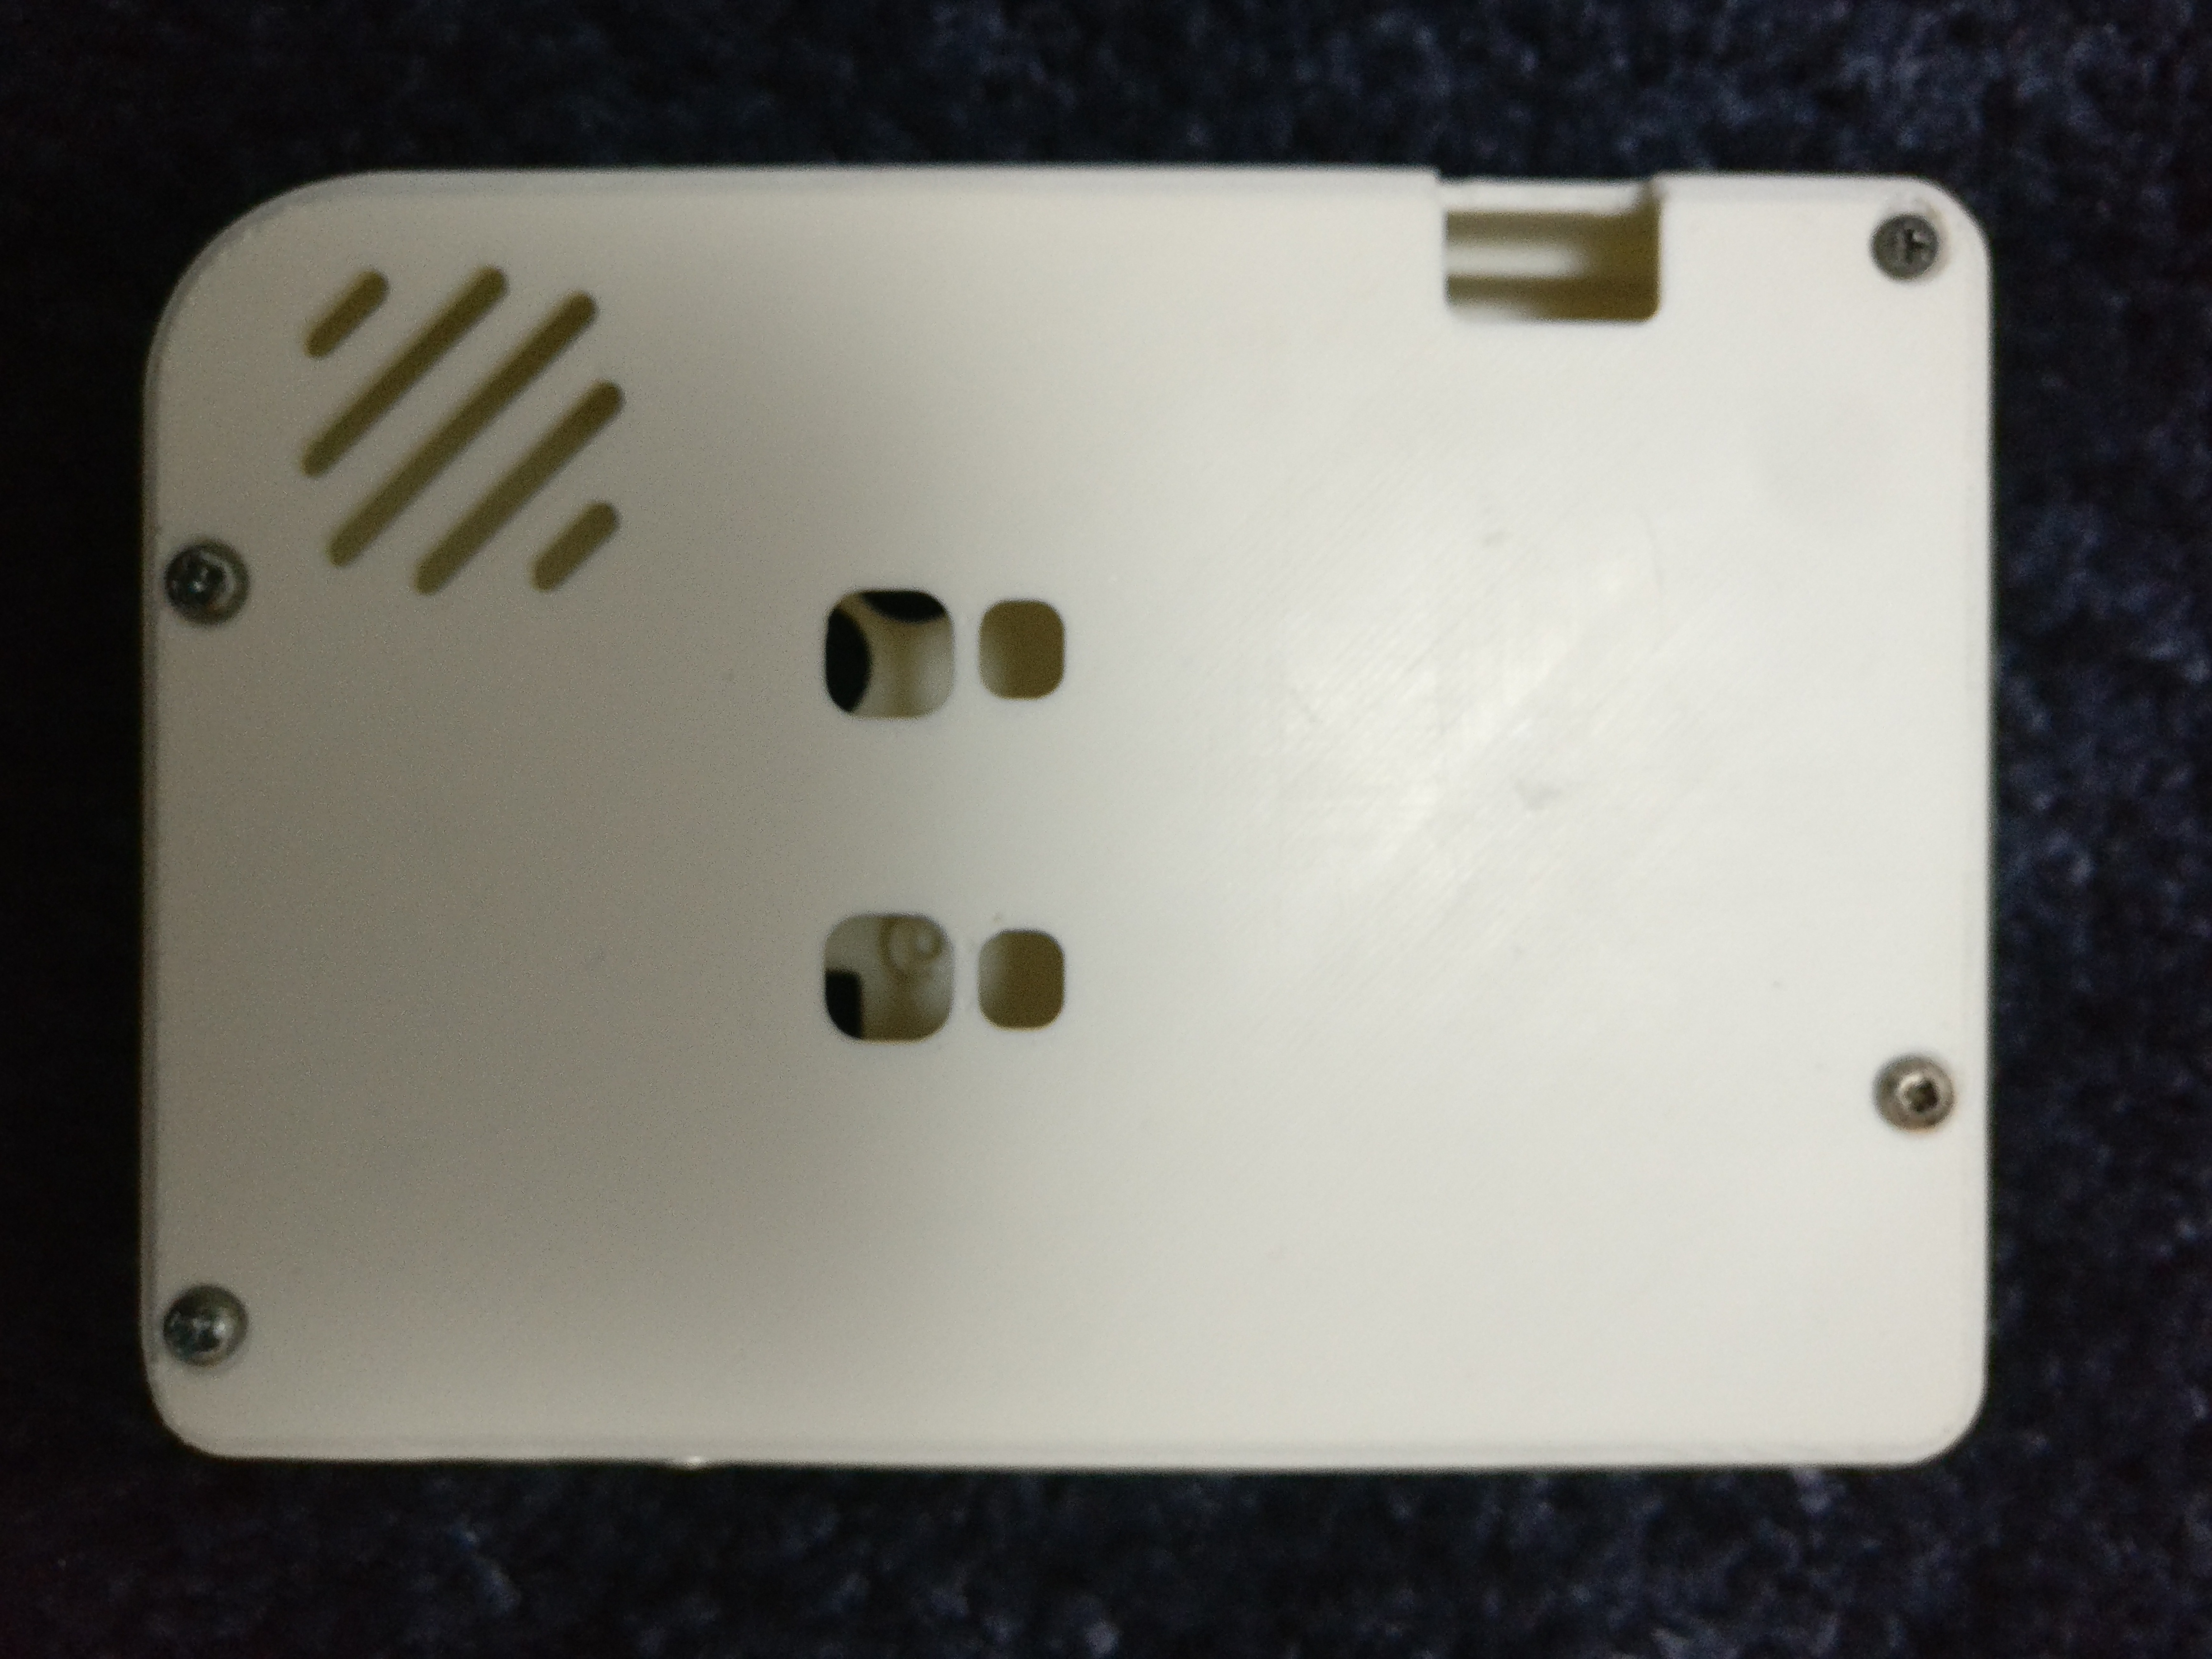
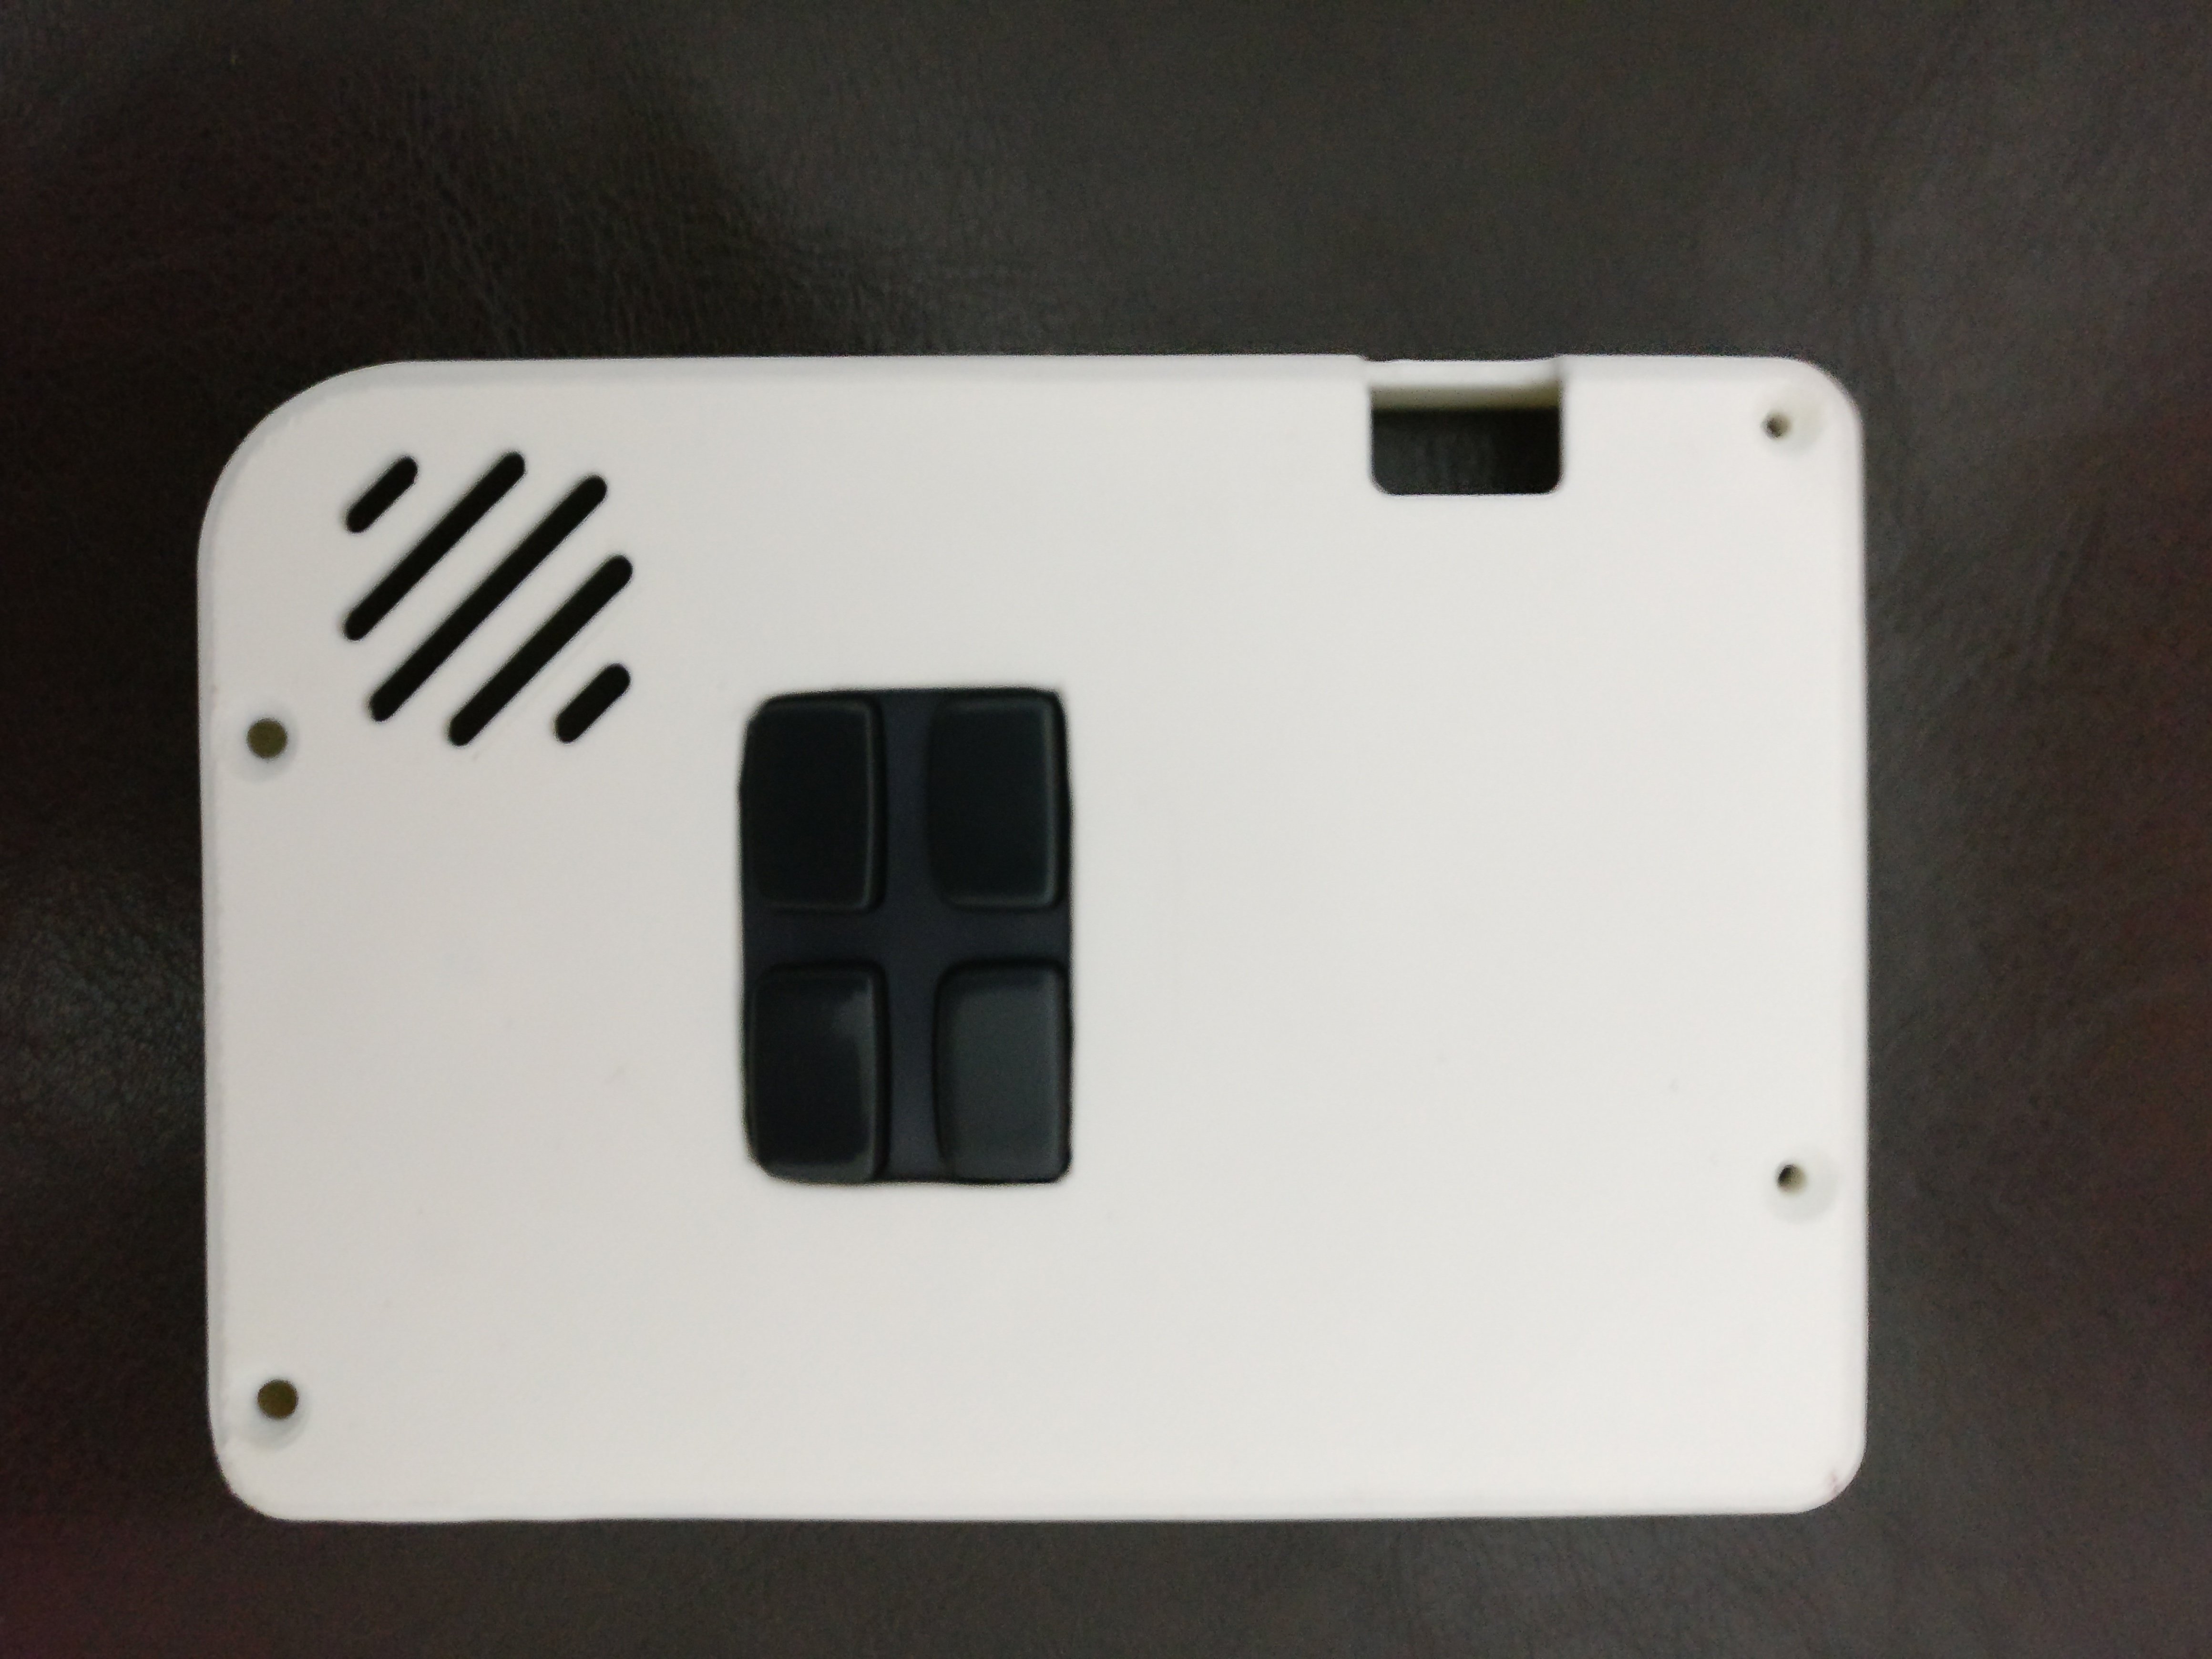
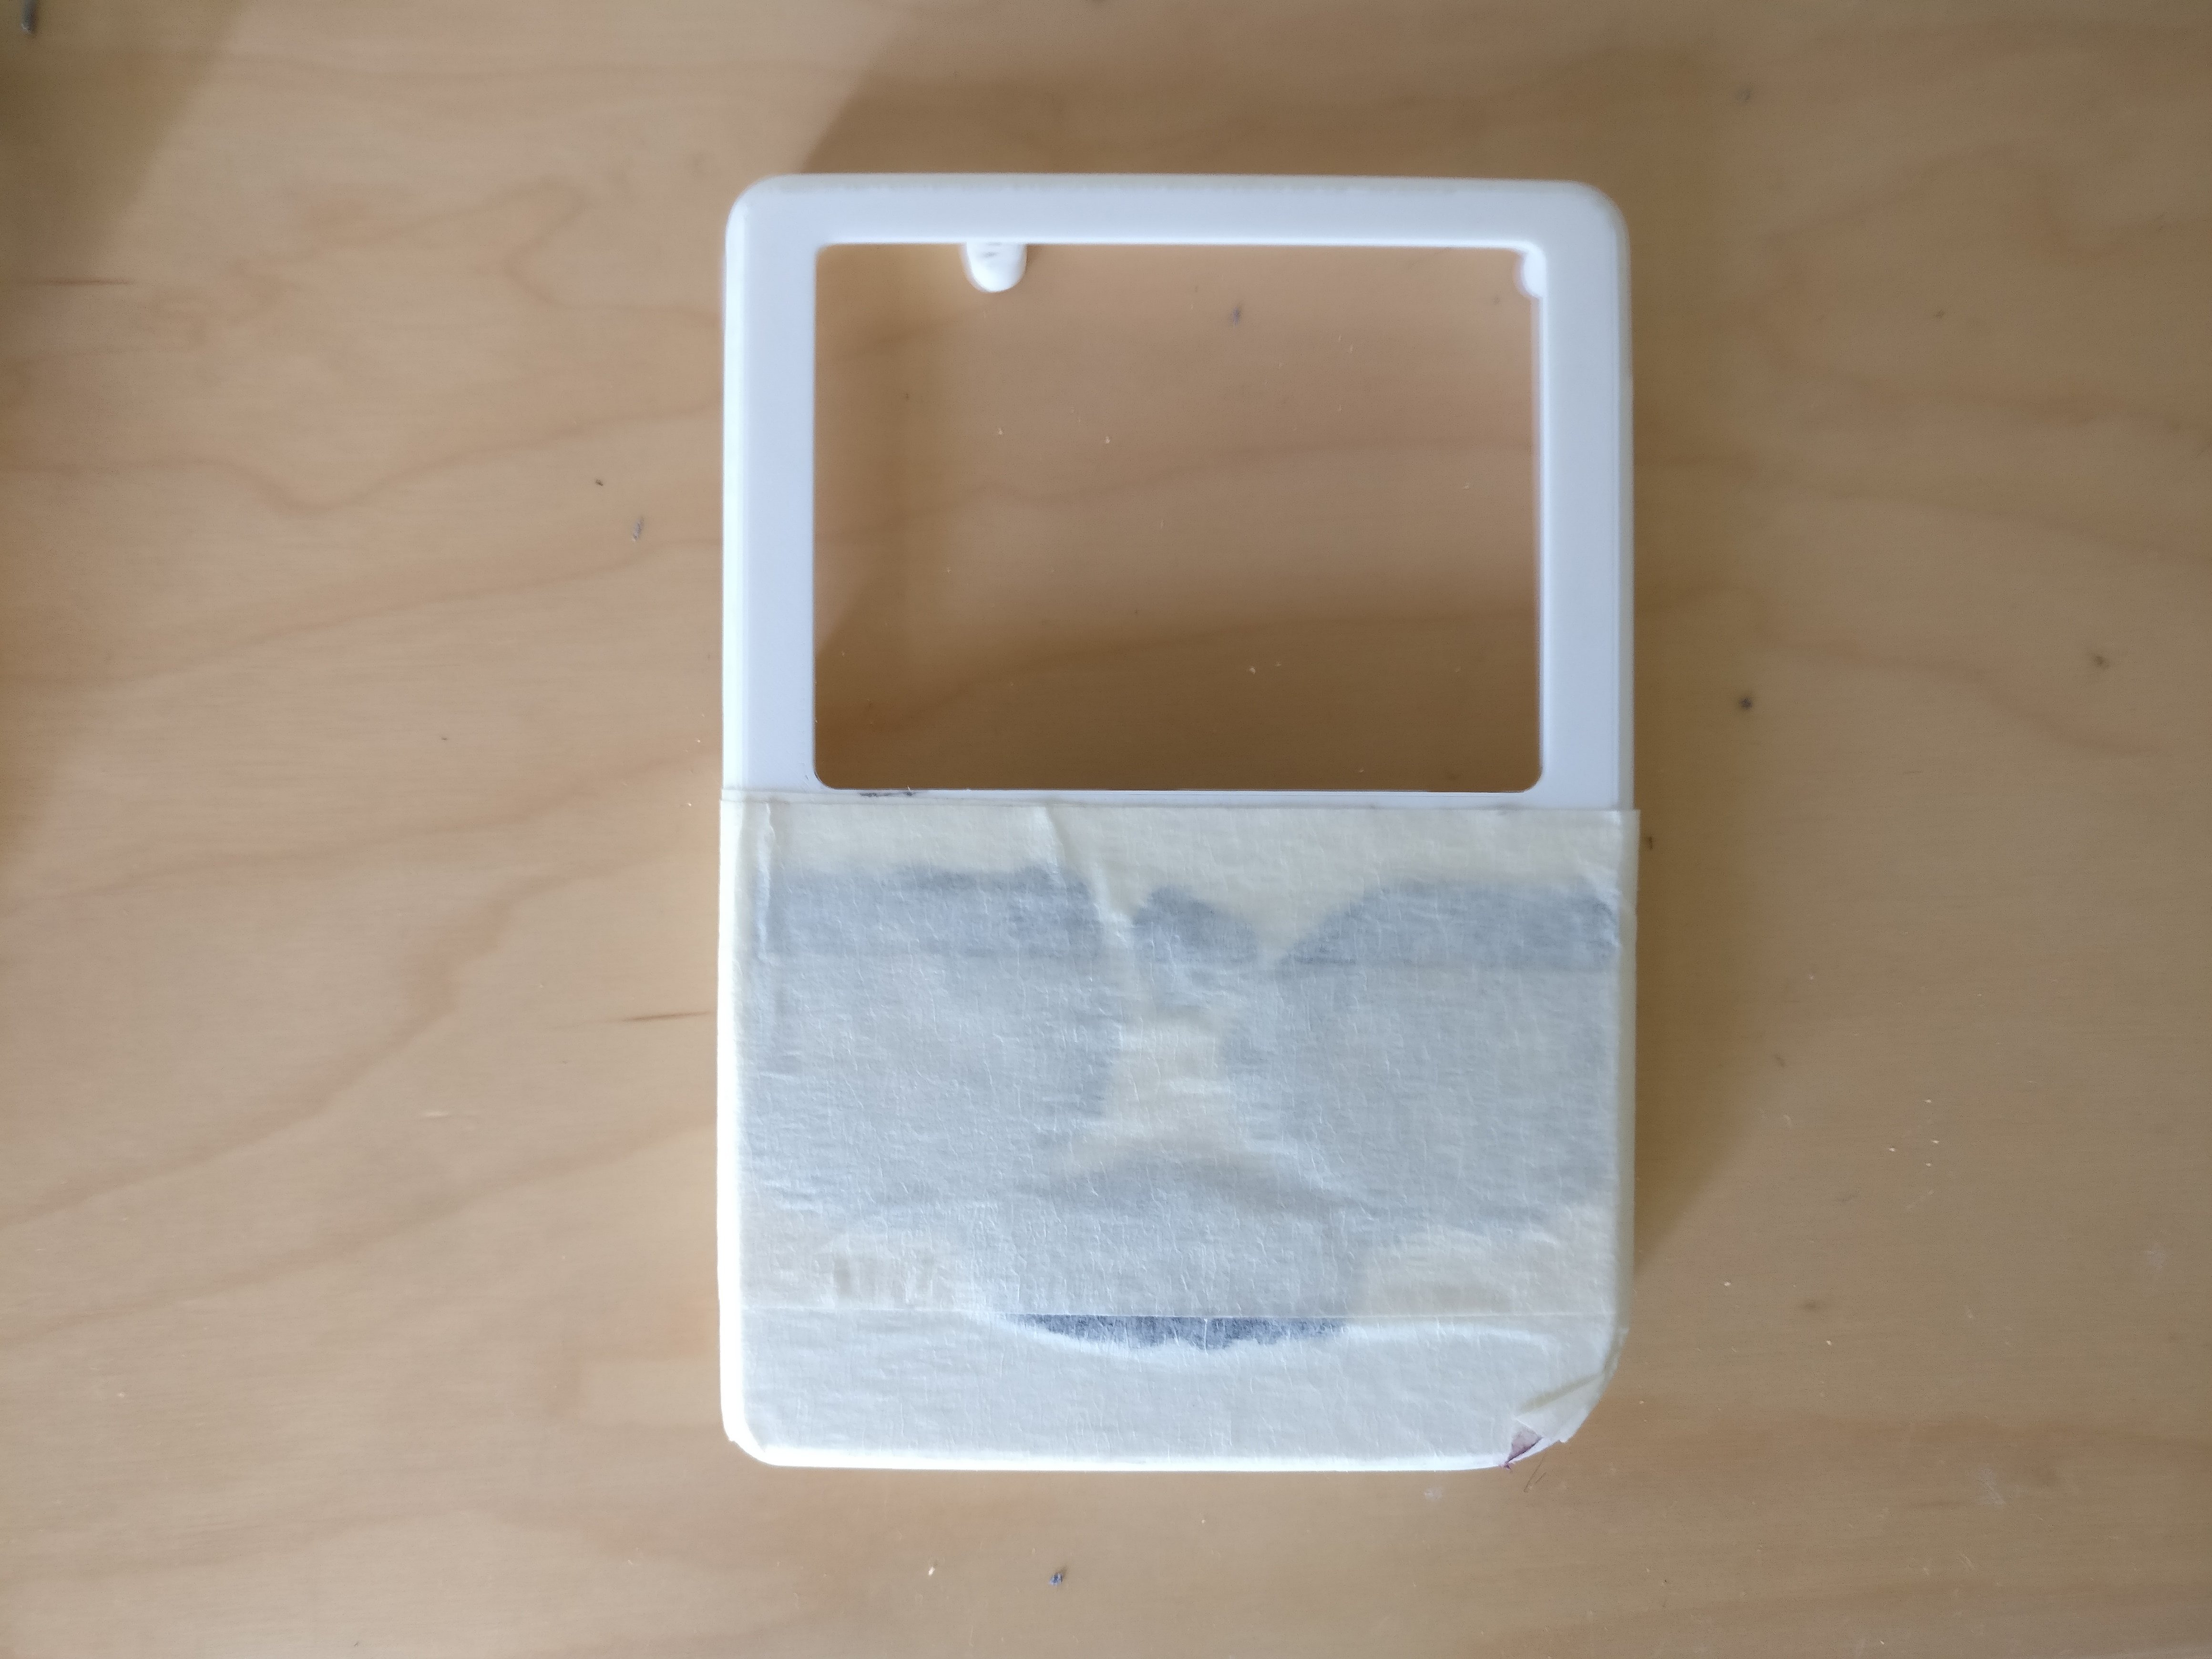
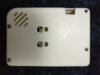
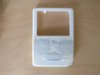
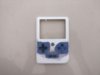
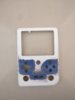
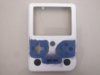
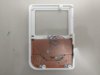
I modified the back piece of the 3d printed case using a dremeled part of a casio calculator and hotgluing it to the cutout I made in the case.
I did this because the texture of the 3d printed buttons felt bad and was moving around a lot and generally just wasn't to my liking.
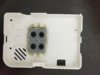
I first made a messy pcb that utilizes contact pads since they feel more authentic than tactile switches (I never heard of squishy switches at the time), but I decided against it since it took up more space....

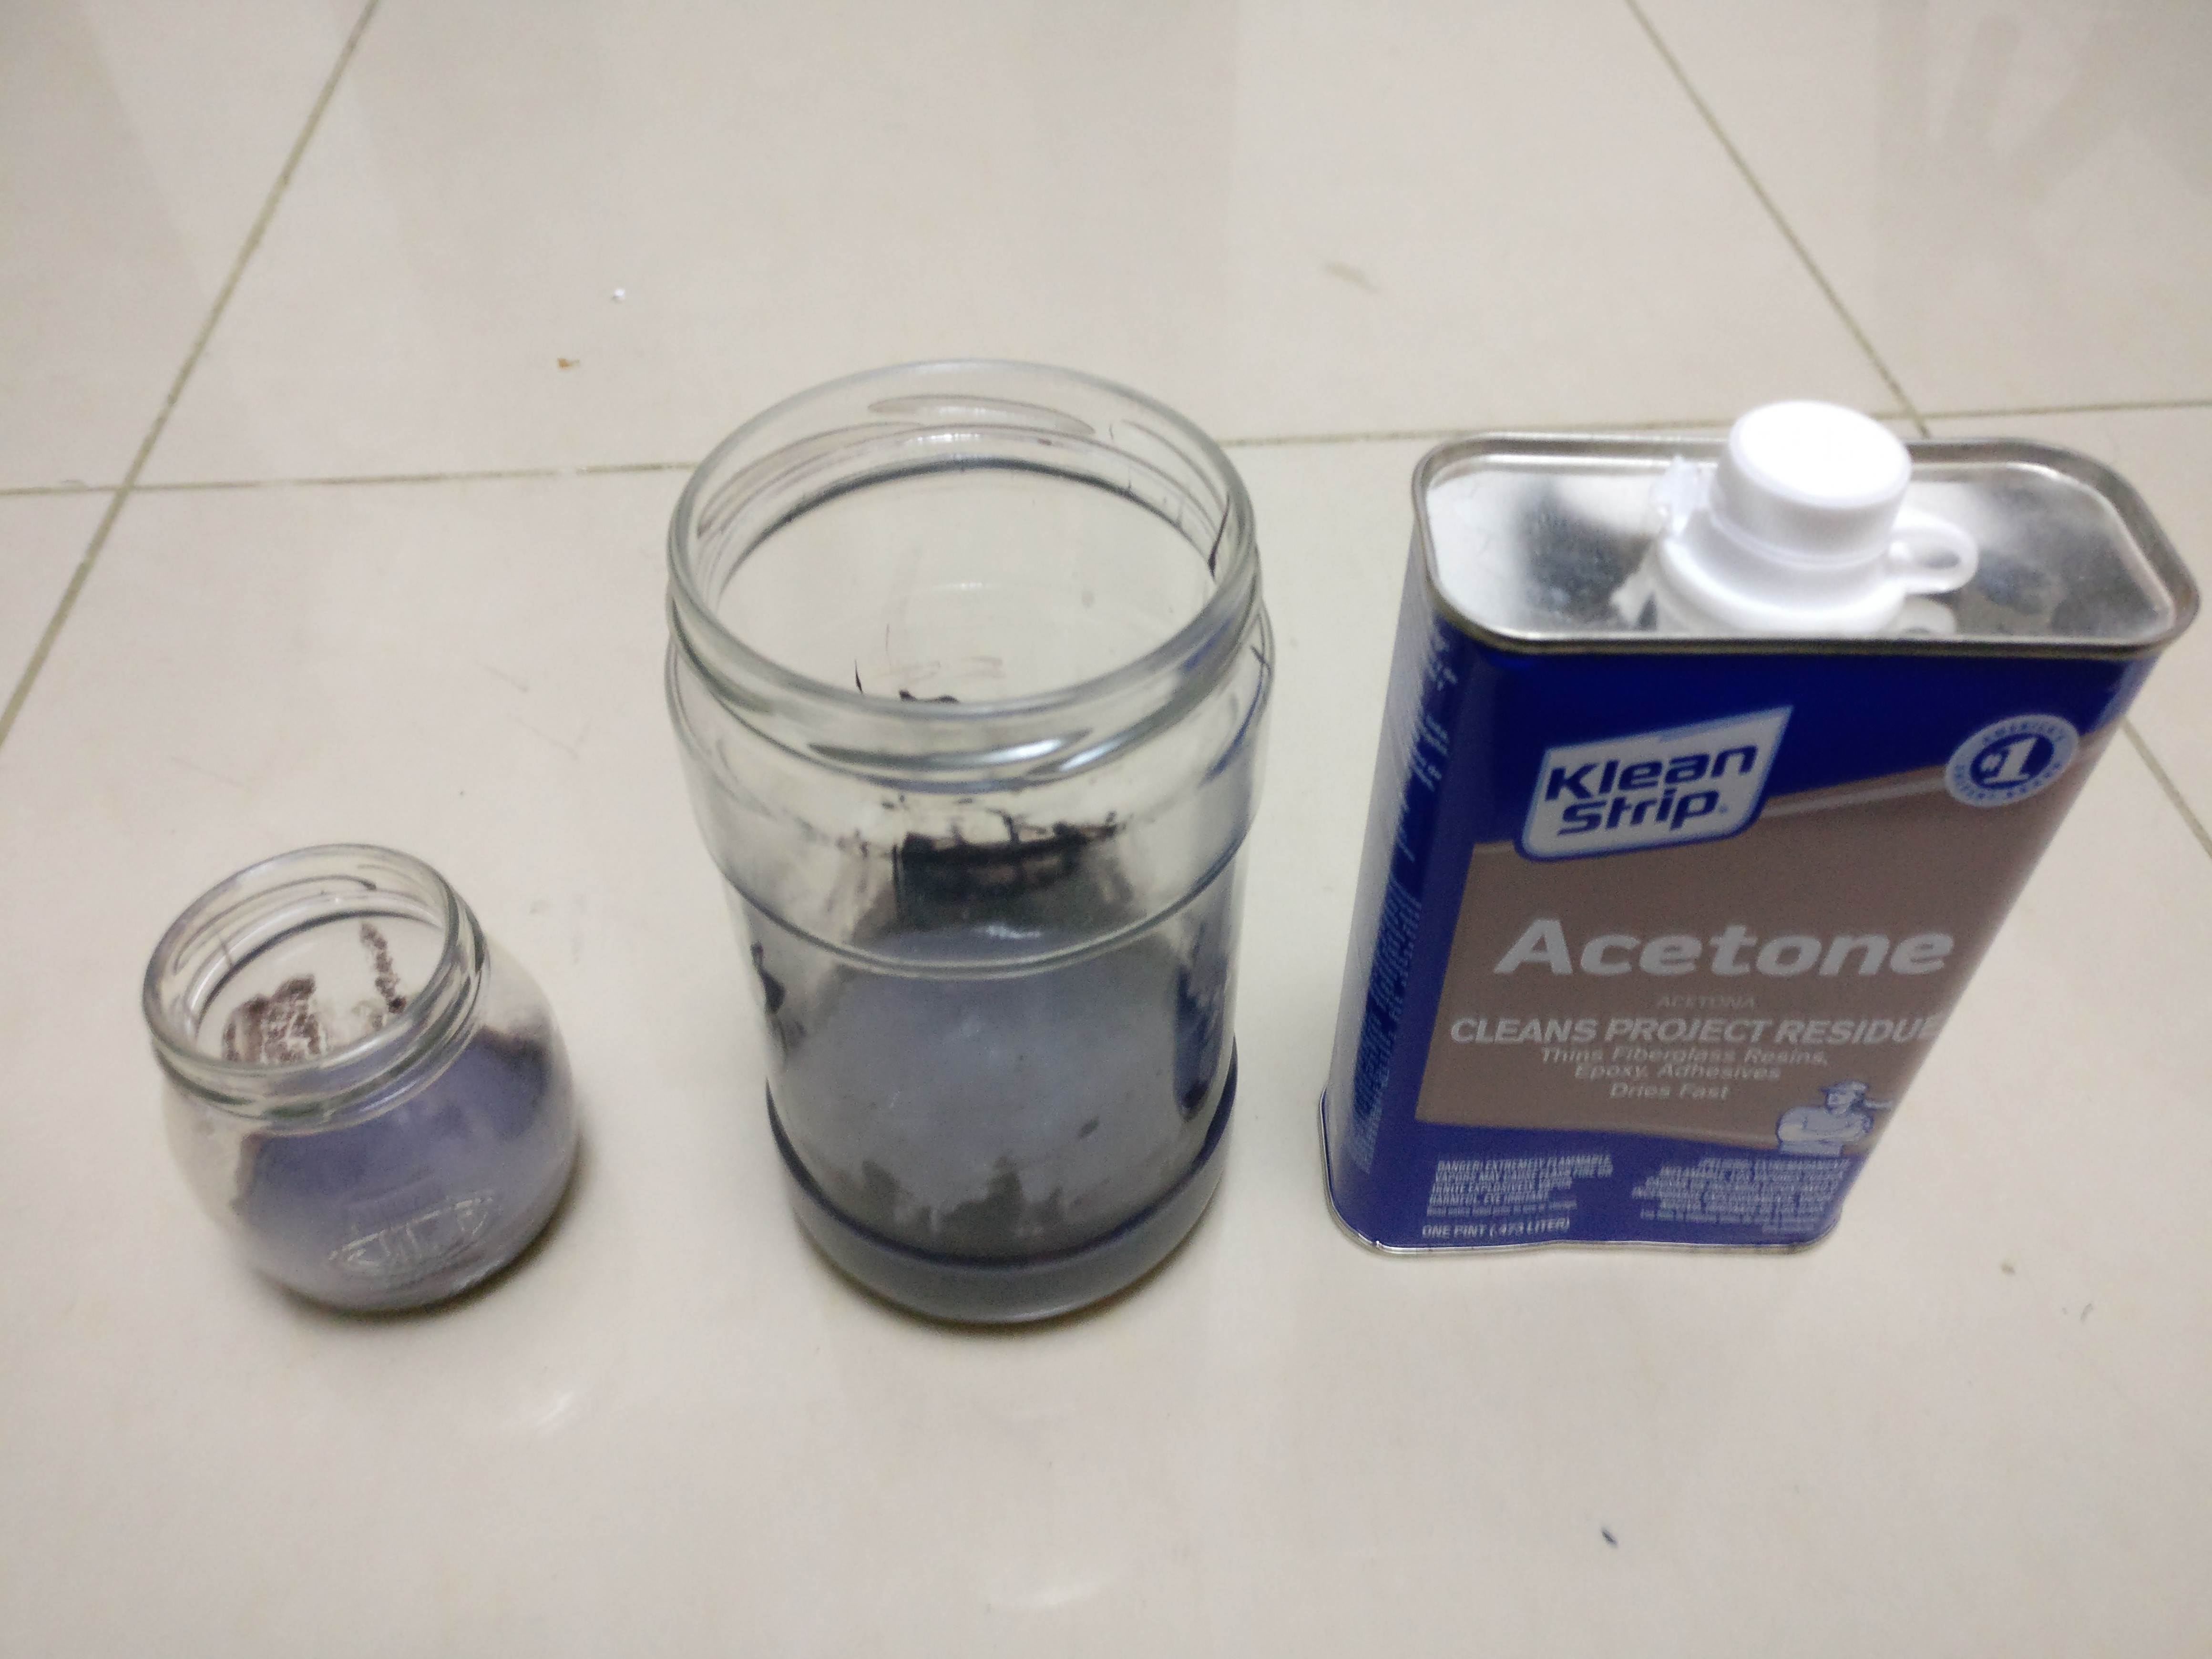
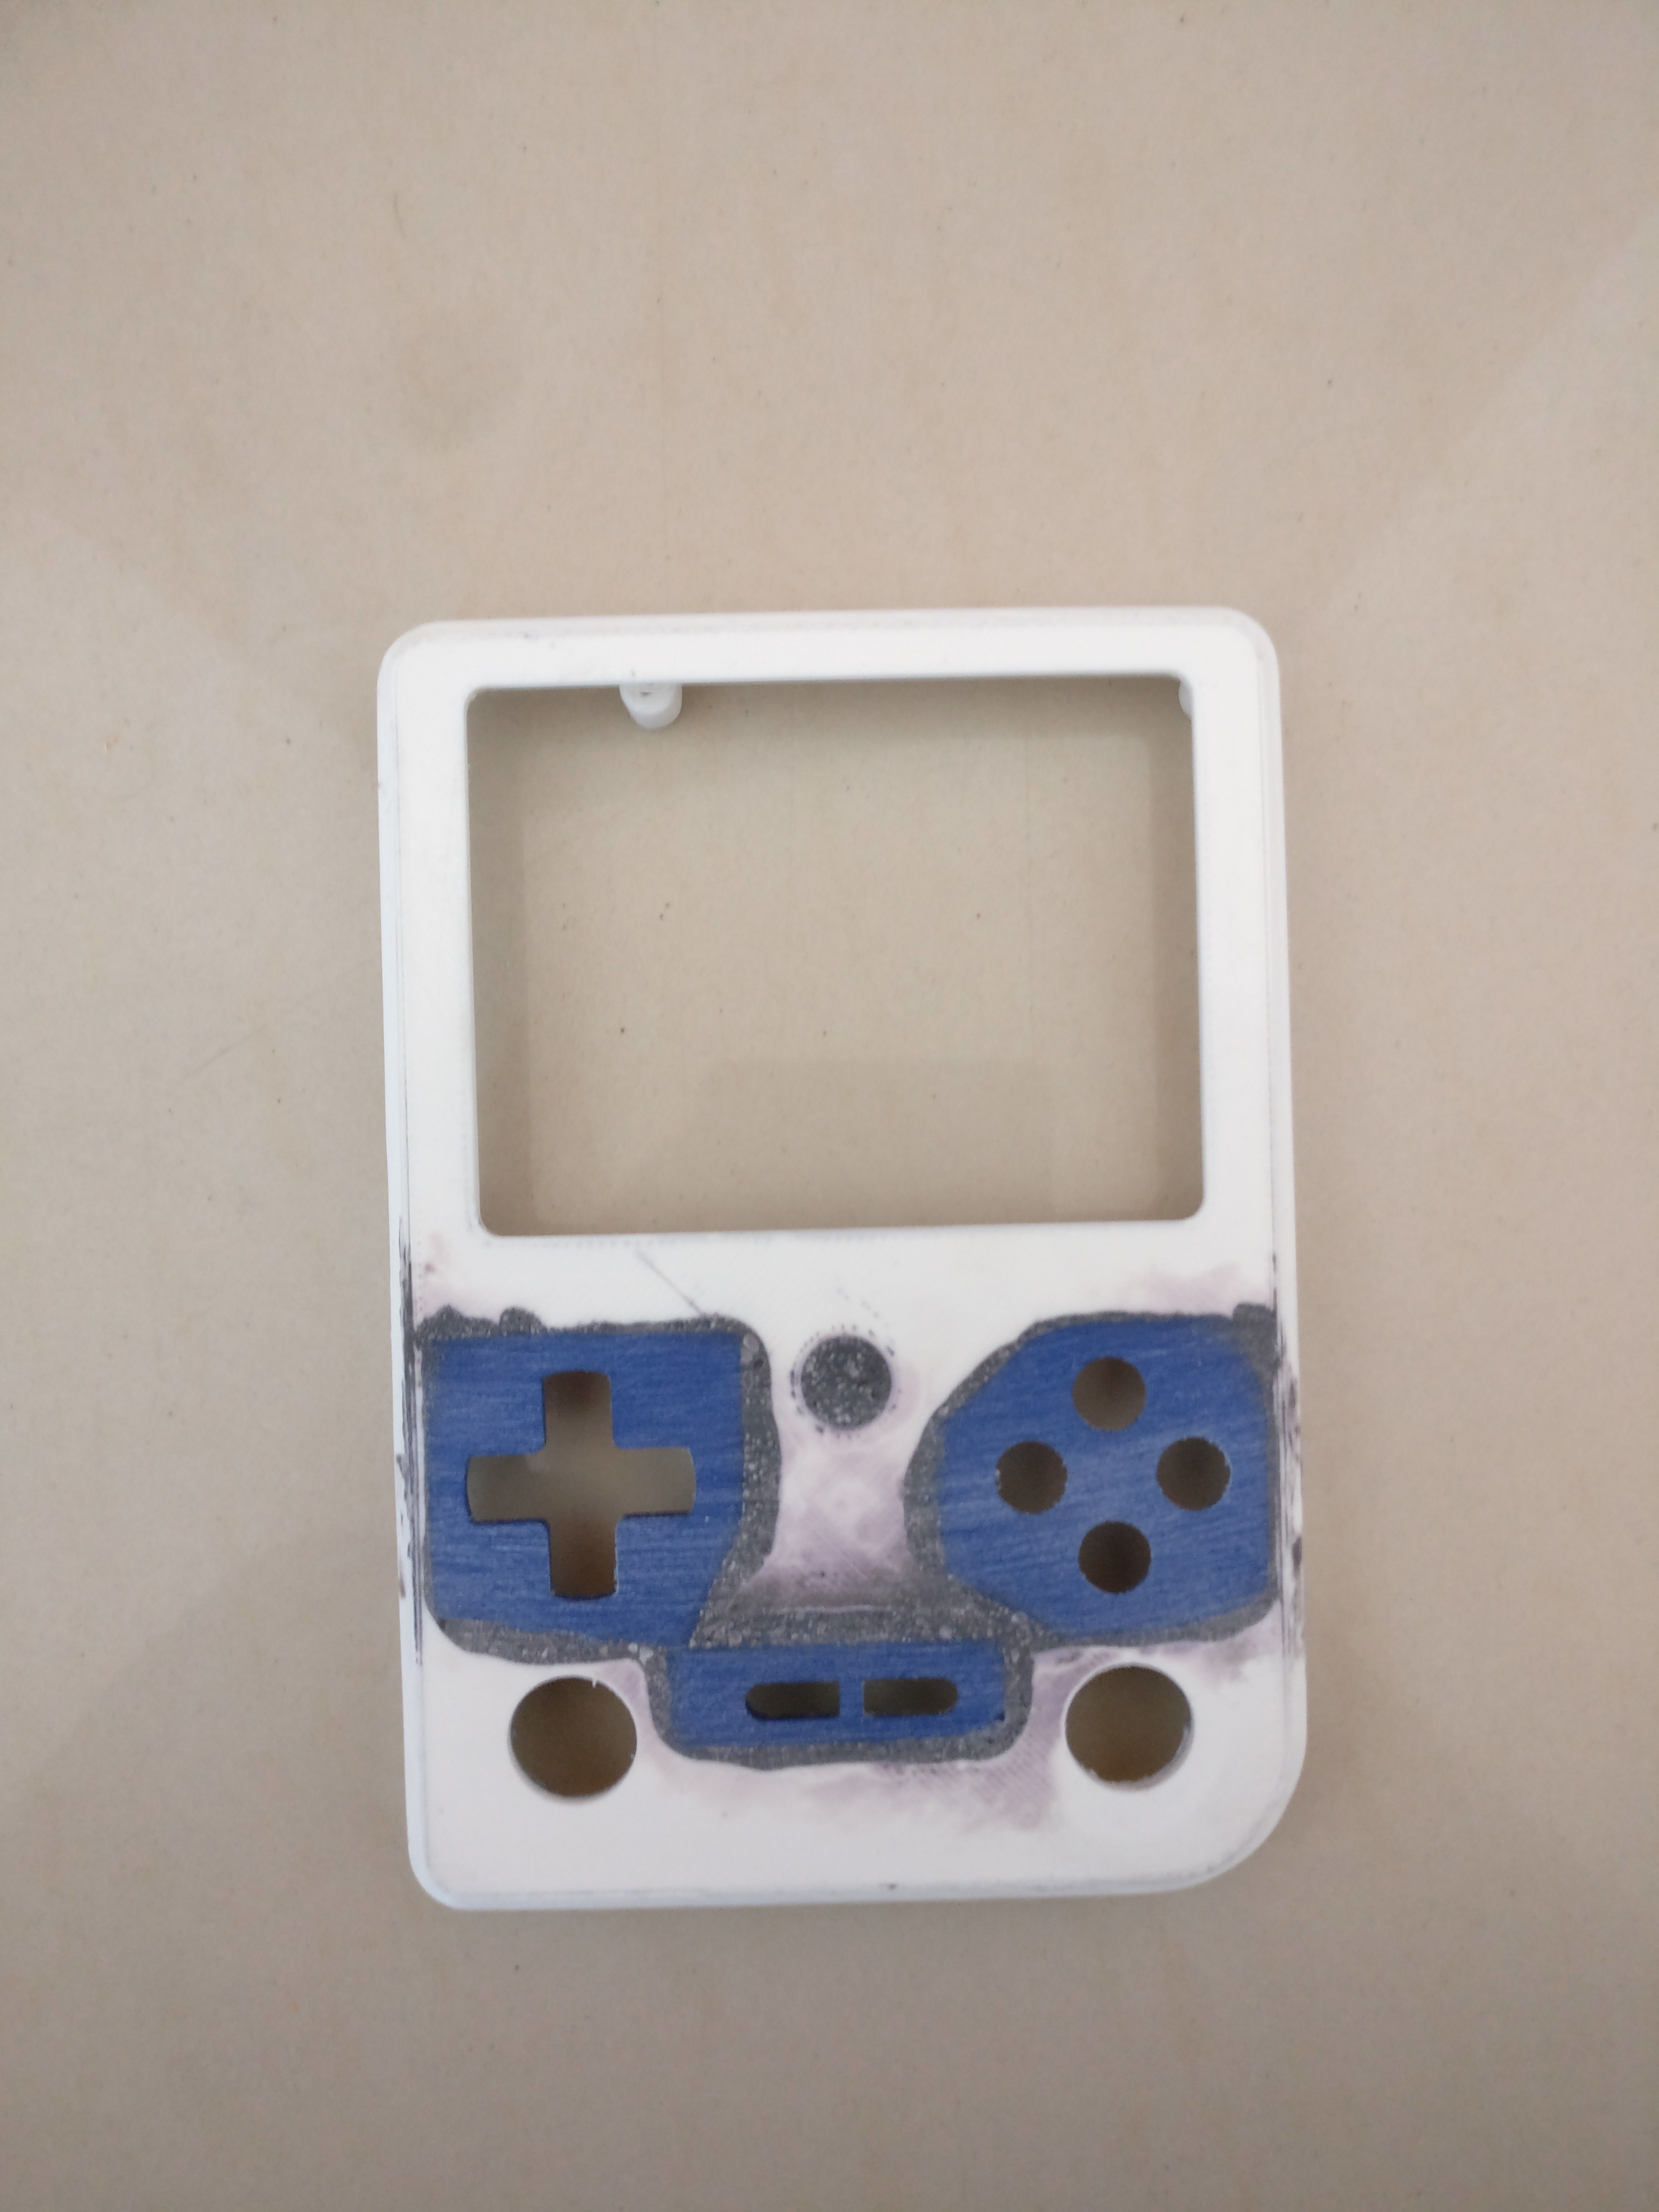
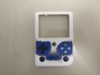
I decided to frankencase the front piece of the casing using the case and buttons of my dead Phat Nintendo ds, so I prepared ABS slurry and ABS glue made from pieces of scrap abs plastic and some good old acetone. I used this method because I heard that epoxy can crack and ABS slurry/glue fuses the 2 parts making a rigid and more flexible bond.

This is how it looks after sanding the excess ABS and test fitting the DS buttons. Frankencasing is so worth it because it feels authentic compared to those loose 3d printed buttons......
I'm quite picky about how a handheld feels in my hand.

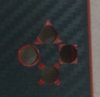
I drilled 2 holes and sanded them for god knows how long (because I didn't have the proper drill bit size) until the psp analog stick fit snuggly inside.

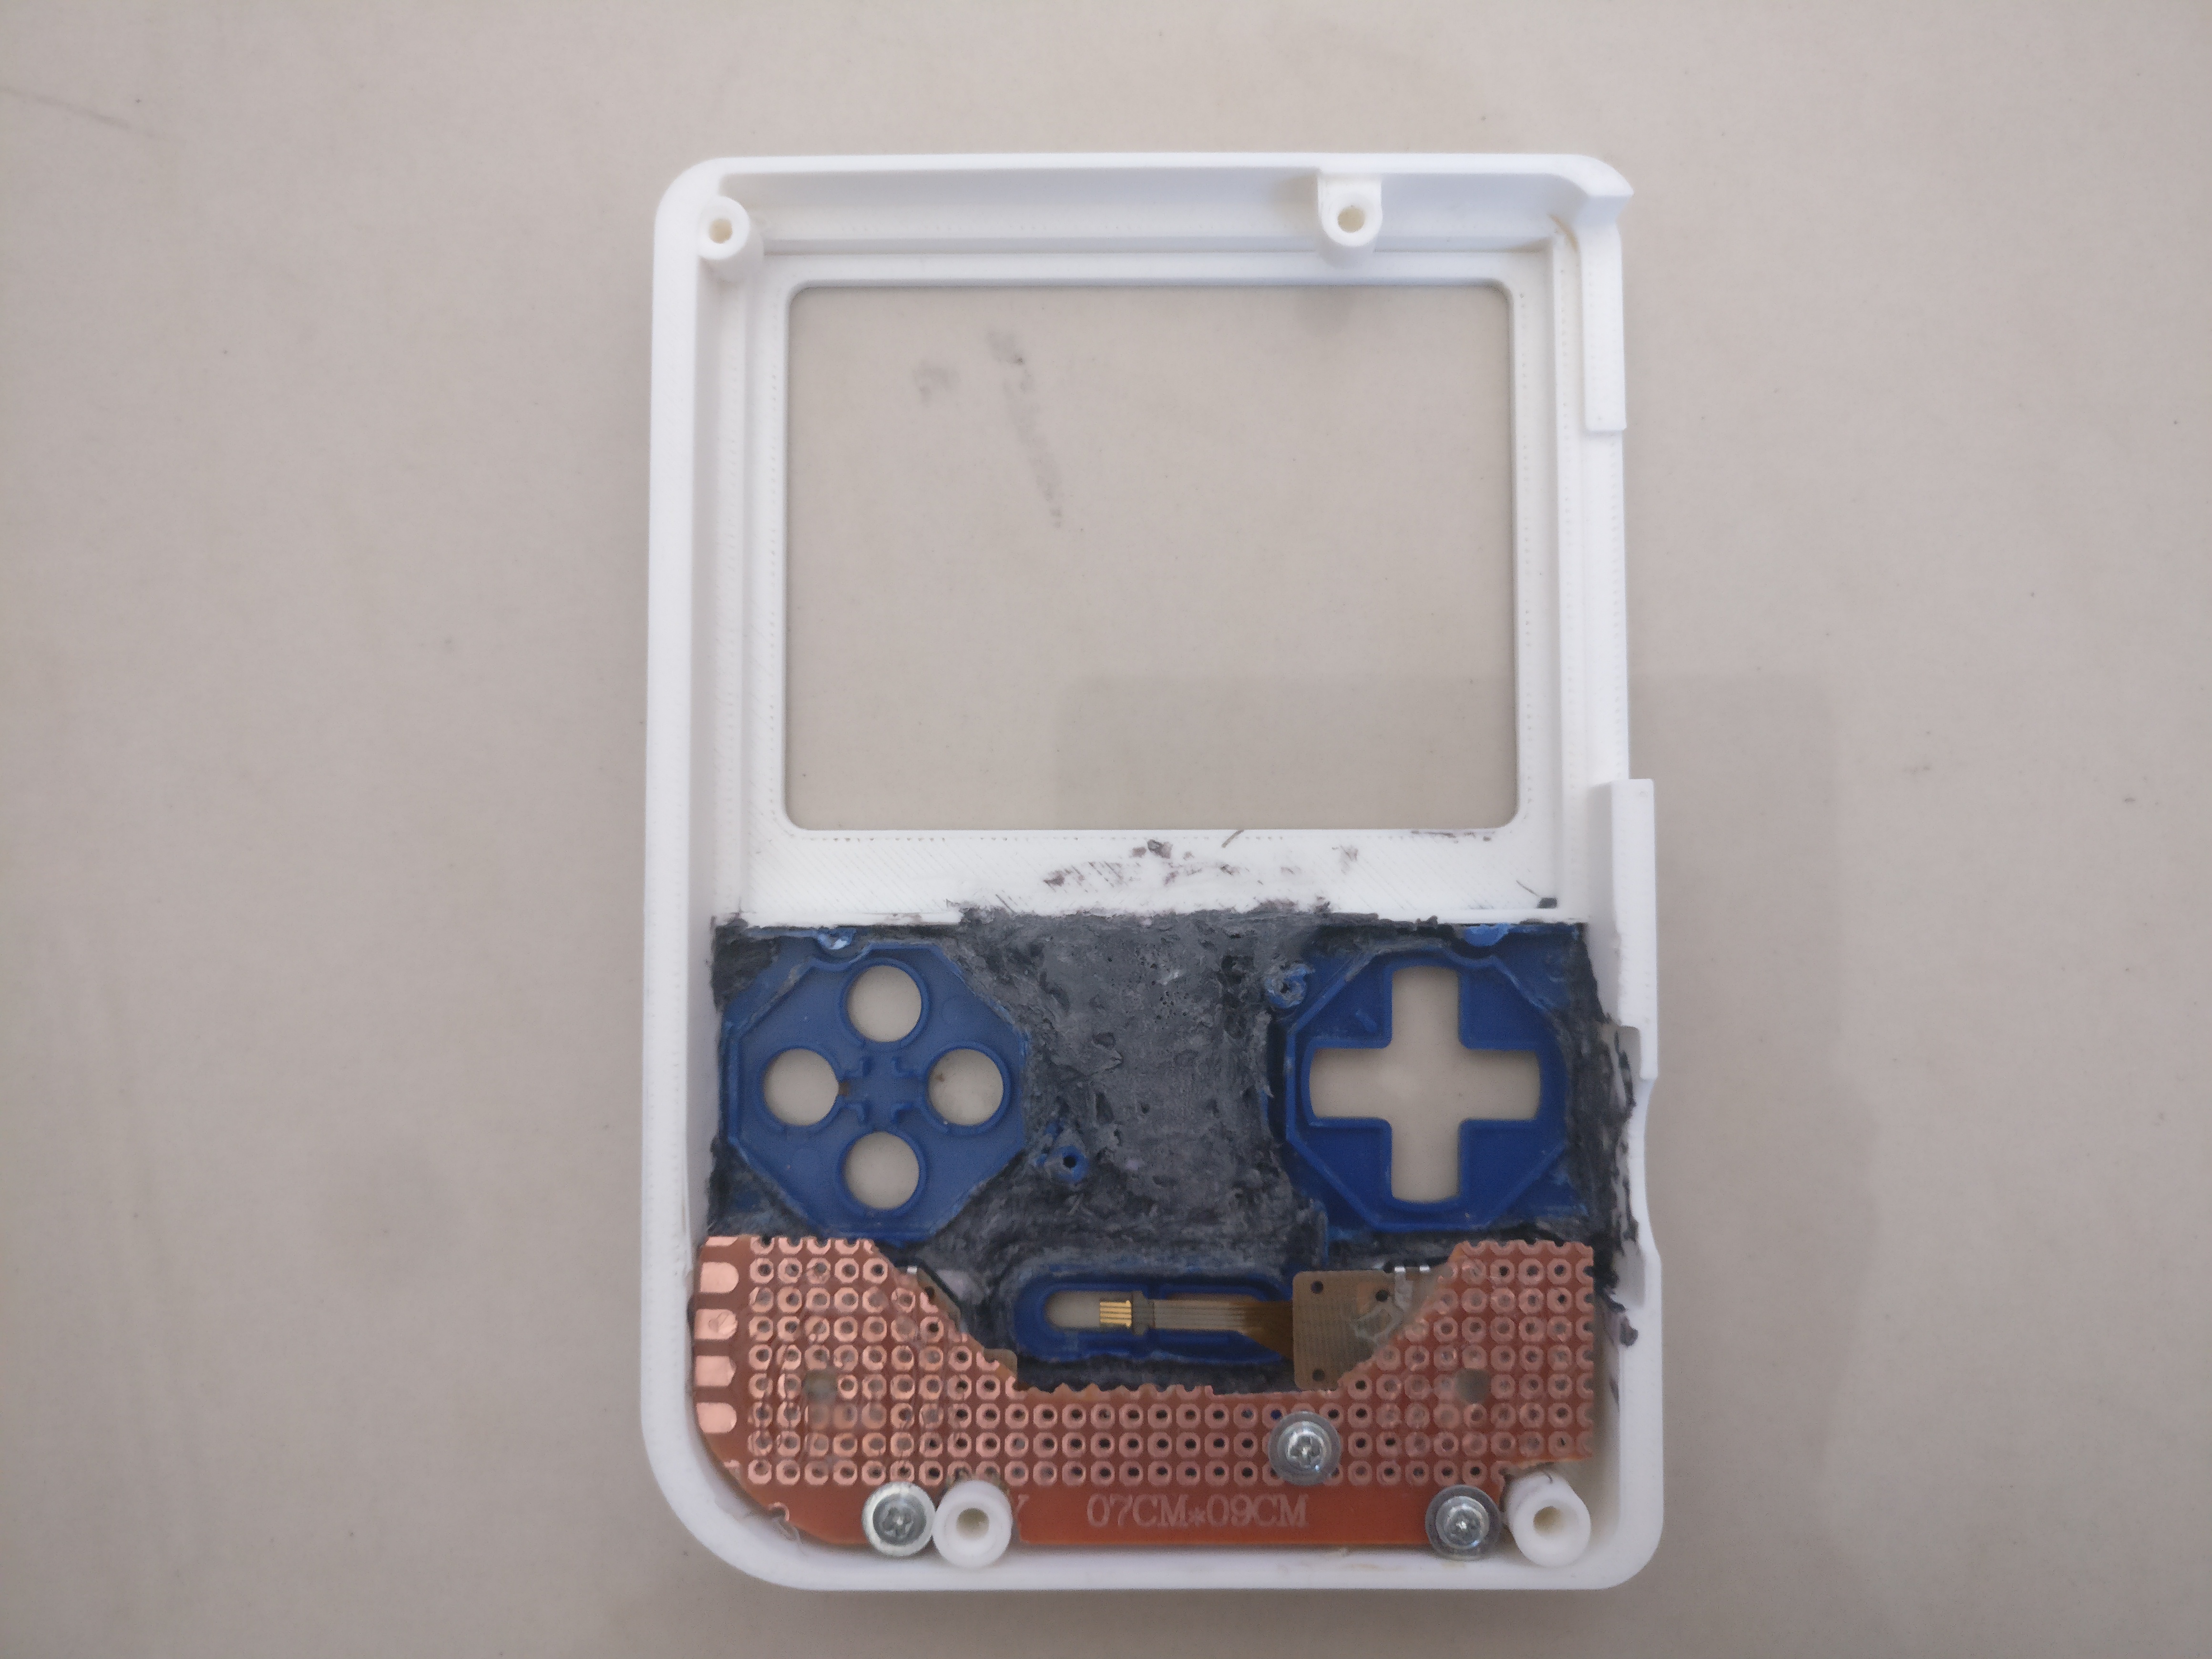

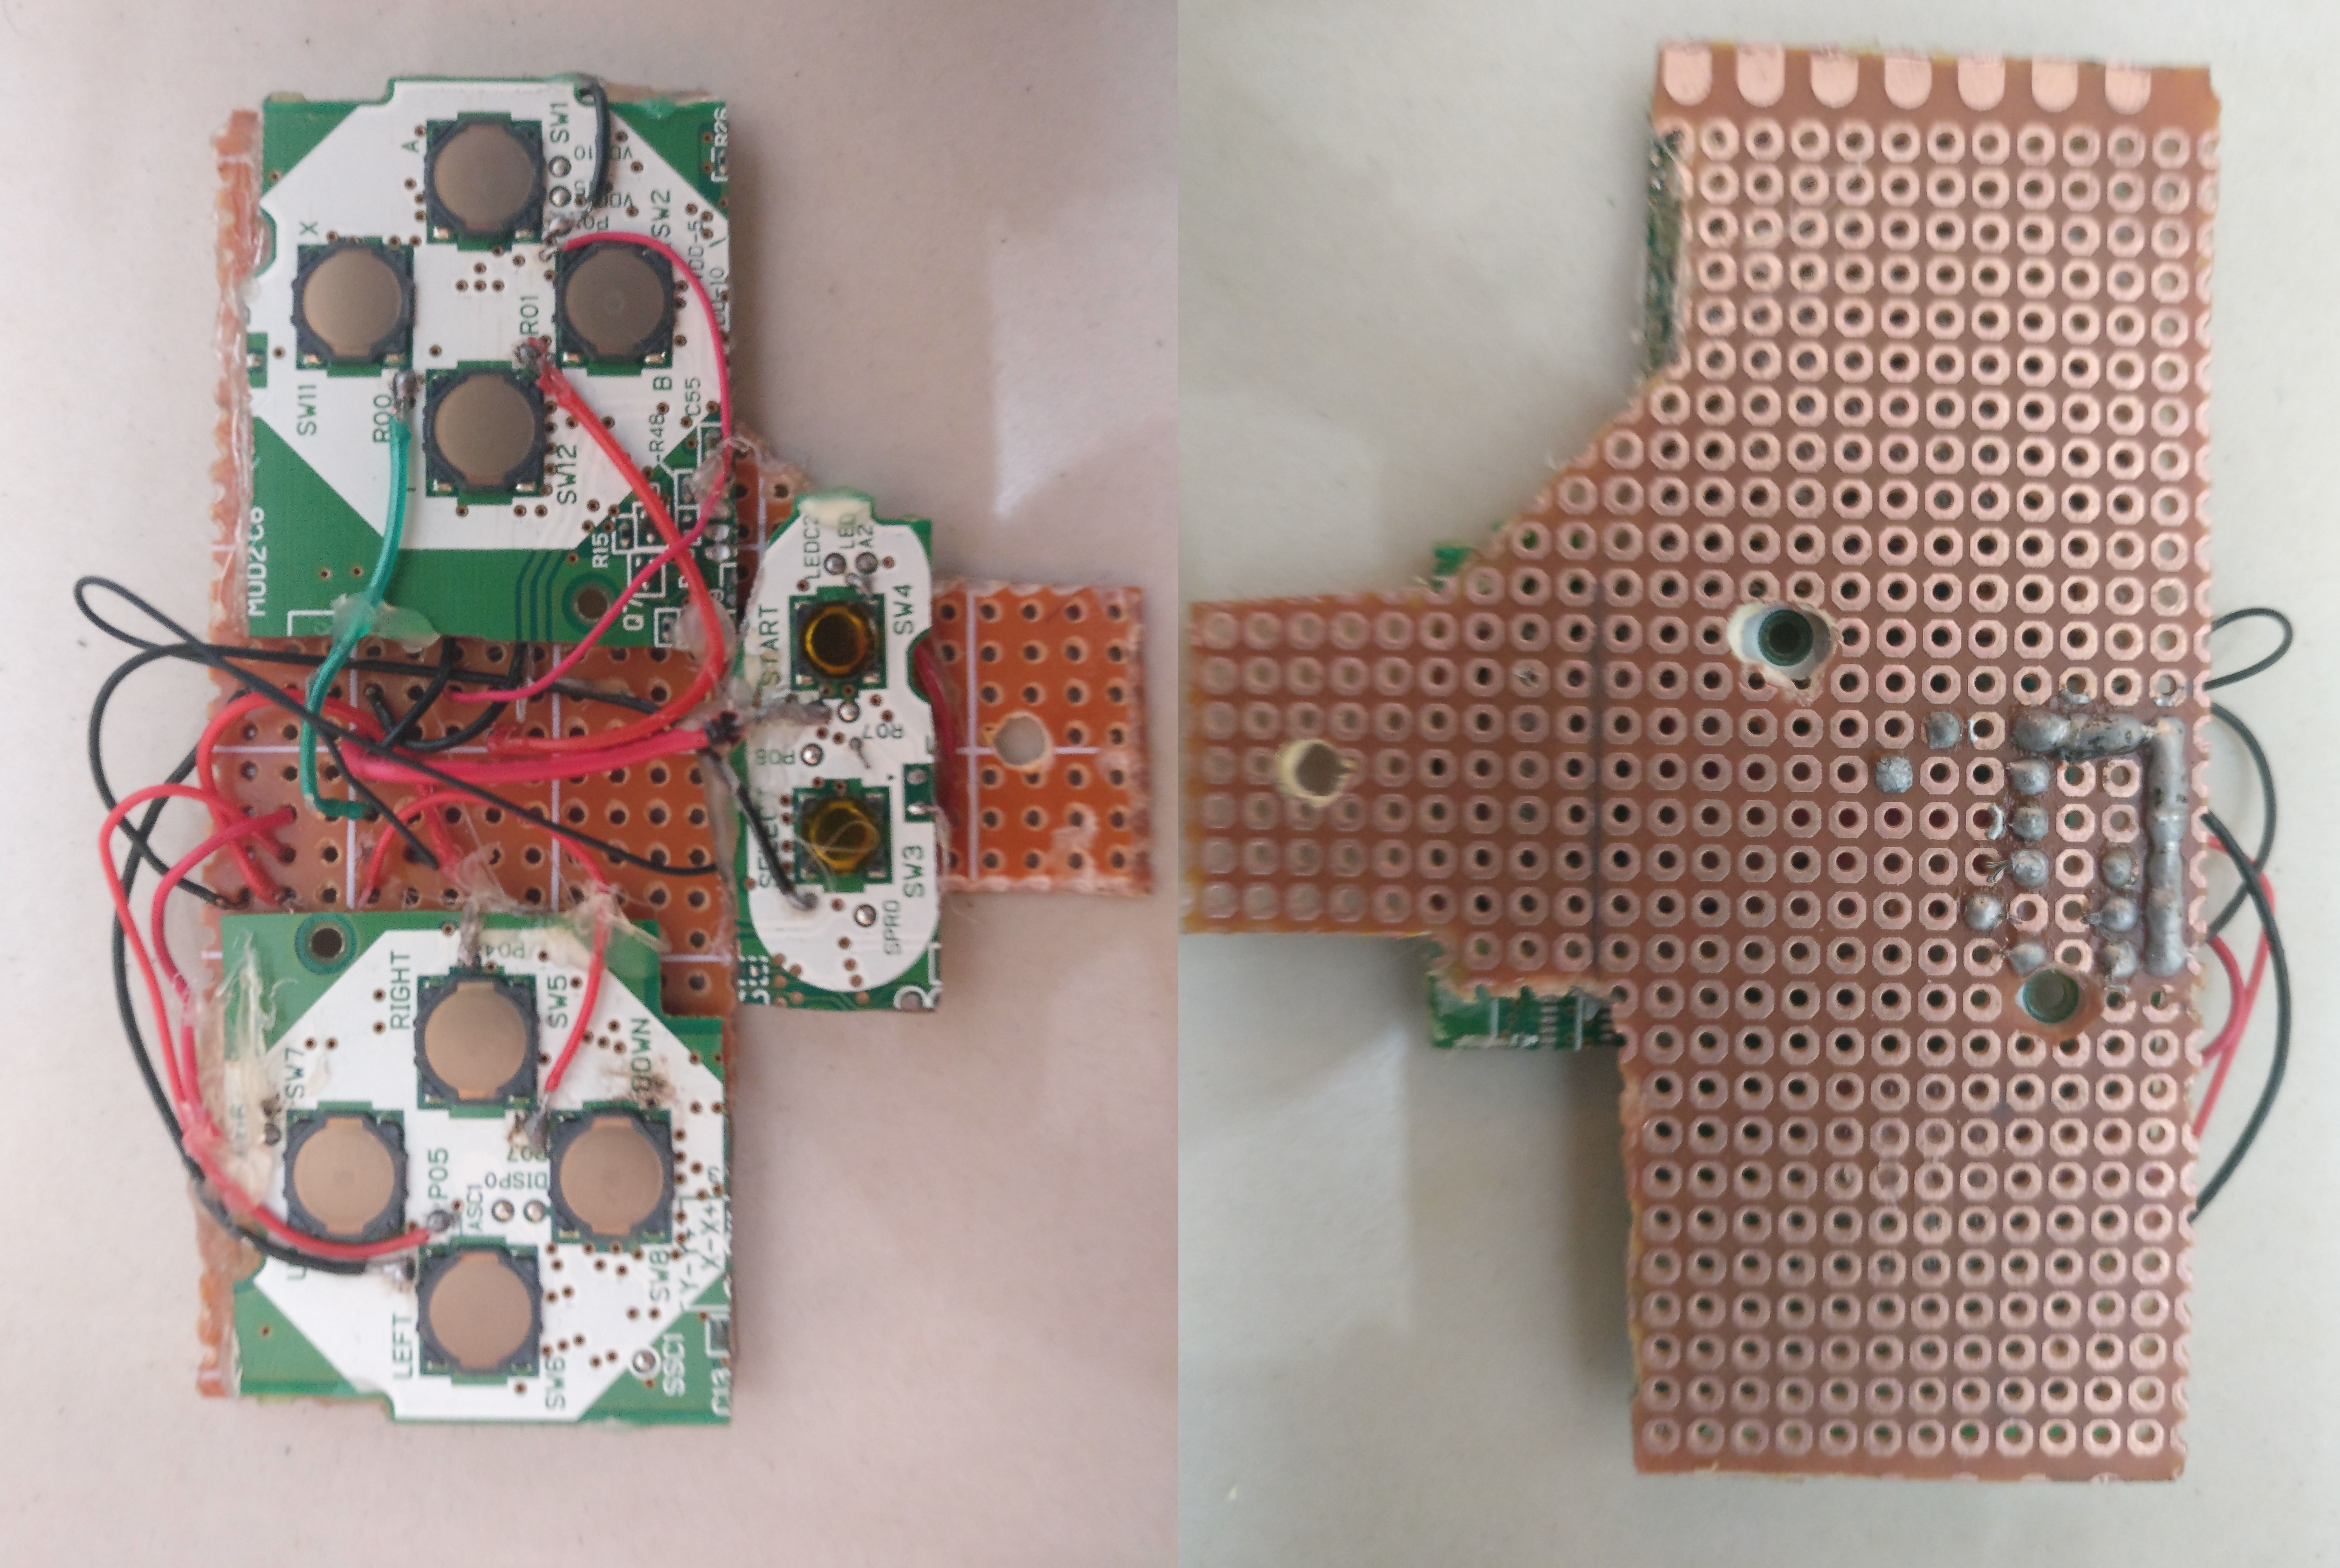
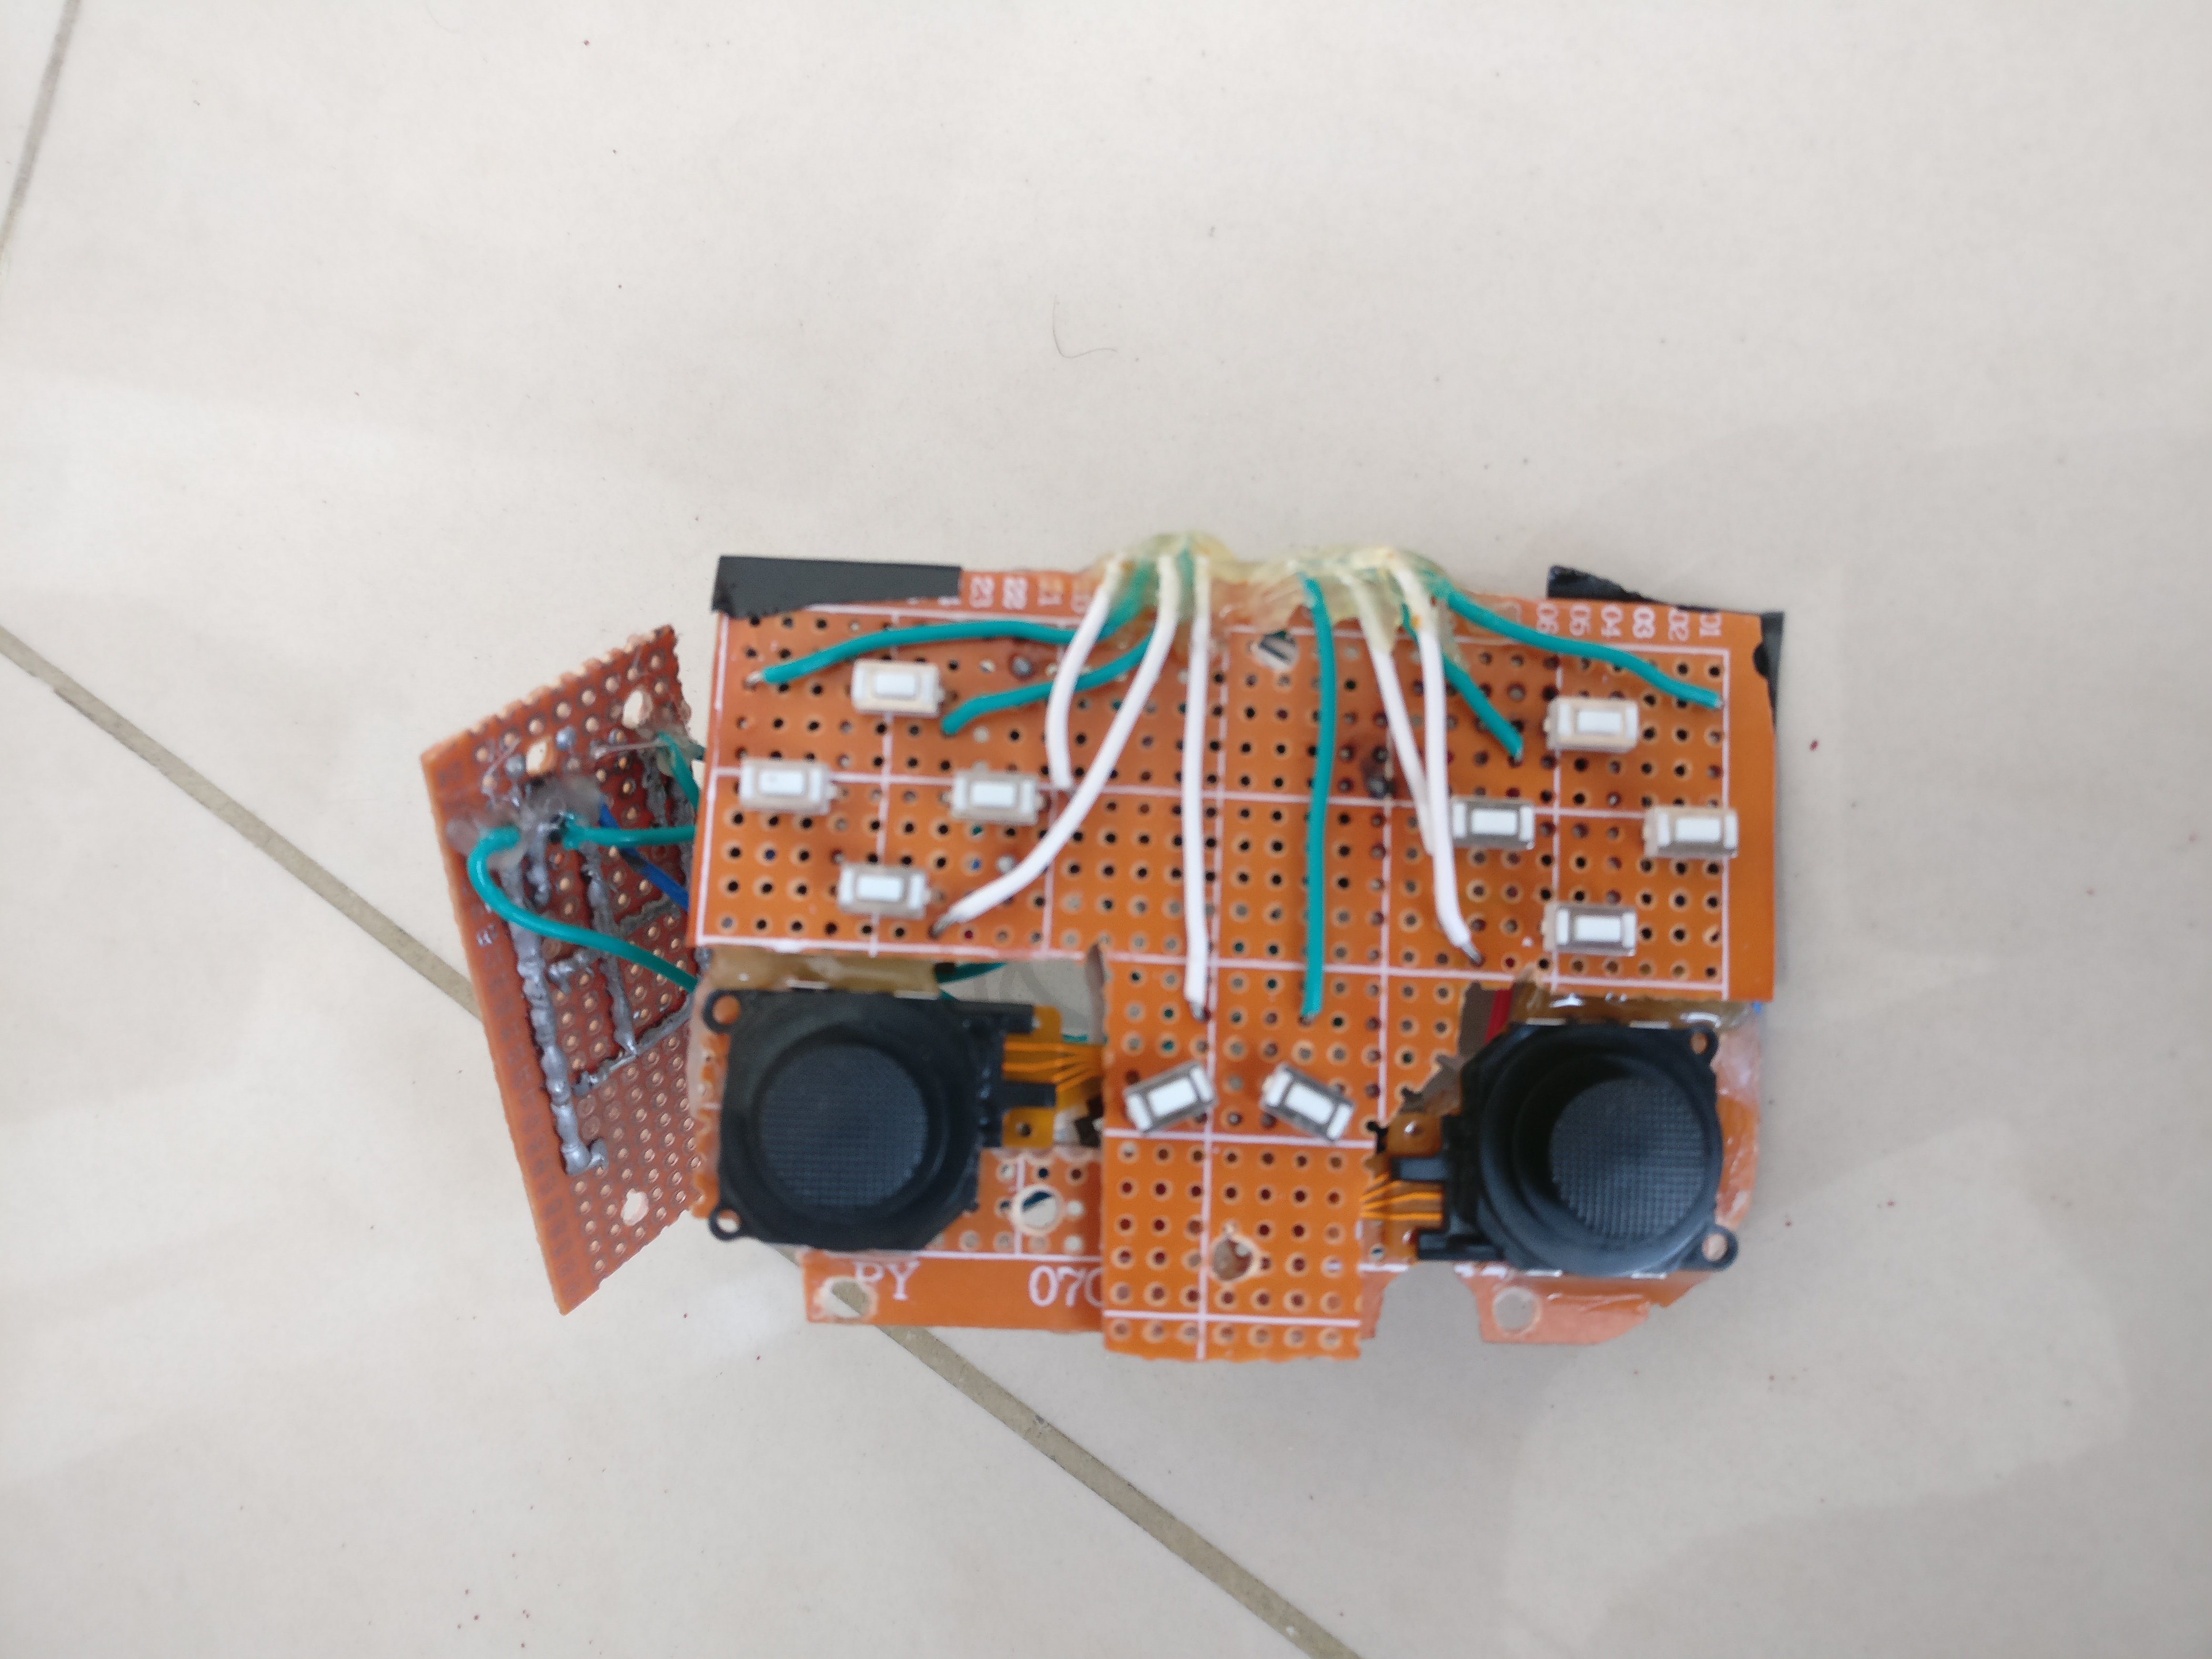
I made a pinout of the NDS phat button pcb so that I can solder it to my teensy 2. It worked for a while but I ran into issues later on because the connections started to bridge. I learned not to solder connections close to each other the hard way.
In the end I made a couple different button pcbs but sadly had to settle for the tactile ones (once again I never heard of the squishy variant at the time).
Notice how inconvenient those psp 3000 analog sticks are because they are longer than the psp 1000 ones and got those ribbon cables which made an easy task harder....
I really would have preferred thinner wires but I couldn't find them anywhere where I lived.
I applied some bondo to the case and sanded it down until it was completely smooth, then I spray painted the case and sprayed some clear coat over it. I applied some carbon fiber vinyl to the front of the case and eventually to the back of the casing as well.

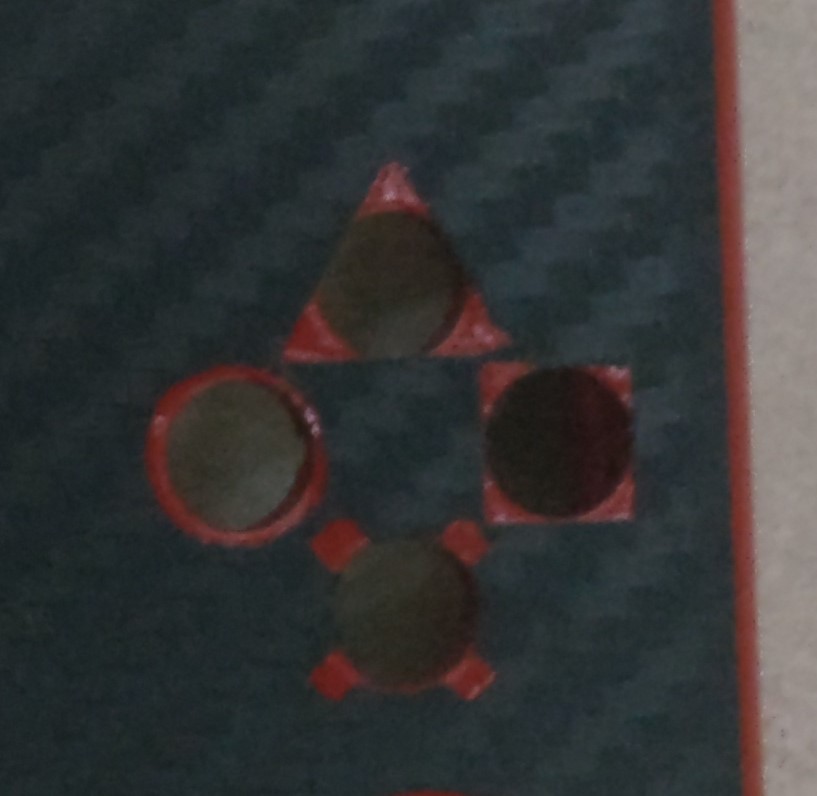
And that was when I noticed THIS MISTAKE!!!!! (I accidentally inverted the circle and square PS symbols)
Plz don't kill me....
At this point I noticed that the headphone/video jack on the RPI was noisy when I plugged in a headphone. Consequently the audio coming out of the speaker suffered the same issue.
I was able to minimize it a little bit by tweaking the audio configs but sadly I had to settle with that...
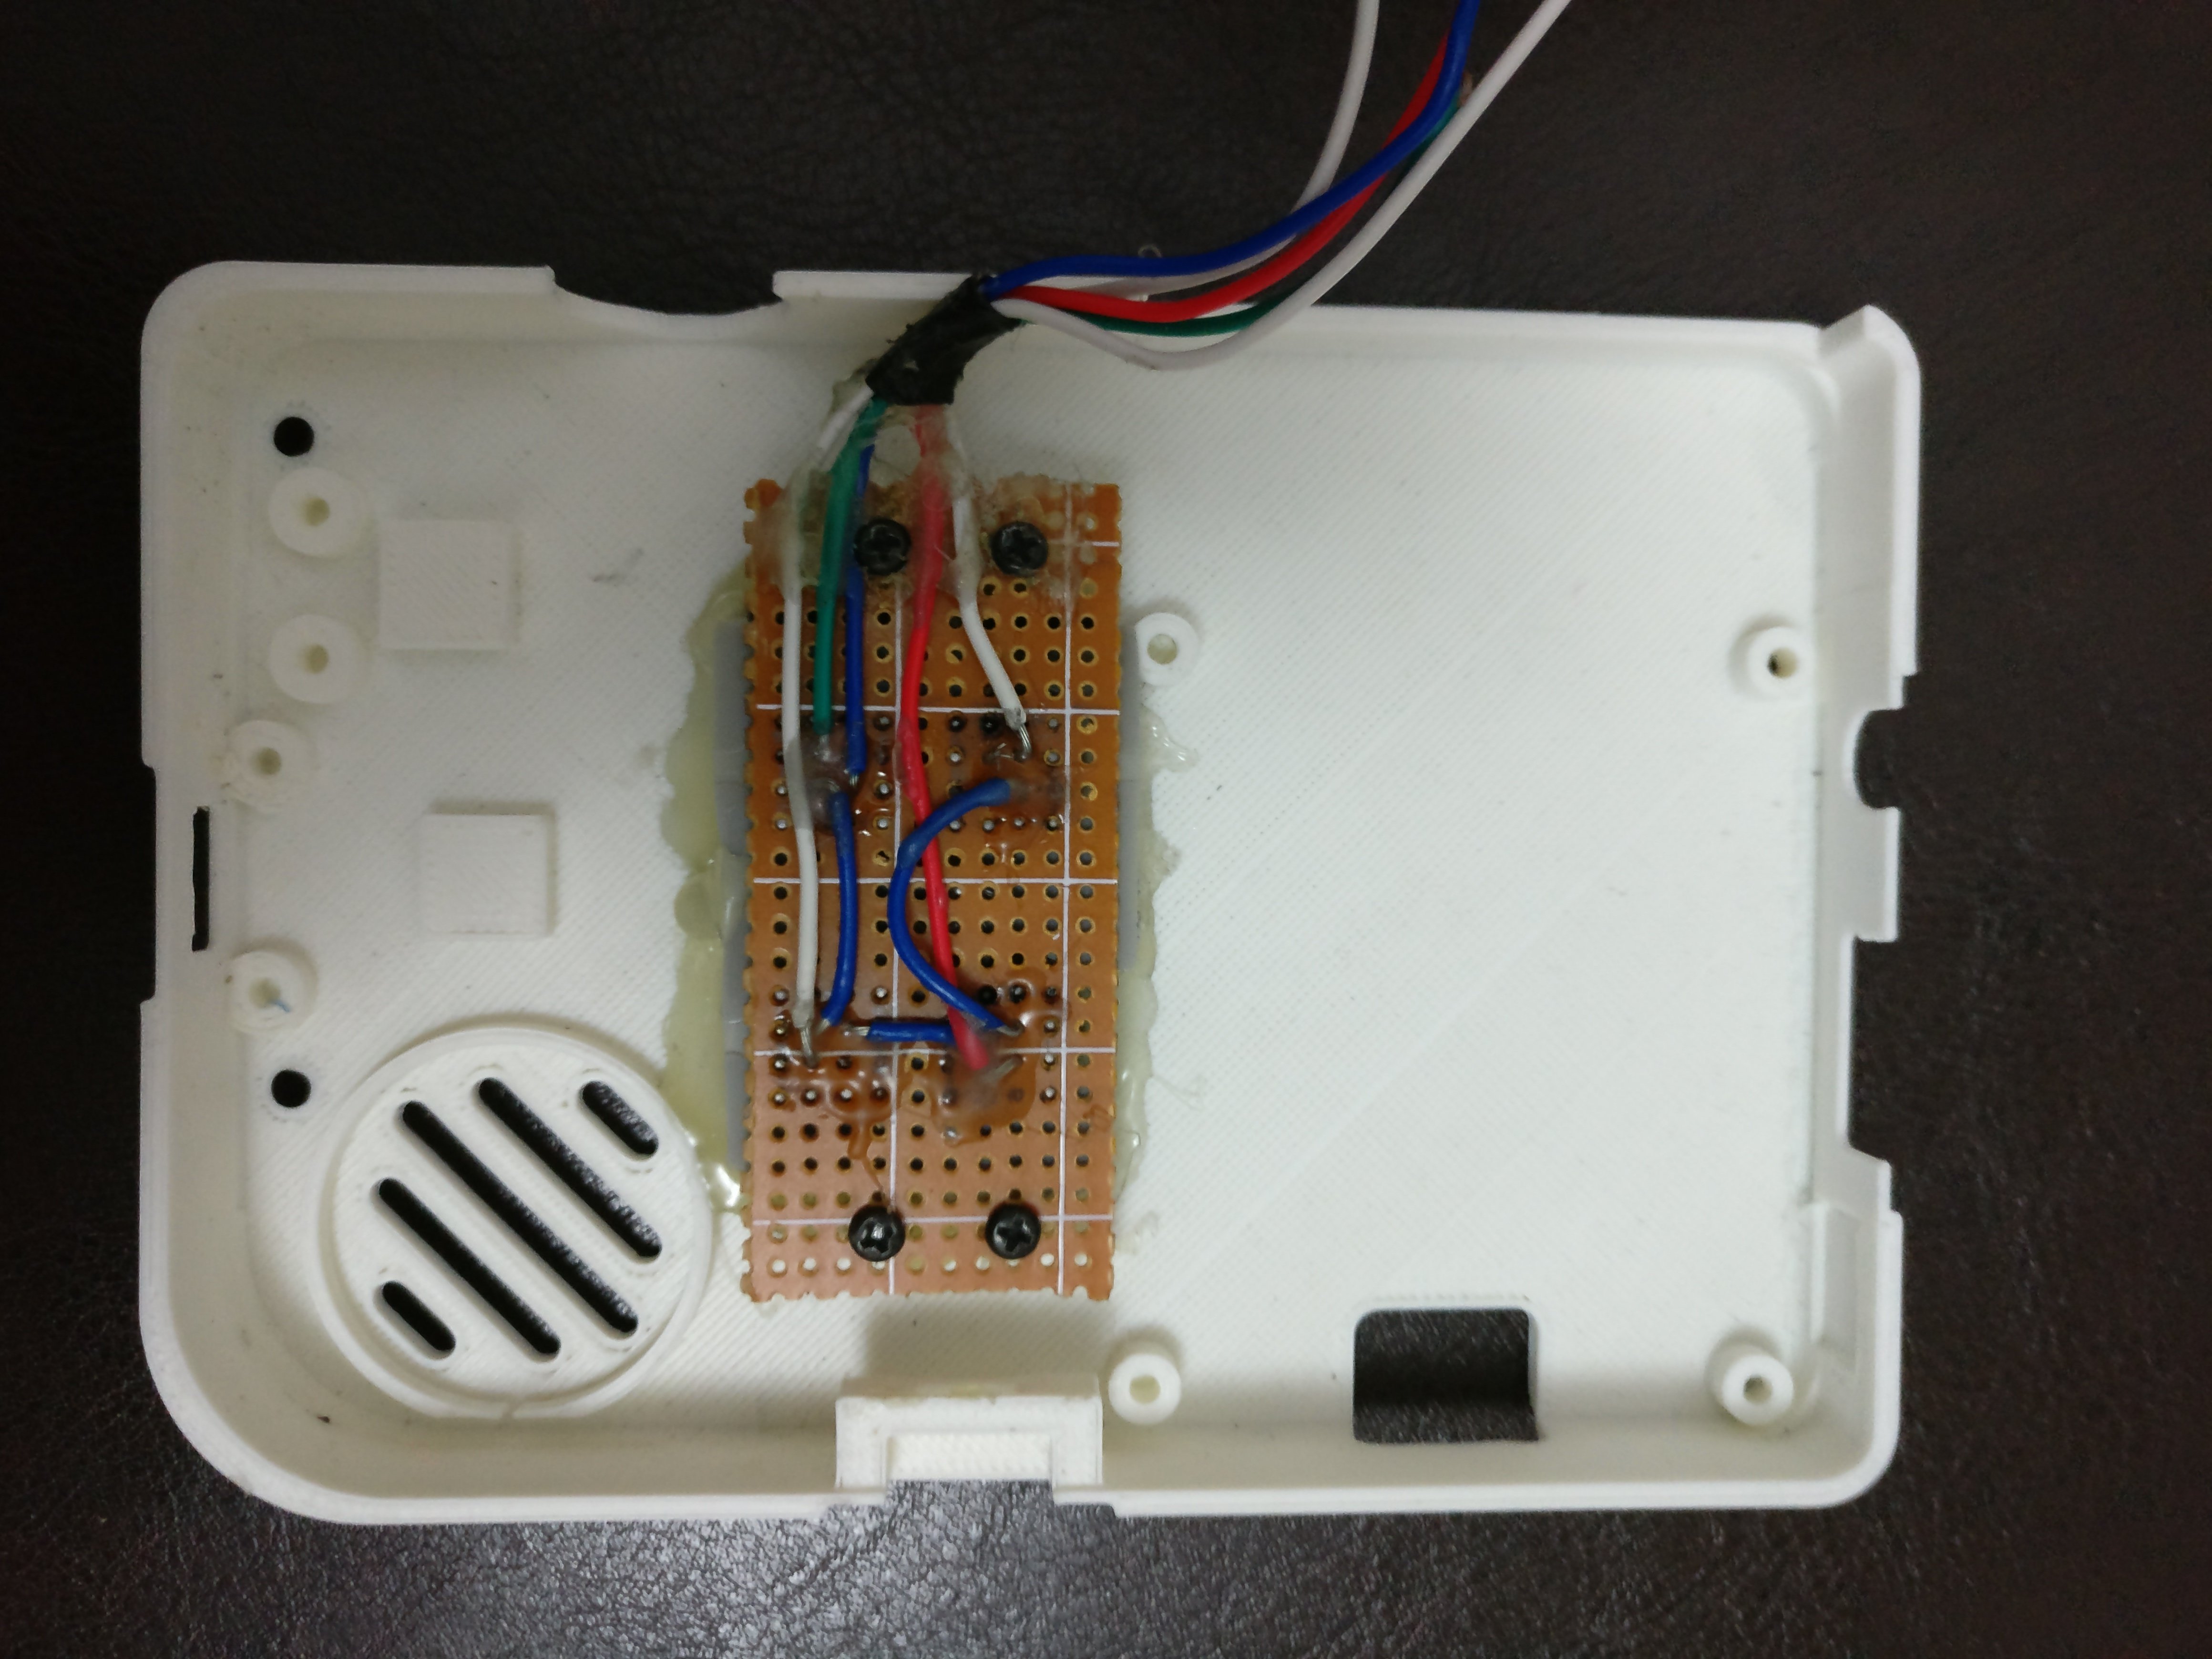
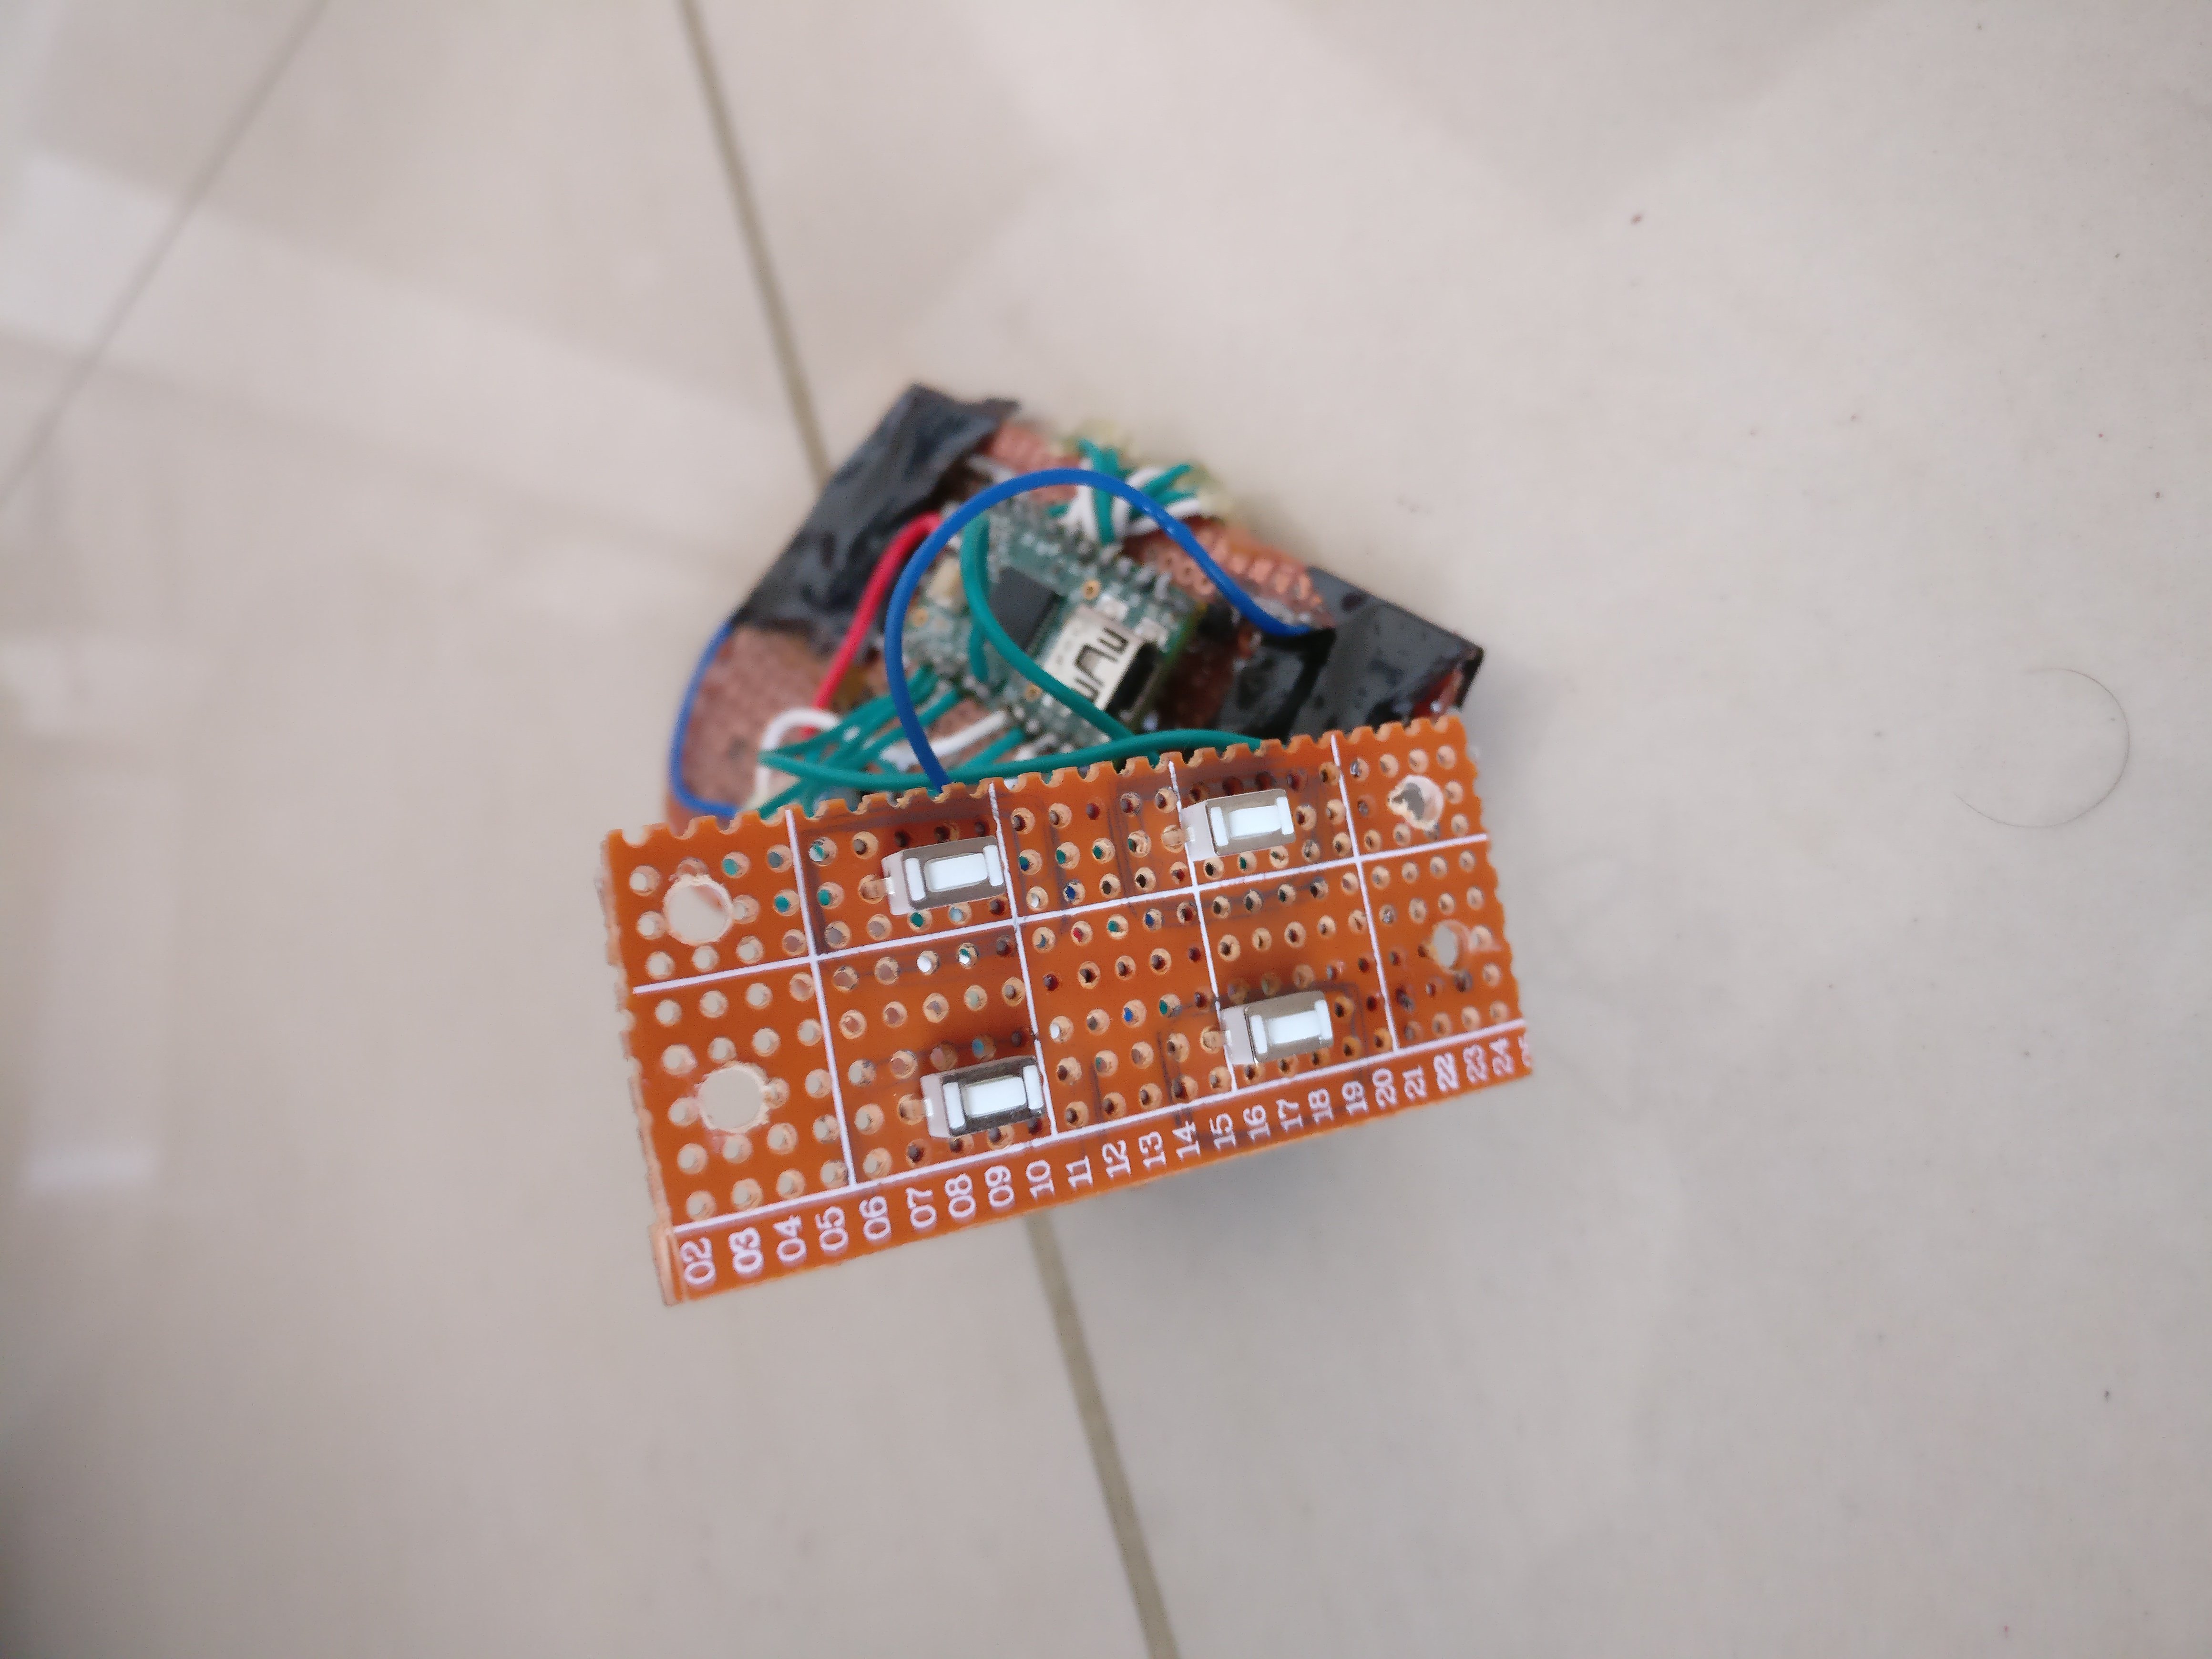
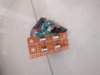
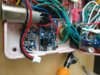
I wired up the powerboost 1000c, the audio amp, THE HUGE POWER SWITCH (insert Arnold voice), the mute switch and the small 8 ohm 0.5 watt speaker and programmed my teensy 2. I had to desolder the JST connector on the powerboost and solder the battery directly to the pads taking care not to short the battery.
 I regret using that huge power button even though its LED is fabulous.

I wired the ground and 5V wires directly to the powerboost and shortened the composite wire since I was having issues with interference.
Sadly I couldn't completely get rid of the interference but its minimal so it doesn't bother me.
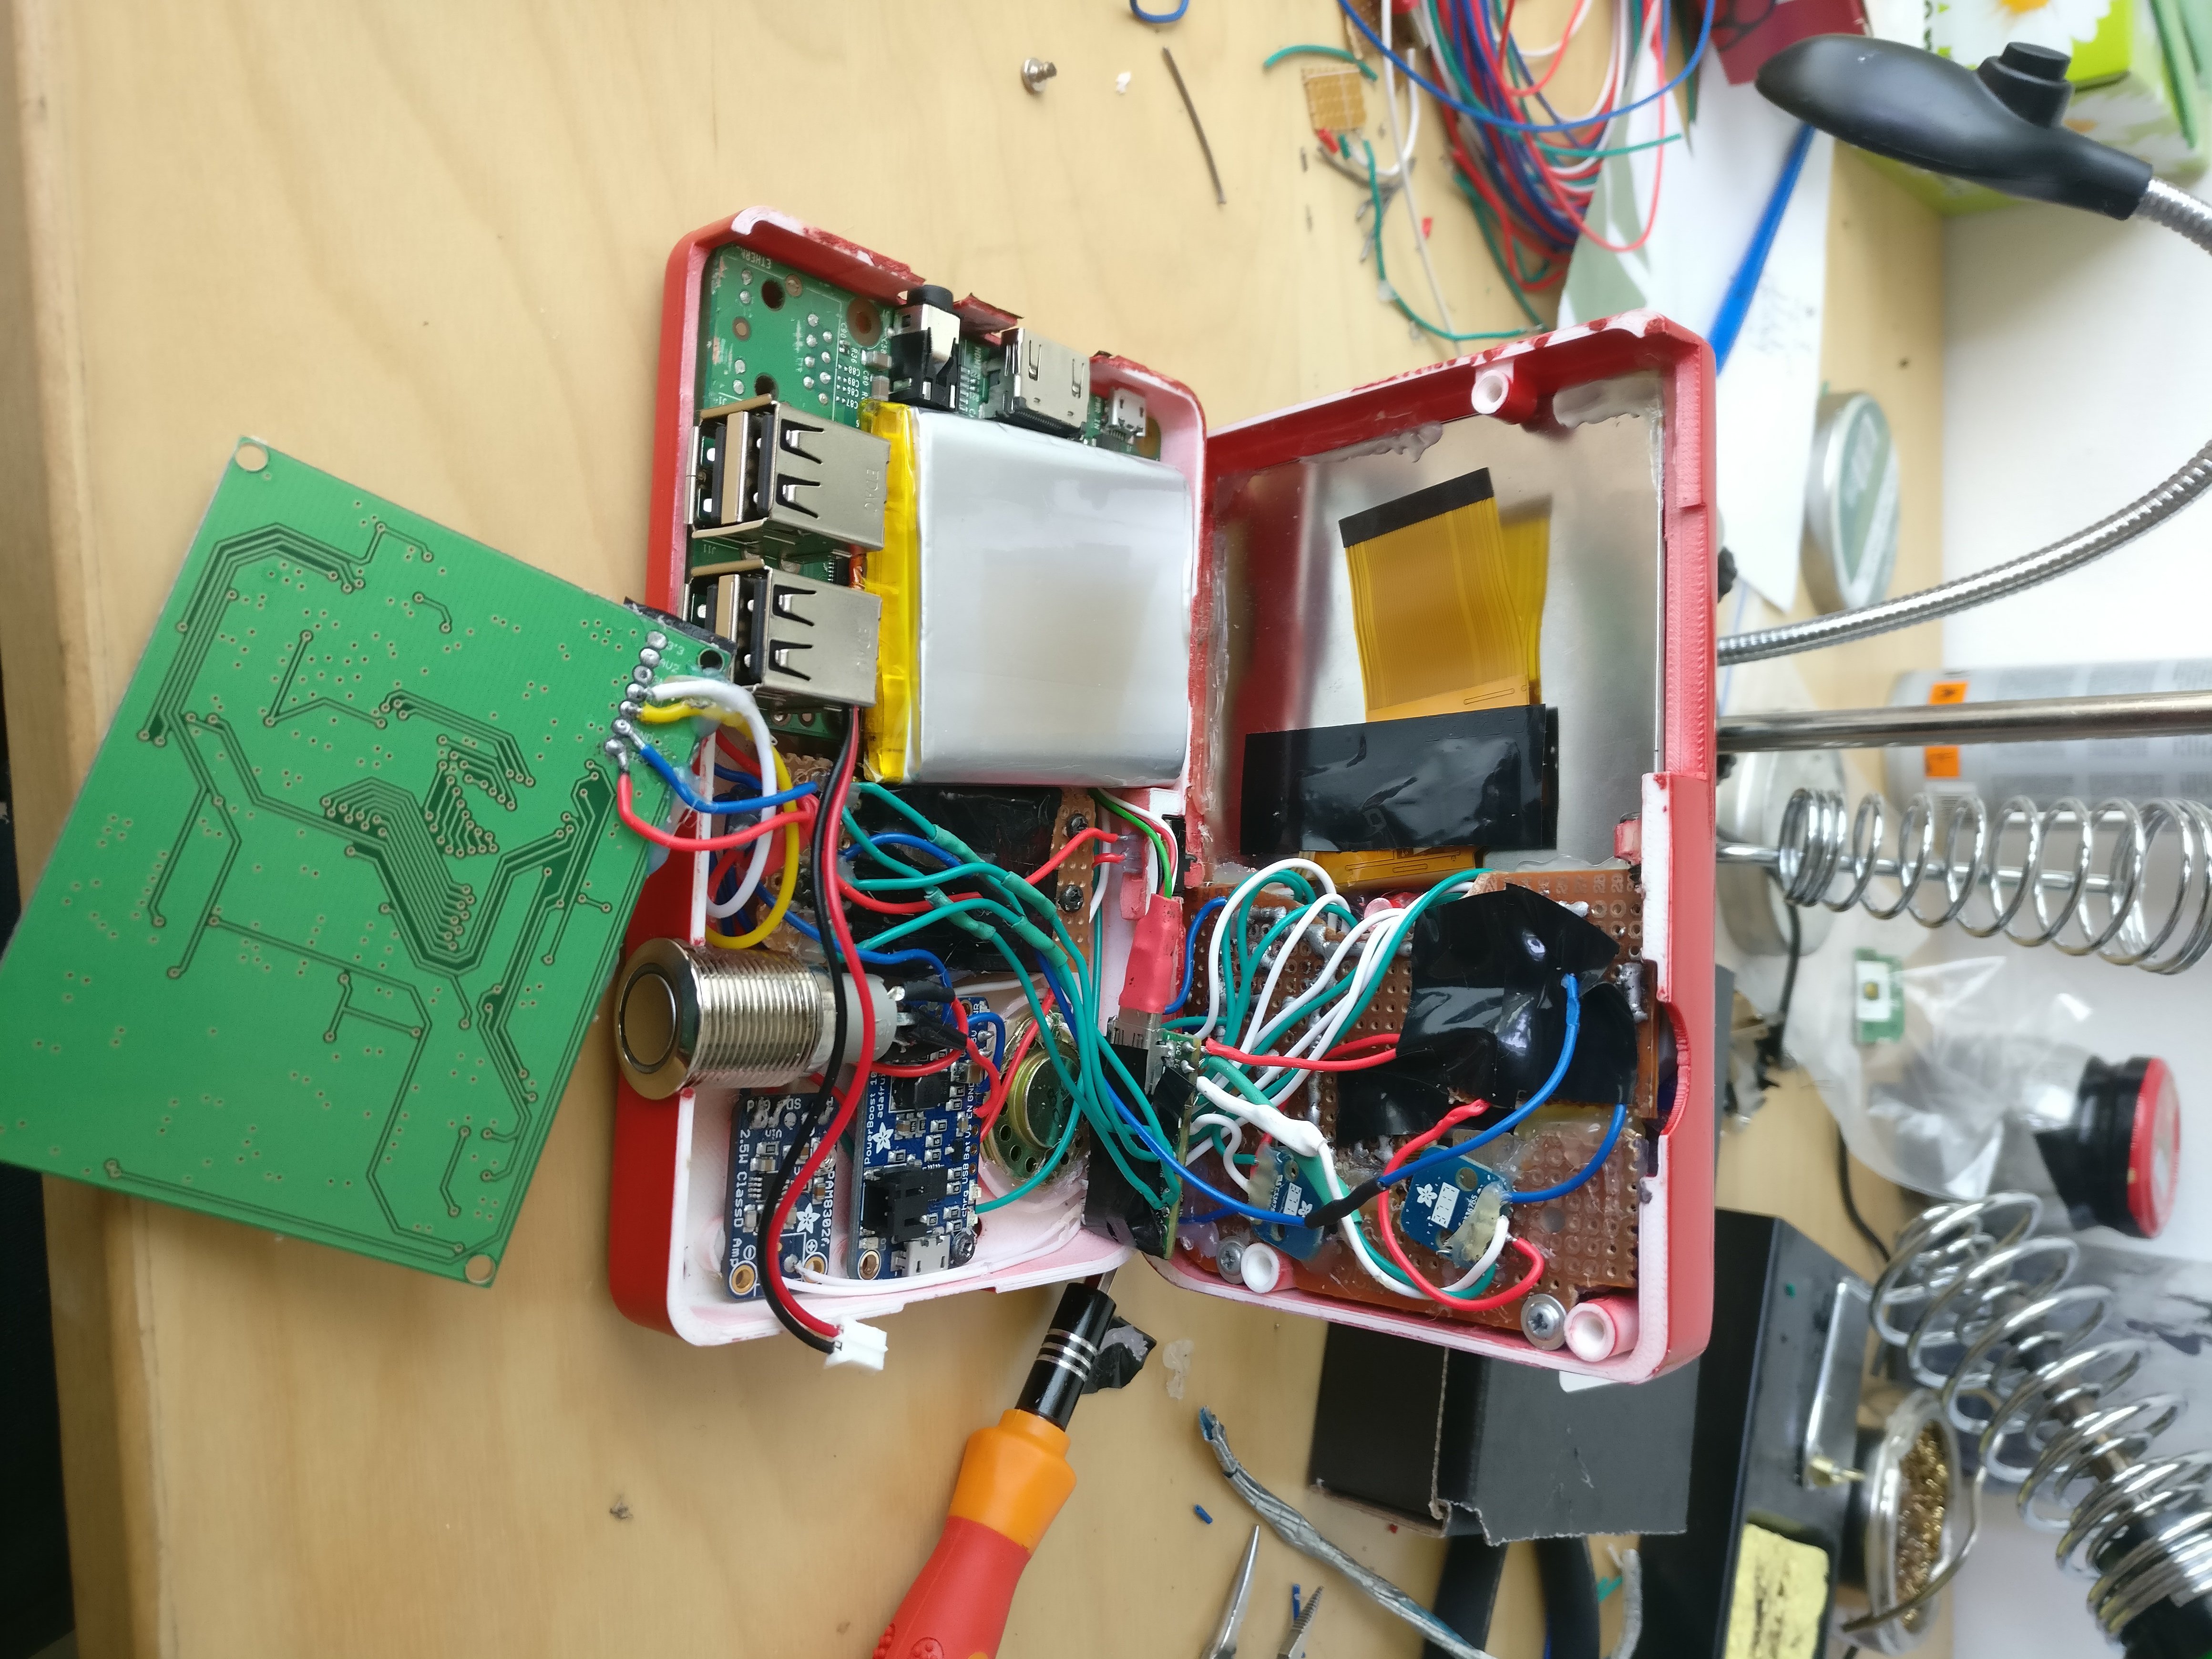
When the time came to close the casing, the thick wires started biting me in the ass. I rerouted some wires before closing it but it was a pain. It was a tight fit but it closed without any forcing.
And viola it is done!!!!
I didn't have much energy to take many pictures but I will make a video on it on youtube later on.
What I would change in future builds:
I'm Arzeon! I'm completely new to this forum and any forum in general
. At first I just roamed around on this forum without creating an account for my love of looking at Wii portables because they are like an unreachable dream to me since I never before this project held a soldering iron in my hands and was completely ignorant when it comes to tinkering. Well that changed since one month ago since I decided to make this project to "test the waters" and as a first step to getting familiar with building a portable. I felt it would be very fitting to post this project on this forum, as it is the very forum that inspired me to pickup this hobby. As you might have guessed by now I want to get into the portablizing scene, so i'll be counting on you guys .Building this portable took me one month. I was being a bit ambitious but I think it payed off this time around. I've acquired some skills such as soldering, programming an ardruino/teensy using c language, frankencasing, spray painting and a little bit of 3d modelling (which I ended up not using in my project due to it being unprofessional).
The Emulation Boy features and specs include:
- A raspberry pi 3 (Duh)
- A 3.5" 320x240 composite tft screen from adafruit
- Nintendo DS Phat buttons
- 2 Psp 3000 analog sticks (1000 ones were out of stock)
- A fancy but unnecessarily bulky LED embedded power switch that takes up a huge portion of the system

- 4 usb ports (for that multiplayer goodness) but no Ethernet port (to compensate for the awfully large composite video controller board)
- A teensy 2 board
- A mono speaker
- Adafruit powerboost 1000c
- A Franken cased 3d printed case (provided by Rasmus hauschild on his thingiverse page)
- A 2500 mAh 3.7v battery (I didn't really measure how long it lasts, but it lasts long enough...)
- seamless switching between the composite display and HDMI
- A functional audio jack
- It runs Dreamcast, N64, NDS, psp games quite well (due to the low resolution)
if you want to checkout the teensy 2 code and the internal wiring of the portable click here.
Here is the finished product!
The emulation boy's size compared to my battered up DMG Gameboy from when I was a fetus. It is running Super Mario 64 using Drastic emulator(It runs flawlessly). I will show off more games and emulators once I find the time to make a proper video
And here is the log of my project:
first I desoldered the GPIO header pins and the Ethernet port and I removed the display and camera connector. (Sadly I forgot to take pictures of the slimmed down board since this was my first solder/desolder job and it wasn't very easy...)
Then I modified the composite display controller board to run of of 5V. After modifying it I soldered the AV1, Vcc and GND to the raspberry pi 3. I temporarily soldered the Vcc and GND wires to the micro usb port test pads.
I modified the back piece of the 3d printed case using a dremeled part of a casio calculator and hotgluing it to the cutout I made in the case.
I did this because the texture of the 3d printed buttons felt bad and was moving around a lot and generally just wasn't to my liking.
I first made a messy pcb that utilizes contact pads since they feel more authentic than tactile switches (I never heard of squishy switches at the time), but I decided against it since it took up more space....
I decided to frankencase the front piece of the casing using the case and buttons of my dead Phat Nintendo ds, so I prepared ABS slurry and ABS glue made from pieces of scrap abs plastic and some good old acetone. I used this method because I heard that epoxy can crack and ABS slurry/glue fuses the 2 parts making a rigid and more flexible bond.
This is how it looks after sanding the excess ABS and test fitting the DS buttons. Frankencasing is so worth it because it feels authentic compared to those loose 3d printed buttons......
I'm quite picky about how a handheld feels in my hand.
I drilled 2 holes and sanded them for god knows how long (because I didn't have the proper drill bit size) until the psp analog stick fit snuggly inside.
I made a pinout of the NDS phat button pcb so that I can solder it to my teensy 2. It worked for a while but I ran into issues later on because the connections started to bridge. I learned not to solder connections close to each other the hard way.
In the end I made a couple different button pcbs but sadly had to settle for the tactile ones (once again I never heard of the squishy variant at the time).
Notice how inconvenient those psp 3000 analog sticks are because they are longer than the psp 1000 ones and got those ribbon cables which made an easy task harder....
I really would have preferred thinner wires but I couldn't find them anywhere where I lived.
I applied some bondo to the case and sanded it down until it was completely smooth, then I spray painted the case and sprayed some clear coat over it. I applied some carbon fiber vinyl to the front of the case and eventually to the back of the casing as well.
And that was when I noticed THIS MISTAKE!!!!! (I accidentally inverted the circle and square PS symbols)
Plz don't kill me....
At this point I noticed that the headphone/video jack on the RPI was noisy when I plugged in a headphone. Consequently the audio coming out of the speaker suffered the same issue.
I was able to minimize it a little bit by tweaking the audio configs but sadly I had to settle with that...
I wired up the powerboost 1000c, the audio amp, THE HUGE POWER SWITCH (insert Arnold voice), the mute switch and the small 8 ohm 0.5 watt speaker and programmed my teensy 2. I had to desolder the JST connector on the powerboost and solder the battery directly to the pads taking care not to short the battery.
I regret using that huge power button even though its LED is fabulous.I wired the ground and 5V wires directly to the powerboost and shortened the composite wire since I was having issues with interference.
Sadly I couldn't completely get rid of the interference but its minimal so it doesn't bother me.
When the time came to close the casing, the thick wires started biting me in the ass. I rerouted some wires before closing it but it was a pain. It was a tight fit but it closed without any forcing.
And viola it is done!!!!
I didn't have much energy to take many pictures but I will make a video on it on youtube later on.
What I would change in future builds:
- Use Thinner wires
- NEVER use such a huge power switch again
- Buy higher quality solder
- Test the audio beforehand
- Order stuff from ebay
- Invest in a breadboard for testing purposes
- Get a potentiometer to change the volume (I'm using hotkeys at the moment but those don't work with reicast, ppsspp, drastic, mupen64)
- Use a HDMI/DPI display
Attachments
-
 1.9 MB Views: 1,999
 -
 4.7 MB Views: 2,166
 -
 2.8 MB Views: 2,132
 -
 923.1 KB Views: 2,005
 -
 1.2 MB Views: 2,007
 -
 1 MB Views: 2,019
 -
 1.2 MB Views: 2,028
 -
 1 MB Views: 1,983
 -
 2.5 MB Views: 2,118
 -
 2.4 MB Views: 2,066
 -
 2.1 MB Views: 2,111
 -
 2.5 MB Views: 2,116
 -
 2.8 MB Views: 2,148
 -
 2.2 MB Views: 2,223
 -
2.8 MB Views: 2,107
-
 2.7 MB Views: 423
 -
 2.4 MB Views: 398
 -
 1 MB Views: 2,024
 -
 844.3 KB Views: 2,040
 -
 252.3 KB Views: 2,015
 -
 2.6 MB Views: 2,139
 -
 1.7 MB Views: 2,019
 -
 2 MB Views: 2,007
 -
3.1 MB Views: 2,107
-
 2.7 MB Views: 2,137
Last edited:
")