
Hey y'all, I finally finished it.
This took me about 7 months, start to finish.
I'm terrible at work logs but I'm gonna give it my best.
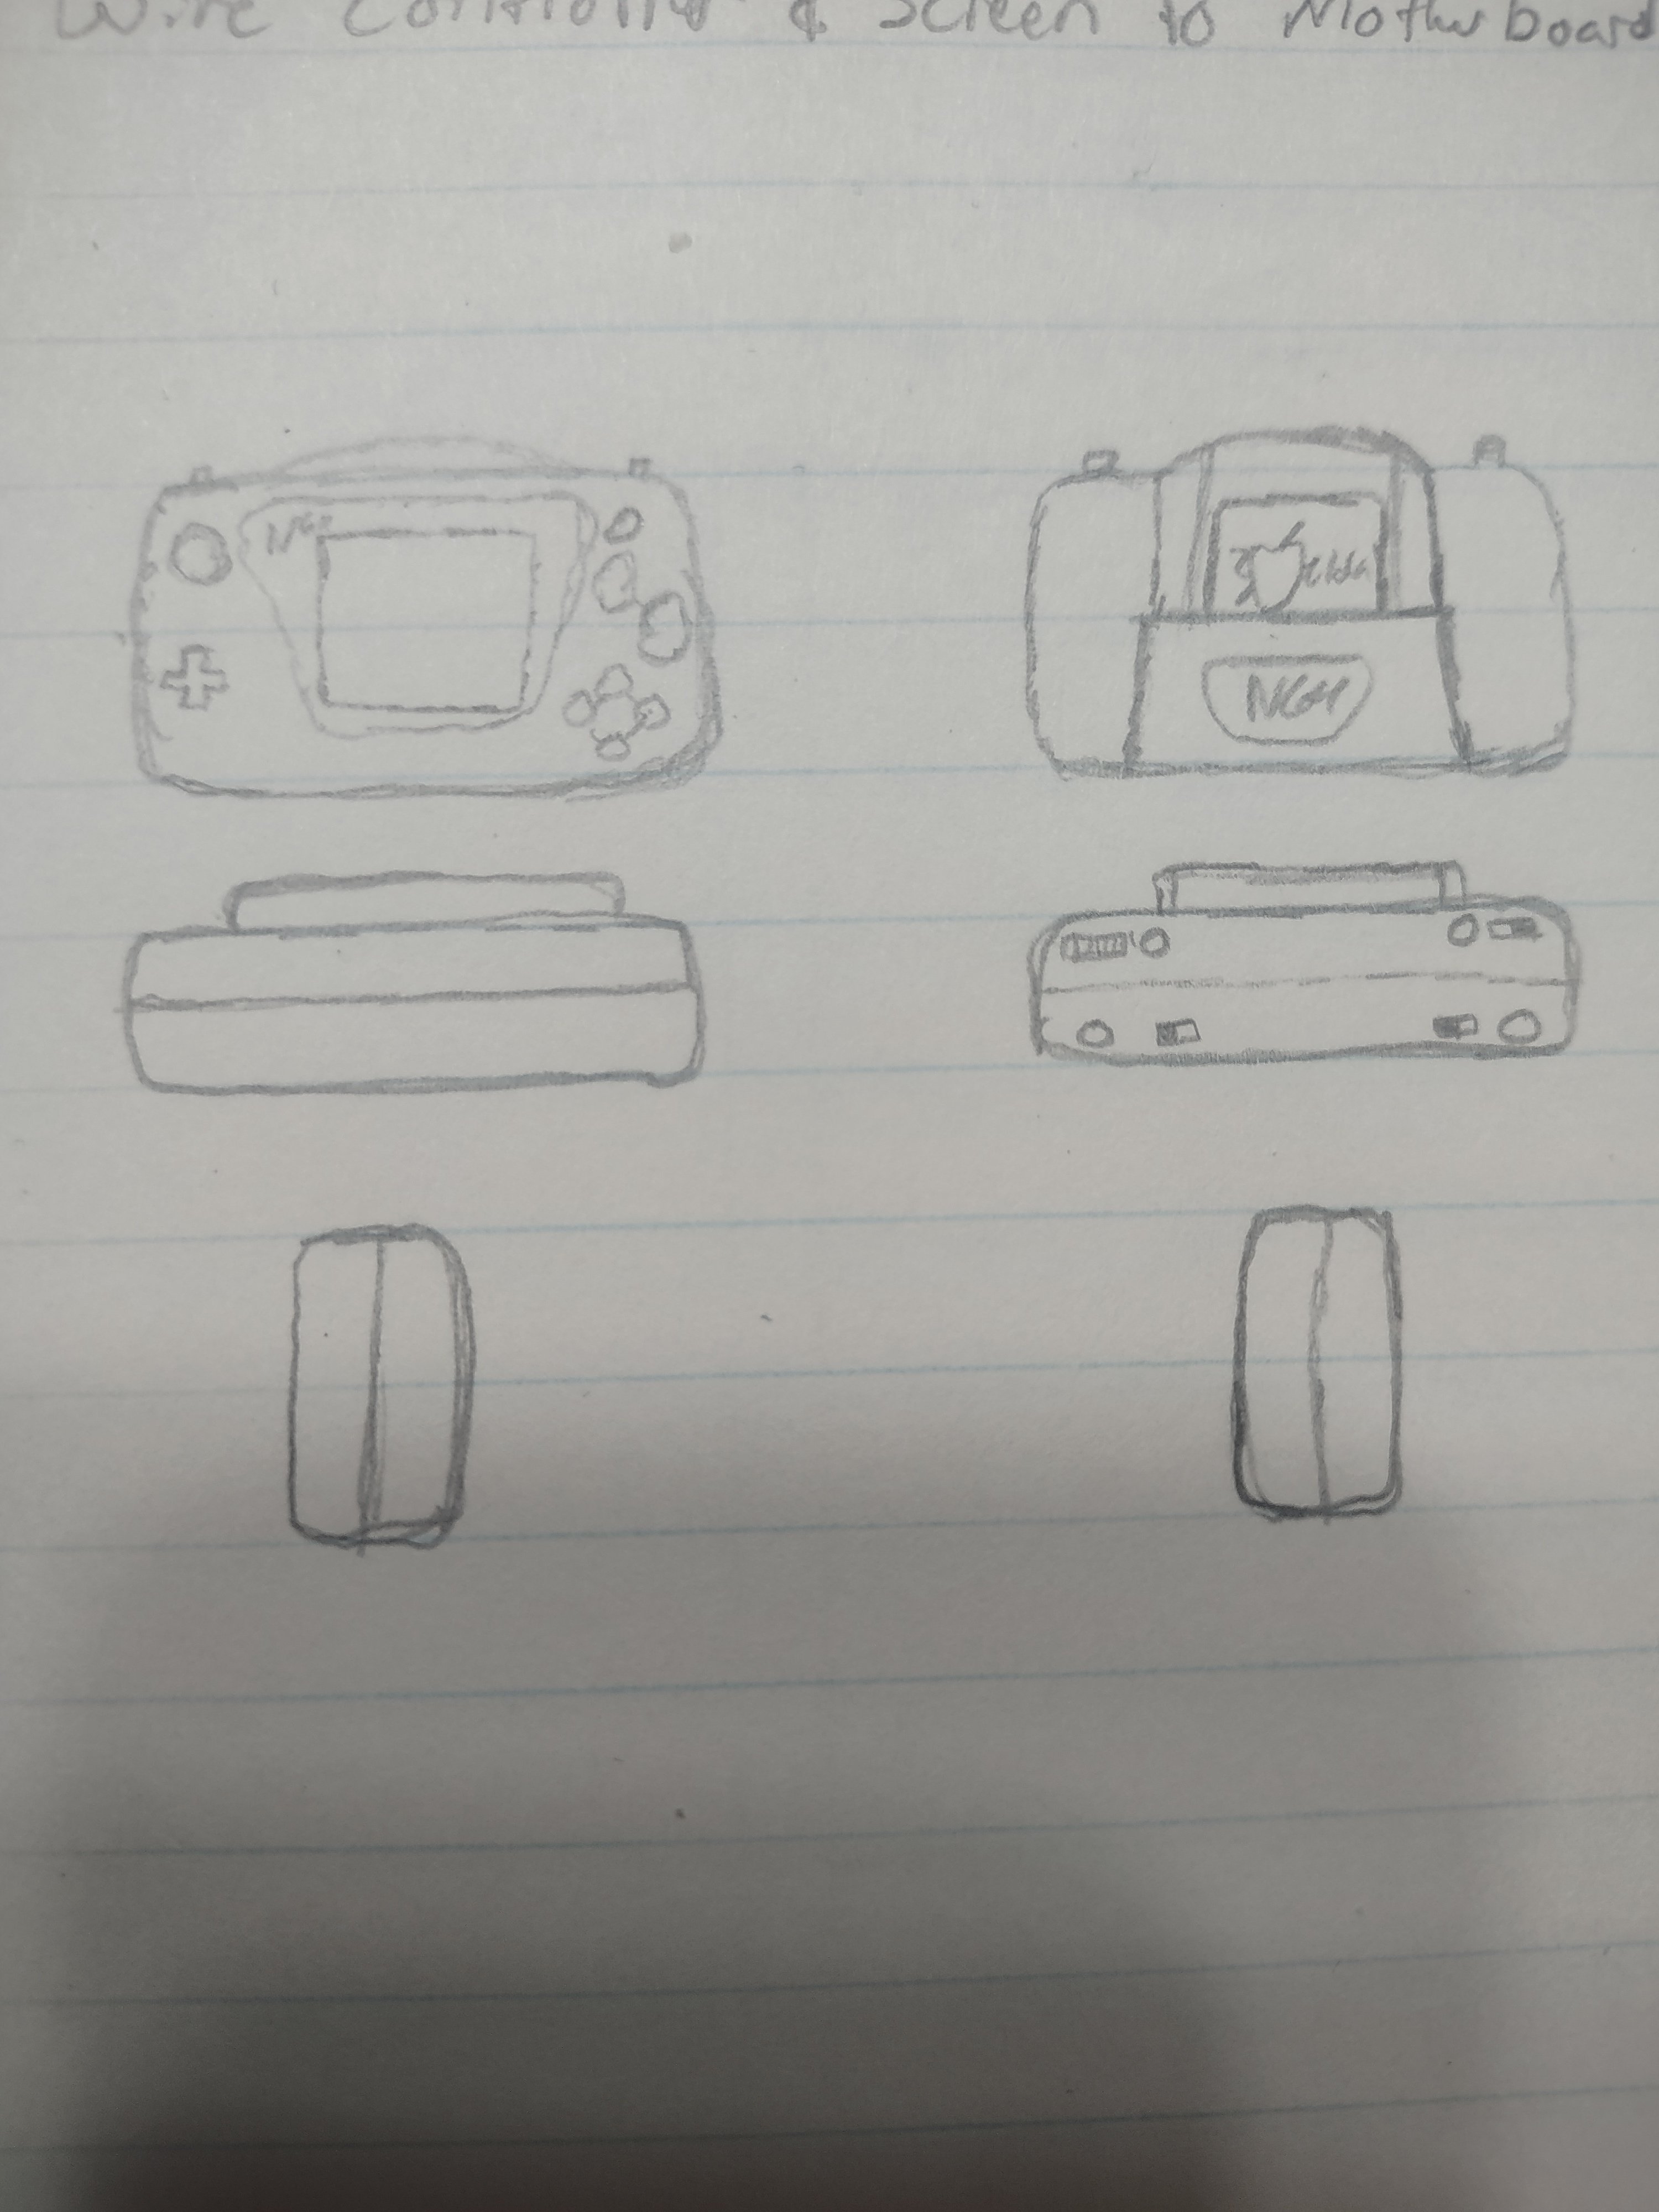
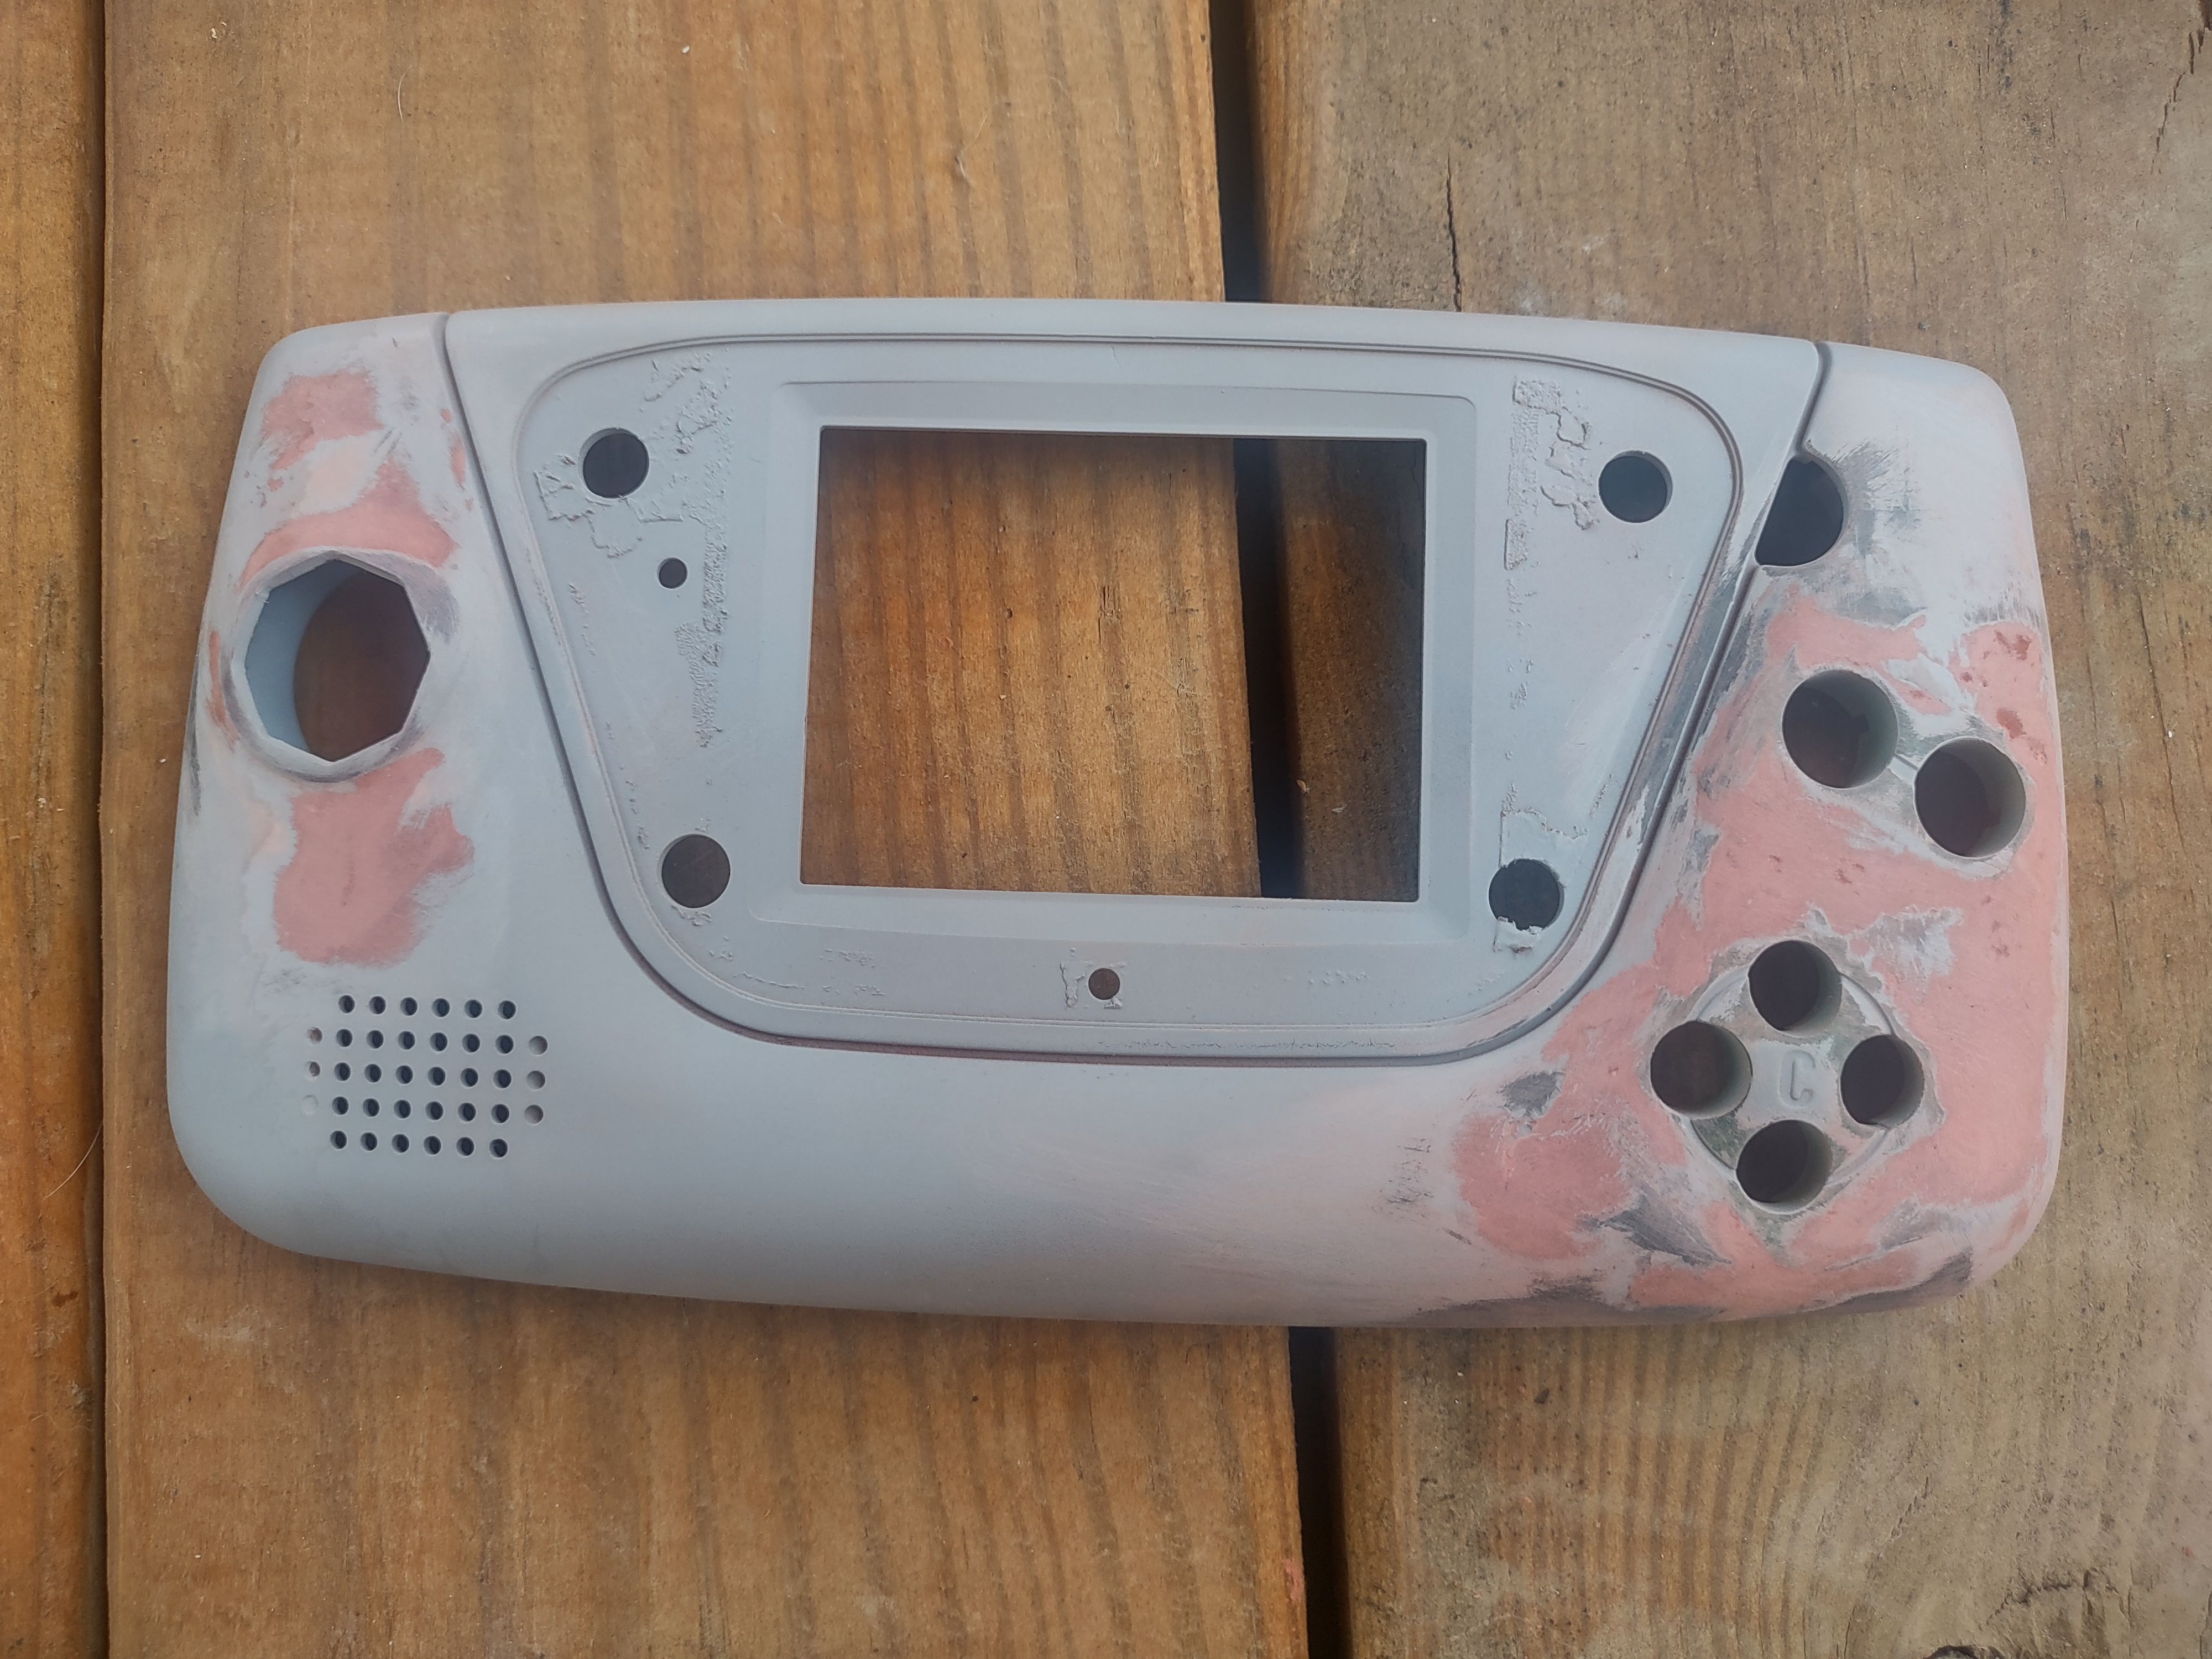
So I started out with this Gamegear I was trying to refurbish, however the board was just way too corroded. So I came up with this:

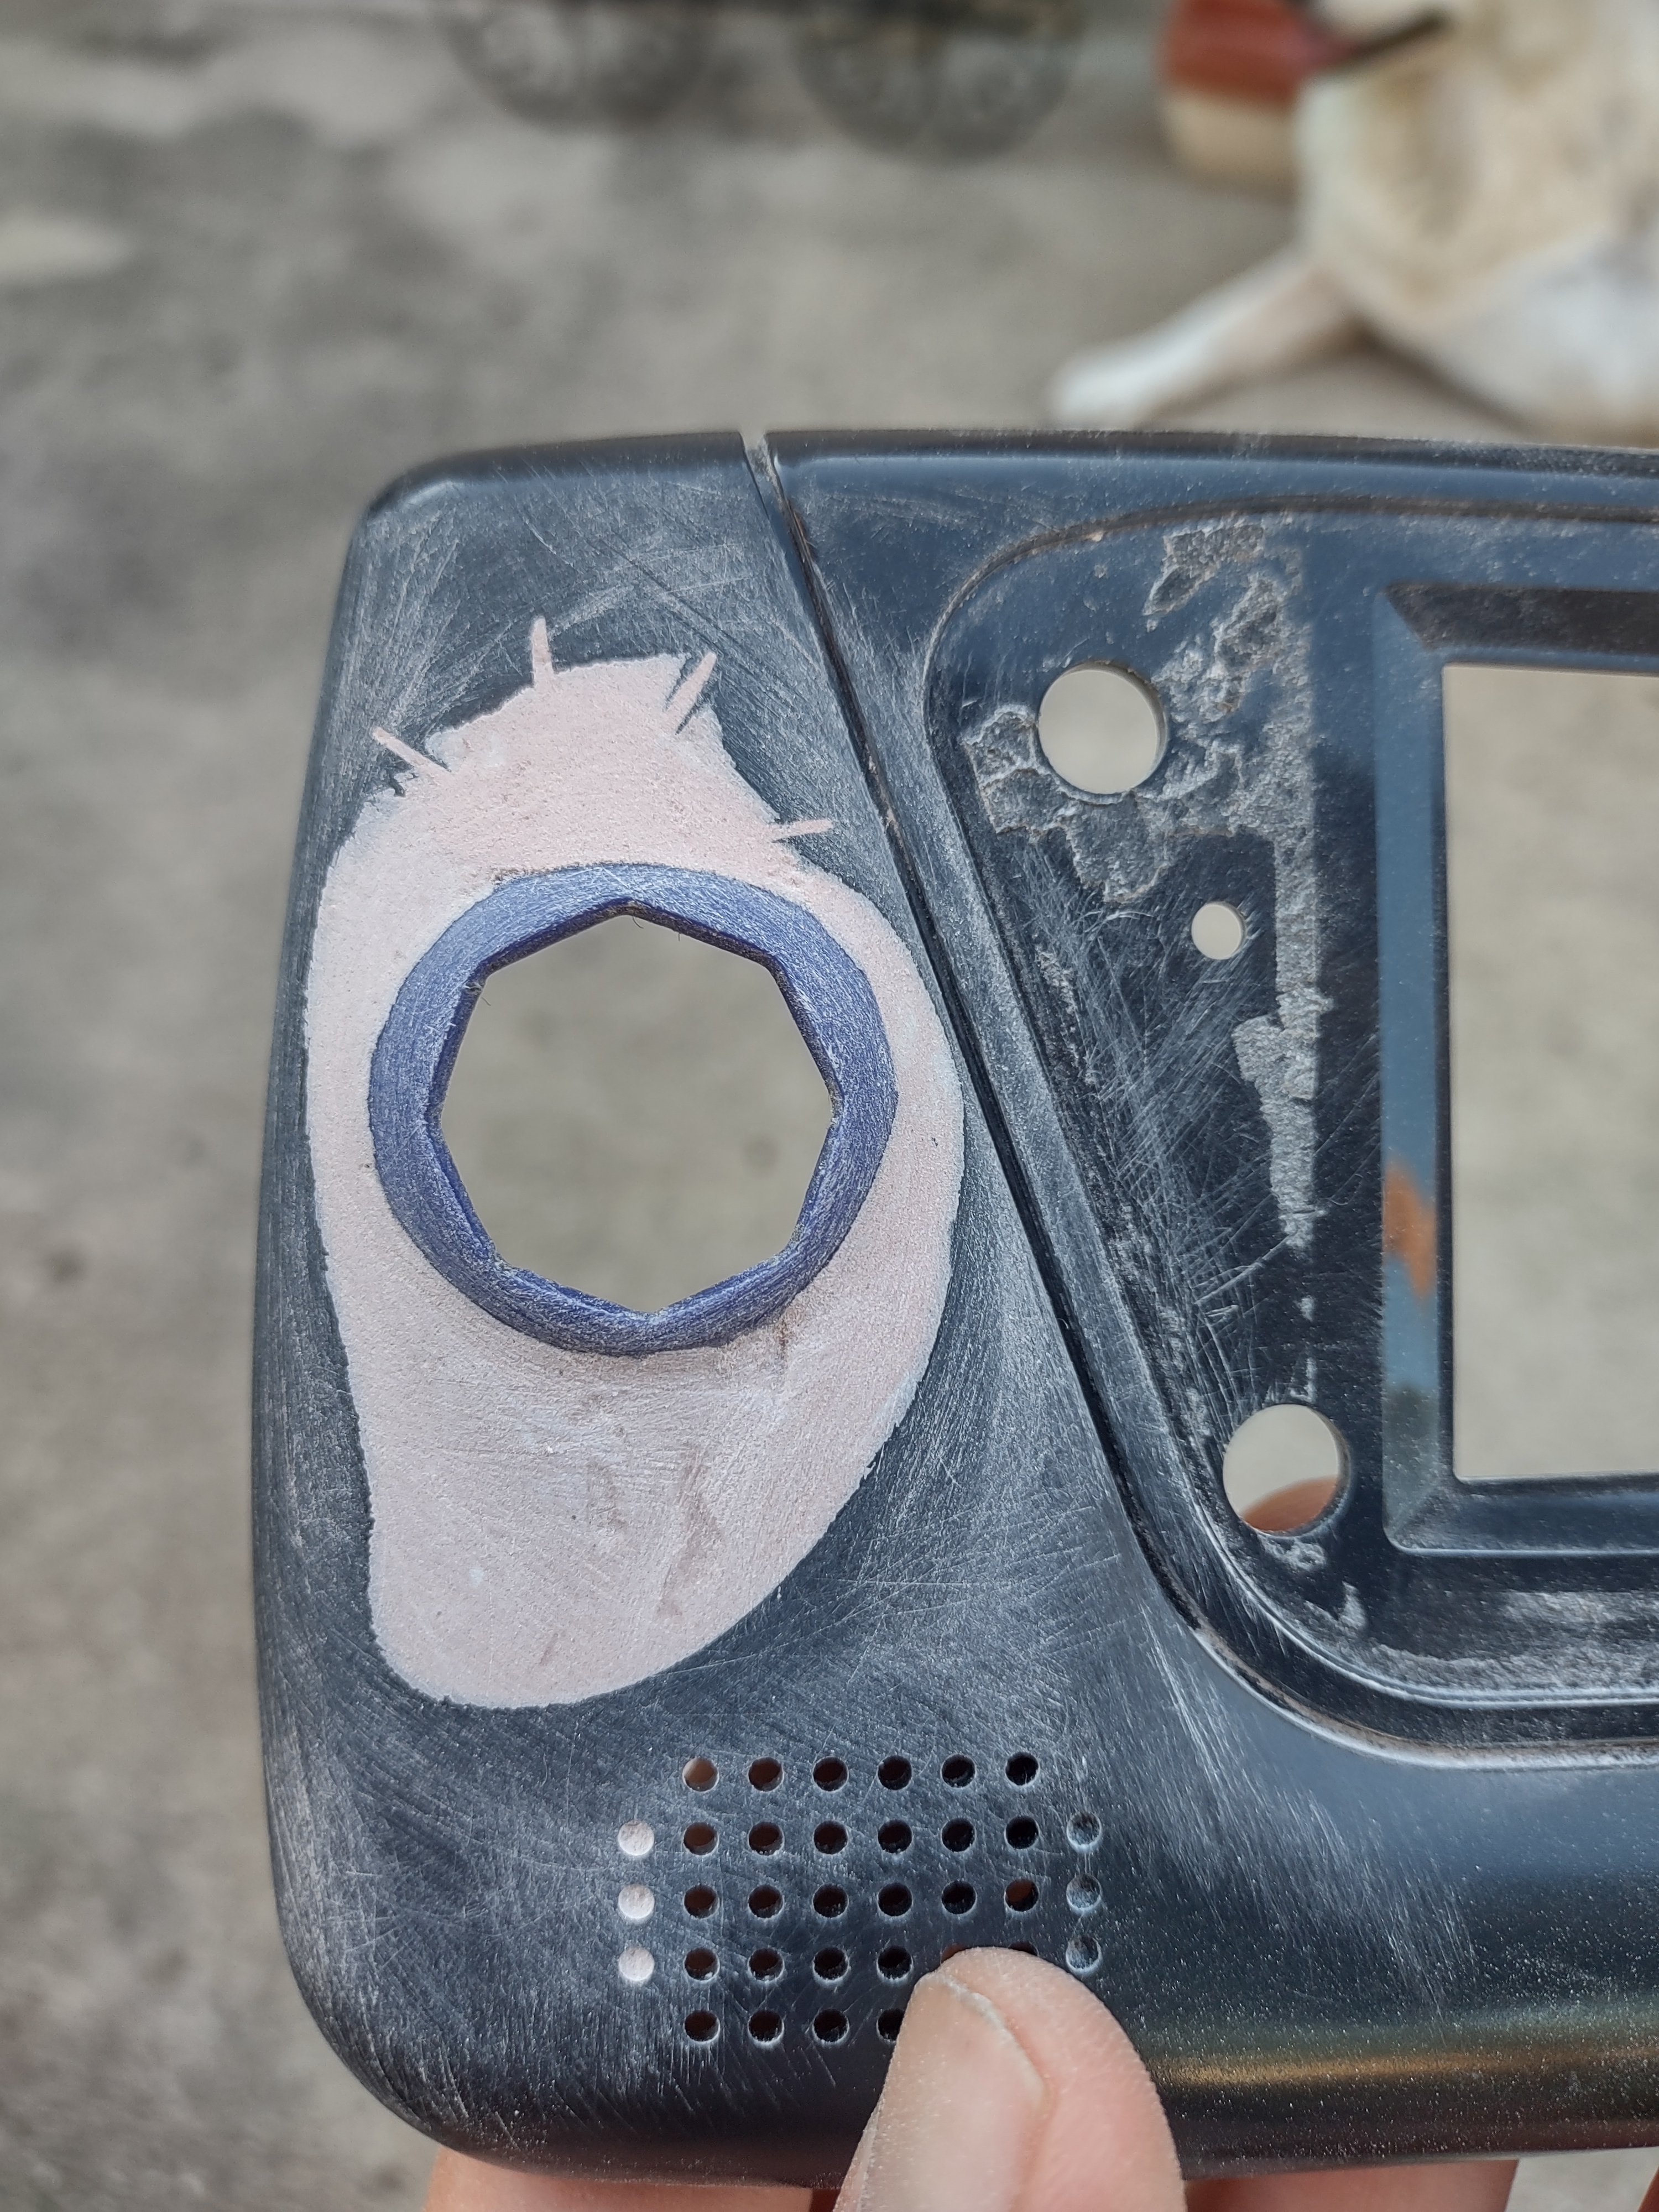
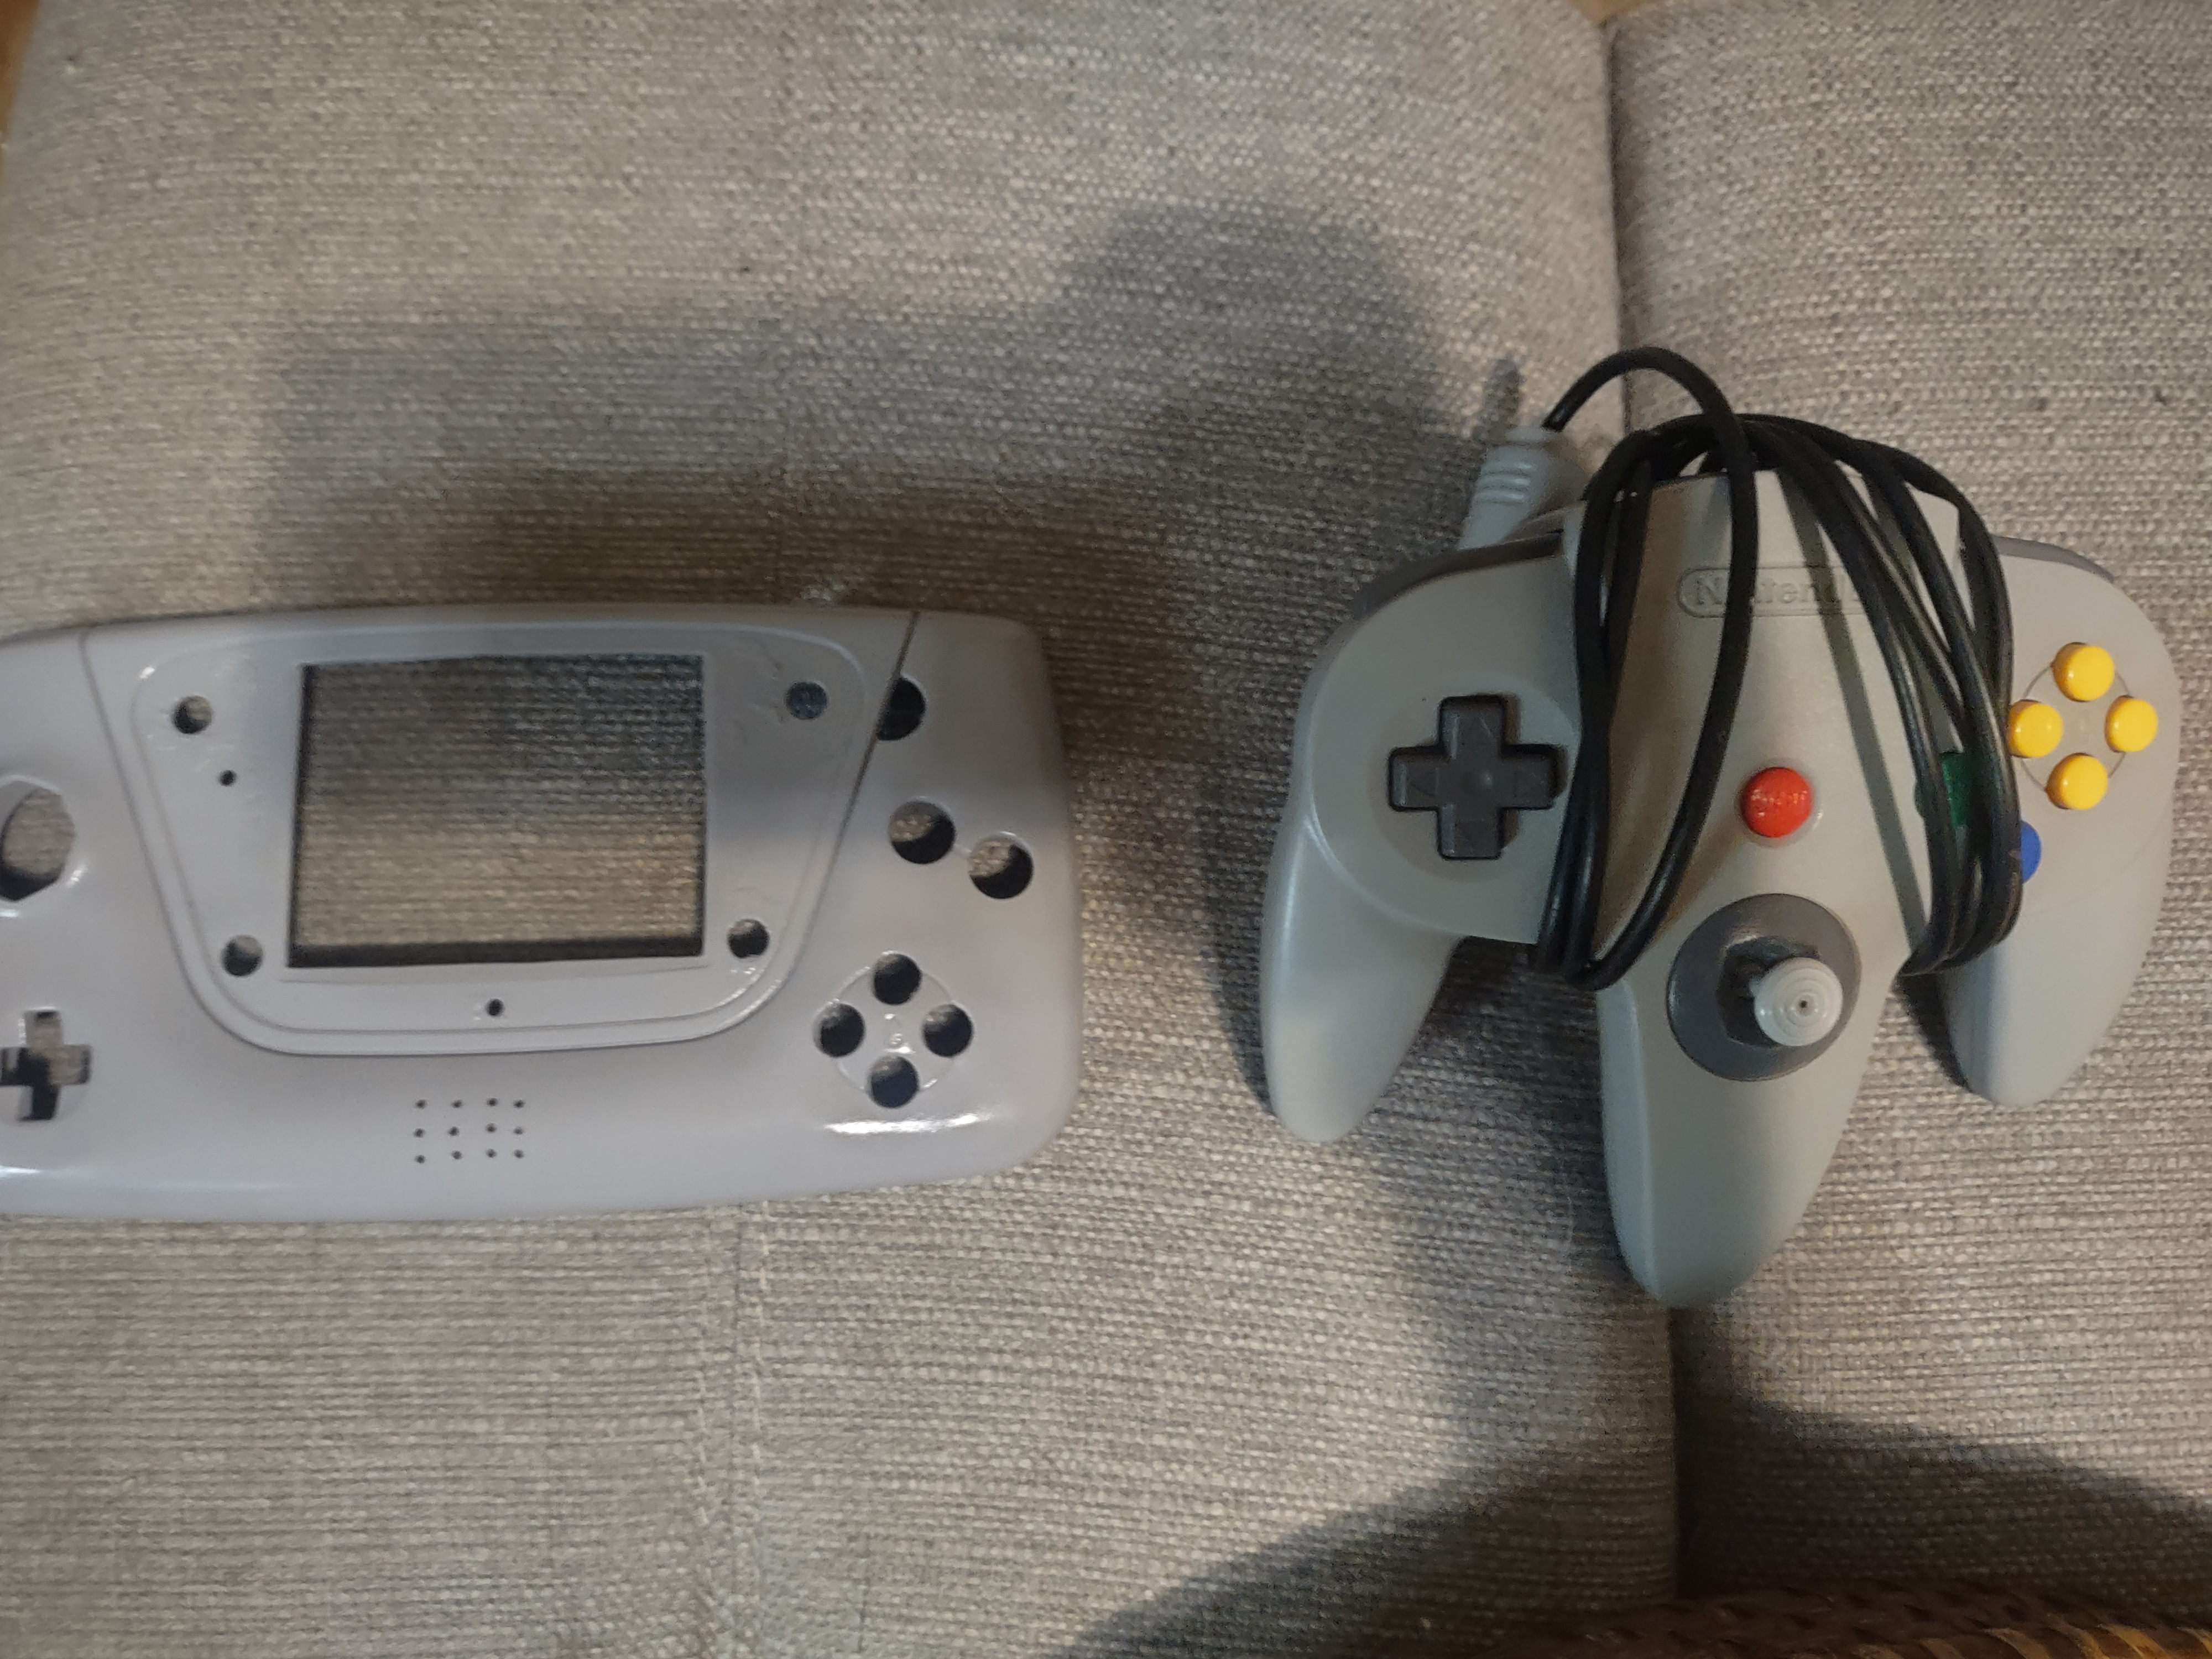
No official Jungle green controller was harmed in this process
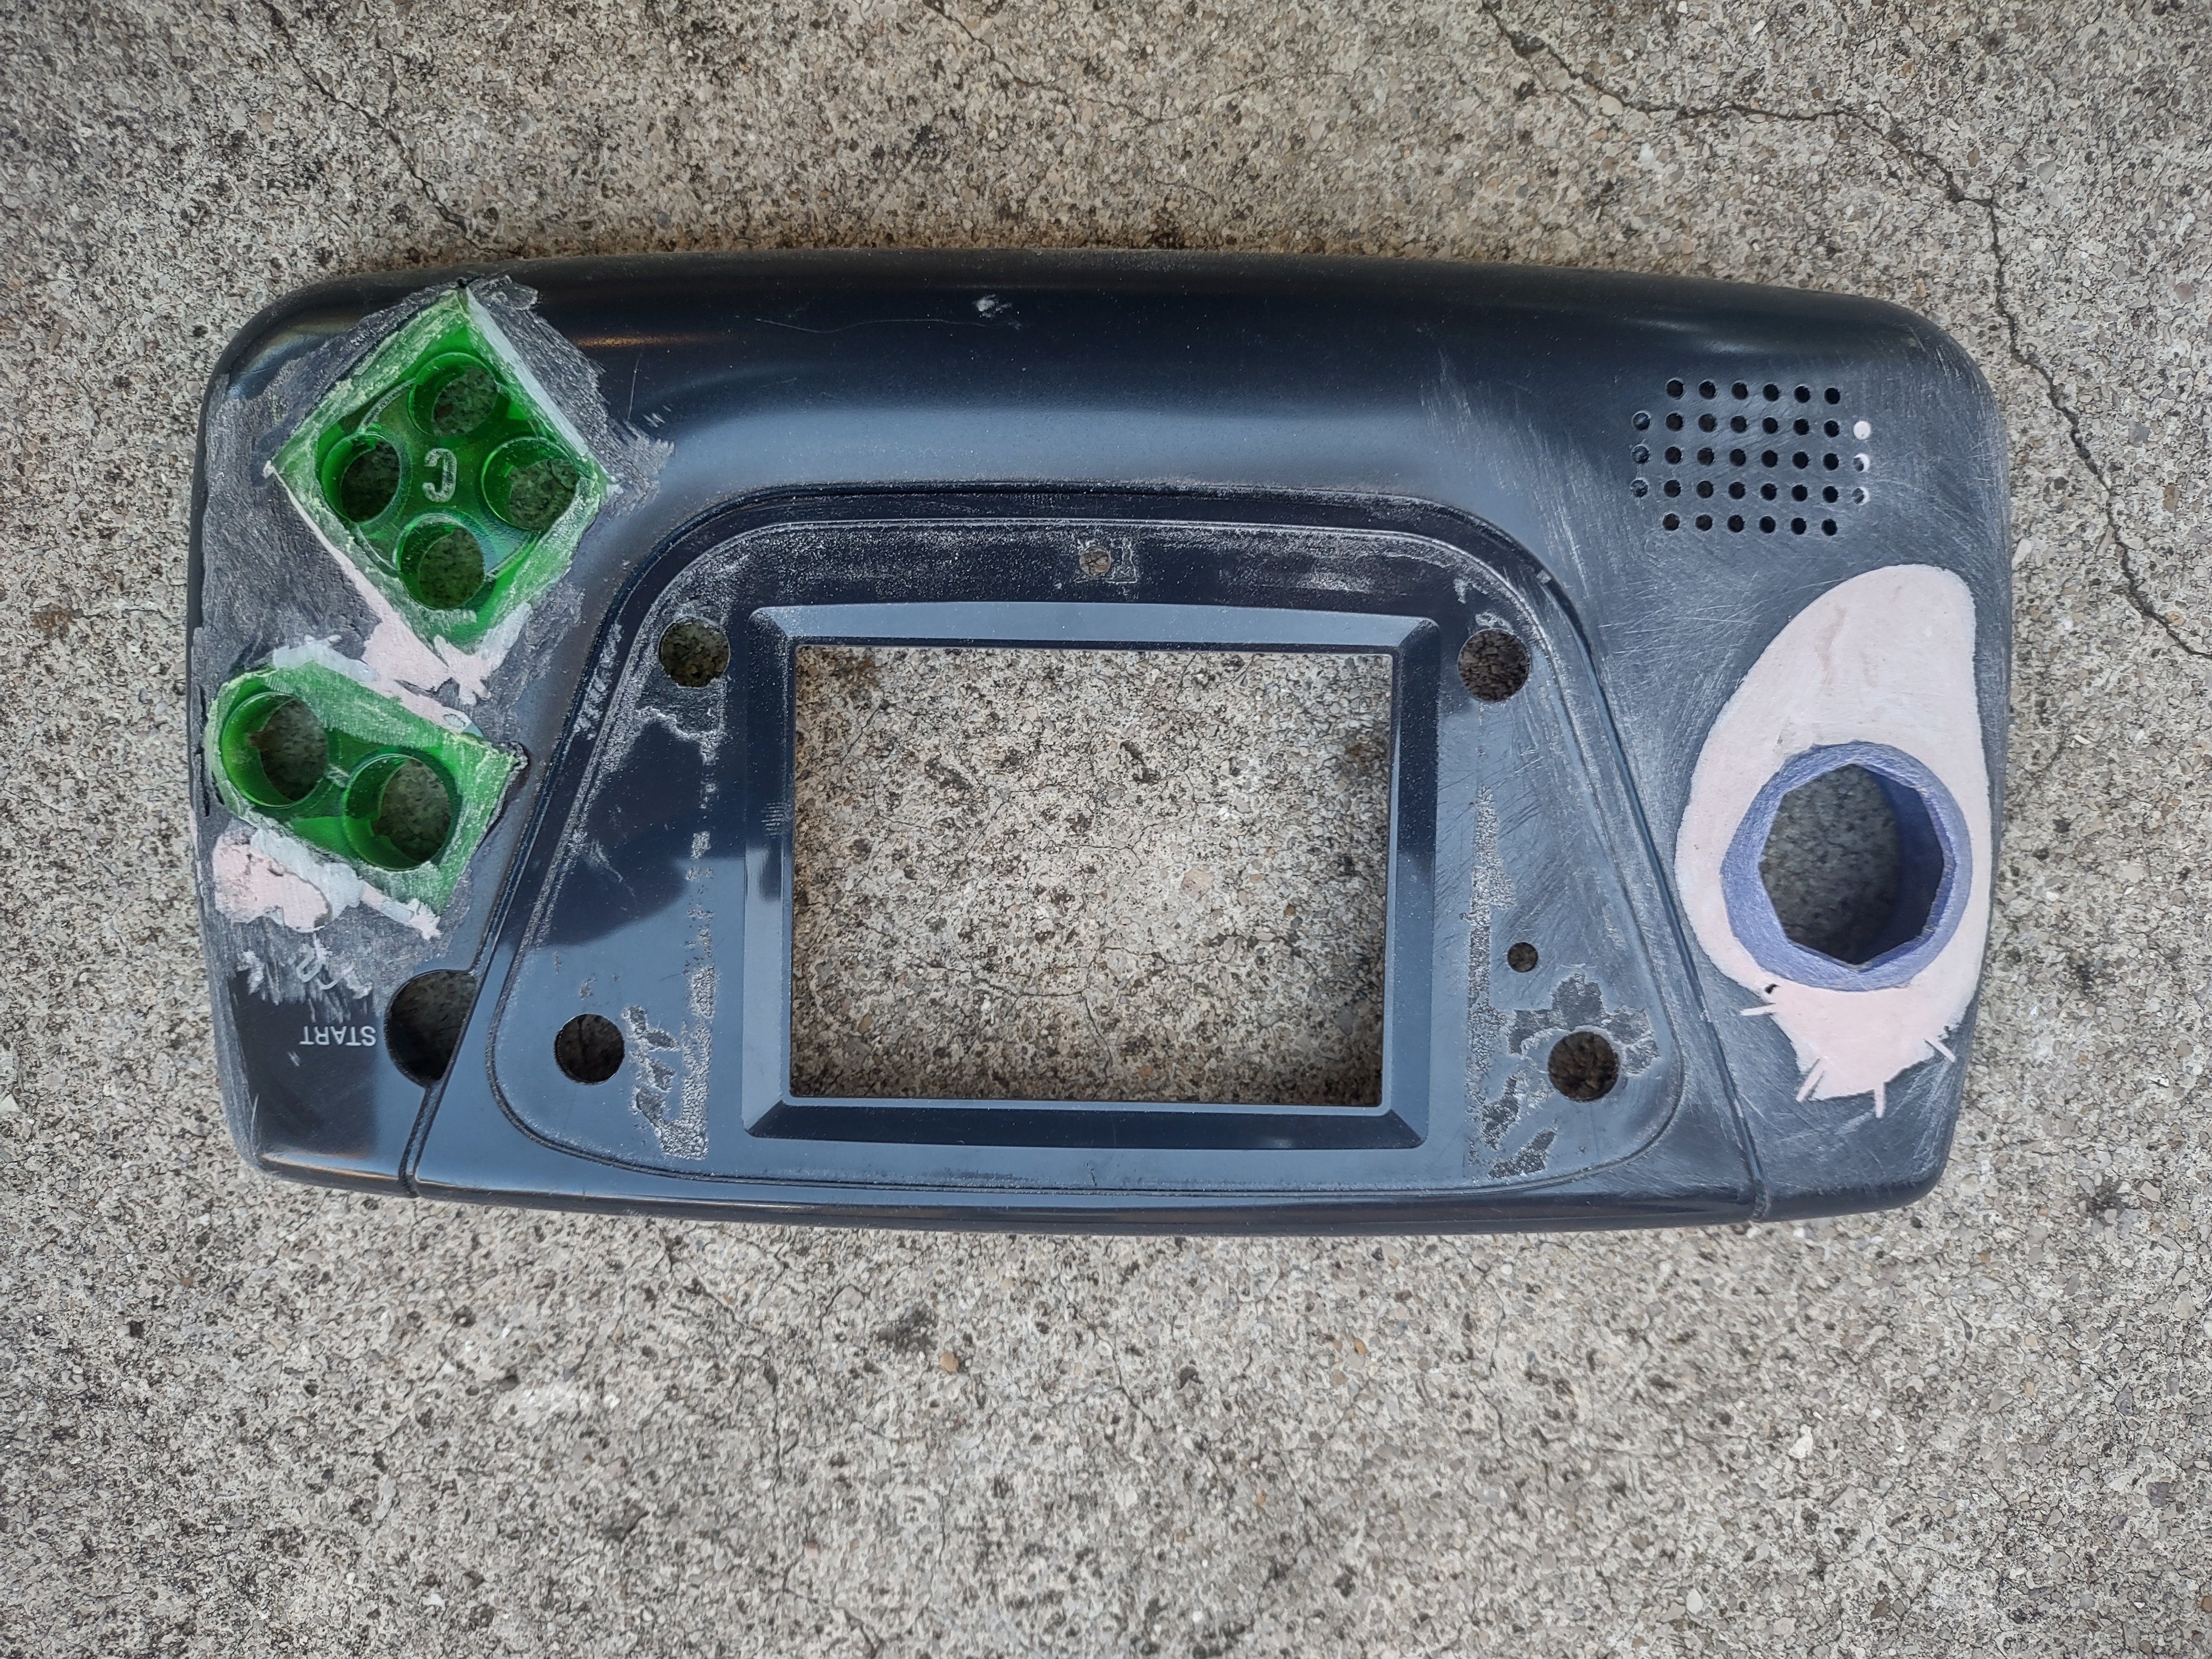
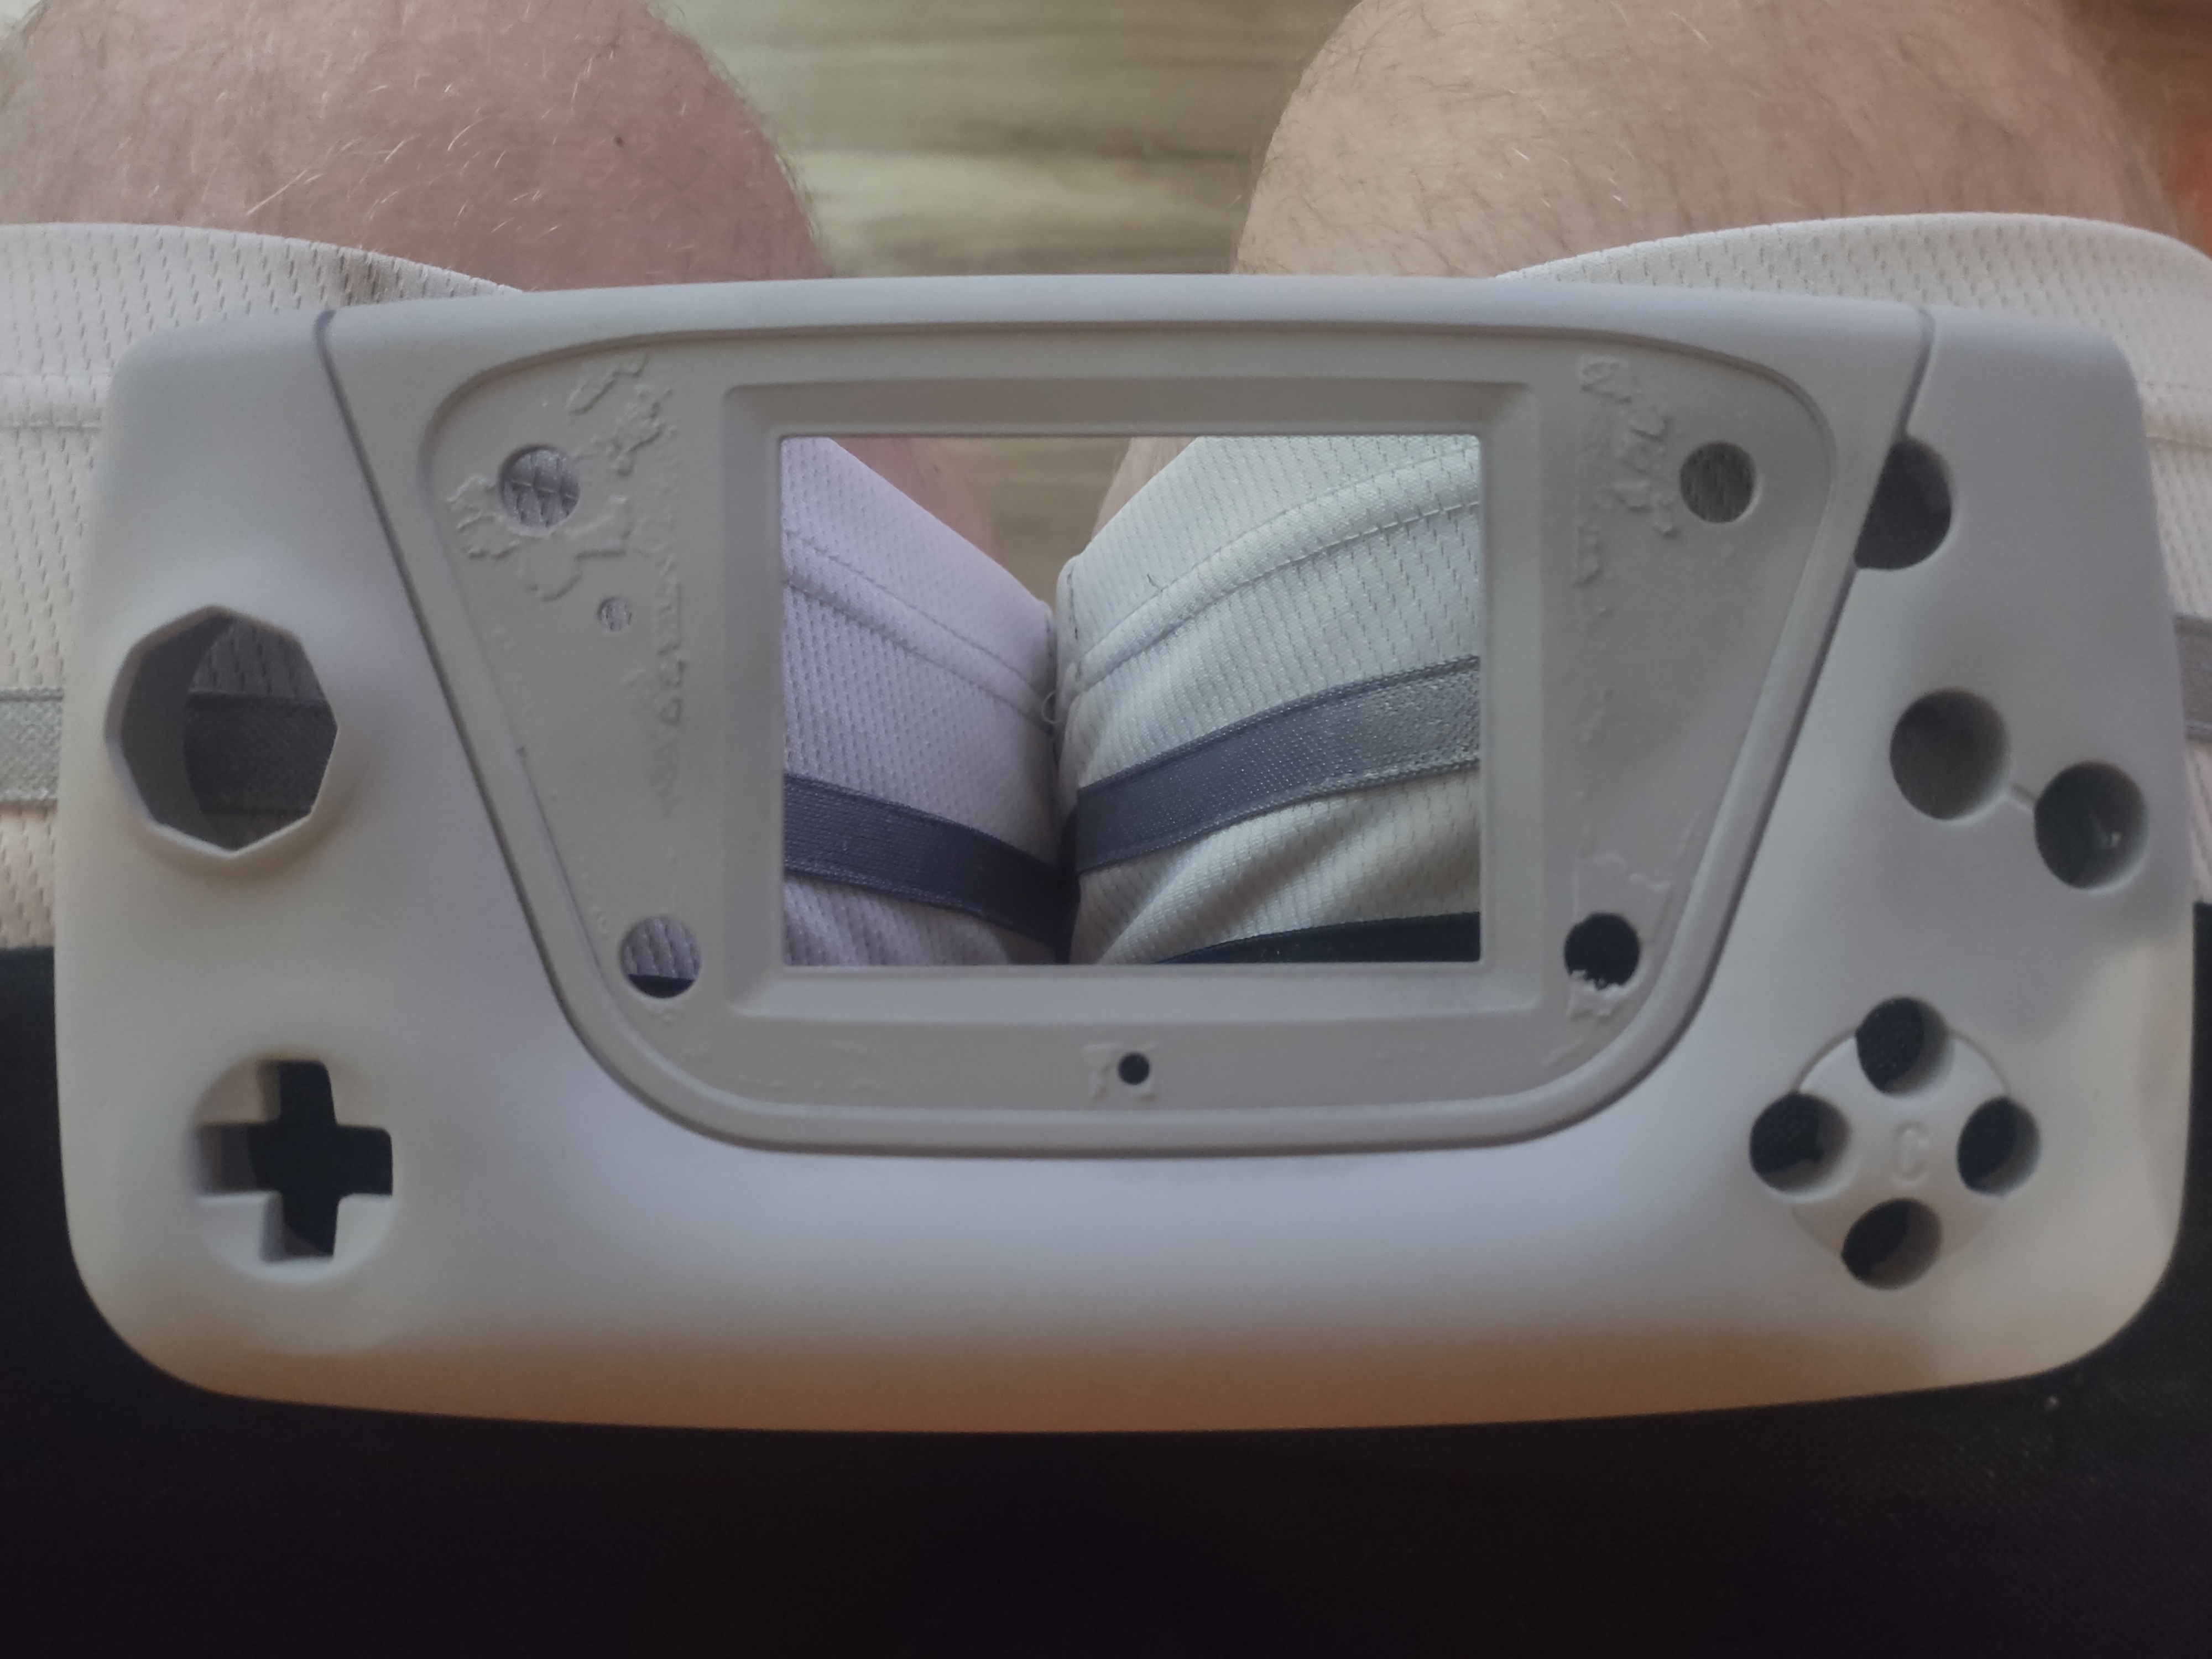
 Gamecube Joystick. Orignially I wanted to keep the speaker here but I also wanted the D-pad so I had to compromise.
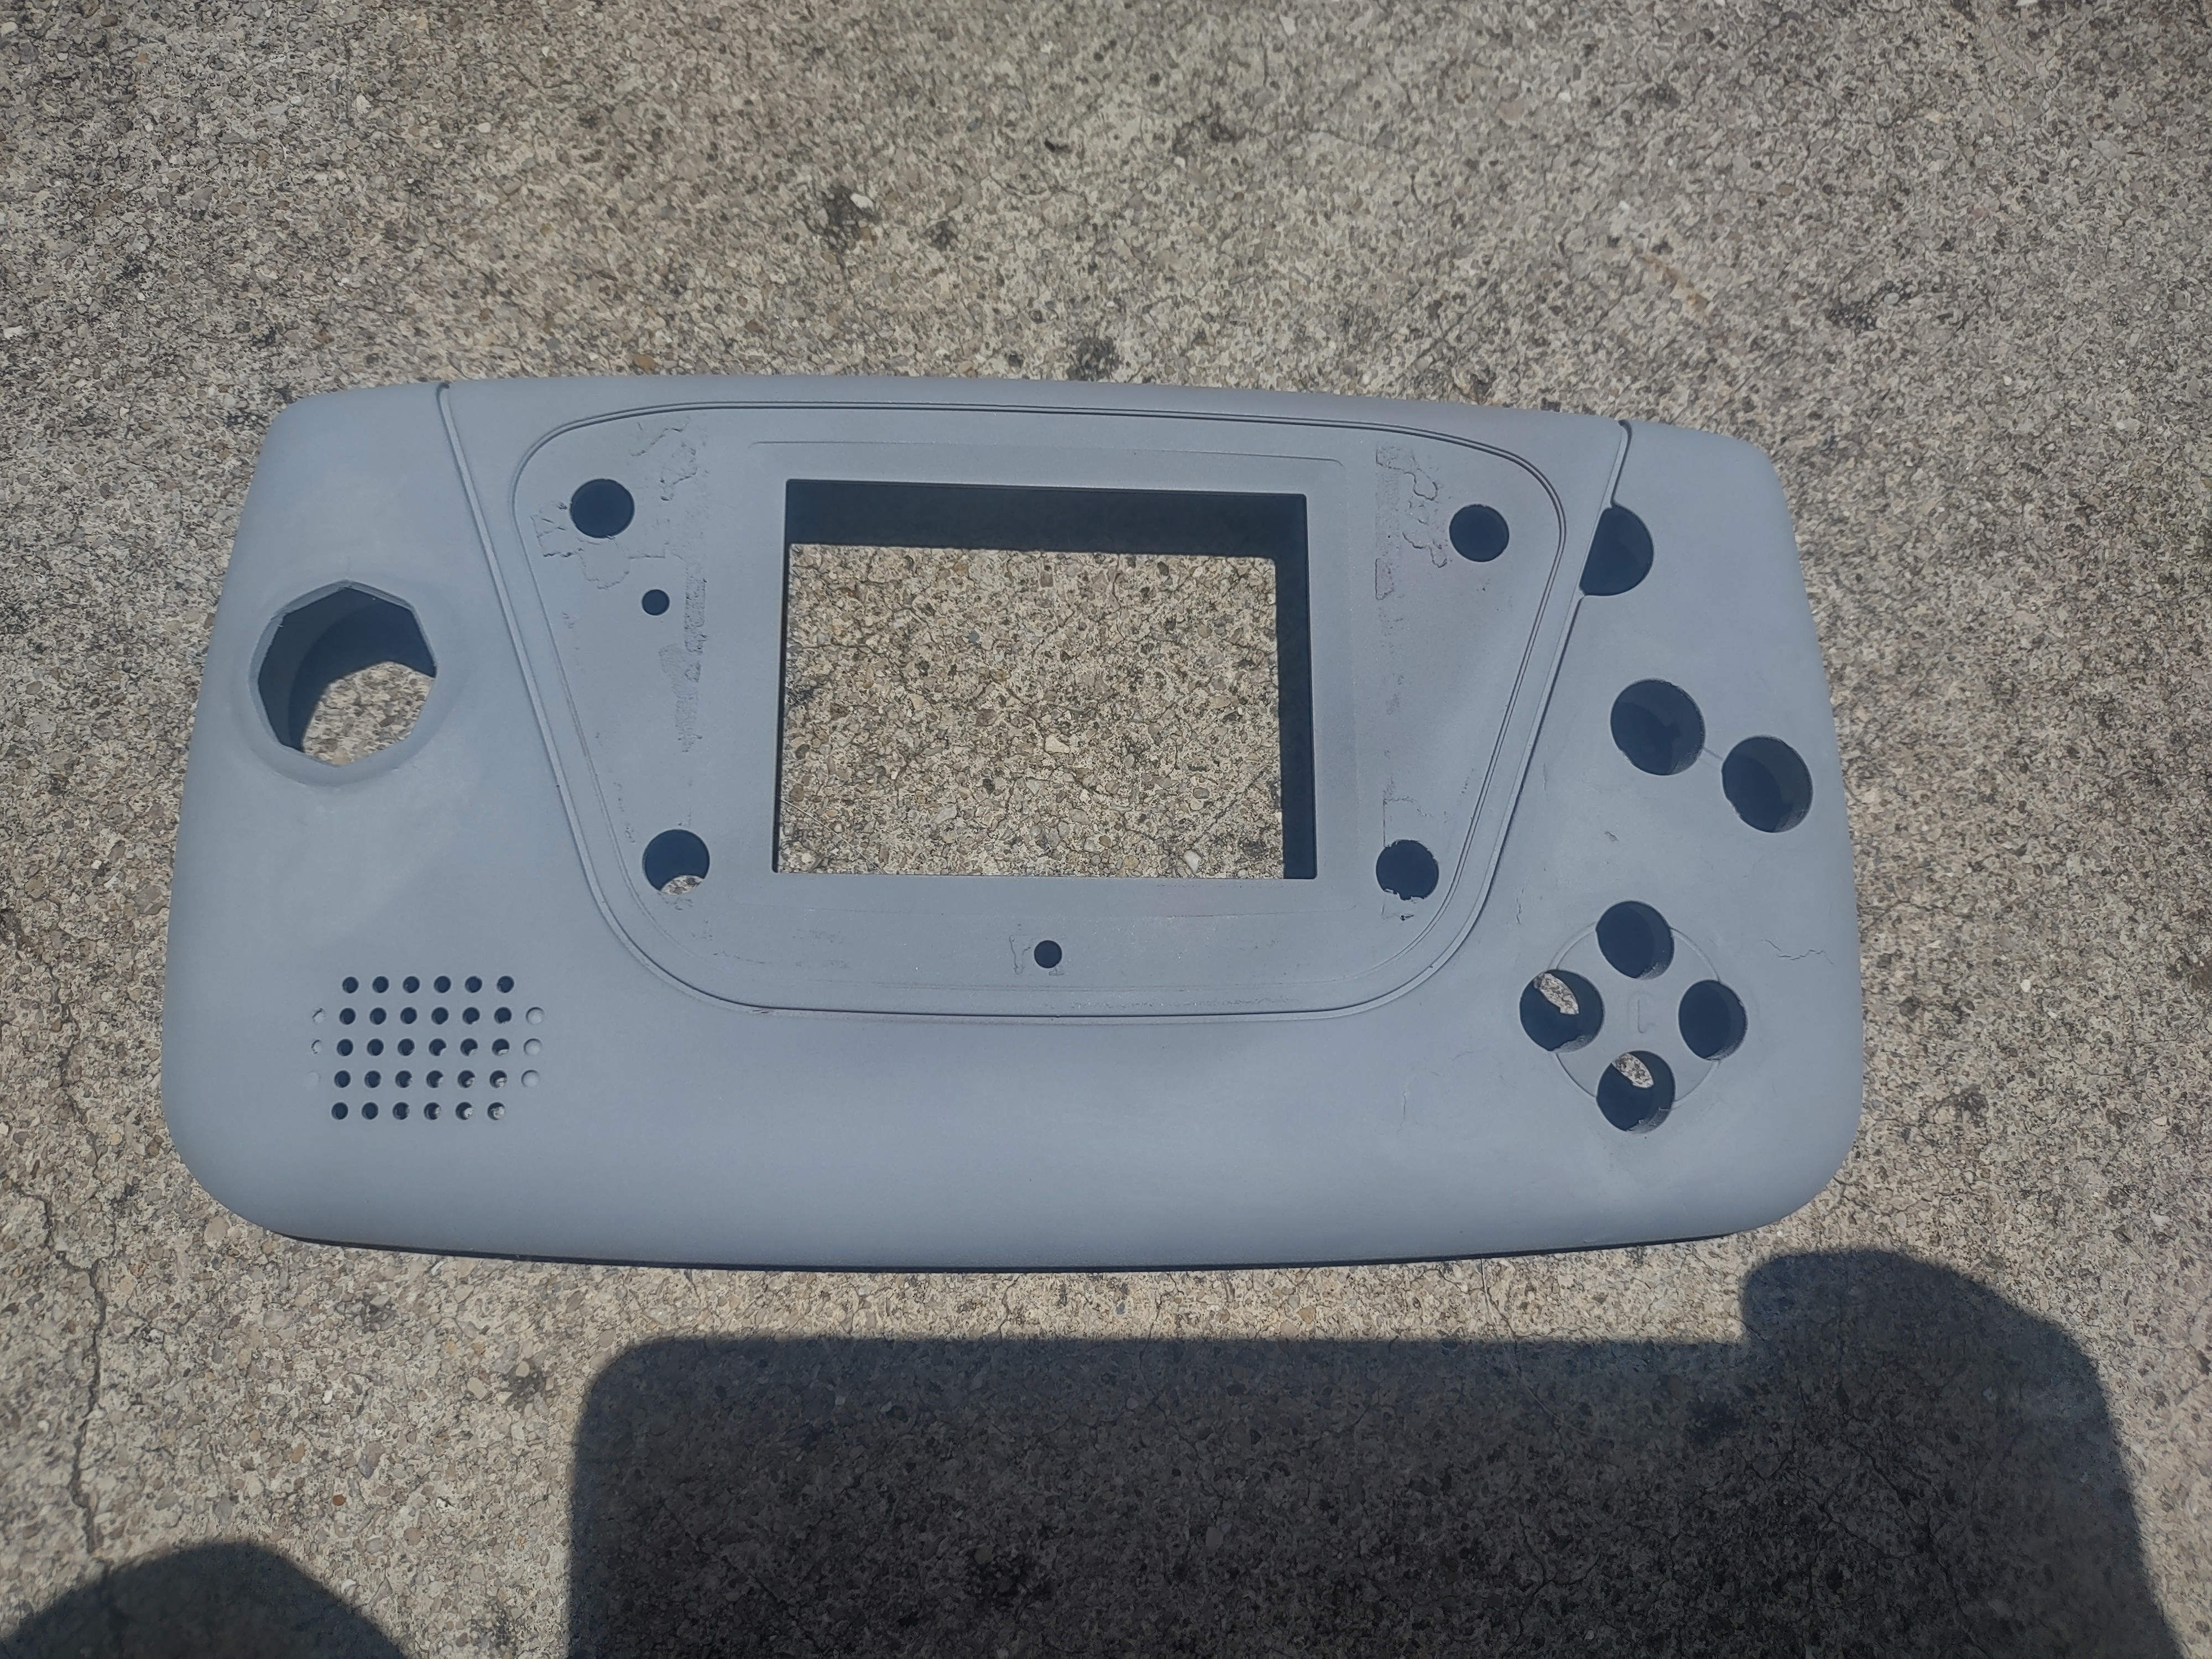
Getting it all sanded up.
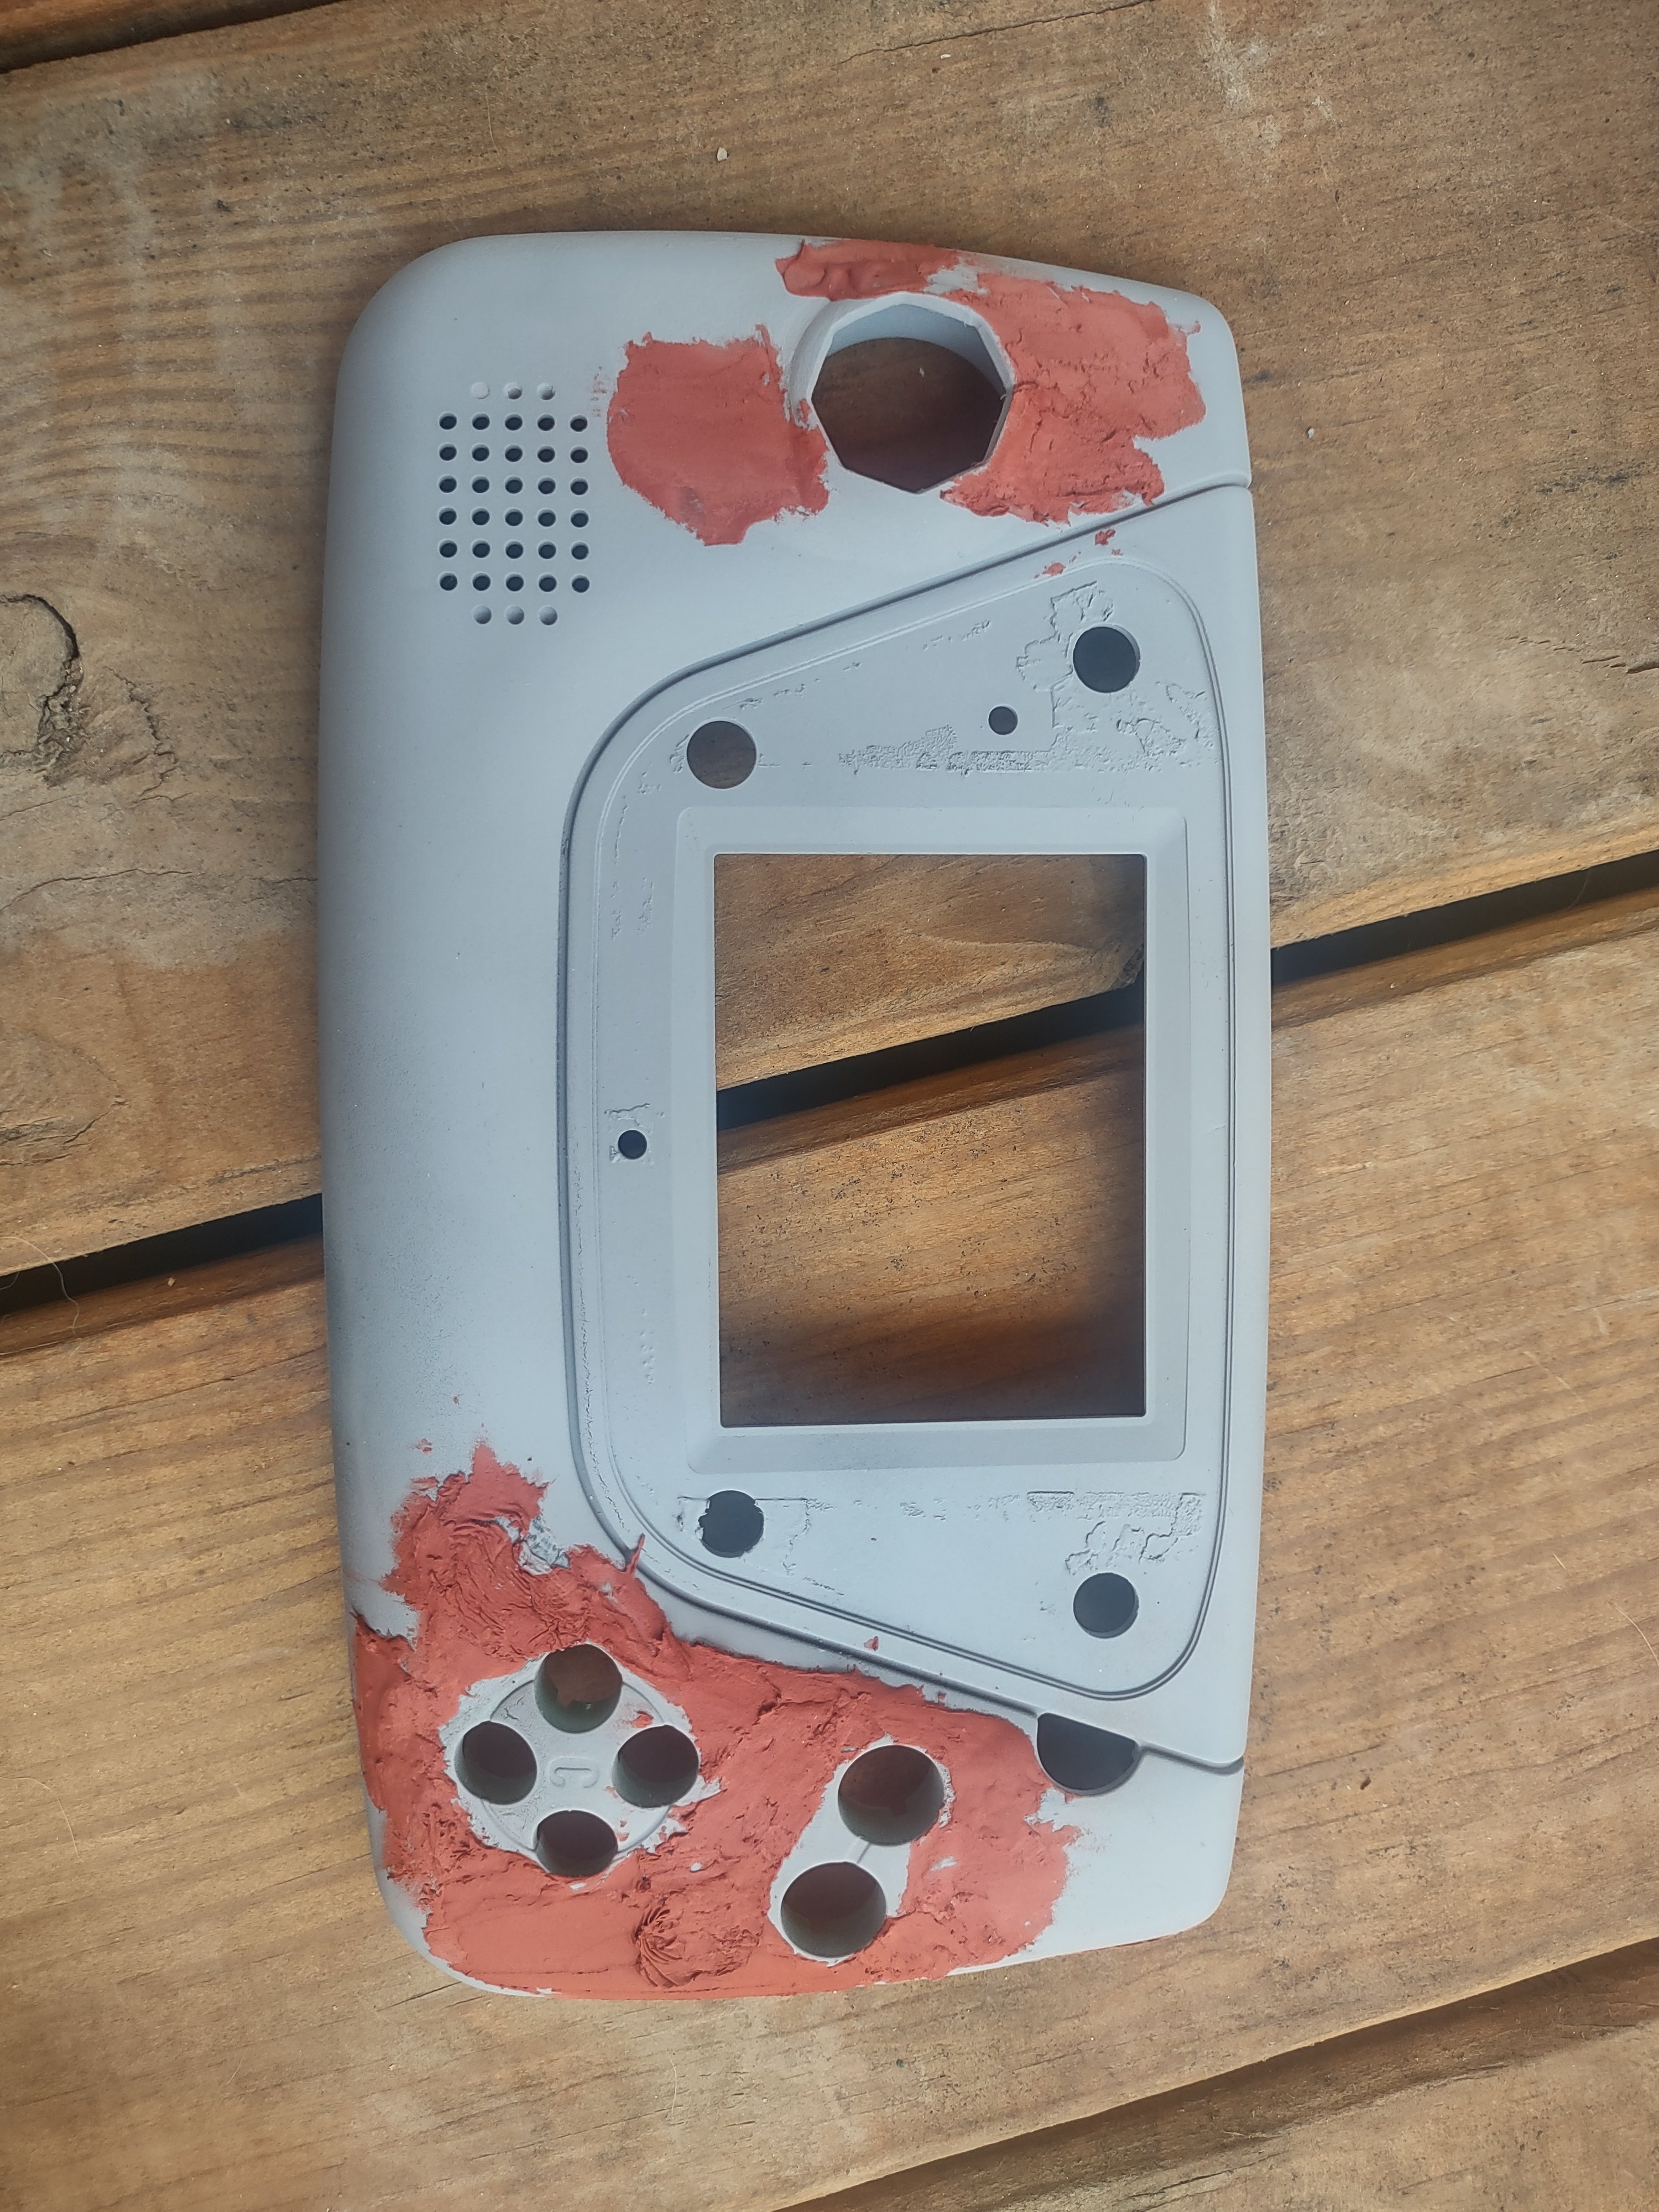
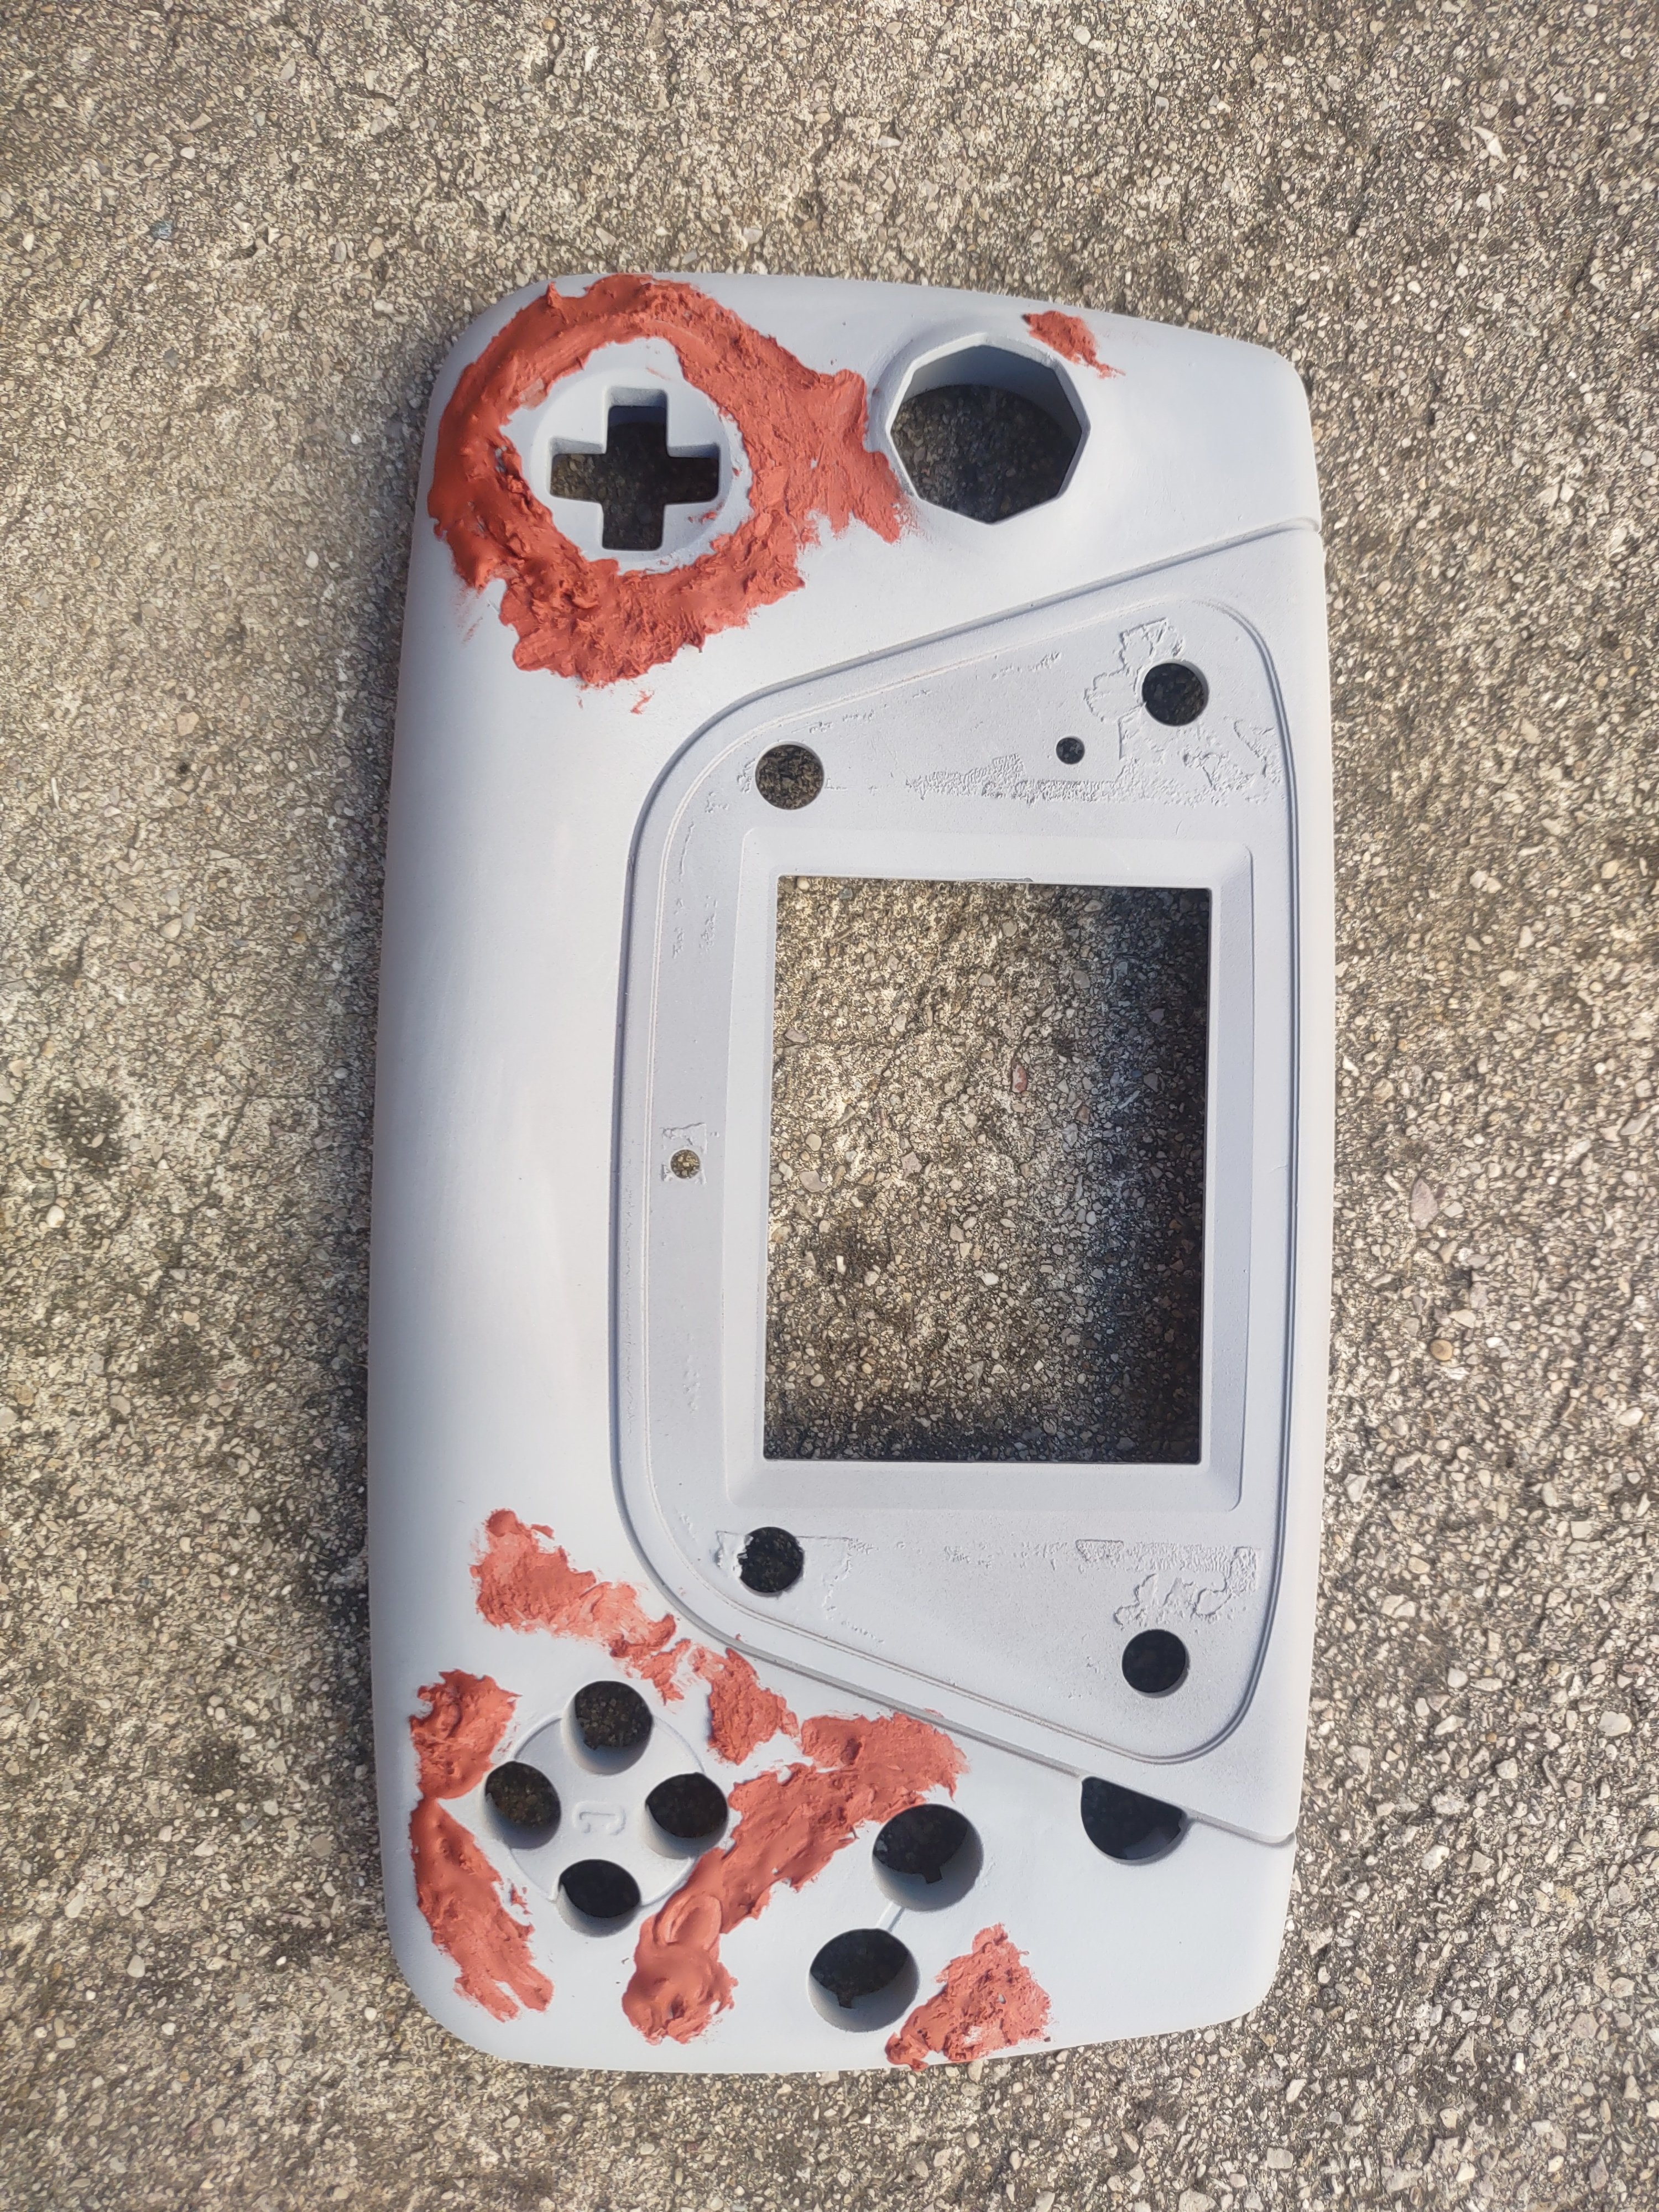
Filler
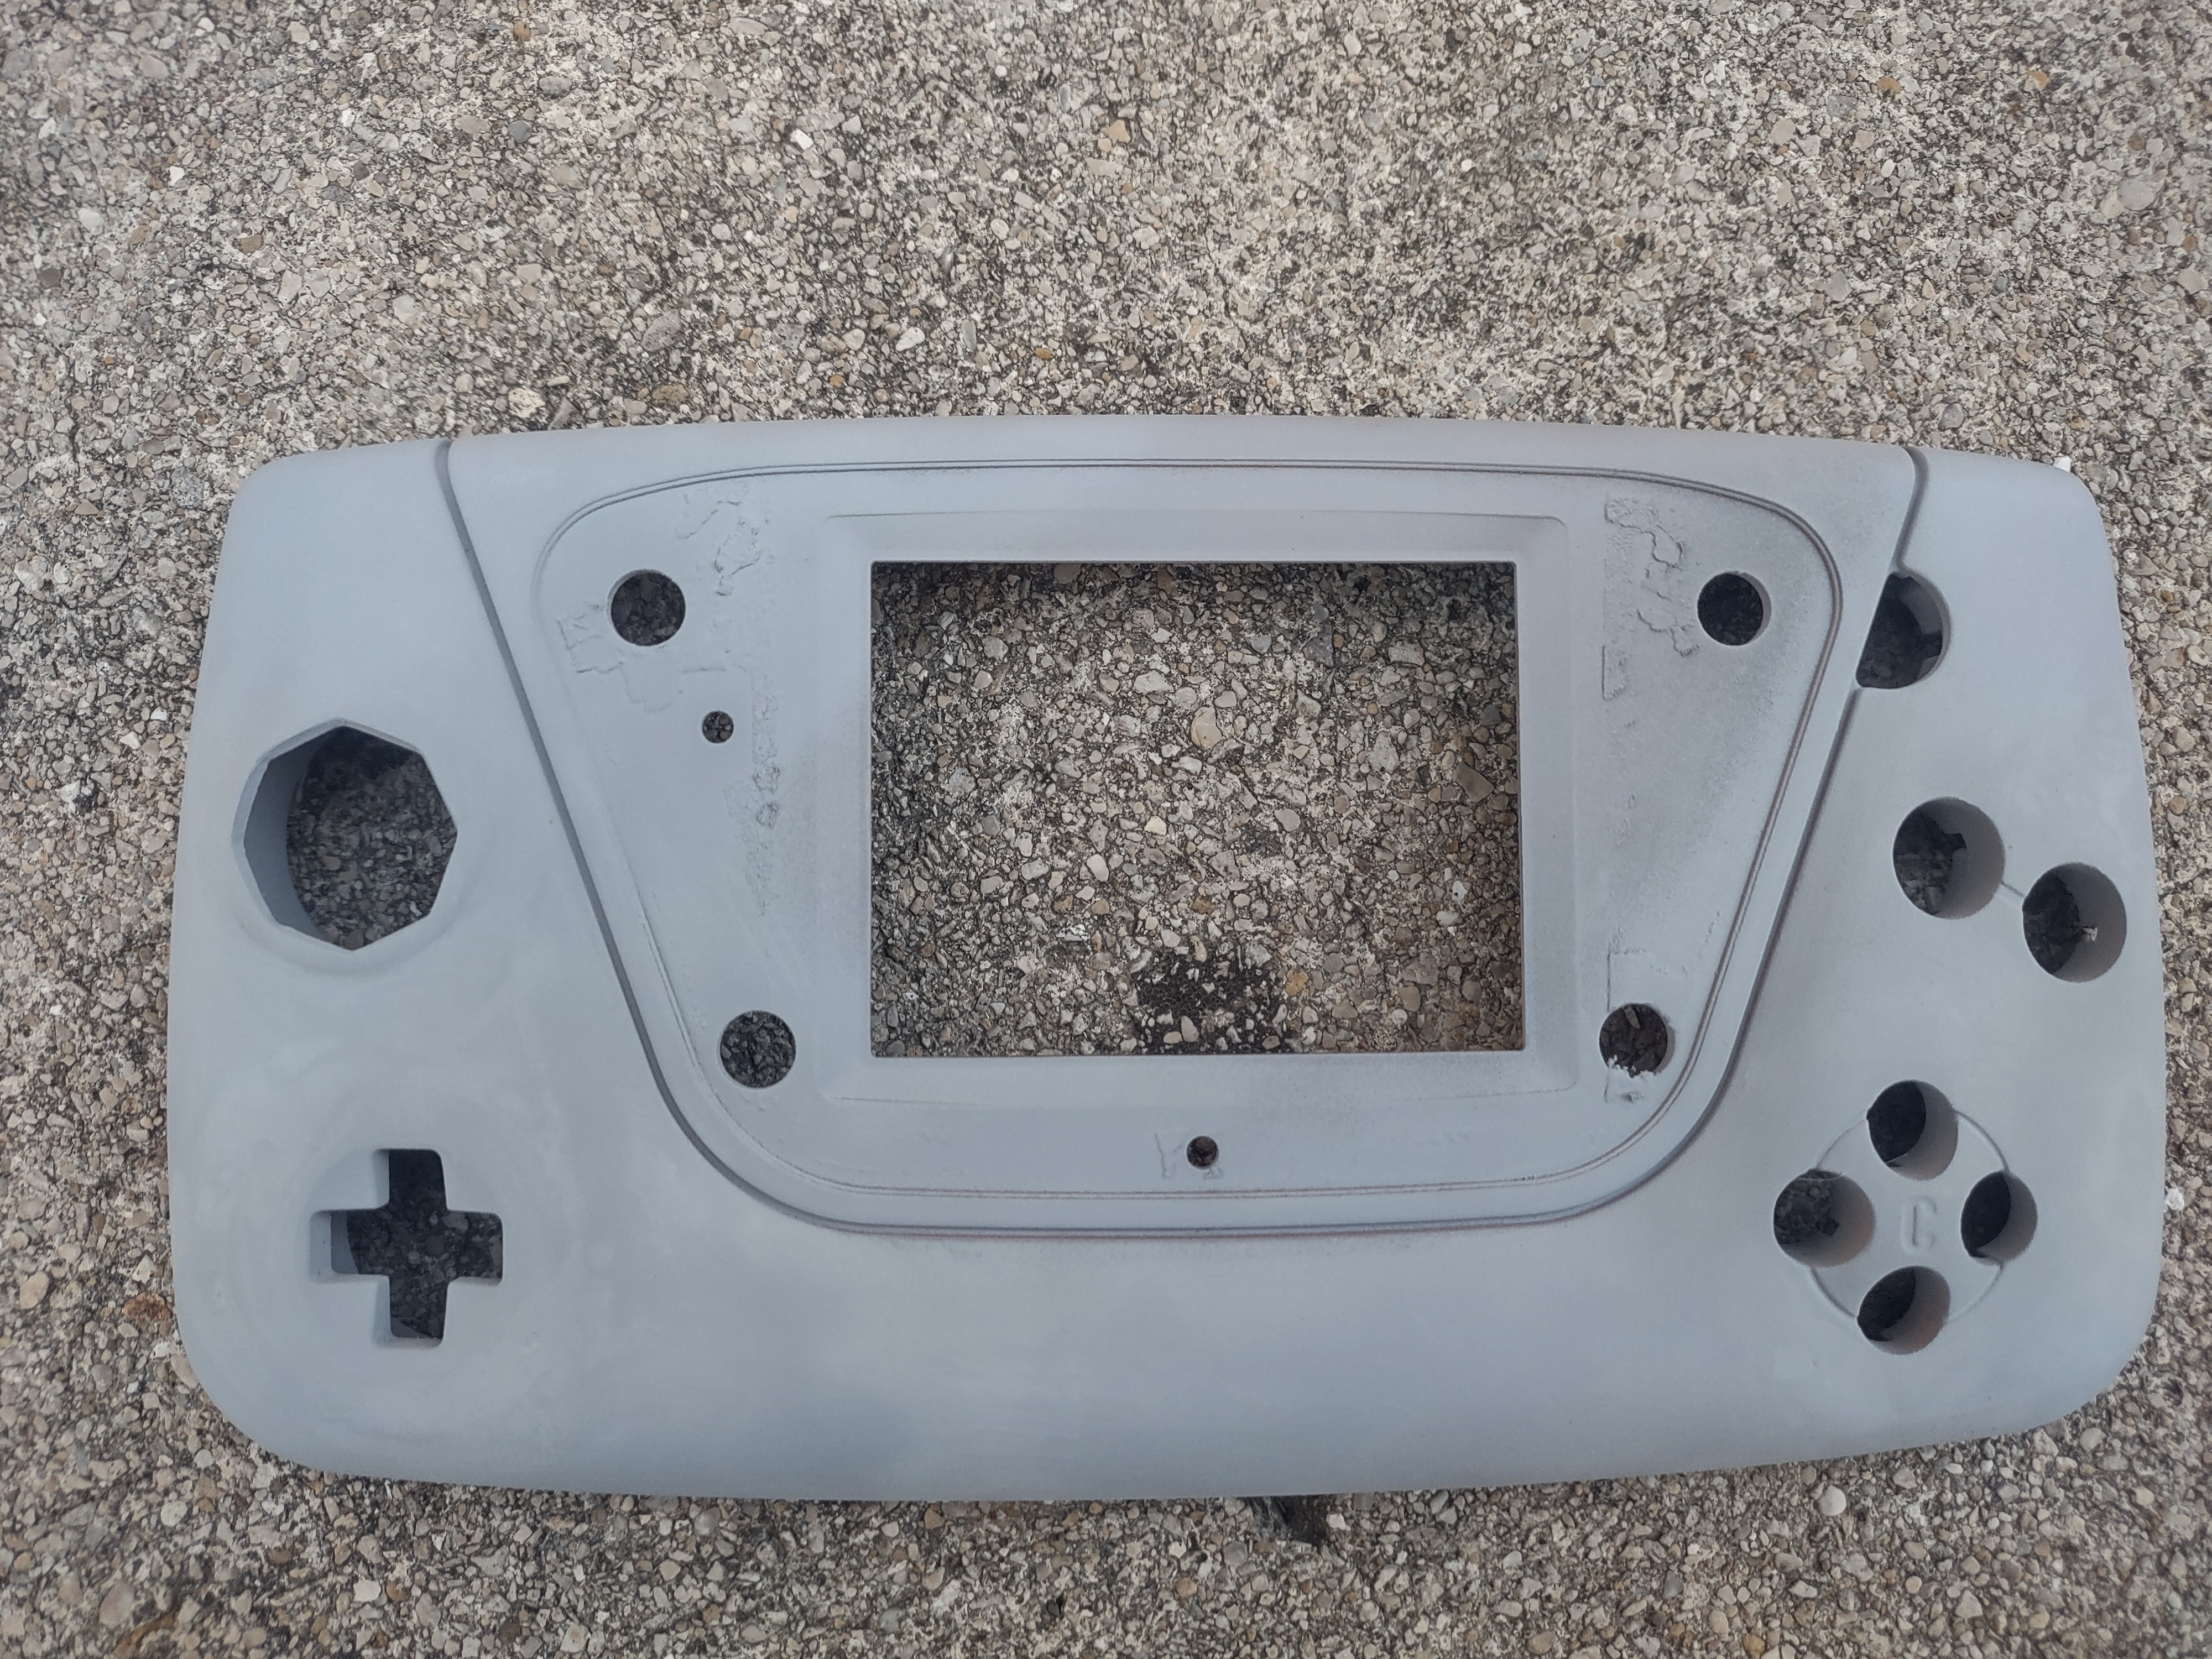
More sanding
This is when I figured out the d-pad was gonna be impossible without changing the speaker location.

I marked imperfections and added the d-pad from a GameCube.
Adding more filler.
Sweet smoothness. I also tried to get some paint to match an original grey n64 controller, but the best I could find was actually the primer I was already using so I decided to just go with it.
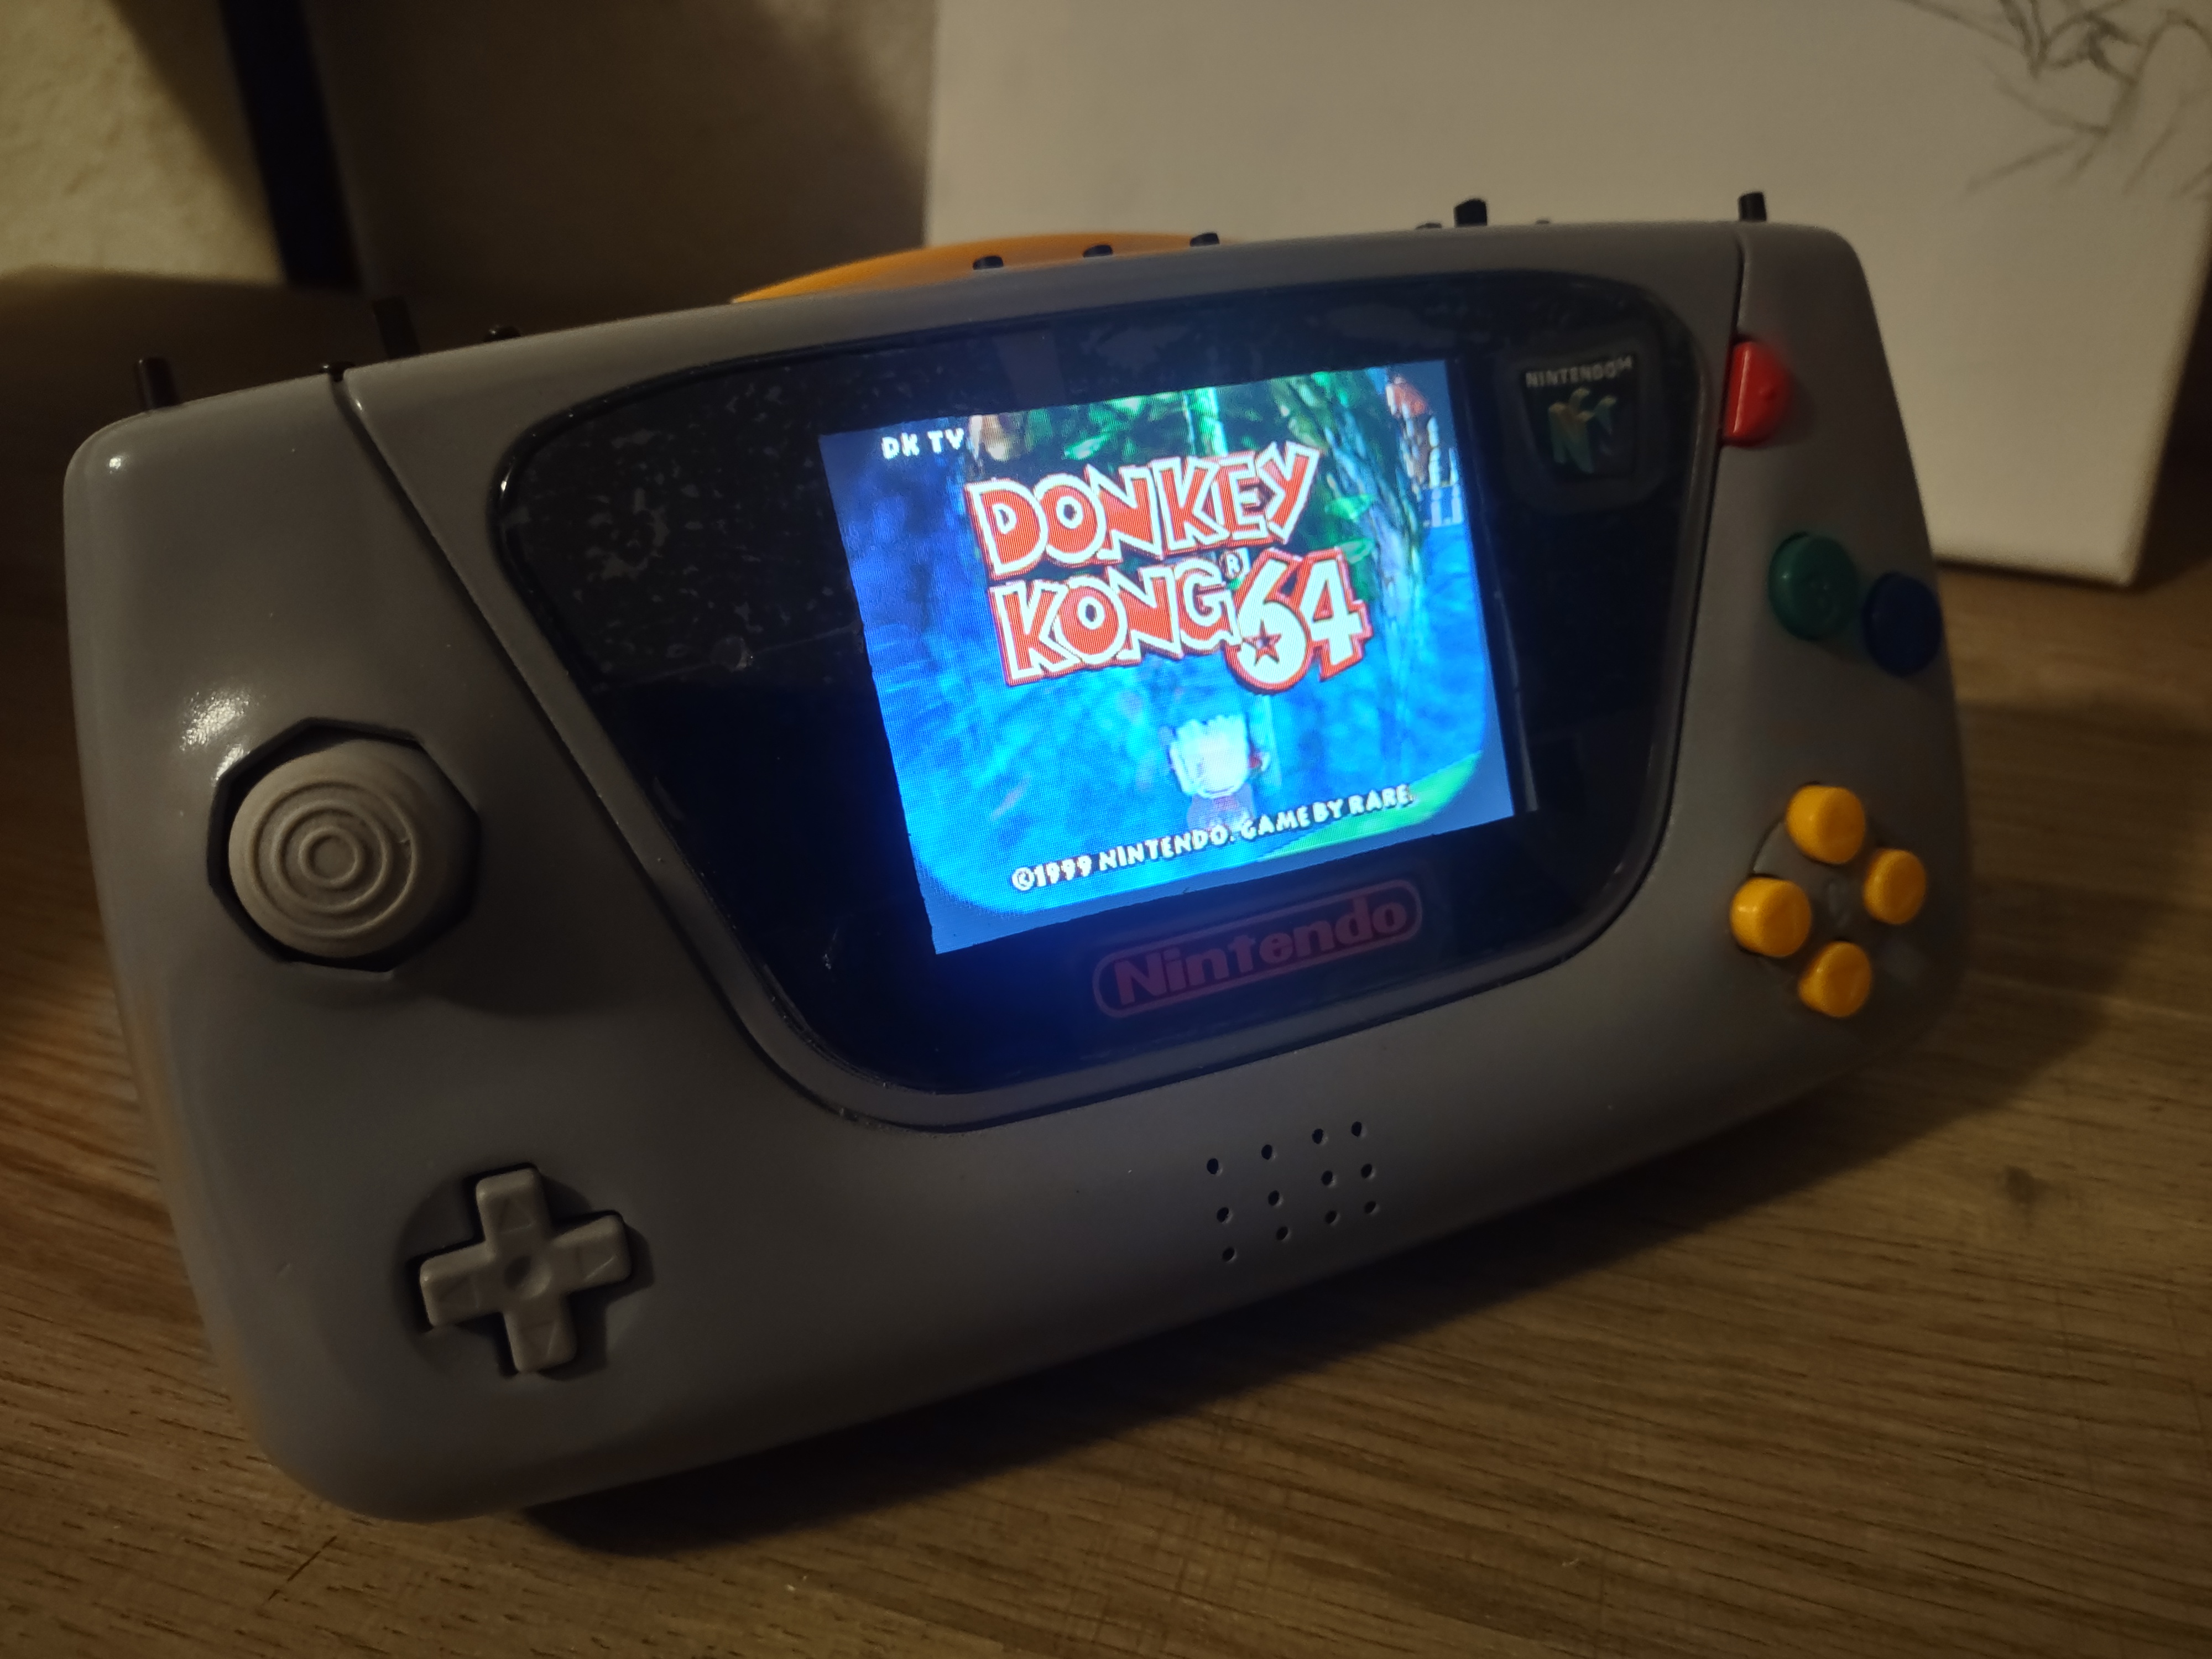
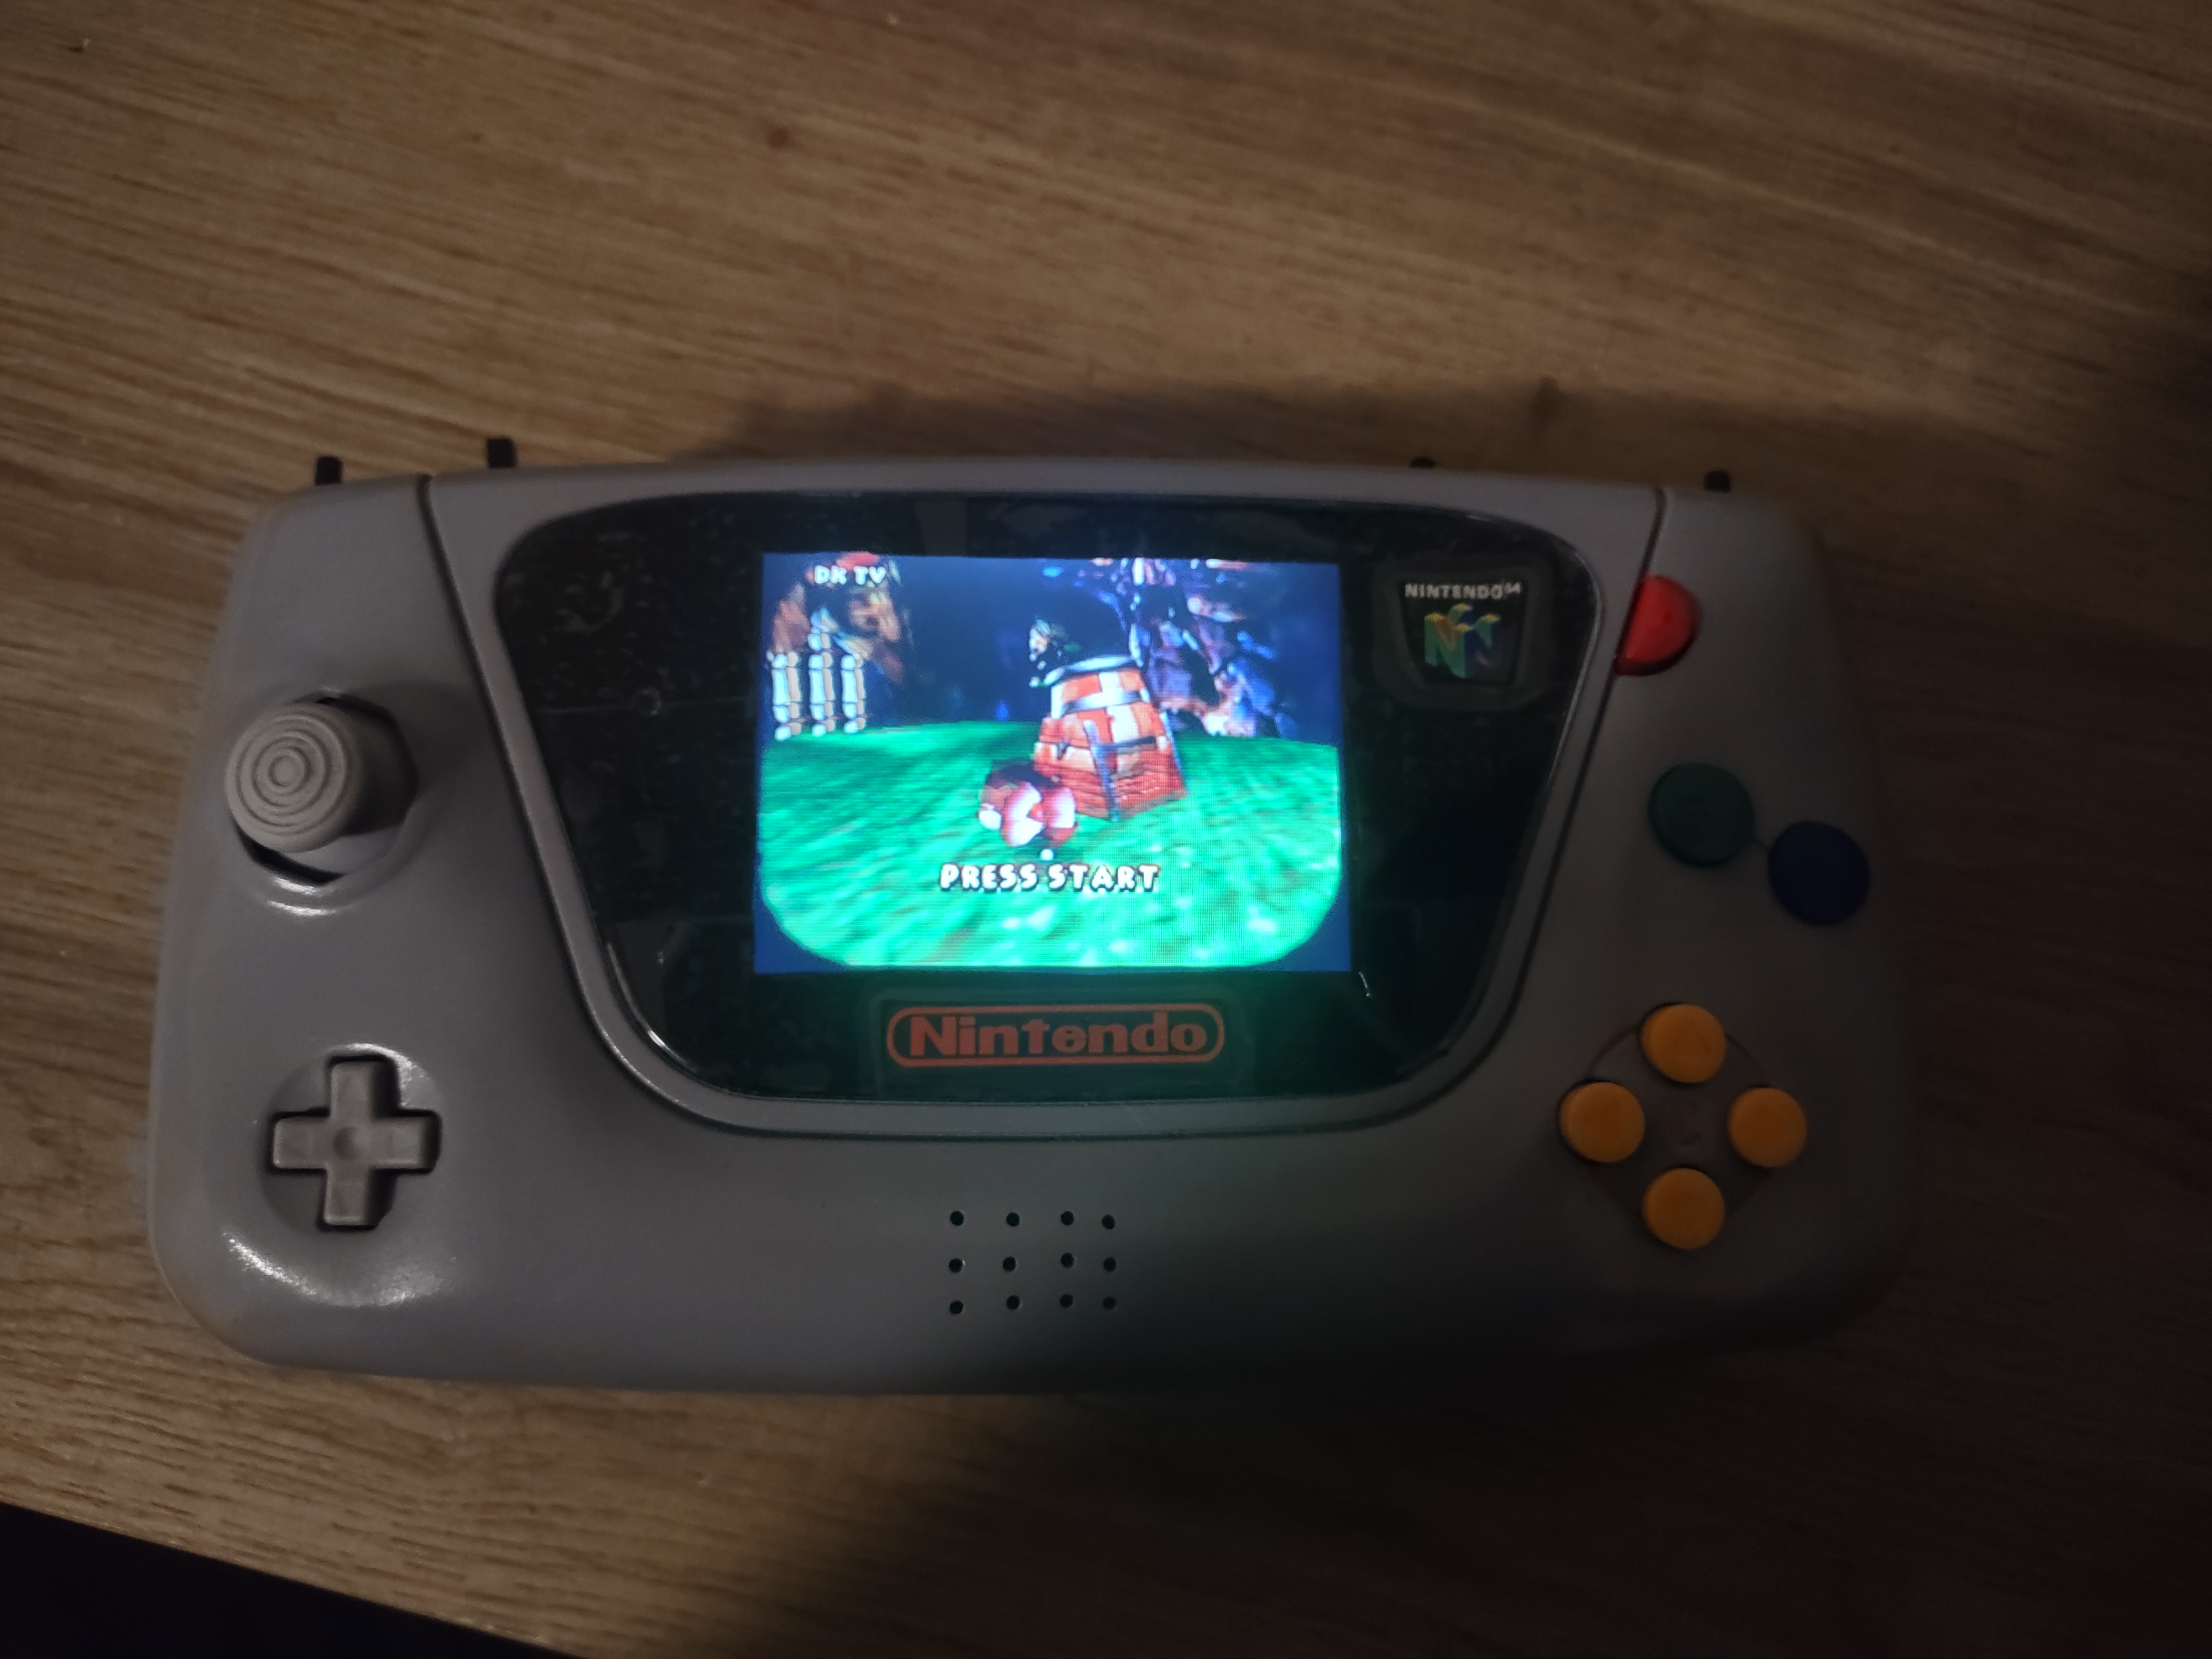
On went the clear coat and I was happy with the results.

Thank you to everyone who helped me with this, I appreciate you all! I'll have a full video here soon.
This took me about 7 months, start to finish.
I'm terrible at work logs but I'm gonna give it my best.
So I started out with this Gamegear I was trying to refurbish, however the board was just way too corroded. So I came up with this:
No official Jungle green controller was harmed in this process
Getting it all sanded up.
Filler
More sanding
This is when I figured out the d-pad was gonna be impossible without changing the speaker location.
I marked imperfections and added the d-pad from a GameCube.
Adding more filler.
Sweet smoothness. I also tried to get some paint to match an original grey n64 controller, but the best I could find was actually the primer I was already using so I decided to just go with it.
On went the clear coat and I was happy with the results.
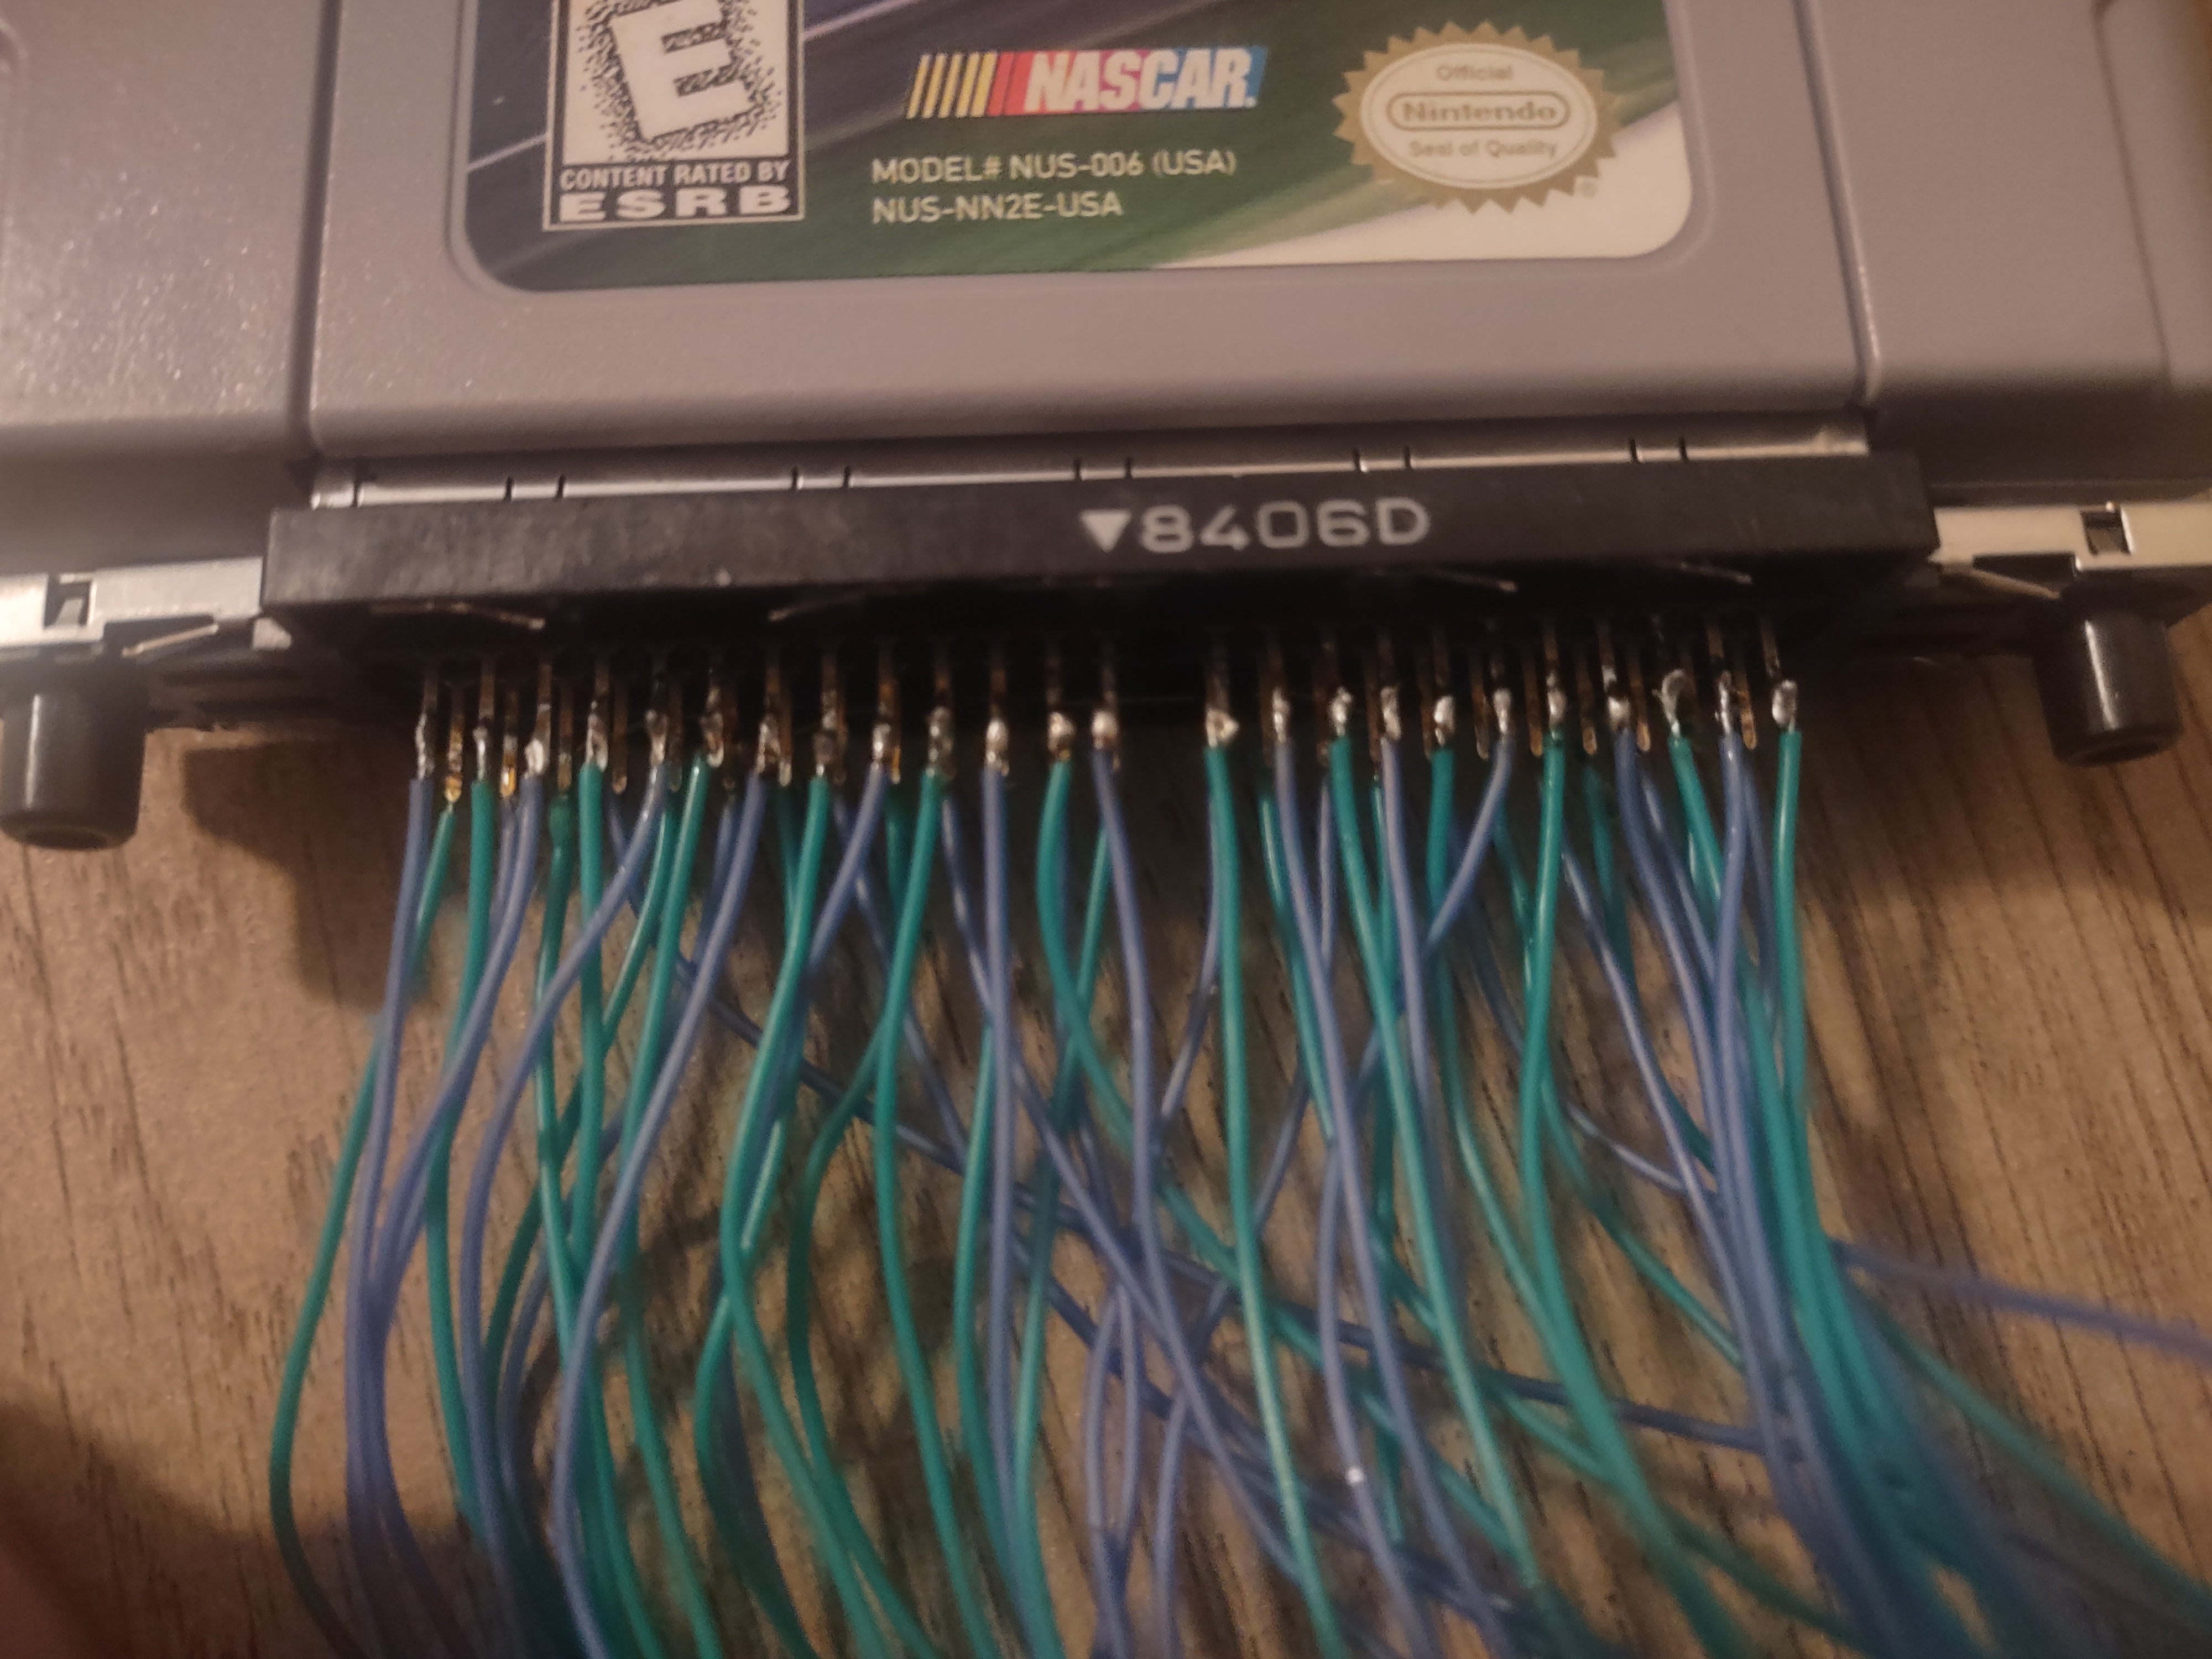
First of all let me say I make sure my solder joints are tight and nothing is shorting out, I know how to wire well. However my wire management leaves a bit to be desired.
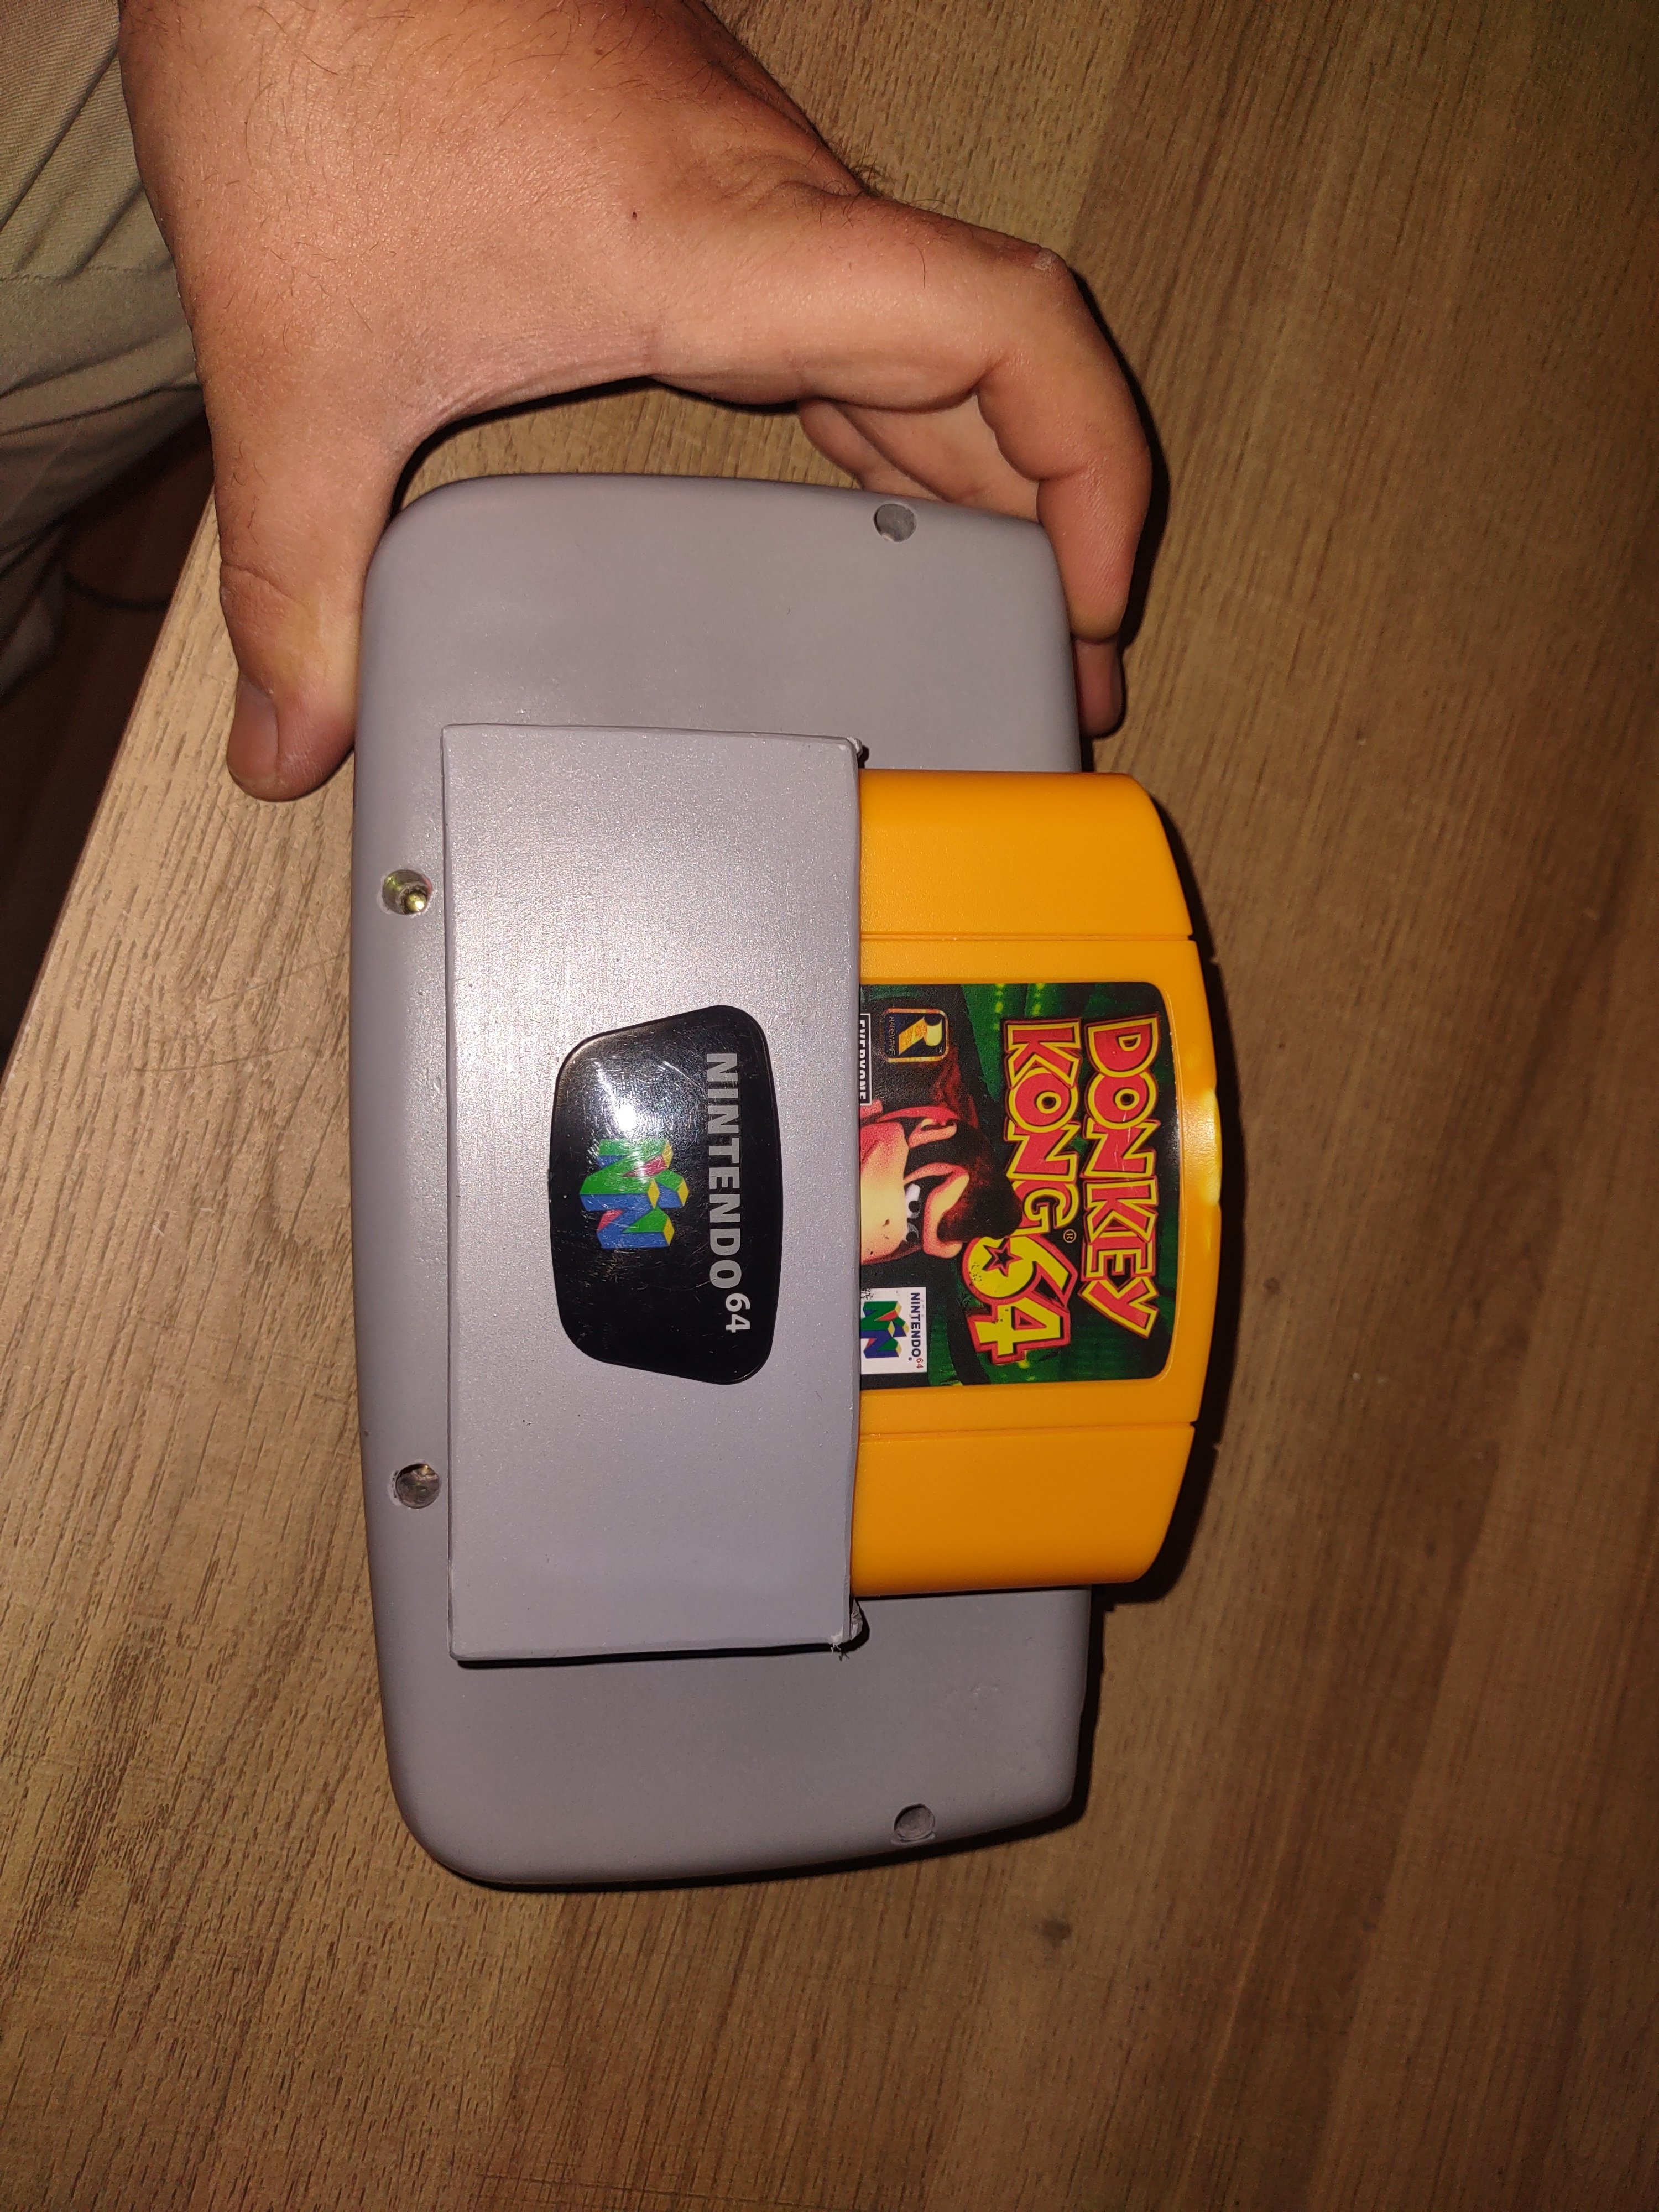
The victim, old style trim, no pif relocation because it's not really necessary for this build.
Trim before the cleanup.
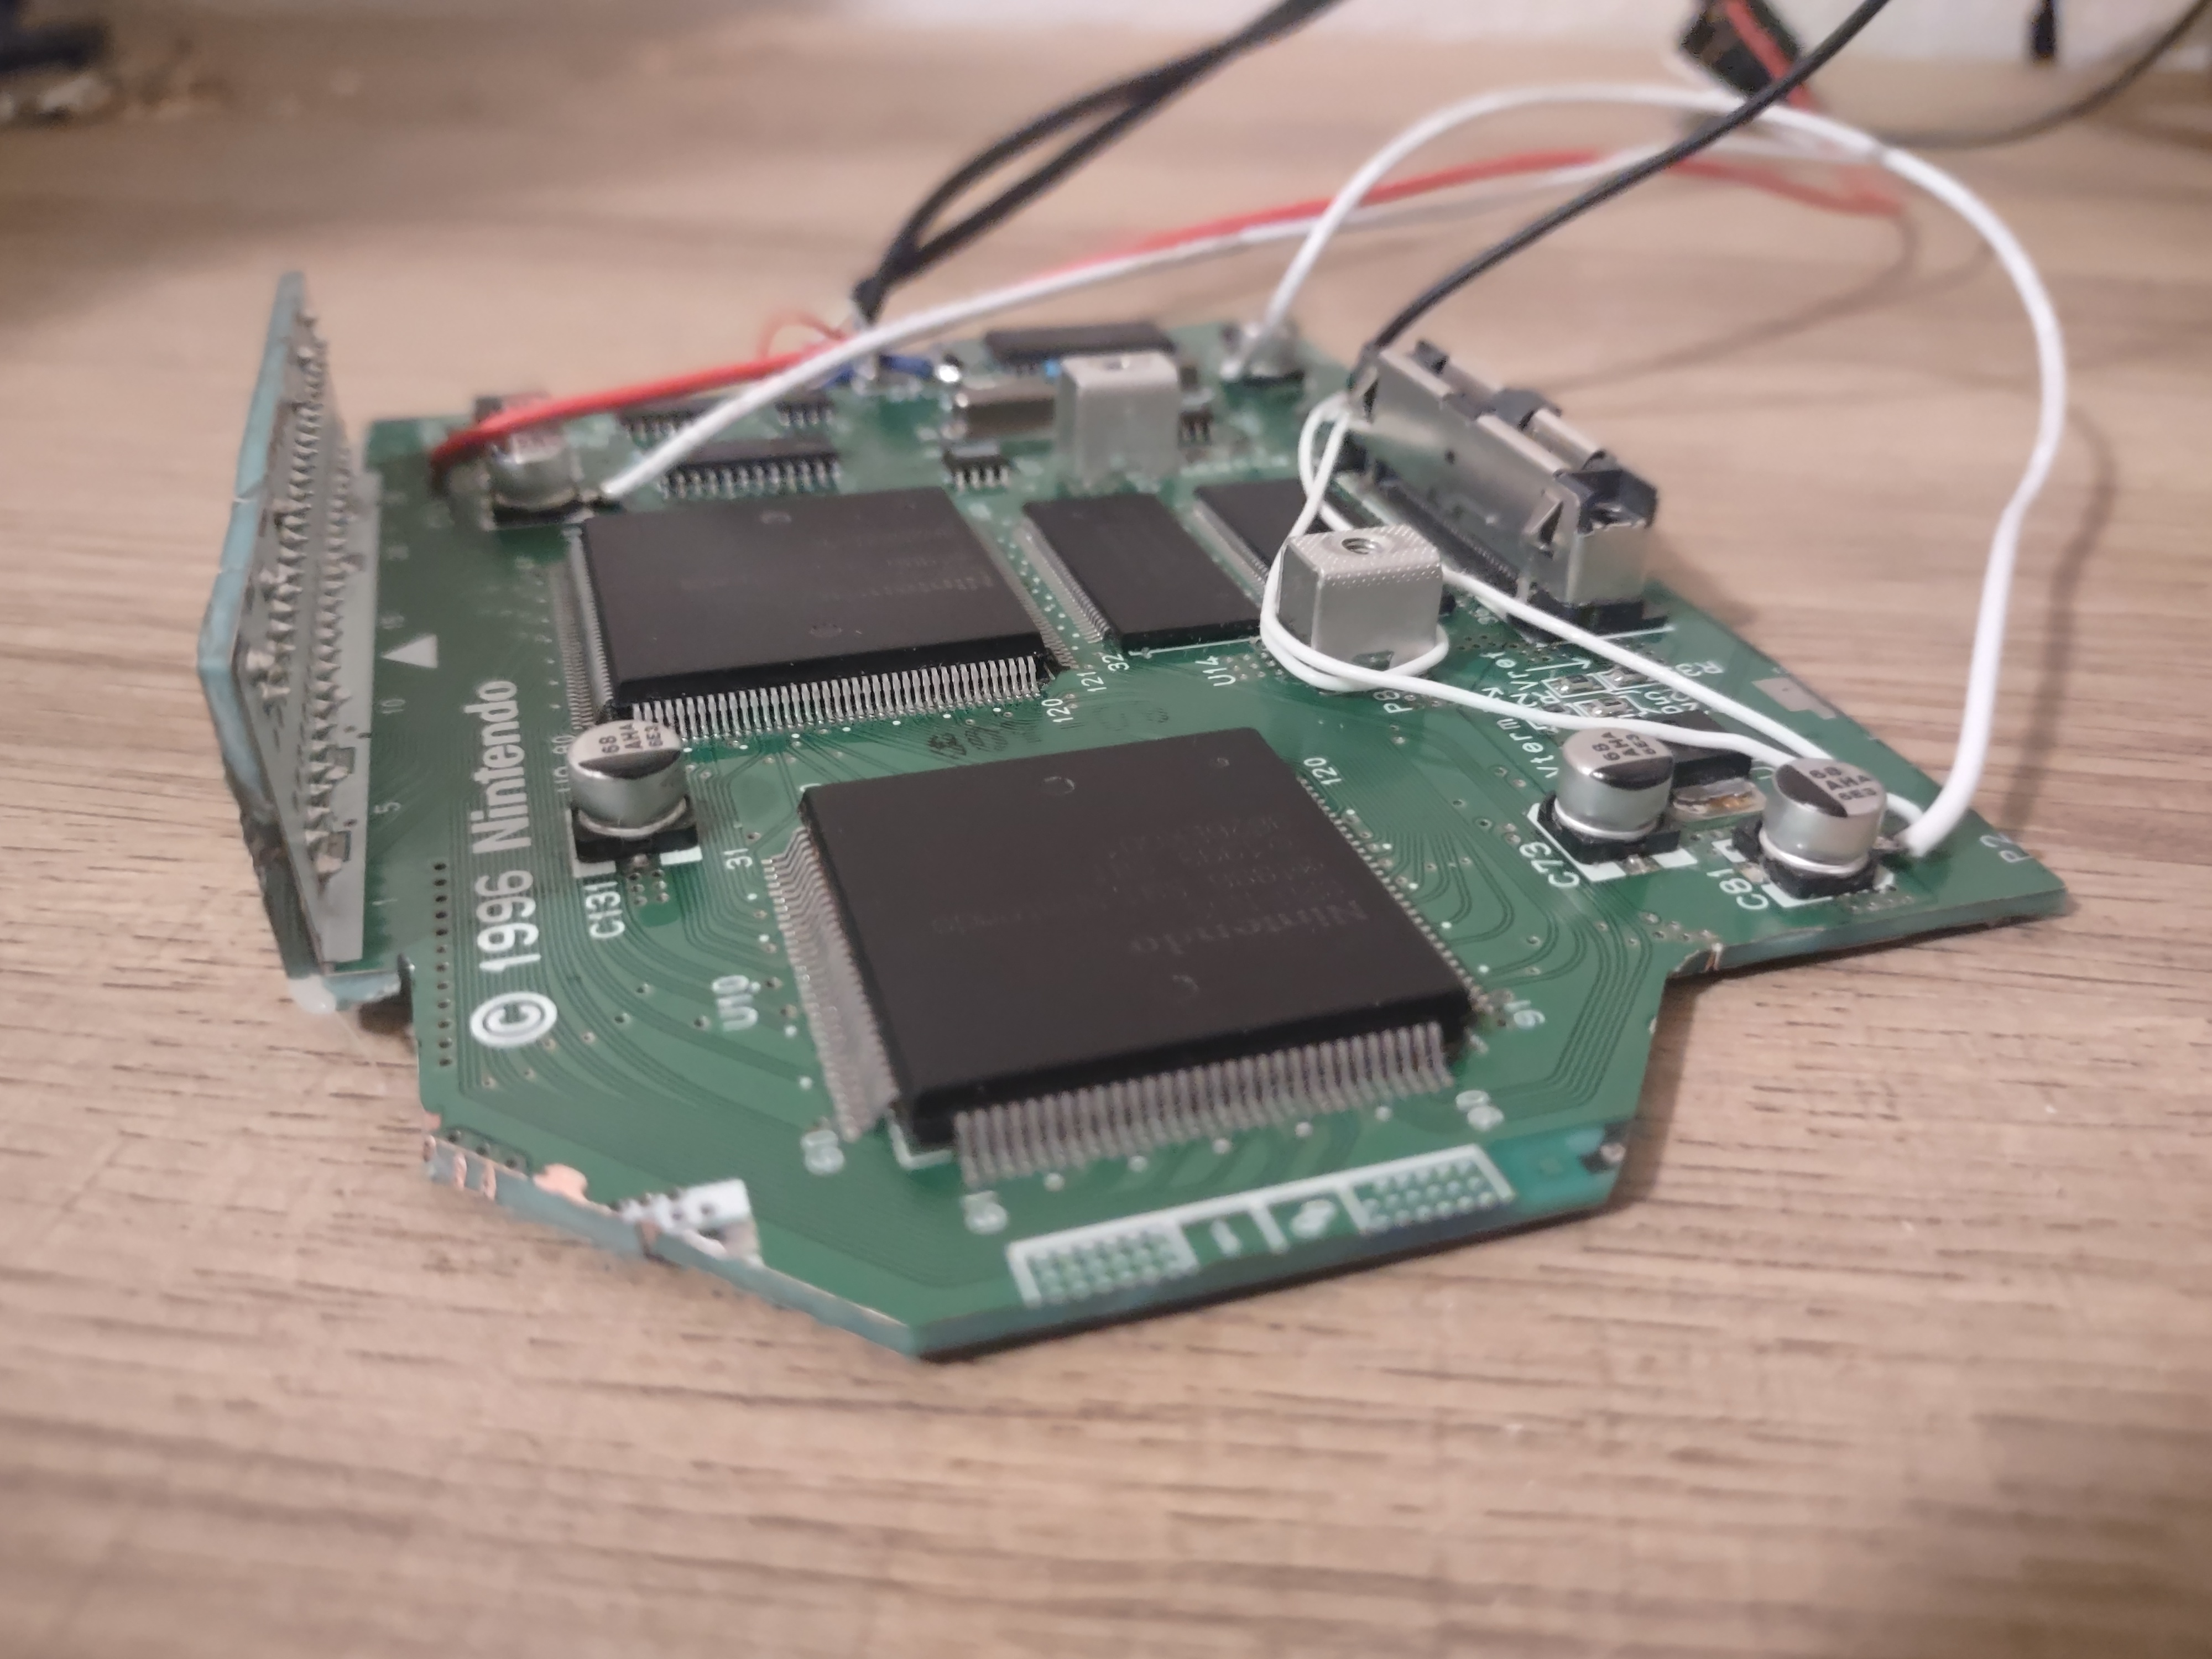
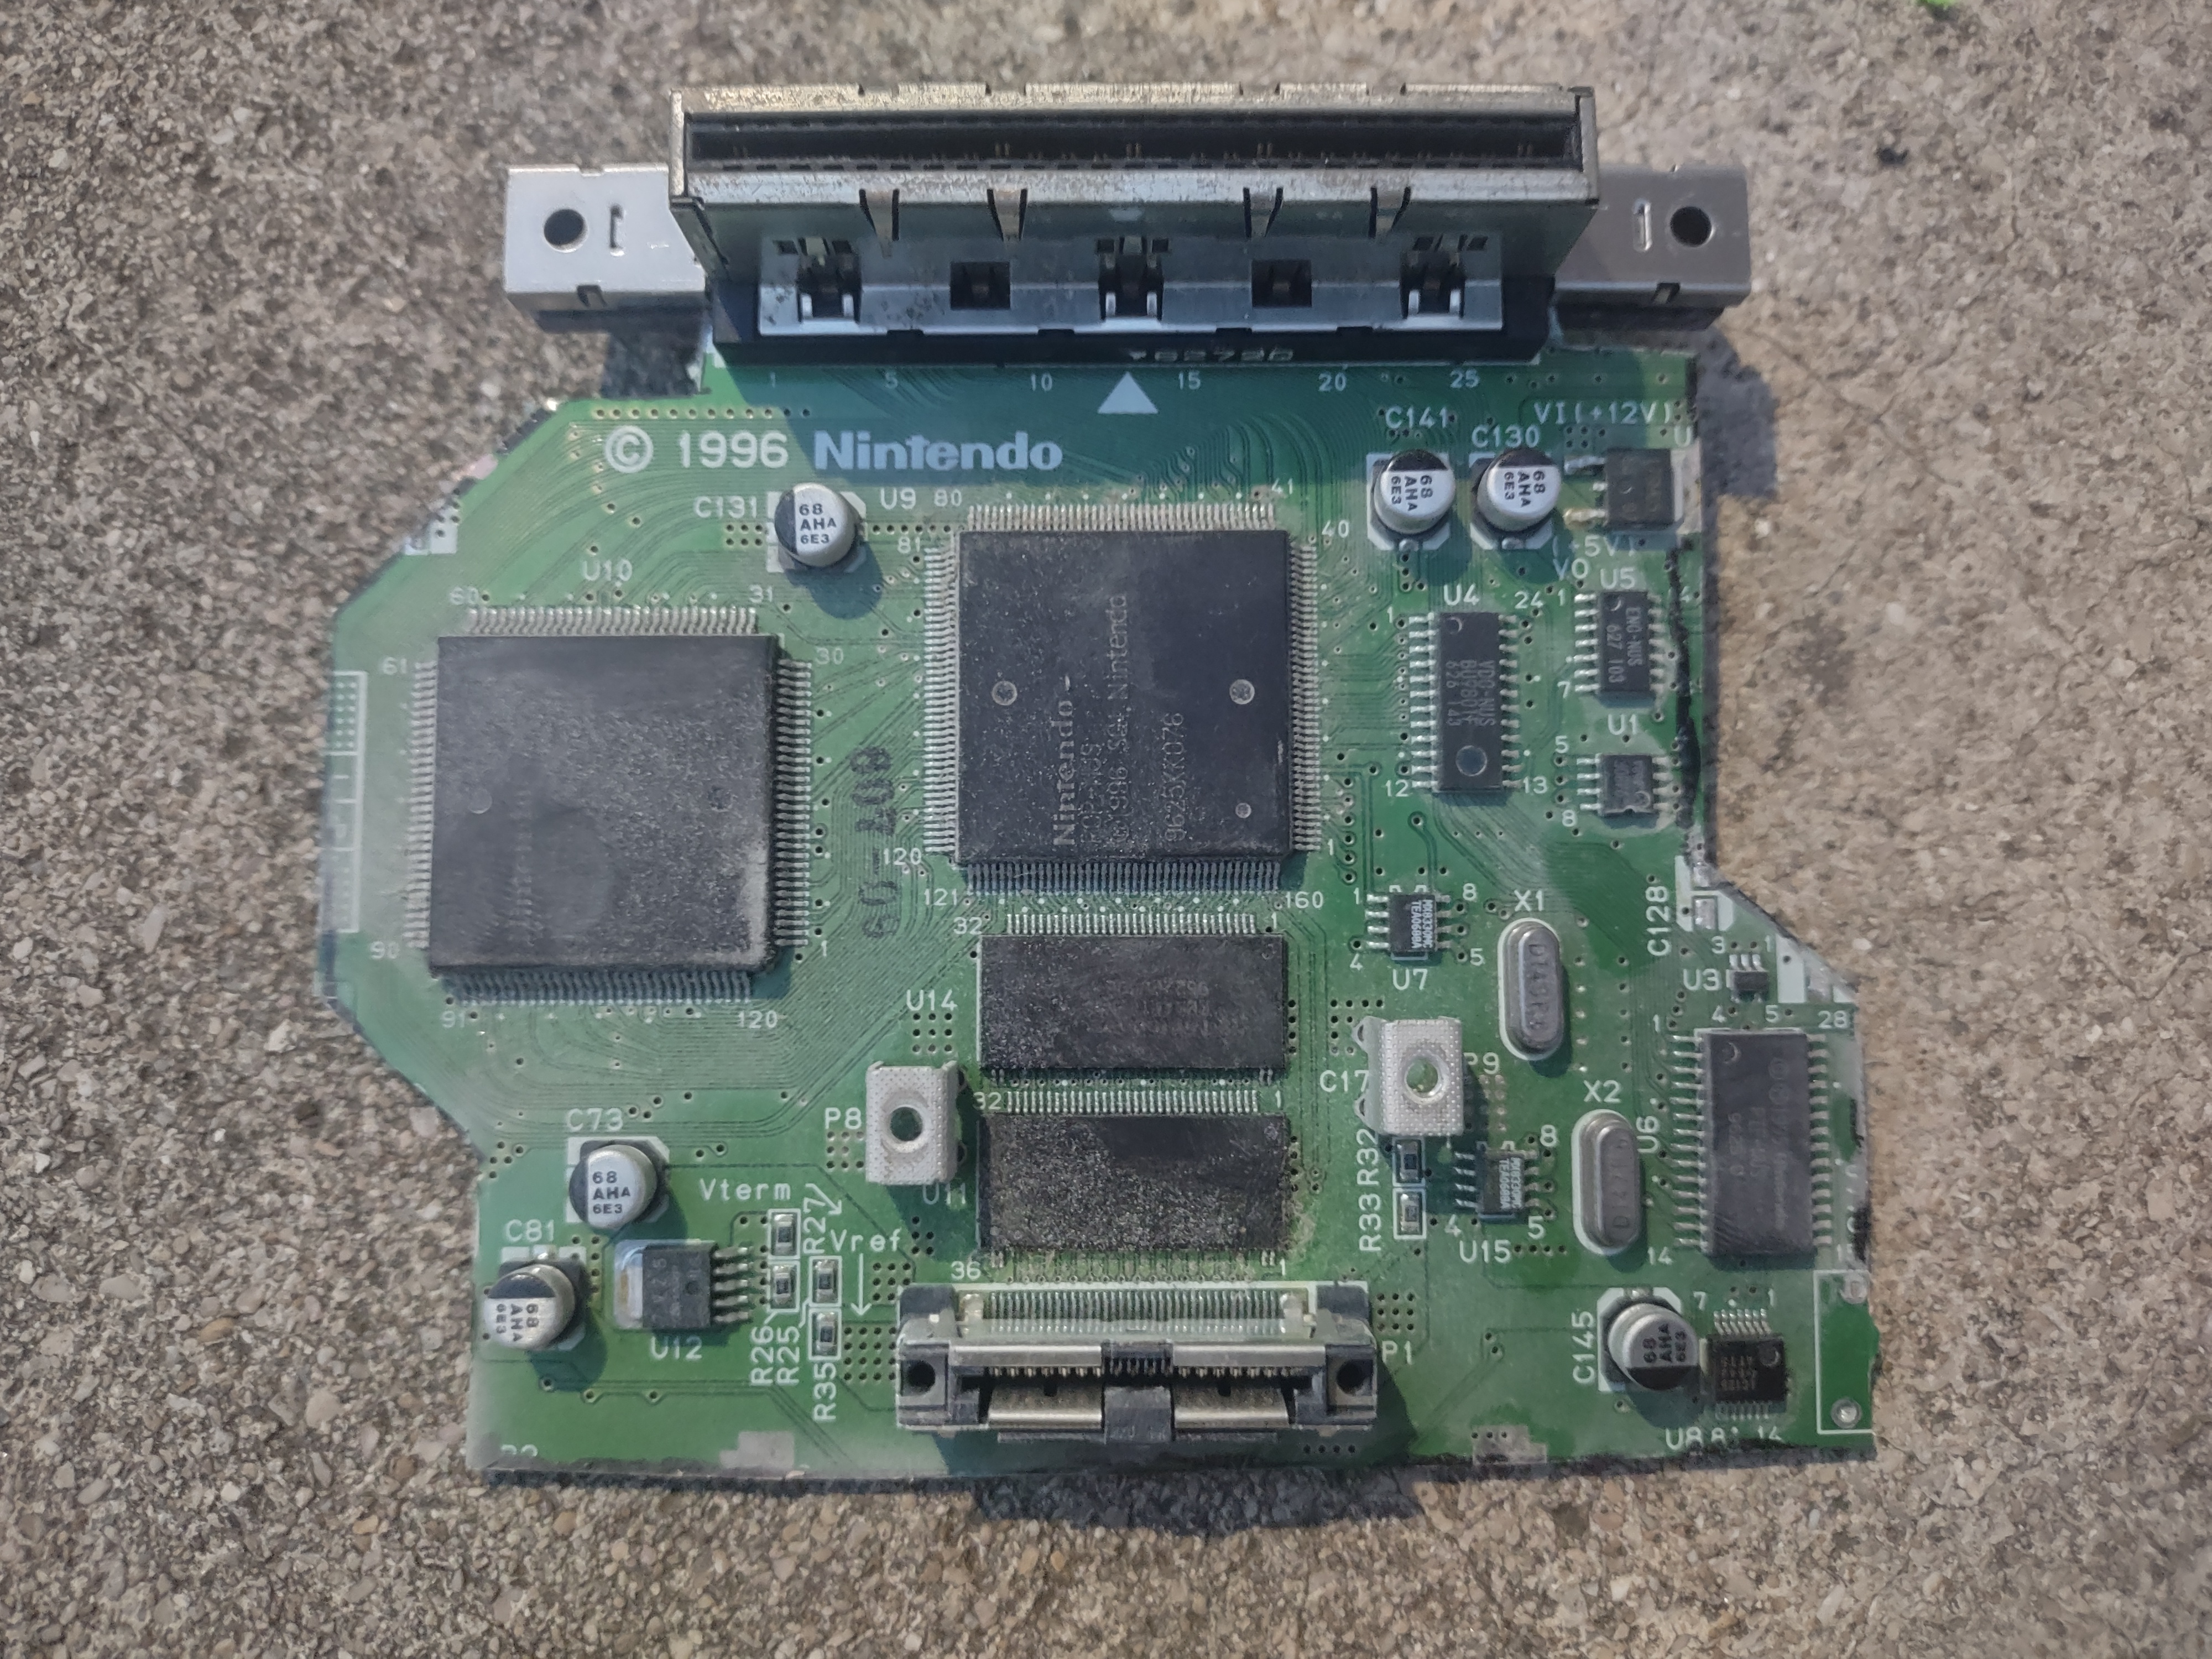
Board bend, ignore the wire wrapped around the heatsink post, that's temporary

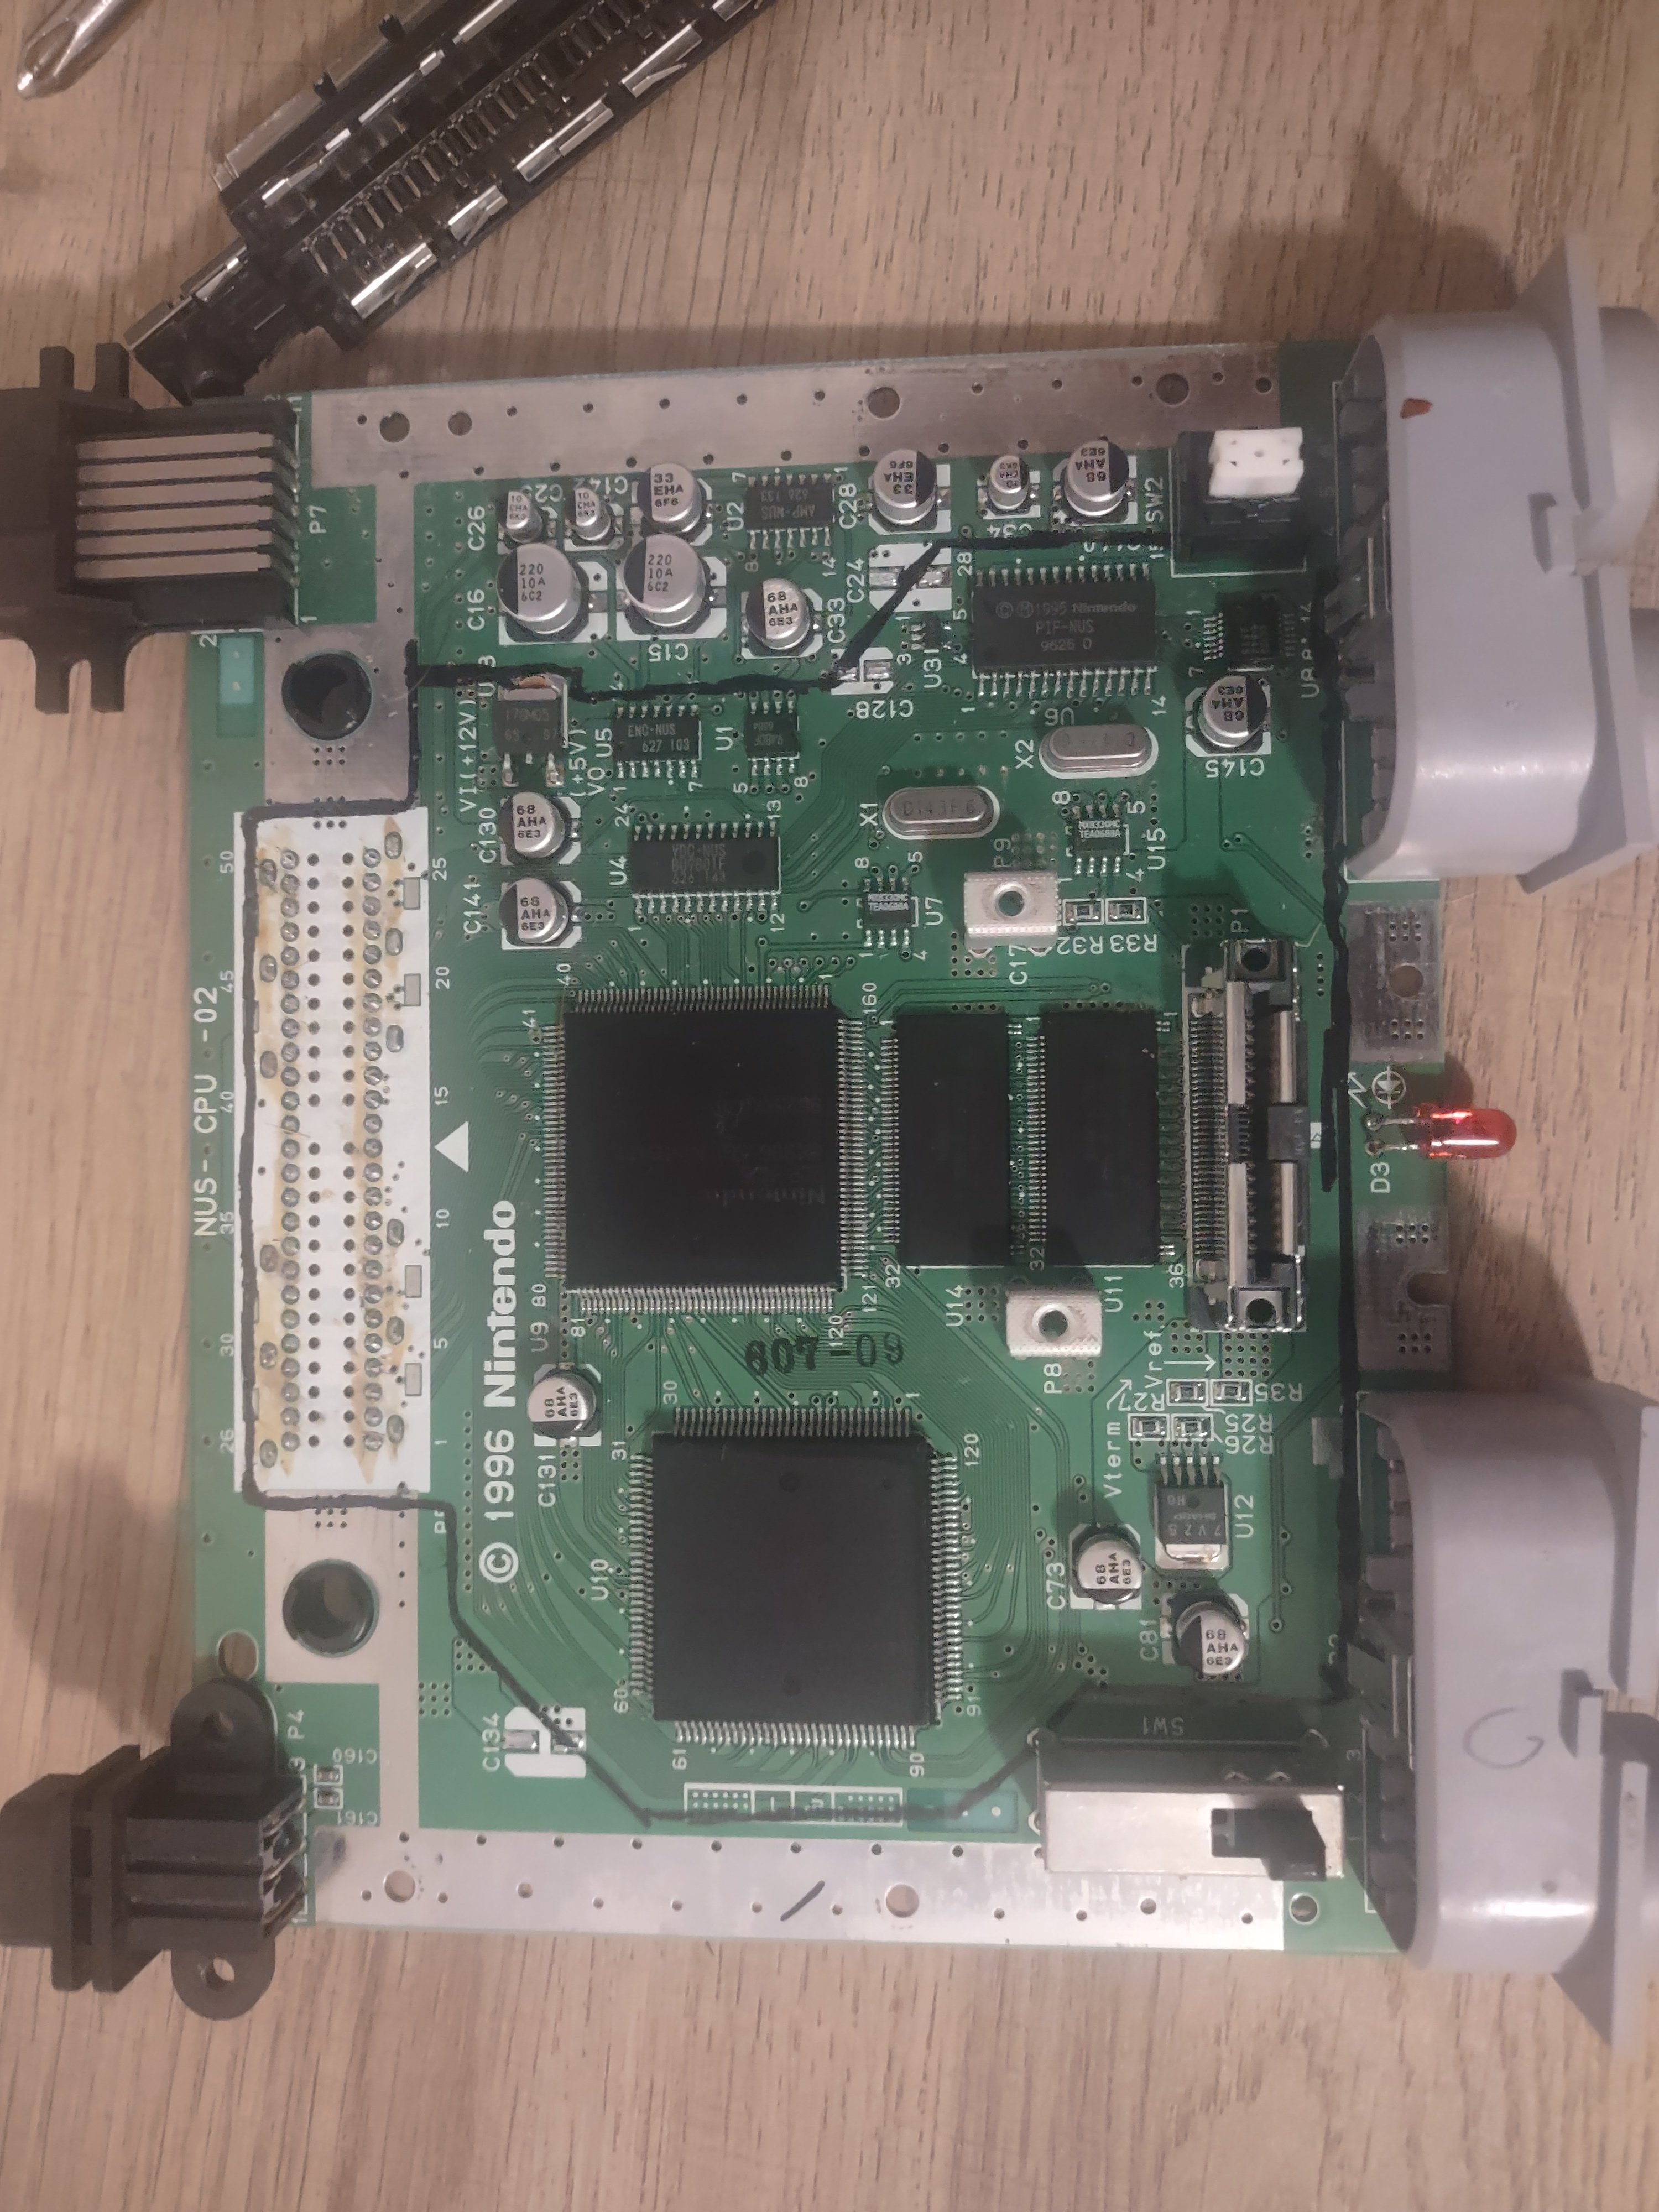
Successful cart relocation on the board bend.
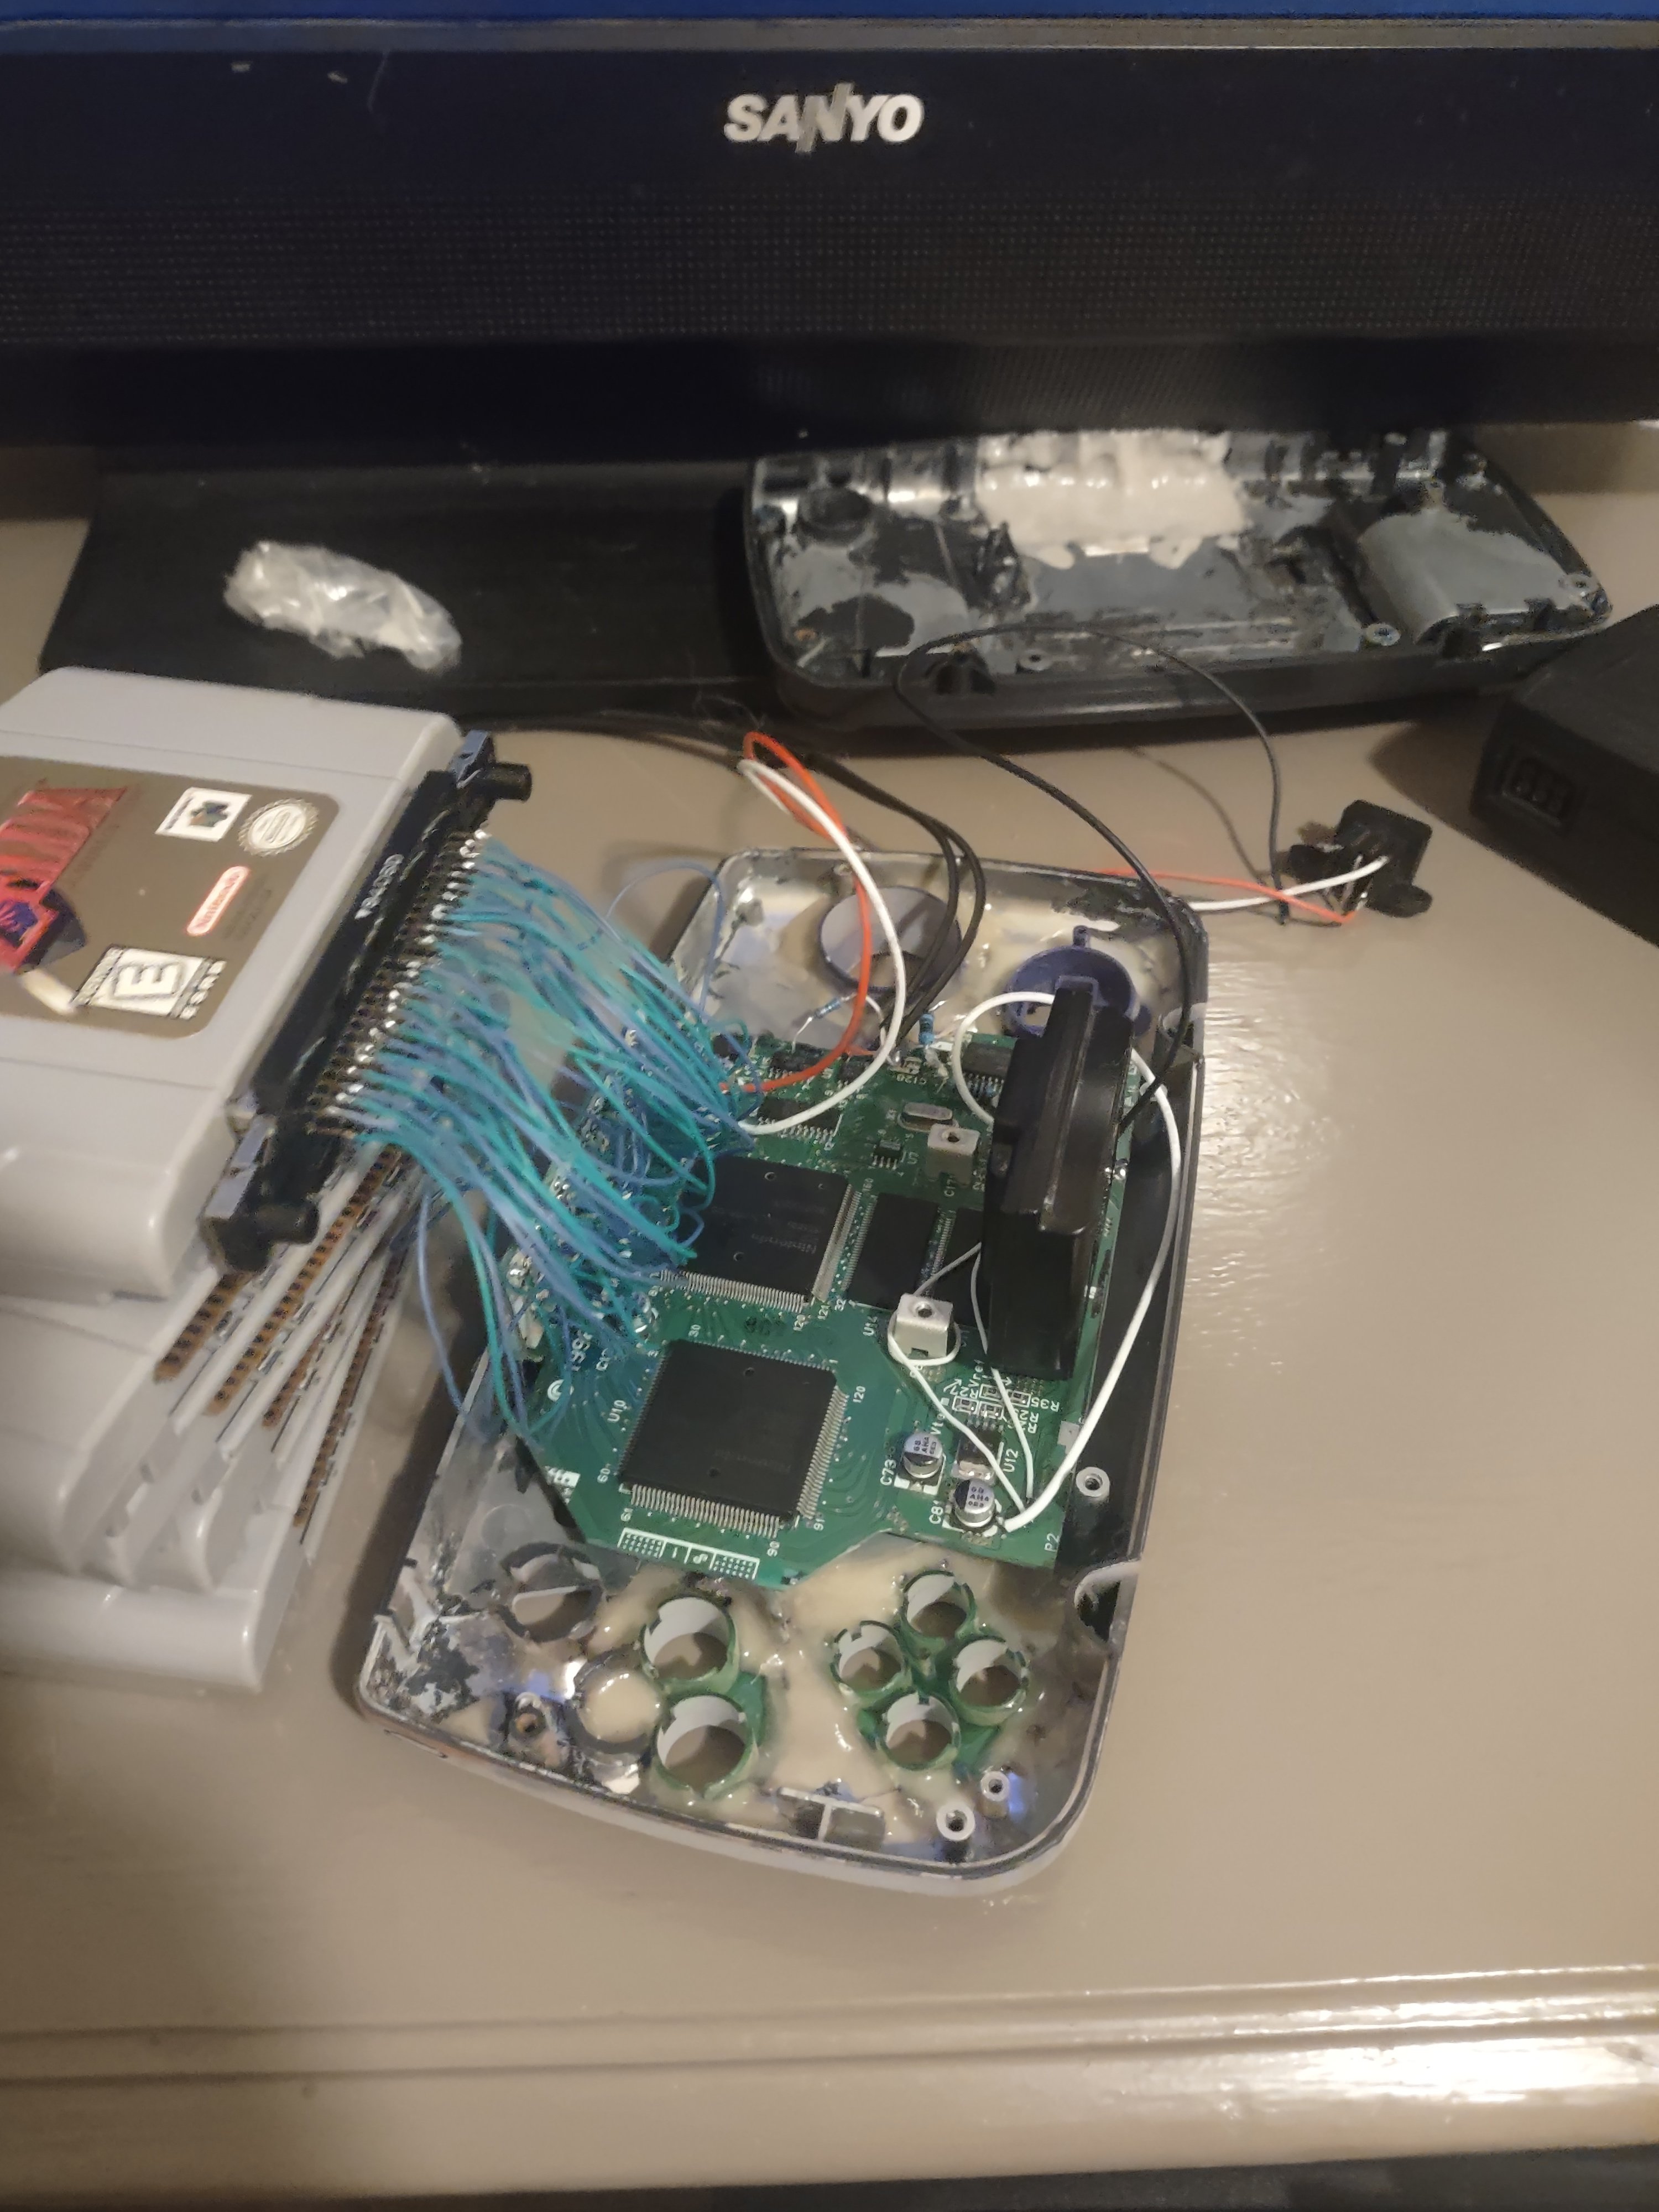
Board test fit, it fits!
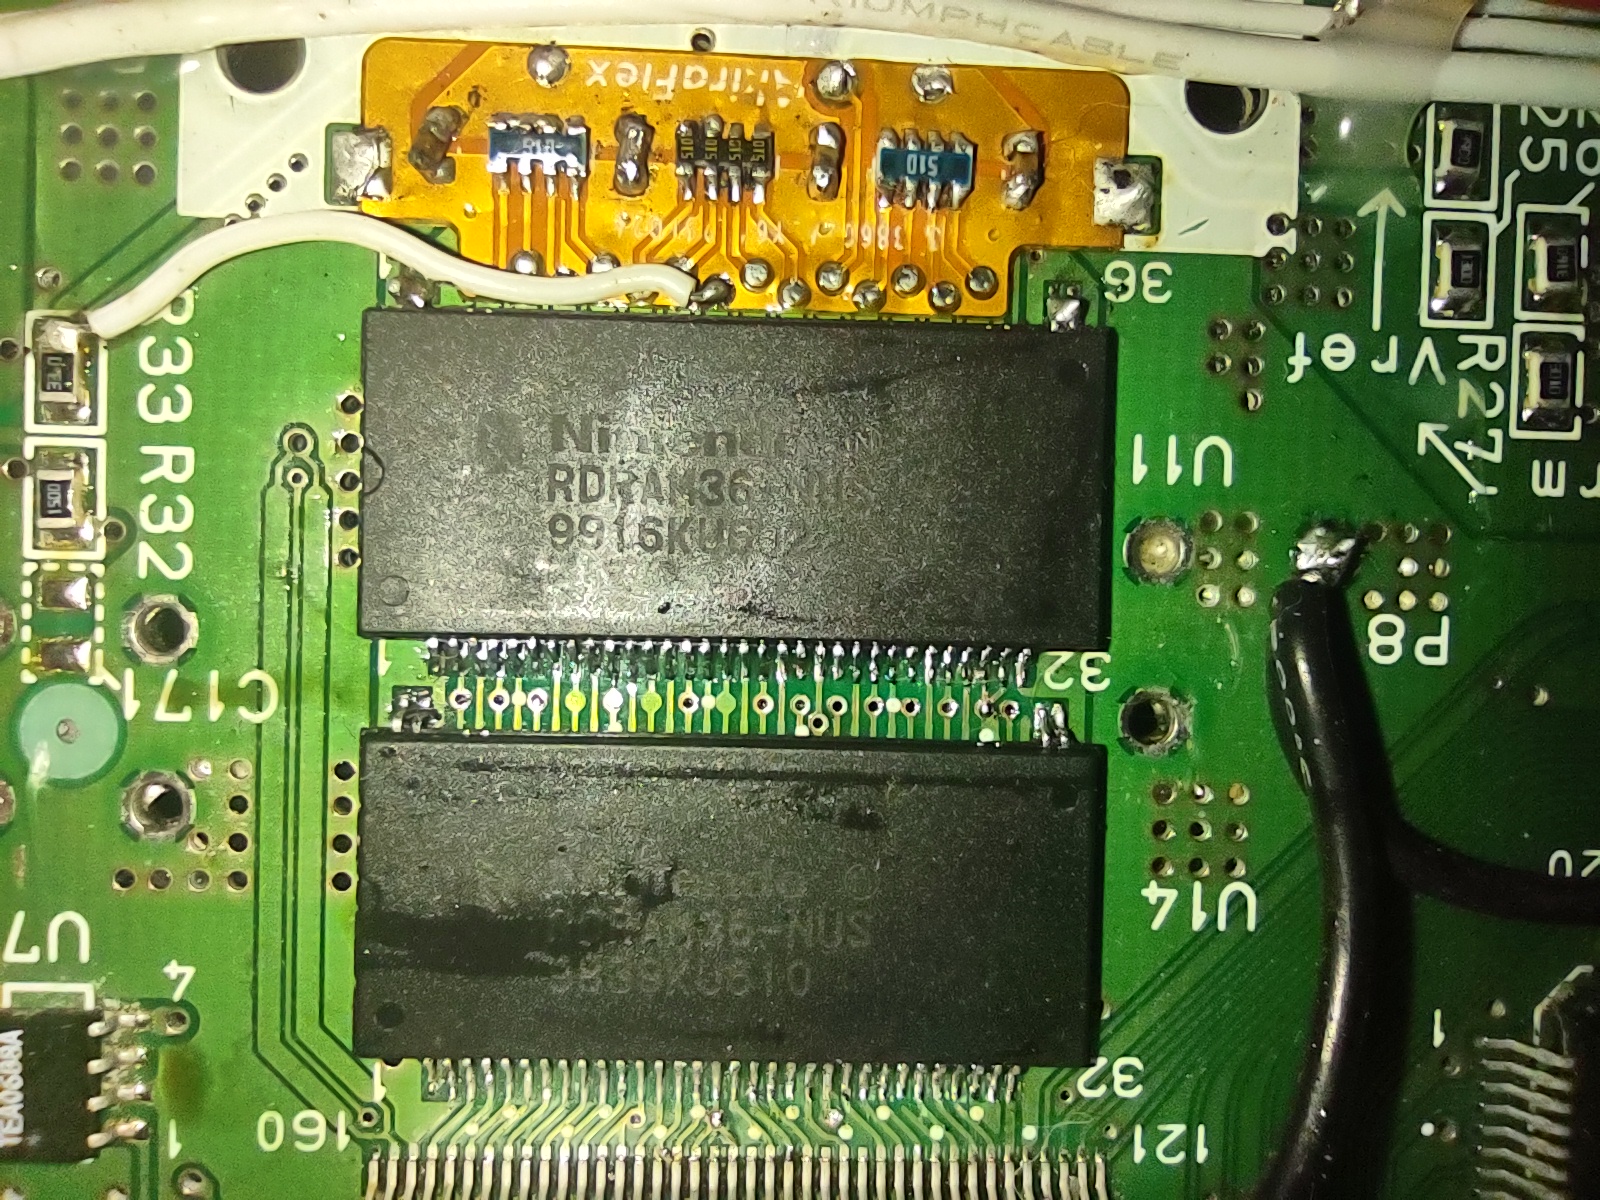
Akiraflex Ram swap, thank you CrazyGadget!
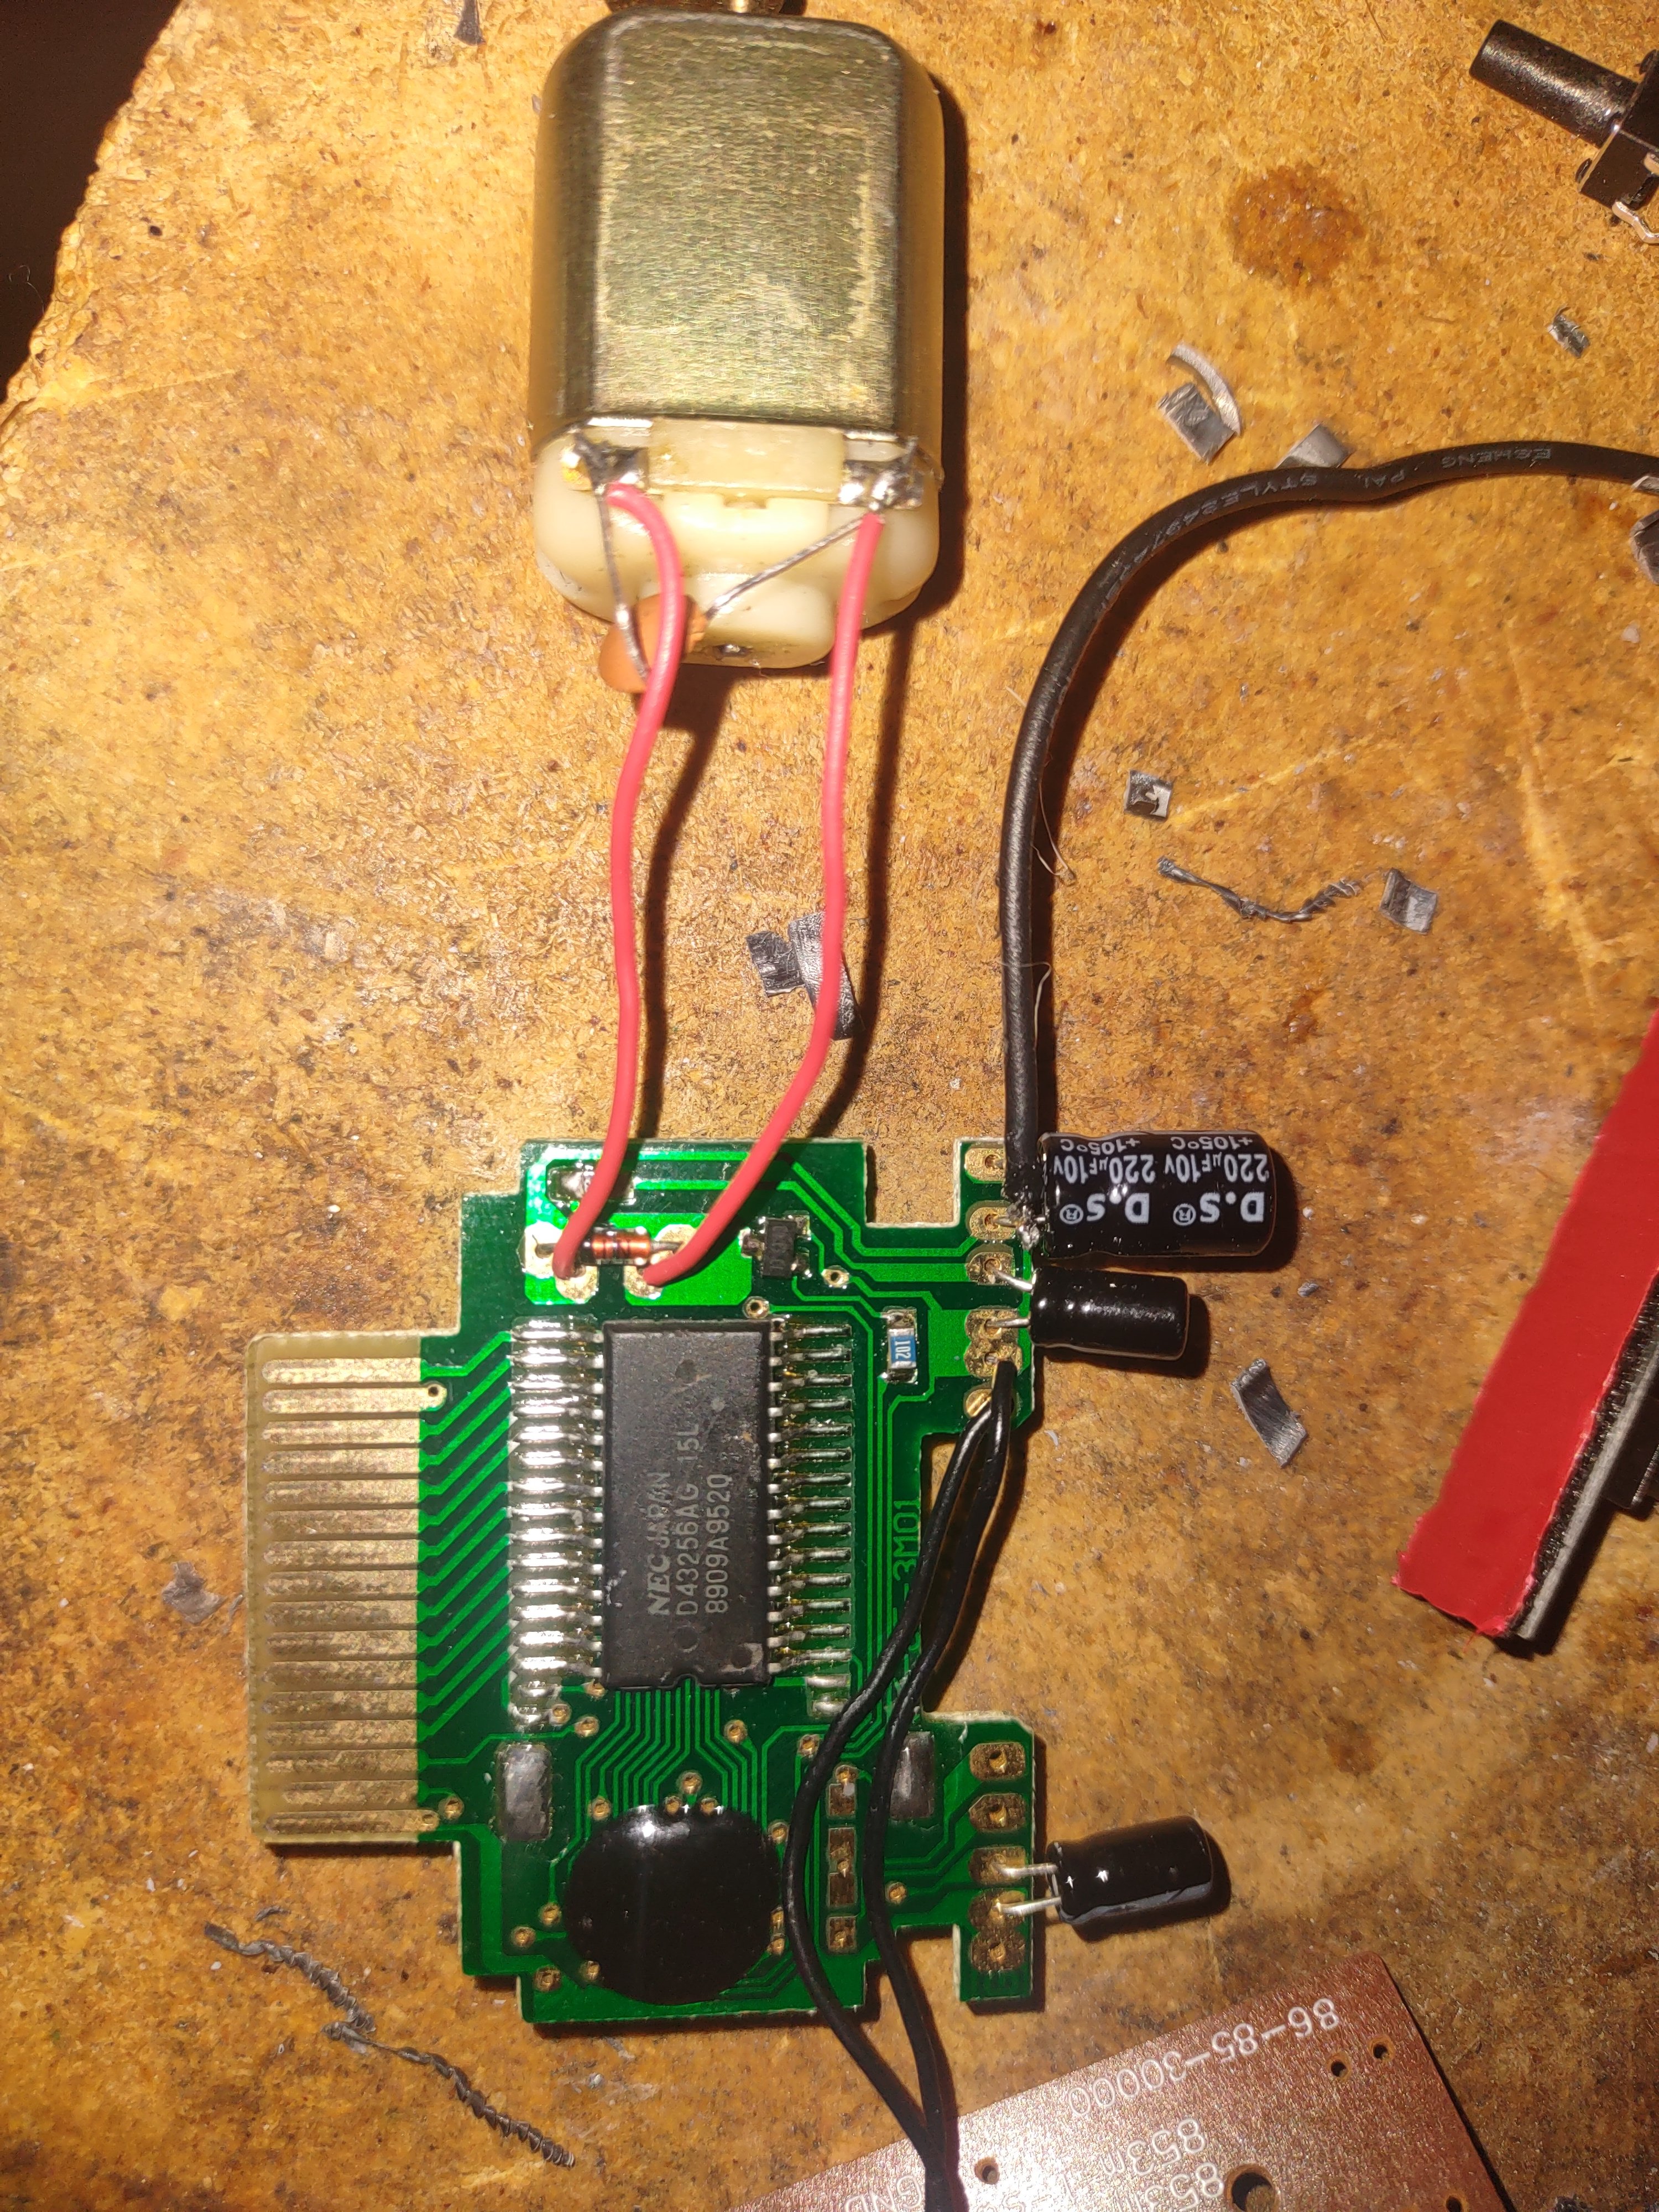
I used this rumble pack/memory pack for this.

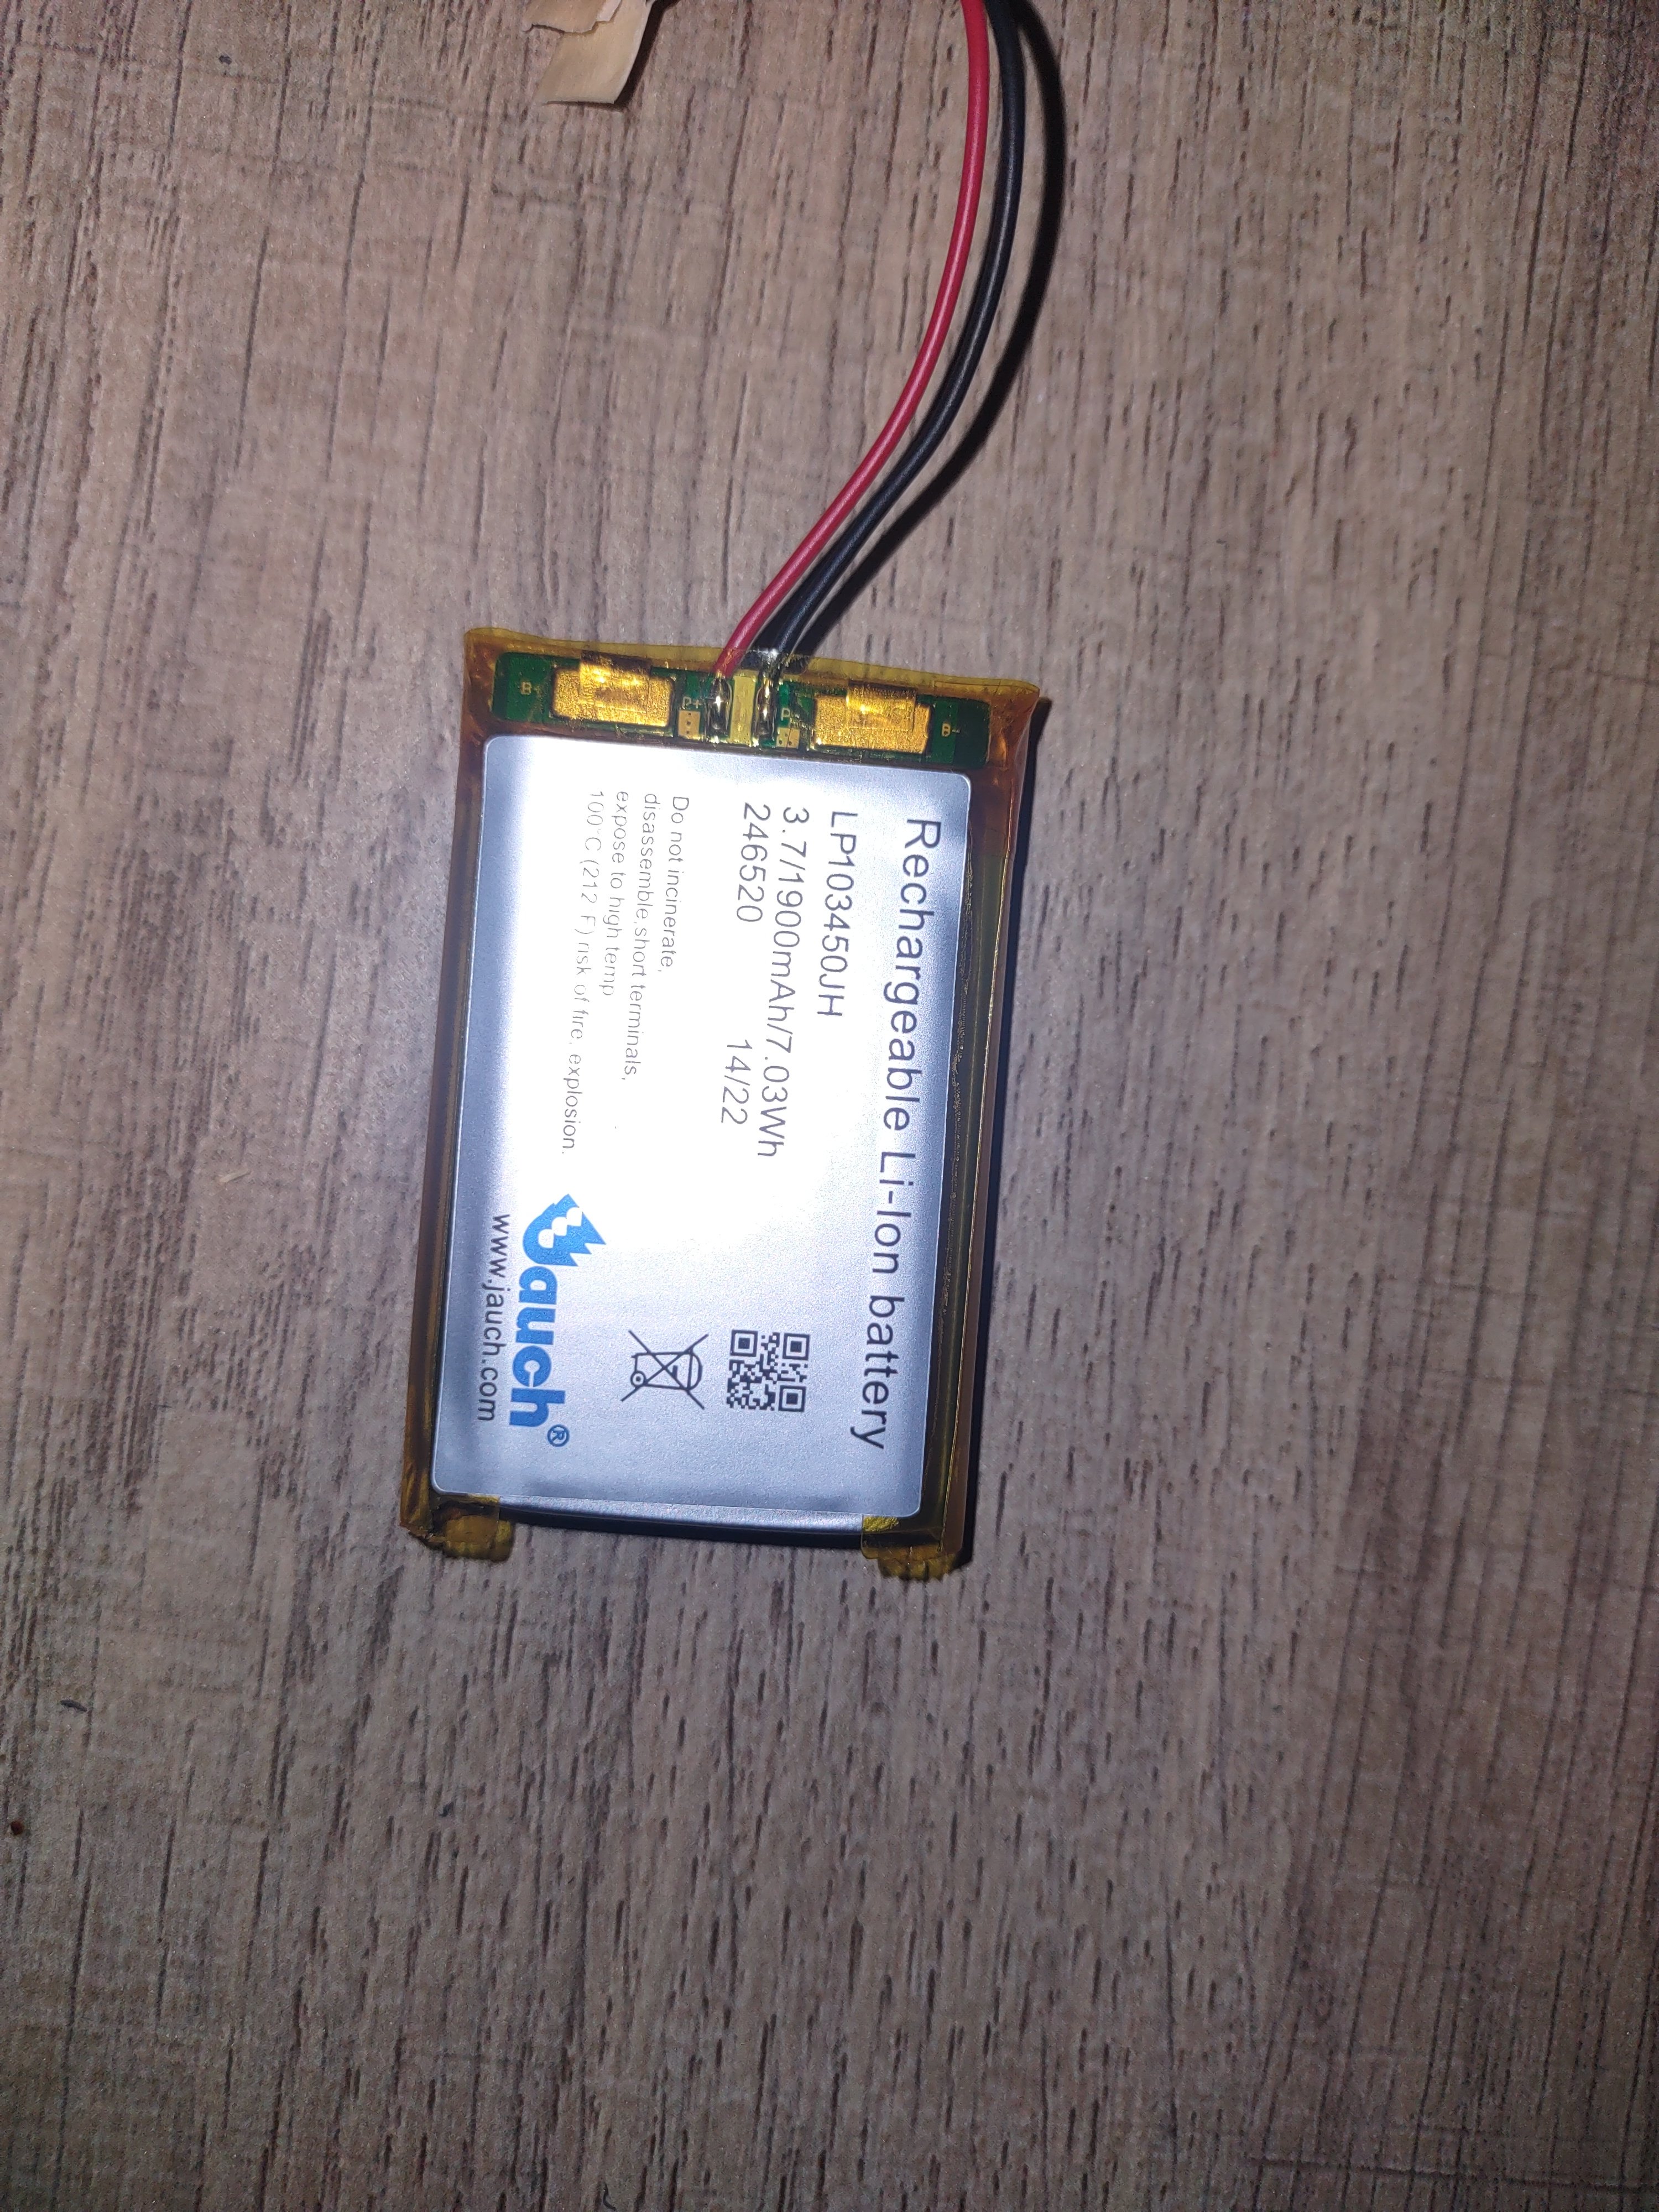
This is what I used for my batteries. 2 of these for 7.4v at 1900mah, not a crazy capacity but enough for me.
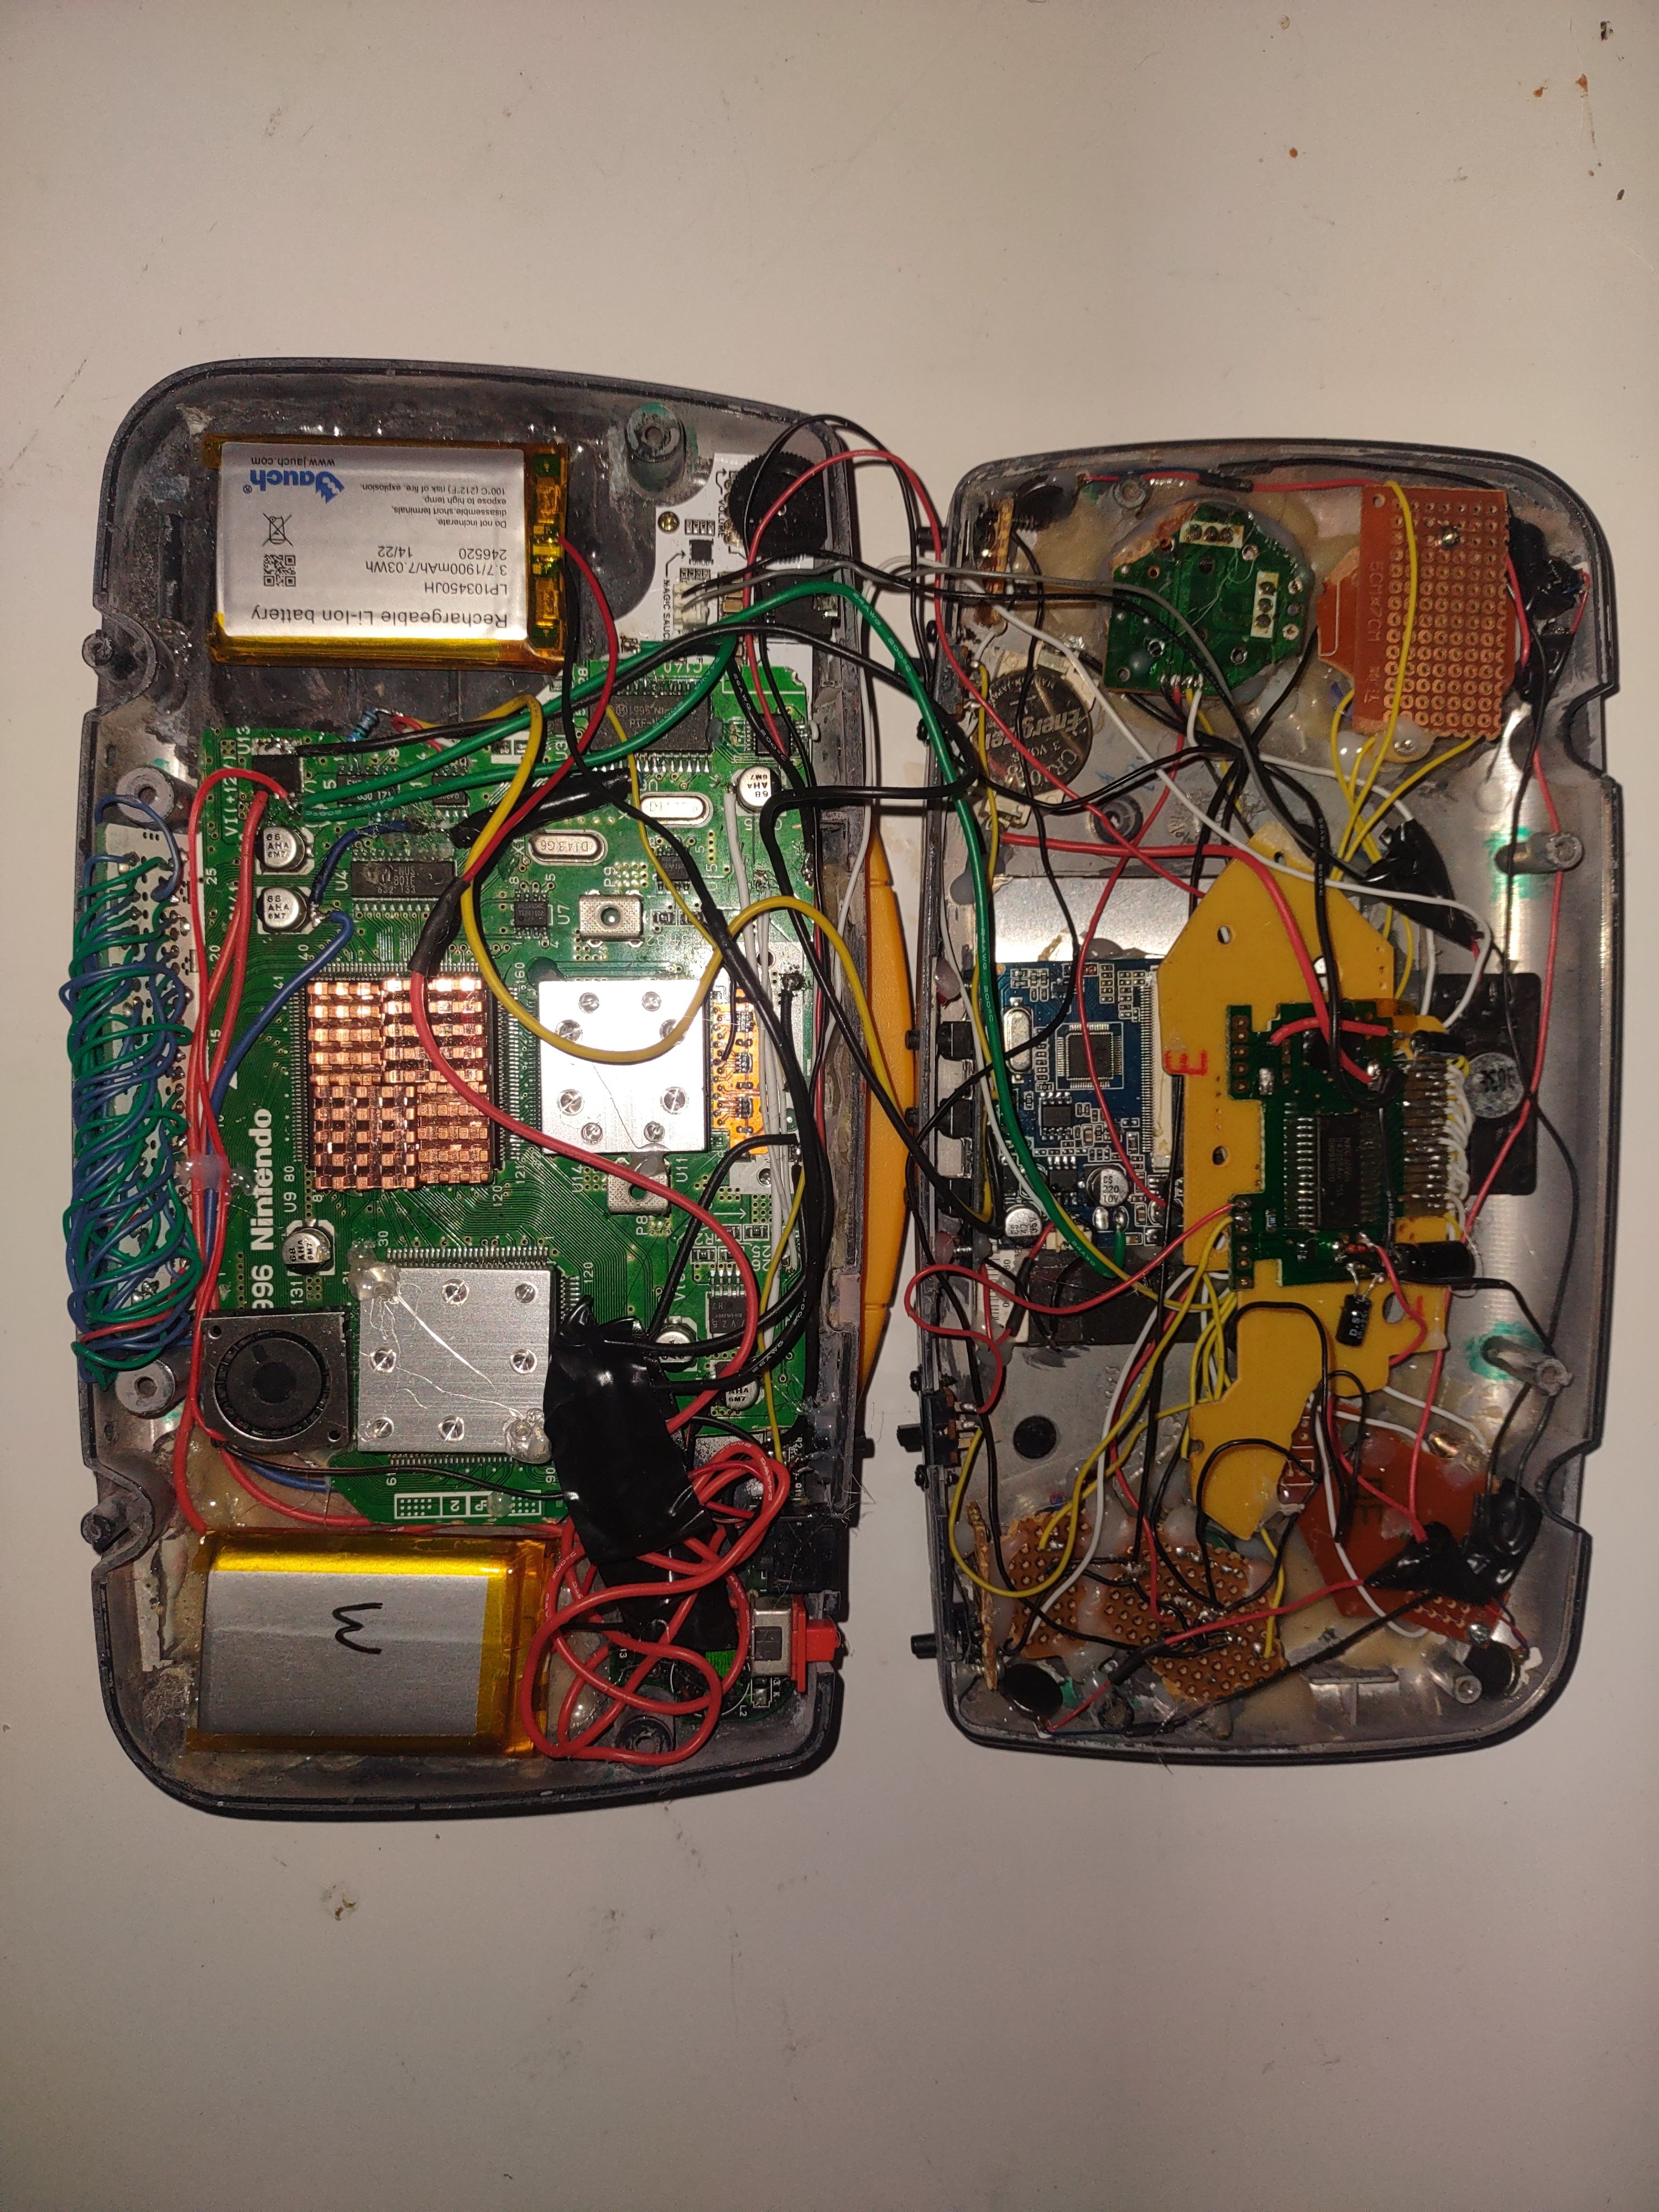
Unfortunately I didn't take many pictures of the electronics as I did them but here is the completed insides, it doesn't look the most tidy but it works.
Those 2 heatsinks I'll probably end up replacing because I under estimated the amount I would need.
The victim, old style trim, no pif relocation because it's not really necessary for this build.
Trim before the cleanup.
Board bend, ignore the wire wrapped around the heatsink post, that's temporary
Successful cart relocation on the board bend.
Board test fit, it fits!
Akiraflex Ram swap, thank you CrazyGadget!
I used this rumble pack/memory pack for this.
This is what I used for my batteries. 2 of these for 7.4v at 1900mah, not a crazy capacity but enough for me.
Unfortunately I didn't take many pictures of the electronics as I did them but here is the completed insides, it doesn't look the most tidy but it works.
Those 2 heatsinks I'll probably end up replacing because I under estimated the amount I would need.


Thank you to everyone who helped me with this, I appreciate you all! I'll have a full video here soon.
Last edited: