Worklog Smokii Gray, Back for Seconds -- a tale of two ashida.

Joined
Jul 9, 2020
Messages
227
Likes
498
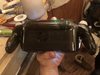
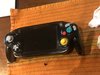
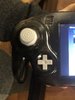
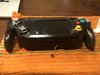
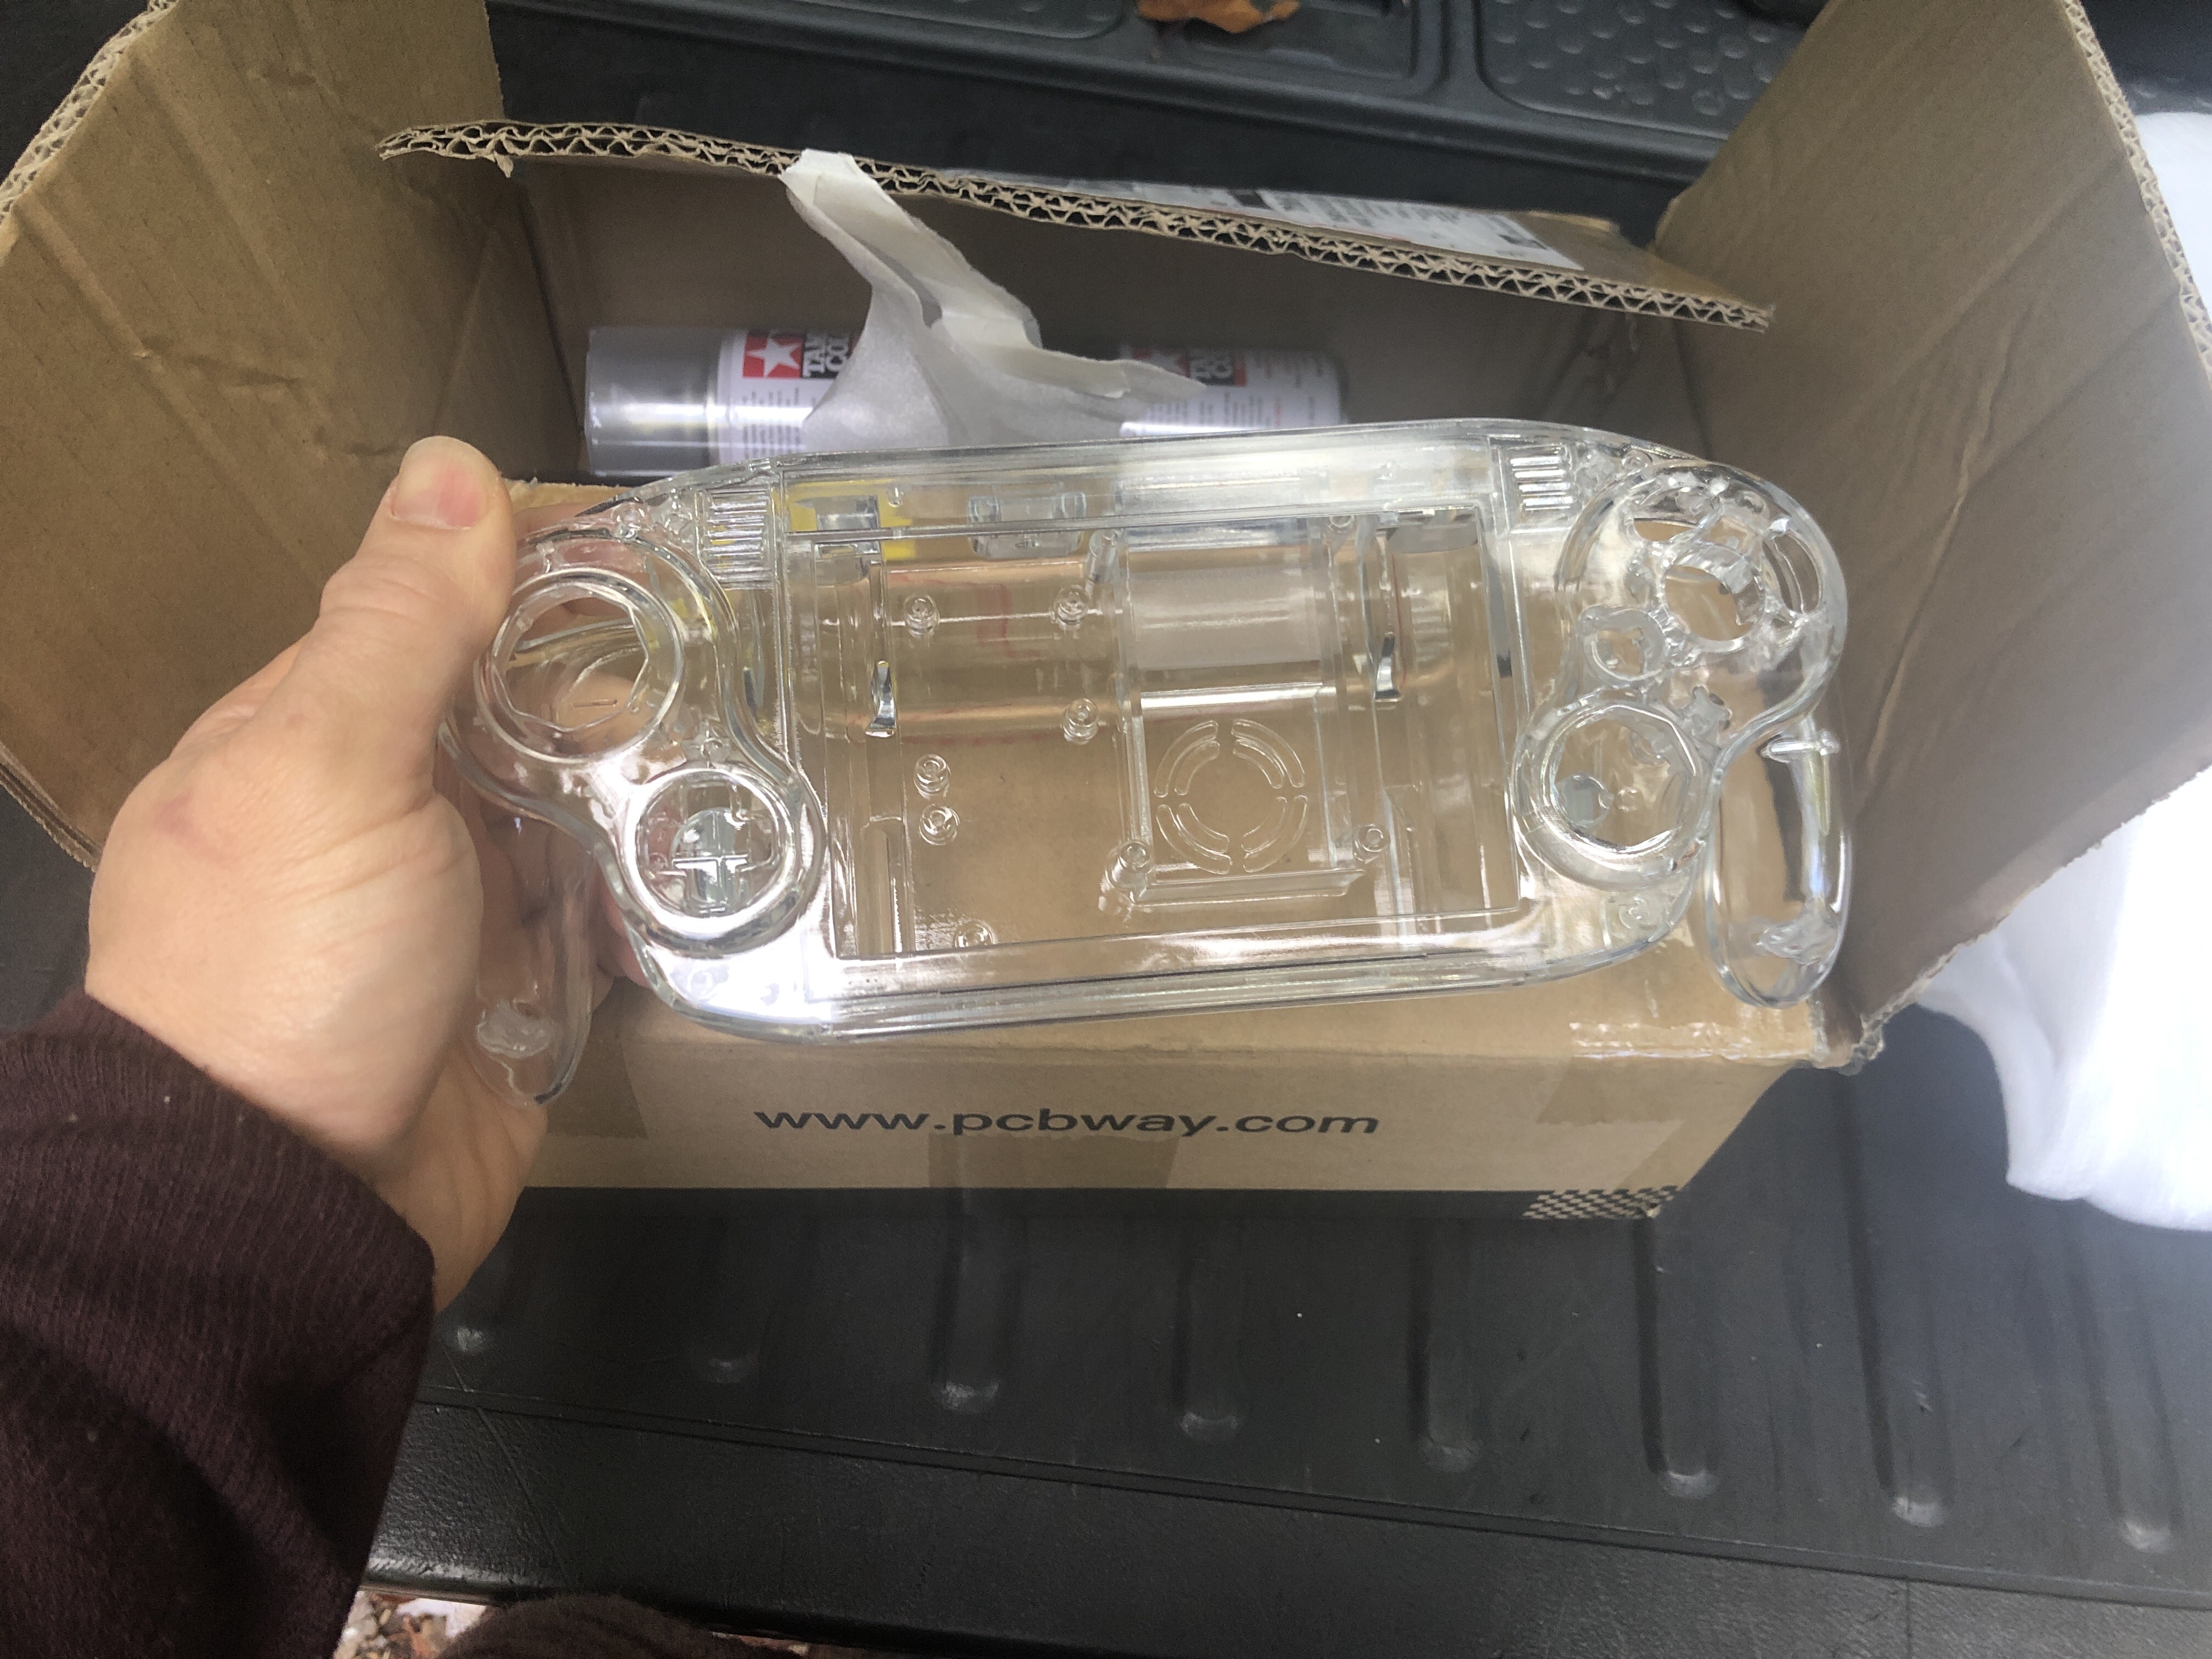
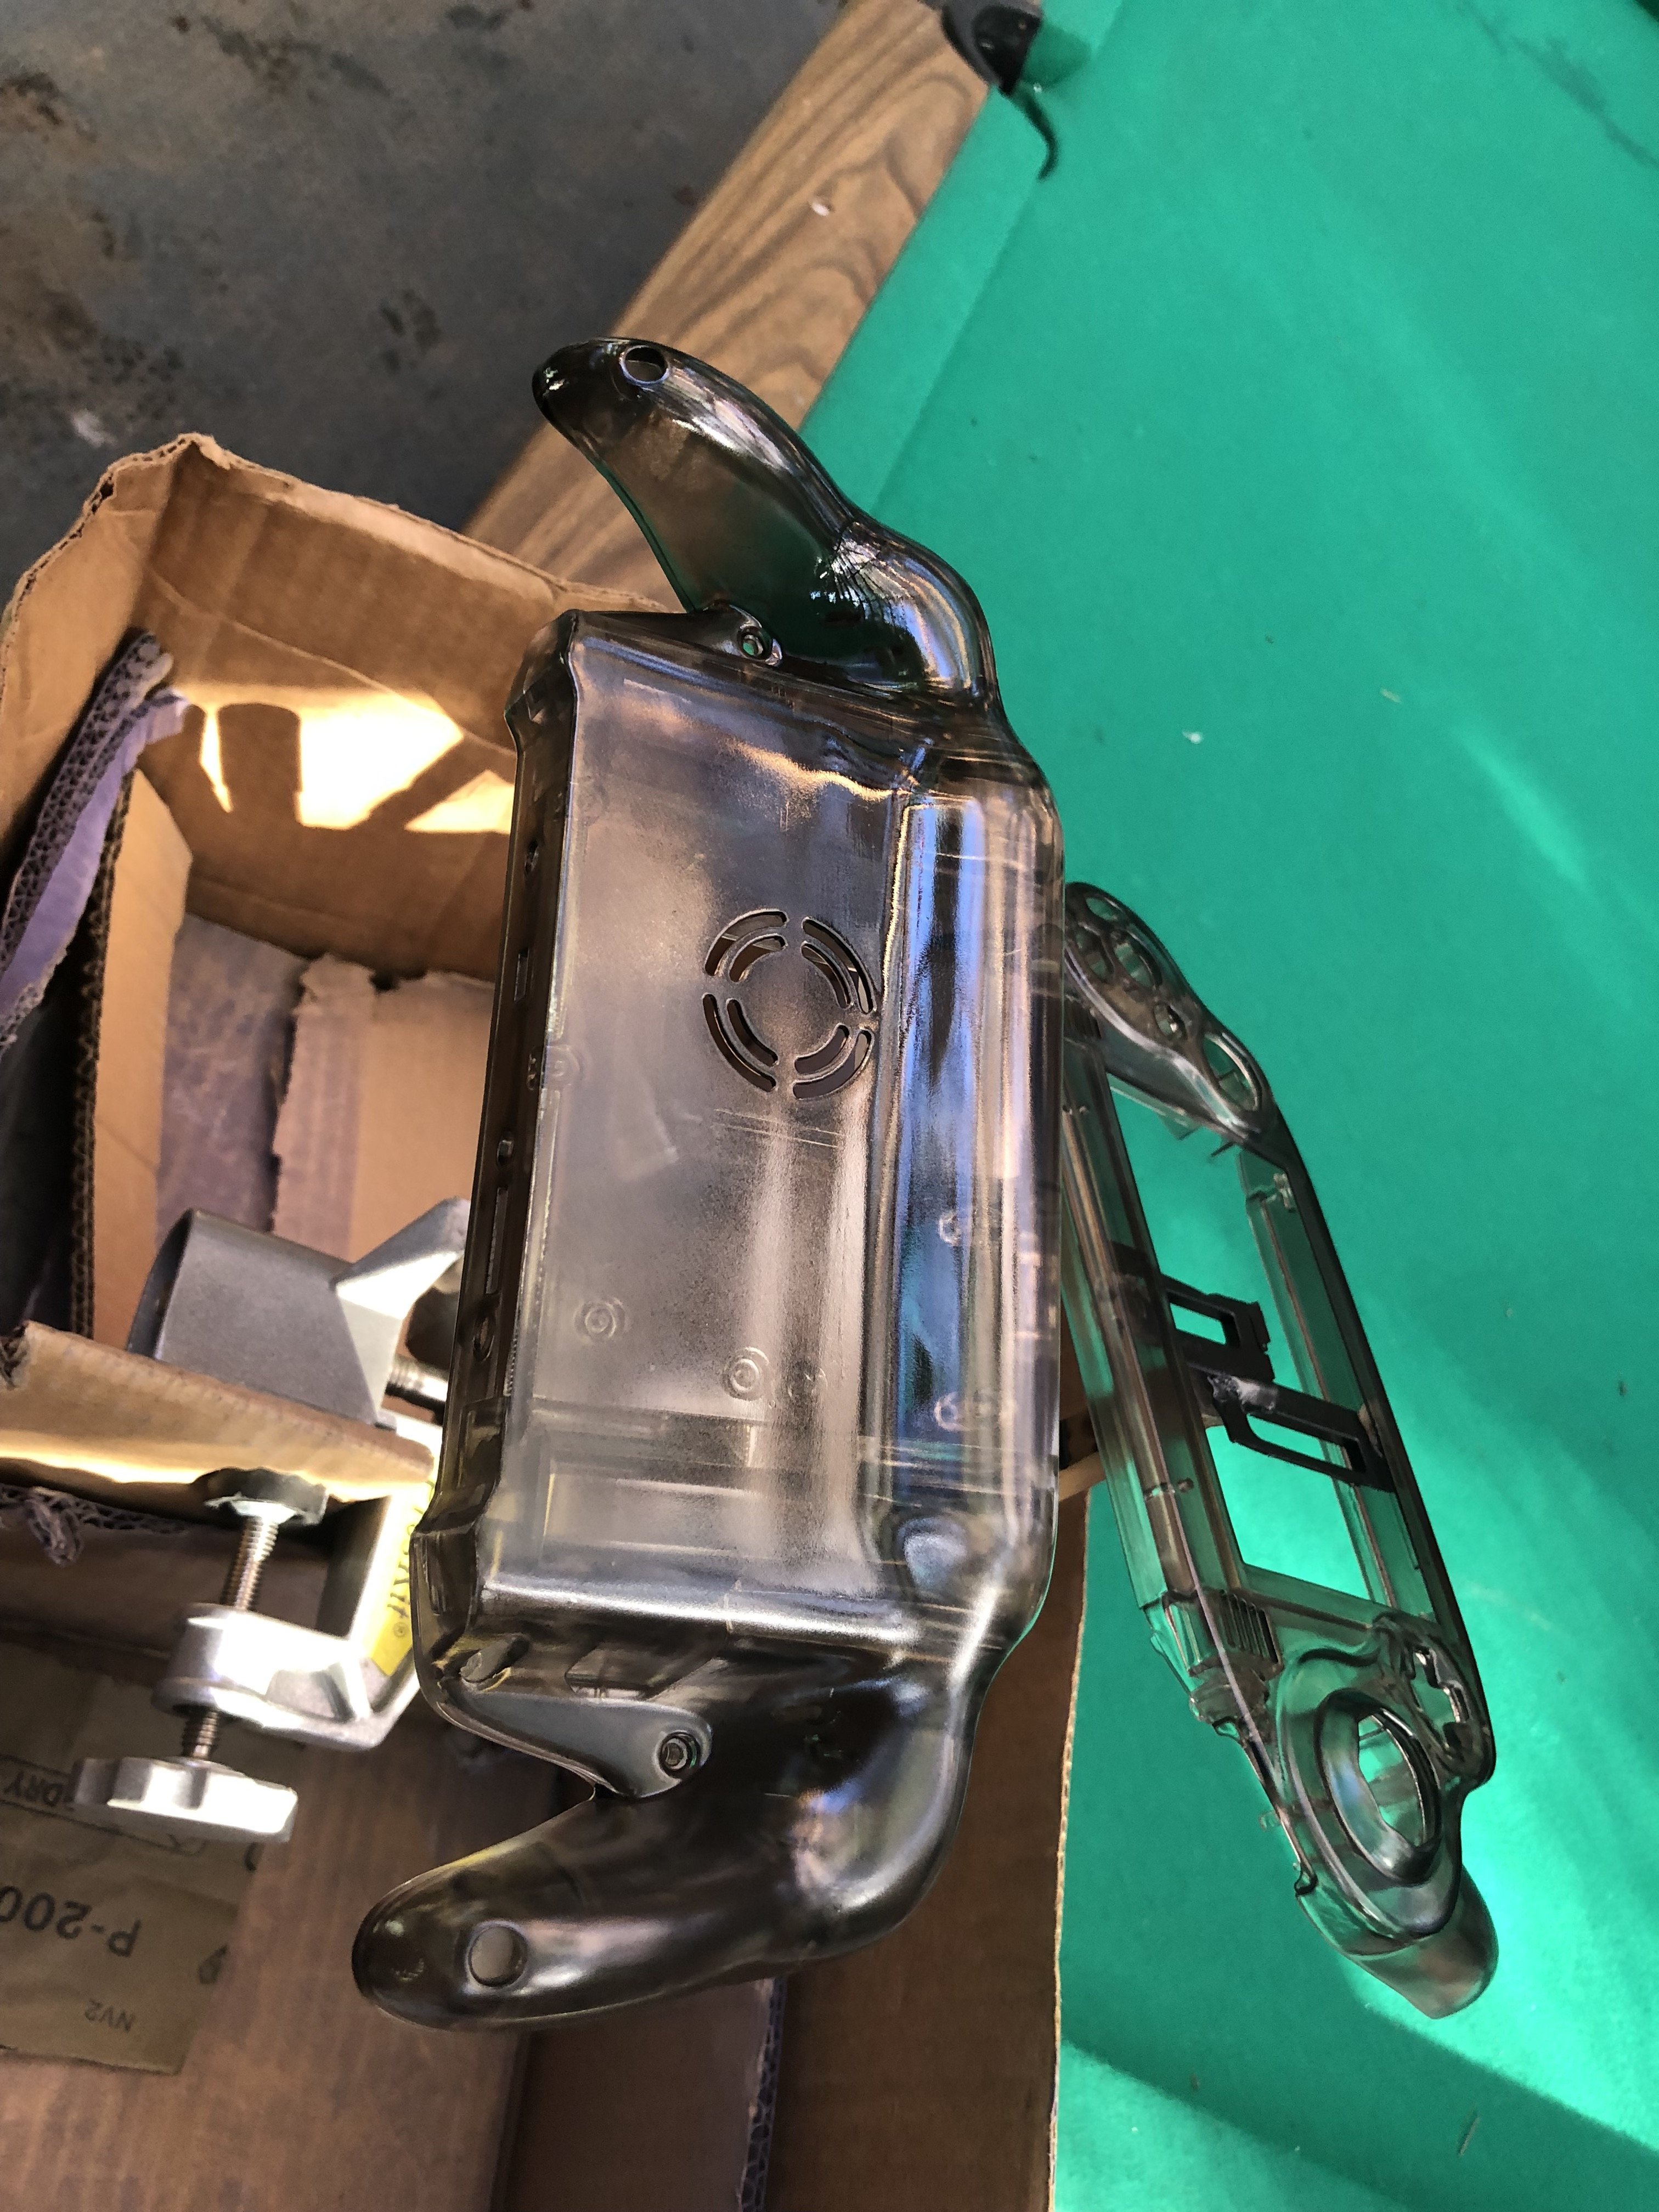
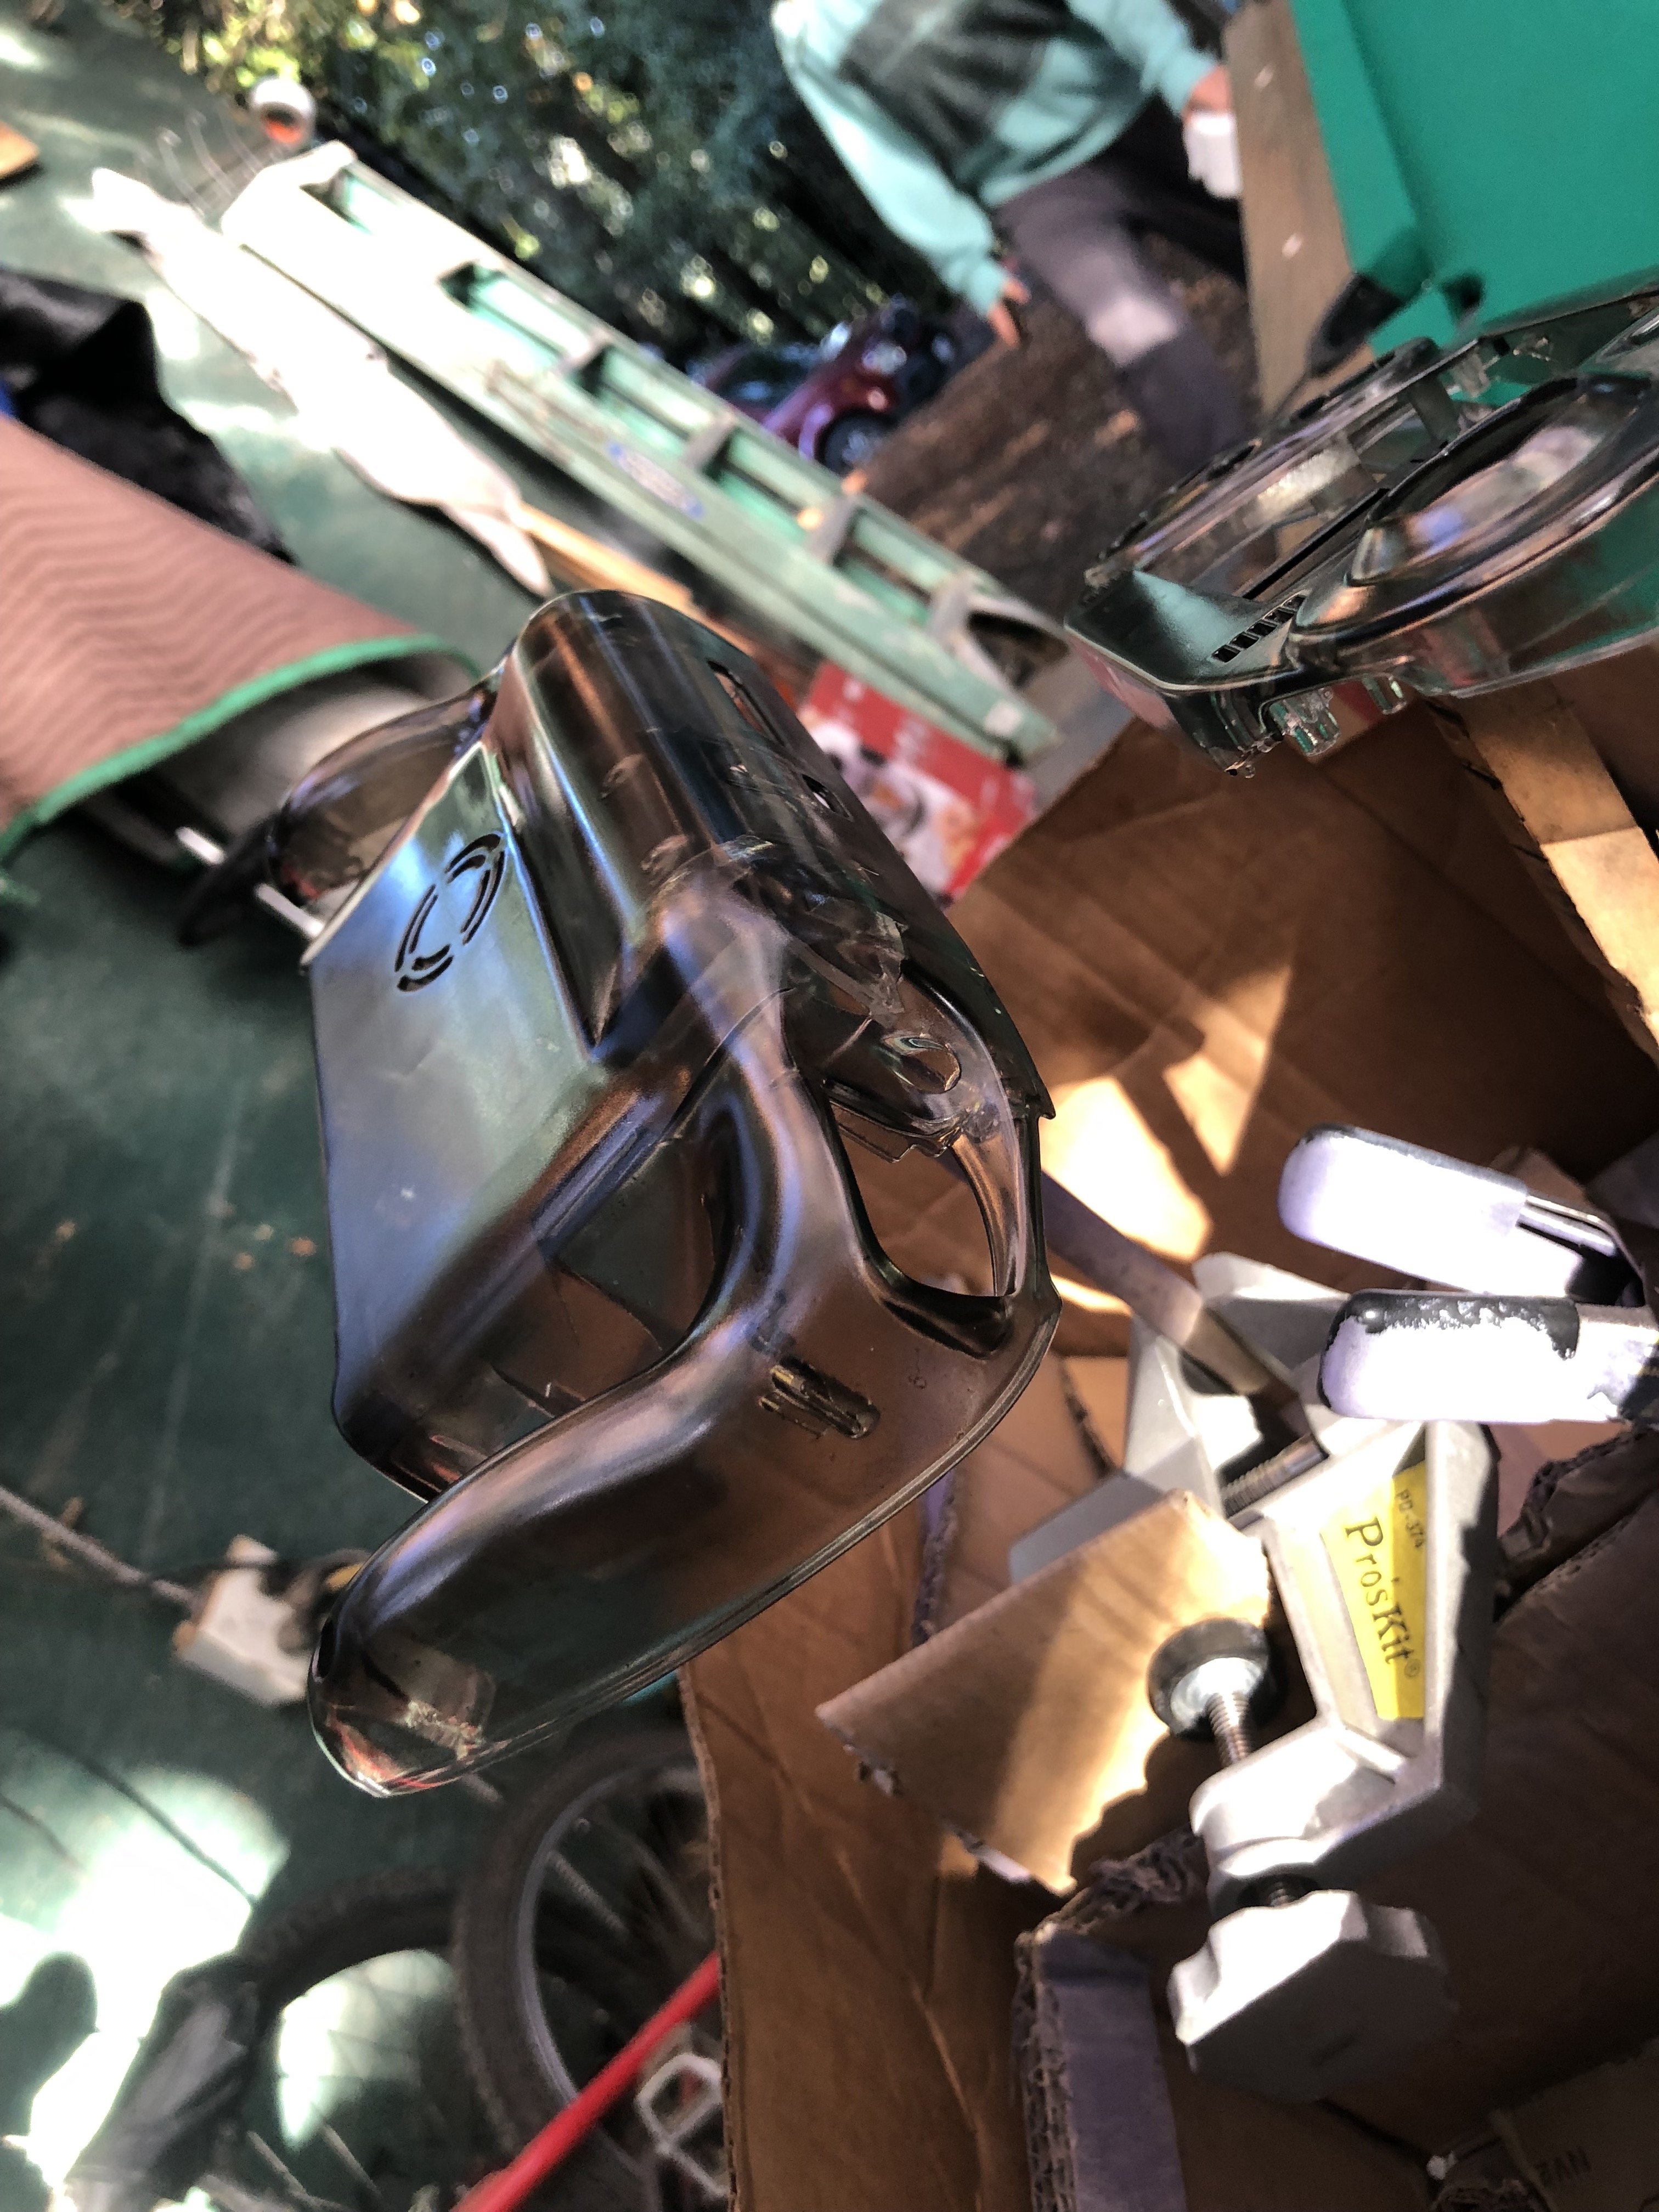
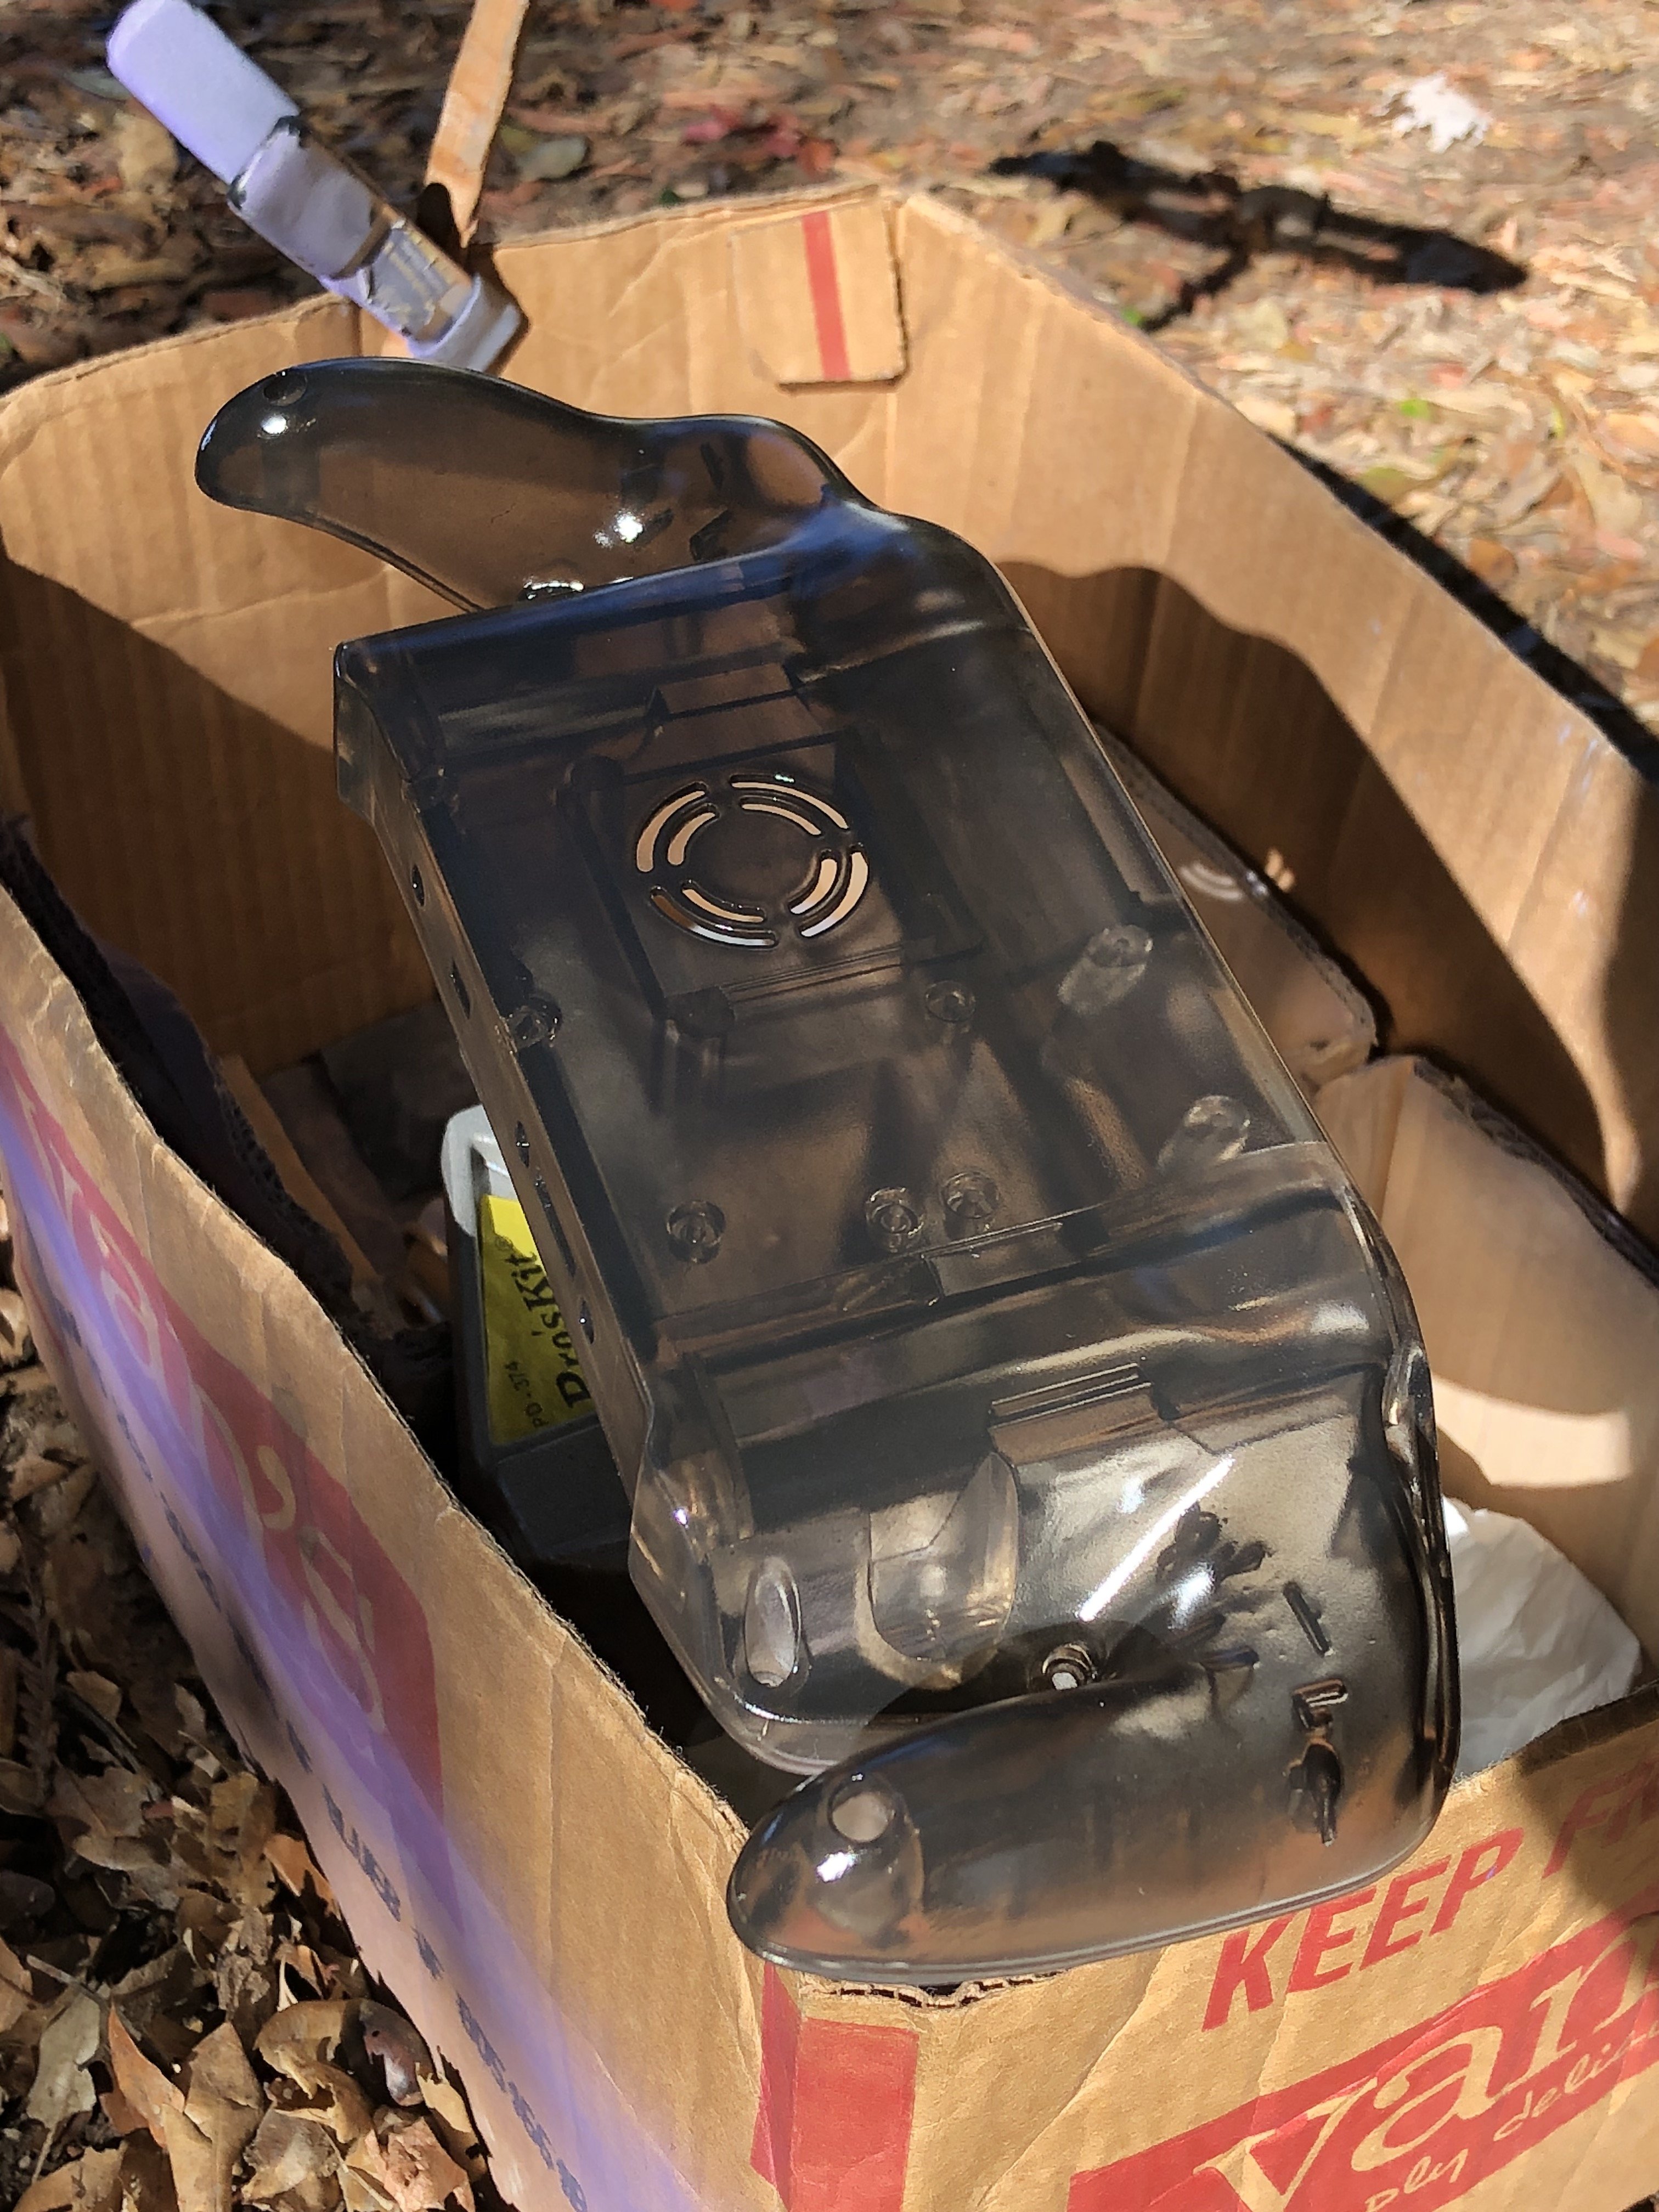
Working on my second ashida build right now. Painted translucent gray. Case is from PCBWAY... translucent UTR8100. Ordered the same week as my first ashida build. This is the only nude case photo I took.

IMG_7989 2.jpg


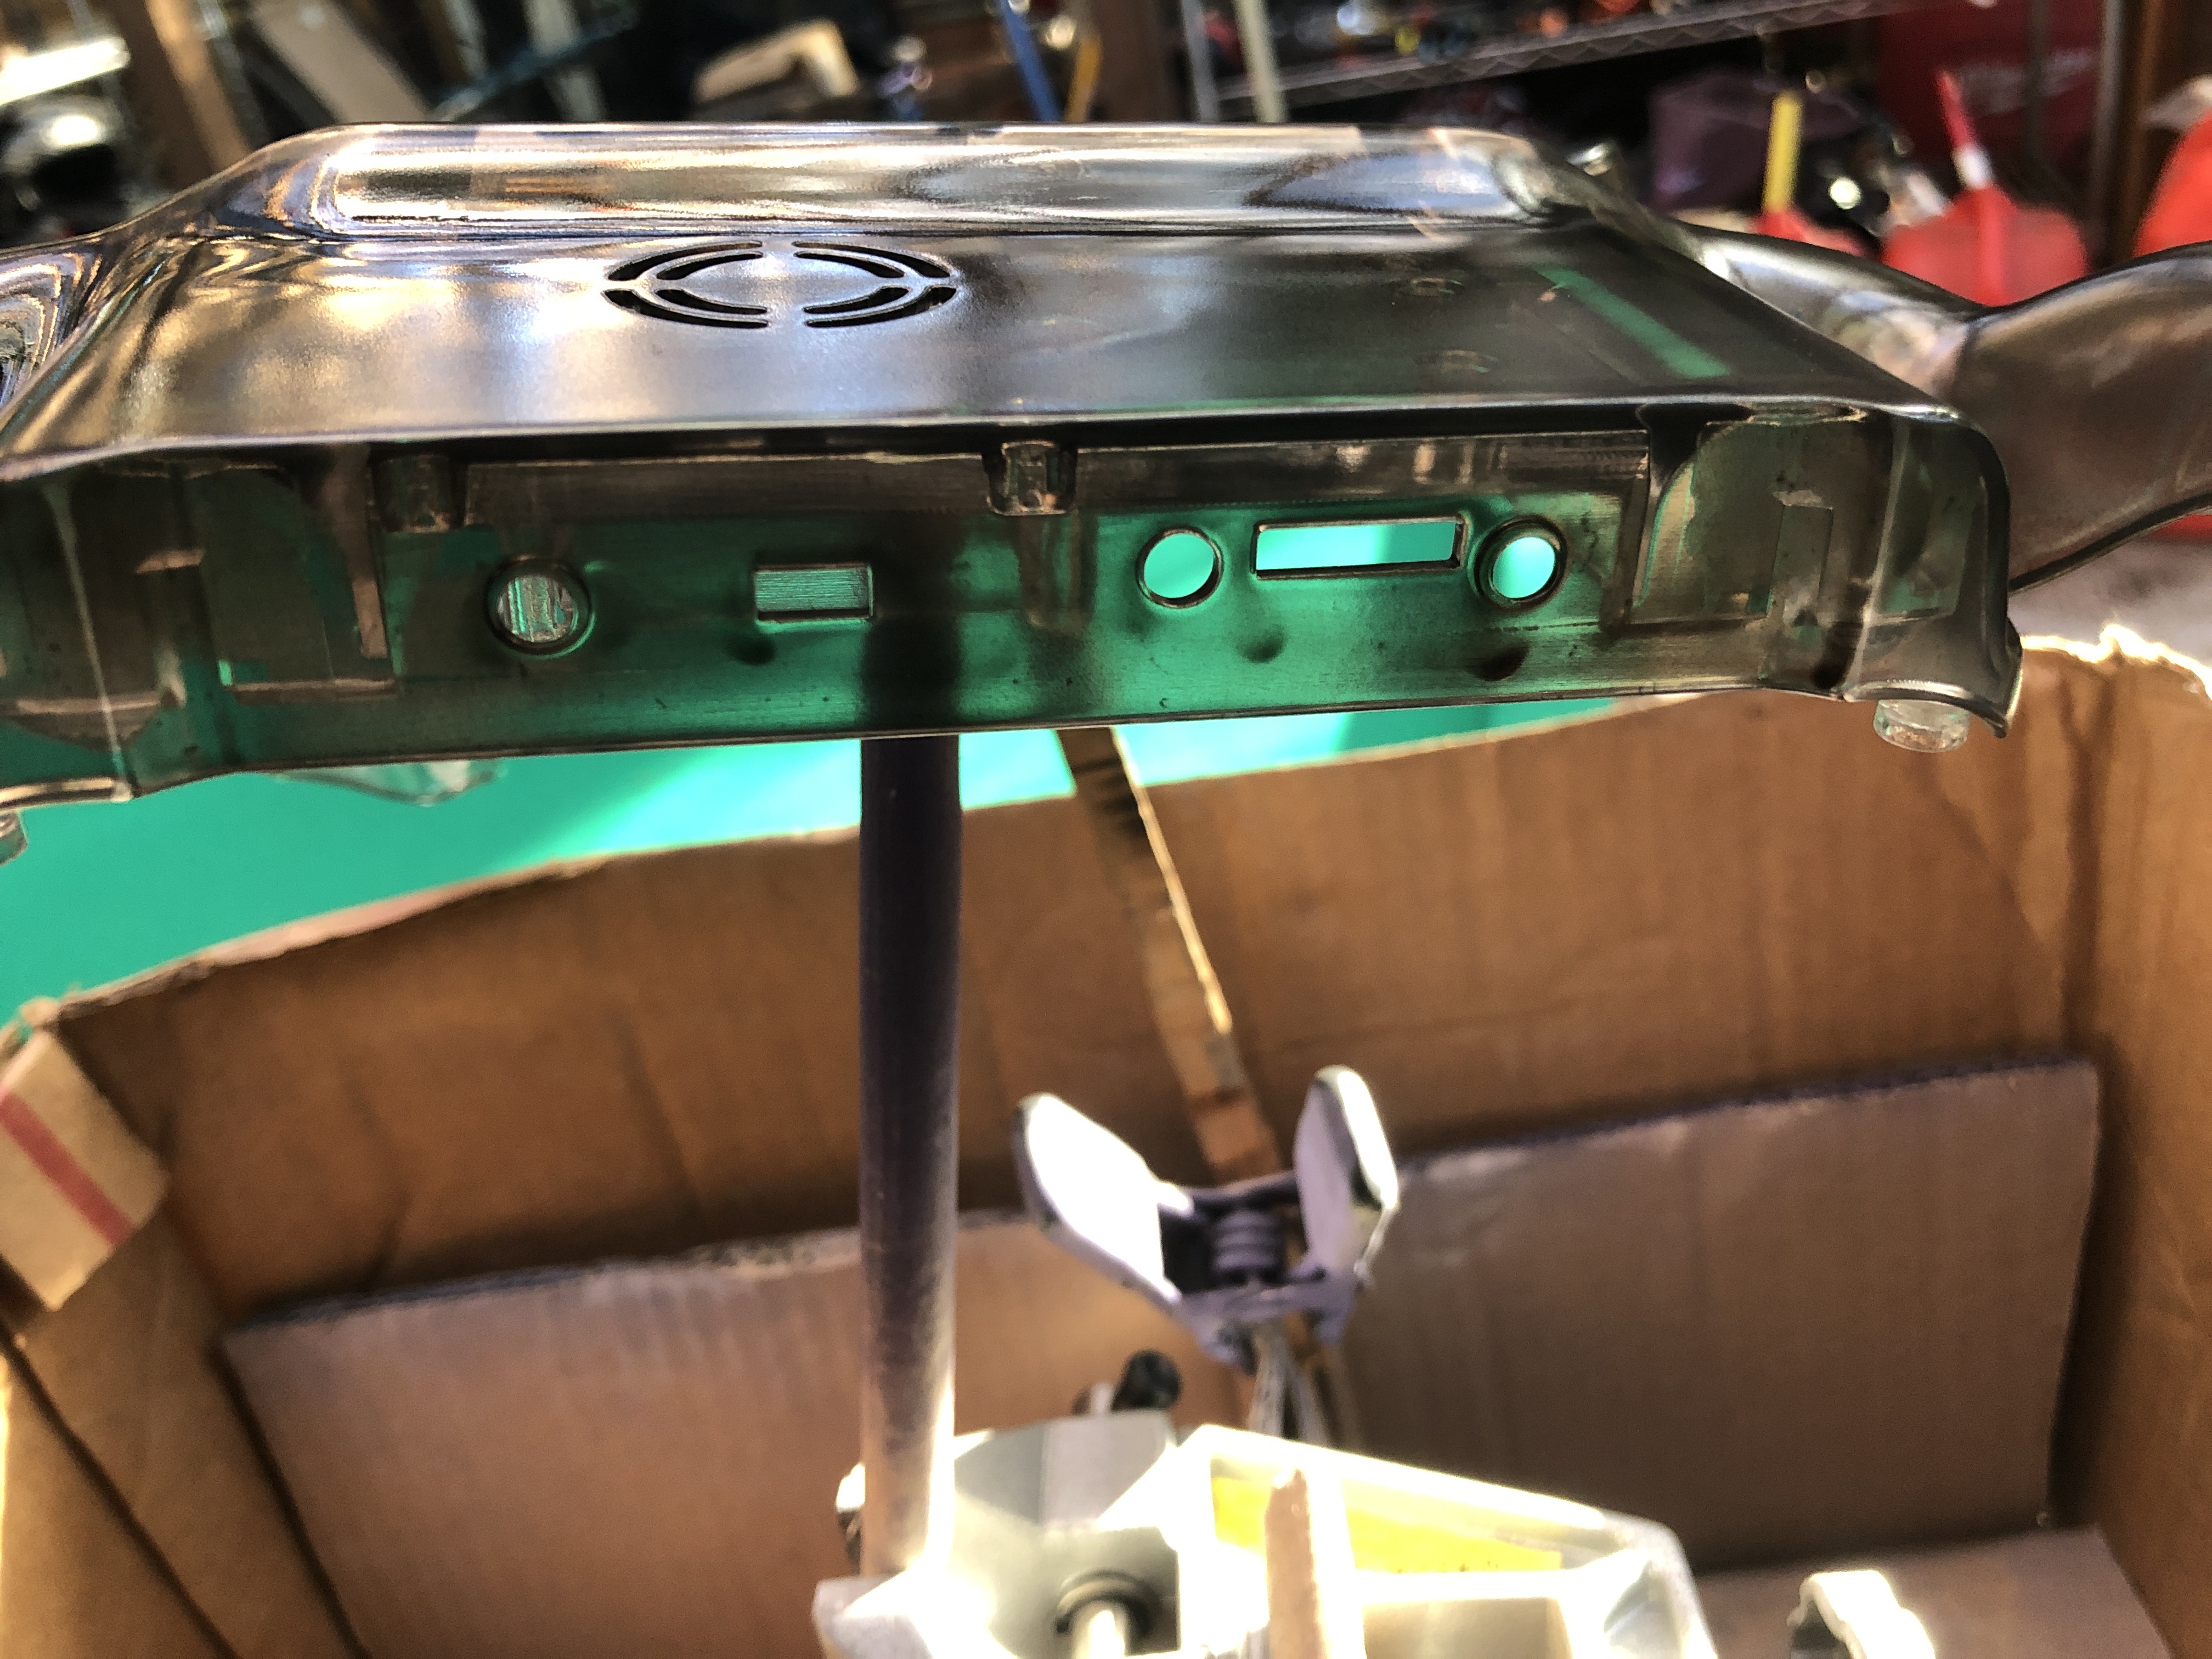
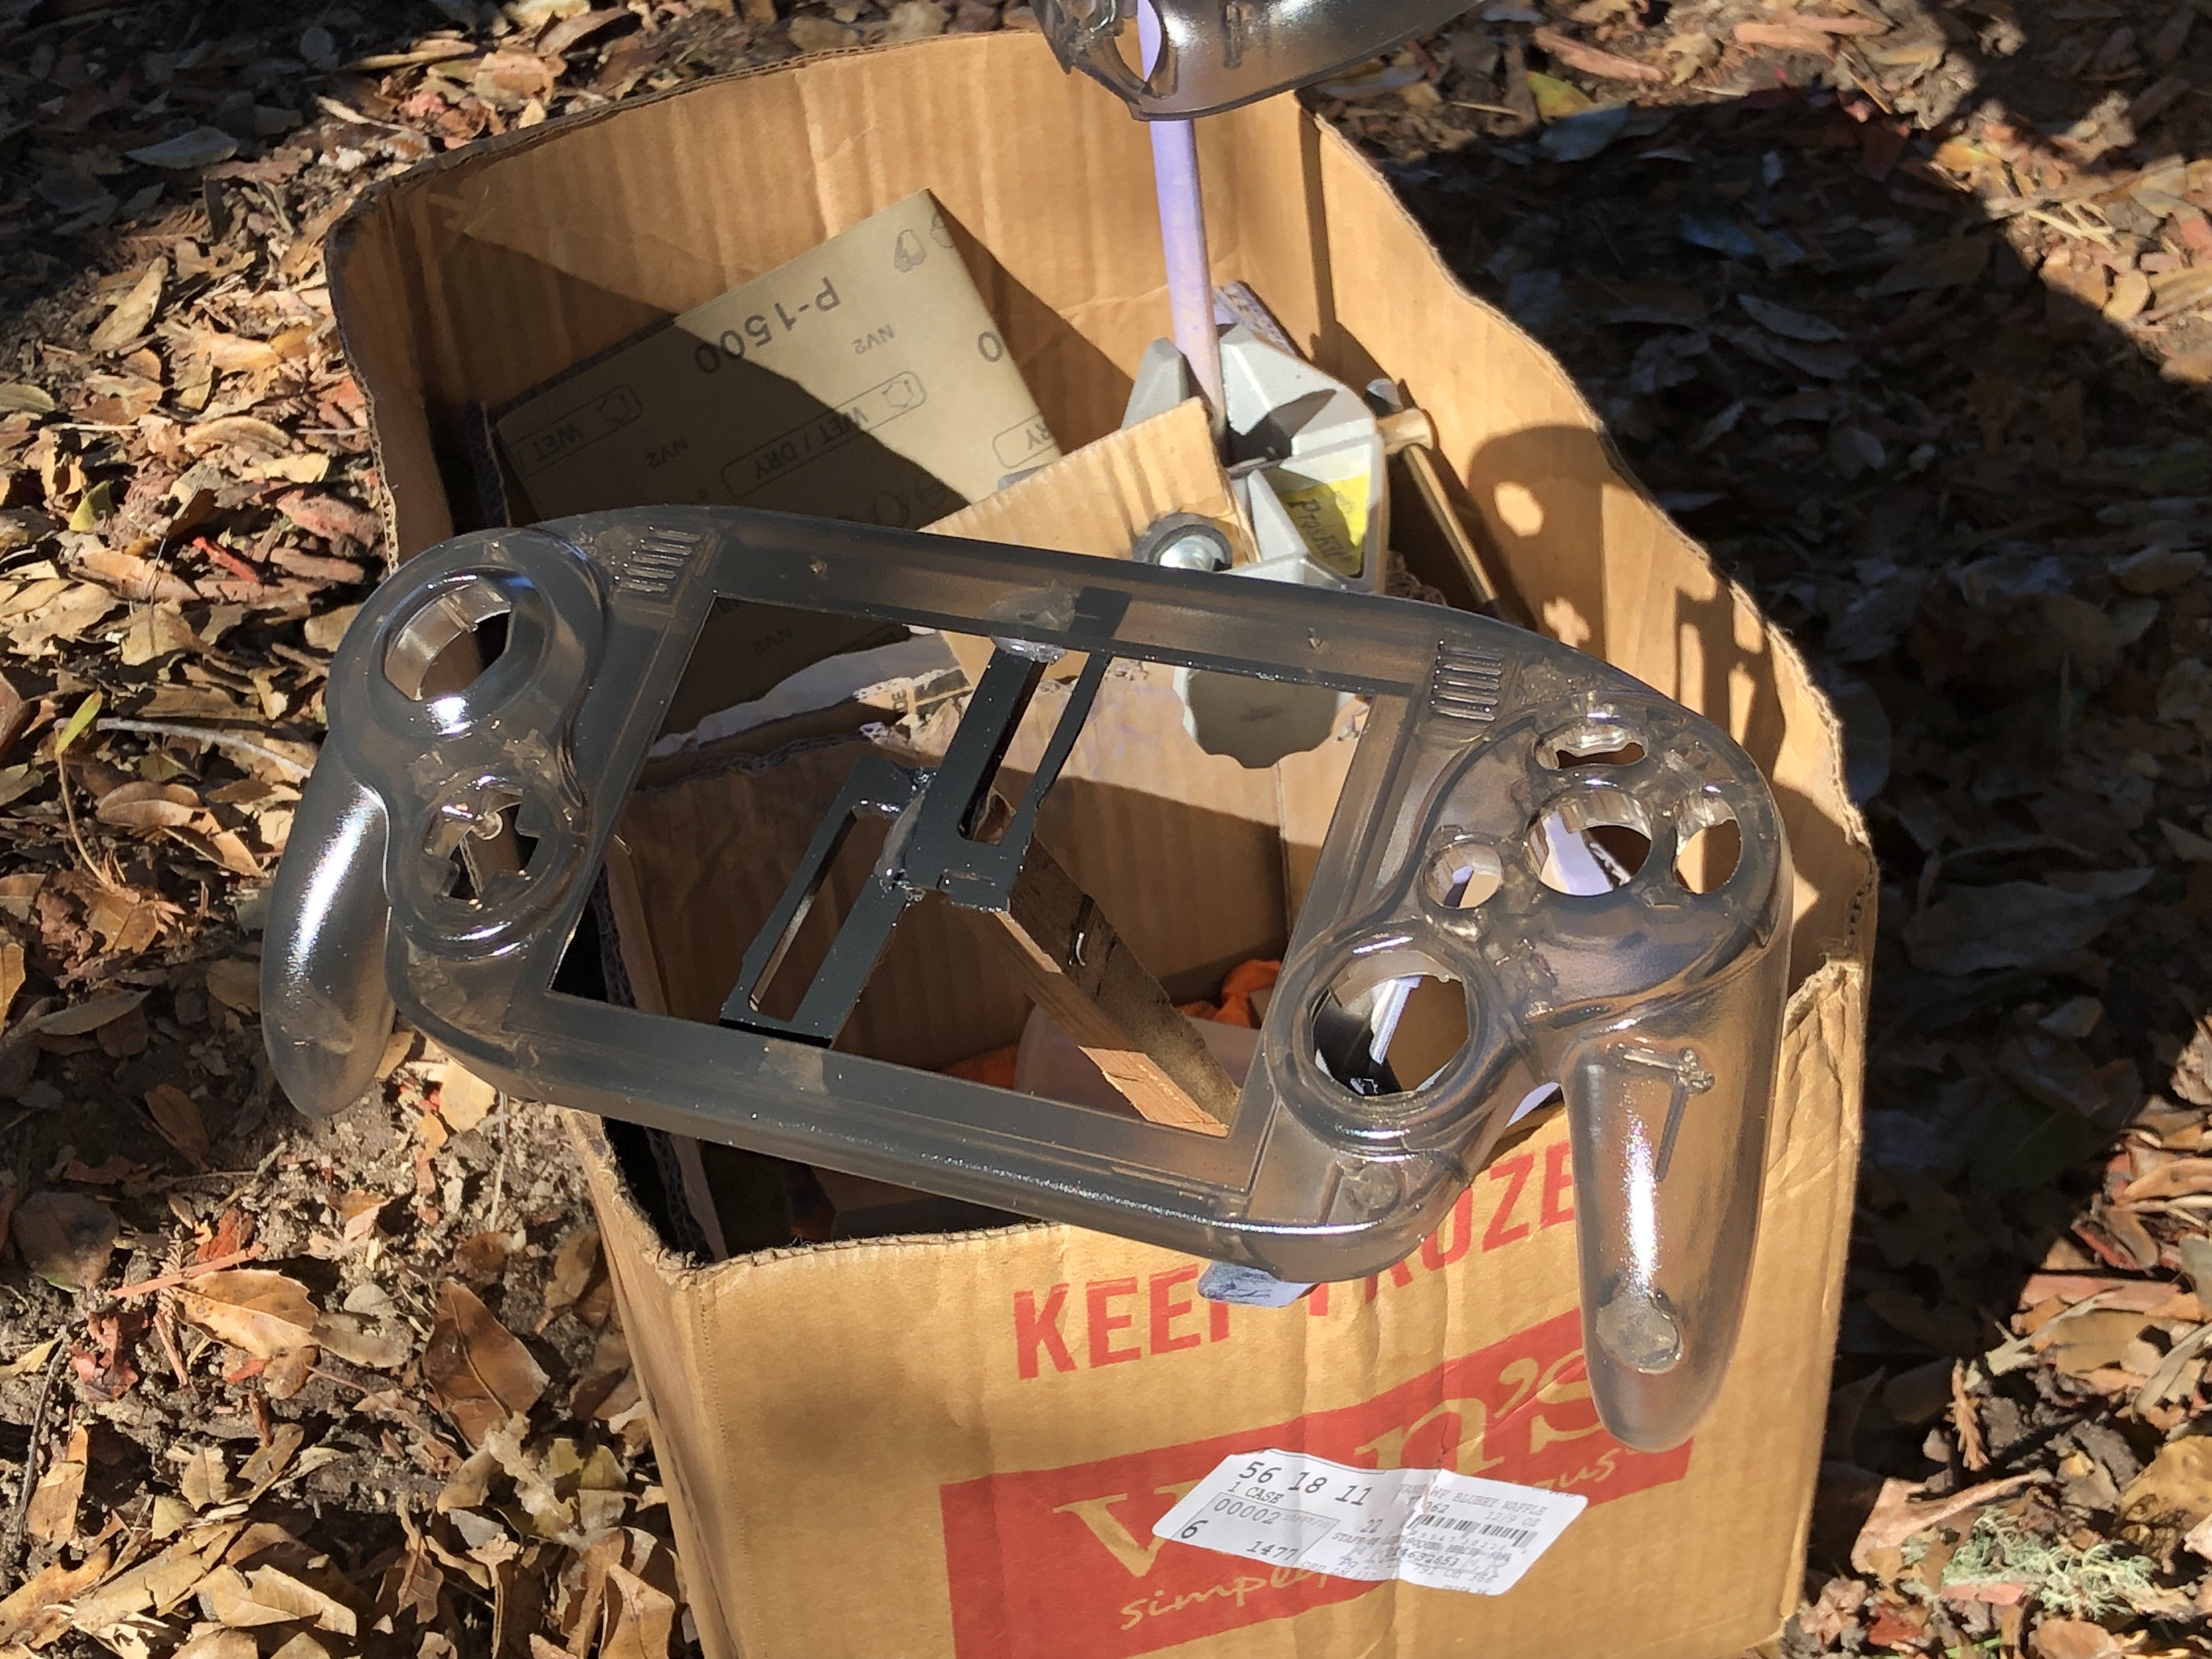
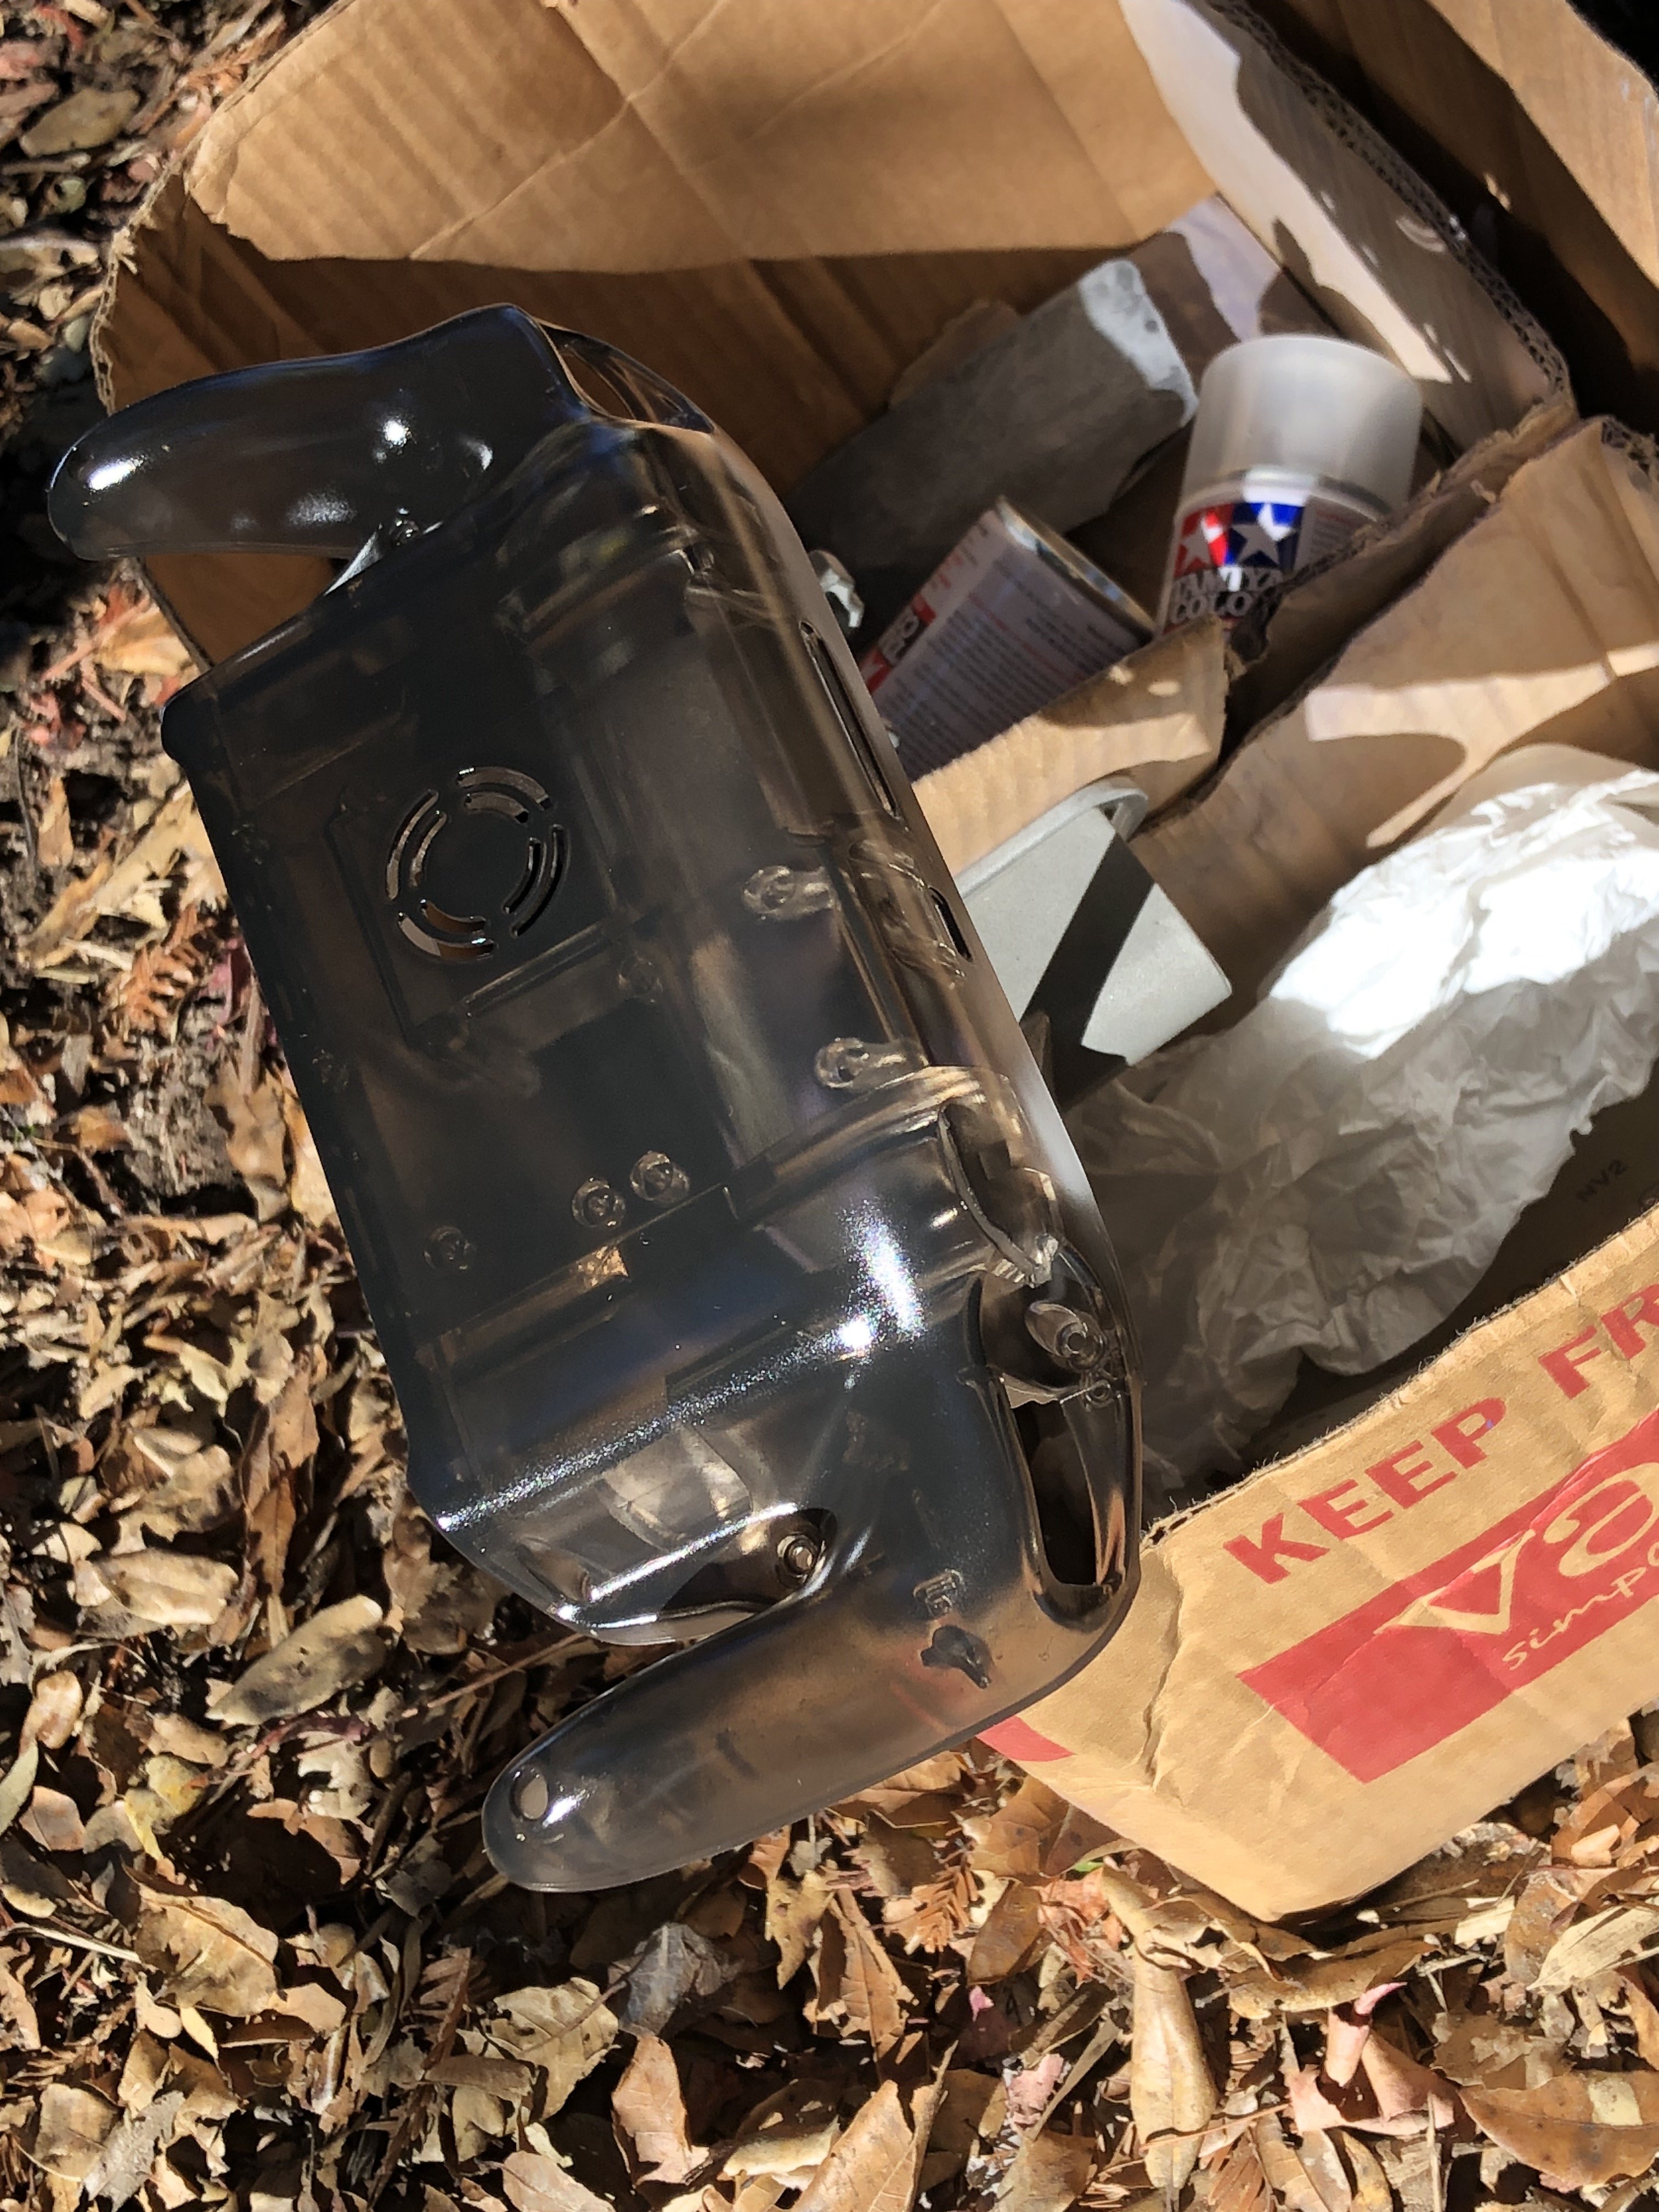
It was many months I waited before coming to this paint job. Tamiya Smoke Gray TS-71. Tried to do light coats but ended up running paint on first coat. After it dried i sanded the dark spots with 2k grit and laid down more coats.

First Coat:
IMG_8248.JPG
w
IMG_8245.JPG
IMG_8247.JPG


Second coat:
IMG_8282.JPG
IMG_8283.JPG
IMG_8284.JPG


Clear Coat:
IMG_8268.JPG
IMG_8269.JPG
IMG_8270.JPG


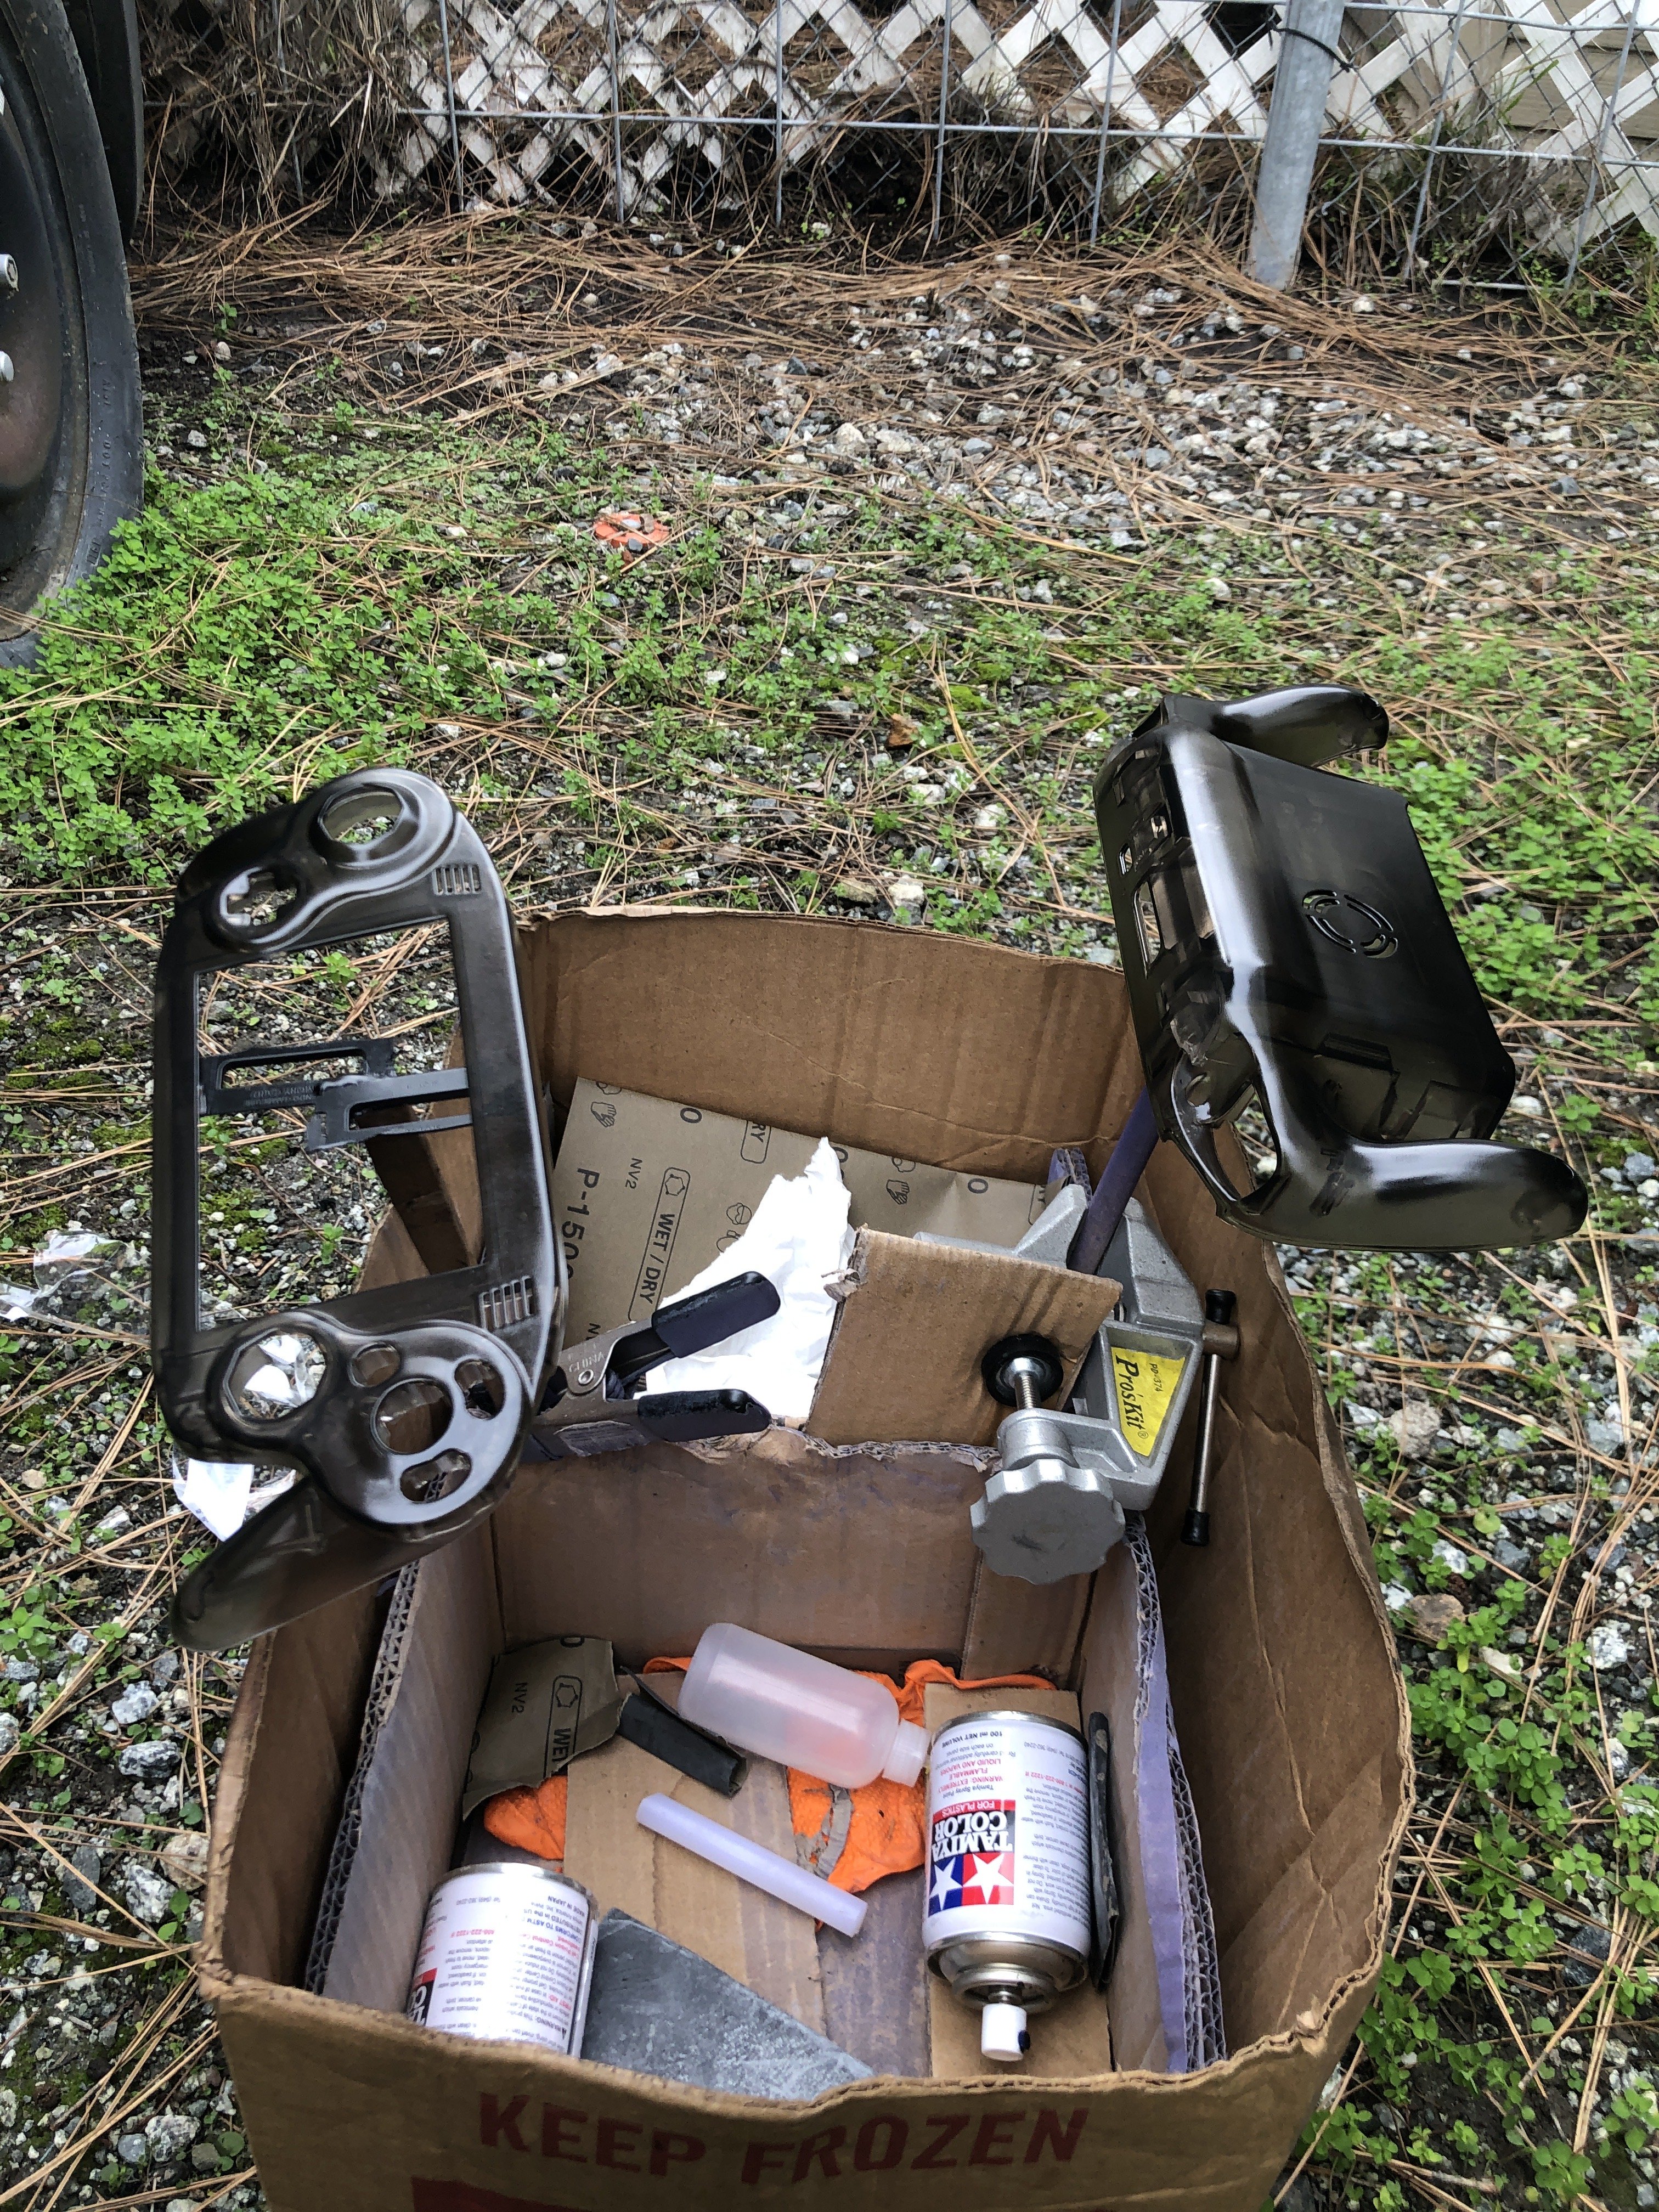
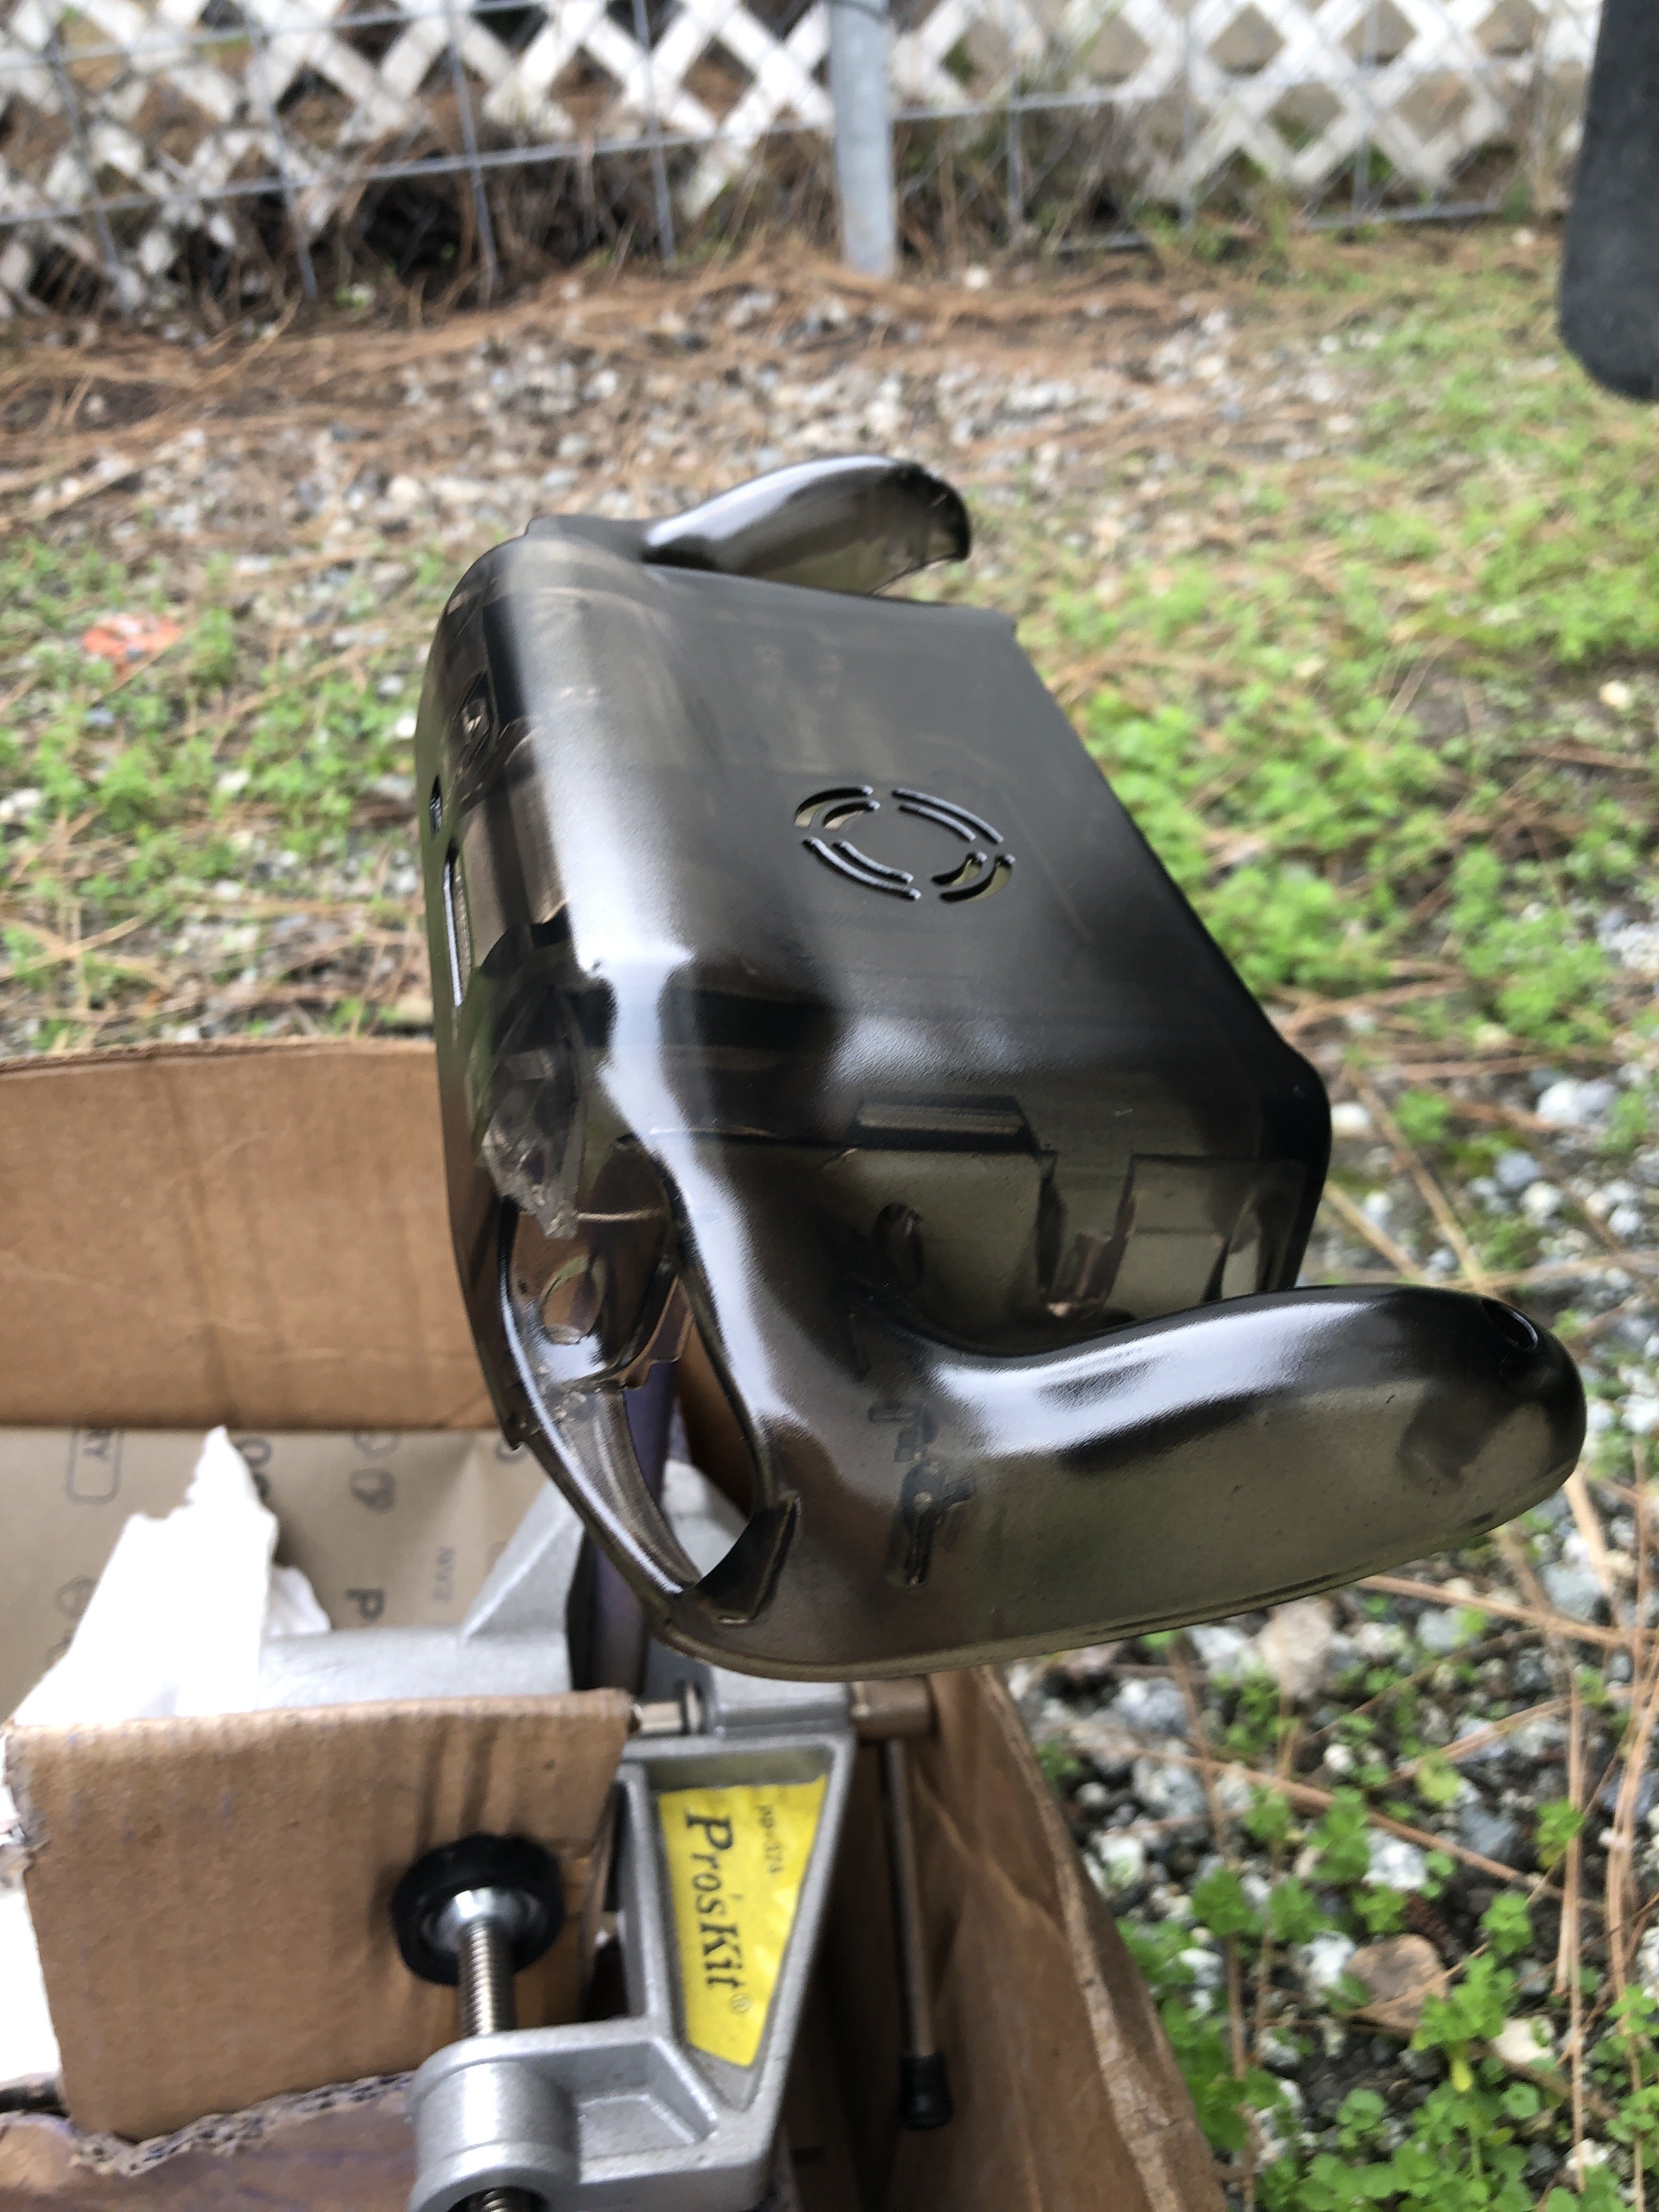
Let it cure by the wood stove for a few days before starting the build :).

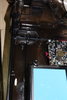
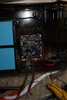
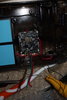
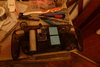
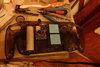
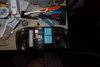
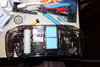
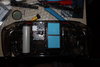
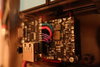
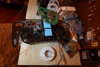
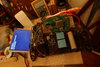
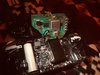
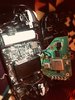
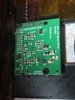
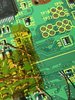
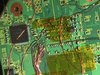
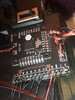
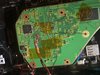
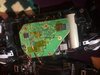
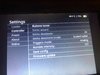
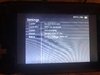
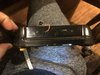
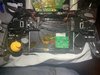
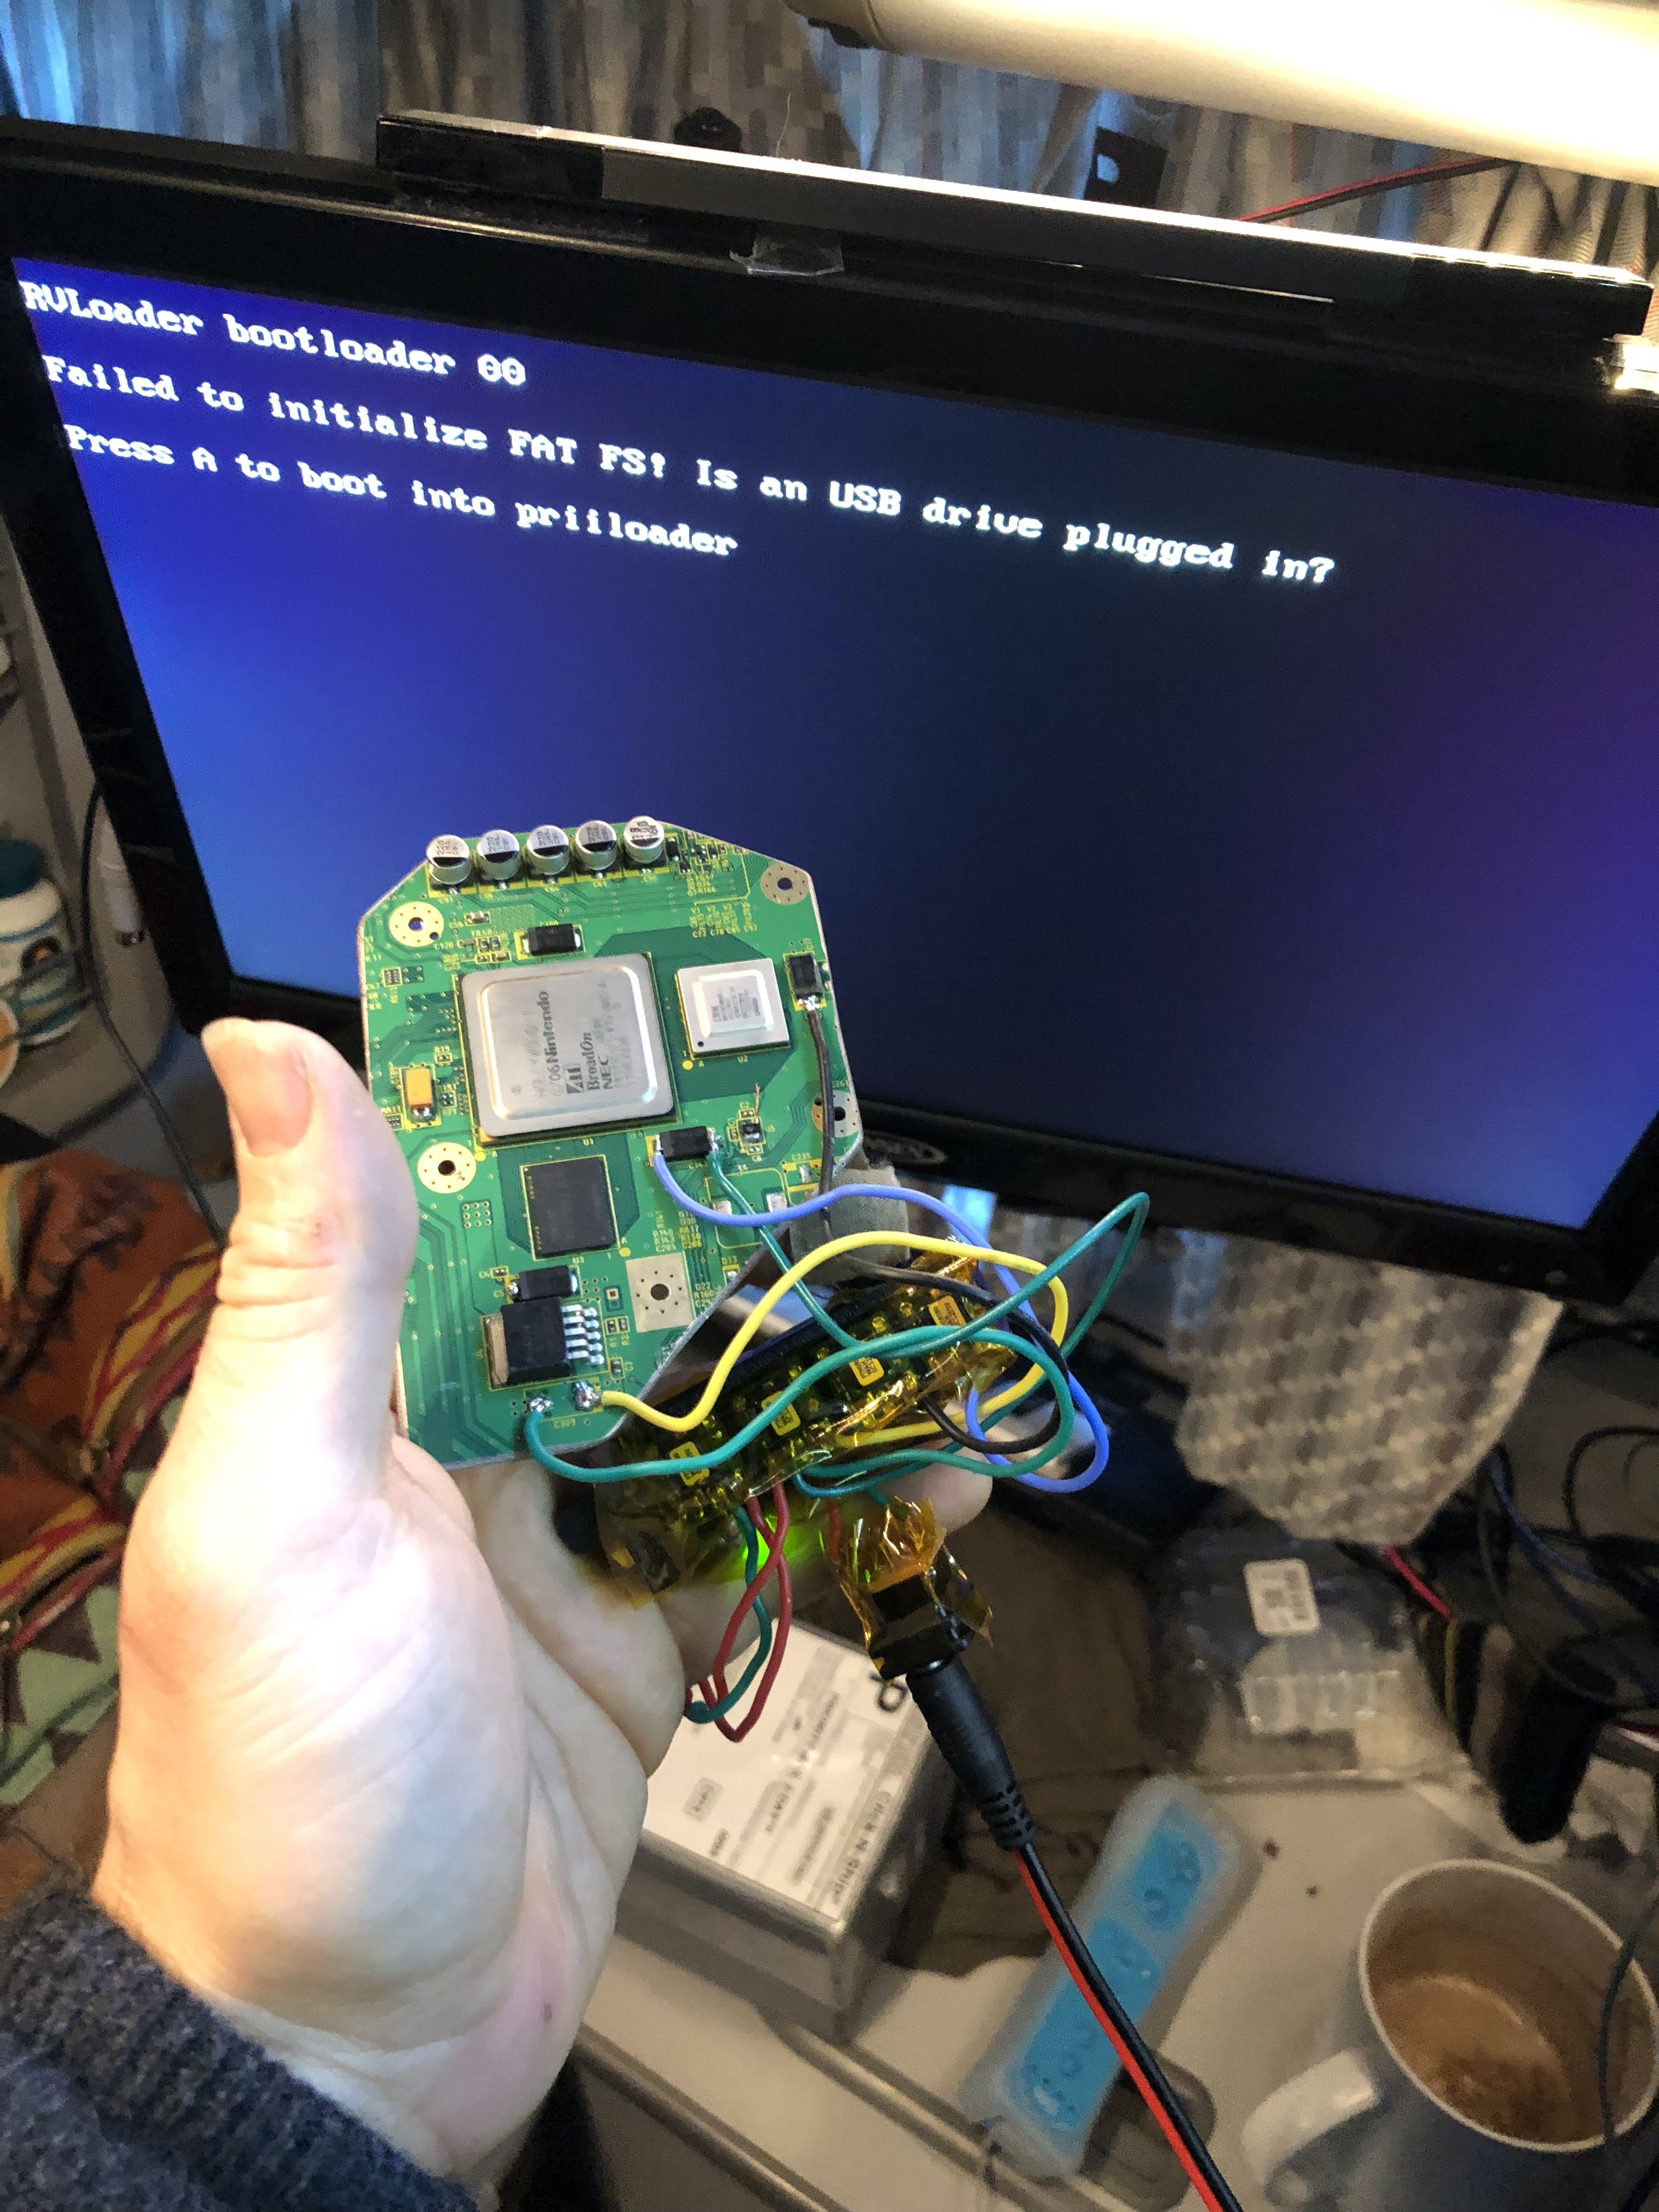
Worked on the trim in the mean time. Revived a board with a power fault... Hot air station for all the power regulation sections... Got it going after some u10 u9 shenanigans ....
IMG_8251.JPG
IMG_8249.JPG


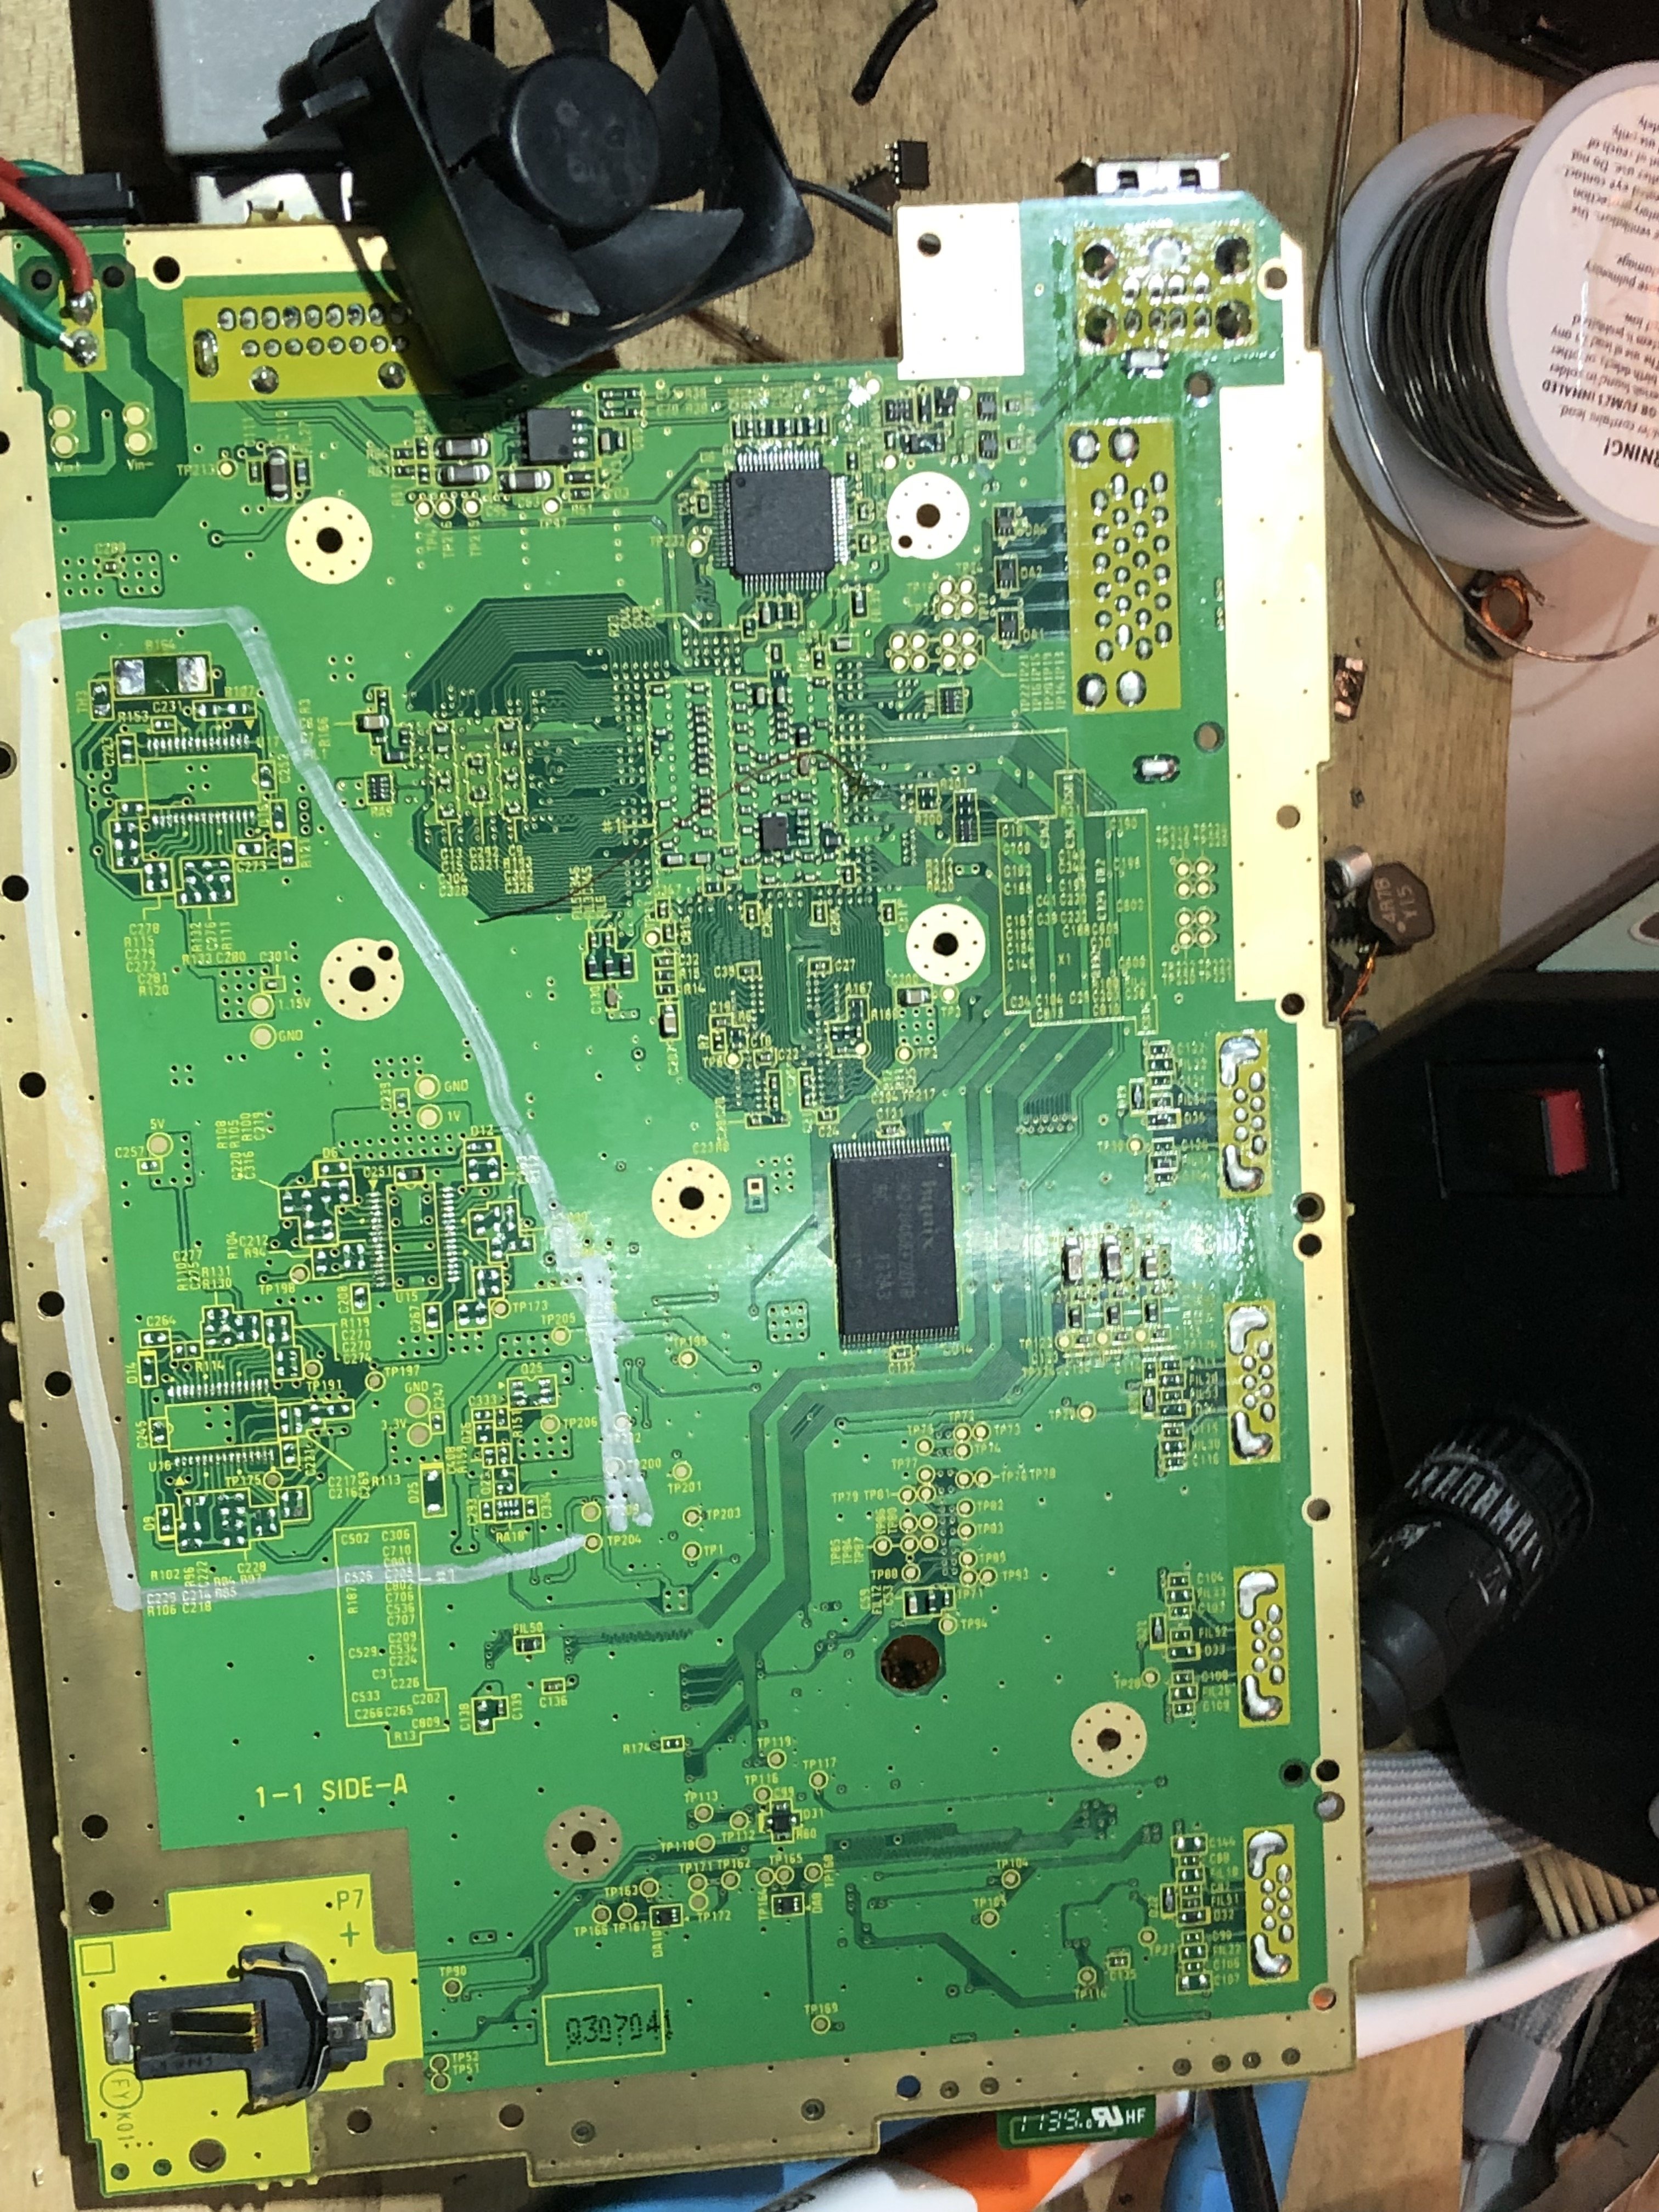
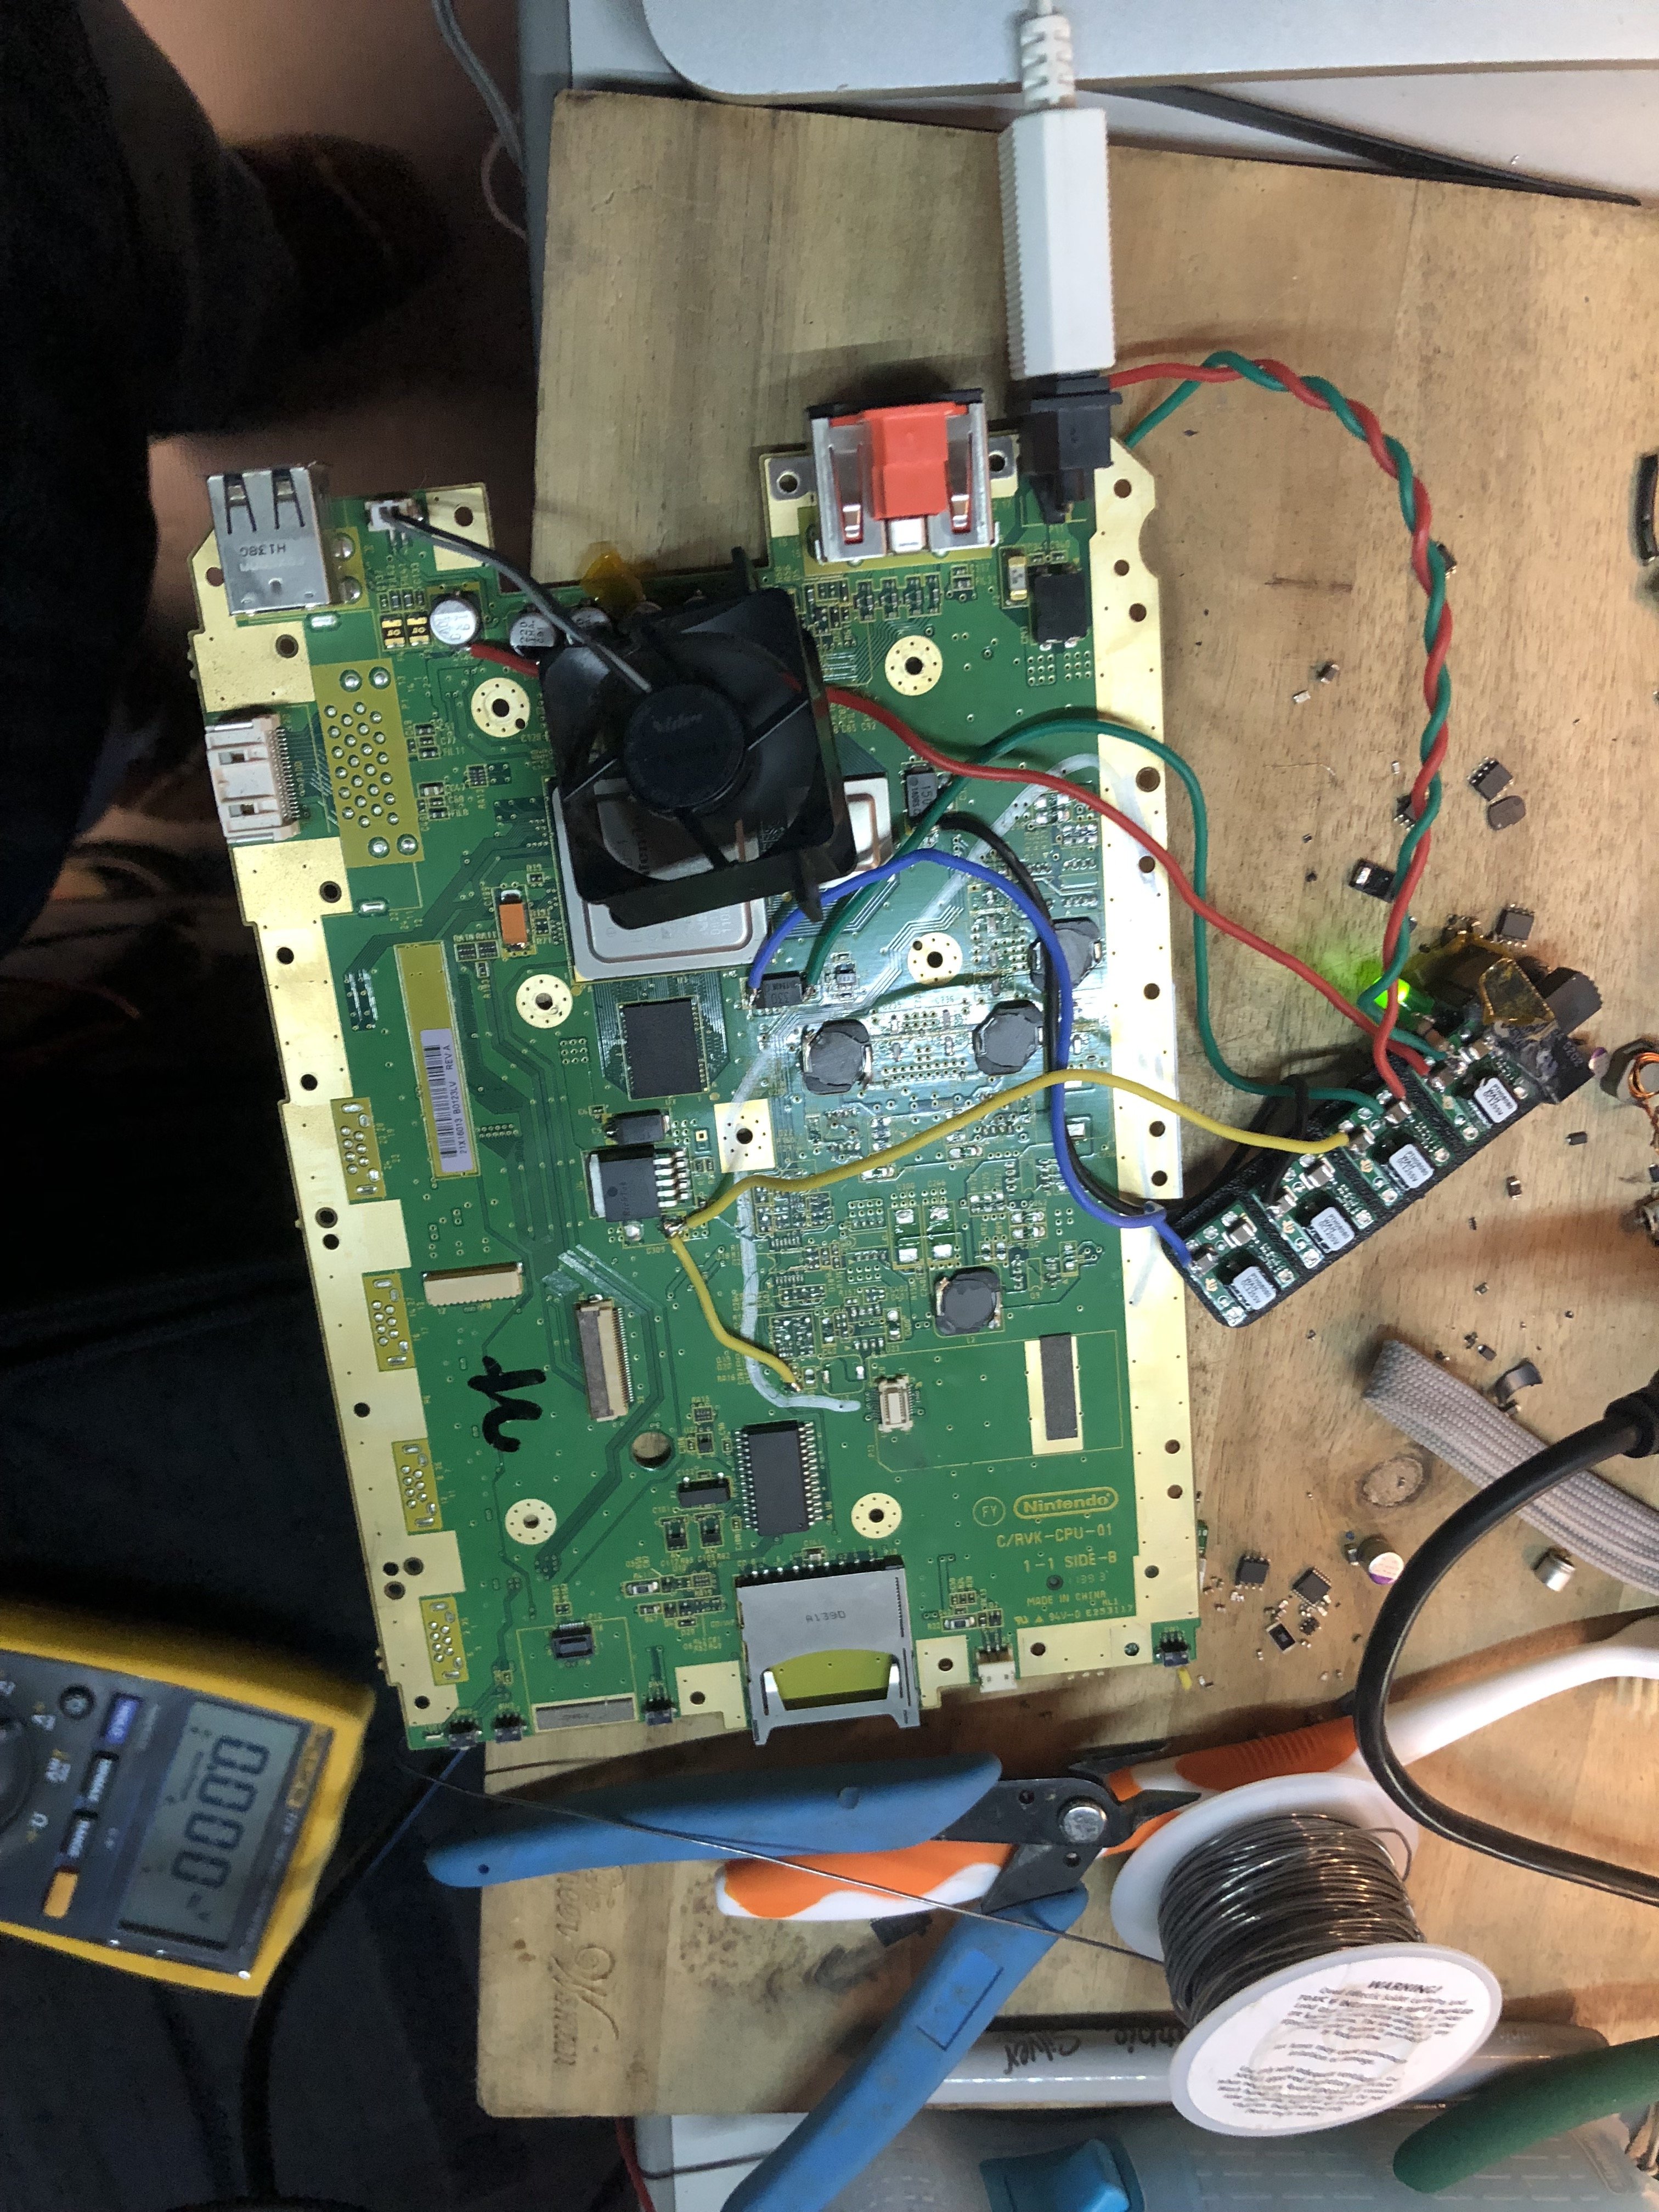
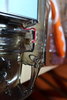
Just barely missed the last USB Vias... its right on the line!! I think it will work though....
IMG_8260.JPG
IMG_8259.JPG


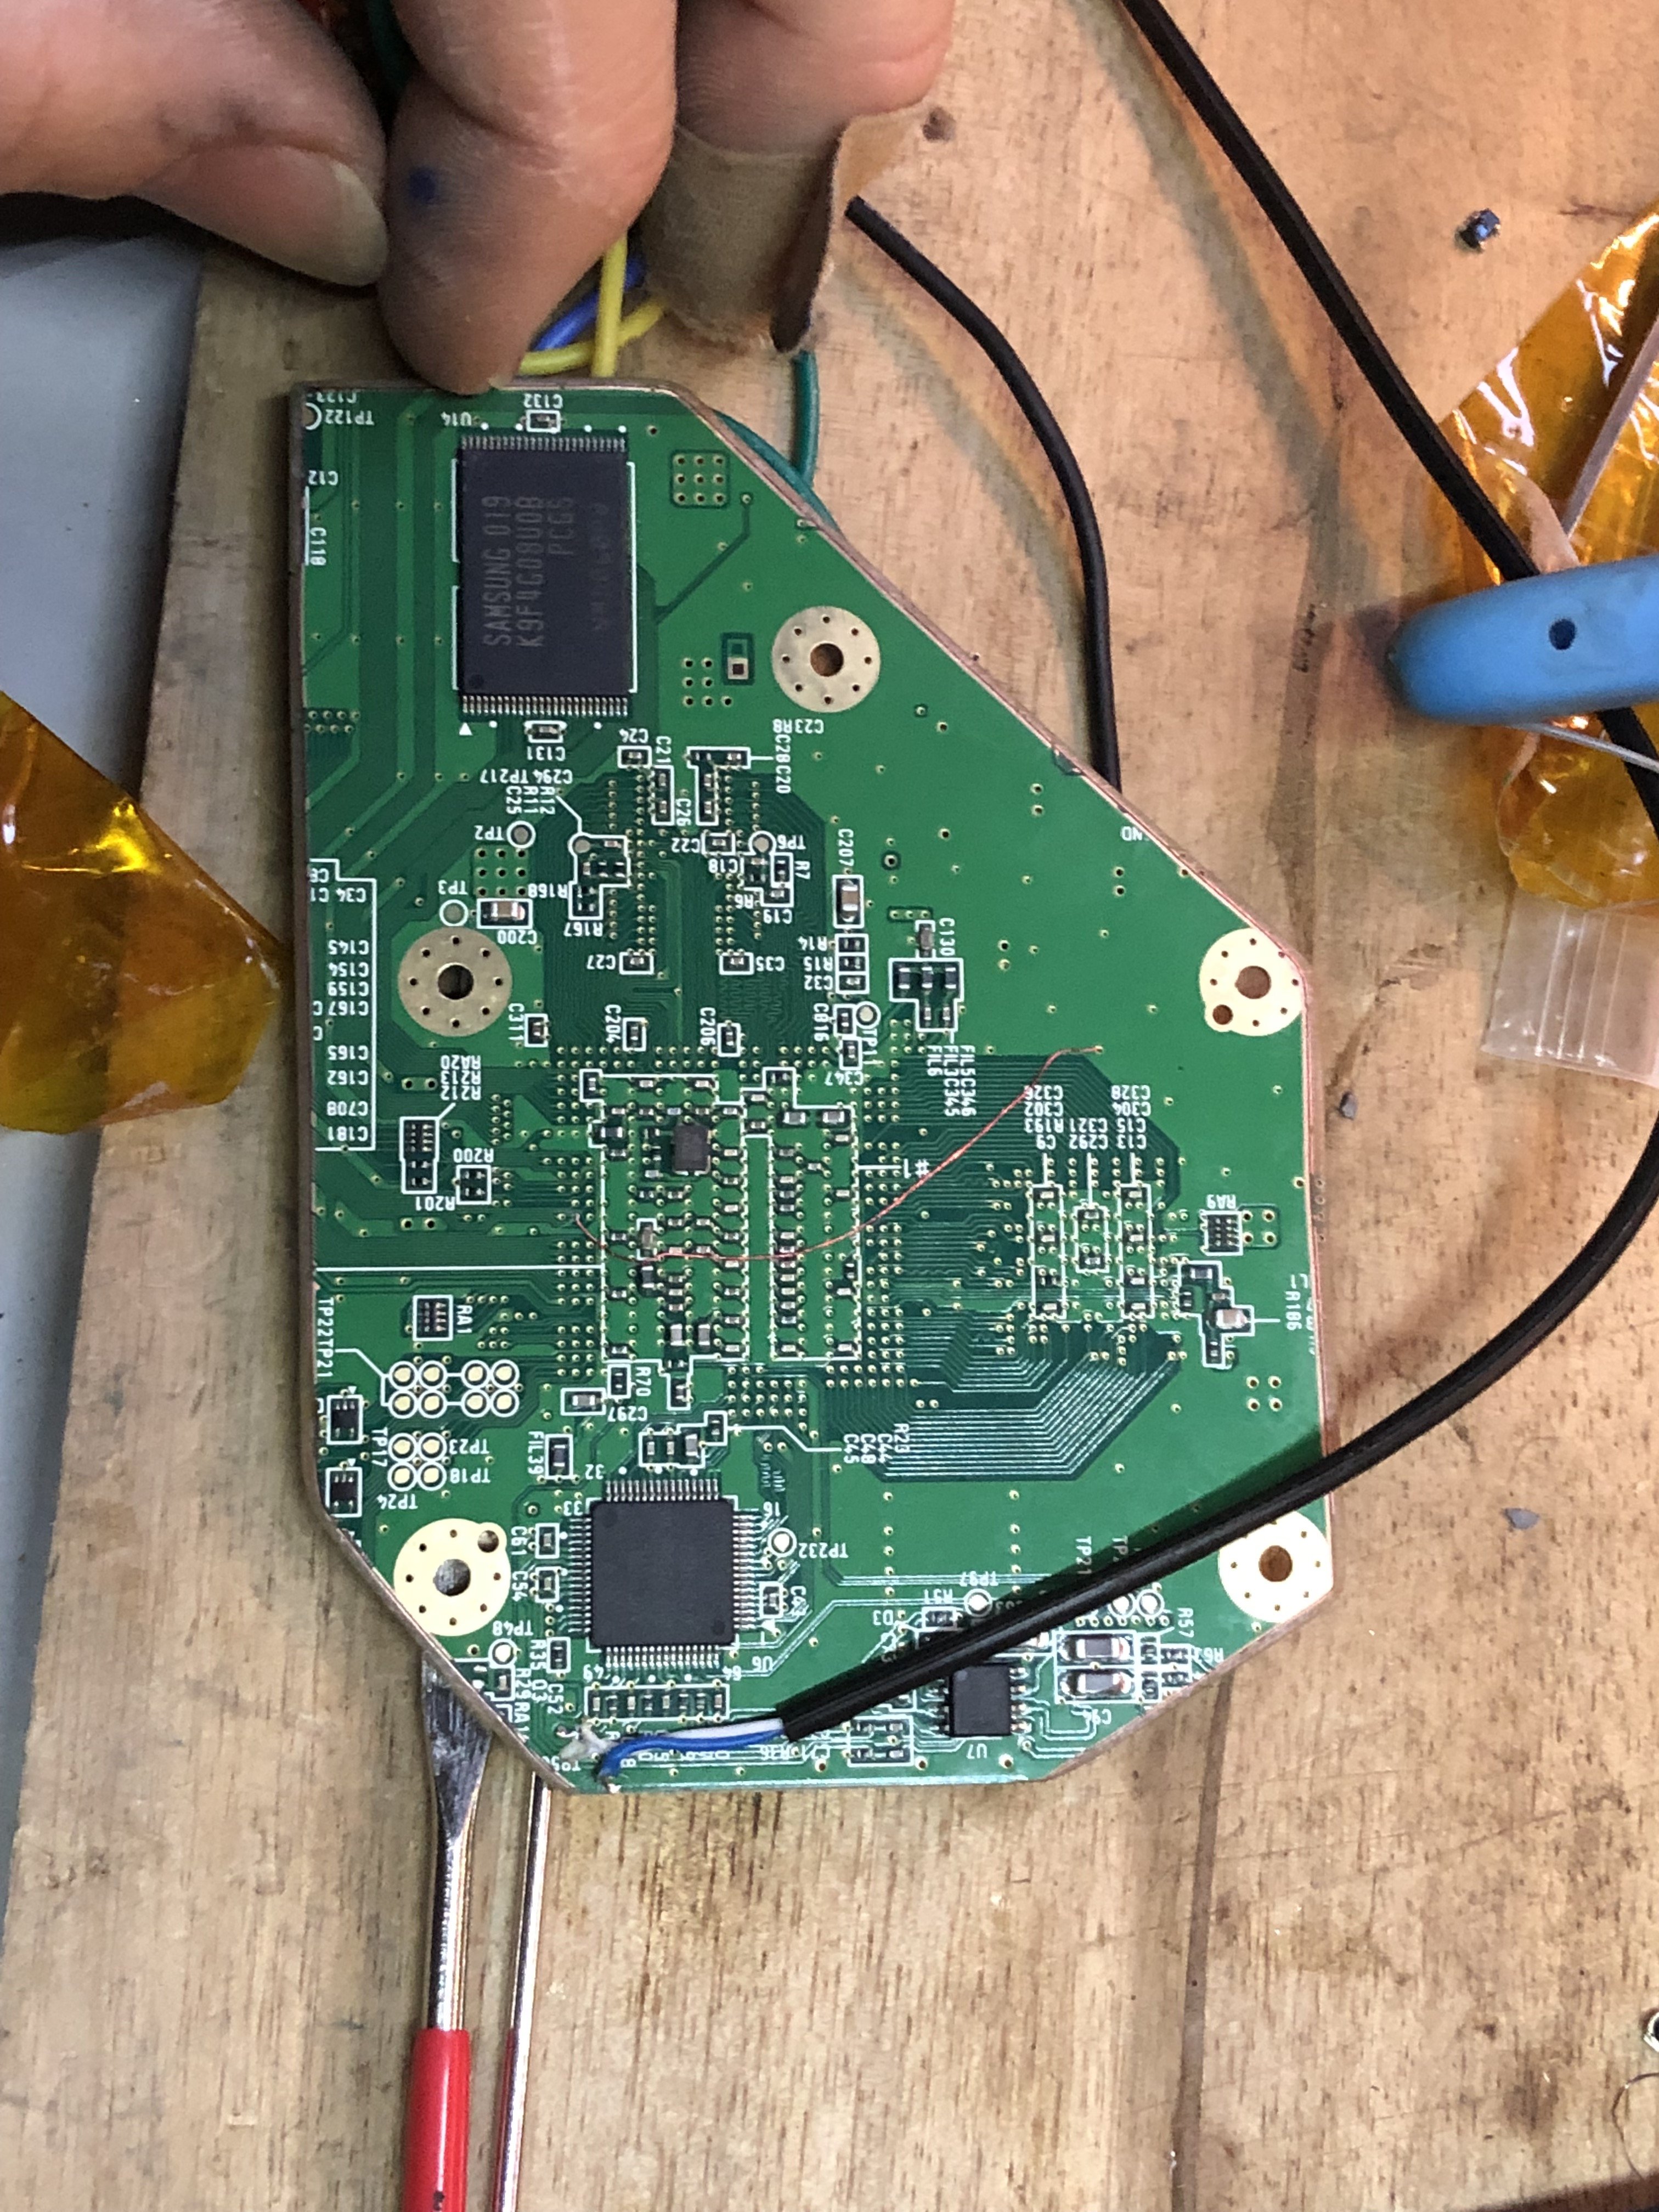
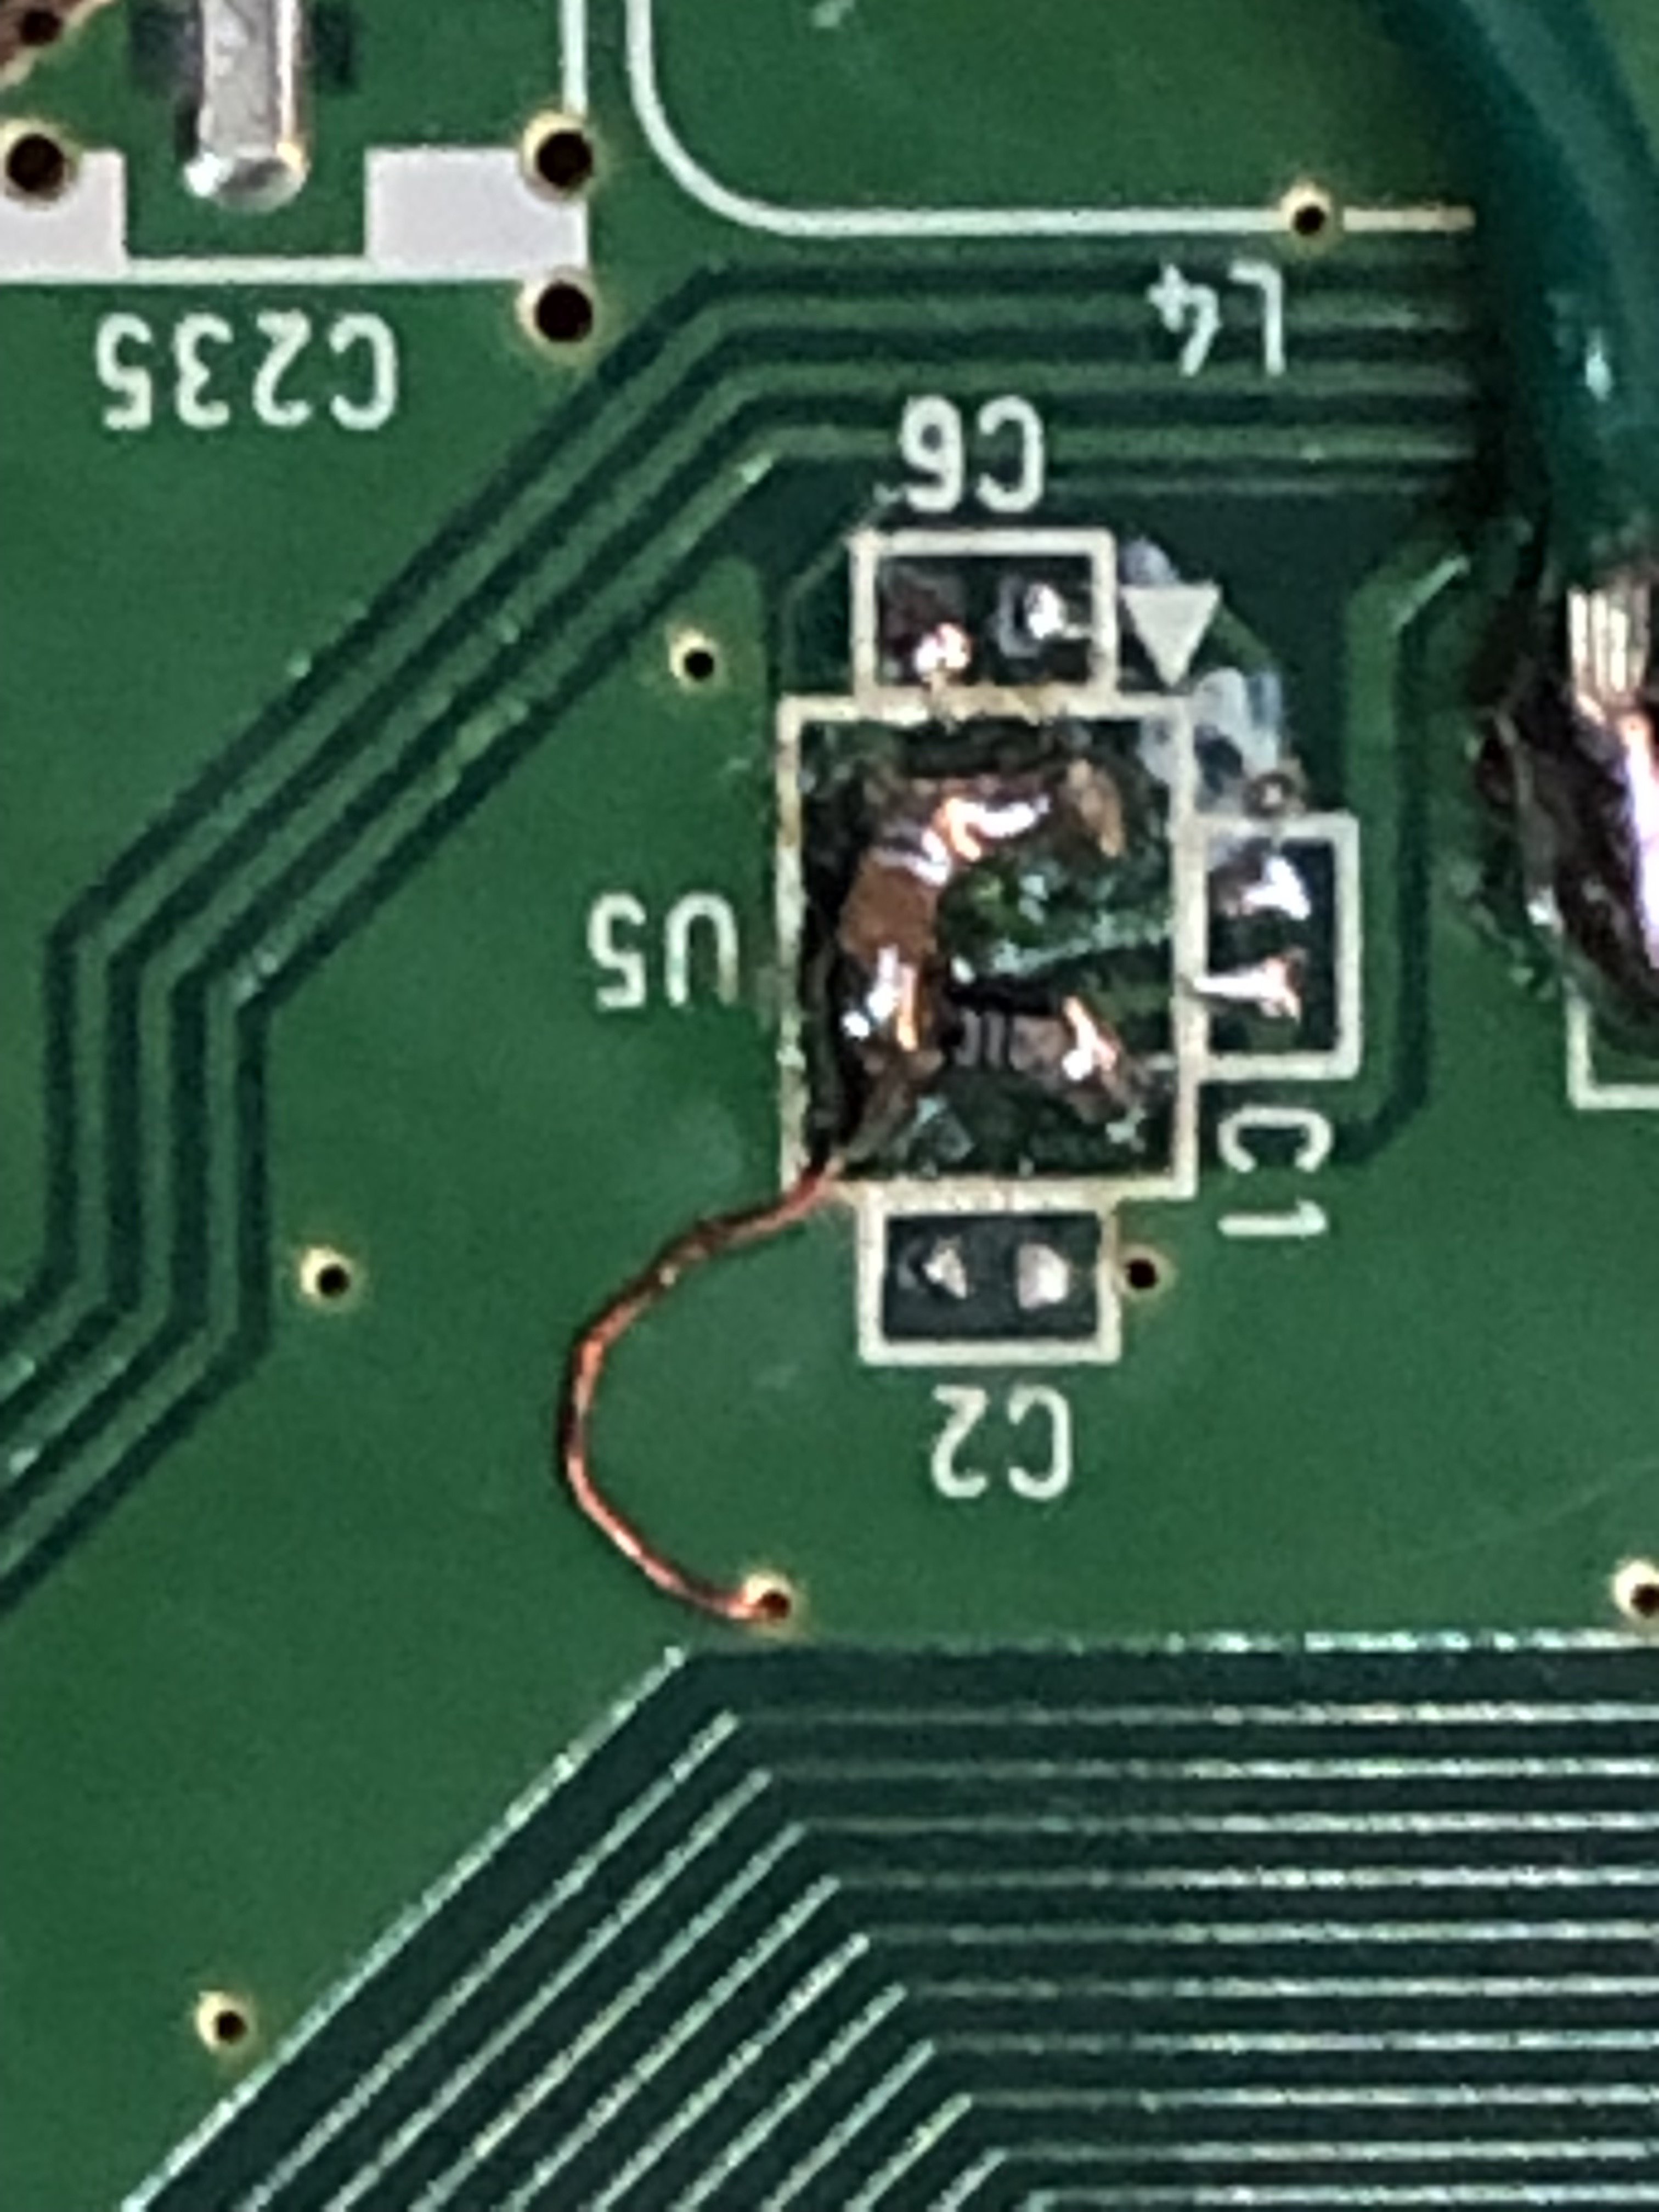
Somehow I destroyed the U10 chip when trimming. It only showed 2.6v at via... tried RC method and it booted. Tried another fresh u10 and it booted... Strange how that happens. Griff thinks its ESD...

IMG_8257.JPG


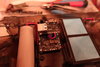
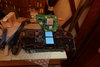
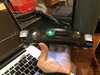
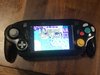
Alright... Cure up the case and start the build...
 

Attachments

Last edited:
Joined
Jul 9, 2020
Messages
227
Likes
498
It begins...

IMG_0394.JPG


Made some cool wire runs for batteries.
IMG_0395.JPG


Got PMS Lite in there... cooling, clips etc etc...Ill let the pics do the talking.

Got the USB lines run, scratched the traces and ran magnet wires for BT relocation too...
Lately, I've been prepping USB and BT in the beginning of the build like this... while its all open and clear...

IMG_0418.JPG
IMG_0417.JPG


End of the night's progress...
IMG_0421.JPG
IMG_0416.JPG


So we have a full boot. Back half still needs shoulder buttons and UAmp board...More the next day.
IMG_0416.JPG
 

Attachments

Last edited:
Joined
Jul 9, 2020
Messages
227
Likes
498
Tonight was a big push.

Heres where we started. With a wii that boots all the way into RVLoader menu.
IMG_0416.JPG


Popped in the eyoyo screen. I decided to use pro sharpie to mark the silver as the case is translucent....

Pulled apart a GCC and populated the ashida boards.


IMG_8354.JPG
IMG_8394.JPG

IMG_8395.JPG
IMG_8355.JPG


One important thing of note that I learned in my first ashida build was to make sure to use the SMALLEST LONG wii screws to attach Ashida DPAD/STICK board to the case post. I used a regular sized common wii screw and it broke the post. The ABXY wing can use the normal big one. Its probably in wesk's ashida dance video... but over looked it the first time around probably.

Wired up the DD lines video and ran SDA and SCL lines to PMS and DD. Wired up the CK and DI lines for the spi bitstream for DD. MX11 to DI and MX14 to CK... Wired up the analog speaker audio, and 3v3/gnd to GC+ board. Twisted Ground with GCD from wii to GC+ board. Fired it up to test if GC+ worked with only abxy. Success... so wired two wings together with 30awg kynar (i dont have the molex yet)...

To my surprise the DD fired right up! Woot! Controls were working but there was cross talk between the sticks... making one control the other's axis. Turned out to be a whisker between a C and S line (see below)... cleaned that up and controls worked great.

IMG_8390.JPG


Now that PMS i2c was connected, i could program the LED. Nice! Not as much light leak through the rest of the case as I was expecting.

IMG_8375.JPG
IMG_8377.JPG


The SDA SCL lines to the DD were not making the DD change aspect ratio reliably. Gonna try to address that tomorrow.

So far so good...

Ended evening here:


IMG_8371.JPG
IMG_8397.JPG
 

Attachments

Joined
Jul 9, 2020
Messages
227
Likes
498
Today I ran into some troubleshooting. I woke up and the portable stopped responding to controller and rvloader would hang. I remember this problem as an i2c hangup. I pulled off the sda scl lines from the DD and this made the hangup go away. I decided to touch up the sda scl lines at the vias to try to get the DD working in the chain again. Aurelio suggested to shorten the lines as much as possible. I ran some fresh wire here too...

1640490727348.png


However, in the process i lost the bitstream for the DD... meaning the backlight is not coming on. Aurelio and griff have informed me that all the DD needs to backlight the screen is Power, Ground and DI/CLK. I also learned that the proper way to solder to these vias is to put the wire INTO the via and make a solid shiny fillet at the entrance. 360degree solder joint, he says...

Tried a few sets of fresh wires. even tried removing some solder with the wick... inserting the wire and soldering around it. This is the third try... putting it down for now.

IMG_8402.JPG
IMG_8403.JPG


I have confirmed that the wii is booting using composite out to a different screen and driver. I know it can work... just have to keep it clean and keep at it.

Its interesting to see the same pattern emerging as the first build; the DD works at first but then after i have to do any troubleshooting something goes awry. Makes me want to figure out proper wiring layout and restart the wiring with all freshly prepped vias and fresh wires.

Ill just keep replacing wiring until it comes back to life. :)

If anyone else sees something out of place or could help resolve, I'm all ears.


Thanks for checking out the thread.
 
Joined
Jul 9, 2020
Messages
227
Likes
498
Major progress today!

IMG_8400.JPG

I need to add to my previous statement, "All thats needed for backlight is Power, Ground, DI and CLK to get the backlight" In my discussion with Aurelio, i discovered that the 54mhz clock line is ALSO needed... After that chat with Aurelio I reflowed both sides of the 54mhz line and it fired right up! Good lessons. Thanks @Aurelio for the support there.. Thanks to @YveltalGriffin for the support too.

After swapping the DI CLK lines 5 or 6 times it was refreshing to finally figure out what was wrong at that time... Always check the 54mhz line! The wii is booting! :)

IMG_8411.JPG


Now that the video was working, i wanted to add the second set of wires to the MX vias and keep testing to make sure i keep the DD in the mix. I added them successfully... we shall see if they will work with the MX in another sesh.

Now it was time to finish wiring up the wii side of the uamp lines. I had run them in a previous step, saving them for later... I routed them to sweep around the video vias and up to the audio vias from the bottom. Using the in-via magnet wire soldering, I connected the audio lines. I also finished attaching the bluetooth module and connecting the wires to the gpu traces.


After installing uamp lines, the i2c hang up came back... If I pulled off the SDA SCL from the DD pads it would go away. I ran fresh SDASCL lines... removing them from the via and jumping them off of the ave pin and passive where the PMS is attached... I routed them wide from the other runs and made them as short as possible. Ive never done it this way but its always fun to try something new.


The i2c hangup improved slightly with the new DD SDA SCL lines... The controller works again but its intermittent with the RVLoader sometimes not recognizing pms...The DD is also not responding to screen ratio changes or filling up the screen. I think i need to make them even shorter. One idea is to use a two pin header thing and make it so i can connect it across the halves with a shorter run. We shall see what the next sesh brings. However, the DD does respond to brightness changes with X+Z+D-Pad Up/Down. So there is some connection... I suspect its interference from a weird wiring method.

Its in a good place though, I closed it up with some black laptop screws. for the wing tips i used the screws that hold the shoulder trigger assembly together in the stock Gamecube controller. Those are perfect and long. Closed it up nice and tight. The Z button fit way more easily this time around. I gave it a nice polish with a cloth and cozied up for my first test play session!.. A little chibi robo jauntt. FUN...

What is working:
Video, Controls, PMS, LED, Charging, Charge and play, Thermistor reading, Battery Voltage meter, Bluetooth.
The issues I need to deal with are as follows:

1: SDA SCL lines to DD make glitchy unpredictable hangups in RVLoader. Don't allow DD to change screen ratio or fill screen.
2: Volume wheel does not respond in real time. If i change the volume while wii is off it will be that volume in game.. However, it does not respond while the unit is powered up... Very strange. Related to i2c
3: power switch and headphone jack will be coming in the mail soon... those parts will complete it parts wise.
4: add MX Chip relocation and pray it plays nice with the DD bitstream.

Other possible accessories that would be nice: A form fit hard case, a printed ashida stand, internal wavebird receiver for player 2 (even possible?)

Anyway, here it is... I also realized i want to name it Smokii. So it is christened ... Hail Smokii Graywave.

IMG_8412.JPG

IMG_8410.JPG
IMG_8409.JPG


It almost turned out two toned... love it! It feels really good in the hands. Excited to finish it up fully soon.

Heres where the internals are at. MX Soon.
IMG_0489.JPG

IMG_0488.JPG
 

Attachments

Joined
Apr 12, 2020
Messages
207
Likes
235
Its so clean man! I know you will fix everything and get it up and working perfectly. The DD is very interesting... it does look crispy though! Also dude.. those internals are so good!
 
Top