
- Joined
- Apr 29, 2016
- Messages
- 83
- Likes
- 100
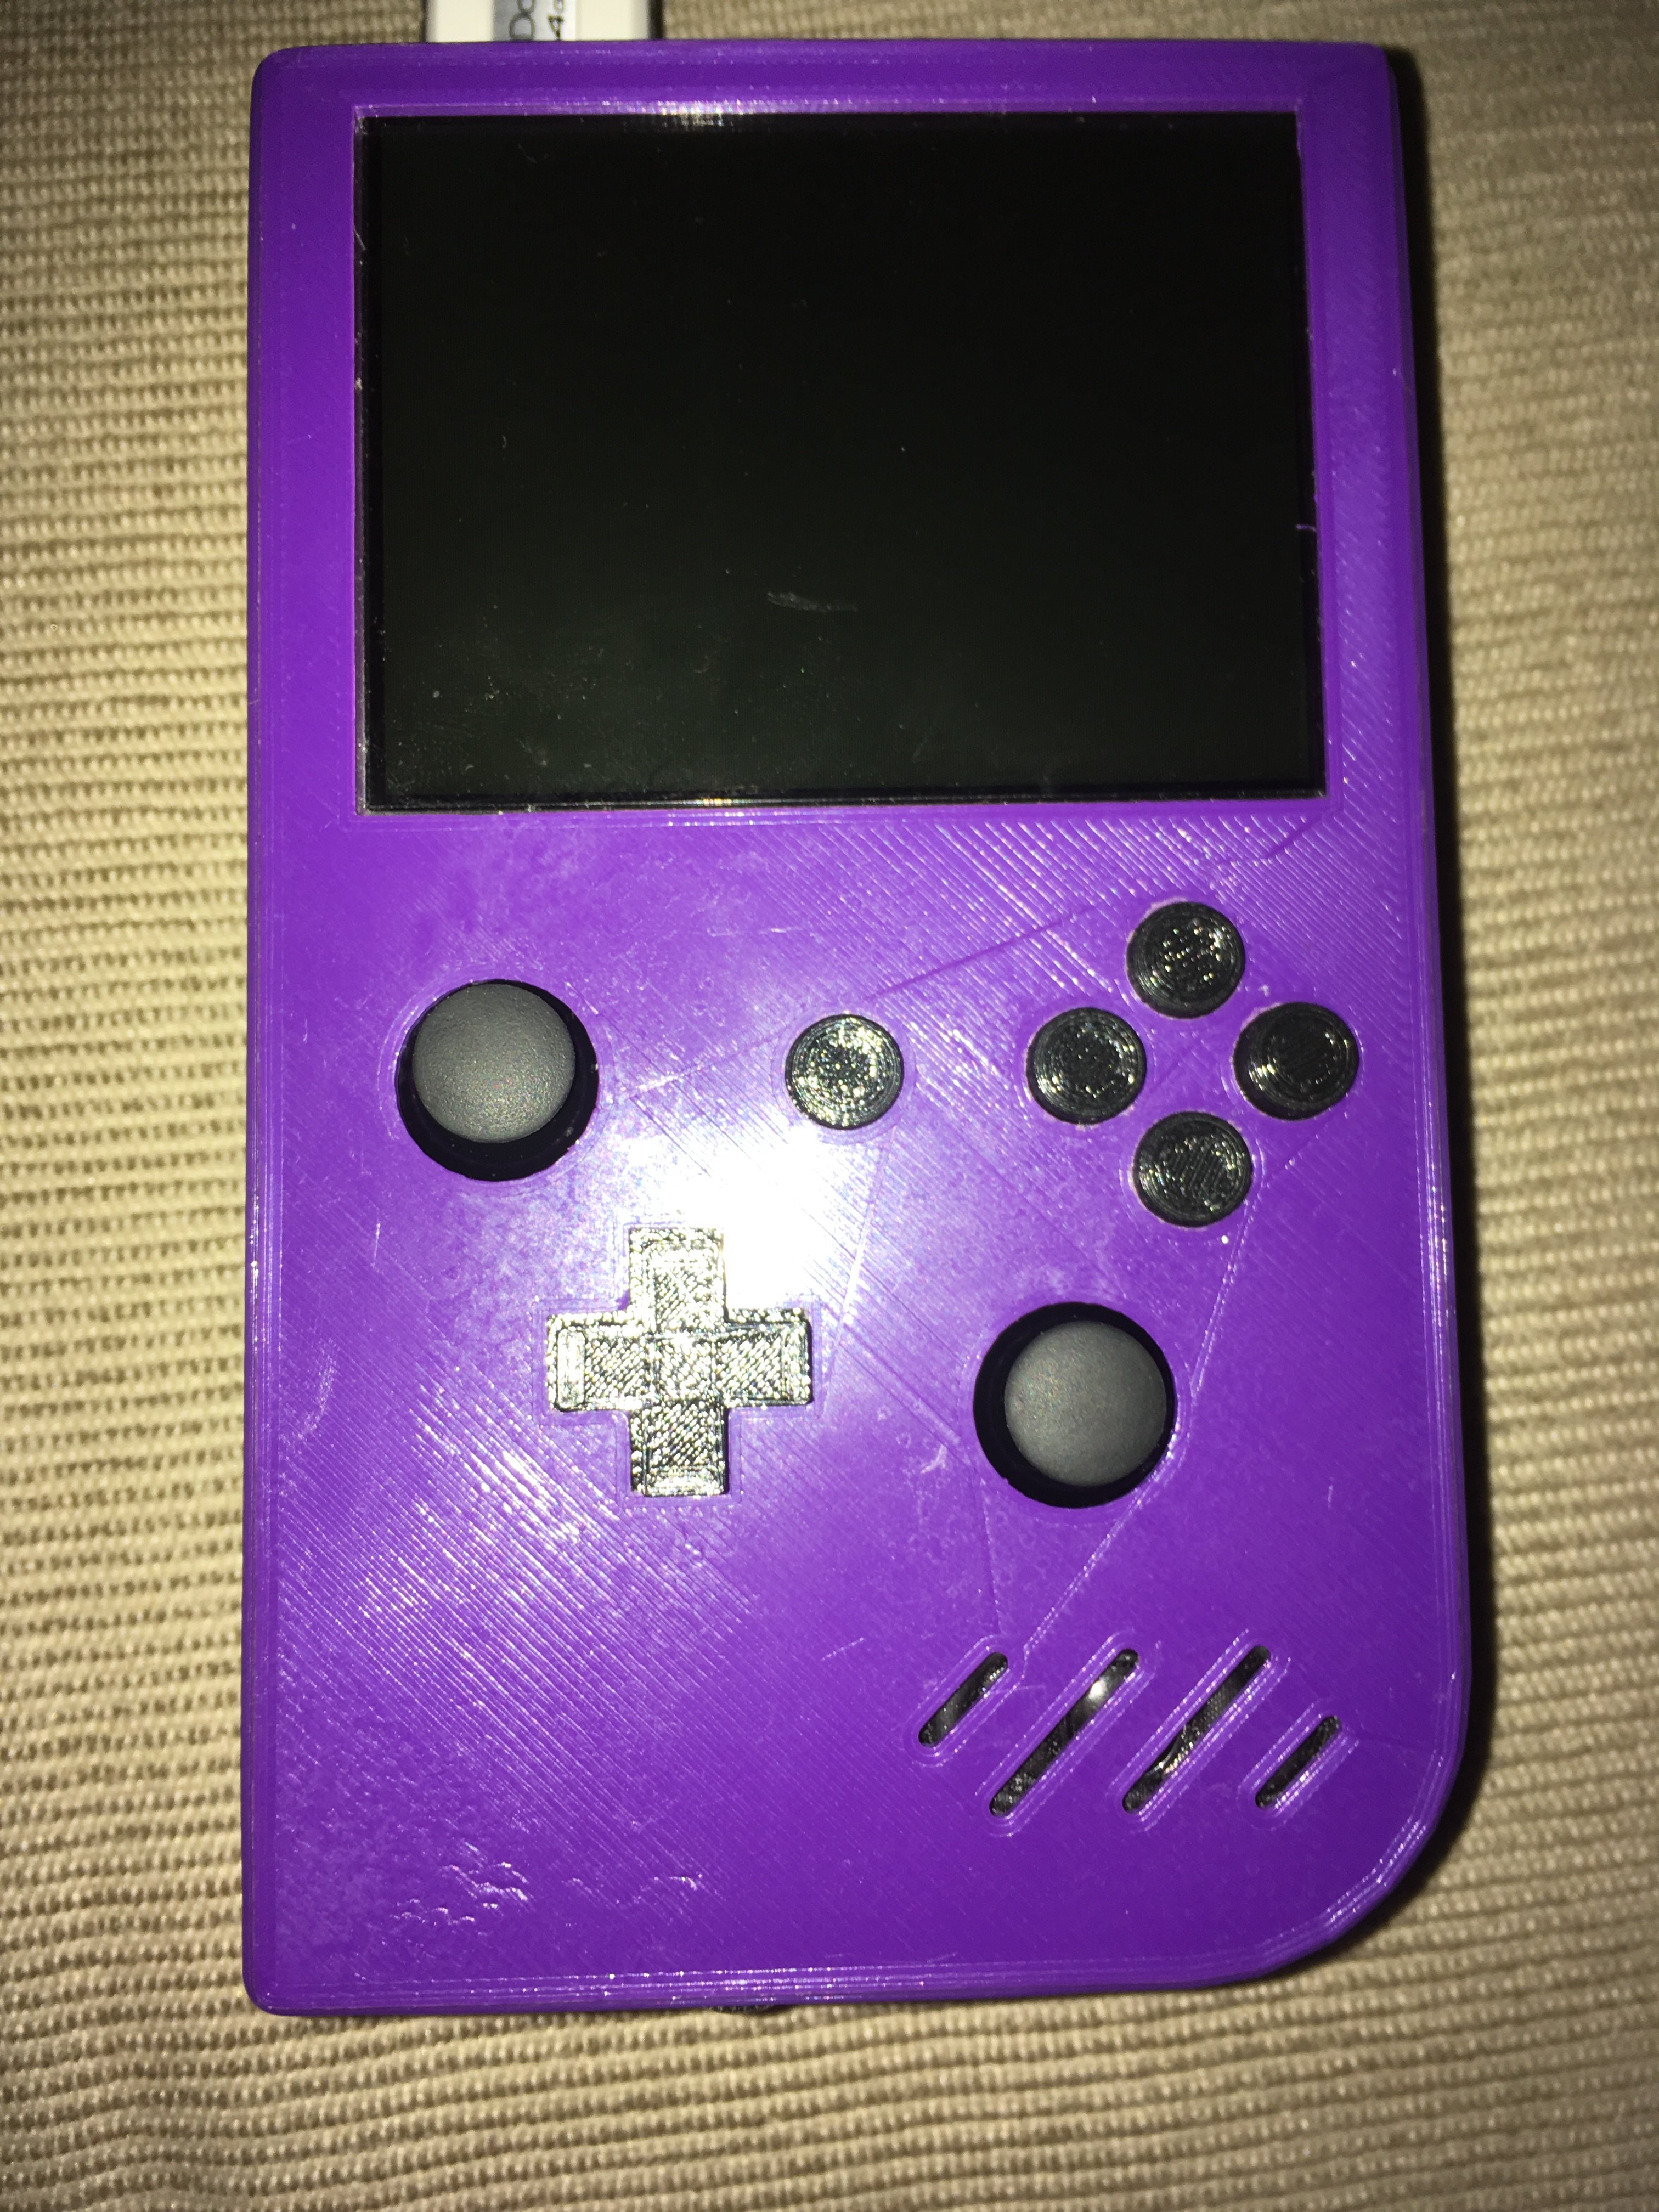
Hey guys! I just wanted to share my latest Portable Wii with you all, the aptly named Gameboy Revolution.
Features:
3.5" Dalian Good Screen
480p Component Video Input converted to VGA
PortabilizeMii No Wifi (Duh)
Full range mini 254TA103B50A-ND Pot Thumbsticks
Single tact Modded L and R triggers
Mono Audio w/ stereo headphone output
Custom 7.4v lithium ion Battery Pack
Custom 3d Printed case (Designed by me and inspired by the DMG Gameboy)
Custom 3d Printed face buttons
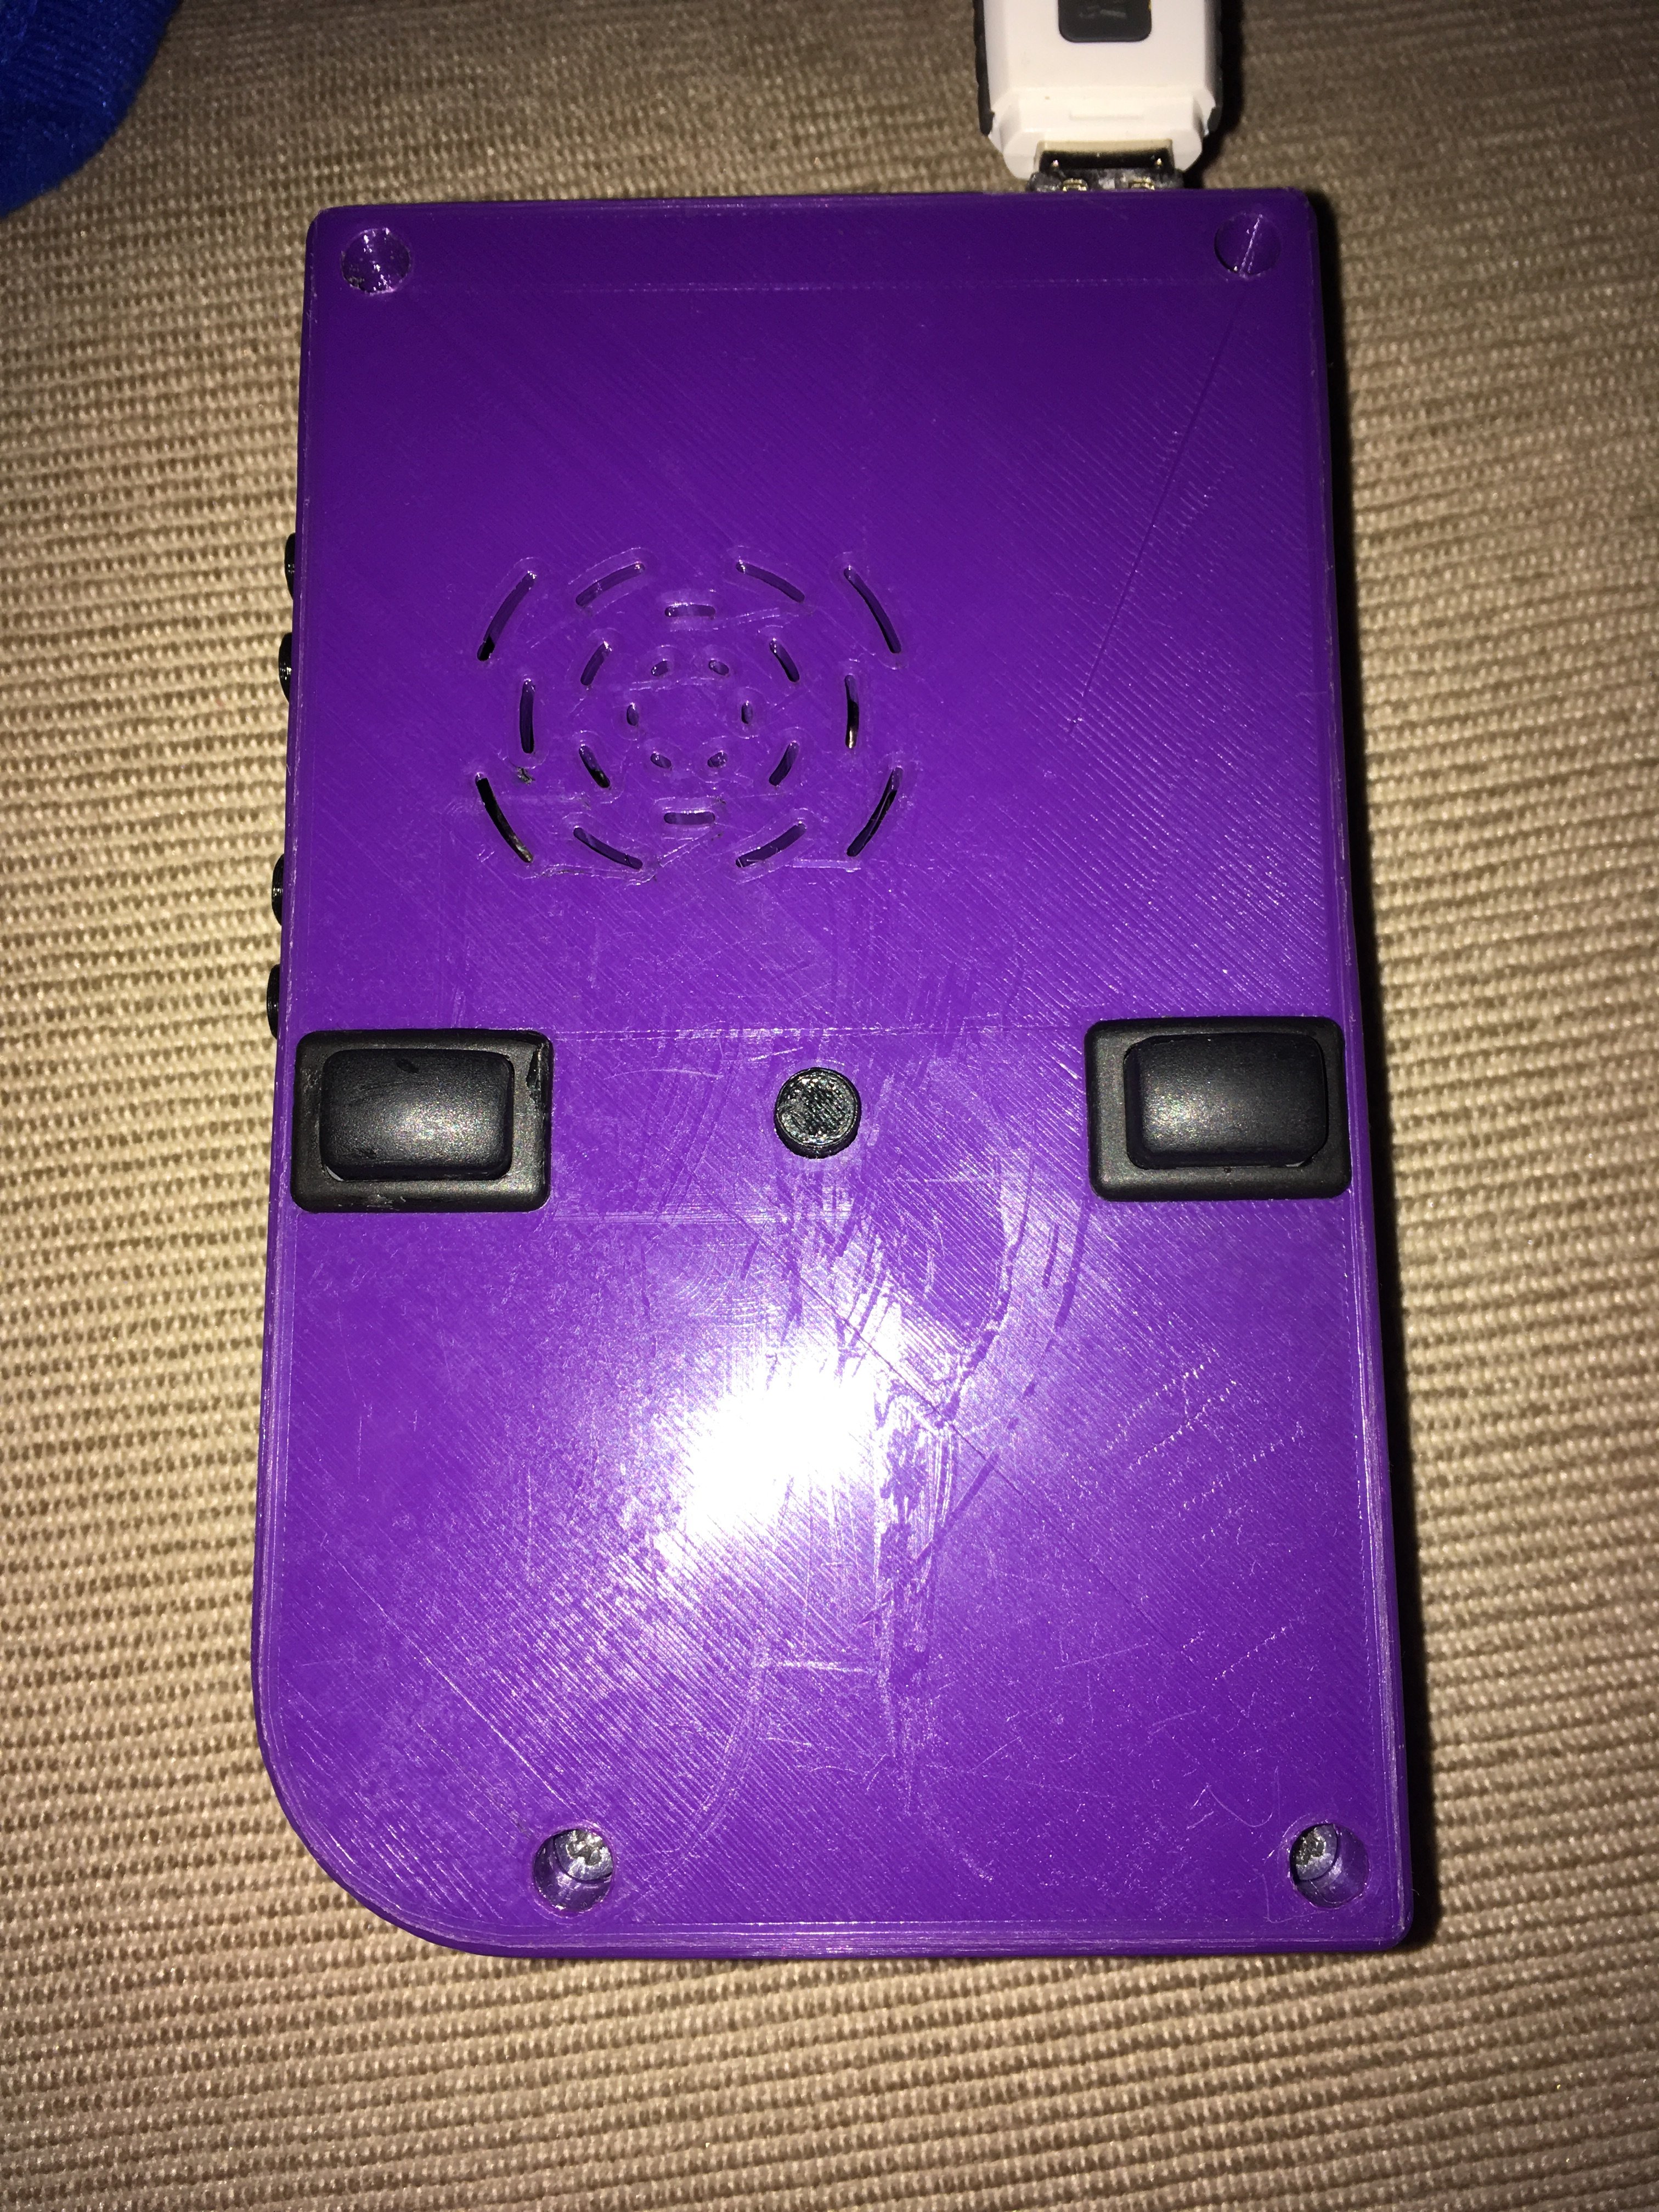
Custom Designed Cooling Solution
Custome Designed Motherboard mounting system
128GB USB Thumbdrive
Now, without further adieu, here she is!
Now, here are some internal Pics.
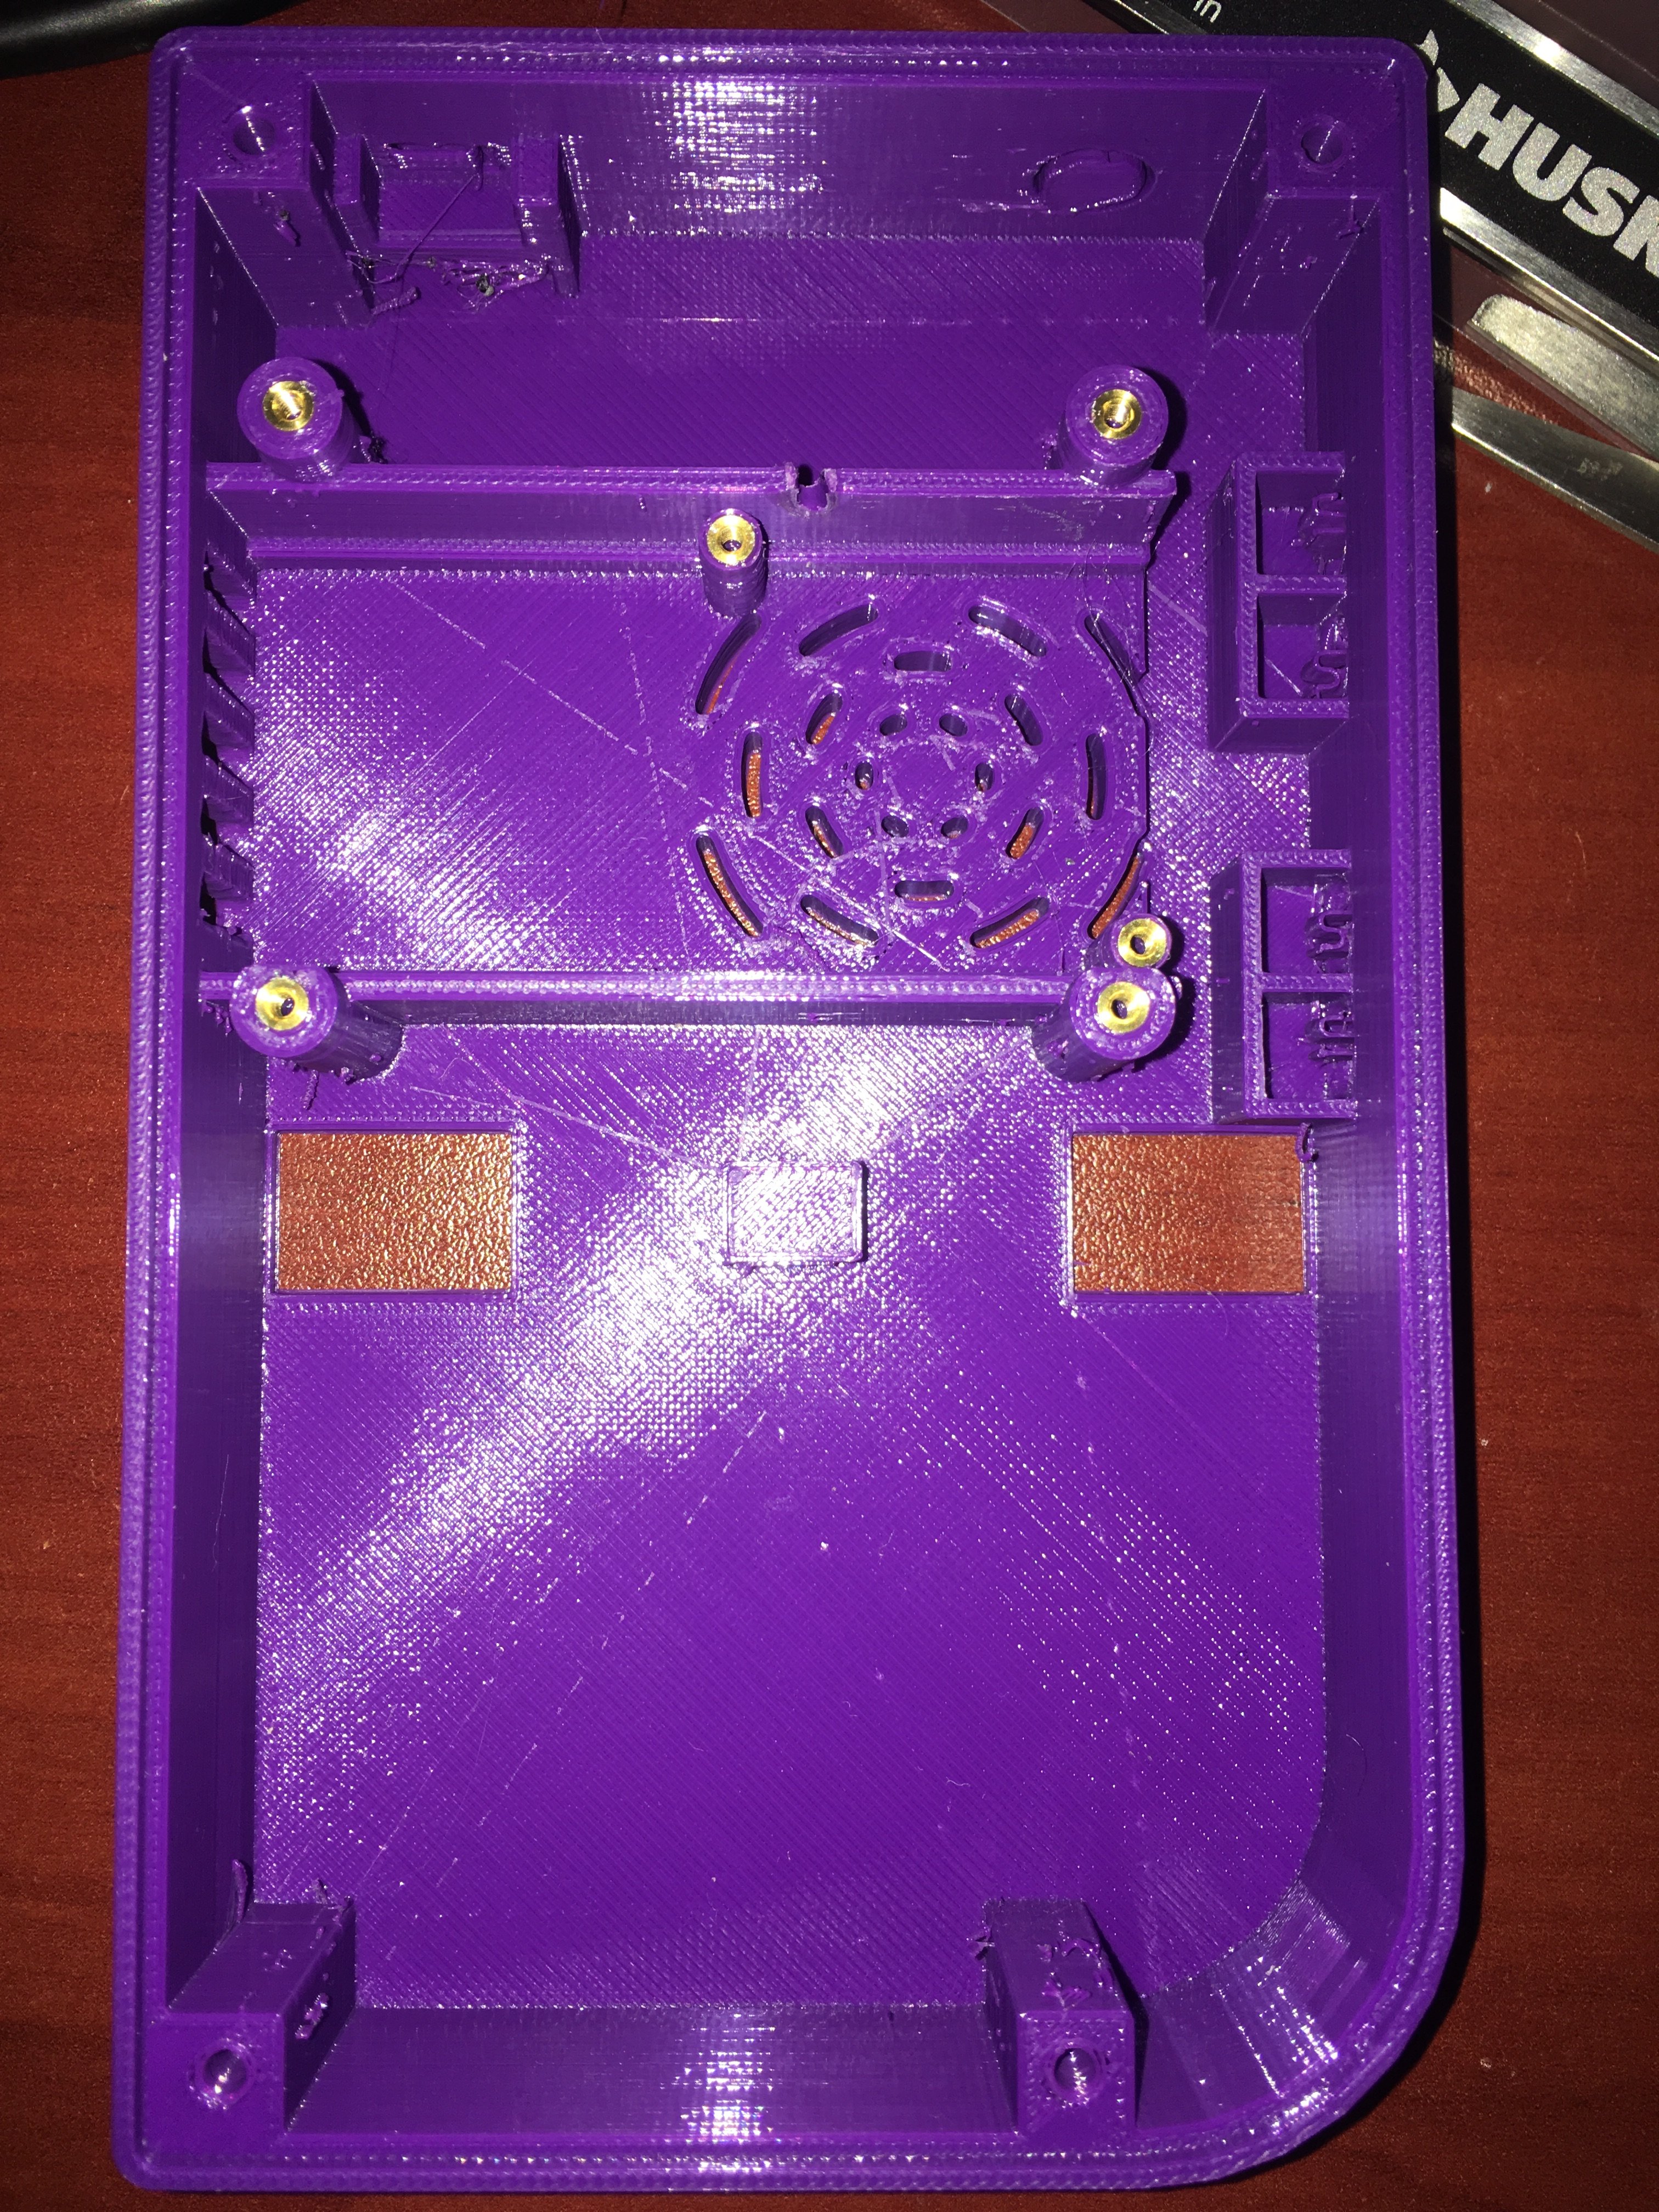
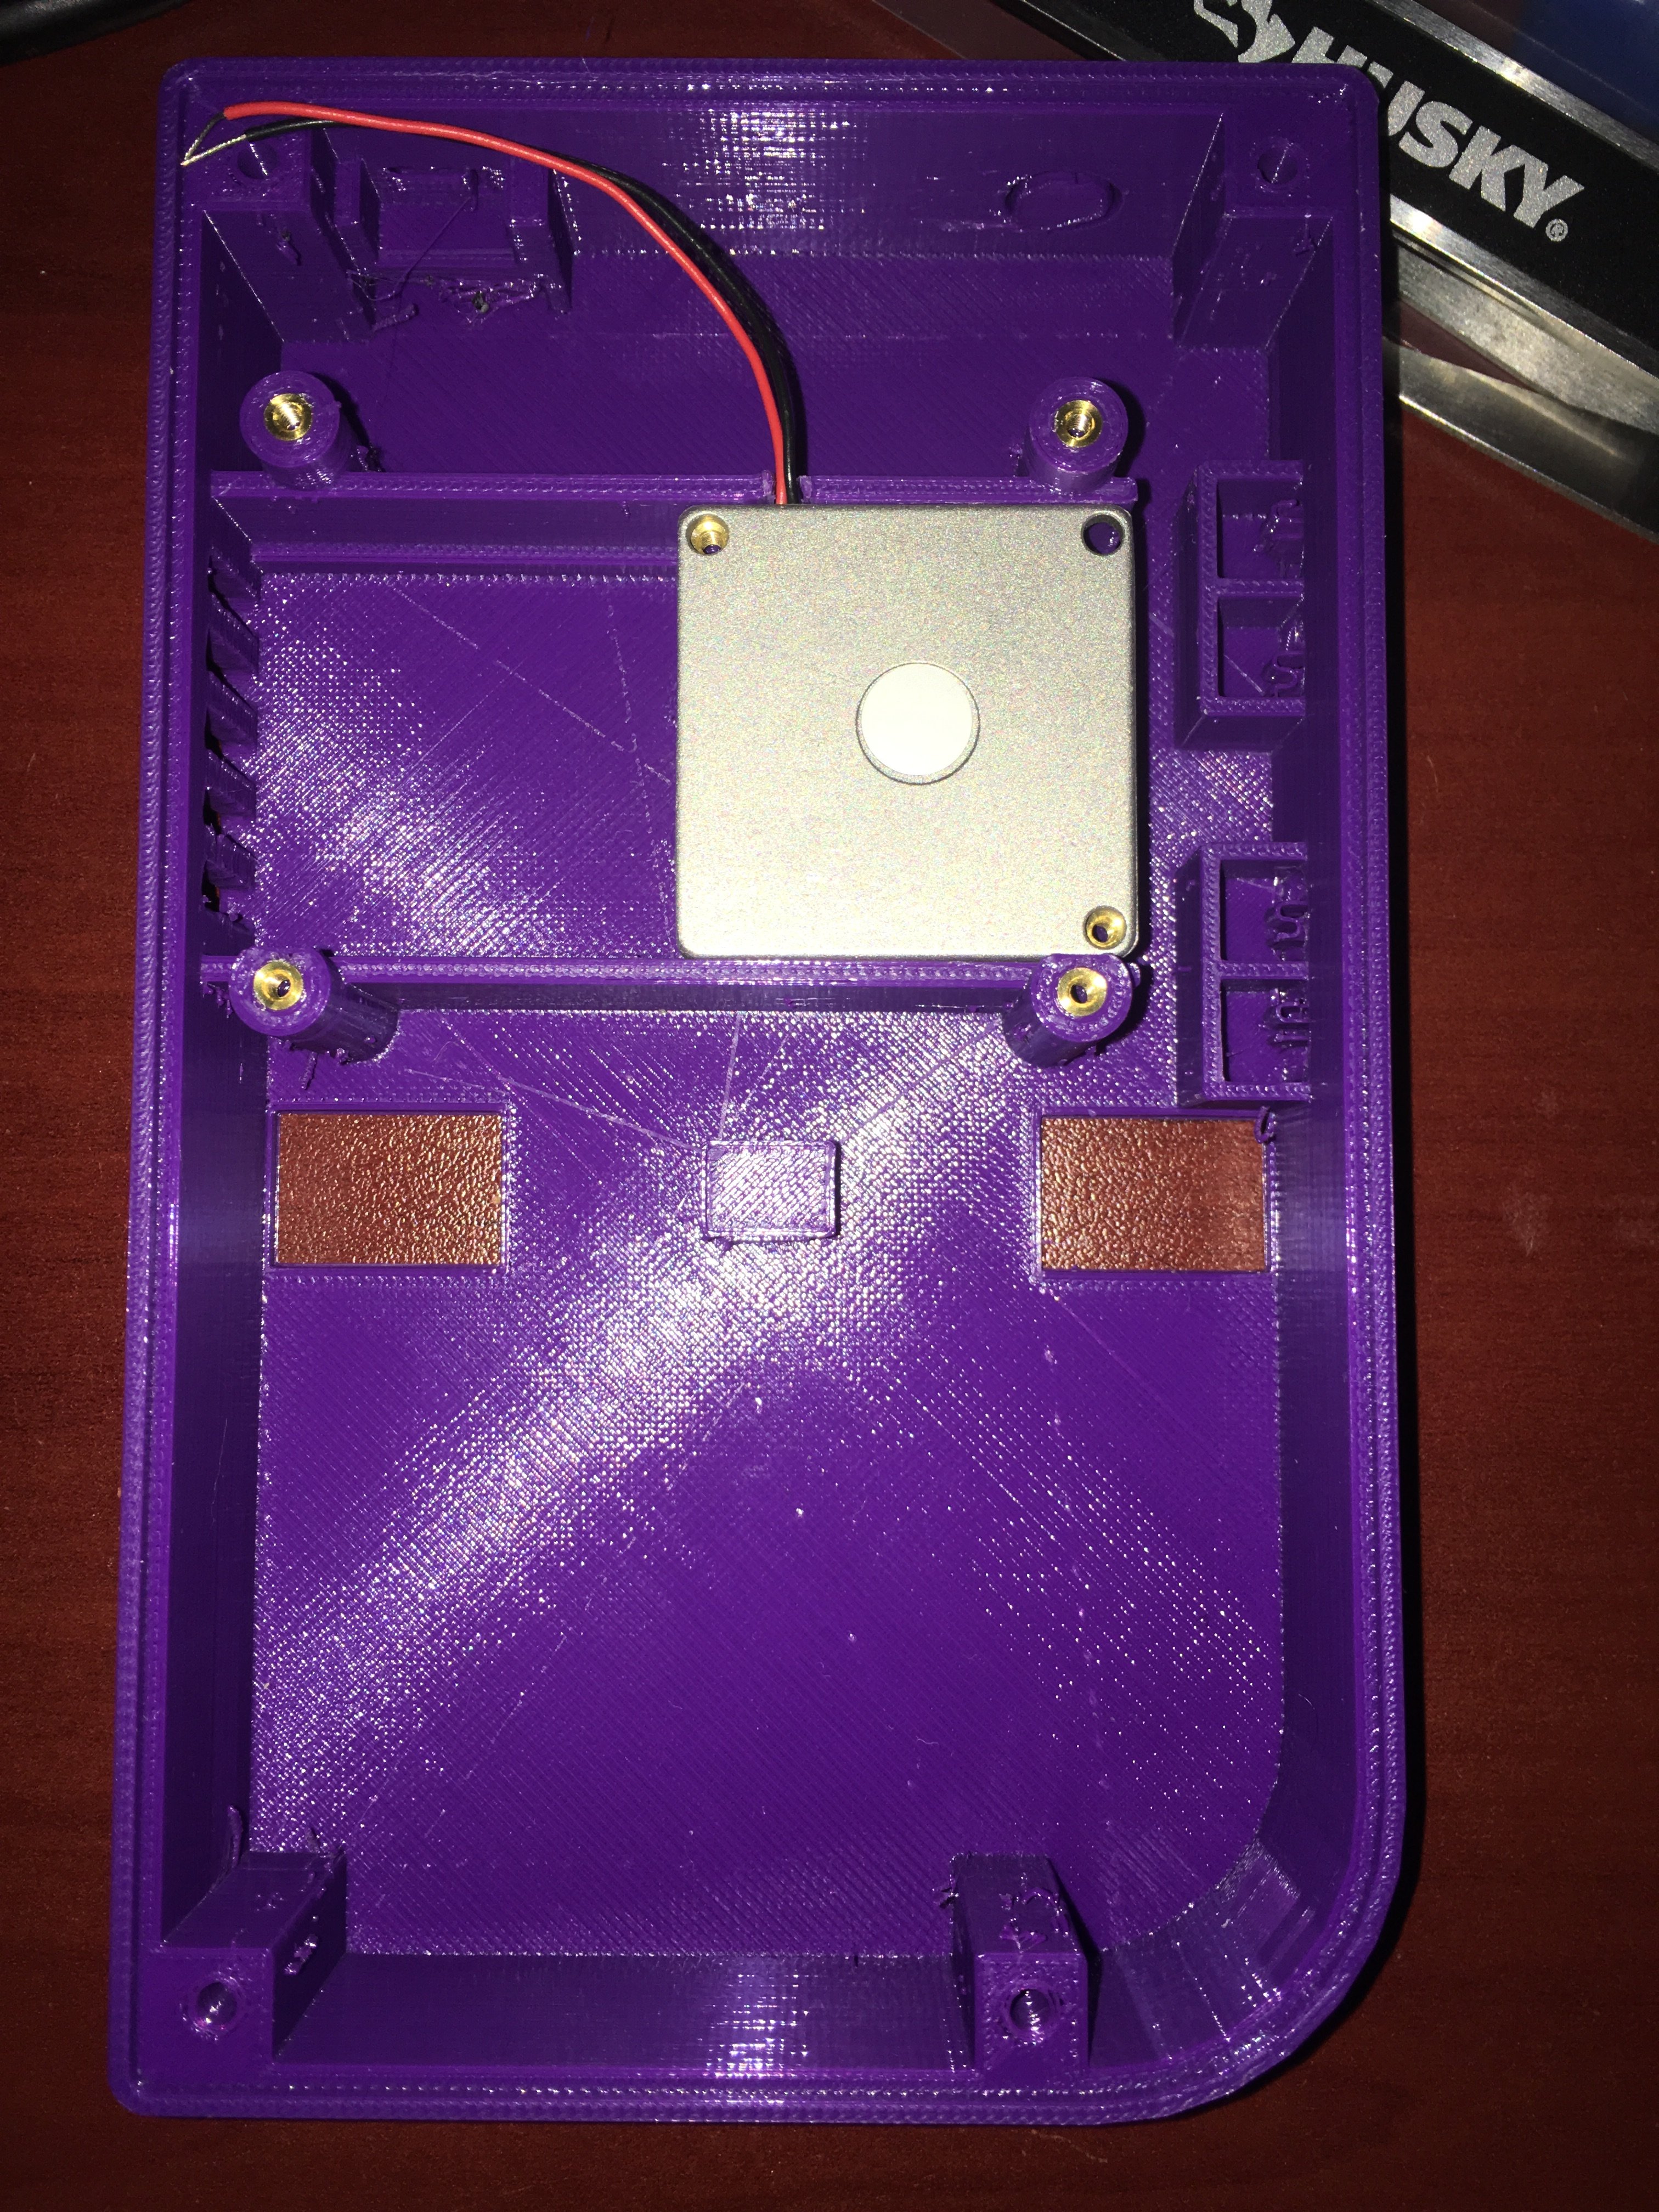
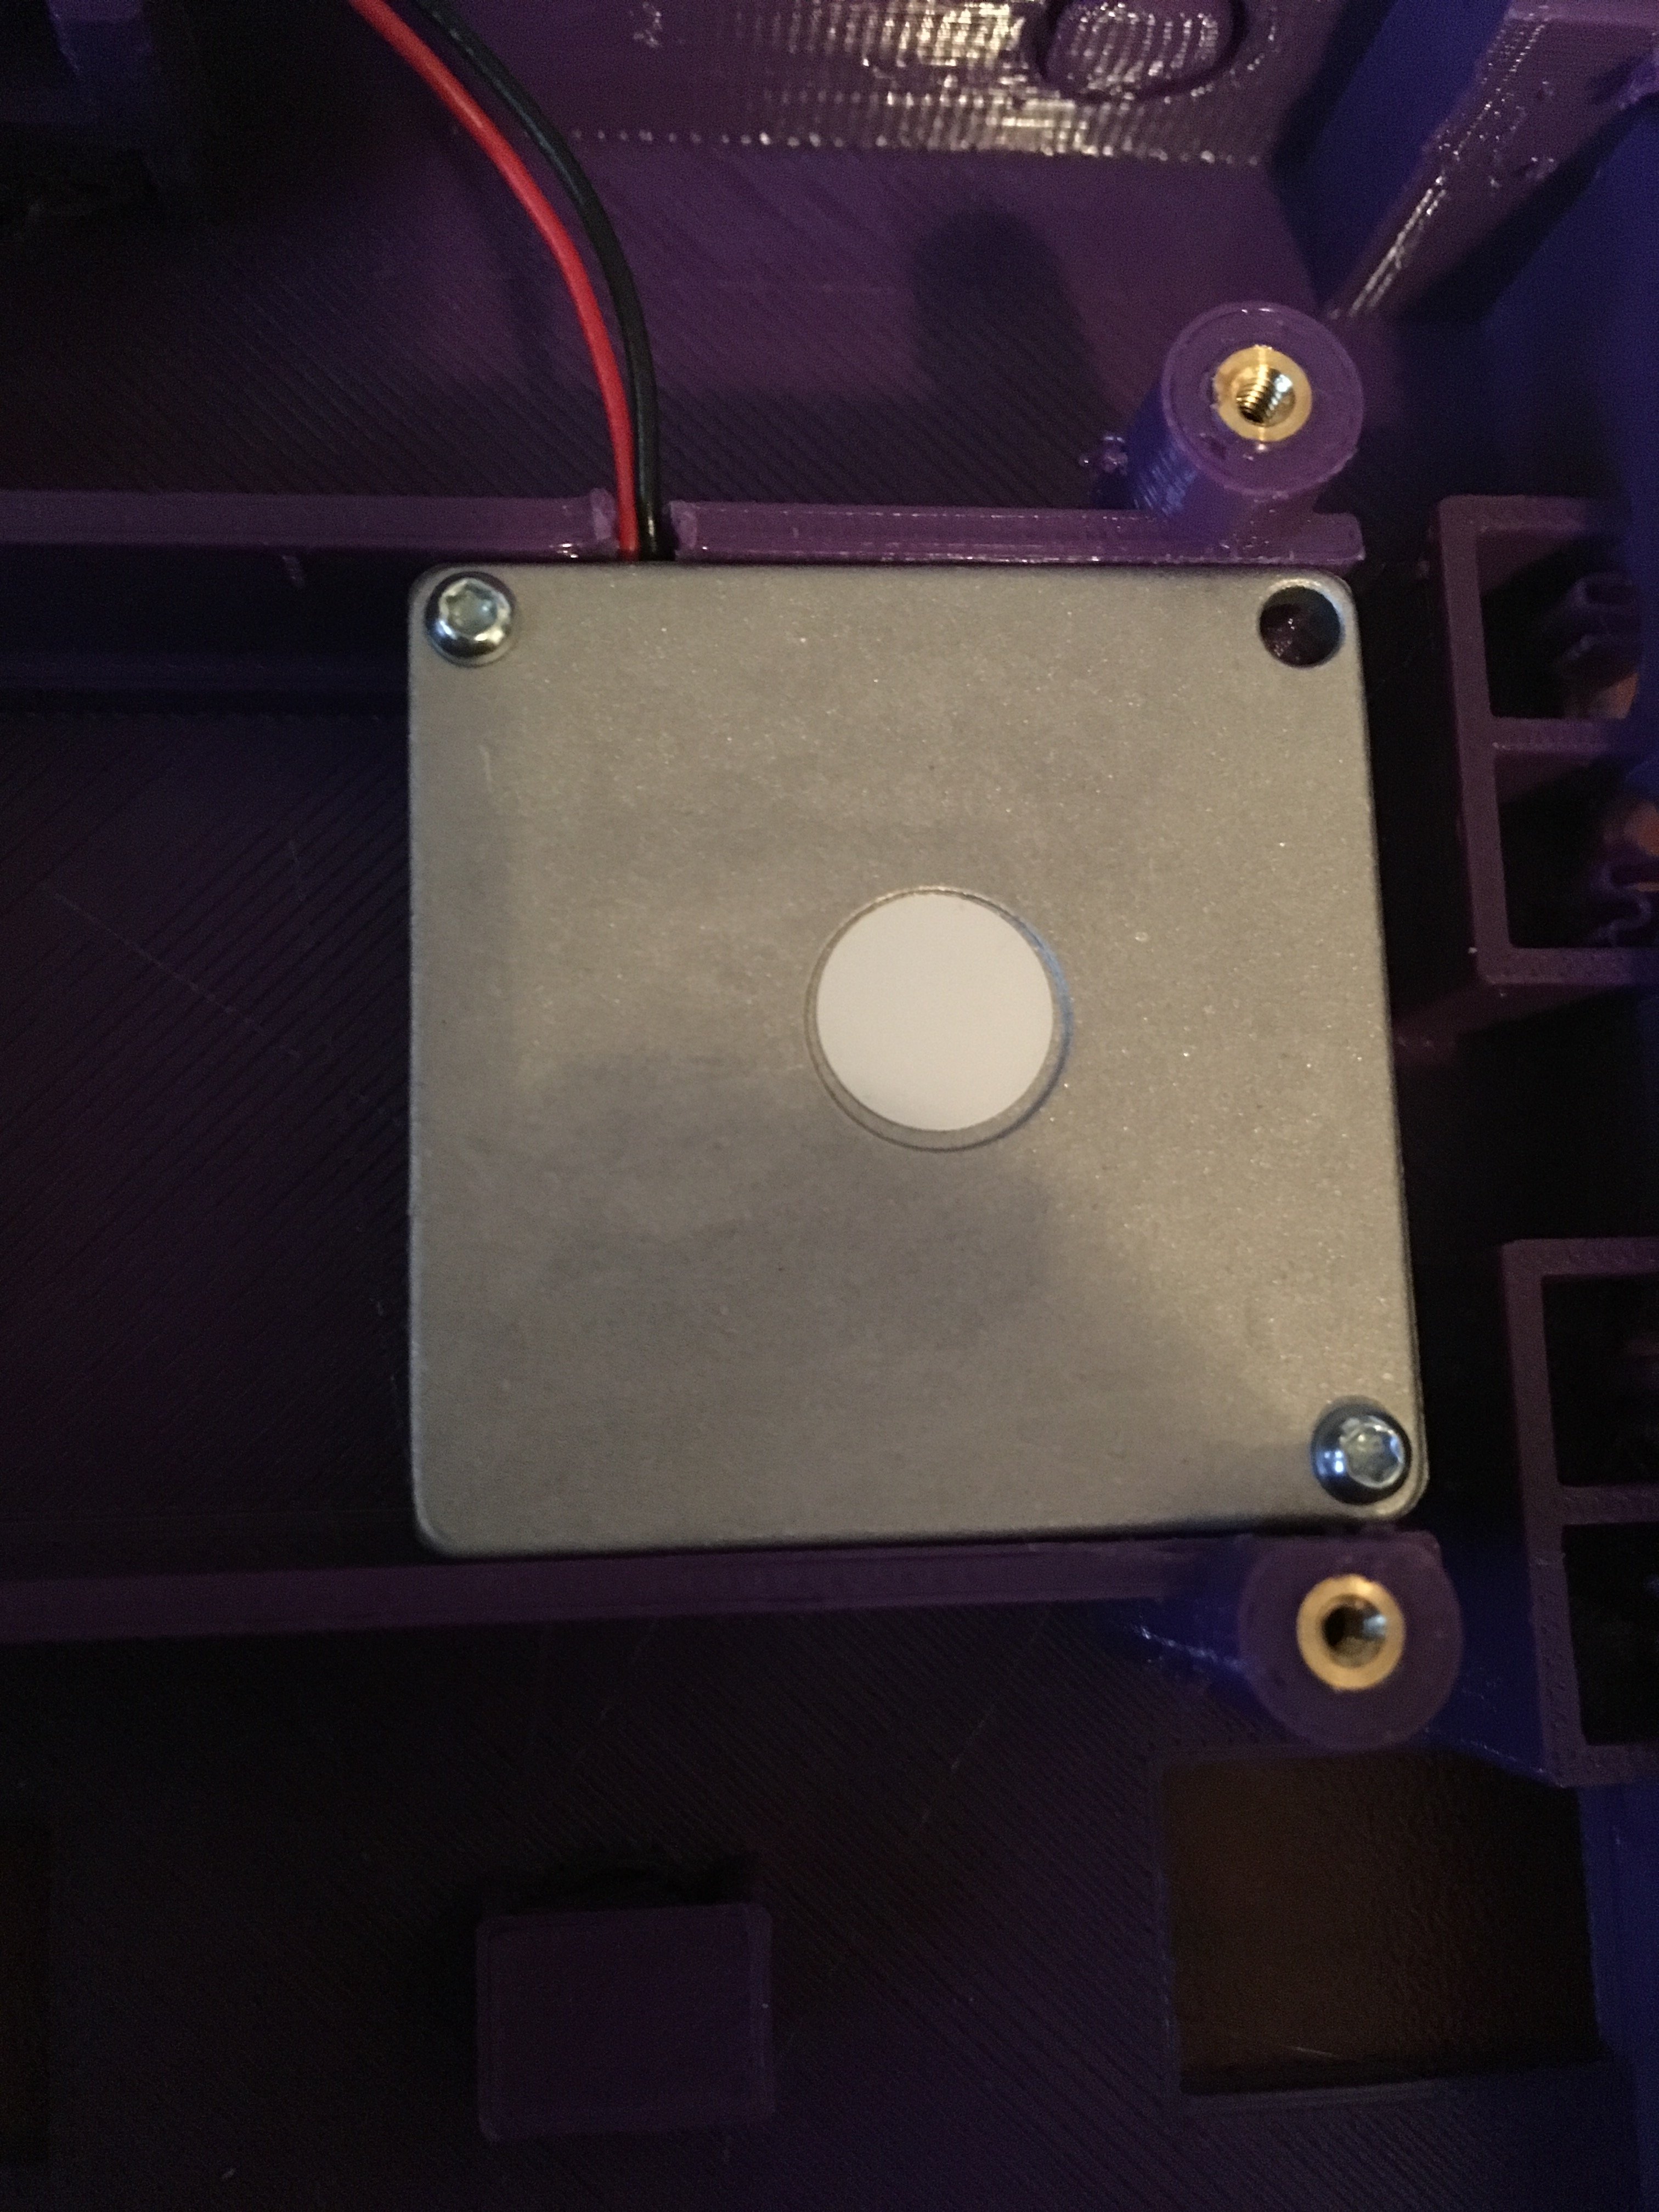
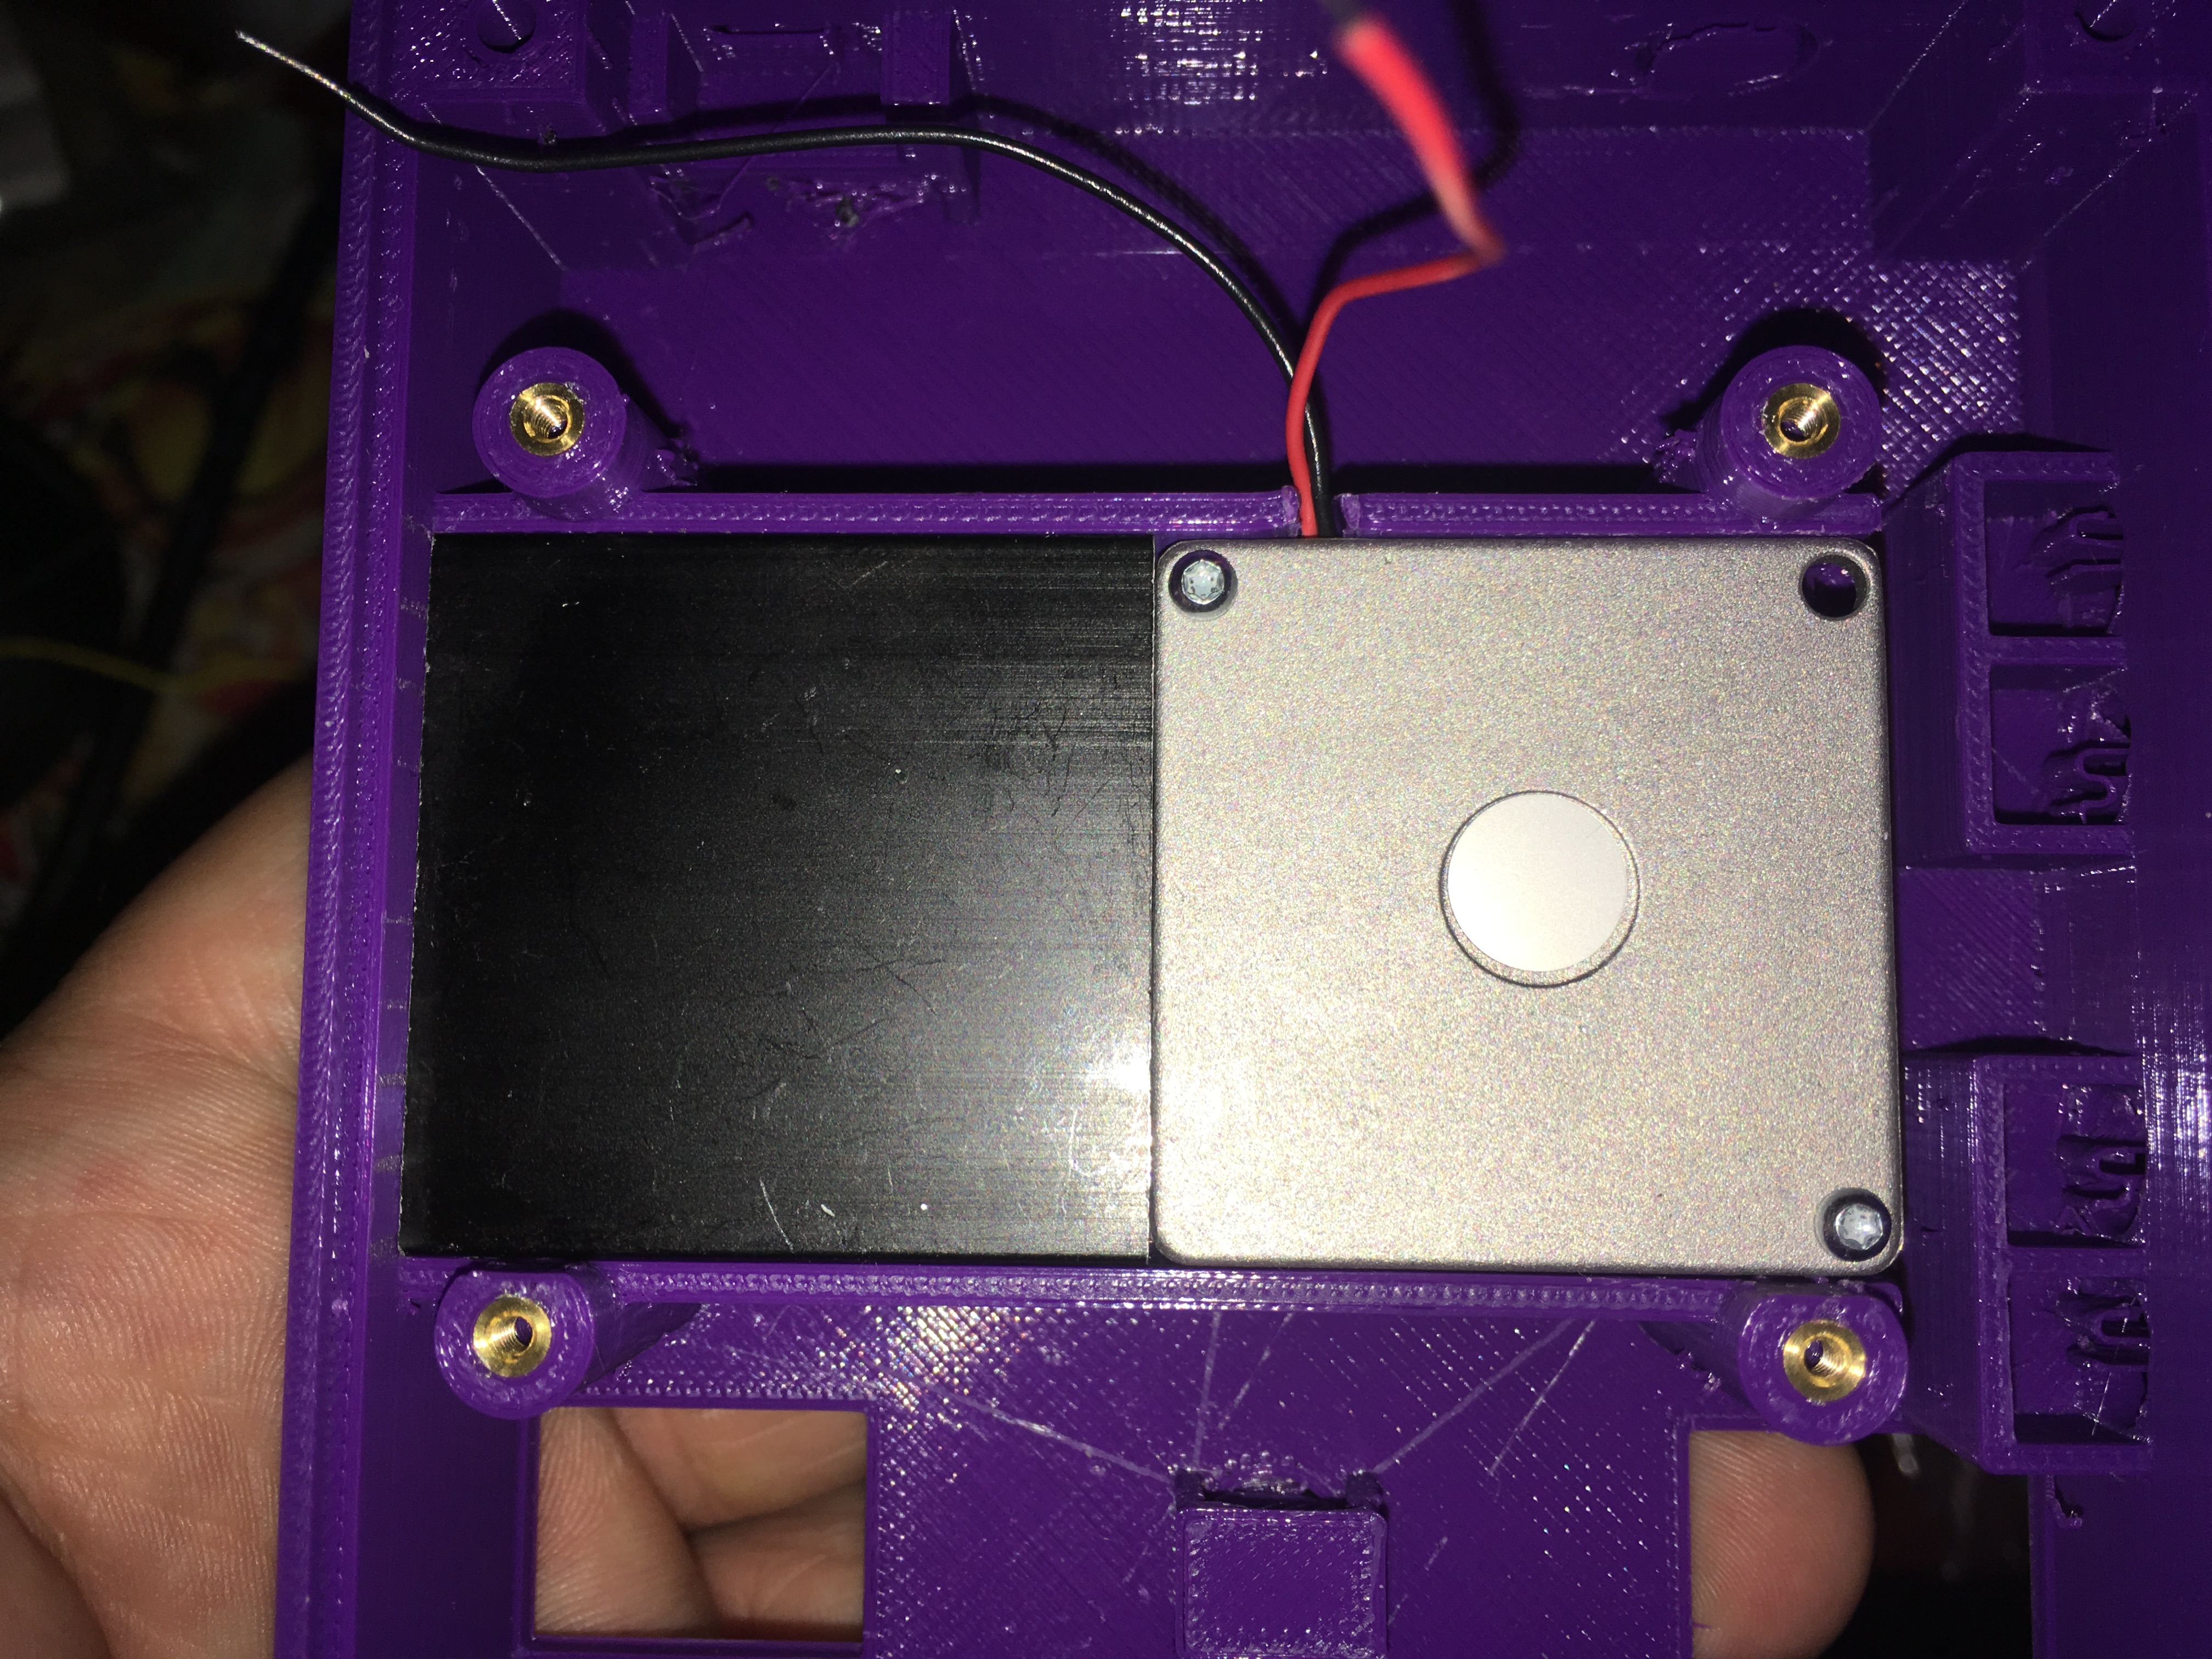
This is the bottom half complete with screw posts for the Motherboard and heatsink mounting
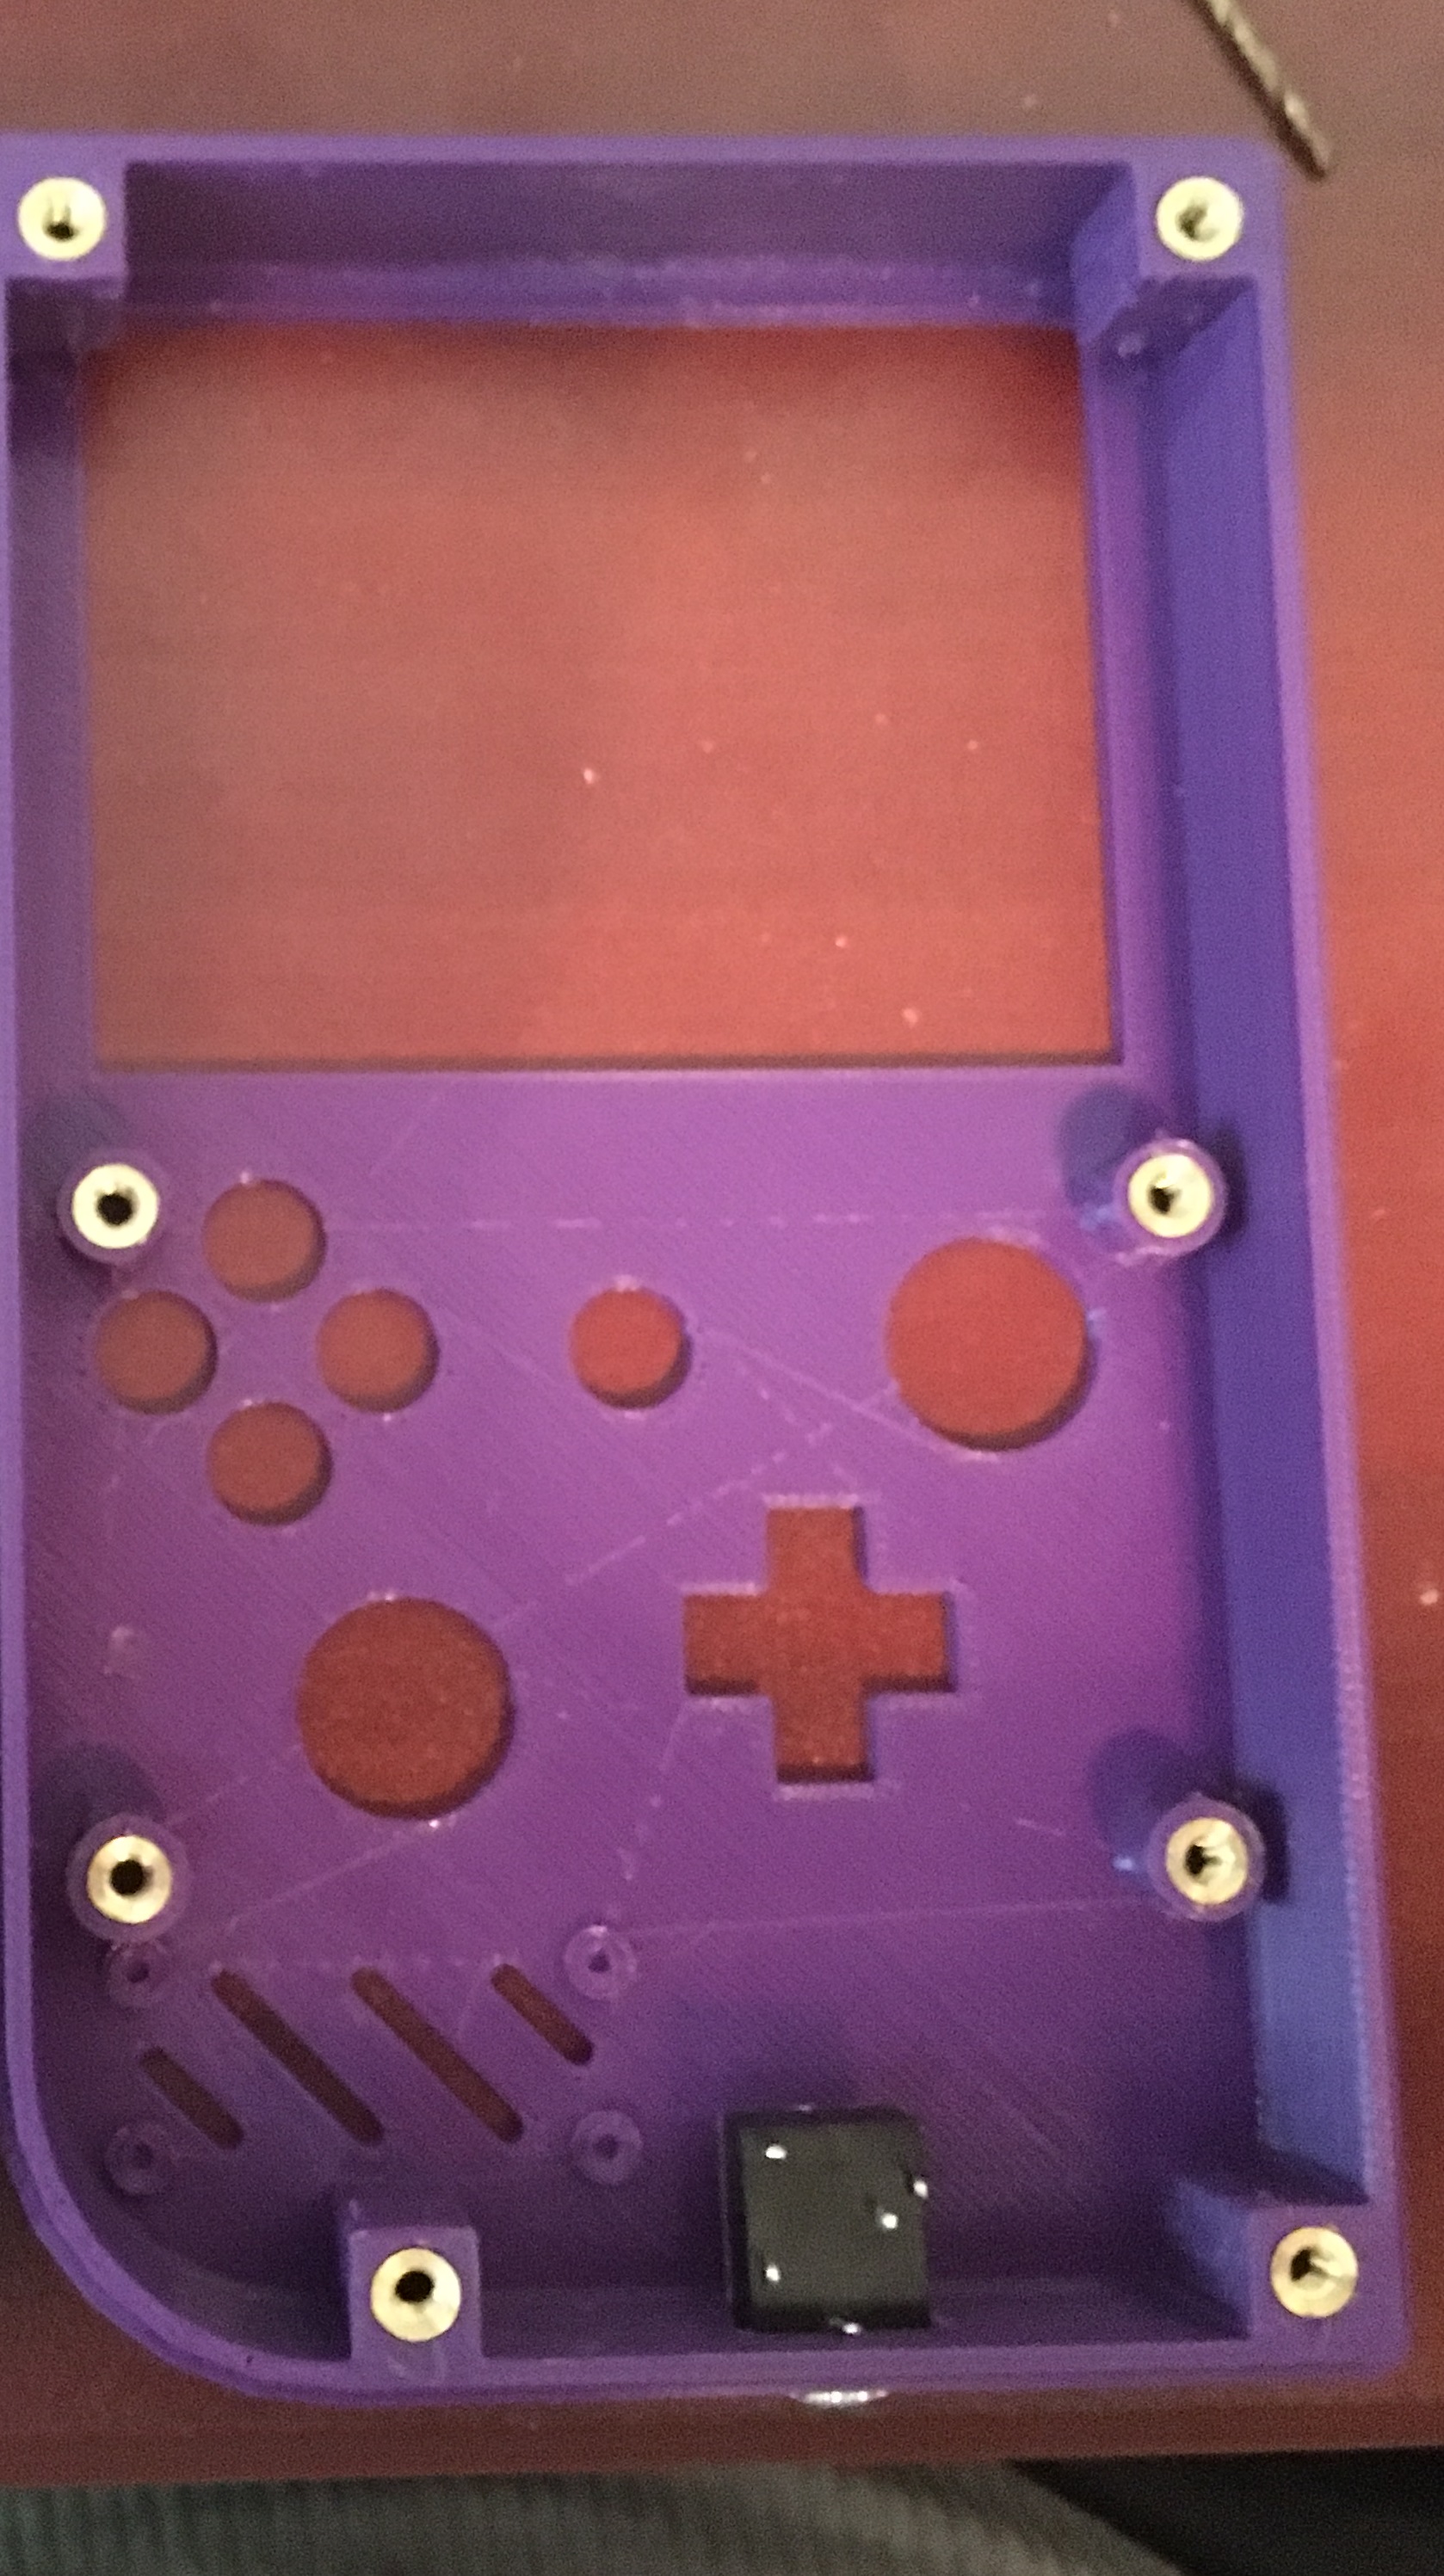
This is the Top half with the screw posts for the controls and to hold the assembled case together.
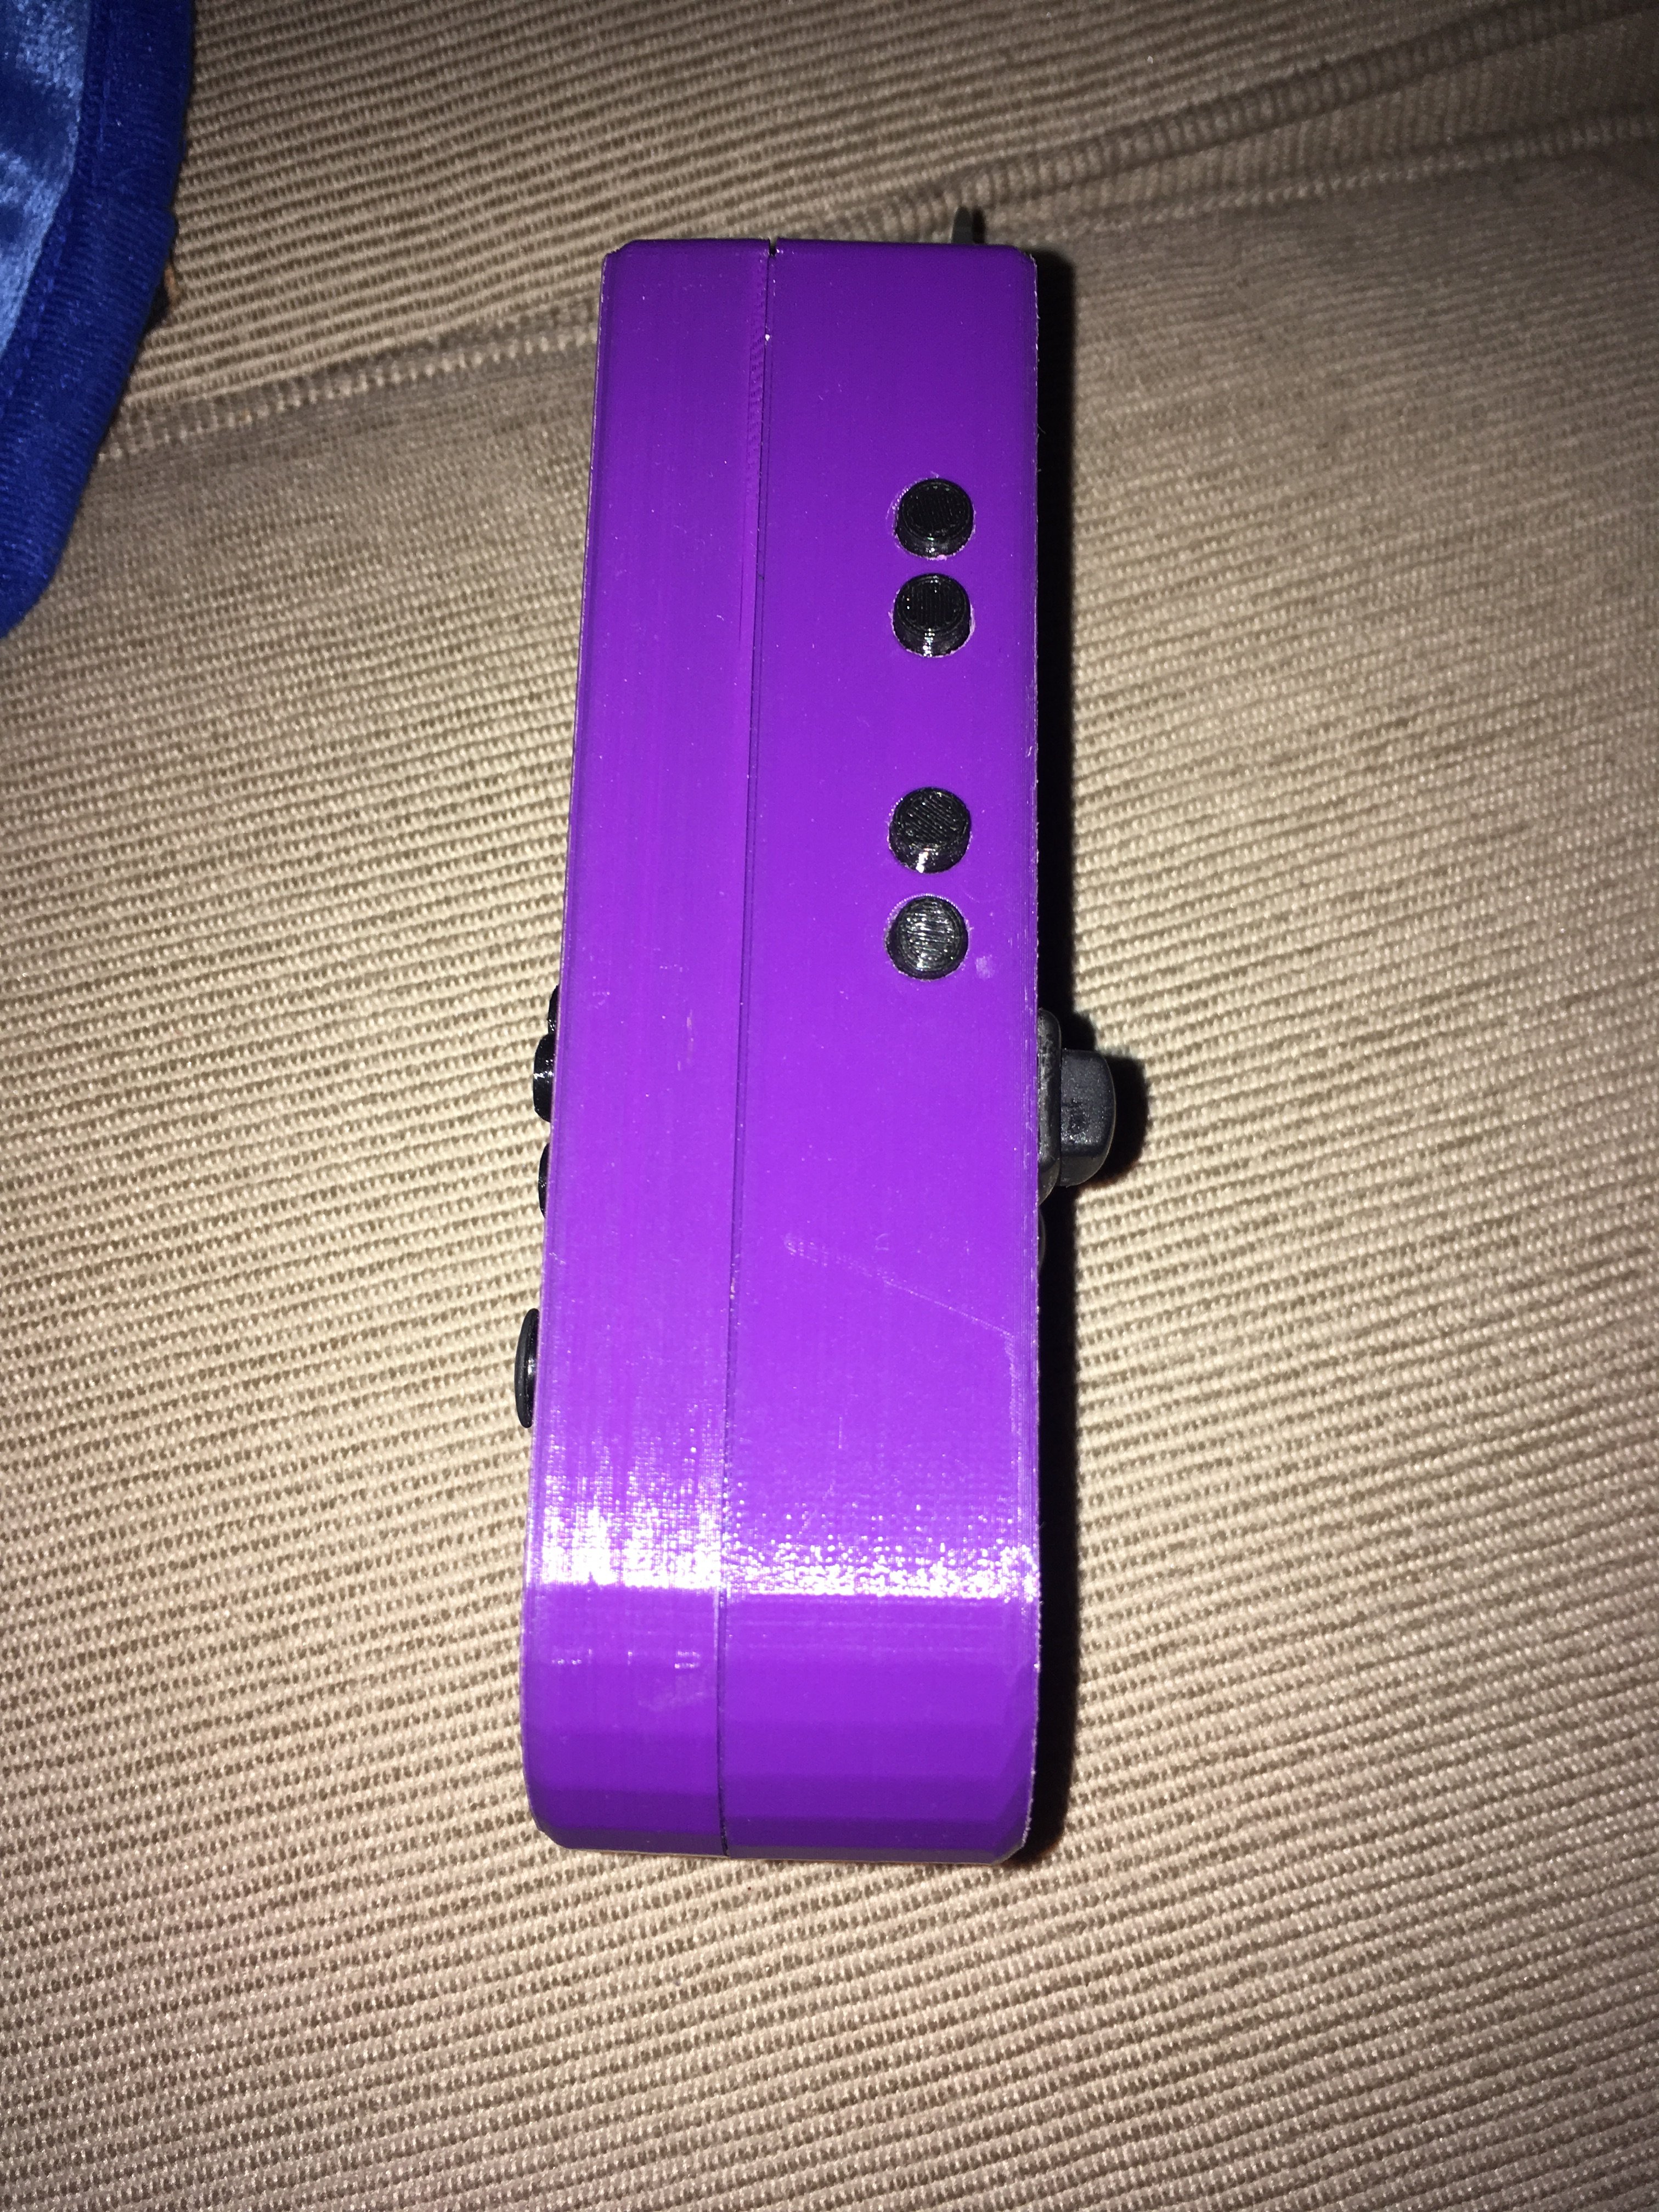
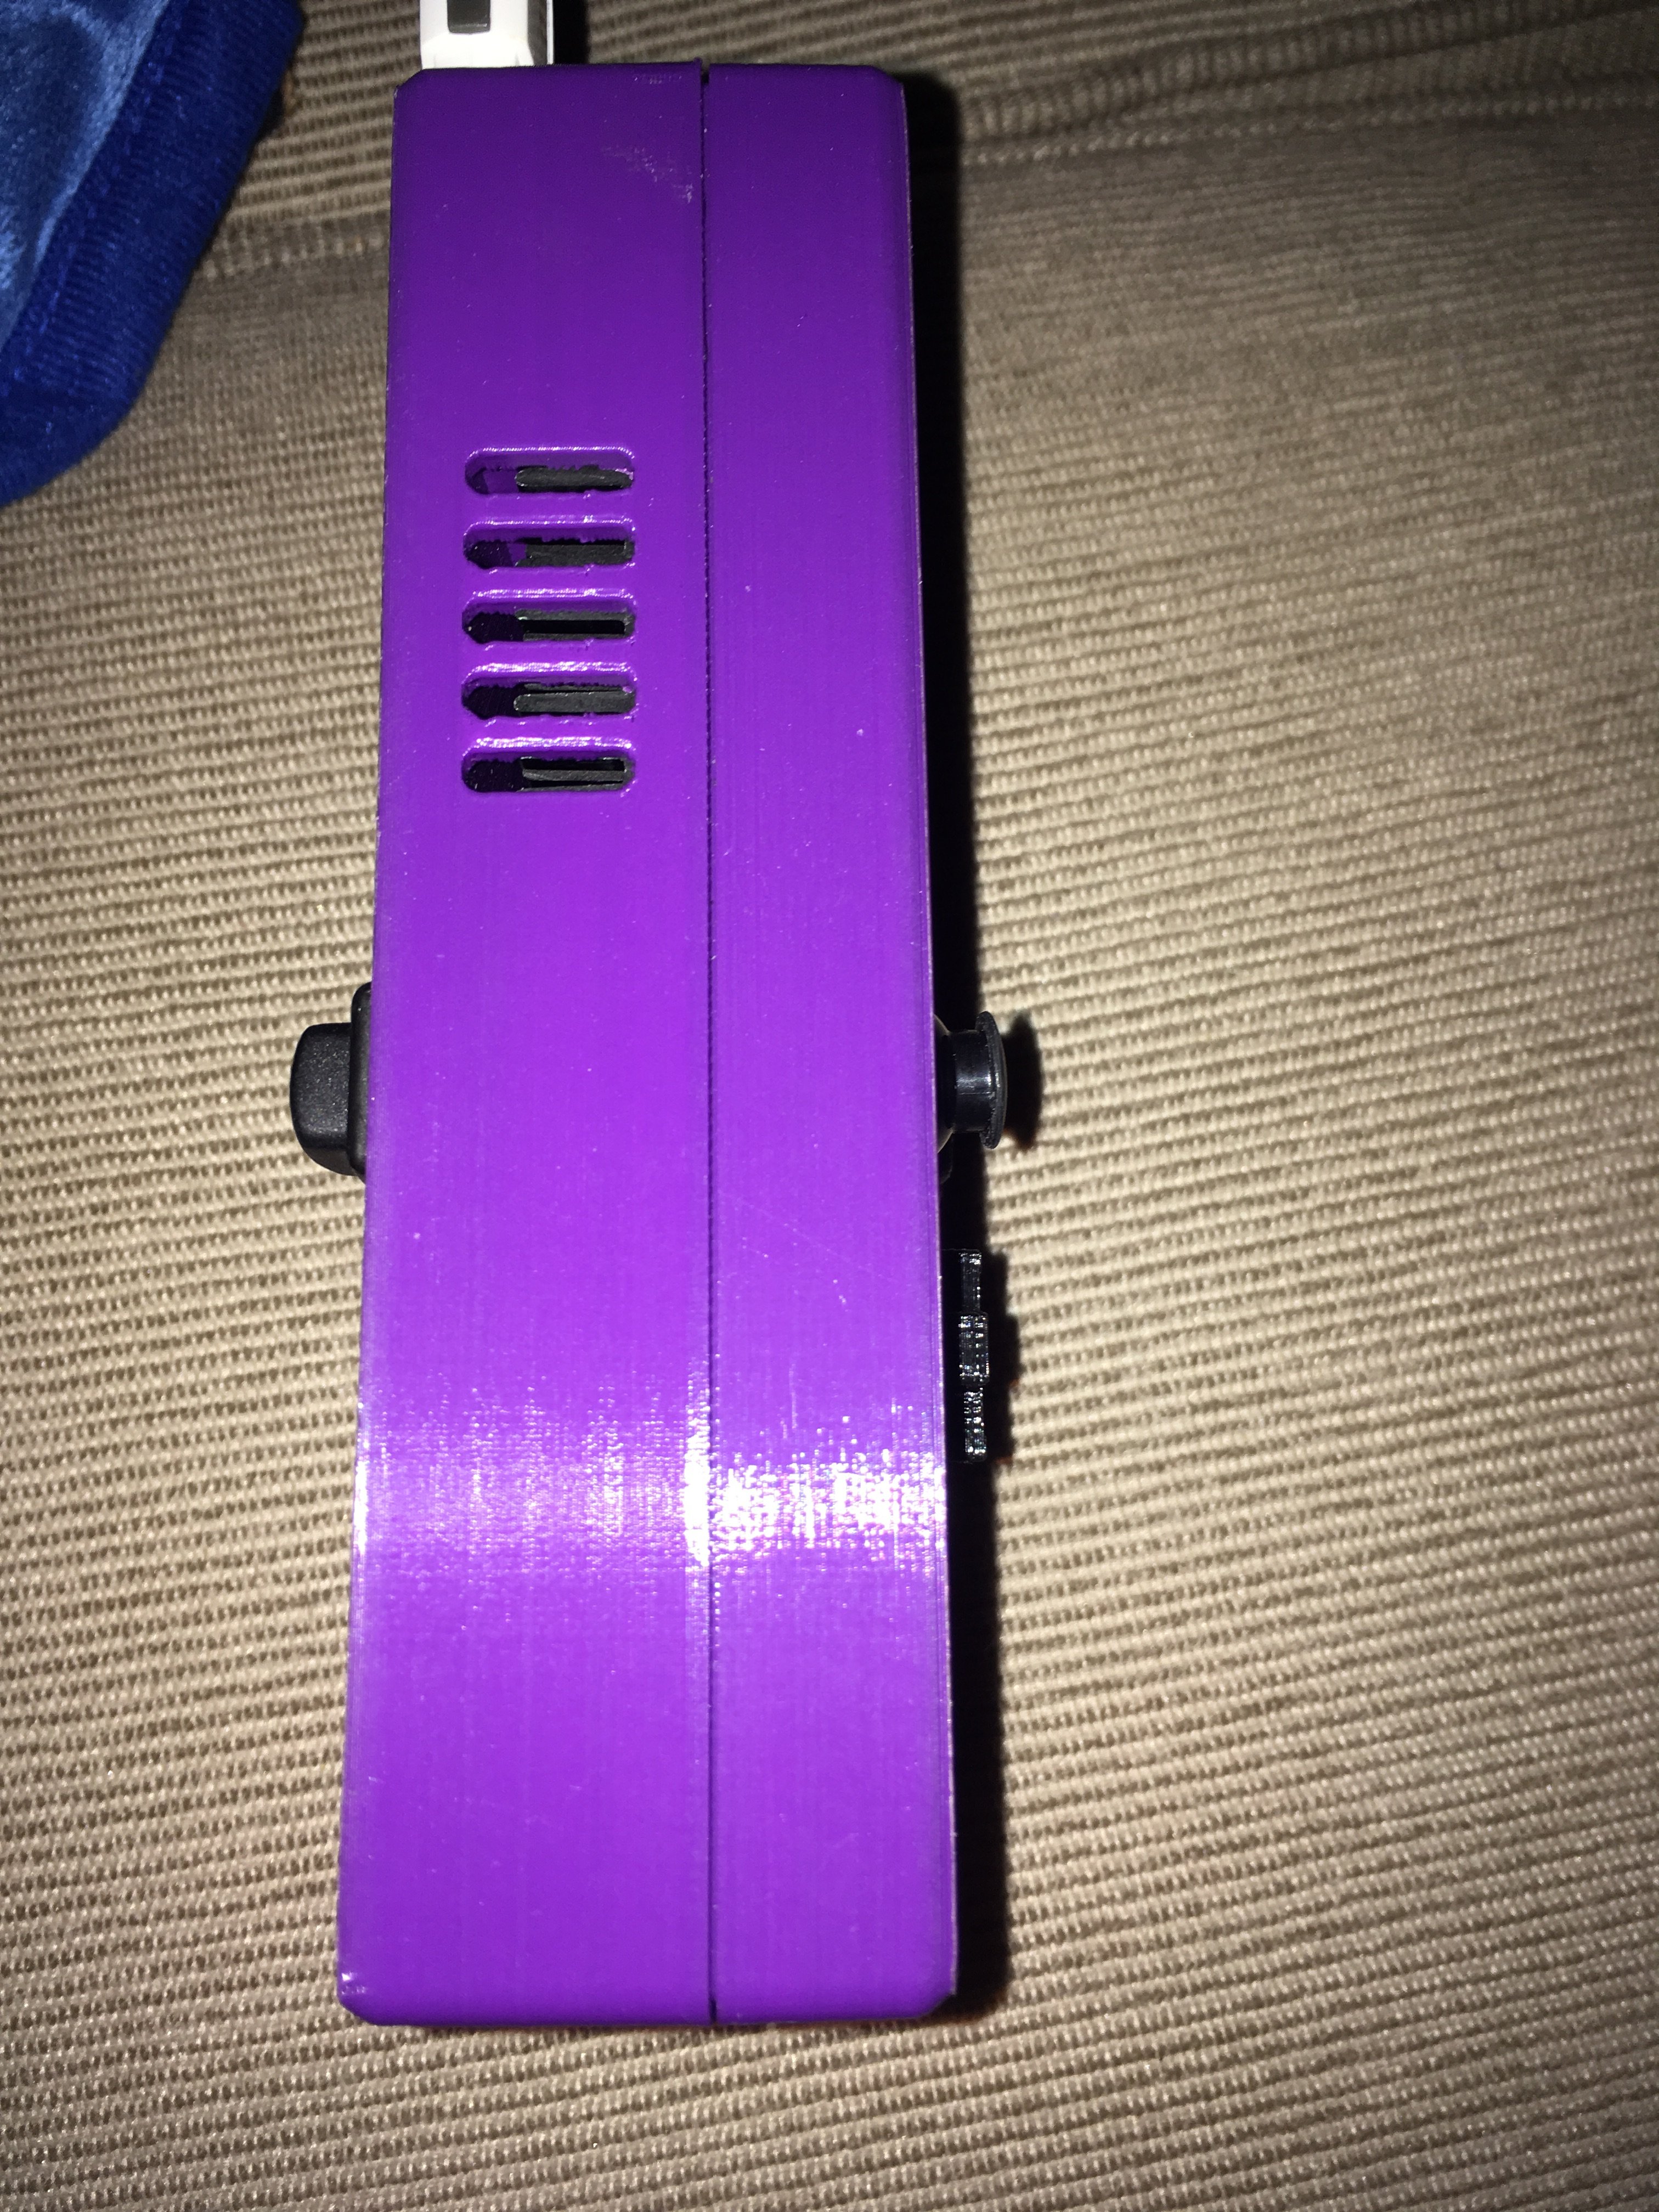
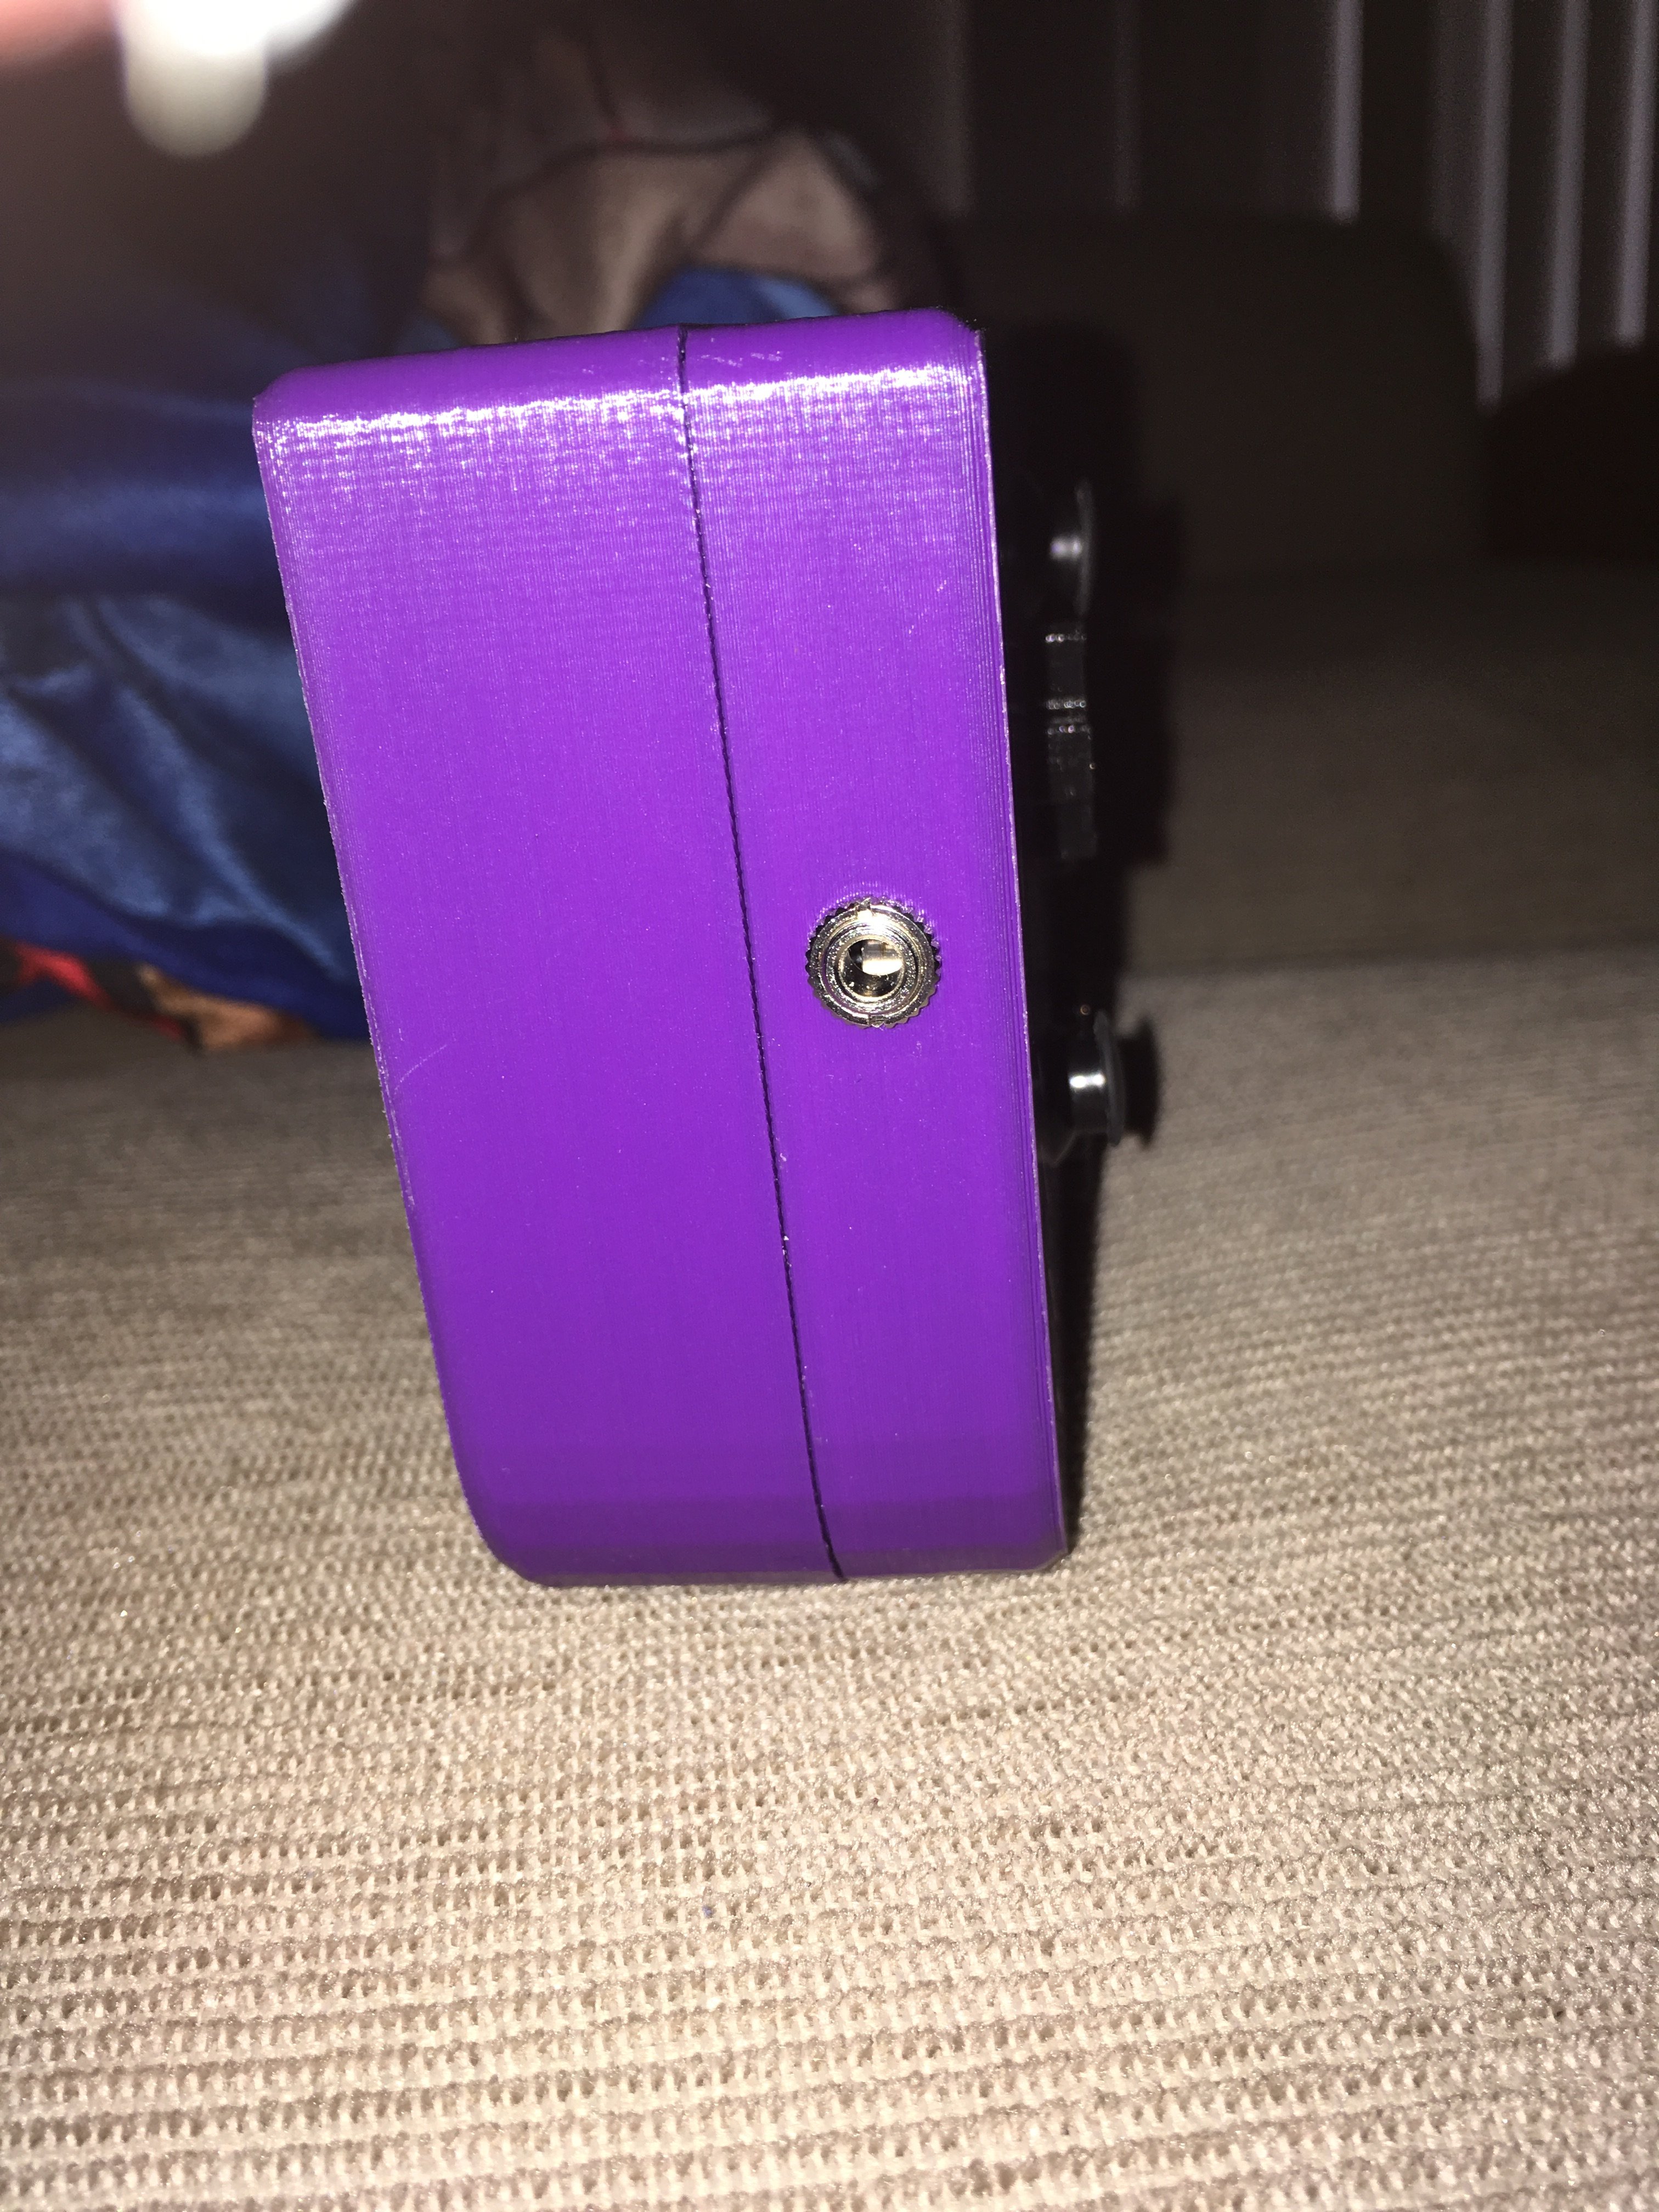
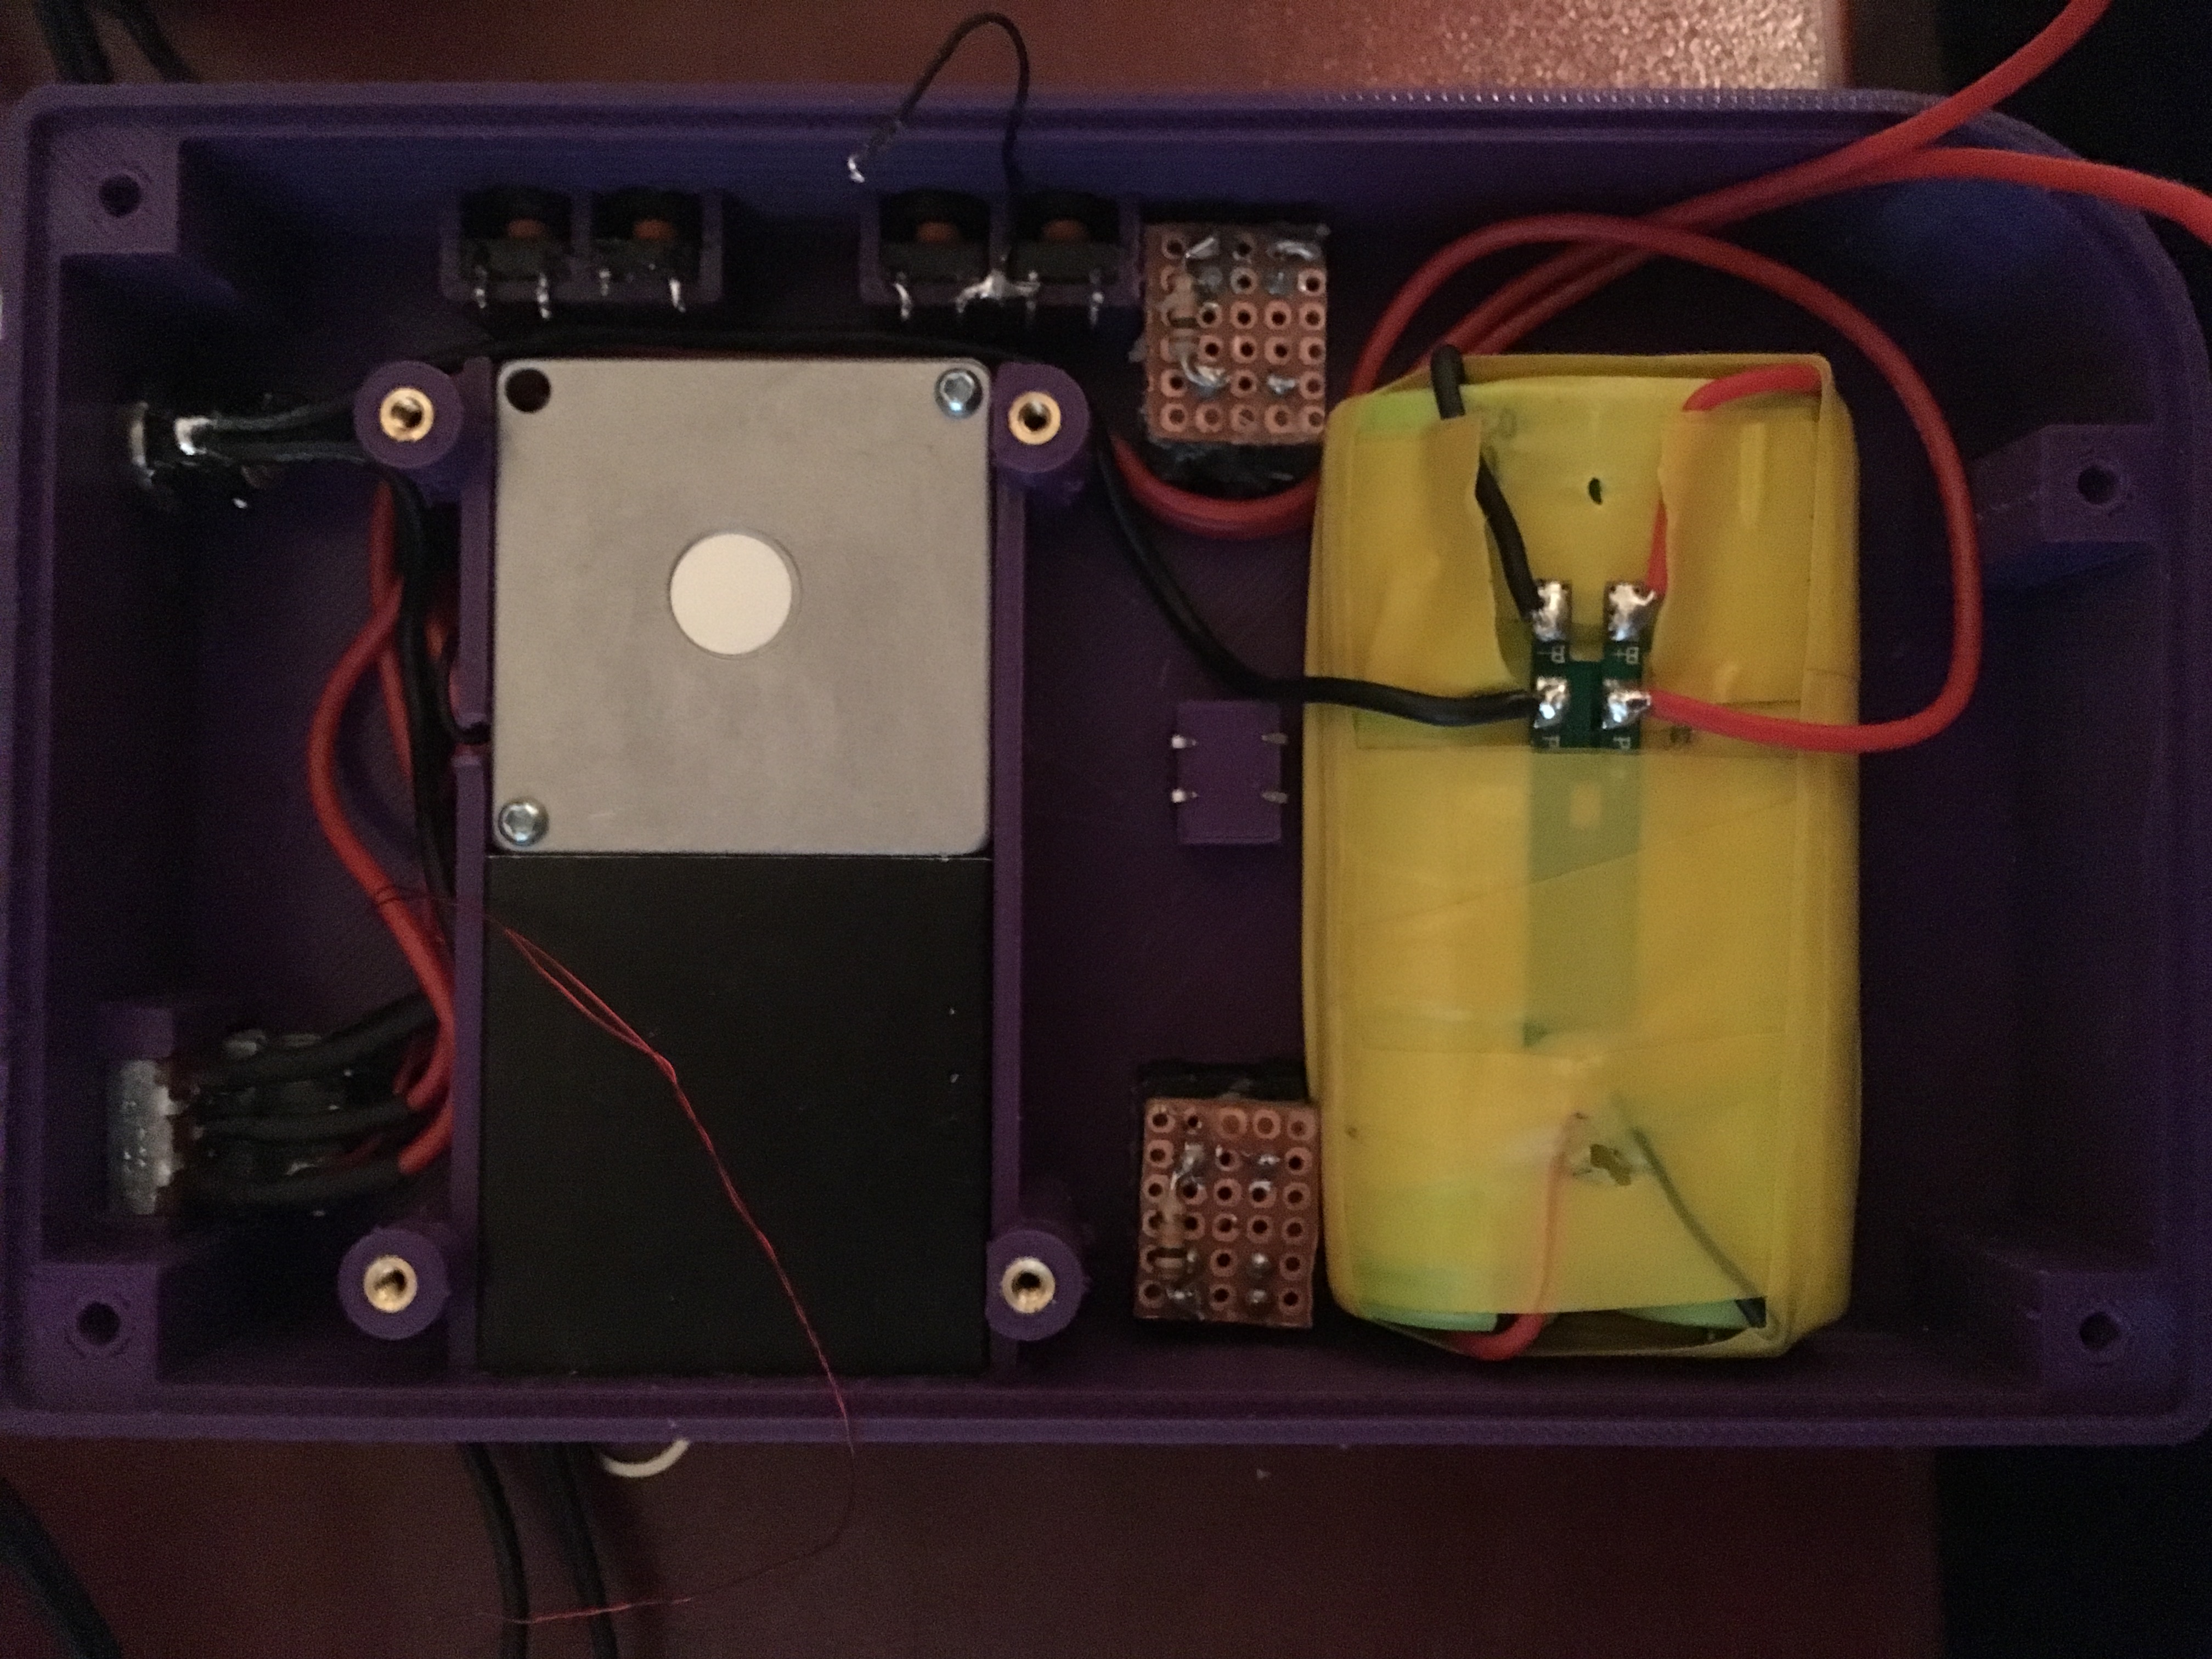
Here's the first layer of the back half complete with Battery pack, heat sink, L and R triggers, Z Button, USB, Power switch, DC Charge port, volume, reset and sync buttons.
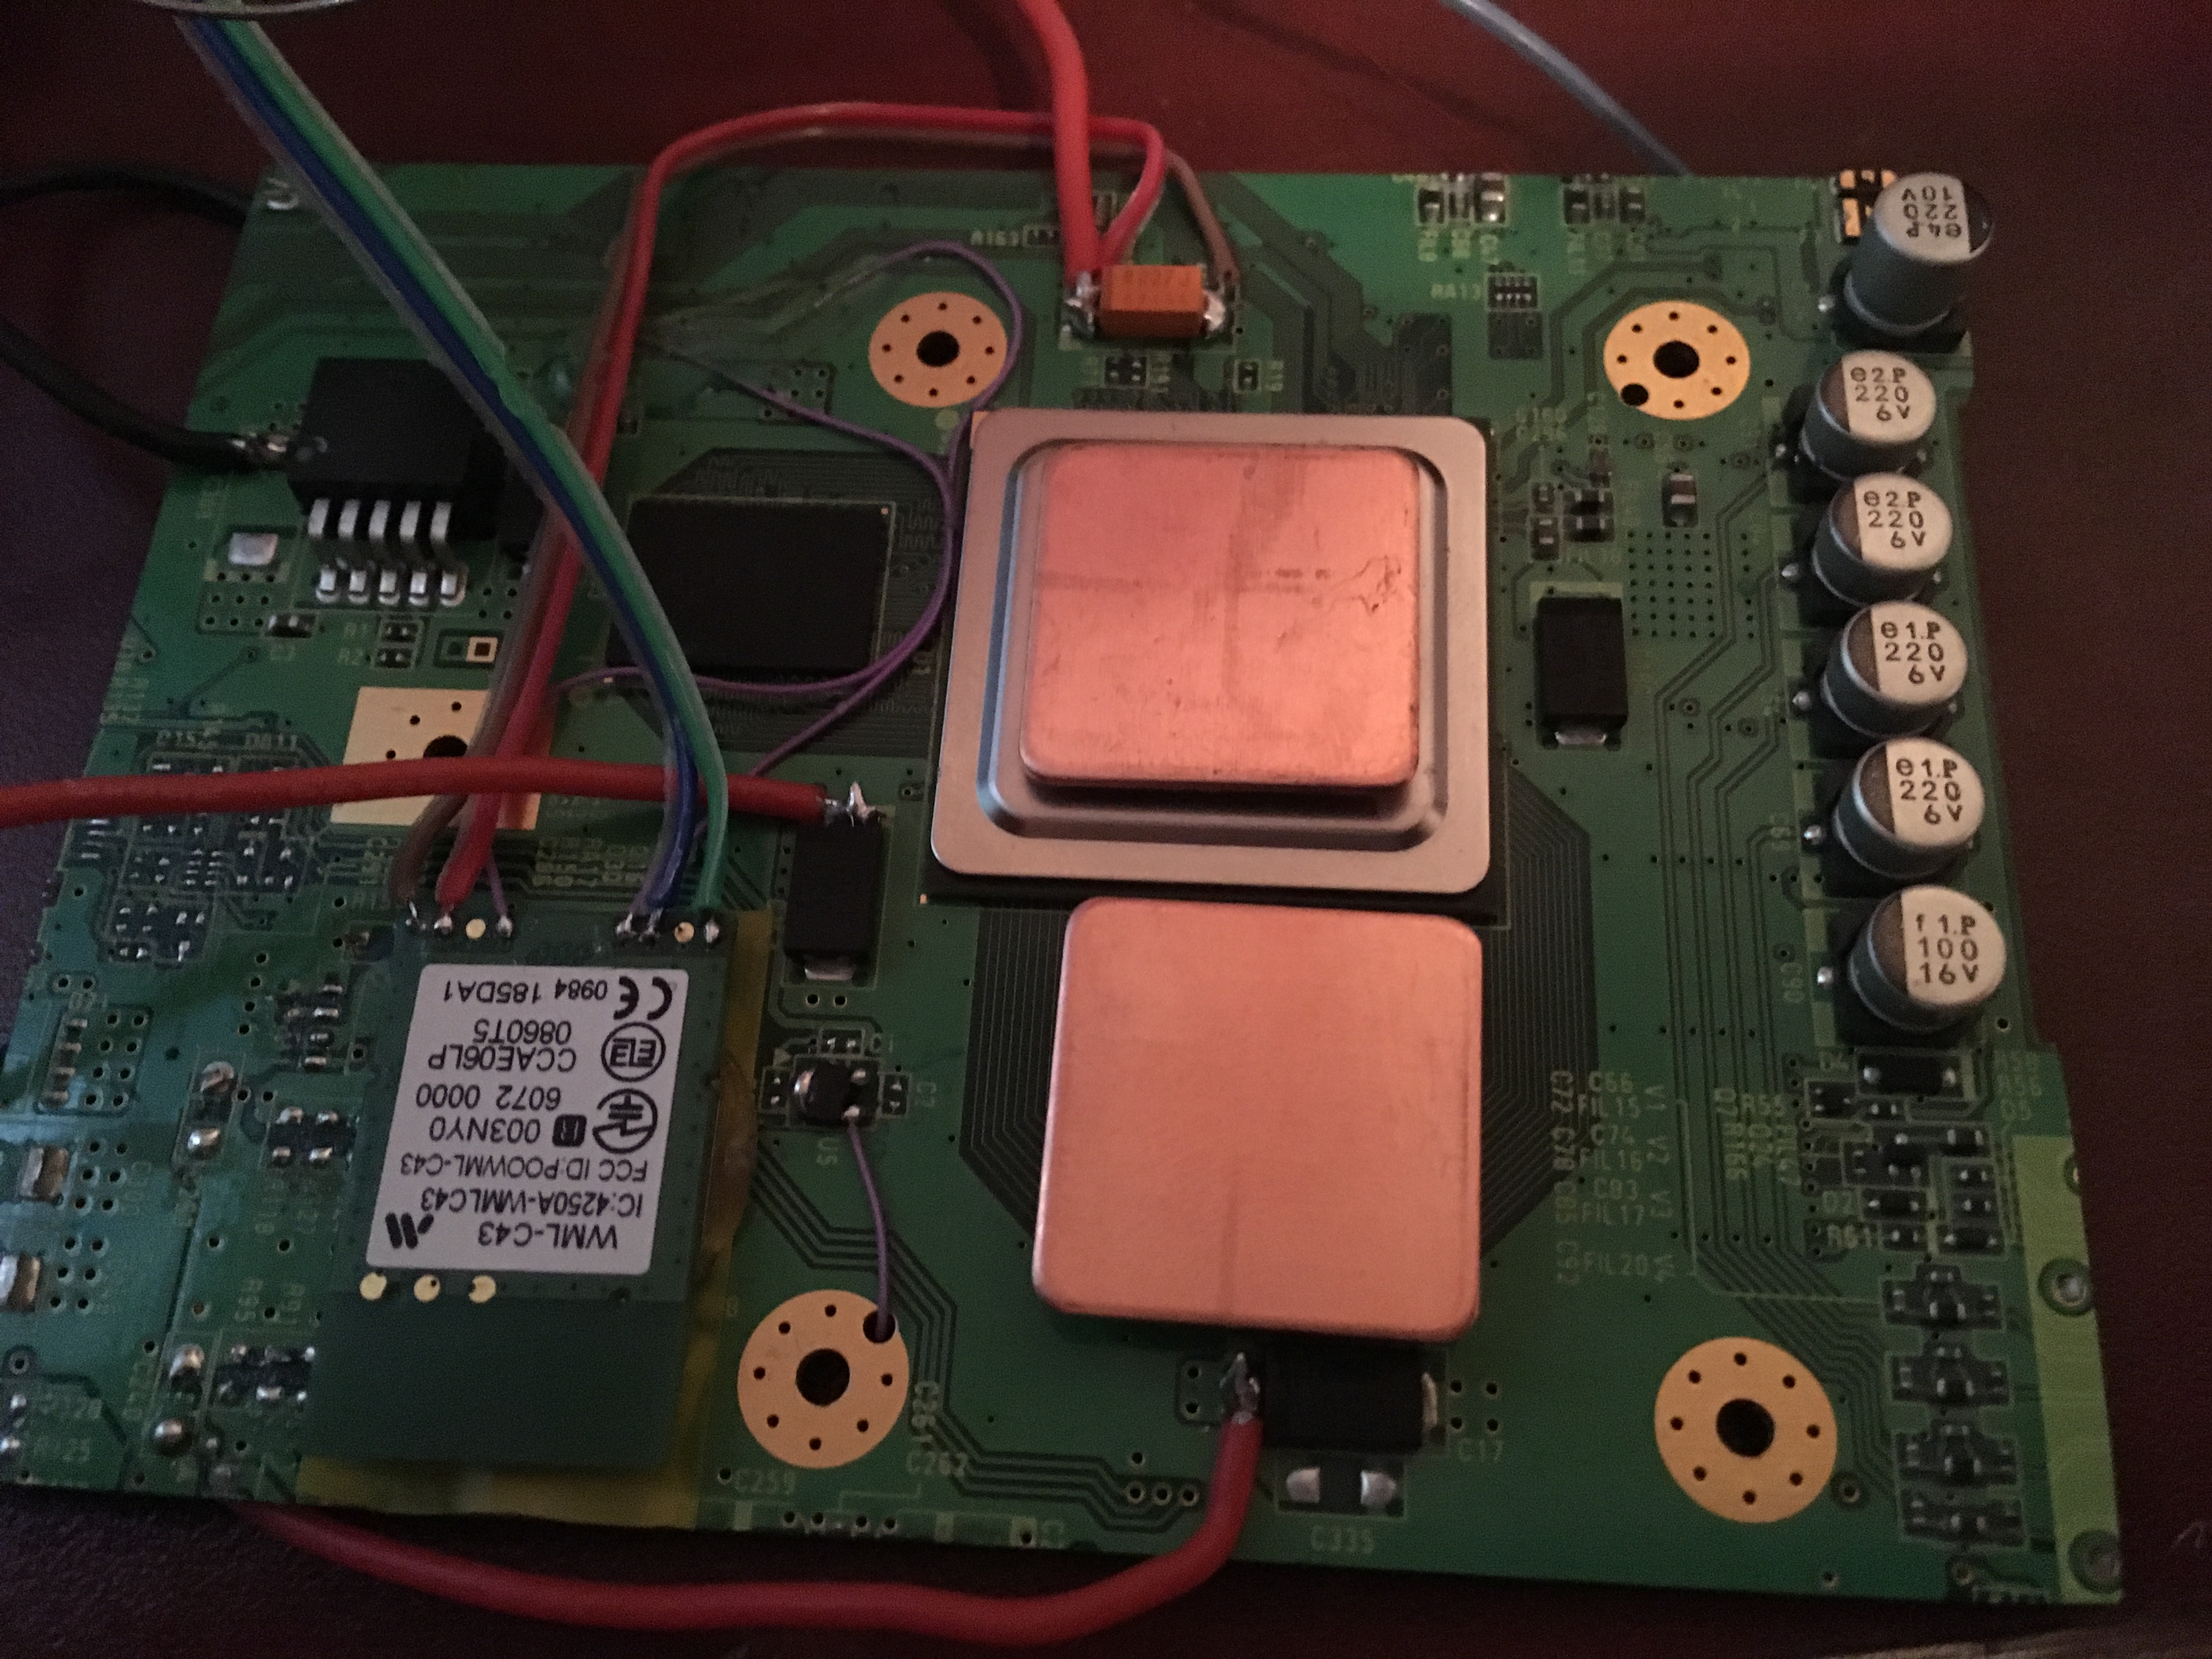
Wii Motherboard prepped and ready for installation.
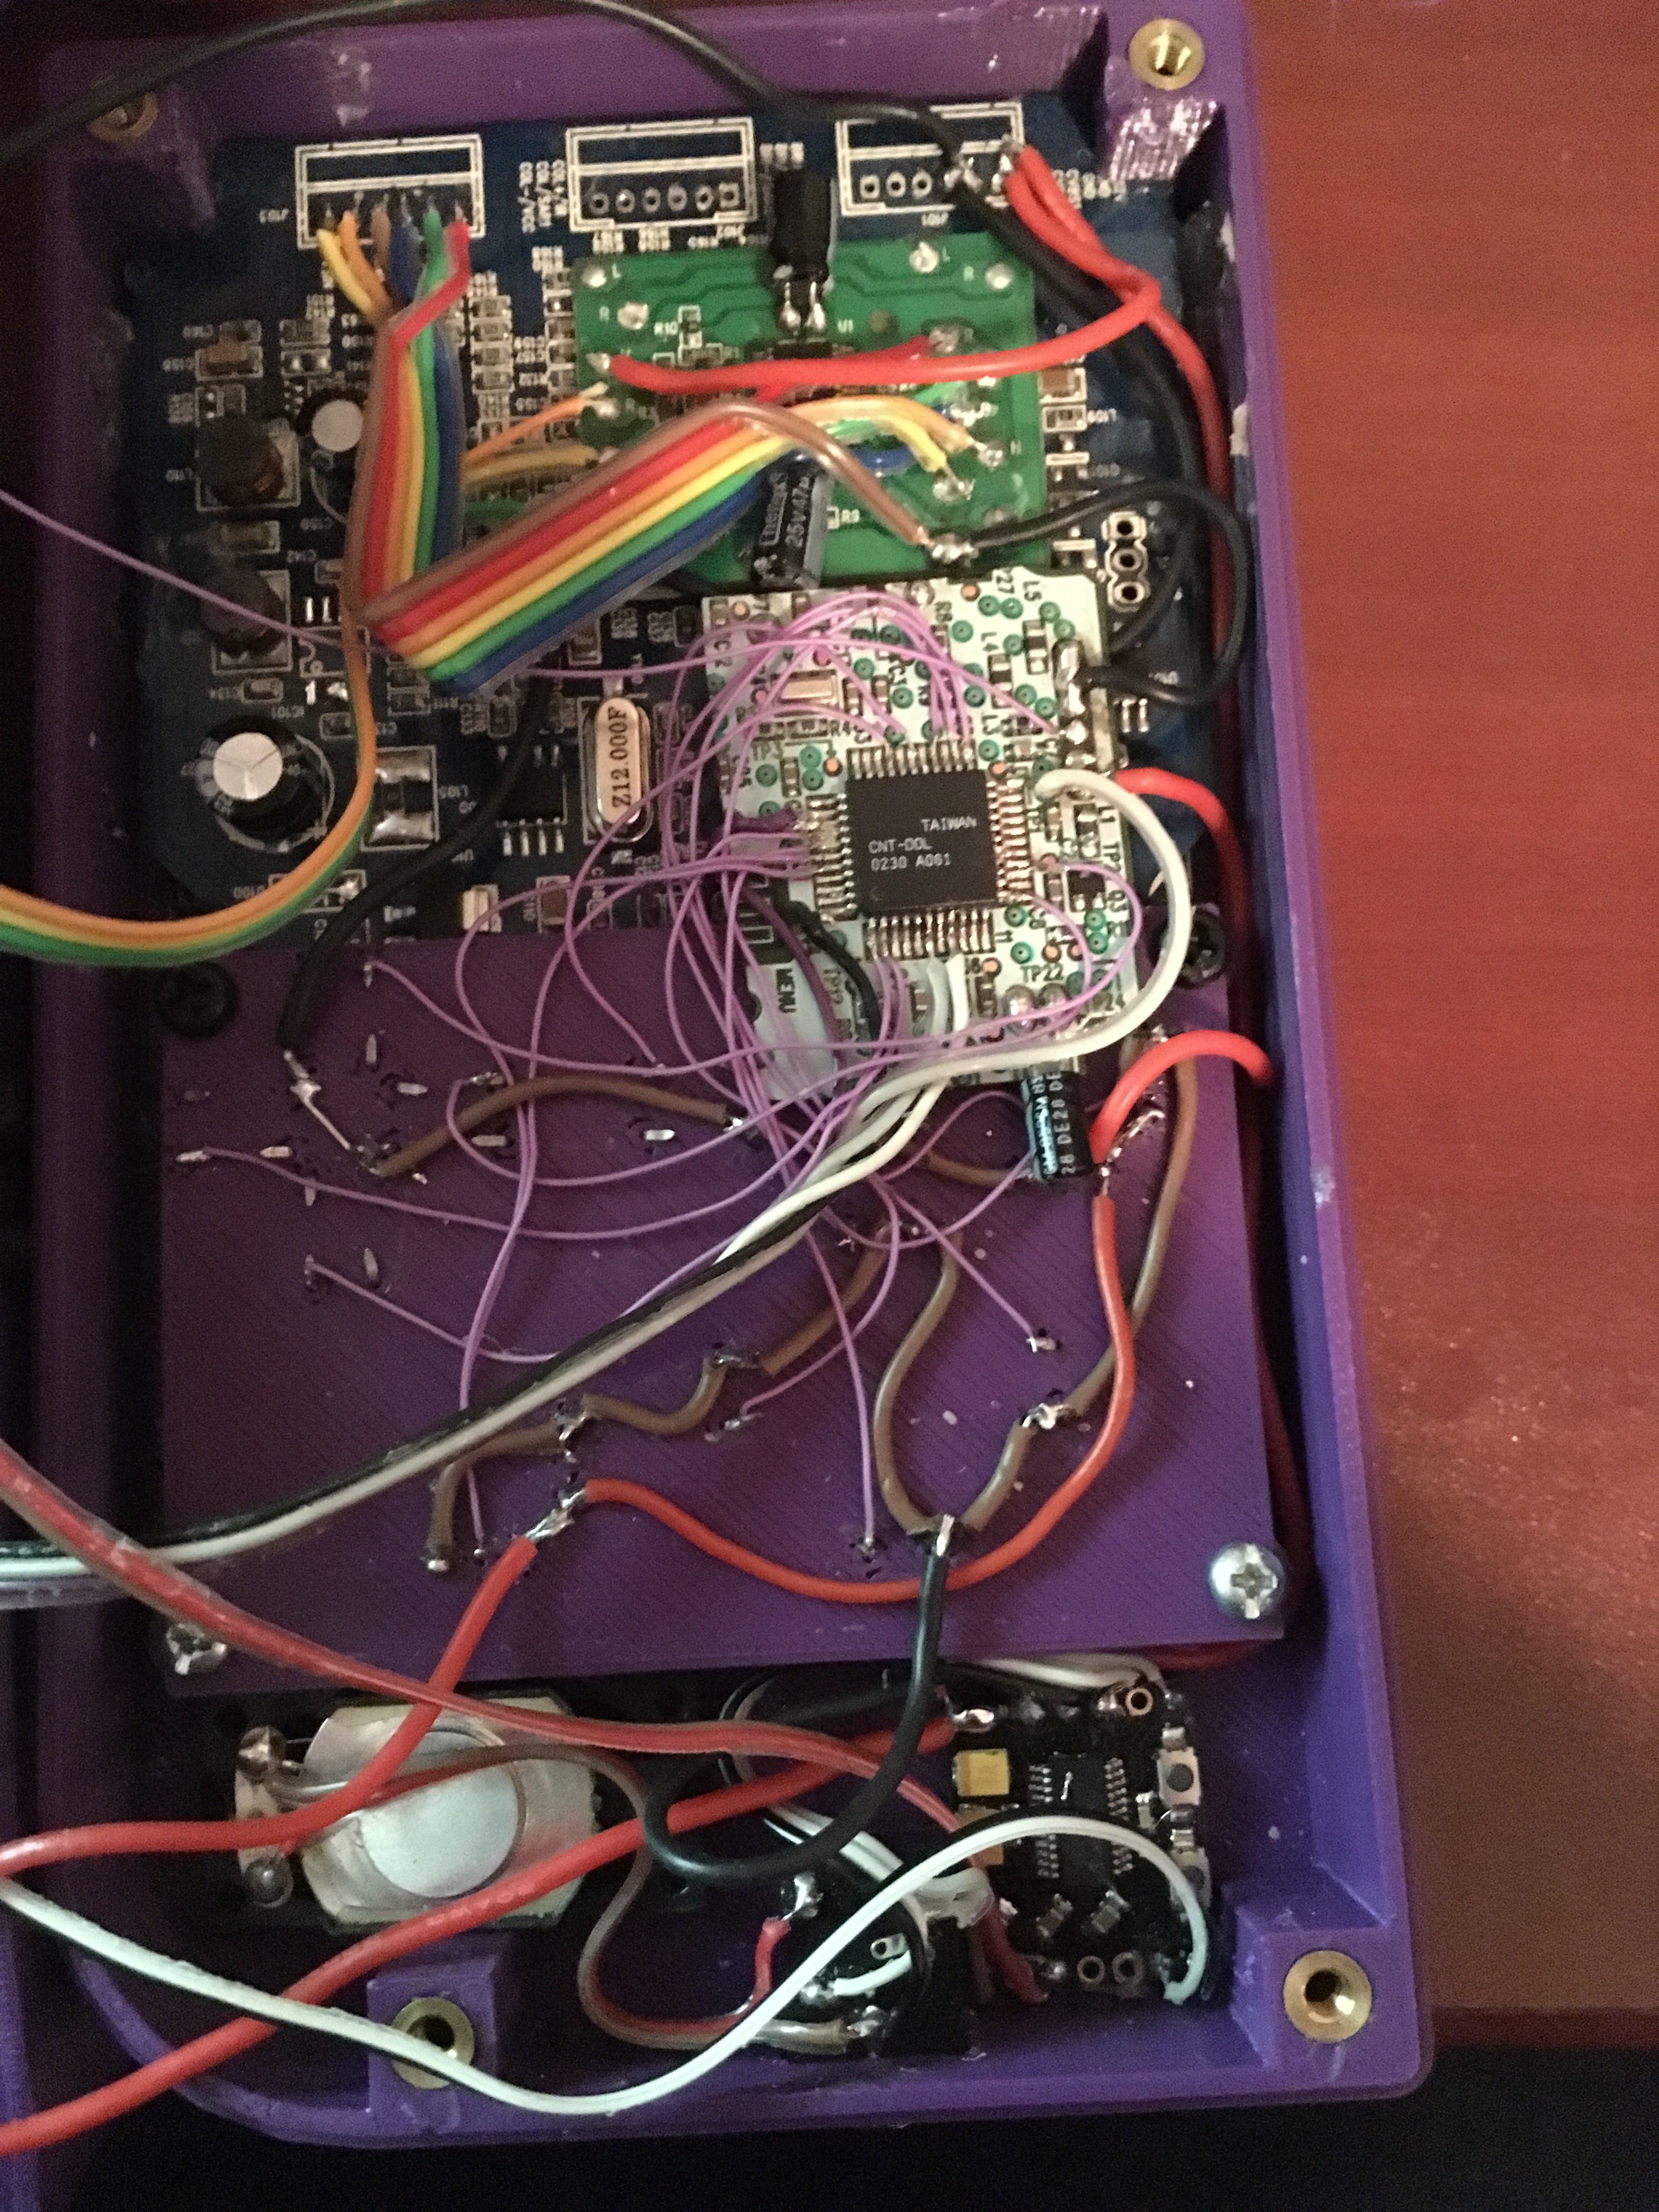
Here's the top half with the Screen, Controls, Speaker, Amplifier and YPBPR to VGA adapter board installed.
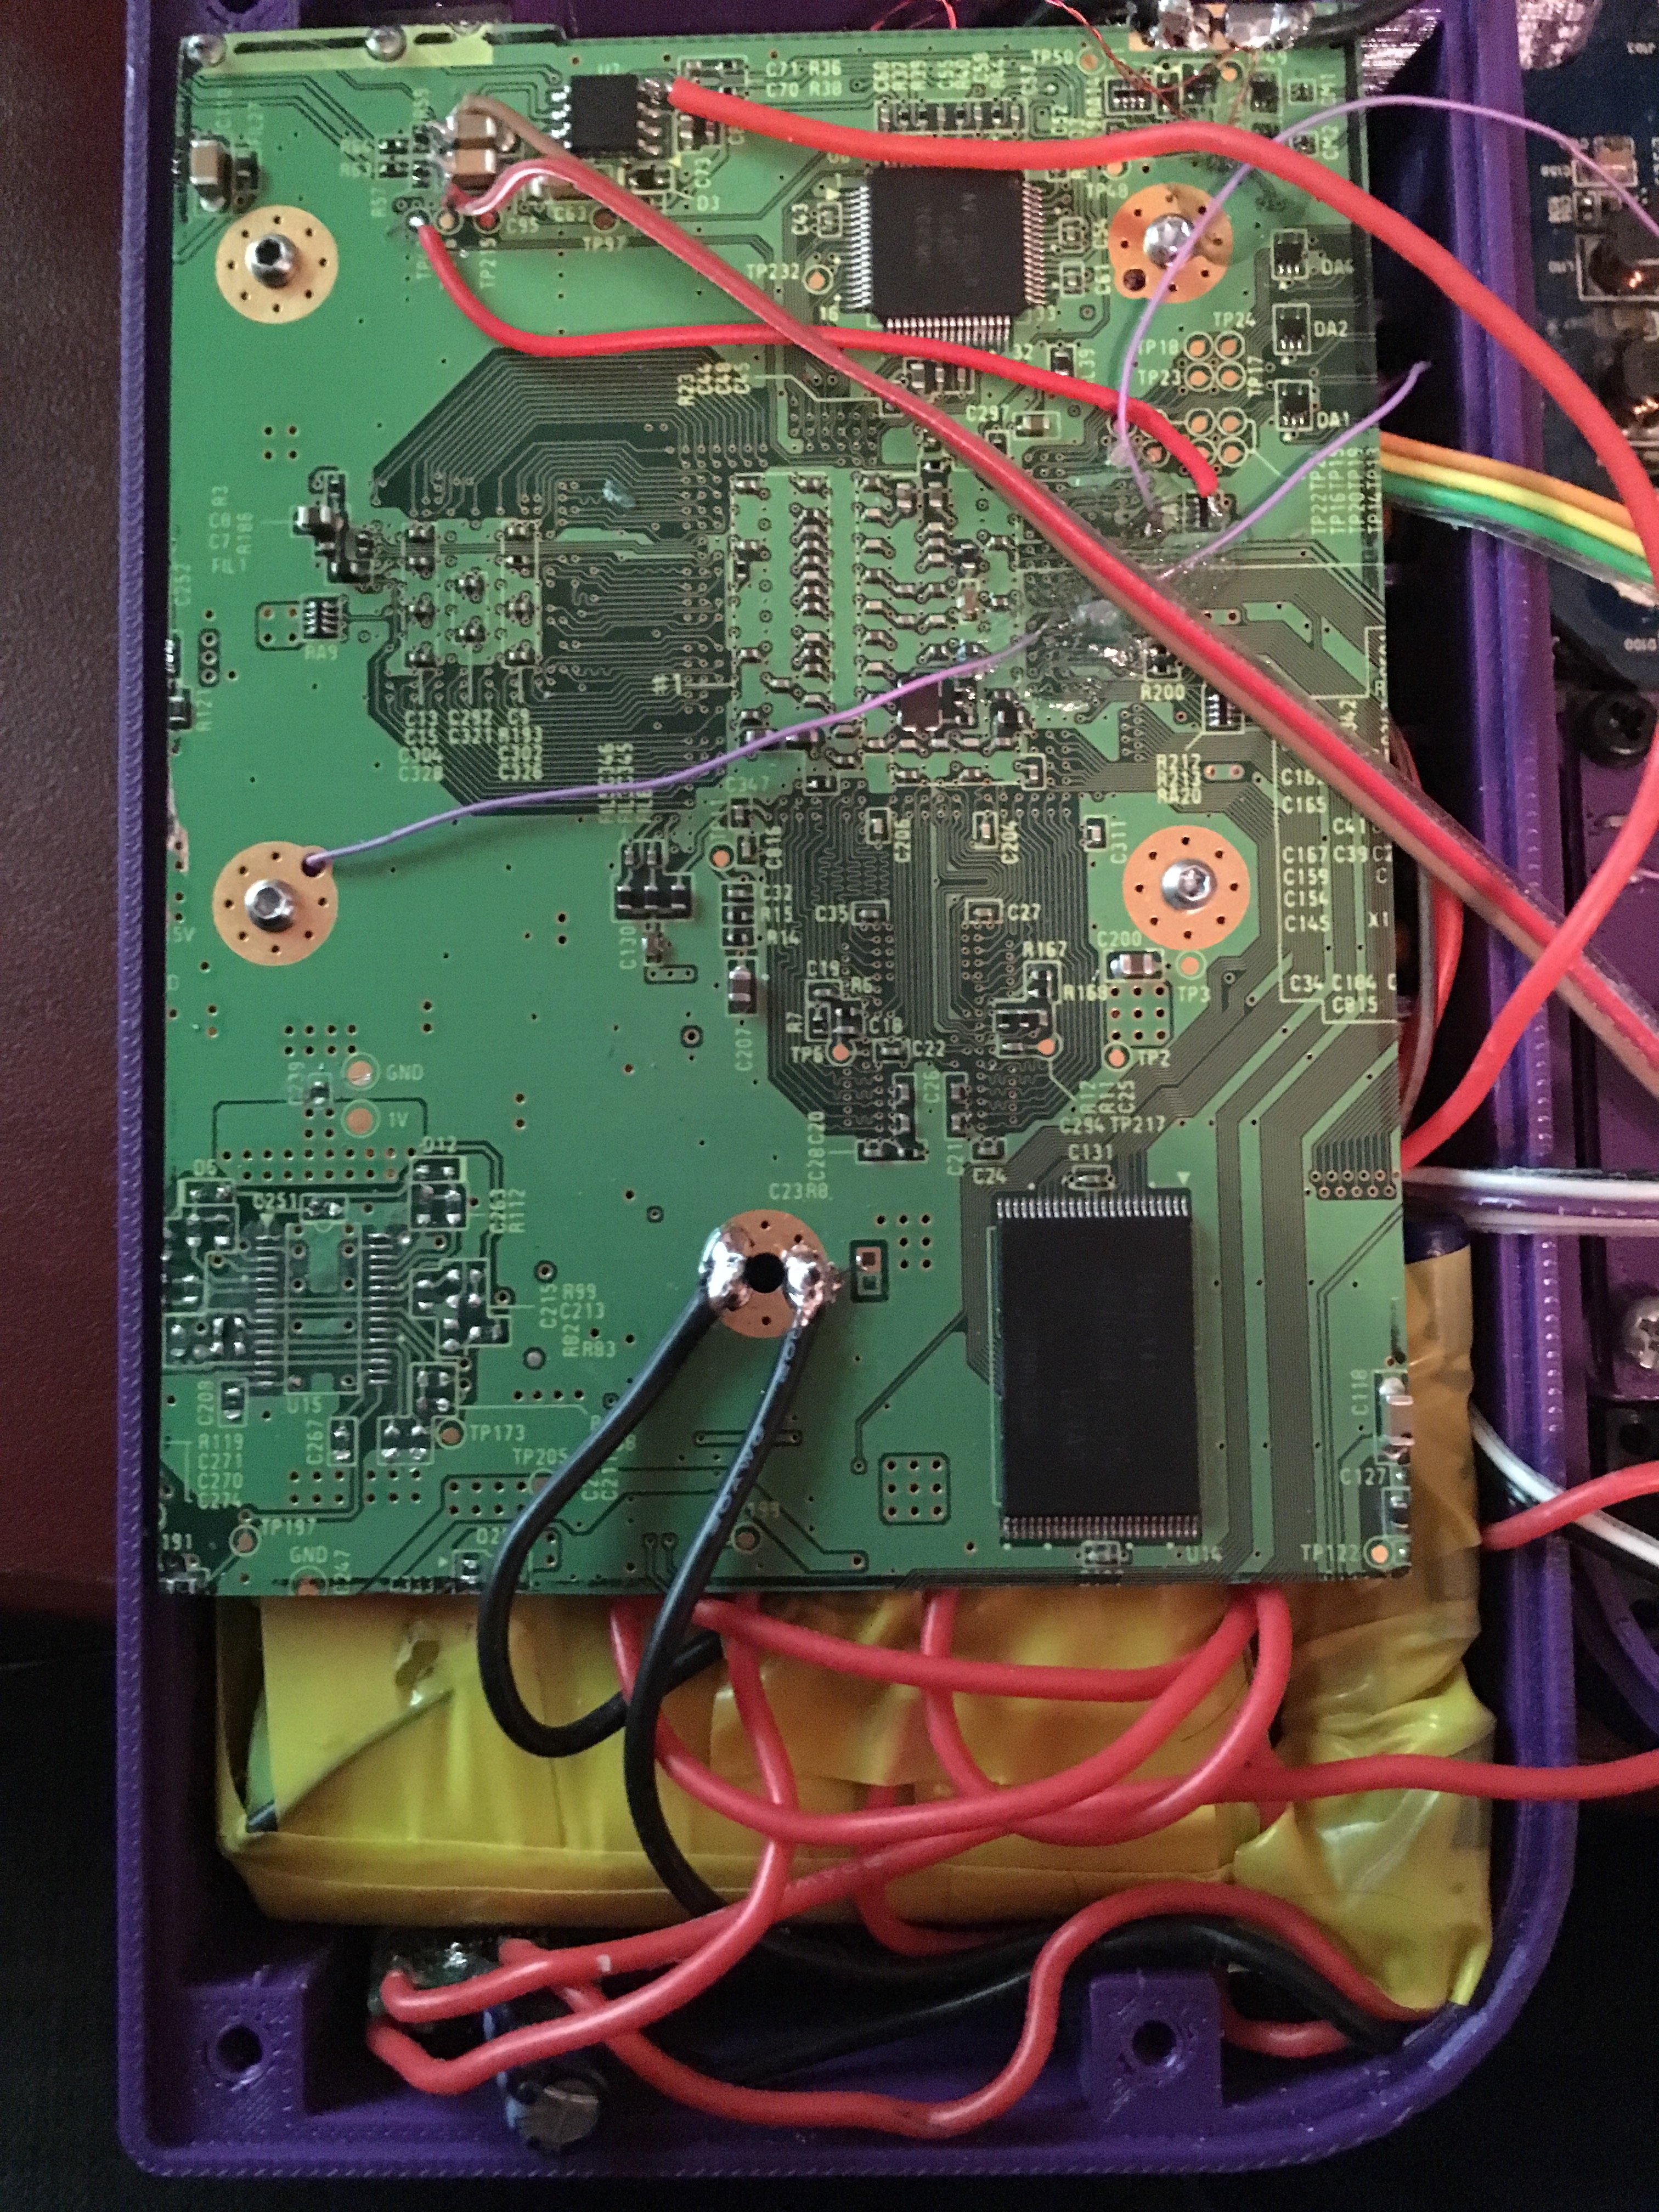
Here's the bottom half with everything installed and mounted.
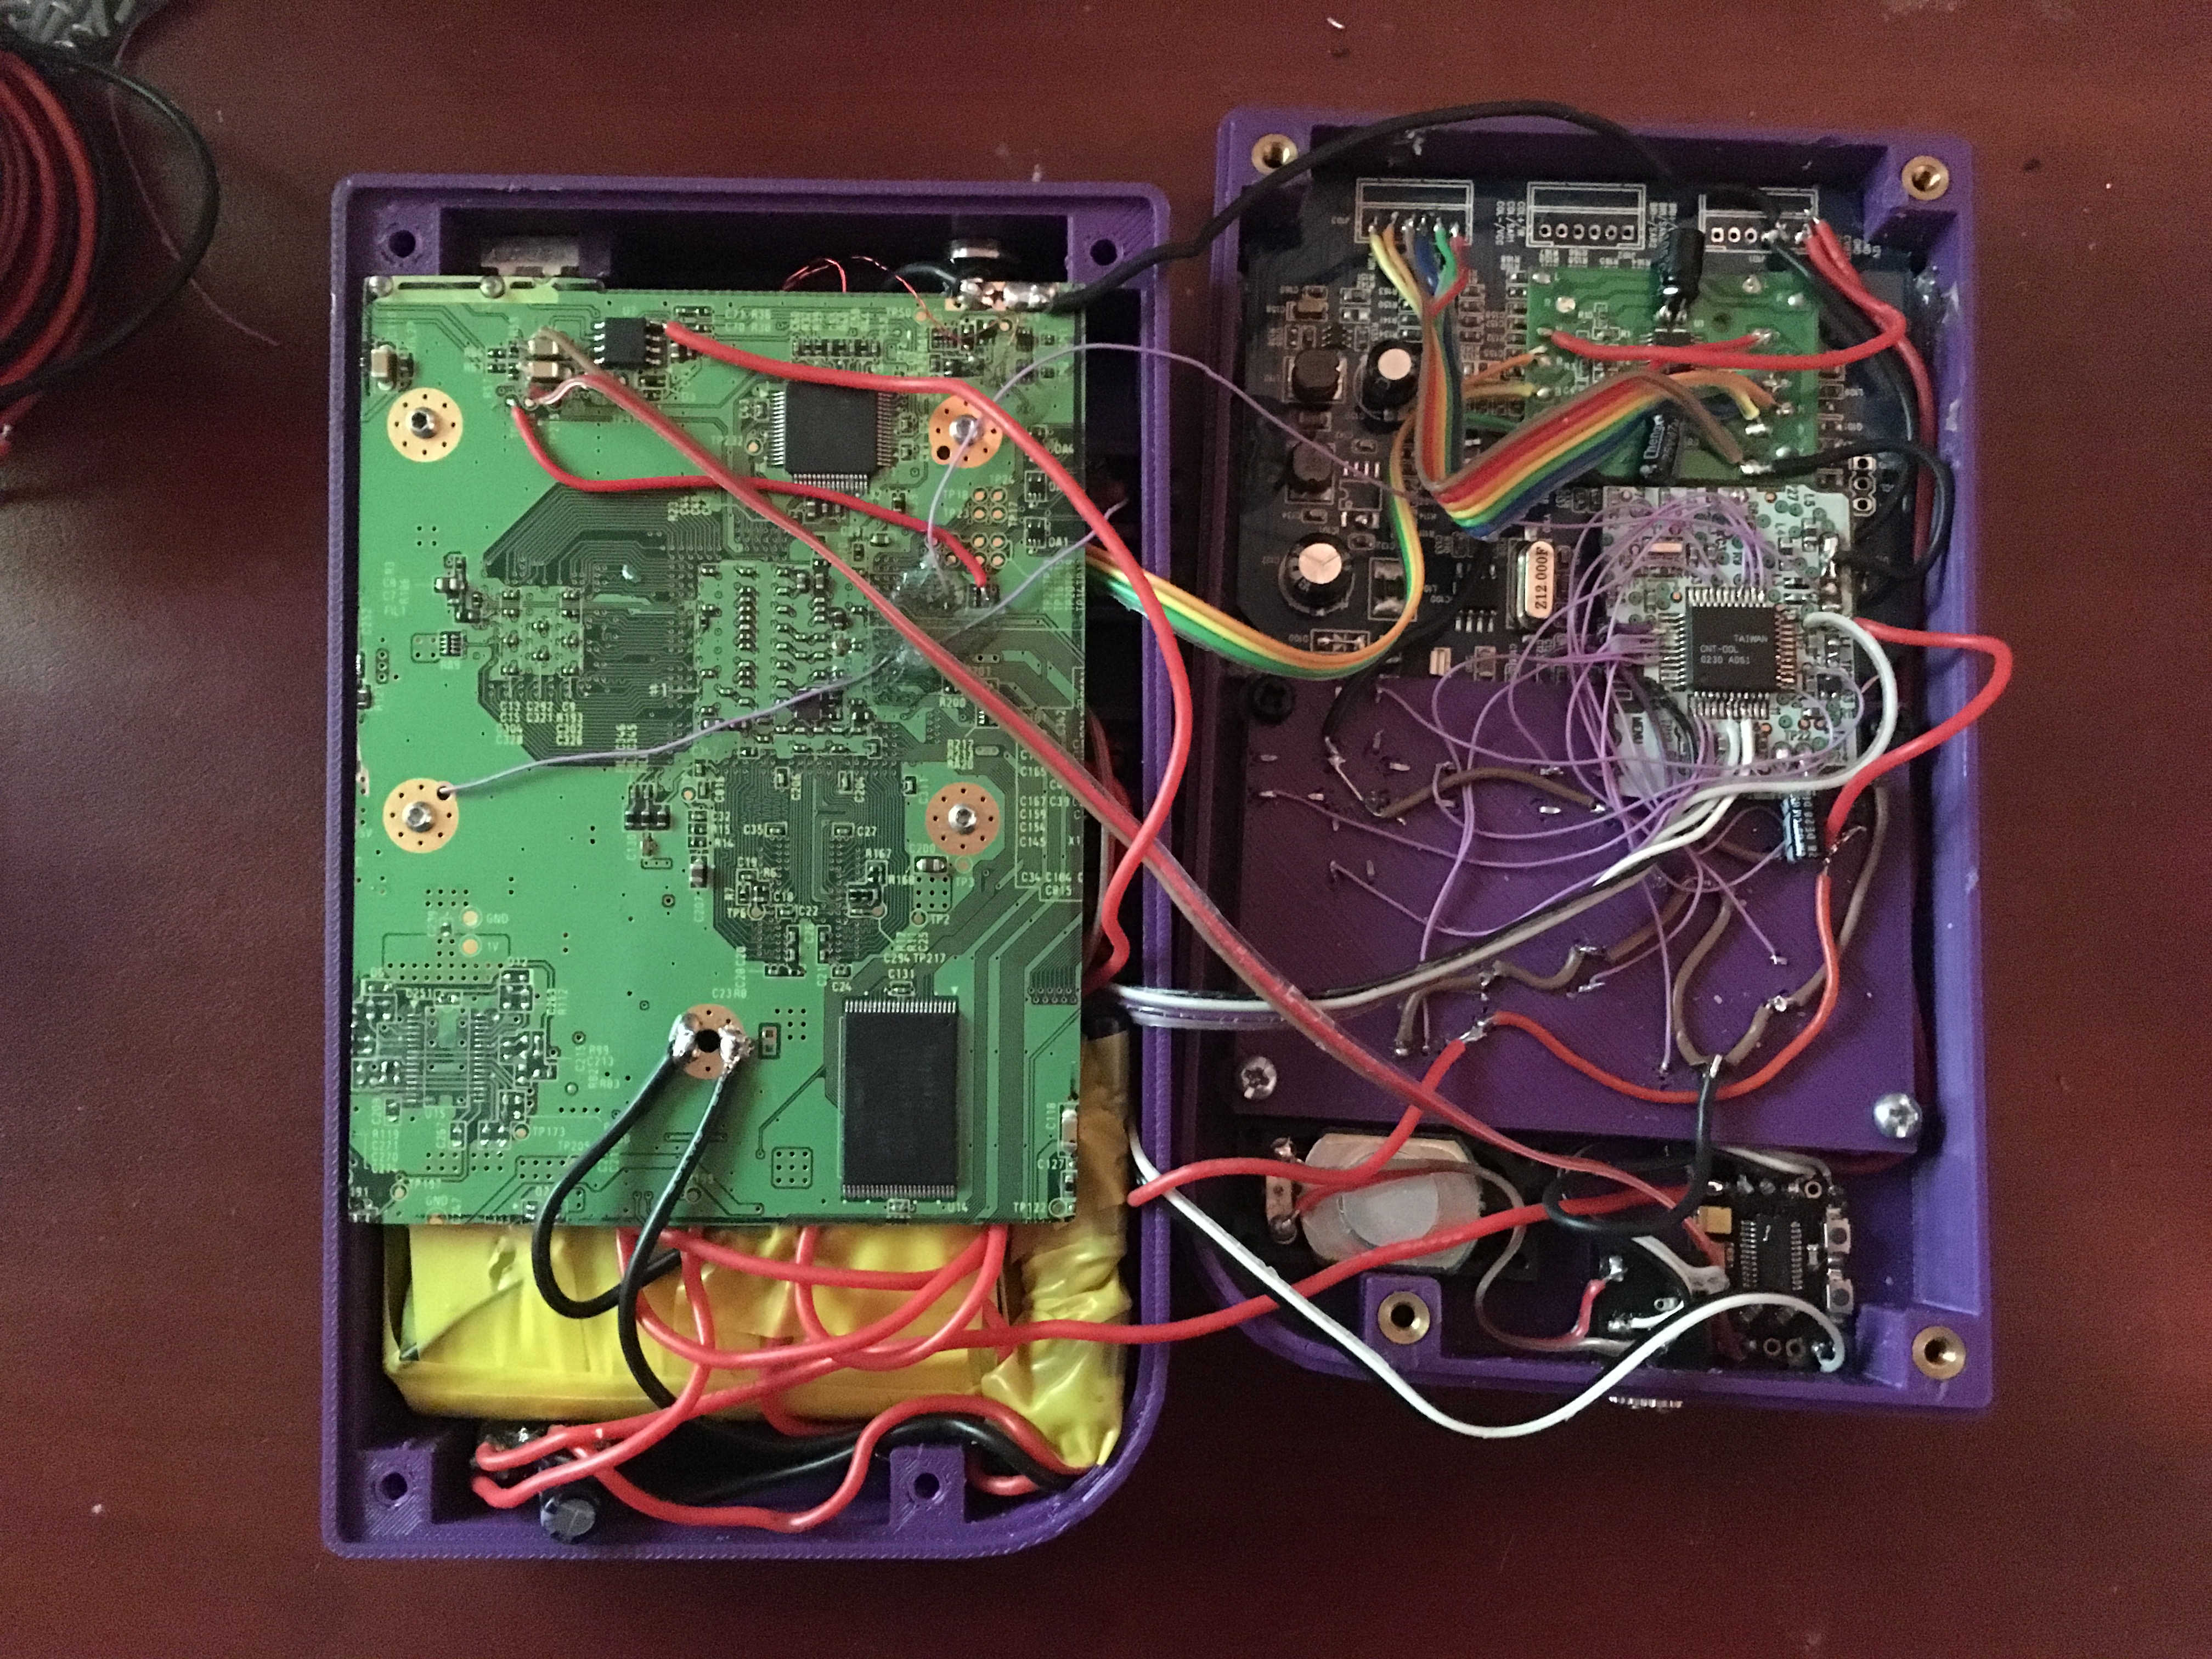
Finally, here are both halves fully assembled and ready to be closed up.
I'll upload some more pictures in the future. I just realized that I never took a picture of it actually turned on hahahaha.
Features:
3.5" Dalian Good Screen
480p Component Video Input converted to VGA
PortabilizeMii No Wifi (Duh)
Full range mini 254TA103B50A-ND Pot Thumbsticks
Single tact Modded L and R triggers
Mono Audio w/ stereo headphone output
Custom 7.4v lithium ion Battery Pack
Custom 3d Printed case (Designed by me and inspired by the DMG Gameboy)
Custom 3d Printed face buttons
Custom Designed Cooling Solution
Custome Designed Motherboard mounting system
128GB USB Thumbdrive
Now, without further adieu, here she is!
Now, here are some internal Pics.
This is the bottom half complete with screw posts for the Motherboard and heatsink mounting
This is the Top half with the screw posts for the controls and to hold the assembled case together.
Here's the first layer of the back half complete with Battery pack, heat sink, L and R triggers, Z Button, USB, Power switch, DC Charge port, volume, reset and sync buttons.
Wii Motherboard prepped and ready for installation.
Here's the top half with the Screen, Controls, Speaker, Amplifier and YPBPR to VGA adapter board installed.
Here's the bottom half with everything installed and mounted.
Finally, here are both halves fully assembled and ready to be closed up.
I'll upload some more pictures in the future. I just realized that I never took a picture of it actually turned on hahahaha.
Last edited:
")