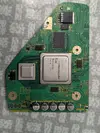
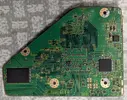
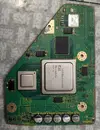
Your resanded mobo looks better, but resanding shouldn't be done blindly. If you download
the Compendium you'll notice the 1.8V plane (light green) doesn't even intersect your trim line! So there is no way the board edges could be causing this short.
View attachment 44778
My money is on a cracked ceramic capacitor. It's rare, but it happens, especially when the board is being handled or soldered to, and they always fail short. If you soldered a 1.8V wire to any small capacitor, remove that capacitor.
- Wash the board with 91% IPA. Like, soak the whole thing in a bowl of hot IPA for 30min and scrub it hard with a toothbrush. An ultrasonic cleaner is even better, but not required.
- Remove C4 and C200 in case they're cracked. They aren't needed for the board to work so this is a fast thing to try.
- Check for other cracked ceramic capacitors (MLCCs) between 1.8V and GND. There aren't that many 1.8V caps on a trimmed board. Besides C4 and C200, there are a few around the AVE and under the Hollywood (check Compendium). Measuring resistance isn't helpful for telling which one is bad, but sometimes the cracks are visible with magnification.
- Current injection: Use freeze spray or a rosin atomizer pen on all the 1.8V MLCCs. A cracked MLCC will shunt all the current and make itself visible when you apply power to just the 1.8V rail with a current-limited power supply set to ~1A. Example video. Sometimes you can feel the heat from the shorted component with your finger but that's less reliable. Lots of board repair vids on YouTube demonstrating this technique if you need more guidance. Note, most traditional voltage regulators have short circuit protection and won't work for this. A current-limited bench PSU is mandatory.
I've never seen a Wii LDO or AVE fail short, so I would not recommend removing any more active components. Generic LLM advice is extremely unhelpful for this sort of thing, so I'm sorry you're on the receiving end of it. The forums are less active these days.