
Xyzven
.
- Joined
- Jul 29, 2023
- Messages
- 39
- Likes
- 12
So I am a fairly experienced hobbist and decided I wanted to build something rather than just troubleshoot broken items. I got myself a 4-layer Wii and all the Ashida accoutrements from 4layer and PCBWay. I've been watching and following GingerofVOD for tips, tricks, and technique as well as reading through the Bitbuilt forums.
ok on to the question: I've trimmed my RVLoader softmodded wii and I can't get it to boot up with PMS2-Lite.
Things I've done:
1. Tested the Wii before trimming.
2. Relocated the bluetooth and tested the Wii before trimming.
3. Removed the AV connector prior to trimming and wired it up for testing.
4. Trimmed my board (successfully) and sanded.
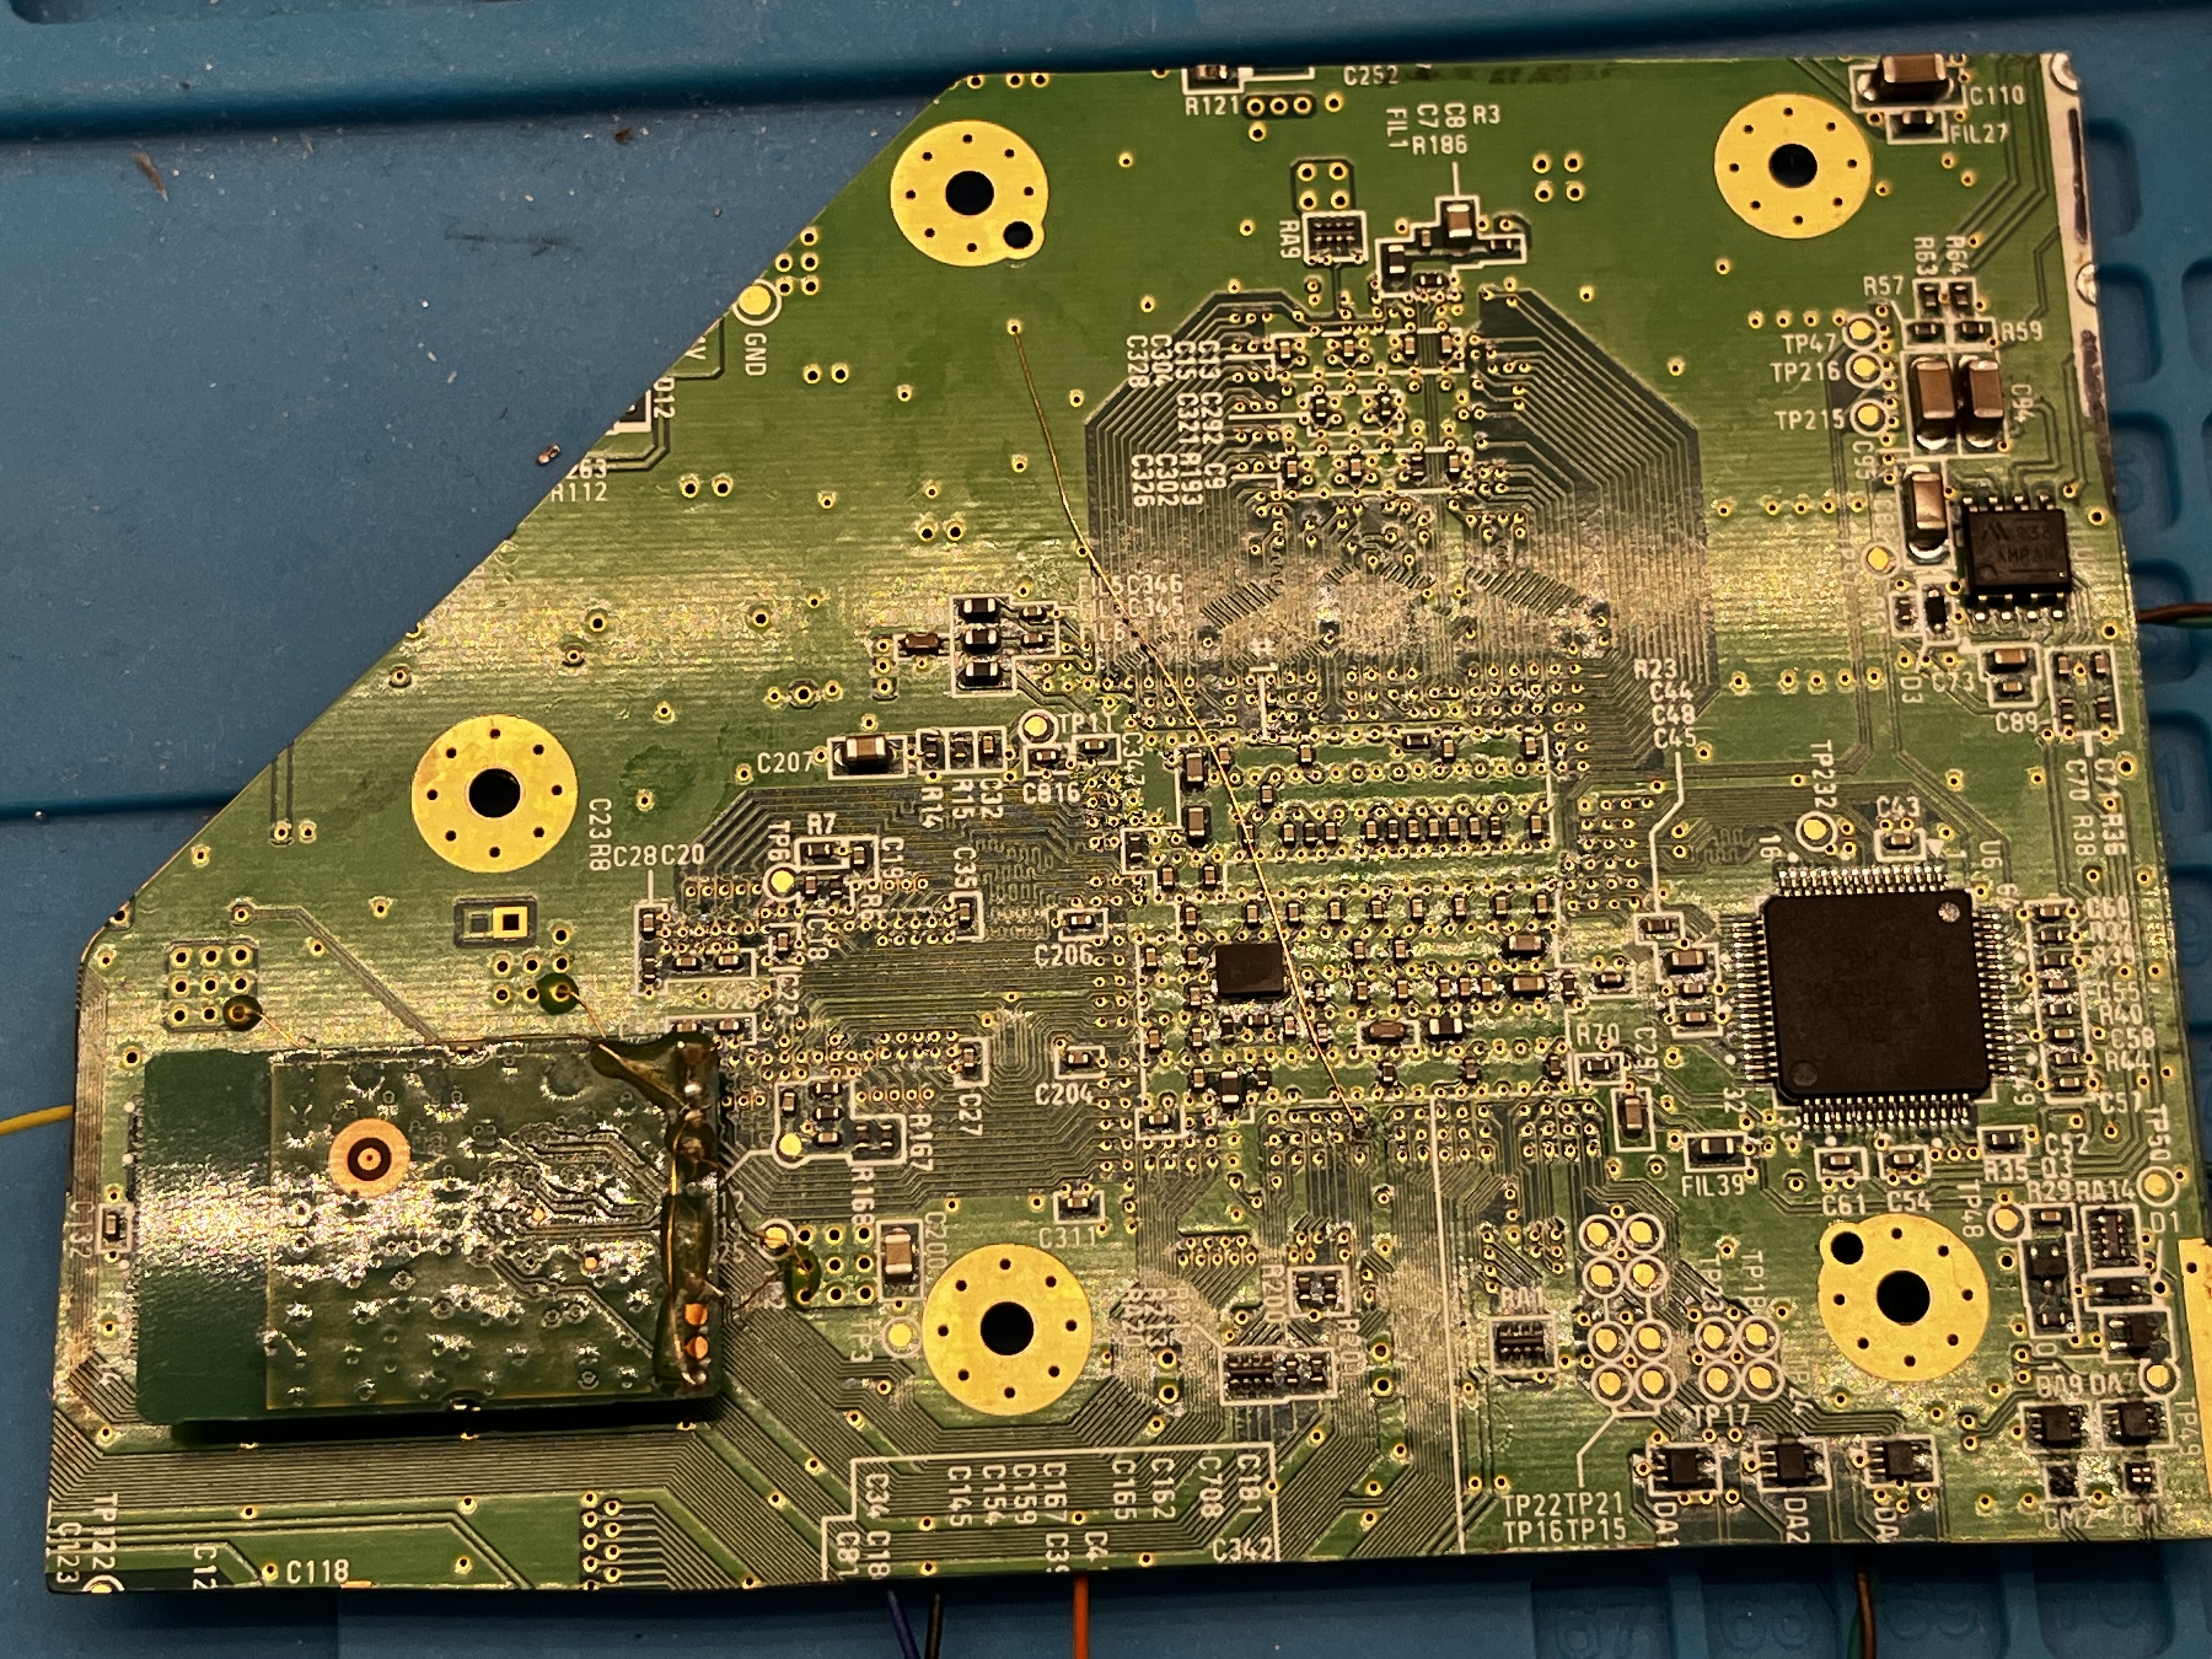
5. Relocated U10 as I wanted as much wiring on the board as possible (and it was better IMO). I have confirmed I have cut the trace line (twice at two different locations; once under the U5 location and once outisde close to the "C6" text)
6. Did my Ohms check prior to powering it on and got good results (reading all of Wesk's update here).
7. Checked output on my PMS with it powered on and get the appropriate voltages.
8. Checked for continuity between my wires (just in case).
9. Wires are coloured per the Definitive Wii Trimming Guide; Specifically, YELLOW = 1V, ORANGE = 3.3V (I reserved RED for 5V), DARK BLUE = 1.15V, BLACK = Ground, VIOLET = 1.8V (but it's not needed since I still have the LDO on).
10. I have lower AWG wire for the battery terminals that is BLACK so I had to use it for positive and negative. Polarities are confirmed and checked with a multimeter.
Issues I experience:
1. The CPU/GPU do not get warm but I can't be too sure as RVLoader will error out and should not put a heavy load.
2. The Fan turns on.
3. The addressable LED does NOT turn on.
4. I do not get a composite output.
I'm clearly missing something so I could use some additional advice and direction. Thanks.

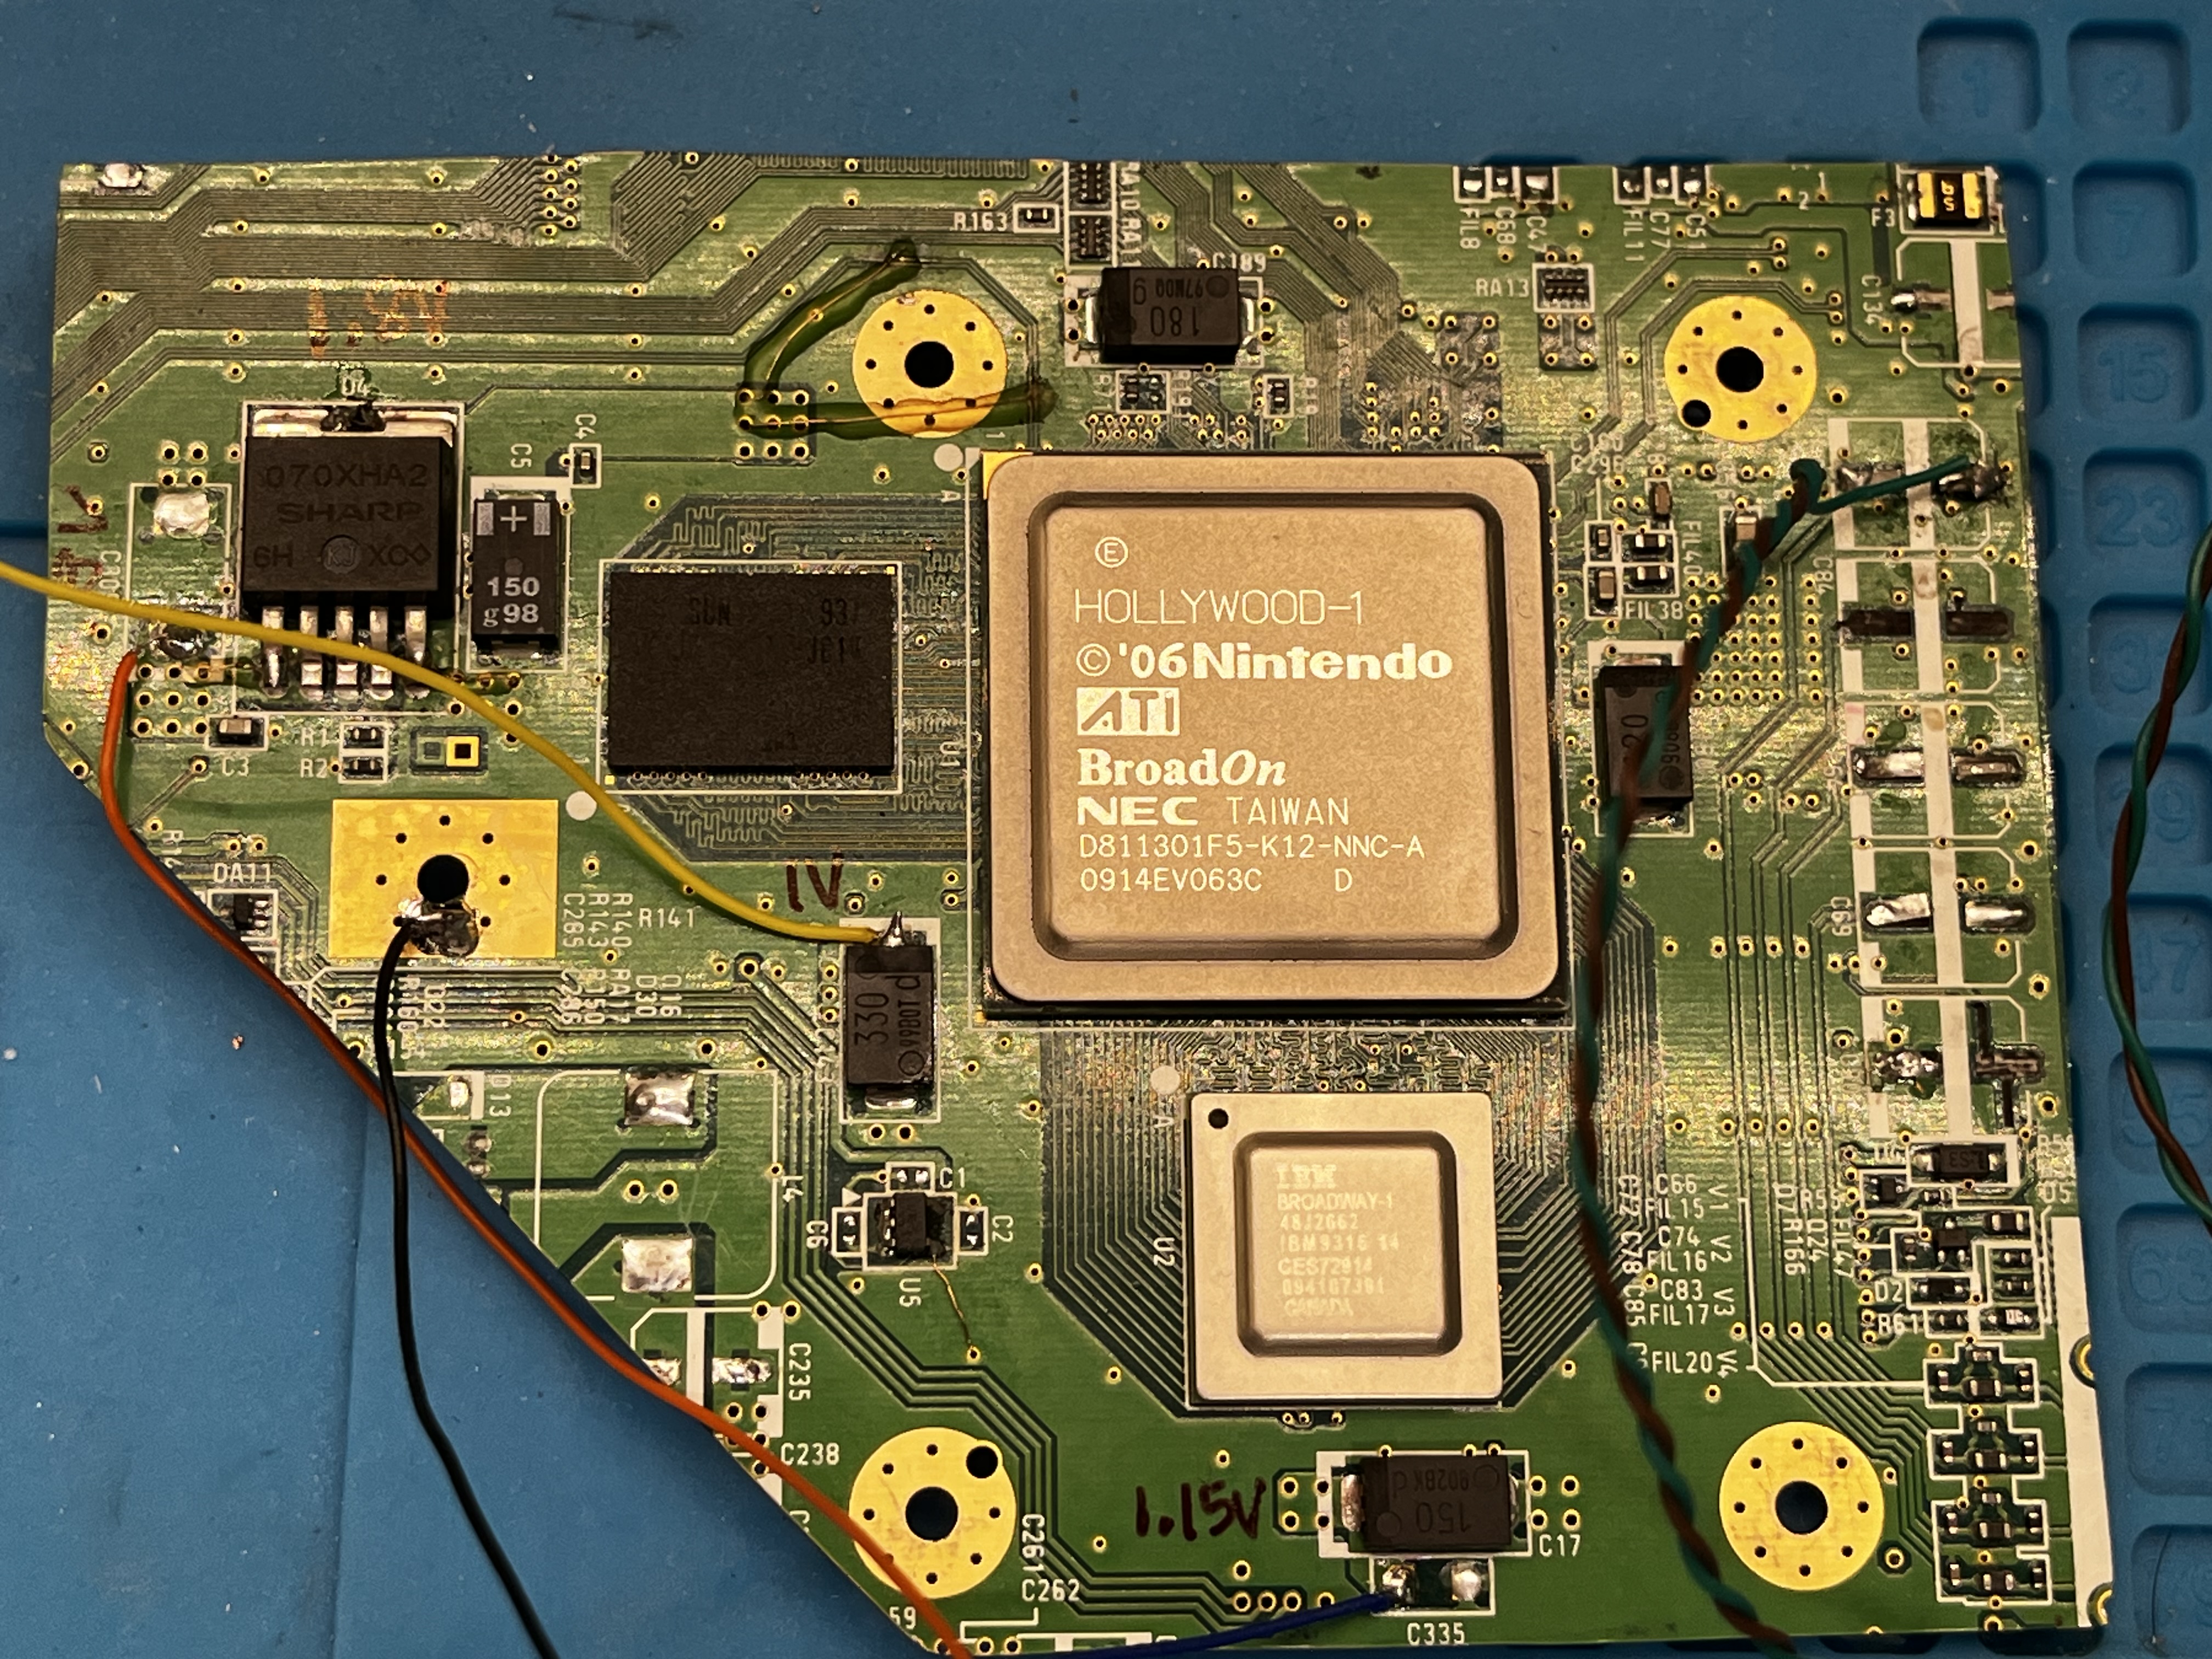
ok on to the question: I've trimmed my RVLoader softmodded wii and I can't get it to boot up with PMS2-Lite.
Things I've done:
1. Tested the Wii before trimming.
2. Relocated the bluetooth and tested the Wii before trimming.
3. Removed the AV connector prior to trimming and wired it up for testing.
4. Trimmed my board (successfully) and sanded.
5. Relocated U10 as I wanted as much wiring on the board as possible (and it was better IMO). I have confirmed I have cut the trace line (twice at two different locations; once under the U5 location and once outisde close to the "C6" text)
6. Did my Ohms check prior to powering it on and got good results (reading all of Wesk's update here).
| COM \ + | 1V | 1.15V | 1.8V | 3.3V |
| GND | 117 | 31 | 36 | 8.27 k |
| 1V | 157 | 156 | 8.39k | |
| 1.15V | 67 | 8.28k | ||
| 1.8V | 8.25k |
8. Checked for continuity between my wires (just in case).
9. Wires are coloured per the Definitive Wii Trimming Guide; Specifically, YELLOW = 1V, ORANGE = 3.3V (I reserved RED for 5V), DARK BLUE = 1.15V, BLACK = Ground, VIOLET = 1.8V (but it's not needed since I still have the LDO on).
10. I have lower AWG wire for the battery terminals that is BLACK so I had to use it for positive and negative. Polarities are confirmed and checked with a multimeter.
Issues I experience:
1. The CPU/GPU do not get warm but I can't be too sure as RVLoader will error out and should not put a heavy load.
2. The Fan turns on.
3. The addressable LED does NOT turn on.
4. I do not get a composite output.
I'm clearly missing something so I could use some additional advice and direction. Thanks.
