Worklog Second try at Wii Portable

Joined
Mar 22, 2021
Messages
55
Likes
13
Location
Germany
Basically the title. Bog standard portable with bog standard features.

- PMS 2 Lite
- 5 inch IPS Screen
- 12v PD Trigger Board
- 35mm Copper Heatsink + Fan Combo
- Joycon Sticks + Buttons mounted on custom GC+ board
- PAM8803 Audio Amp(don't really care about sound quality) with Nintendo Switch speakers
IMG_20231010_185129.jpg


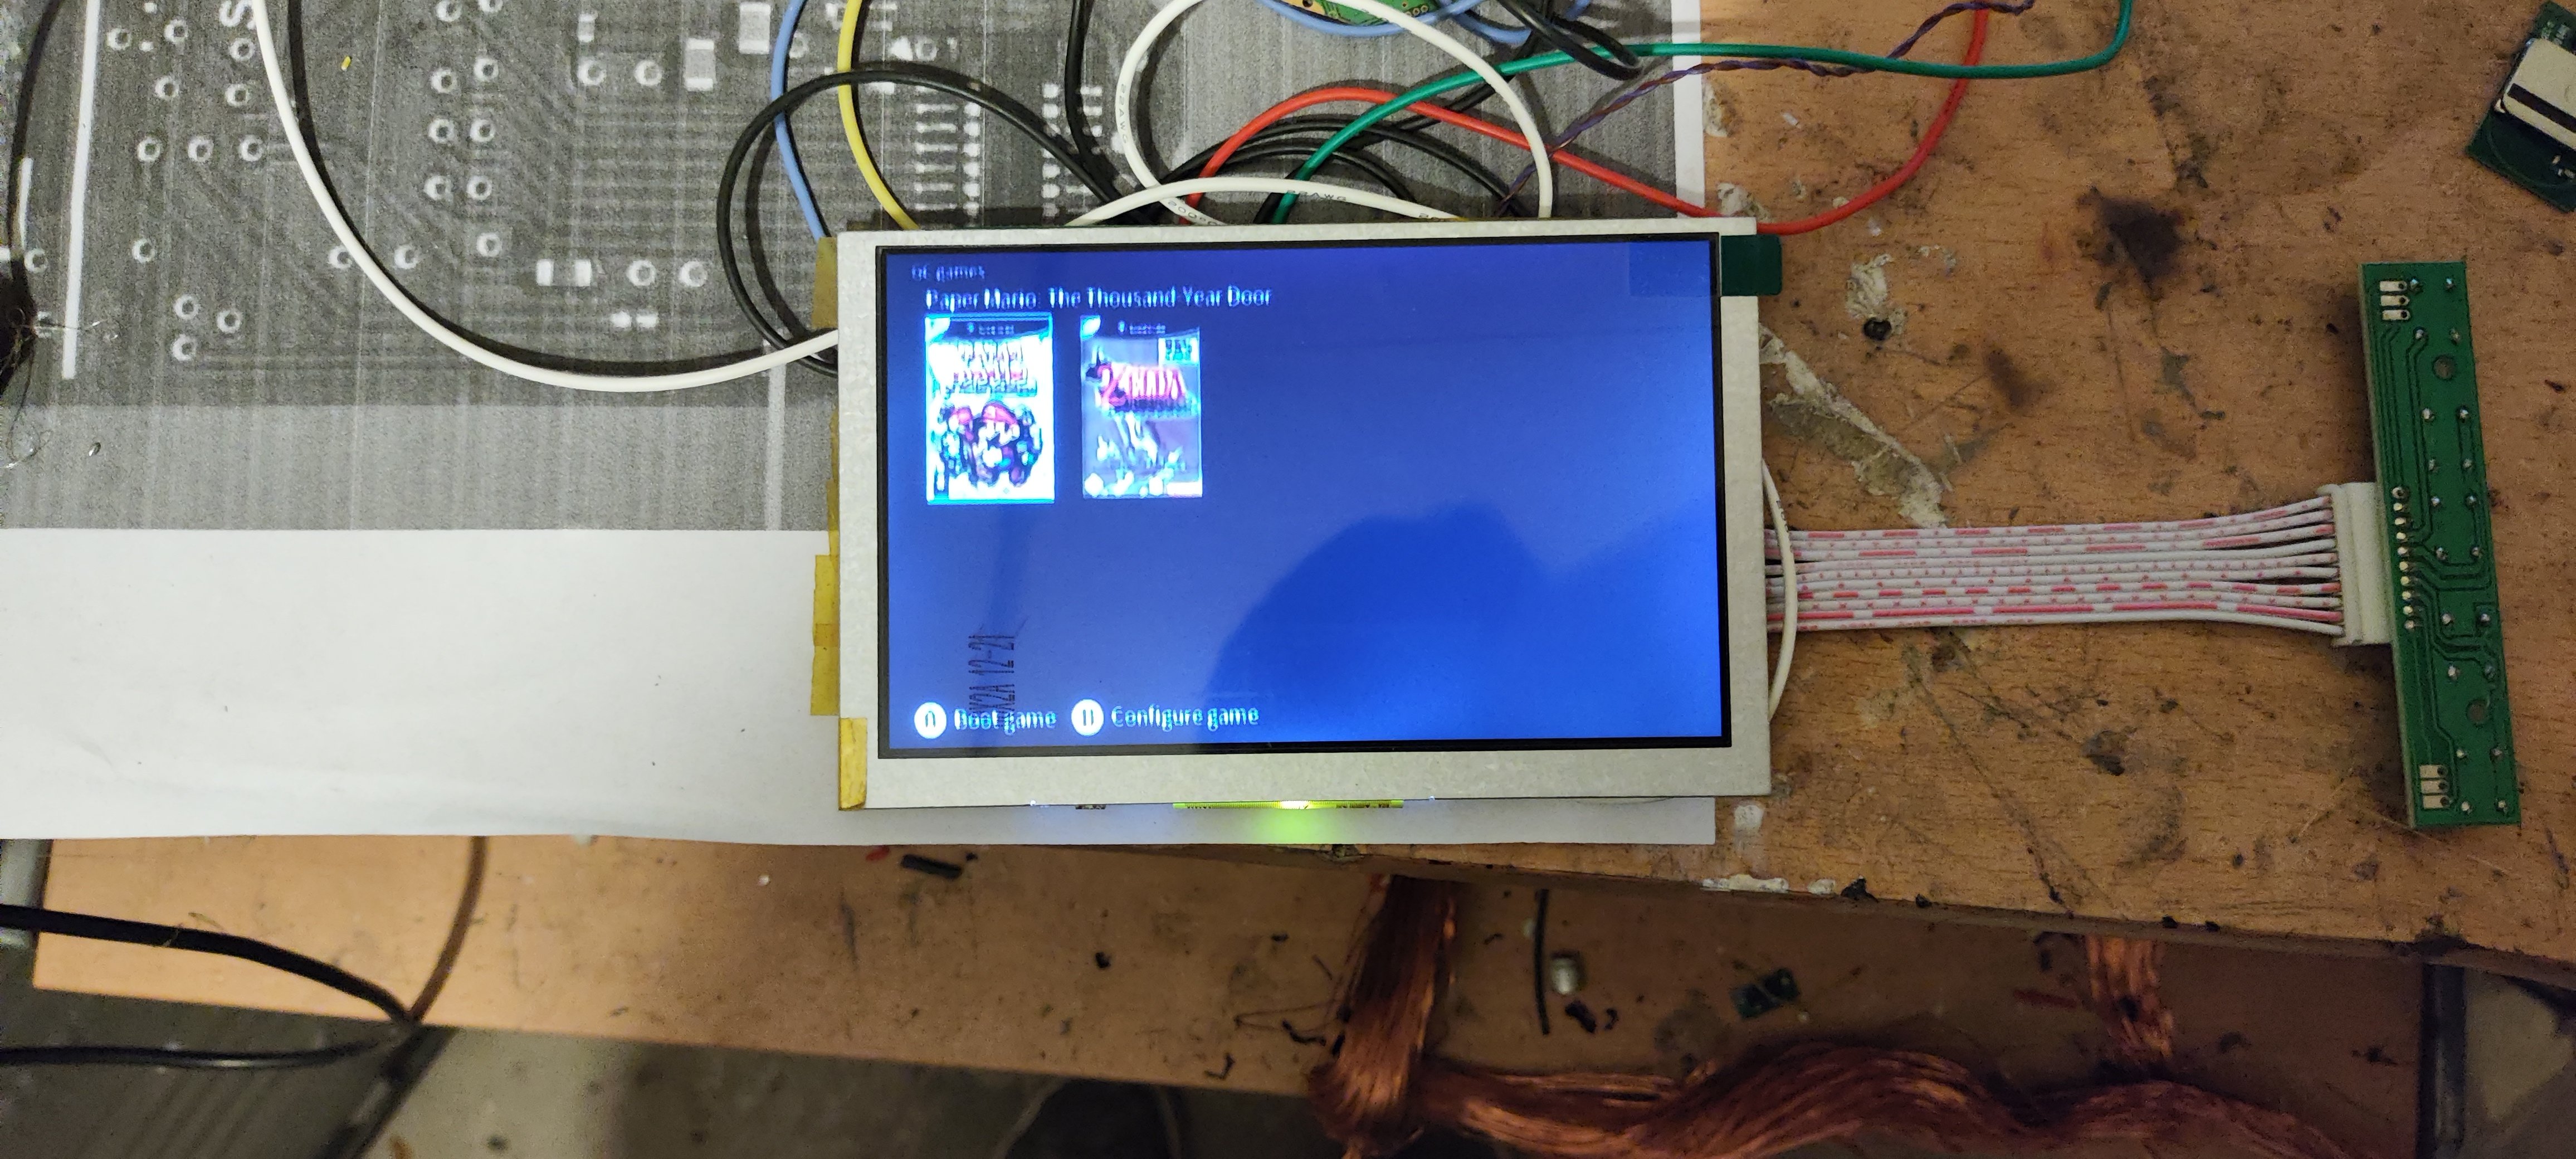
Currently the Portable boots fine off of USB, haven't tried the GC+ or launching a game yet. Also, VGA doesn't work atm, even though I wired H- and V-Sync and Mode to 3.3V, so I'll have to troubleshoot that.
 
Joined
Mar 22, 2021
Messages
55
Likes
13
Location
Germany
Small update, my custom GC+ board seems to work fine, allthough at first it didn't, seems like rvloader only works on port 1, the goal of these 2 boards, which are actually the same board, was that I could place one order for both the dpad and abxy buttons and have the gc+ integrated in one of the boards, thereby saving some space by not having to additionally include a gc+ board and money because you get 5pcbs per order at jlc.
IMG_20231010_212824.jpg

But I can't for the life of me get the ribbon cables of the switch joycons into the connector, they just keep coming out again. Might have to go for full sized sticks if I can't make them fit. Also, VGA still isn't working...
But Paper Mario TTYD at least managed to launch.
 
Joined
Jan 4, 2023
Messages
68
Likes
24
Small update, my custom GC+ board seems to work fine, allthough at first it didn't, seems like rvloader only works on port 1, the goal of these 2 boards, which are actually the same board, was that I could place one order for both the dpad and abxy buttons and have the gc+ integrated in one of the boards, thereby saving some space by not having to additionally include a gc+ board and money because you get 5pcbs per order at jlc.
View attachment 30201
But I can't for the life of me get the ribbon cables of the switch joycons into the connector, they just keep coming out again. Might have to go for full sized sticks if I can't make them fit. Also, VGA still isn't working...
But Paper Mario TTYD at least managed to launch.
Is it possible that you didn't inject the 480p setting when you installed RVLoader?

Would also recommend showing the pictures of your wiring for VGA, would assist the seasoned boys in trying to troubleshoot the issue you're having with it.
 
Joined
Mar 22, 2021
Messages
55
Likes
13
Location
Germany
So turns out that you shouldn't really solder whilst having a cold and it being late at night as I connected 3.3v to 3.3v instead of to mode....
After correcting that, VGA works kinda, sometimes the Wii just boots up fine, sometimes theres a grey-ish rectangle on the right and sometimes the entire screen has a very red hue. Also, while attempting to boot TTYD the screen just turns red/off repeatedly. Footage is attached below

Also also attempting to configure a game doesn't do anything either, either my B button is broken or somethings wrong with rvloader.
If anyone has any tips on designing proper button wells for the DS Lite buttons please let me know as I can't get the travel of the buttons right at all.
 
Joined
Jan 4, 2023
Messages
68
Likes
24
The screen going red and doing nothing is most likely due to the game not being in forced progressive. You'll have to force progressive to avoid that because you're using VGA.

If you can't configure the game due to your B button not currently working you can spam the A button while the screen is red and it should change to blue, and then you should see the actual game.

As far as the other stuff goes that you're dealing with, you might just need to twist more tightly on your colors and grounds from the wii mobo to your driver board. It could also be poor connections on the wii vias.

Hope this helps.

Again, would recommend providing close up pics of all your wiring.

[EDIT] Upon watching the video again it doesn't even look like you've got ground wires around your display signal wires. It is recommended to use 34awg magnet wire tightly twisted together for the VGA signal. 3 sets each, 1 wire going to color and 1 wire going to ground.
 

CrazyGadget

Crazy Helpful, CrazyGadget
.
Joined
Jun 6, 2020
Messages
611
Likes
879
Location
Downing's Closet
Portables
???
The grey rectangle on the main RVLoader screen comes from the Wii being set to 16:9 (as it should for that screen) since the black background image is in 4:3 (640x480). Perfectly normal. As for the very red hue, that could either be a wiring issue or it could be the configuration of the screen. I've found that I can never quite get the color / hue on these screens perfect to my liking since there are no individual controls for those values on the OSD... best you can do is run the auto config a million times and pray it comes out nice.

For your configuration / button issue, I would suggest trying out all of your buttons in RVLoader's built-in button tester in the settings. If the B button is working as it should, you could potentially have a USB issue - I've had RVLoader hang on saving game configurations if my USB drive is messed up / incompatible / poorly wired. Even if you can't configure it to force progressive, you can still just press A over and over when you see that red screen, as it's the game outputting 480i over VGA, asking if you want to run progressive (with the selector typically hovering over "Yes"). That should still get you into the game.

Looks like I got sniped with some of this info, but I also agree that pics of all your wiring is crucial to being able to help!
 
Joined
Mar 22, 2021
Messages
55
Likes
13
Location
Germany
Here are some pics of the wiring, I sincerely apologize for any nightmares this will cause you. Also the GC Data wire came undone while taking these photos. And anyone that's considering buying a family edition beware that all the vias have solder mask on top of them so you will have to scratch them to solder.

1697041048734.jpg
1697041048744.jpg
1697041048751.jpg
1697041048757.jpg
1697041048762.jpg
1697041048767.jpg
1697041048772.jpg
1697041048777.jpg
1697041048782.jpg
1697041048787.jpg
1697041048791.jpg
1697041048797.jpg
1697041048802.jpg
1697041048807.jpg
1697041048811.jpg
1697041048816.jpg

Also Wind Waker works fine, I think I previously adjusted some settings with Paper Mario as spamming a didn't even work.
 
Joined
Jan 4, 2023
Messages
68
Likes
24
For testing purposes I think your video stuff is fine, but when you start finalizing the portable invest in some magnet wire and relocate to the vias shown in the trimming guide (be careful cause the colored vias in the pics don't match up with the actual color they are in the guide, but they are properly labeled on the left side of the image)

Same for USB, but it might help to twist them more tightly and relocate them to one of the sets of vias circled in red with magnet wire.

[EDIT] I know its gonna kind of suck, but try to reduce the length of wire showing on your H/V Sync wires. It's also recommended to not twist those 2 together by a few people including the legendary @GingerOfOz.
 

Attachments

Last edited:
Joined
Mar 22, 2021
Messages
55
Likes
13
Location
Germany
I already have a couple rolls of magnet wire but I just dont like using it as its hard for me to see them. The connections are really just for testing, once I got the case design done I will rewire everything in the case.
 
Joined
Mar 22, 2021
Messages
55
Likes
13
Location
Germany
Small Update again, turns out I had to reflow the PIC on the gc+ board as some of the pins didn't quite make a connection, now all the buttons are working and after configuring TTYD it also booted just fine. The dimensions for the DS lite buttons are also fine now, but I just entirely gave up on the joycon sticks and will propably use full size sticks. I have 3 kinds of sticks at the moment, the first 2 I harvested from broken bootleg gc controllers and the third one came in a kit. The third one has the nicest feel and is made of metal, while the first or green one is made of plastic which I think isn't that good for the lifetime of the stick right?
1697057285098.jpg
1697057285091.jpg
 
Joined
Jan 4, 2023
Messages
68
Likes
24
Small Update again, turns out I had to reflow the PIC on the gc+ board as some of the pins didn't quite make a connection, now all the buttons are working and after configuring TTYD it also booted just fine. The dimensions for the DS lite buttons are also fine now, but I just entirely gave up on the joycon sticks and will propably use full size sticks. I have 3 kinds of sticks at the moment, the first 2 I harvested from broken bootleg gc controllers and the third one came in a kit. The third one has the nicest feel and is made of metal, while the first or green one is made of plastic which I think isn't that good for the lifetime of the stick right?
View attachment 30252View attachment 30254
Personally, unless you're going to use your portable for competitive Melee every single day all day, it doesn't really matter which stickbox you go for.

They'll all work just fine for the life of the portable, and I'd recommend using OEM GC stickboxes if the idea is a gamecube portable as it'll be the most "true to original" the feel is going to get.

That being said, if you are going to use your portable for competitive Melee every single day all day I'd go for the more robust stickbox. Just make sure whatever sticks you end up using actually fit on the stickbox.
 
Joined
Mar 22, 2021
Messages
55
Likes
13
Location
Germany
Well these gc sticks are more a backup plan anyway, I will still keep the ds buttons so it will kind of be a hybrid I guess. Also, I've never actually held an oem gc controller and don't have any sticks on hand. They seem really expensive on ebay(last time I checked) for good condition ones at least in my area. I'm not really an avid melee player, I only really play ultimate from time to time with my friends, but hey that might change if I can wrap this portable up! Thanks for the advice!
 
Joined
Mar 22, 2021
Messages
55
Likes
13
Location
Germany
Started designing the case today, am almost finished with the top part but don't know how long I will have to make it so the bottom side is still open.
1697146841649.png
 
Joined
Mar 22, 2021
Messages
55
Likes
13
Location
Germany
Finished up my Bluetooth wiring but I am afraid that I don't have any camera that is able to take a good enough picture of that, is there anywhere that I should measure for shorts? I already measured both points to ground, 3.3v and each other and they weren't shorted in any of those cases.
 

Stitches

2 and a Half Dollarydoos
Staff member
.
.
Joined
Feb 5, 2017
Messages
3,848
Likes
3,026
Location
Banana Bender Land, Australia
Portables
6
Finished up my Bluetooth wiring but I am afraid that I don't have any camera that is able to take a good enough picture of that, is there anywhere that I should measure for shorts? I already measured both points to ground, 3.3v and each other and they weren't shorted in any of those cases.
That's about all you need to check for, yeah. Just make sure that if you're mounting the BT module to the Wii somewhere that you have something non-conductive under the module. The BT module's RF shield loves to short against the Wii-side vias.
 
Joined
Mar 22, 2021
Messages
55
Likes
13
Location
Germany
Yeah already suspected that so I put kapton tape on the rf shield. Also, if Bluetooth is enabled and the module isn't connected it's supposed to be a black screen right? Because it booted into a game while testing. Both halves of the case are now printed and just have to be sanded and repaired a bit as some of the walls and infill show some separation but I won't print a new case just becausee of that.
 
Top