
- Joined
- Feb 25, 2016
- Messages
- 1,437
- Likes
- 2,887
Starting a new thread because this isnt an MGC thing  Also lots of SP builds happening
I'm making a few changes all around to the design to hopefully improve it for a better prototype. The last one had a few shortcomings:
1. Using thin dome buttons on larger buttons (namely A and B) wasnt very comfortable and required extra force to hold down during gameplay which kinda hurt.
2. N64+ isnt fully developed so I am switching it out for official n64 controller
3. Small mechanical changes to the model
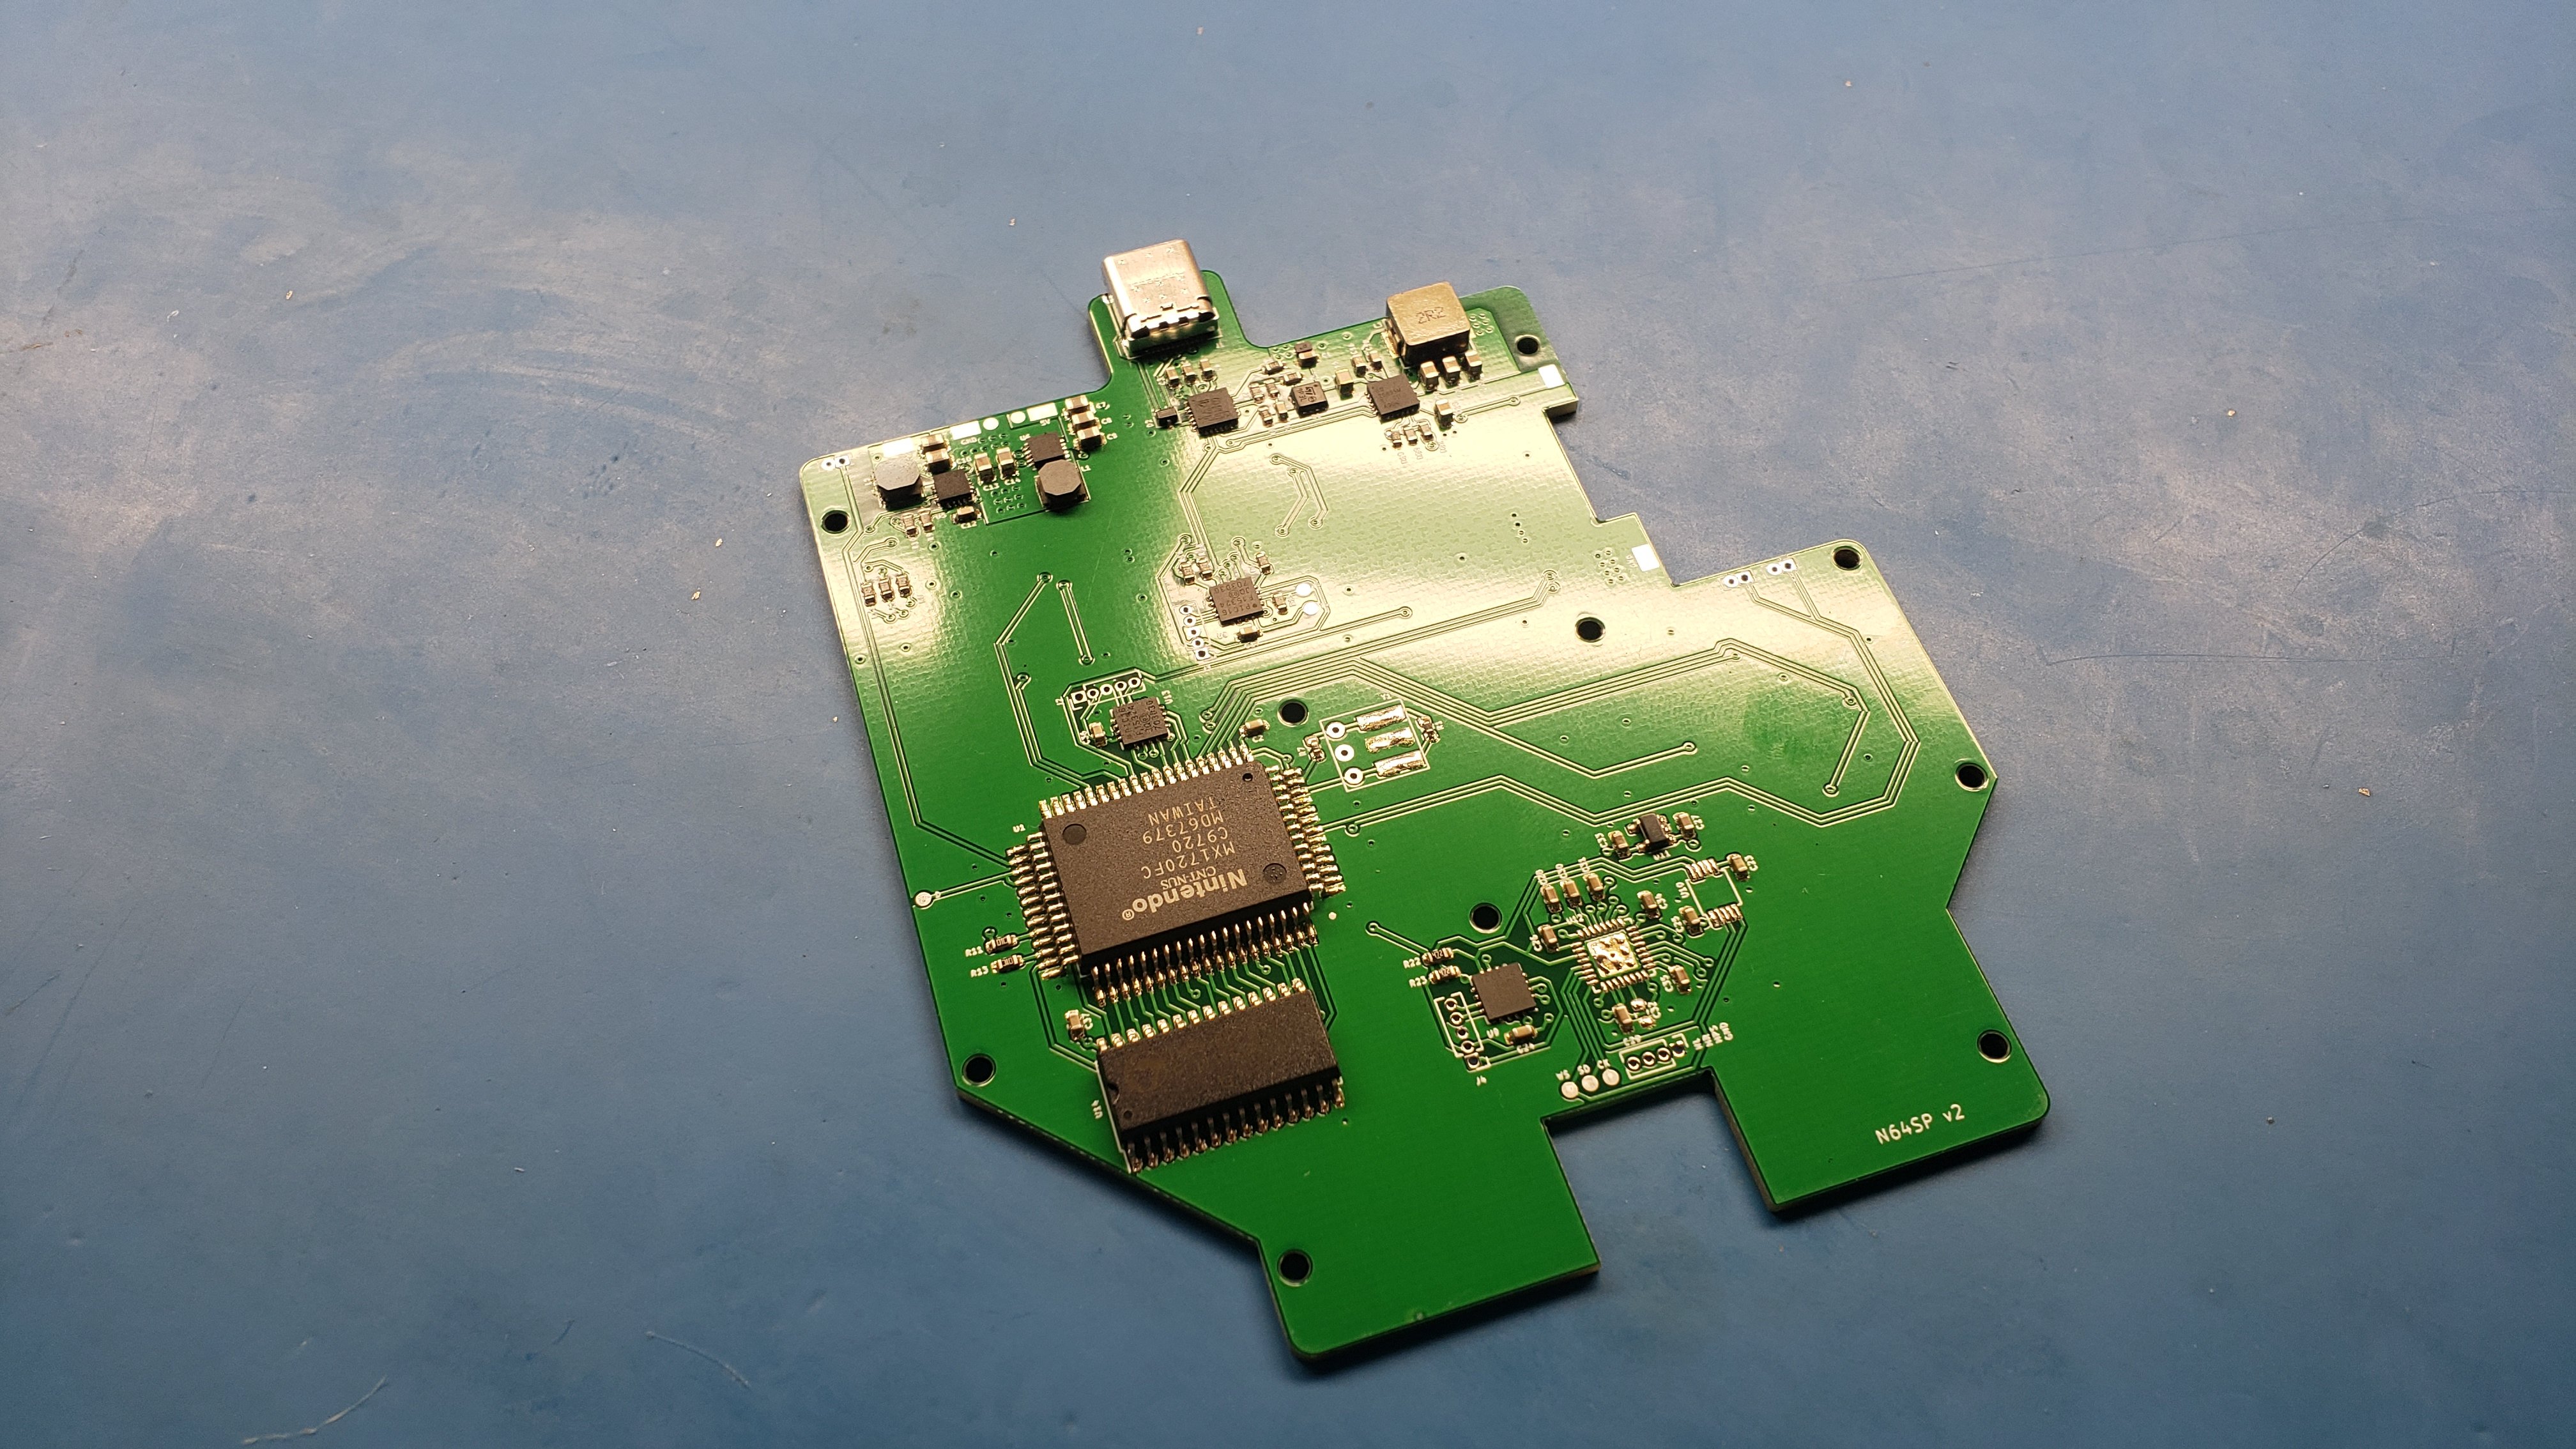
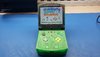
New PCB in. It has official N64 controller IC with FRAM (non-volatile memory pak) and a 3DS slider to N64 joystick converter (using PIC mcu). I always knew the N64 joystick operated differently but never knew exactly how it worked. It's pretty neat. It uses an optical encoder, essentially a rotating disk with slits in it. On each side of the disk there is an IR emitter and IR sensor. As the disk rotates, the sensor produces quadrature pulses due to the led shining through the slits. I made my own take on the encoder converter code for PIC mcu though it's very similar to codes already floating around on the web.
The PCB also has spring leaf connections to the speakers on the back half. In another PCB redesign I would've moved the headphone jack to the top of the pcb so it could be surface mount on the board. If there is USBC connector and headphone jack on opposite sides of the board, then you would quickly realize there is no way to assemble it (without a creative case solution). Anyway 4 wires isnt a big deal so I went ahead with the pcb.
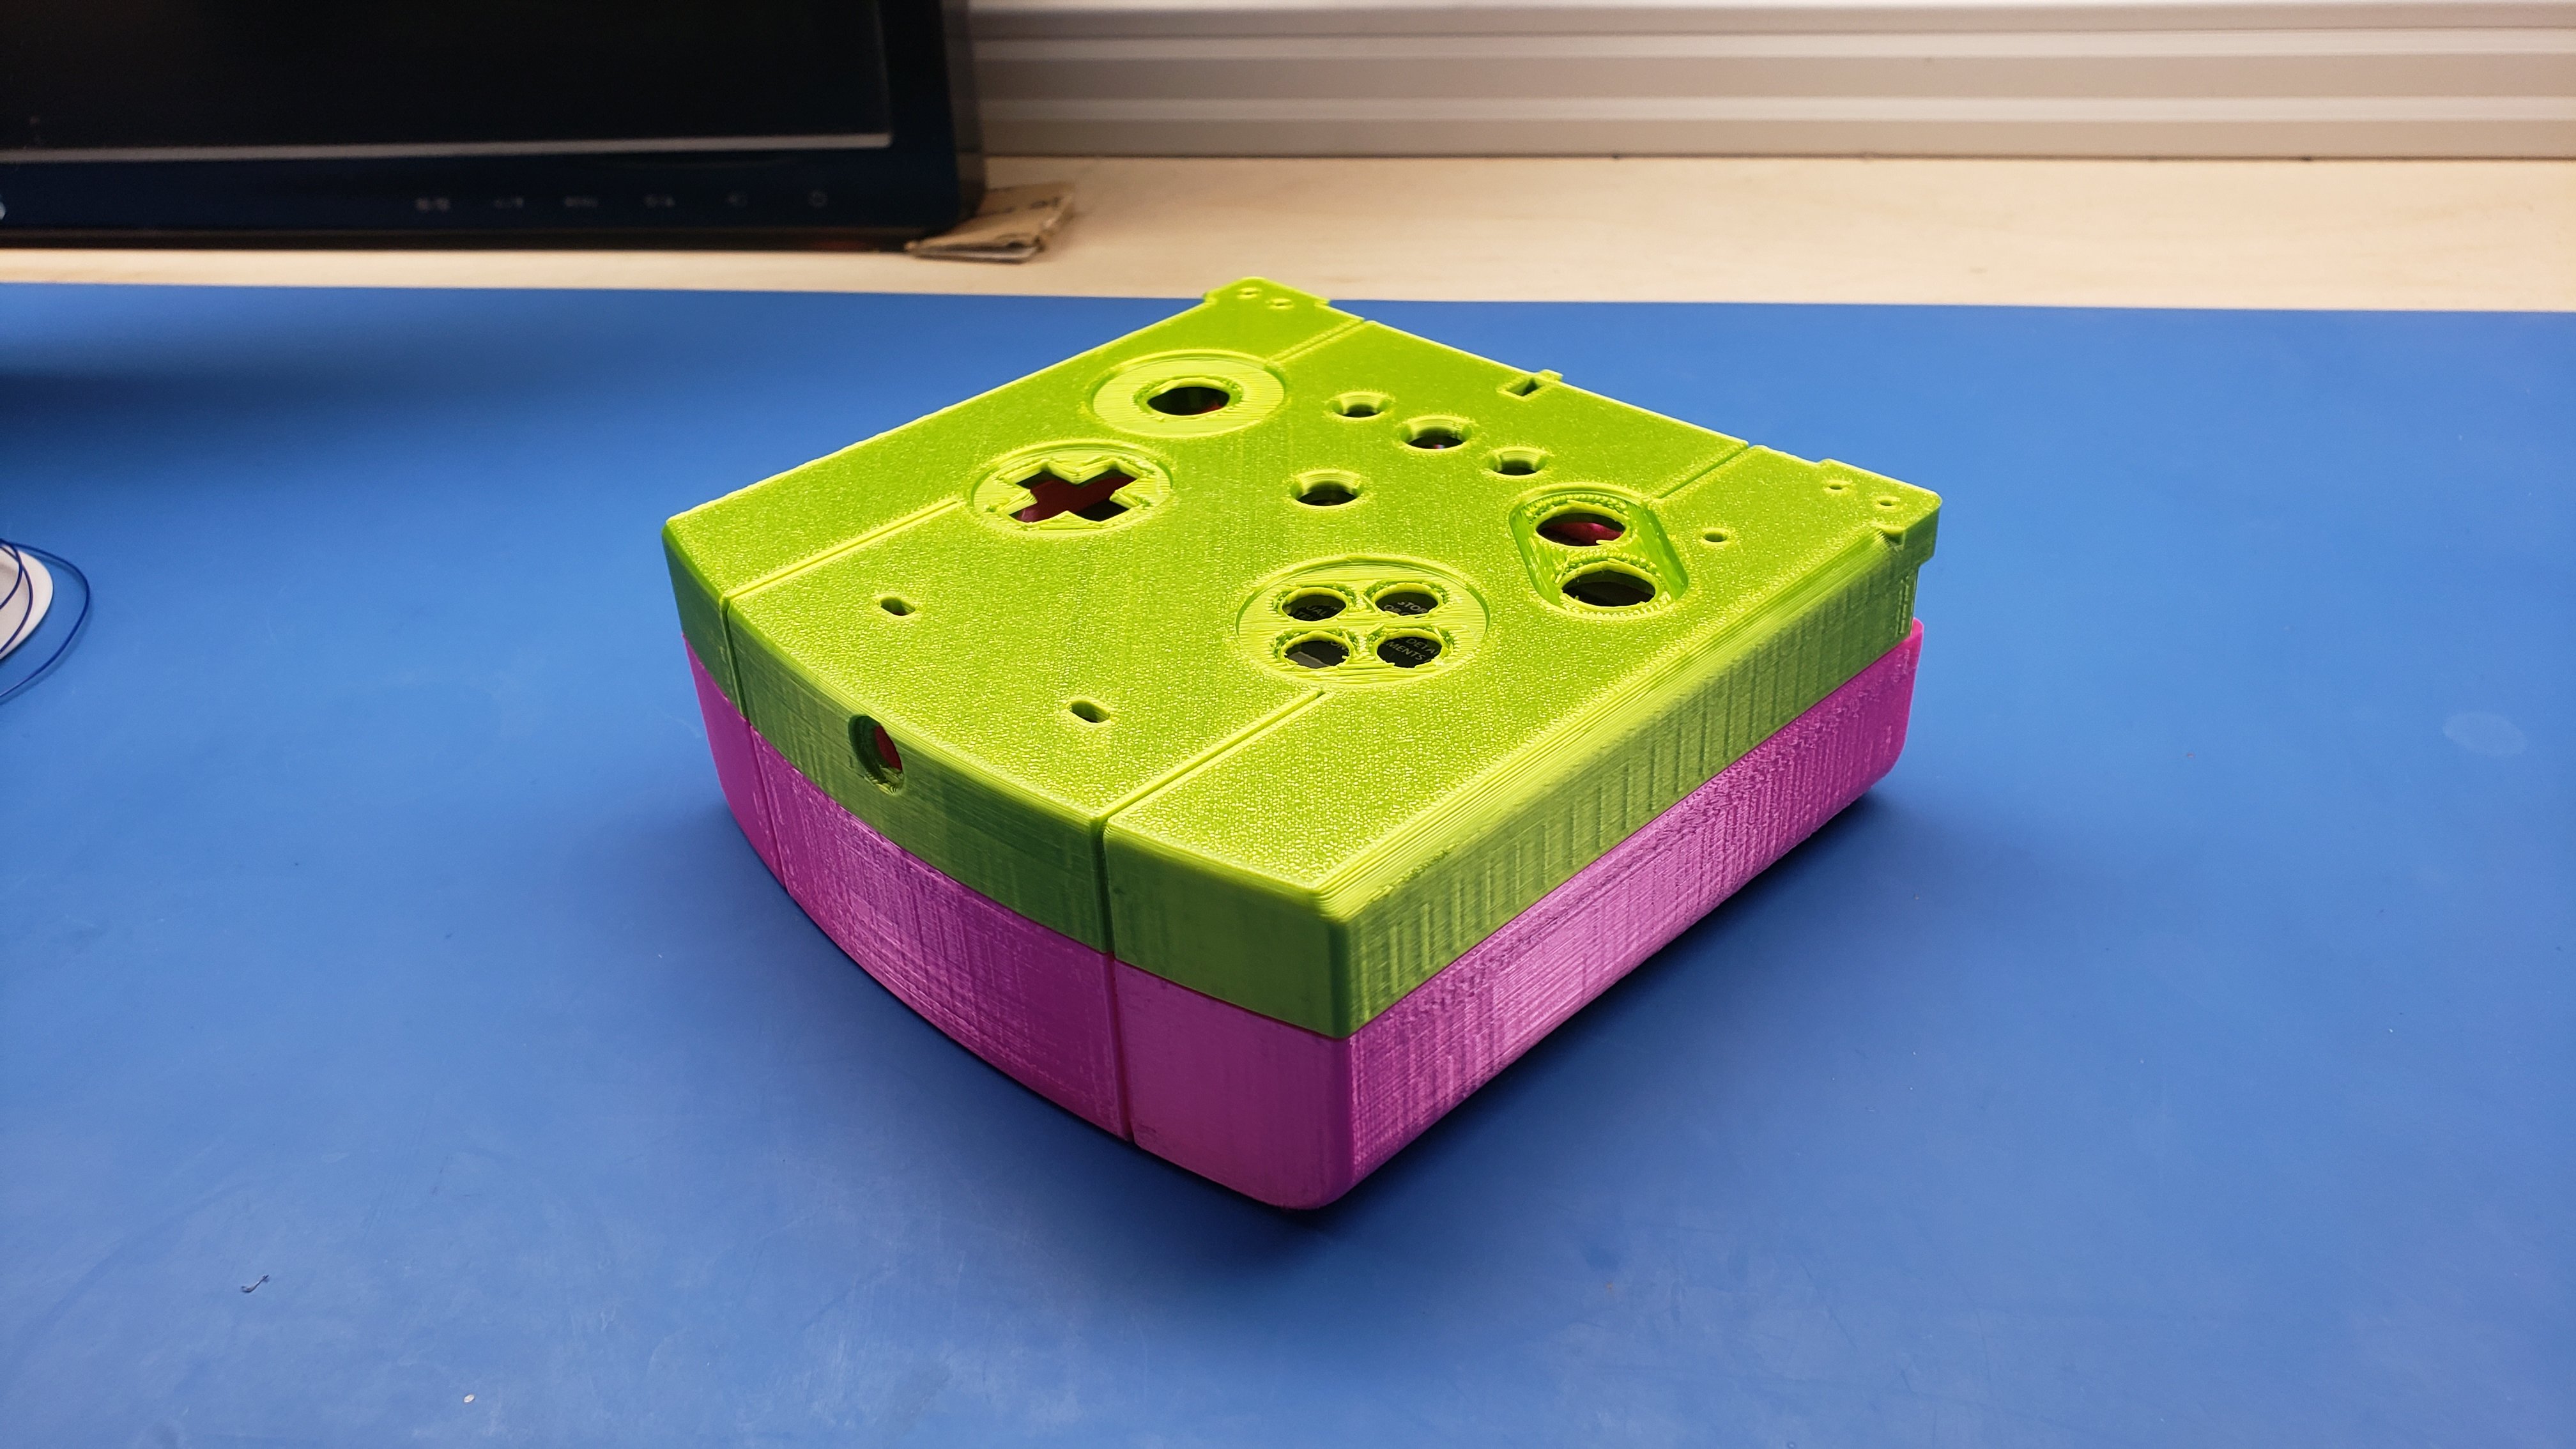
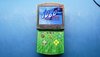
This isnt the color scheme but I just think that is hot.
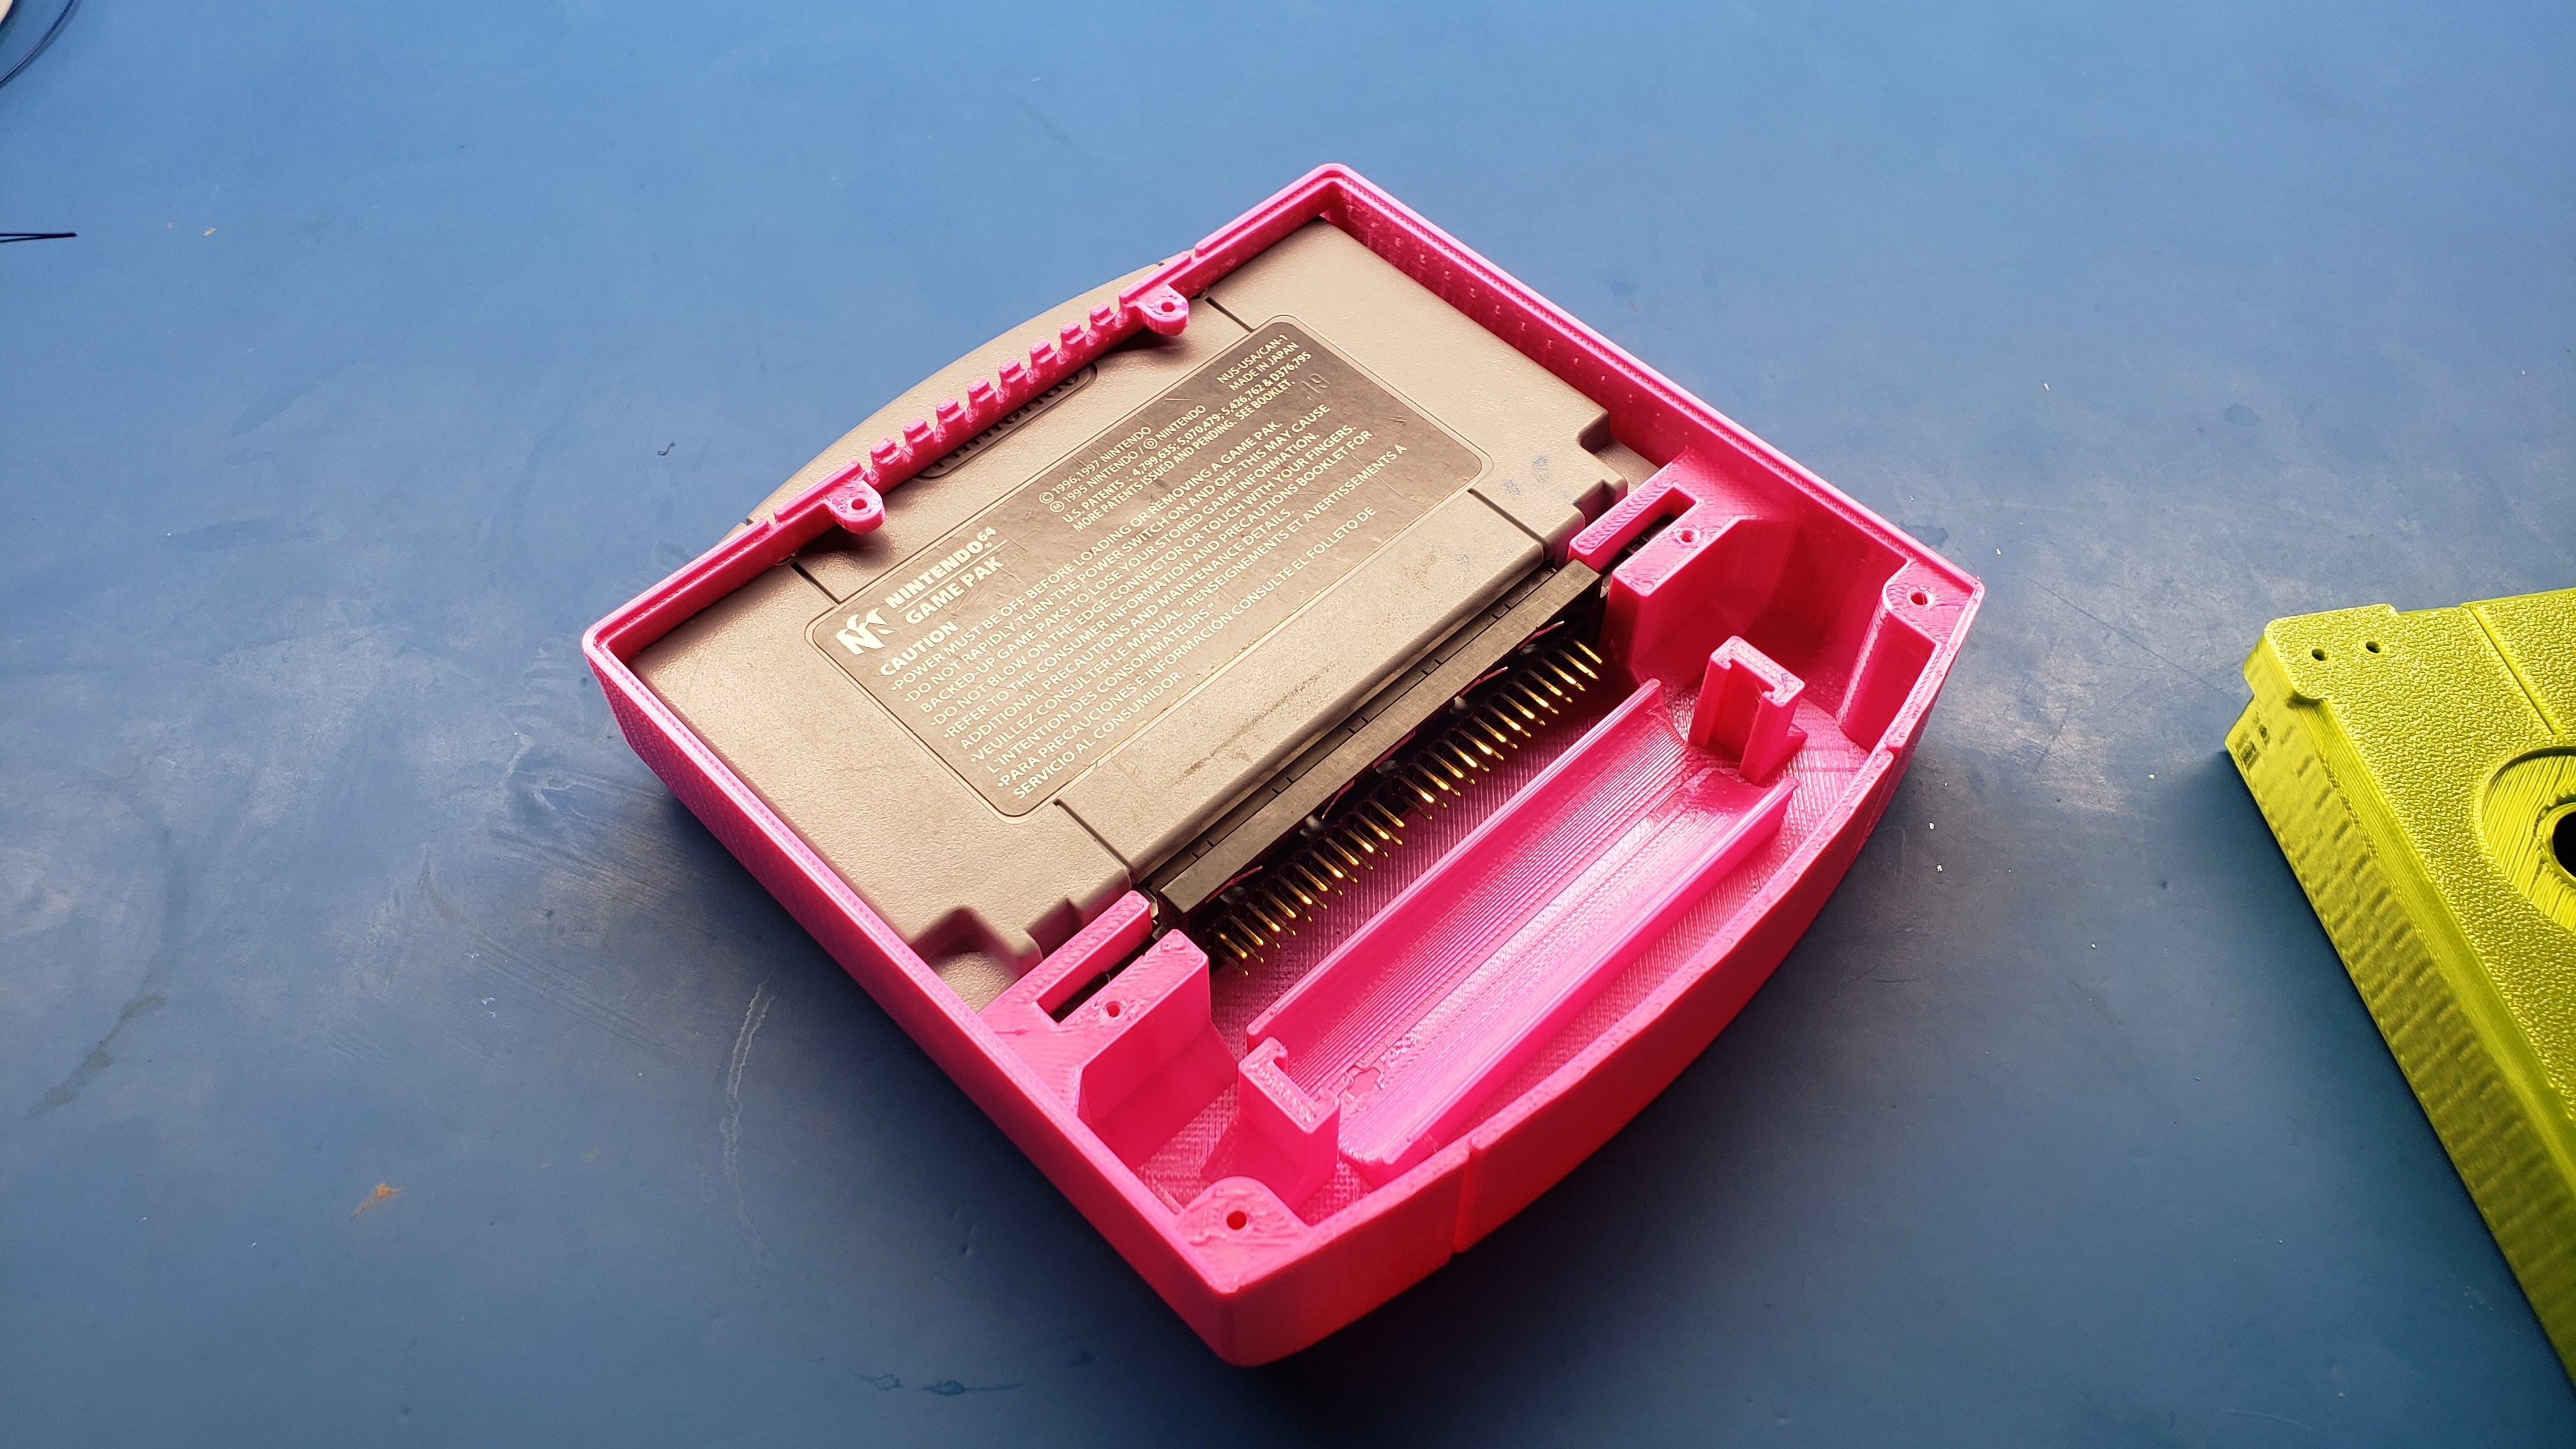
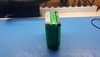
Friction fit cartridge slot. There's another piece that is assembled on top of it to hold it in place. Less hardware!
This is probably going to be pretty quick build. Might stream it in the next few days.
Also lots of SP builds happening I'm making a few changes all around to the design to hopefully improve it for a better prototype. The last one had a few shortcomings:
1. Using thin dome buttons on larger buttons (namely A and B) wasnt very comfortable and required extra force to hold down during gameplay which kinda hurt.
2. N64+ isnt fully developed so I am switching it out for official n64 controller
3. Small mechanical changes to the model
New PCB in. It has official N64 controller IC with FRAM (non-volatile memory pak) and a 3DS slider to N64 joystick converter (using PIC mcu). I always knew the N64 joystick operated differently but never knew exactly how it worked. It's pretty neat. It uses an optical encoder, essentially a rotating disk with slits in it. On each side of the disk there is an IR emitter and IR sensor. As the disk rotates, the sensor produces quadrature pulses due to the led shining through the slits. I made my own take on the encoder converter code for PIC mcu though it's very similar to codes already floating around on the web.
The PCB also has spring leaf connections to the speakers on the back half. In another PCB redesign I would've moved the headphone jack to the top of the pcb so it could be surface mount on the board. If there is USBC connector and headphone jack on opposite sides of the board, then you would quickly realize there is no way to assemble it (without a creative case solution). Anyway 4 wires isnt a big deal so I went ahead with the pcb.
This isnt the color scheme but I just think that is hot.
Friction fit cartridge slot. There's another piece that is assembled on top of it to hold it in place. Less hardware!
This is probably going to be pretty quick build. Might stream it in the next few days.


")