- Joined
- Dec 16, 2016
- Messages
- 1,138
- Likes
- 2,834
- Location
- The Oregon Wildlands
- Portables
- just so many i am so cool
Before this tutorial starts, keep in mind that you should go into this hobby expecting to spend a decent amount of money, at least from the perspective of a high-school/college modder. Your first project will be quite pricey, because you have many investments that need to be made before you can get down to the nitty-gritty of portablizing. So be aware that getting into the hobby isn’t cheap, but the recommendations in this guide are made with balancing quality and price in mind. So with that out of the way, let’s really get into the tools you will want for your portablizing career.
The first and most important tool you will need is a soldering iron. Many people have an old Radioshack iron that “works fine”, but for portablizing a decent iron is absolutely needed. “Buy nice, or buy twice” is a simple saying that applies heavily when delving into portablizing. A bad soldering iron is not only unreliable and difficult to use, but is a common cause of ruined boards and projects among beginners.
So what iron should you get? If you’re on a budget, the cheapest iron you can purchase while still getting something of good quality is the WLC-100 Weller Iron.
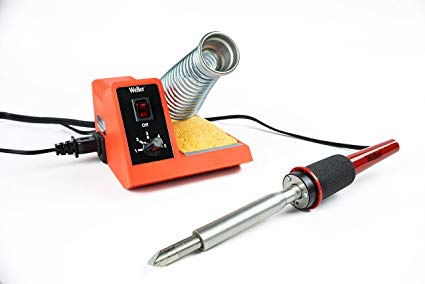
This generally retails on Amazon somewhere in the ballpark of $40, and is the perfect iron for anyone looking to save money on tools. Most veteran portbalizers upgrade from this eventually, but this iron will do absolutely everything you need to build a portable. If you’d like to get an even better iron than this and have a more flexible budget, then the Hakko FX888D is an excellent choice.

The downside is that this Fisher-Price-esque iron will run you around $100, so if you don’t think you’ll be in electronics for the long haul then sticking with the Weller is probably the best option for you.
If for some reason you can’t get your hands on either of these irons, then be sure to choose an iron that does *not* plug into the wall directly from the handle. These irons have been given the title of “lightning rods”, as that’s about all they’re good for. Also be sure to get an iron with temperature control, as ones without this feature tend to not get hot enough to handle the intensive soldering needed to build a portable.
Alongside your soldering iron, if you find that the default tip isn’t your favorite then you can always pick up other tips to use with your iron. When doing so, be sure to get tips manufactured by the same company who made your iron! You can purchase off-brand tips for much cheaper than the brand name ones, but these will wear out astonishingly quick, within a week of regular use in some cases. Name brand ones will last for a very, very long time and are absolutely worth every penny.
Moving on from the iron, let’s talk about solder. There’s a bit more leeway with what brand or type to get, as most name brand solder is quite good. My main advice is not to cheap out on this, just like with all tools. Cheap solder tends to clump and not distribute well, and this headache is not worth saving a few dollars. Good brands include Kester and Chip-Quik.
View attachment 10263
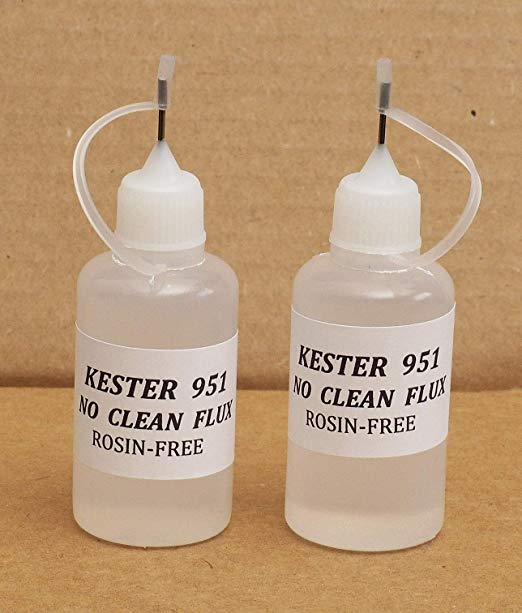
Flux is a crucial ingredient for solder, but you can also buy it separately. Flux essentially acts as magic solder juice, it helps solder to flow where you want it by placing it on the component you are trying to solder. Flux comes in many forms: liquid, paste, and pen are the main ones. Kester 951 flux is highly recommended, as it is inexpensive, easy to use, and easy to clean off. Flux is important for a lot of the finer soldering work required for working with home consoles.
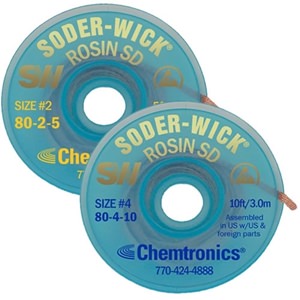
The last soldering related item that you should get your hands on is solder wick. Solder wick acts as the undo button when soldering, as it allows you to to soak up any solder that you no longer want on the board. You’re inevitably going to need to remove some solder from some part of your project, so getting some solder wick beforehand will save you from waiting for it down the line. There are other methods of desoldering, but wick tends to be the most versatile option. Solder suckers are a tool of the Devil. With wick, so long as you have flux the cheap stuff will do a good enough job, though of course the pricier stuff will be easier to use and work better.
Another tool you will need is a multimeter. Multimeters are a critical part of debugging and testing, and you will absolutely need one for this undertaking. Unlike some of the other tools though, you can definitely get away with using a cheap one for this project. Just be sure that your meter is capable of measuring voltage and resistance to a decent accuracy, and you’ll be good to go! Fully fleshed out multimeters are neat, and useful for more involved projects, but at this level you can certainly get away with a cheap one.

Wire is another thing you’re going to need, and you will need a few different types. The first size you will need is 22 gauge wire.
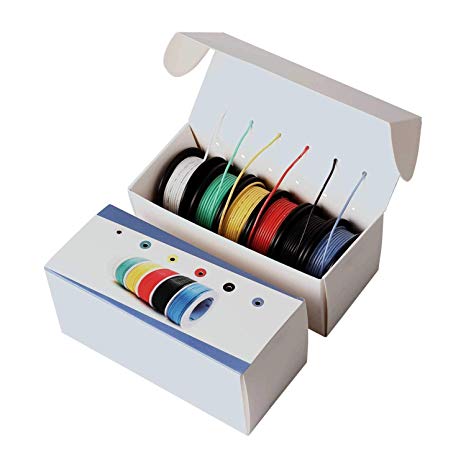
This wire is for all the heavy duty power lines needed for the portable, for things like voltage wiring and batteries. I recommend stranded wire, as solid core wire can be break without you ever knowing, and is an absolute nightmare to troubleshoot. I only had this happen to me once, but since then I have avoided solid core wires of this size at all costs. Another wire gauge you will need is 34 or 38 gauge magnet wire.
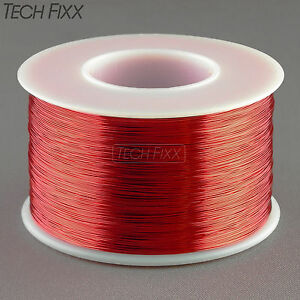
This is an extremely thin wire size, used for wiring to console vias, data lines, and a handful of other applications. The last variety of wire you will need is 30 gauge wire, and wrapping wire is recommended for this. Wrapping wire holds its shape nicely, and is relatively easy to strip and use. This wire will be used for some of the odds and ends, for things where using 34-38 gauge wire is too thin and 22 gauge too clunky.
Beyond these wire types, if you have a type of wire you are particularly fond of that’s between 22 and 38 gauge then feel free to use it! You can never have too many different kinds of wire.
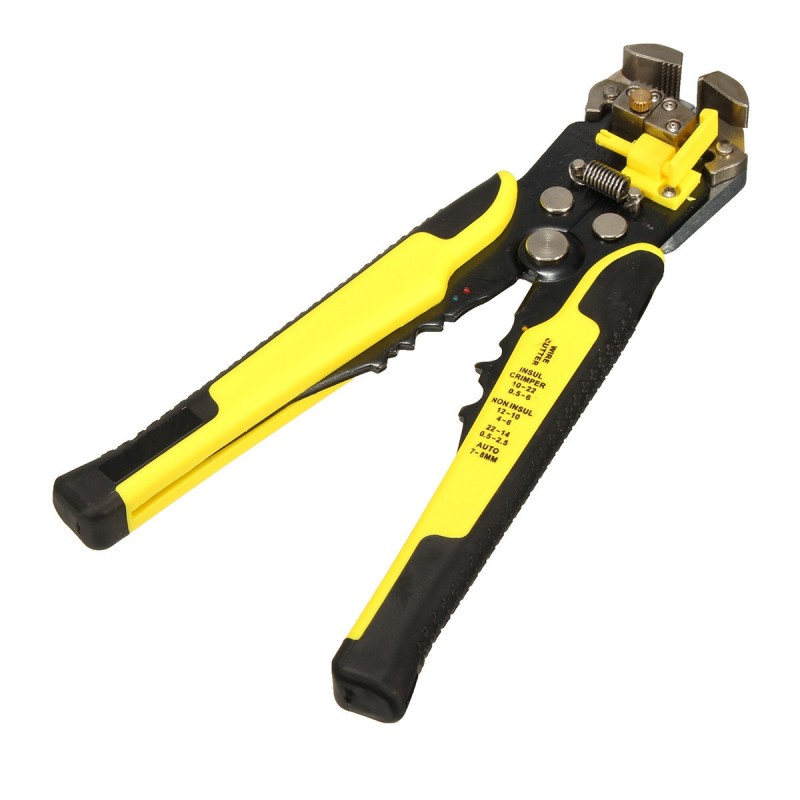
For your wire, you will want a set of wire strippers. You can go with high quality or low, but please don’t use your teeth. 0/10 dentists recommend using your teeth to strip wire.
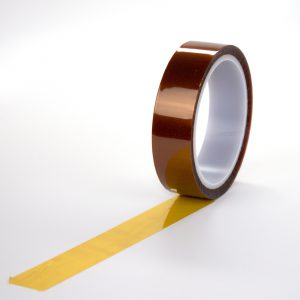
At several points in your project, you will need some sort of thin shielding to place between electrical components to keep them from shorting each other out. Electrical tape is the obvious choice, and works very well, but Kapton tape can be preferable as it is extremely thin and looks much cleaner than electrical tape.
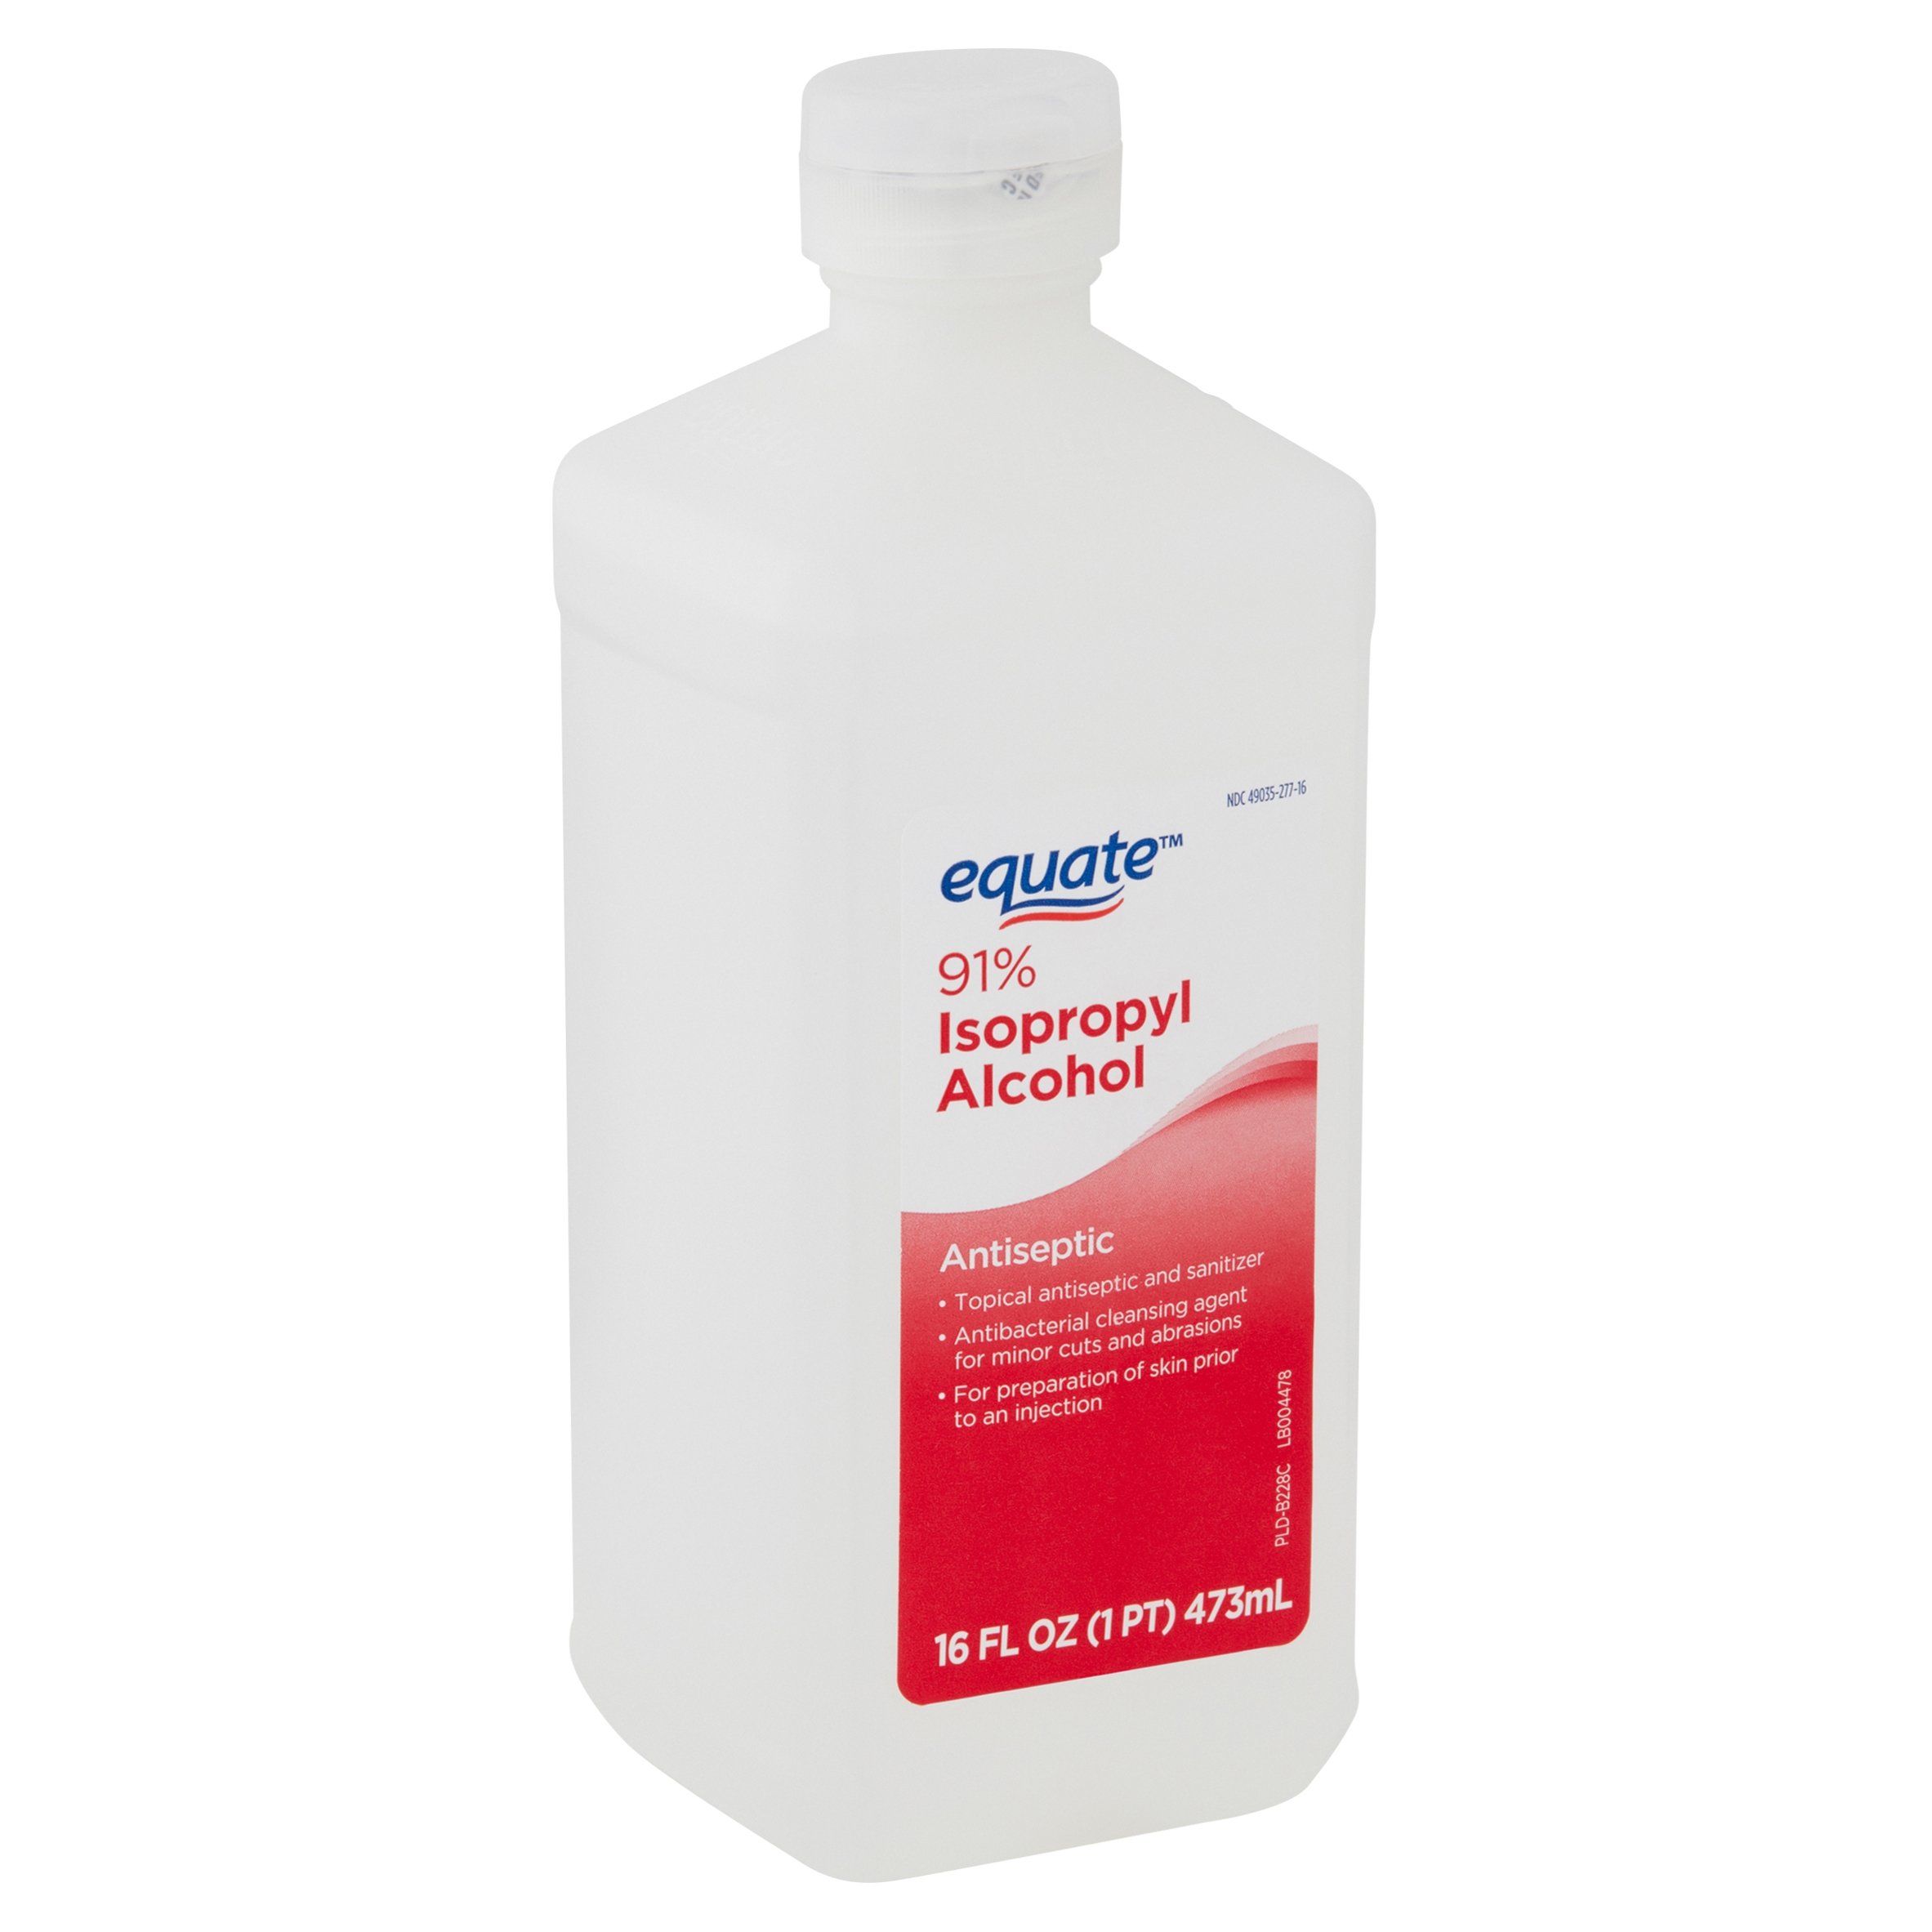
Another important material for this job is Isopropyl alcohol. You can find this in the pharmacy section of most stores for pretty cheap, and it has a variety of handy uses. Most importantly, it is used for cleaning circuit boards. It also does a really good job of loosening hot glue, should you ever need to undo a glue job.
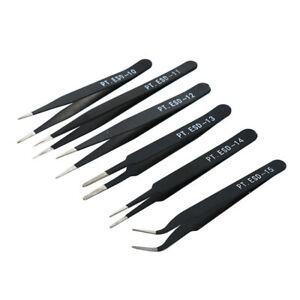
Tweezers are amazing for holding wires and navigating small components into place. They’ll keep you from singing your fingers when tinning wires, as well as help hold things steady that you never could with your fingers. I recommend purchasing a set of soldering tweezers, as they are fairly inexpensive and the variety is very nice to have.
For trimming boards, a Dremel is highly recommended. Any quality rotary tool should work, you just want something that can make a clean cut. Diamond cutting wheels work the best.

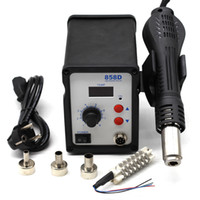
You may also want a hot air reflow station for building a portable. While it definitely isn't required for a portable, it can be very useful for things like the U10 relocation. It will also be needed if you decide to venture into other things like PCB assembly.
The first and most important tool you will need is a soldering iron. Many people have an old Radioshack iron that “works fine”, but for portablizing a decent iron is absolutely needed. “Buy nice, or buy twice” is a simple saying that applies heavily when delving into portablizing. A bad soldering iron is not only unreliable and difficult to use, but is a common cause of ruined boards and projects among beginners.
So what iron should you get? If you’re on a budget, the cheapest iron you can purchase while still getting something of good quality is the WLC-100 Weller Iron.
This generally retails on Amazon somewhere in the ballpark of $40, and is the perfect iron for anyone looking to save money on tools. Most veteran portbalizers upgrade from this eventually, but this iron will do absolutely everything you need to build a portable. If you’d like to get an even better iron than this and have a more flexible budget, then the Hakko FX888D is an excellent choice.
The downside is that this Fisher-Price-esque iron will run you around $100, so if you don’t think you’ll be in electronics for the long haul then sticking with the Weller is probably the best option for you.
If for some reason you can’t get your hands on either of these irons, then be sure to choose an iron that does *not* plug into the wall directly from the handle. These irons have been given the title of “lightning rods”, as that’s about all they’re good for. Also be sure to get an iron with temperature control, as ones without this feature tend to not get hot enough to handle the intensive soldering needed to build a portable.
Alongside your soldering iron, if you find that the default tip isn’t your favorite then you can always pick up other tips to use with your iron. When doing so, be sure to get tips manufactured by the same company who made your iron! You can purchase off-brand tips for much cheaper than the brand name ones, but these will wear out astonishingly quick, within a week of regular use in some cases. Name brand ones will last for a very, very long time and are absolutely worth every penny.
Moving on from the iron, let’s talk about solder. There’s a bit more leeway with what brand or type to get, as most name brand solder is quite good. My main advice is not to cheap out on this, just like with all tools. Cheap solder tends to clump and not distribute well, and this headache is not worth saving a few dollars. Good brands include Kester and Chip-Quik.
View attachment 10263
Flux is a crucial ingredient for solder, but you can also buy it separately. Flux essentially acts as magic solder juice, it helps solder to flow where you want it by placing it on the component you are trying to solder. Flux comes in many forms: liquid, paste, and pen are the main ones. Kester 951 flux is highly recommended, as it is inexpensive, easy to use, and easy to clean off. Flux is important for a lot of the finer soldering work required for working with home consoles.
The last soldering related item that you should get your hands on is solder wick. Solder wick acts as the undo button when soldering, as it allows you to to soak up any solder that you no longer want on the board. You’re inevitably going to need to remove some solder from some part of your project, so getting some solder wick beforehand will save you from waiting for it down the line. There are other methods of desoldering, but wick tends to be the most versatile option. Solder suckers are a tool of the Devil. With wick, so long as you have flux the cheap stuff will do a good enough job, though of course the pricier stuff will be easier to use and work better.
Another tool you will need is a multimeter. Multimeters are a critical part of debugging and testing, and you will absolutely need one for this undertaking. Unlike some of the other tools though, you can definitely get away with using a cheap one for this project. Just be sure that your meter is capable of measuring voltage and resistance to a decent accuracy, and you’ll be good to go! Fully fleshed out multimeters are neat, and useful for more involved projects, but at this level you can certainly get away with a cheap one.
Wire is another thing you’re going to need, and you will need a few different types. The first size you will need is 22 gauge wire.
This wire is for all the heavy duty power lines needed for the portable, for things like voltage wiring and batteries. I recommend stranded wire, as solid core wire can be break without you ever knowing, and is an absolute nightmare to troubleshoot. I only had this happen to me once, but since then I have avoided solid core wires of this size at all costs. Another wire gauge you will need is 34 or 38 gauge magnet wire.
This is an extremely thin wire size, used for wiring to console vias, data lines, and a handful of other applications. The last variety of wire you will need is 30 gauge wire, and wrapping wire is recommended for this. Wrapping wire holds its shape nicely, and is relatively easy to strip and use. This wire will be used for some of the odds and ends, for things where using 34-38 gauge wire is too thin and 22 gauge too clunky.
Beyond these wire types, if you have a type of wire you are particularly fond of that’s between 22 and 38 gauge then feel free to use it! You can never have too many different kinds of wire.
For your wire, you will want a set of wire strippers. You can go with high quality or low, but please don’t use your teeth. 0/10 dentists recommend using your teeth to strip wire.
At several points in your project, you will need some sort of thin shielding to place between electrical components to keep them from shorting each other out. Electrical tape is the obvious choice, and works very well, but Kapton tape can be preferable as it is extremely thin and looks much cleaner than electrical tape.
Another important material for this job is Isopropyl alcohol. You can find this in the pharmacy section of most stores for pretty cheap, and it has a variety of handy uses. Most importantly, it is used for cleaning circuit boards. It also does a really good job of loosening hot glue, should you ever need to undo a glue job.
Tweezers are amazing for holding wires and navigating small components into place. They’ll keep you from singing your fingers when tinning wires, as well as help hold things steady that you never could with your fingers. I recommend purchasing a set of soldering tweezers, as they are fairly inexpensive and the variety is very nice to have.
For trimming boards, a Dremel is highly recommended. Any quality rotary tool should work, you just want something that can make a clean cut. Diamond cutting wheels work the best.
You may also want a hot air reflow station for building a portable. While it definitely isn't required for a portable, it can be very useful for things like the U10 relocation. It will also be needed if you decide to venture into other things like PCB assembly.