Worklog [2023 Contest Entry] Pro Controller X

OfflineRocket

.
2023 2nd Place
Joined
Jan 25, 2021
Messages
11
Likes
51
Location
Canada
Portables
Unfortunately 0
Well, I guess it's time to post my first thread on BitBuilt. I've lurked for a while, but haven't really interacted on the forums

I've had this idea for a while, but never got around to implementing it. After feeling like I'm getting back into gaming, I can't help but feel like I want to use certain controllers, but am limited to others for features. Namely, I currently use a Switch Pro Controller for it's Gyro aim, except there's an issue, the Switch Pro Controller... kinda sucks...

Don't get me wrong, it's nice, but everyone already knows the D-PAD is bad, and personally the face buttons are oddly flat and mushy. Somehow it's a downgrade from the Wii U Pro Controller in terms of ergonomics

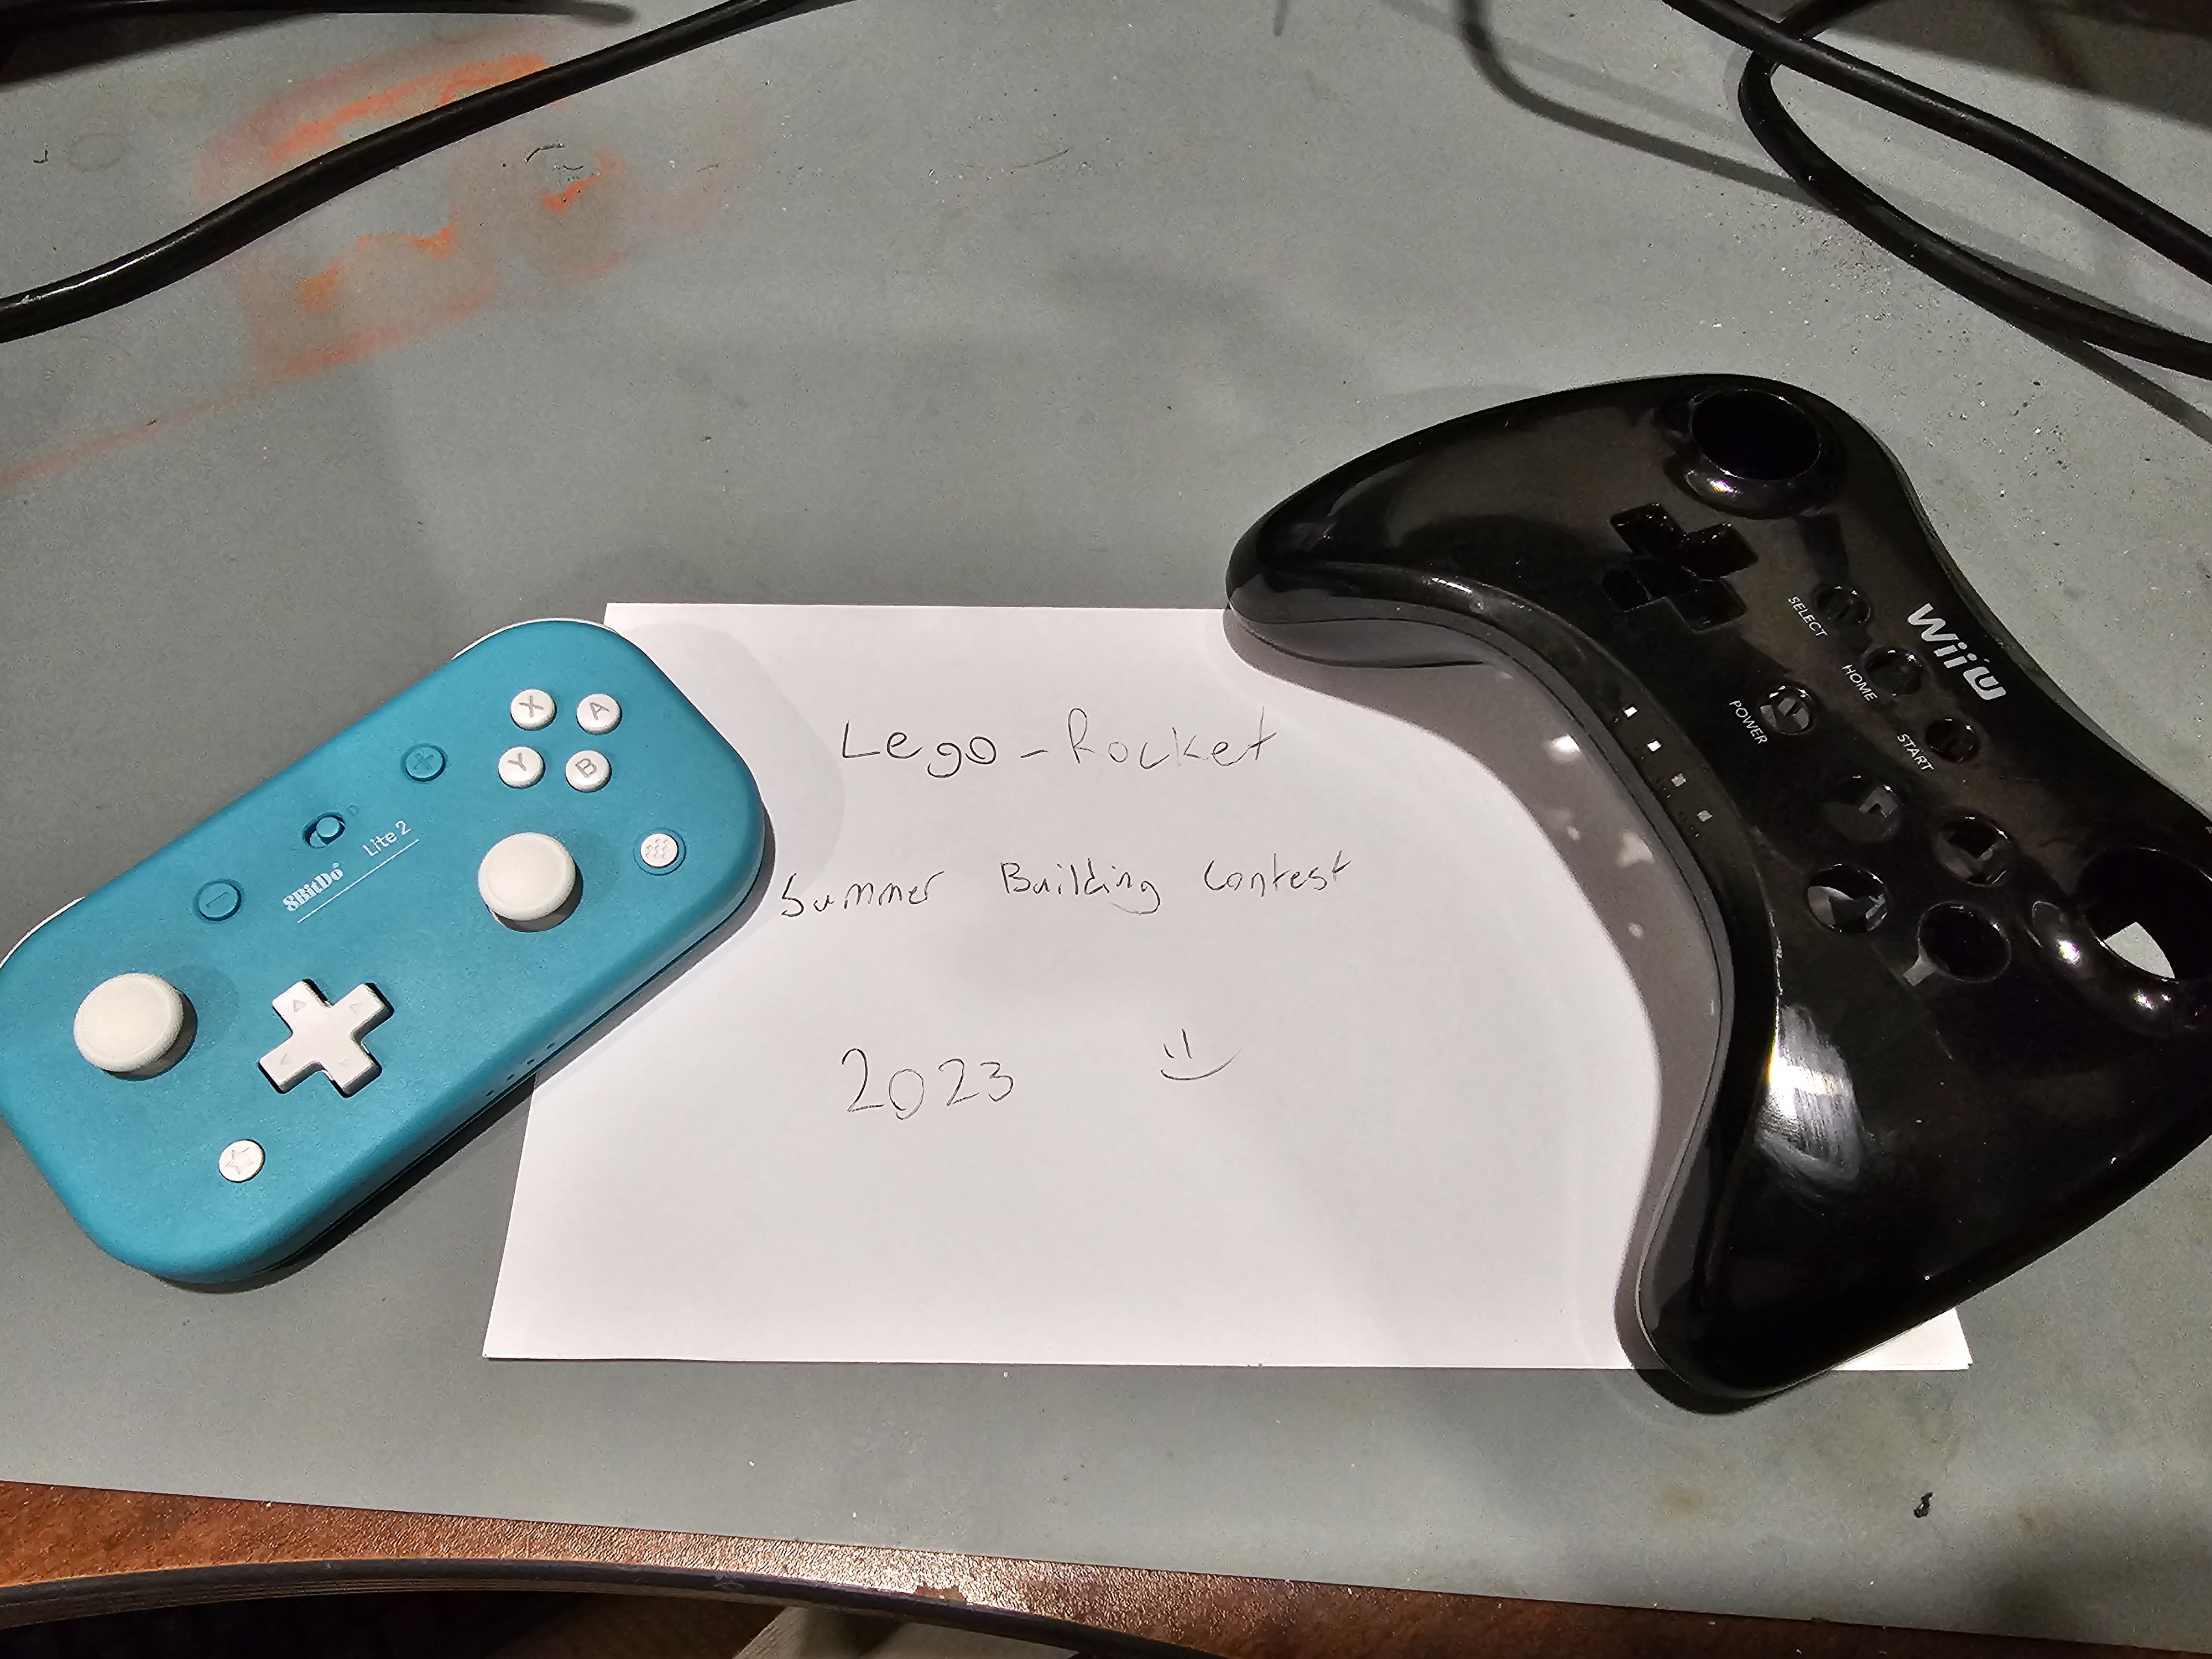
This project is a project attempting to make a Wii U Pro Controller, with the (important) features of a Switch Pro Controller. Taking inspiration from Xenoblade Chronicles X (sometimes called Xenoblade Chronicles Cross), it is an attempt to "cross" the two controllers into one Pro Controller.

I plan on attempting to post all my findings/files to a github here: https://github.com/LegoRocket/Pro-Controller-X - in theory, it should be my first project designed to be open source from the start

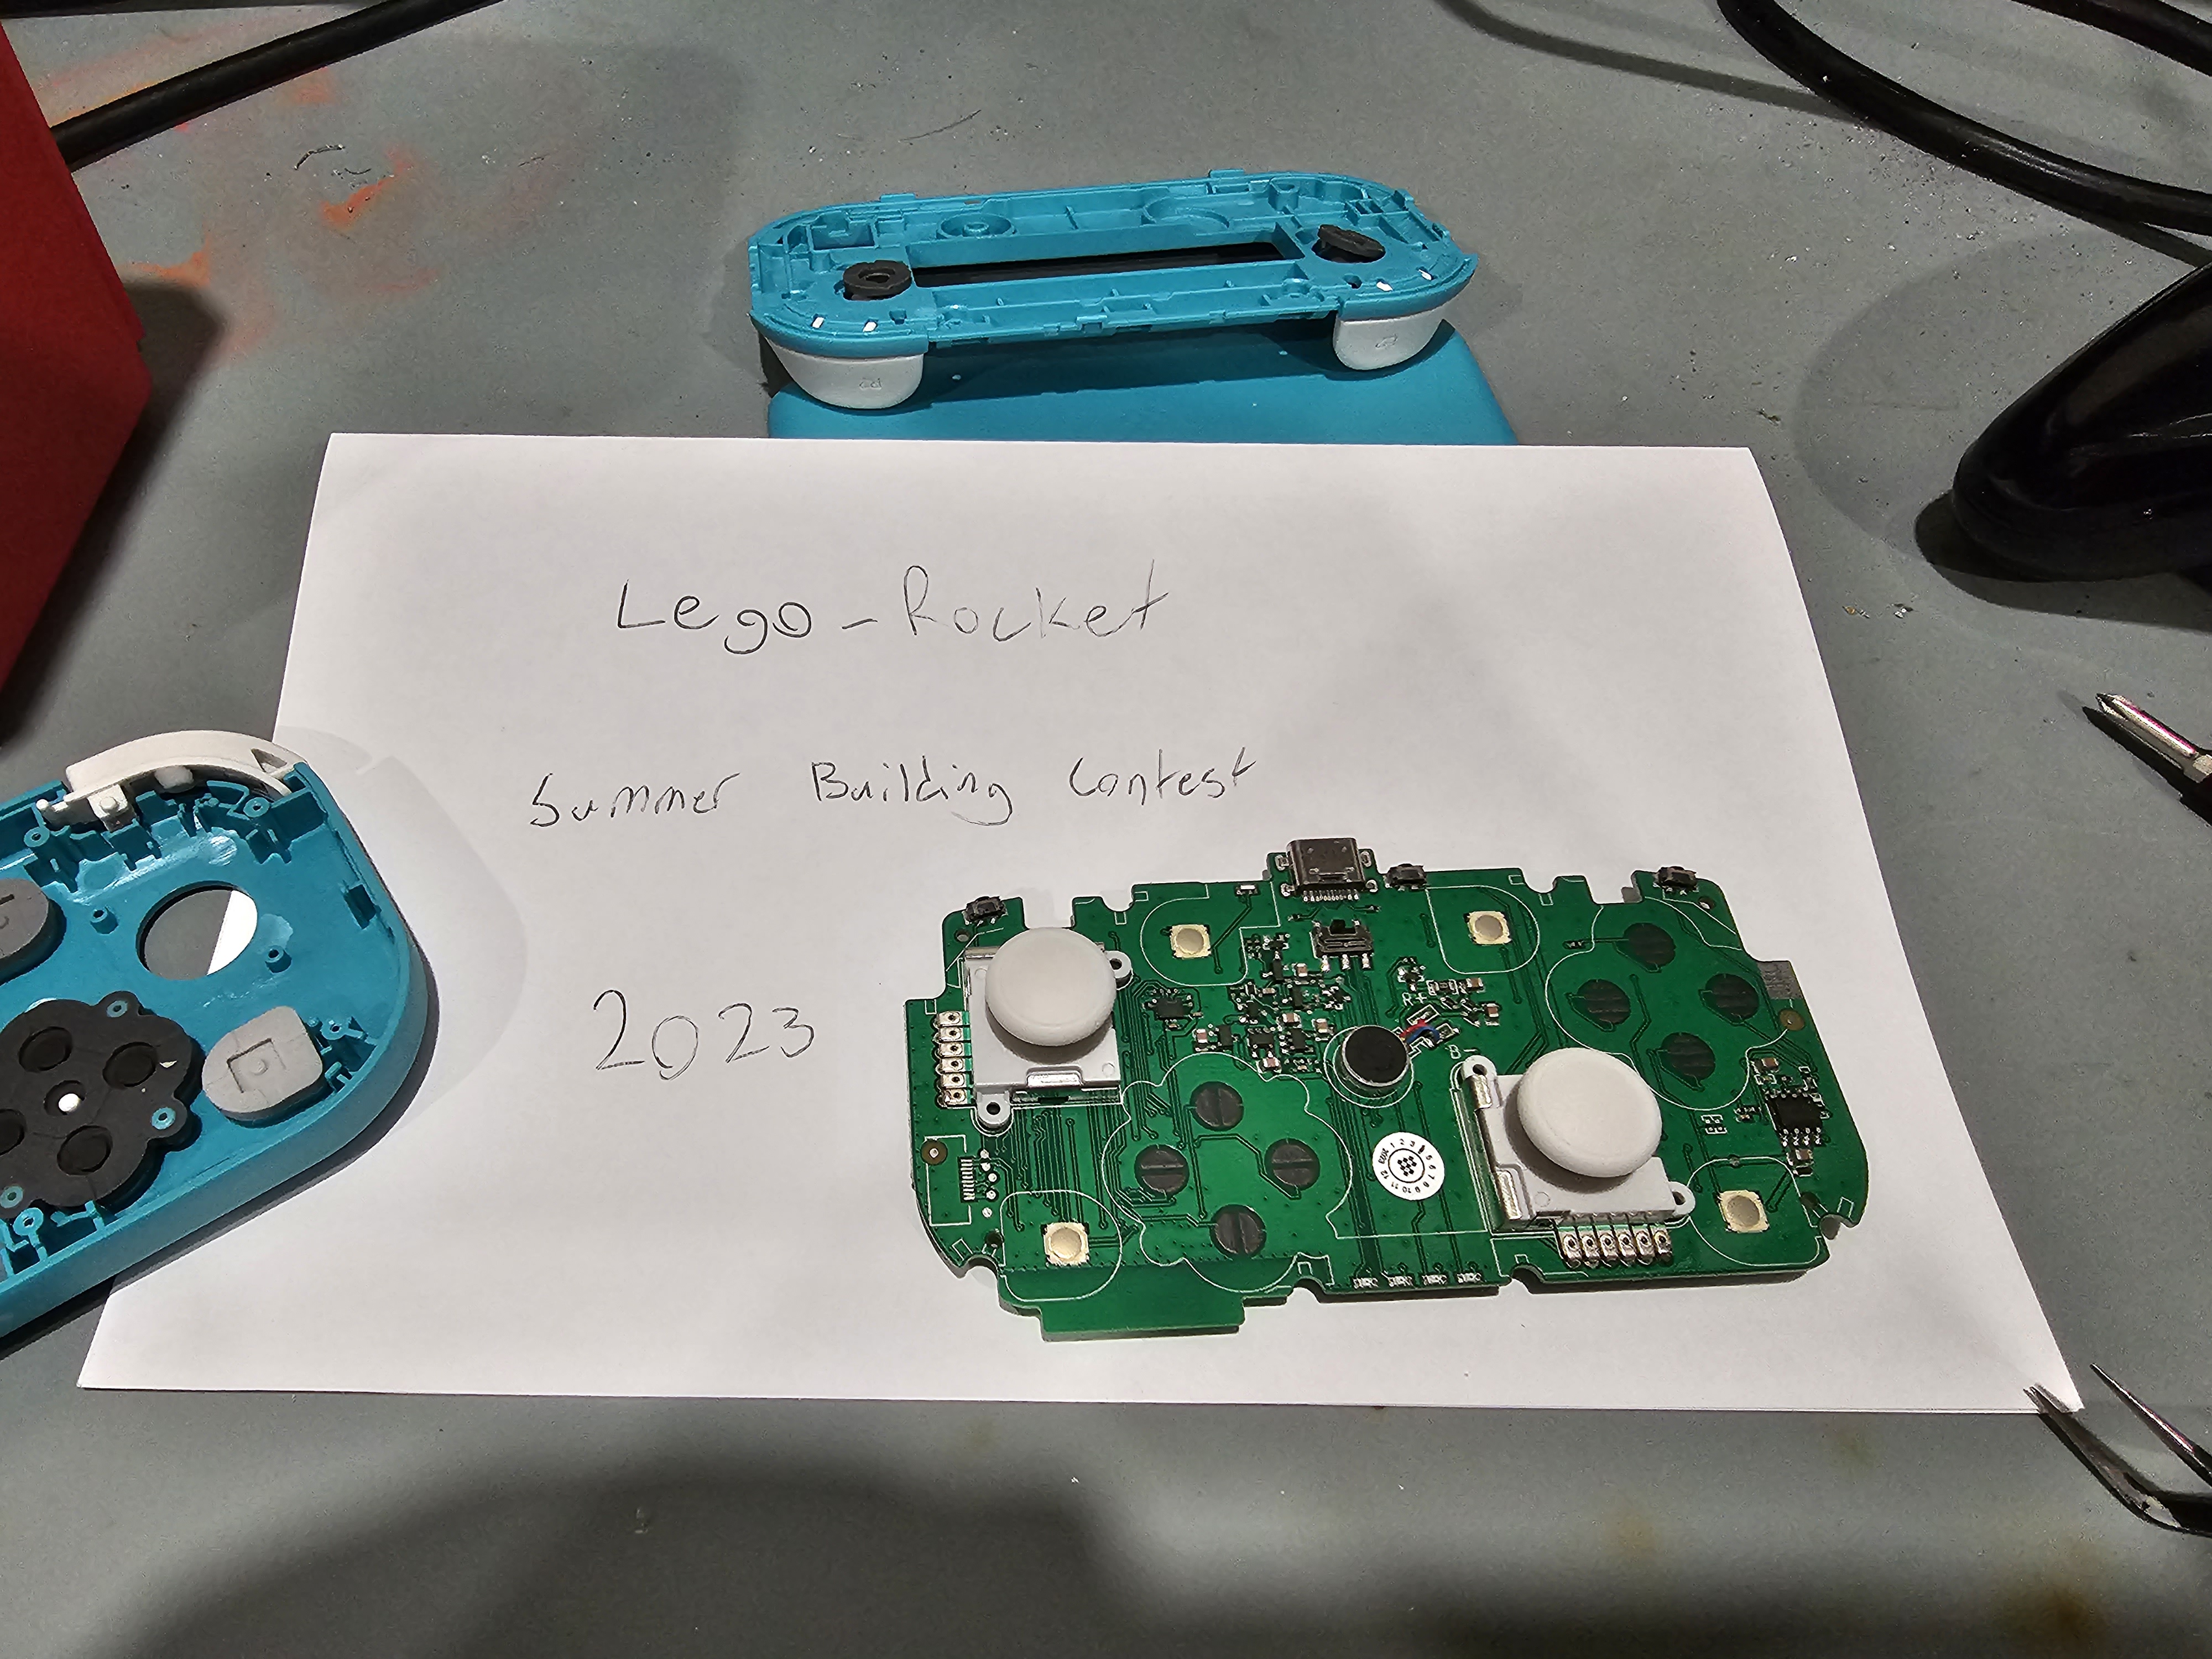
Currently the next few weeks are a bit busy for me, but I hope to be able to reverse engineer the 8bitdo Lite 2 controller and fit it into a Wii U Pro controller shell, I figure I should be able to get it done in 5 months

20230603_214202.jpg
20230603_214924.jpg
 
Joined
May 28, 2023
Messages
48
Likes
12
The Wii U controller may have better ergonomics, but I'm not sure how you can stand that thumbstick placement.
 

OfflineRocket

.
2023 2nd Place
Joined
Jan 25, 2021
Messages
11
Likes
51
Location
Canada
Portables
Unfortunately 0
Well, I suppose it's about time to make an update

I've made a good amount of headway in the project, the stickbox daughterboards are complete, after figuring out how the stickboxes worked. These are a bit weird, as they don't actually max out the potentiometers, so resistors have to be added in series for the stickbox to be recognized. Testing was done below, however the actual CAD models are later on in this post.
20230721_164546.jpg
20230729_100816.jpg


CAD progress has been made, the Wii U pro controller outline and required placements have been completed. Most of the major components from the 8BitDo controller placed in a similar place to the 8BitDo. From my research, the location of these chips don't really matter, all except the (presumably) Gyro chip. Since the Wii U Pro Controller doesn't have much space on the front, the only chip that will be place on the front is the chip that's used for Gyro, since it would need to be in the same orientation for the Gyro aim to work properly. Ideally I'd know for a fact that it's the Gyro chip, but I couldn't find any information searching up the numbers, so considering it's the only chip with a differential signal doing to it, I figured it has to be the Gyro chip.
1692655974954.png


The Stickbox PCBs are simple, but effective. Originally, I was planning on reusing the old sticks, however after taking apart the 8BitDo sticks, they would have needed to be modified anyway, to fix the flipped axis on both sticks. I'd rather just spend the $10 on new PCBs, and have it look nice in the first place
1692656362798.png
1692656409013.png


Most of the pins were mapped out using GIMP, I'm sure there's better ways of doing that but it worked for me, which has allowed me to map most of the schematics. Not everything is connected yet, however the information is there. This provided most of the information, however I figured there had to be a few pins under-board pins, so after testing was done, the MCU needed to come off. As figured, there was under-board pins. Luckily, I was able to take the MCU off with surprisingly little issues, no pads were lifted, and the MCU didn't have that much heat, so presumably it's still alive
1692656657053.png
20230818_193115.jpg


As for what's next? It's mainly the mainboard that needs to be done. My first order of business is recreating the antenna. I have already roughly traced it in silkscreen to give me an idea of where it can be placed, however will measure it more accurately when I recreate it. I plan on changing as little as possible, so that the errors are reduced. Ideally, I want to place the MCU near the corner of the original antenna placement from the Wii U Pro Controller. By far, this would be the most difficult part in the project, however since I plan on changing very little, I'm hoping it still works. The only thing I'm considering changing is the orientation of the antenna capacitor, to give me more room for a mounting hole.

After that, I plan on completing the schematics on the mainboard, and getting the board design done. I'd like to get board fab done sooner rather than later, I'd like to finish Tears of the Kingdom with this controller.

As before, any digital progress has been tracked here: https://github.com/LegoRocket/Pro-Controller-X/

The Wii U controller may have better ergonomics, but I'm not sure how you can stand that thumbstick placement.
As for the thumbstick placement, I actually like it, both sticks fit where my thumbs naturally want to sit. Same with the face buttons, with controllers, I honestly only care about the left stick being at the top, so the right stick being at the top doesn't bother me.
 

OfflineRocket

.
2023 2nd Place
Joined
Jan 25, 2021
Messages
11
Likes
51
Location
Canada
Portables
Unfortunately 0
Alright, I've got another (small) update now!

PCBs have come in! They look great! And I'm excited to get to work at assembly.

20230910_171739.jpg
20230910_164039.jpg


So far, the fit great! Only one small error which is the top hole on the Joystick daughter-boards, however that's easy enough to fix :P

20230910_172807.jpg


Since I have a bit of time, I'll get right to assembly. Just need to make a quick mouser/digikey order for some passives required, but otherwise, the transplanting should be ready to be done.

Hopefully the next update is it being complete!
 

OfflineRocket

.
2023 2nd Place
Joined
Jan 25, 2021
Messages
11
Likes
51
Location
Canada
Portables
Unfortunately 0
Alright! I said the next update would be it being complete, and I wasn't lying!

I'll start with the video for submission, here:

I've been really happy with how it turned out. Only small issue I had was I realized that the rumble on the 8bitdo controller was PWM, so I couldn't use the original rumble from the Wii U controller, but otherwise it's been a fantastic controller, I've been using it for TotK recently, and been absolutely loving it. So much better than any other controller. For having only 1 flywire, I'm pretty happy with what I was able to accomplish.

I'll attach some photos of it being done, and some in progress photos here:
20230923_181008.jpg
20230924_132409.jpg


And some in progress of transferring the components:
20230910_220831.jpg
20230911_132207.jpg
20230911_150833.jpg


As always, everything's available here: https://github.com/LegoRocket/Pro-Controller-X
I provide all the files "as is", I tried to map the layout to the Lite2 as closely as possible, but some things had to be moved. Schematics are accurate in the terms of footprints, however the actual transistor and diode directions aren't (quite frankly I didn't care, I knew I would have the right direction from the Lite2 itself). Also the right stick PCB has V+ and GND mixed up, oops.

I guess I'll take the "first one submitted" prize :P

But you guys have been great, the discord has seemed to really like this mod, even though it was pretty simple compared to some of the other entrants. My goal wasn't anything other than make a controller I've been dreaming about for so long. Thanks guys!
 

cy

.
Joined
Sep 3, 2020
Messages
116
Likes
326
Portables
6
Clearly fake, using emulation and not real hardware.

It really was nice of Nintendo to leave you to finish the controller for them so you'd get an entry in the contest AND you'd have an excuse to mod something.

All jokes aside, this really is impressive! Taking the time to design your own board for it and getting everything to work within the size constraints of the original shell couldn't have been easy!

Beautiful work man! @Lego_Rocket does what Nintendon't!
 
Joined
Oct 27, 2020
Messages
108
Likes
120
Portables
KiWii Portable (In progress)
Alright! I said the next update would be it being complete, and I wasn't lying!

I'll start with the video for submission, here:

I've been really happy with how it turned out. Only small issue I had was I realized that the rumble on the 8bitdo controller was PWM, so I couldn't use the original rumble from the Wii U controller, but otherwise it's been a fantastic controller, I've been using it for TotK recently, and been absolutely loving it. So much better than any other controller. For having only 1 flywire, I'm pretty happy with what I was able to accomplish.

I'll attach some photos of it being done, and some in progress photos here:
View attachment 29945View attachment 29947

And some in progress of transferring the components:
View attachment 29948View attachment 29949View attachment 29950

As always, everything's available here: https://github.com/LegoRocket/Pro-Controller-X
I provide all the files "as is", I tried to map the layout to the Lite2 as closely as possible, but some things had to be moved. Schematics are accurate in the terms of footprints, however the actual transistor and diode directions aren't (quite frankly I didn't care, I knew I would have the right direction from the Lite2 itself). Also the right stick PCB has V+ and GND mixed up, oops.

I guess I'll take the "first one submitted" prize :P

But you guys have been great, the discord has seemed to really like this mod, even though it was pretty simple compared to some of the other entrants. My goal wasn't anything other than make a controller I've been dreaming about for so long. Thanks guys!
This is awesome! Never thought I would see such a mod for this controller. But this is super cool!
 
Top