- Joined
- Apr 12, 2020
- Messages
- 207
- Likes
- 236
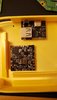
Here we go!
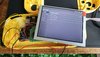
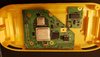
I'm not 100% on what I am doing but figuring it out as I go. I have some great mentors here and really appreciate them answering all my crazy questions! Thank you G-Man for printing the case for me and answering my questions!
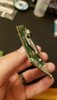
Cyframe thanks for helping me out with all the troubleshooting so far! I need all the help I can get around here haha!
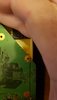
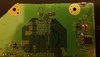
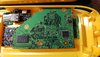
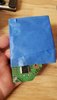
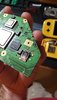
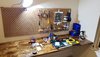
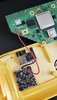
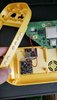
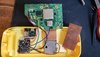
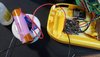
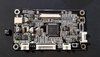
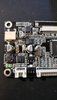
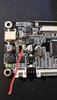
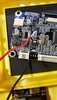
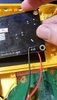
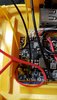
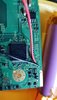
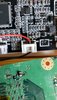
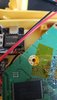
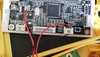
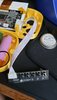
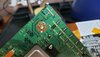
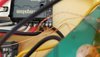
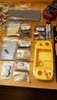
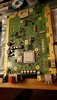
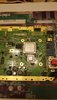
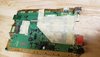
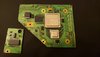
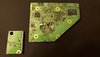
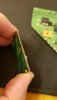
I've taken off the caps that I don't need so far and marked my cutting area off. I will be cutting once we complete our office workstation!
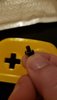
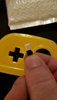
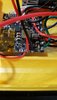
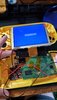
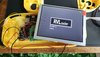
The G-Wii will be yellow and match the yellow switch light (buttons being all white). As you might tell... yellow is my favorite color!
I'm not 100% on what I am doing but figuring it out as I go. I have some great mentors here and really appreciate them answering all my crazy questions! Thank you G-Man for printing the case for me and answering my questions!
Cyframe thanks for helping me out with all the troubleshooting so far! I need all the help I can get around here haha!
I've taken off the caps that I don't need so far and marked my cutting area off. I will be cutting once we complete our office workstation!
The G-Wii will be yellow and match the yellow switch light (buttons being all white). As you might tell... yellow is my favorite color!


")