
Sindrex
.
- Joined
- May 22, 2023
- Messages
- 5
- Likes
- 6
Hi! I'm Sindrex, a guy from Norway who works in IT.
After initially watching some amazing Wii portable builds on youtube by Shank and Ginger, I was inspired to build my own. I had no prior soldering experience and only electricity knowledge up to highschool level. After reading worklogs and watching some build streams by Ginger I decided on making an Ashida (like everyone else).
I bought a used black Wii with GC ports (4 layer) for about $40. I proceeded to softmod the Wii without issue. I followed the guide by Dubesinhower here. His guides have been very valuable and I will continue to use them to build my Ashida.
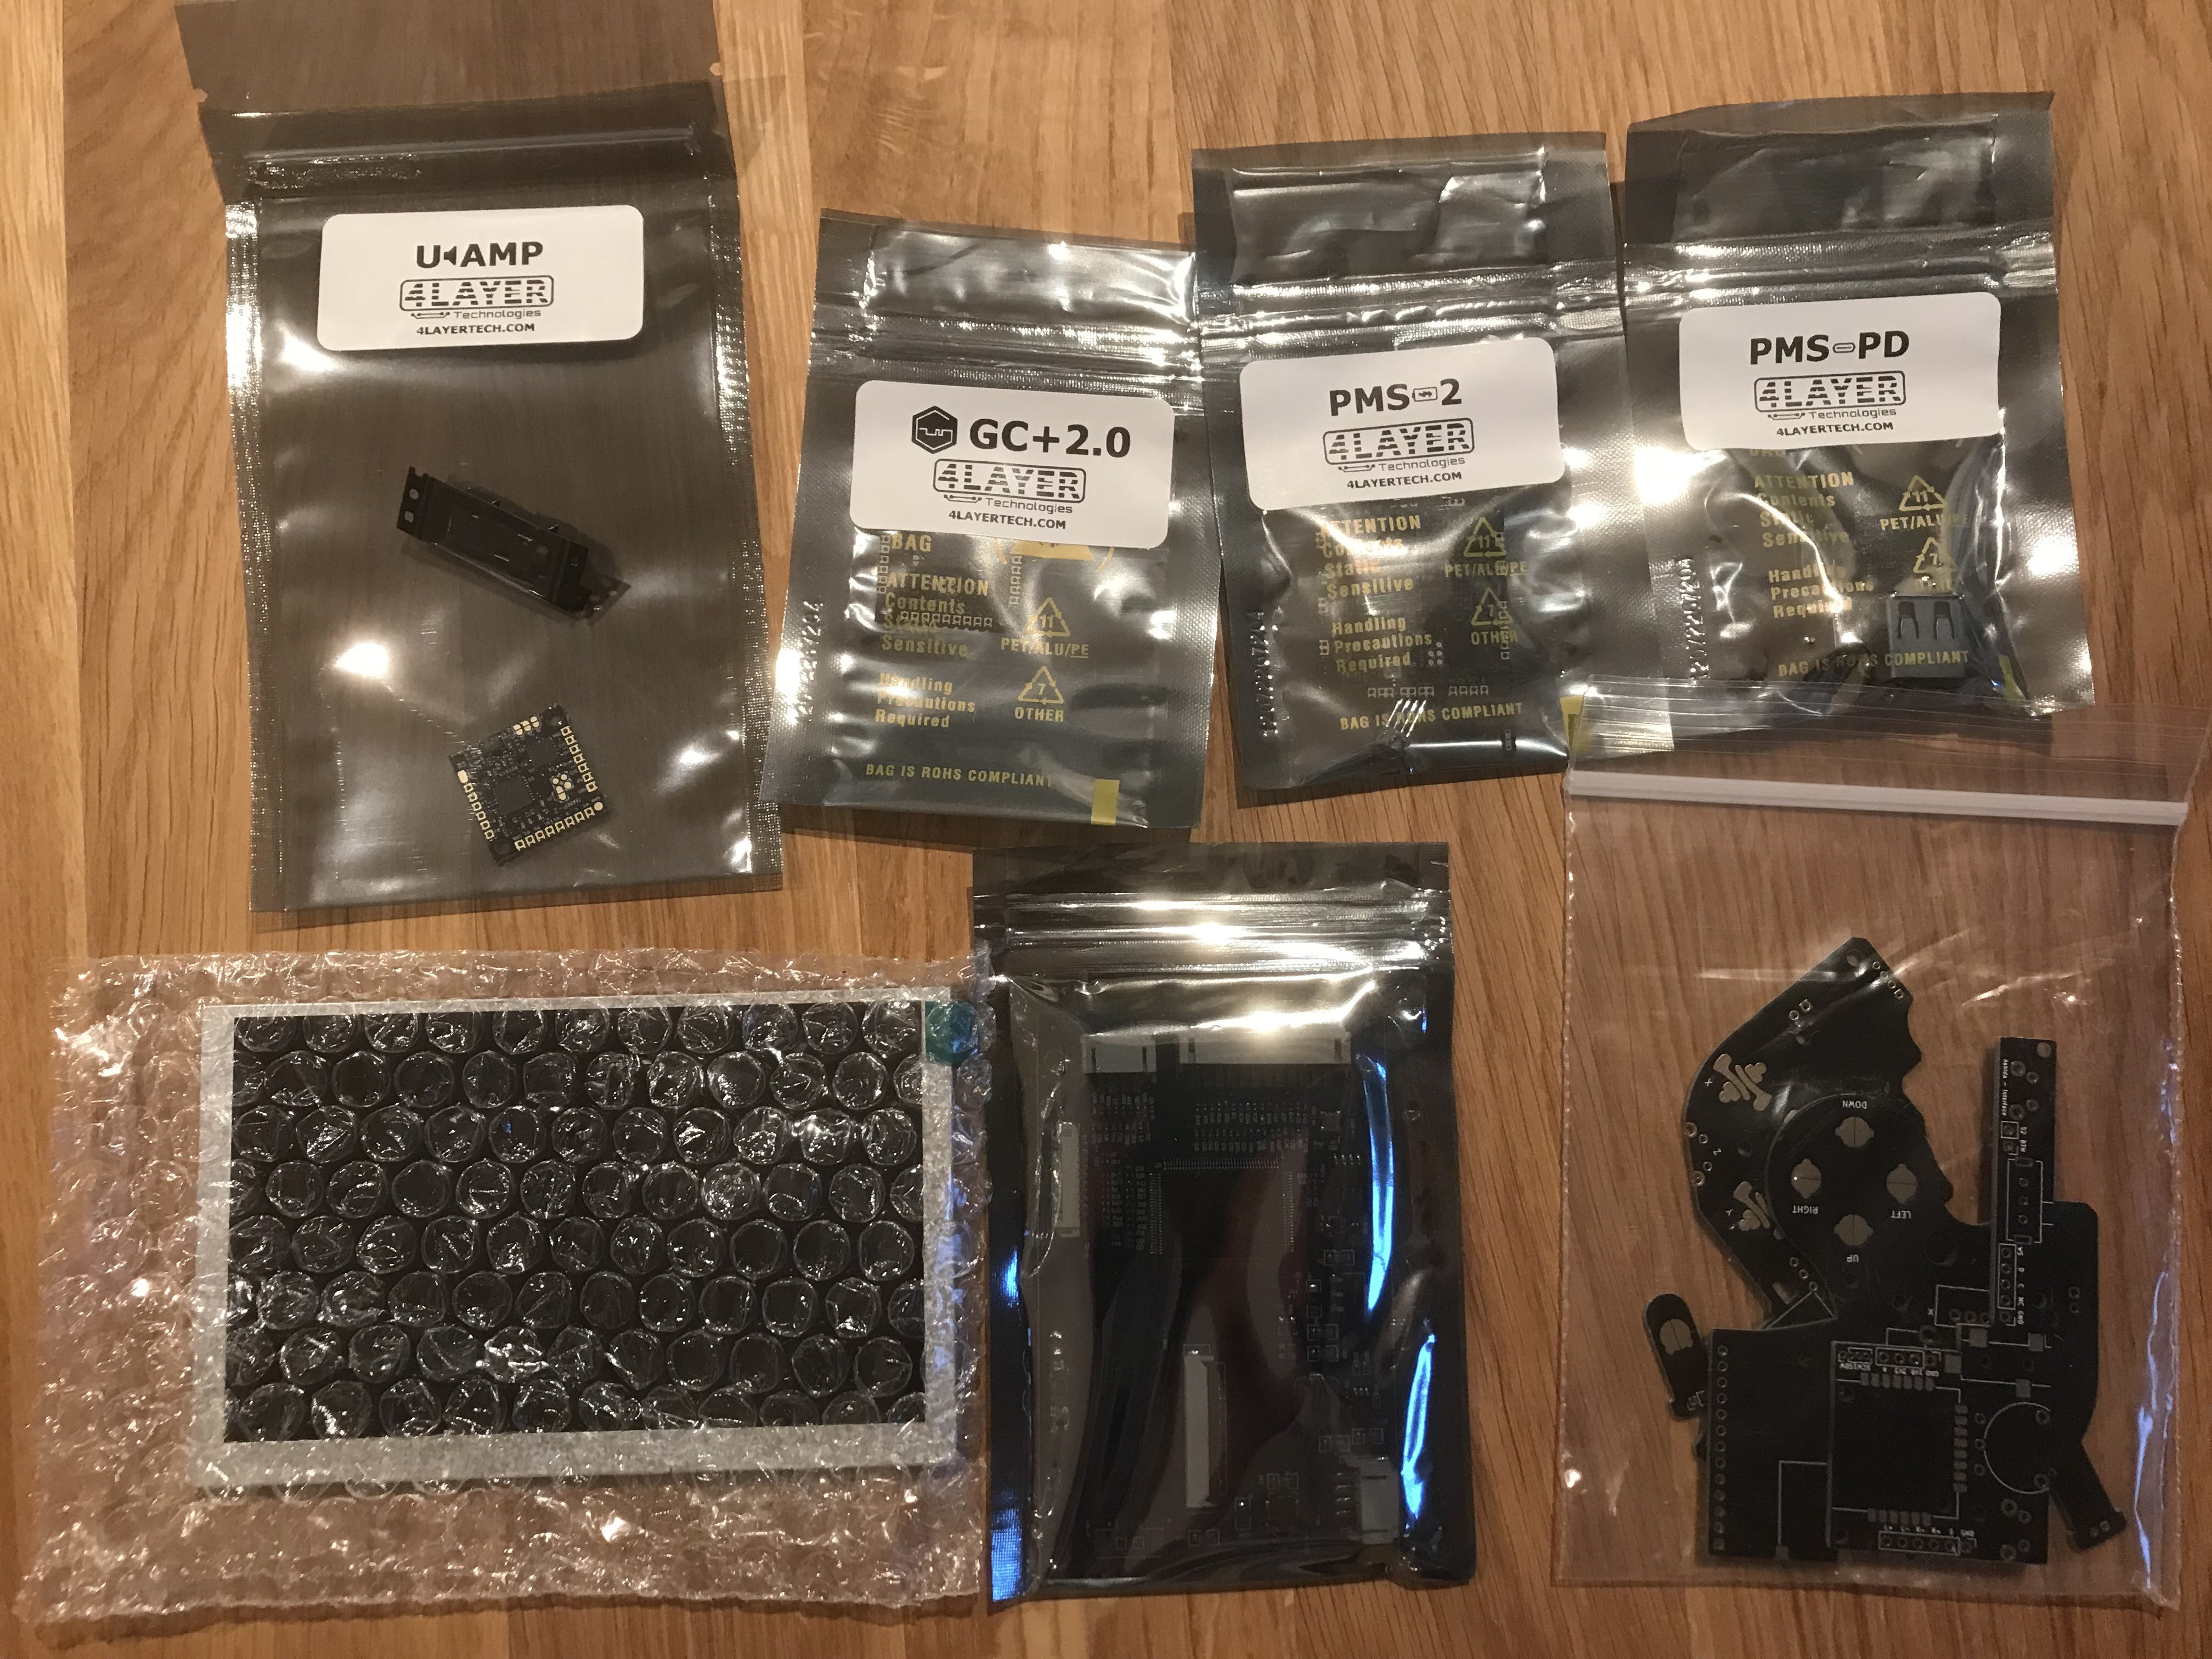
Took some time to gather all the required tools and items. I followed the Ashida BOM and a recommended tools list I found on this forum. I still need to buy some items, but I have all I need to start building.
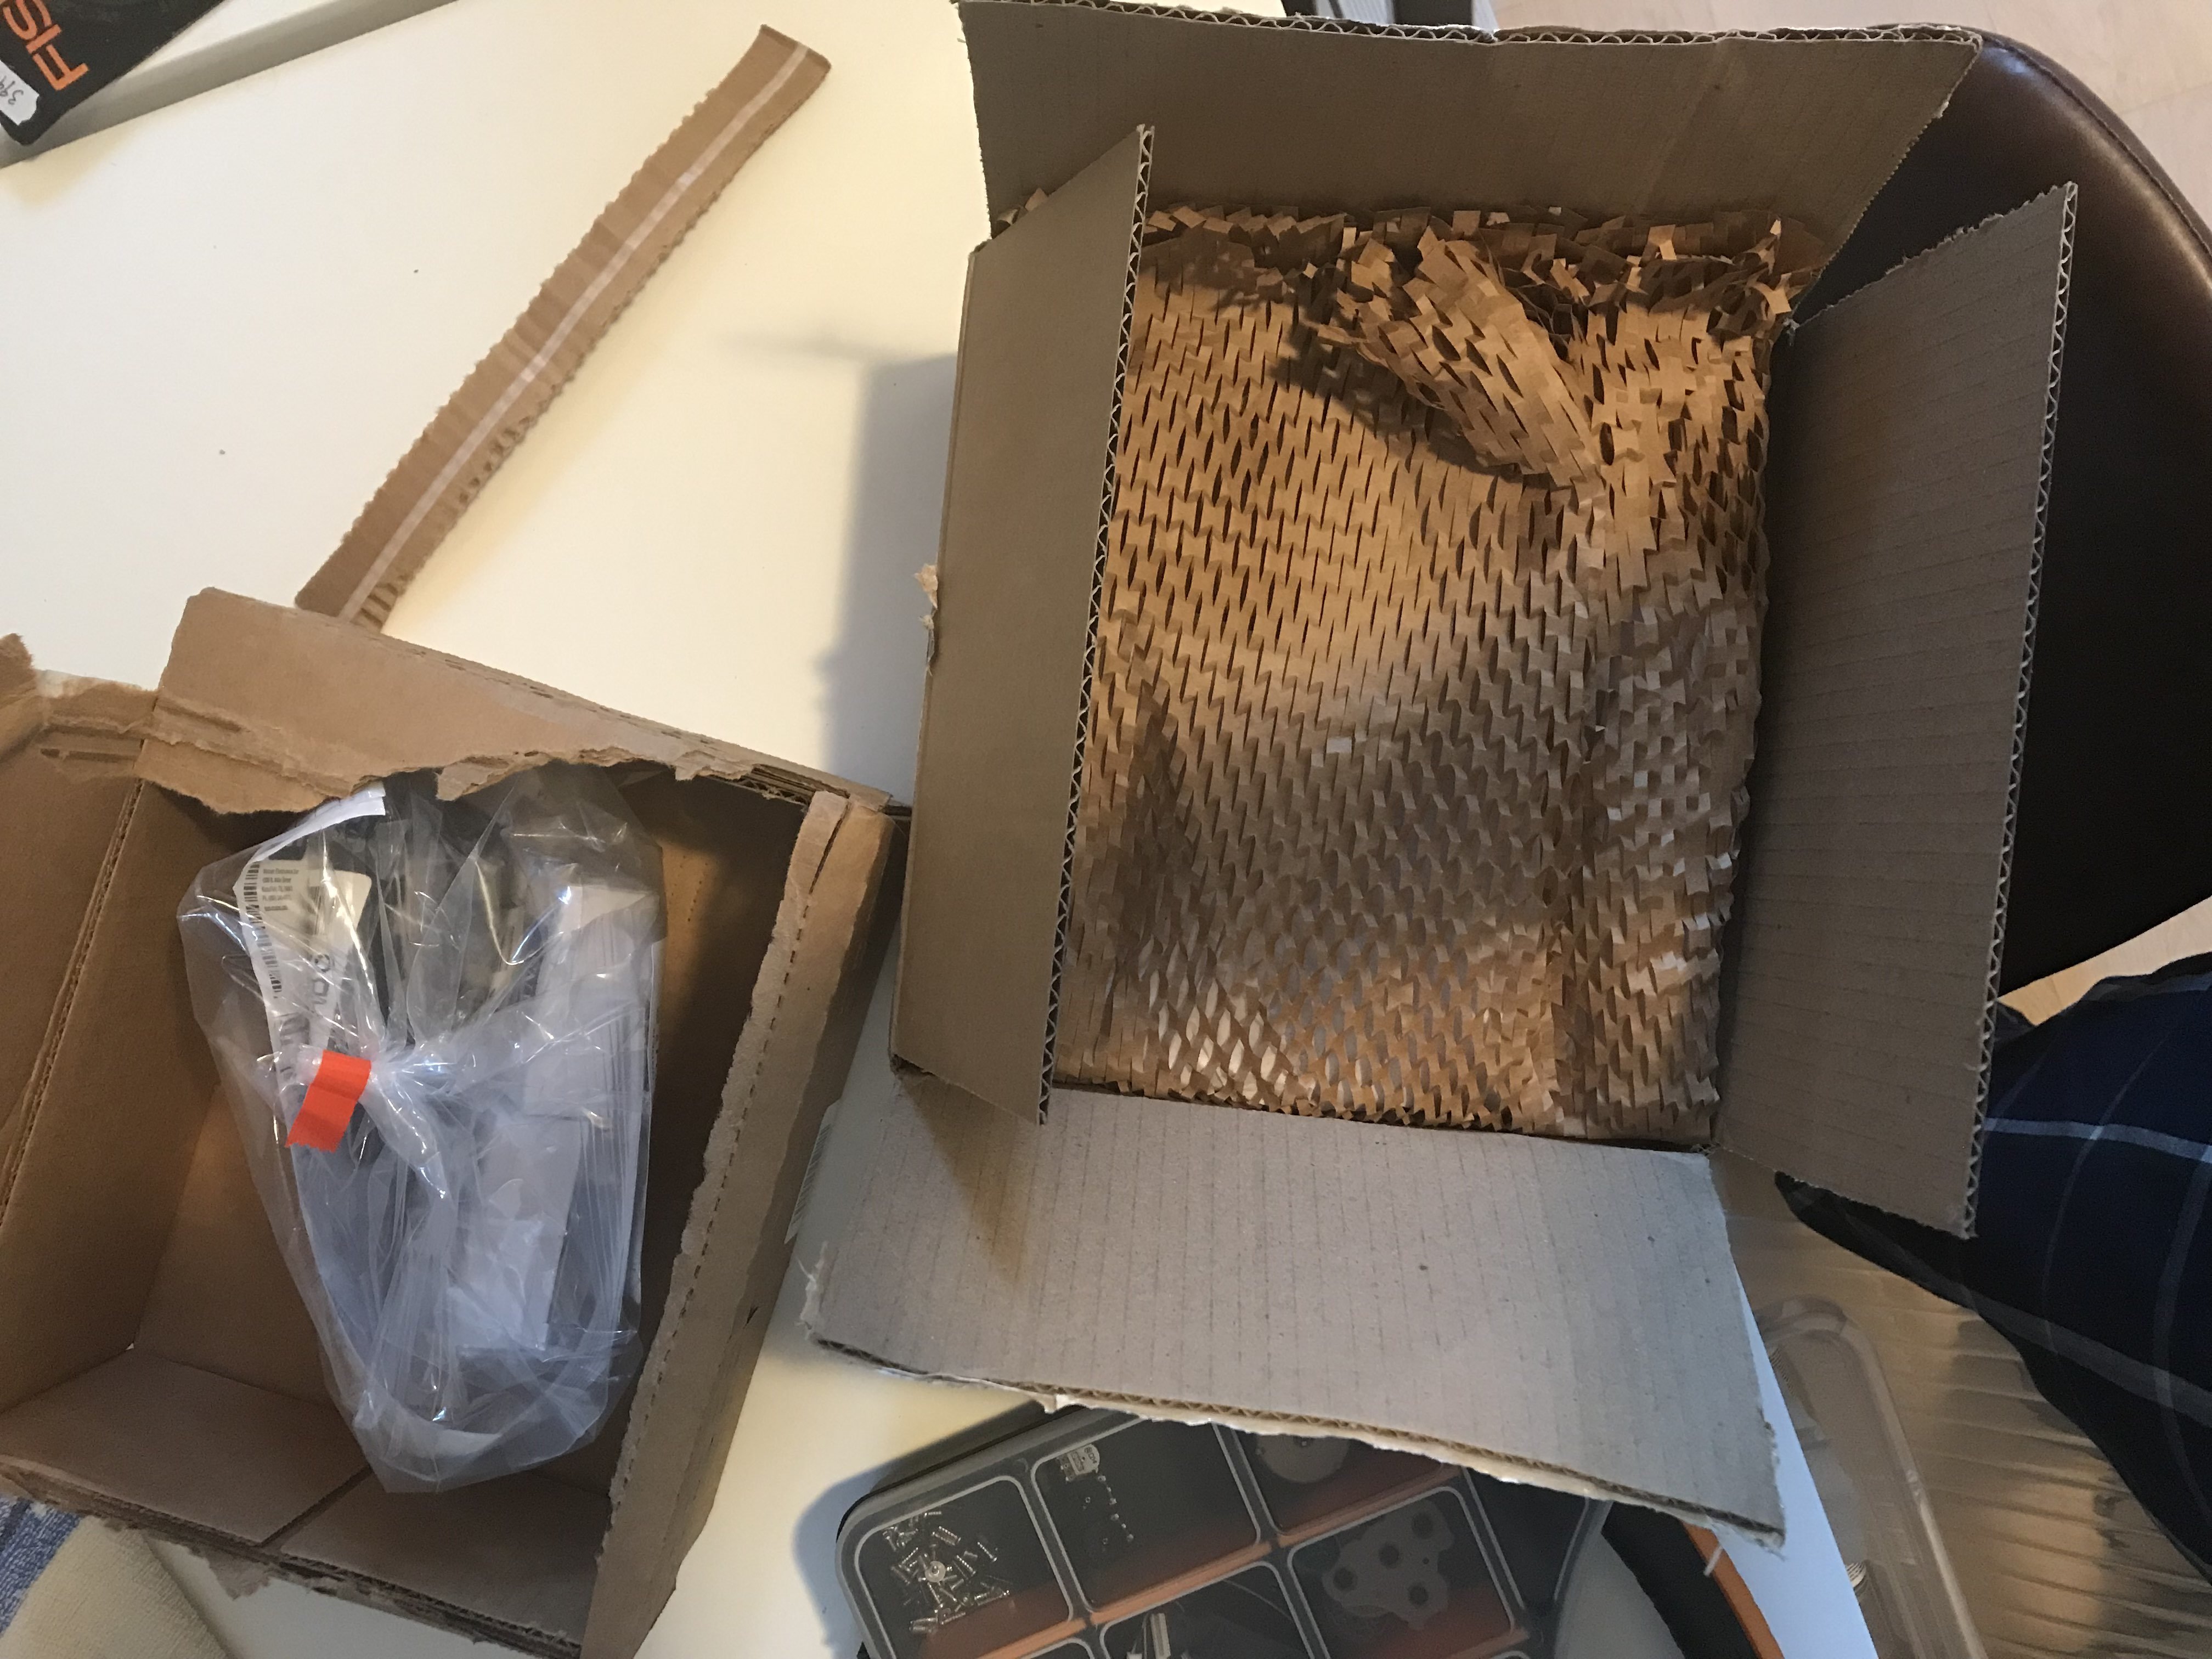
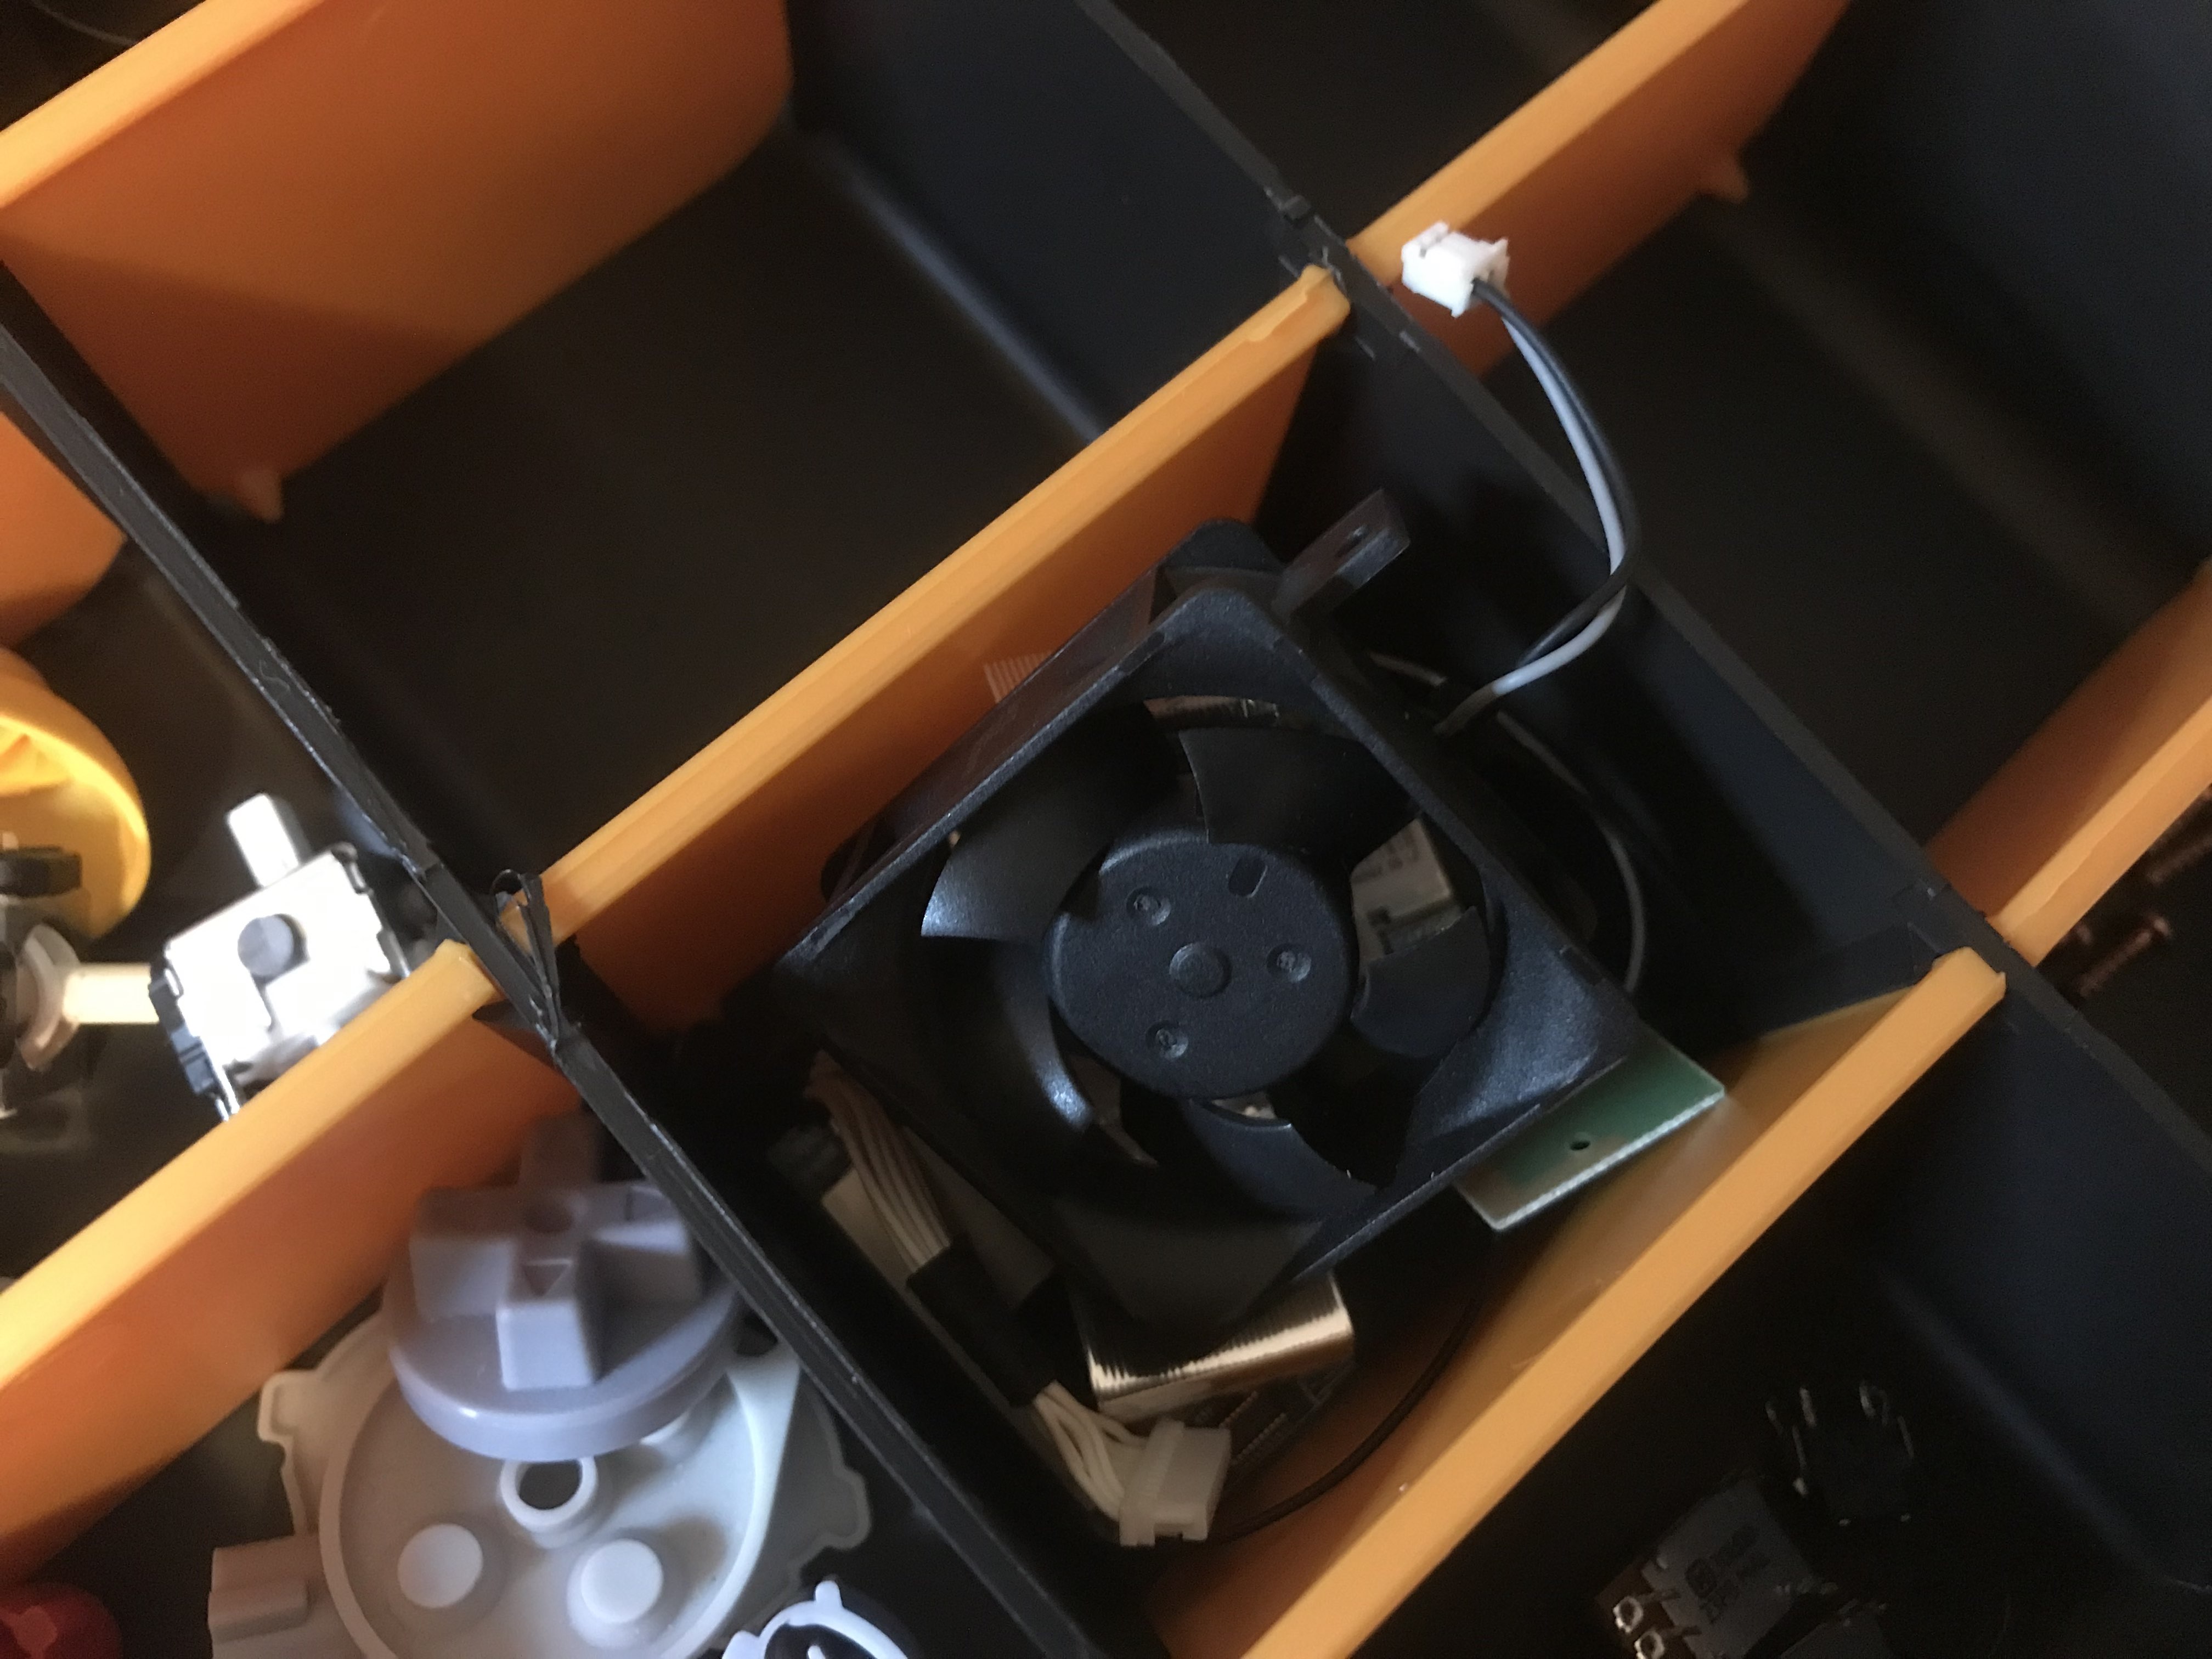
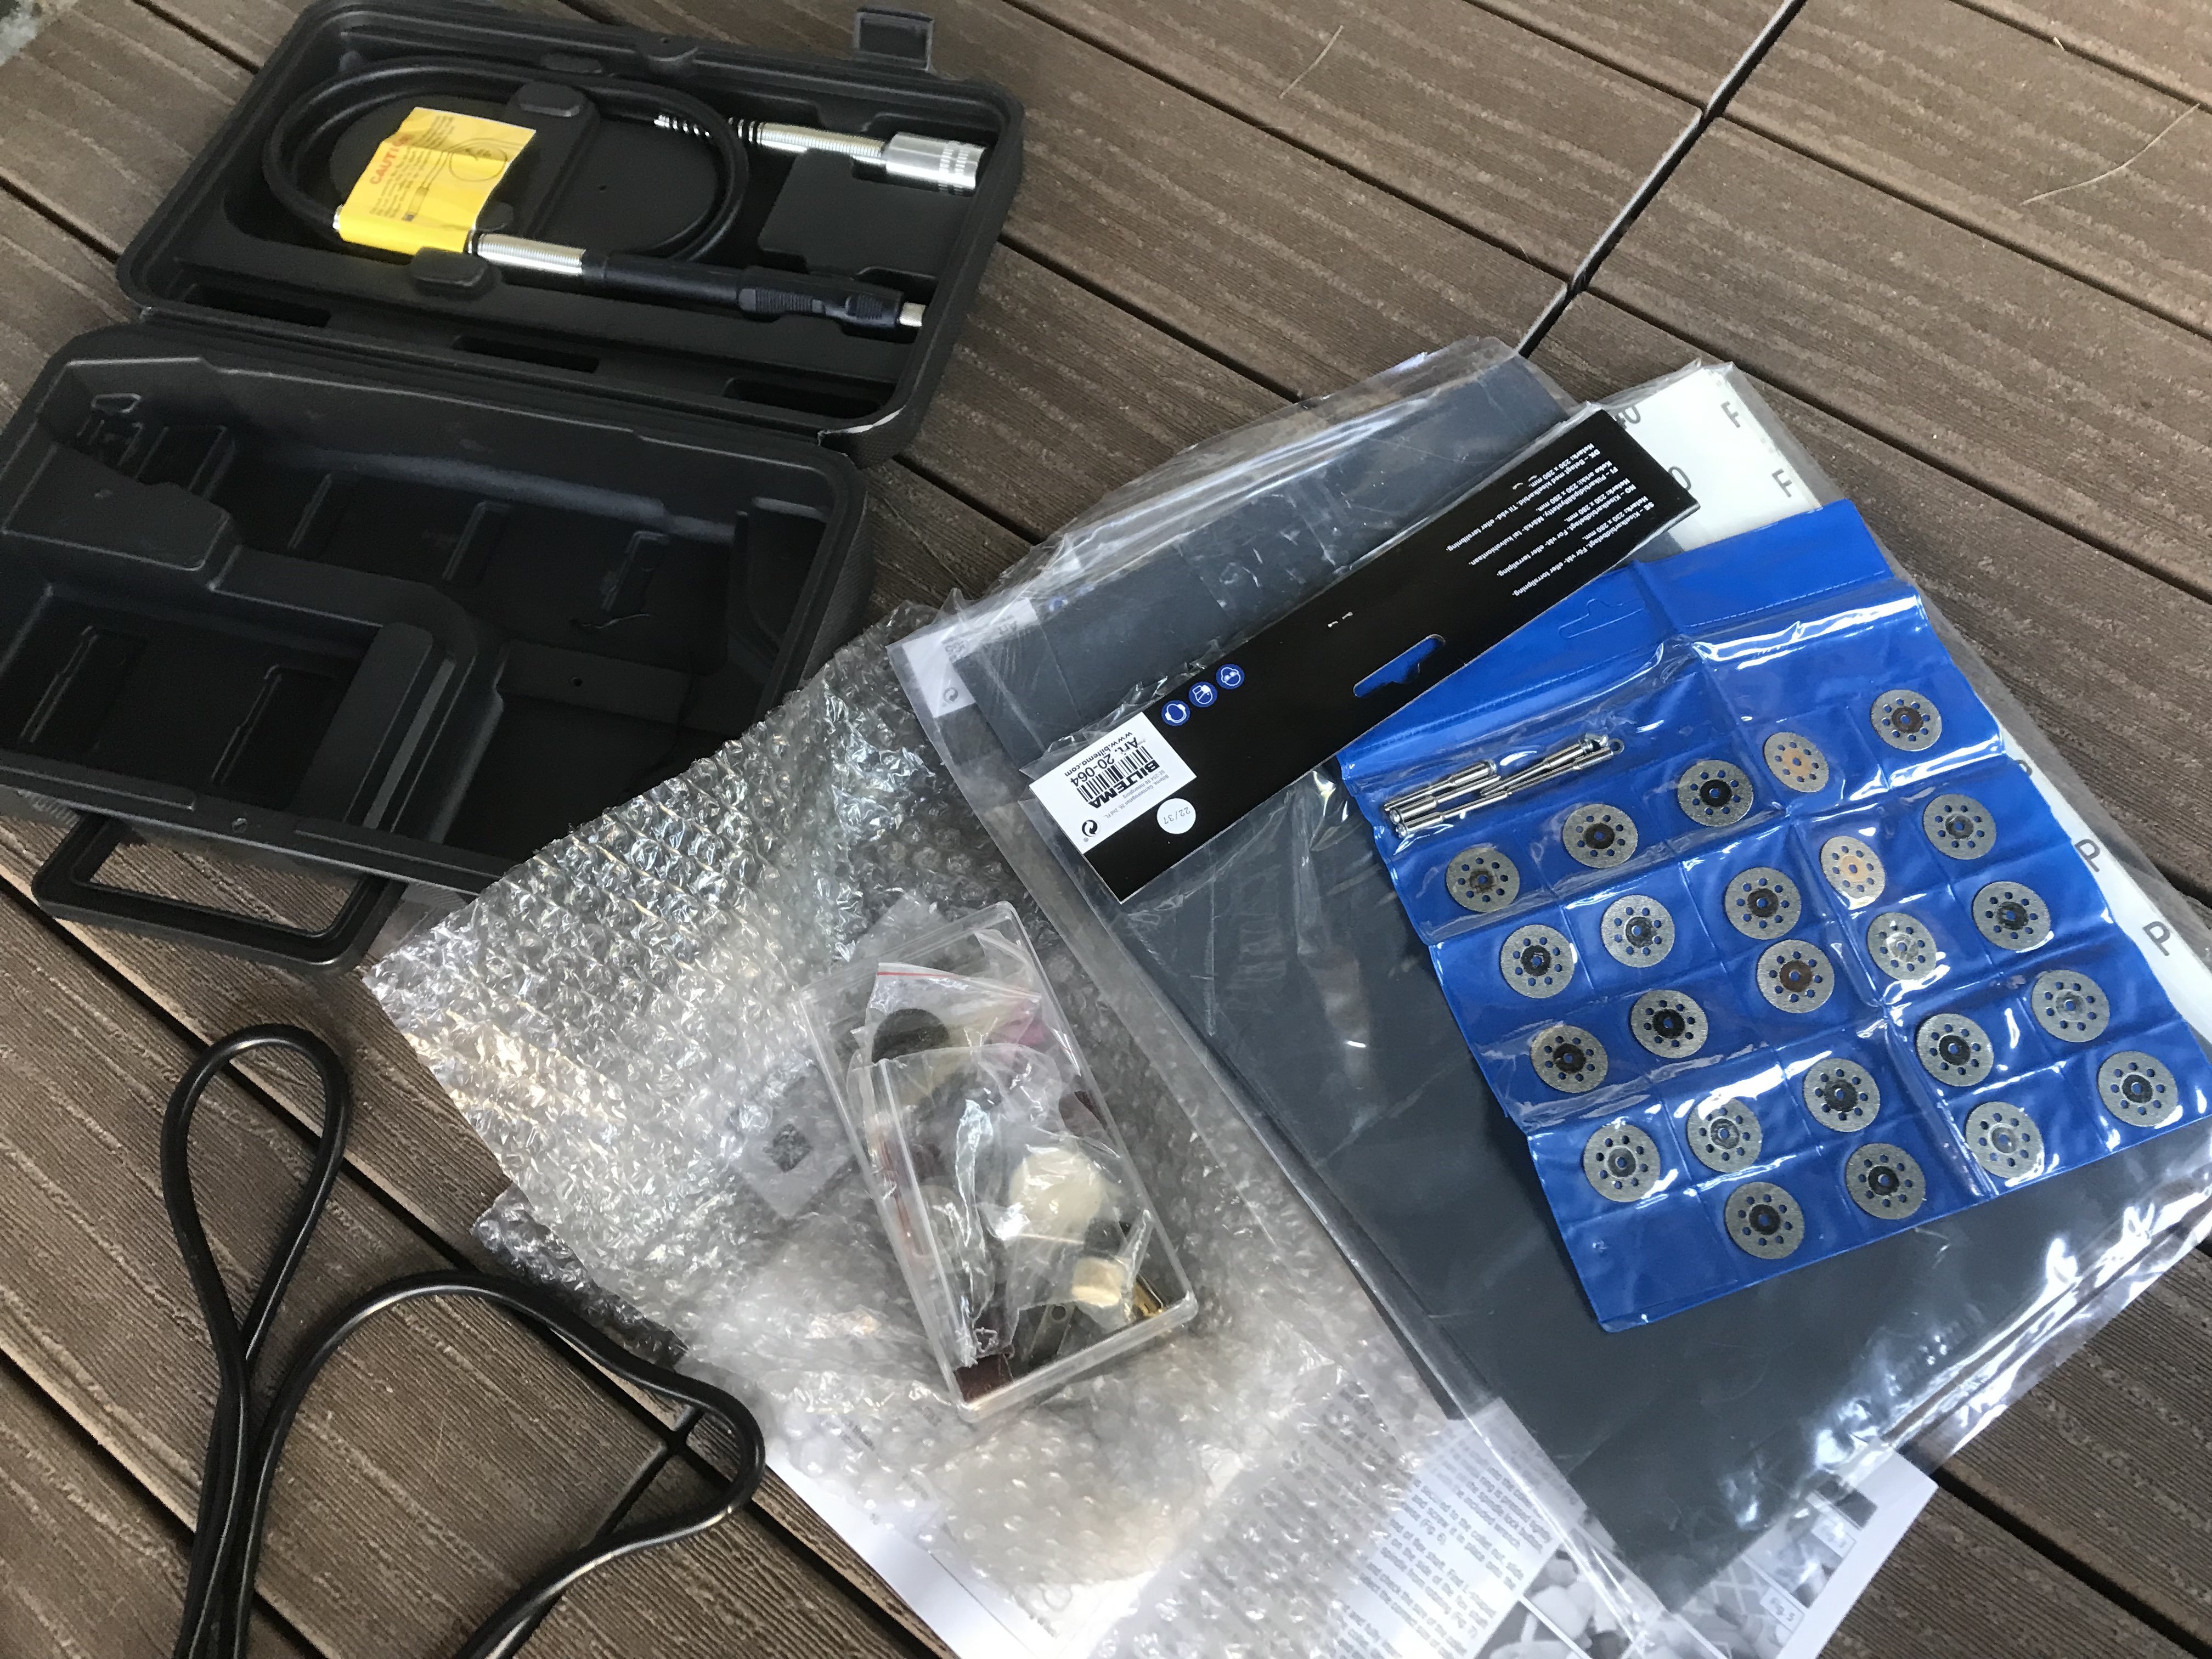
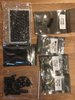
I received the packages.


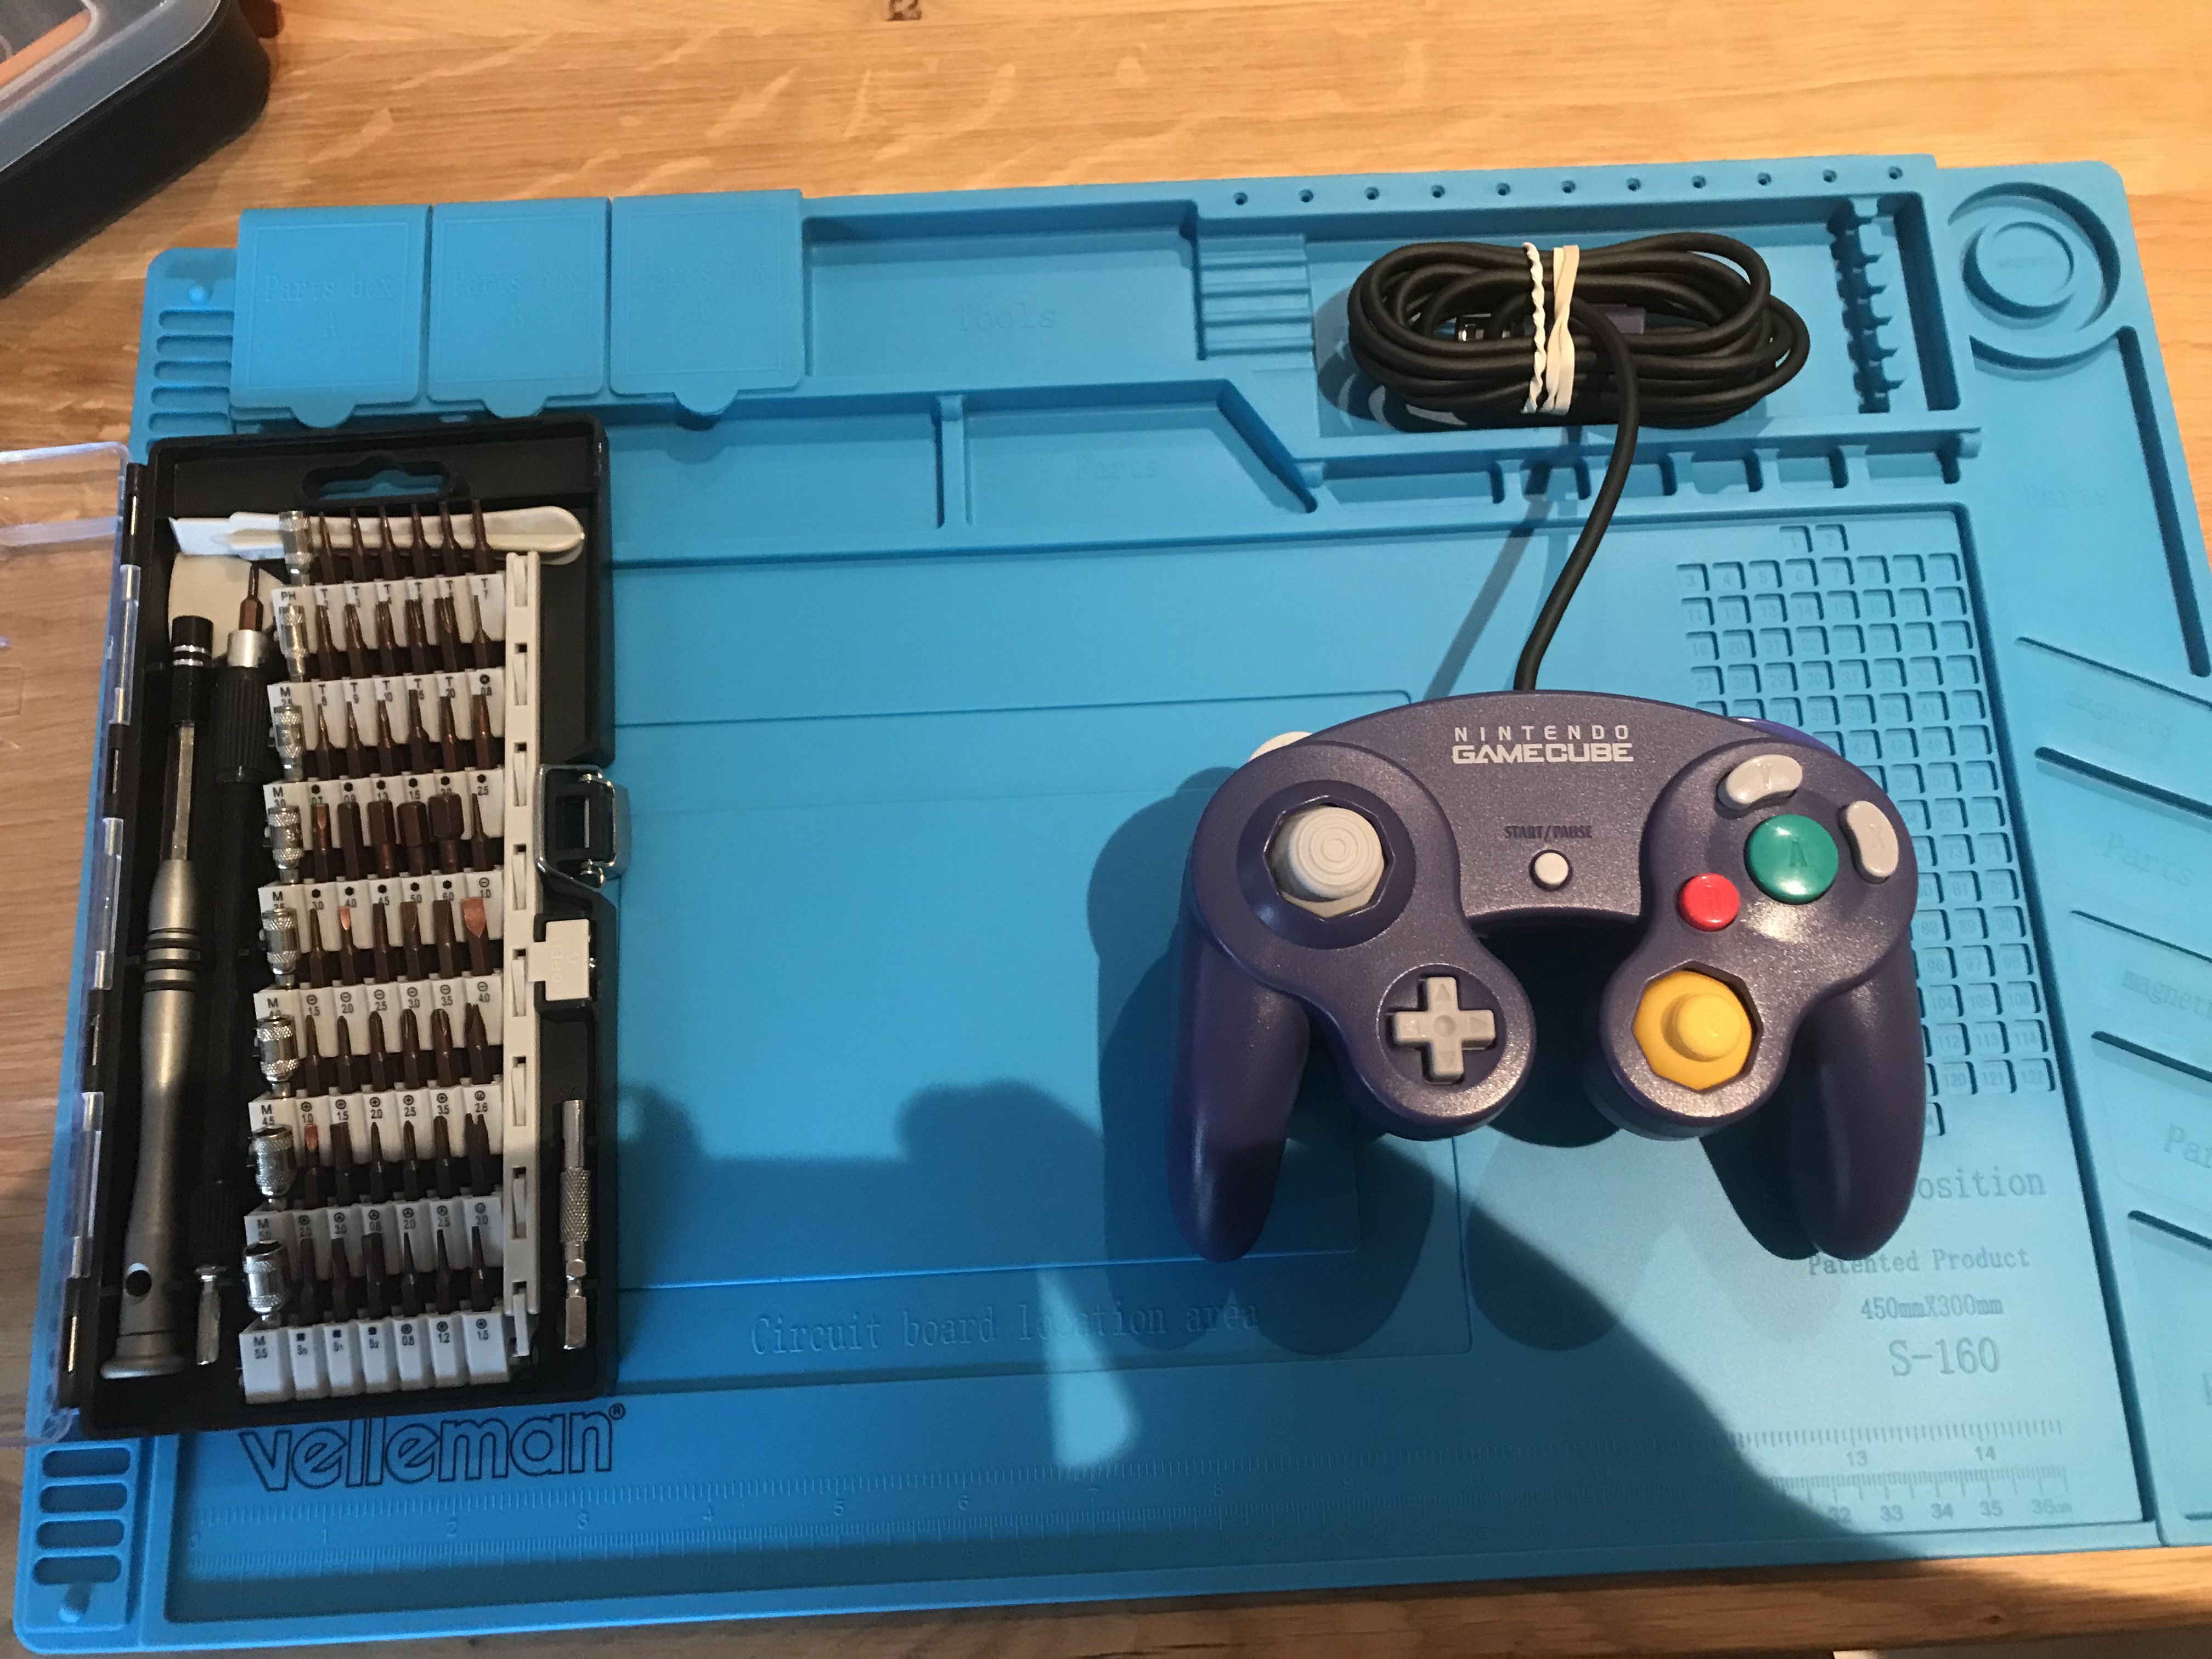
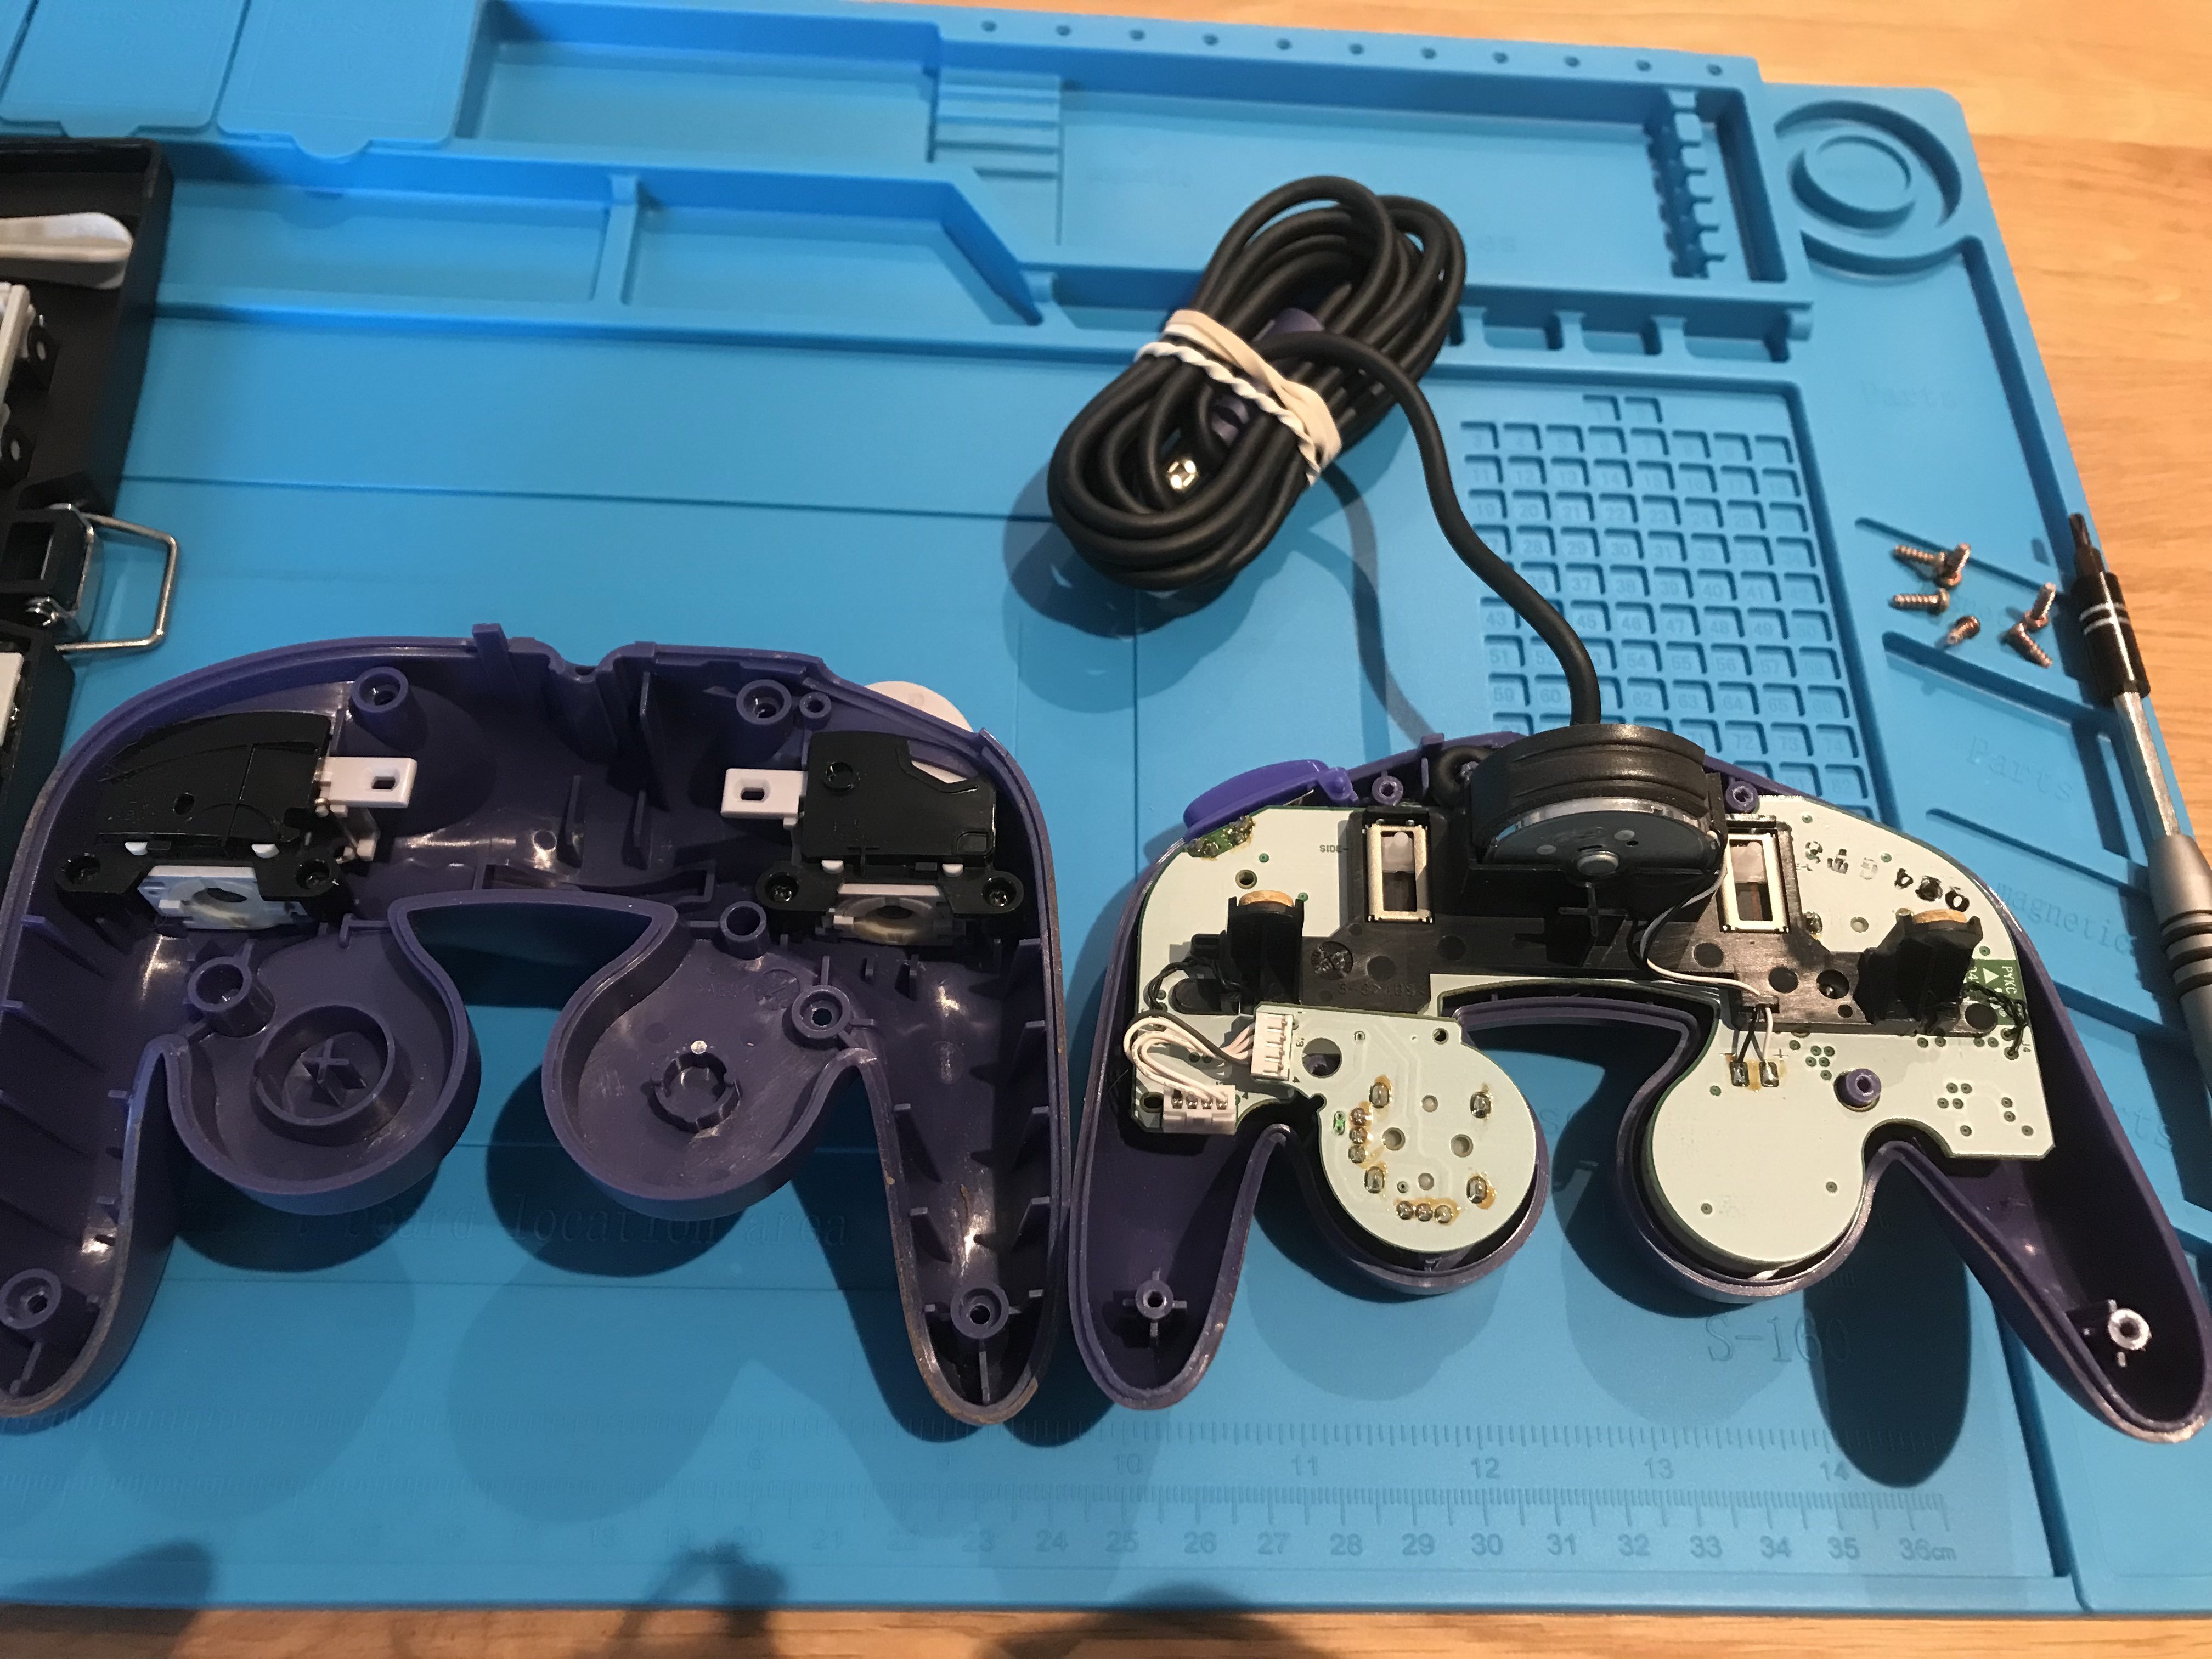
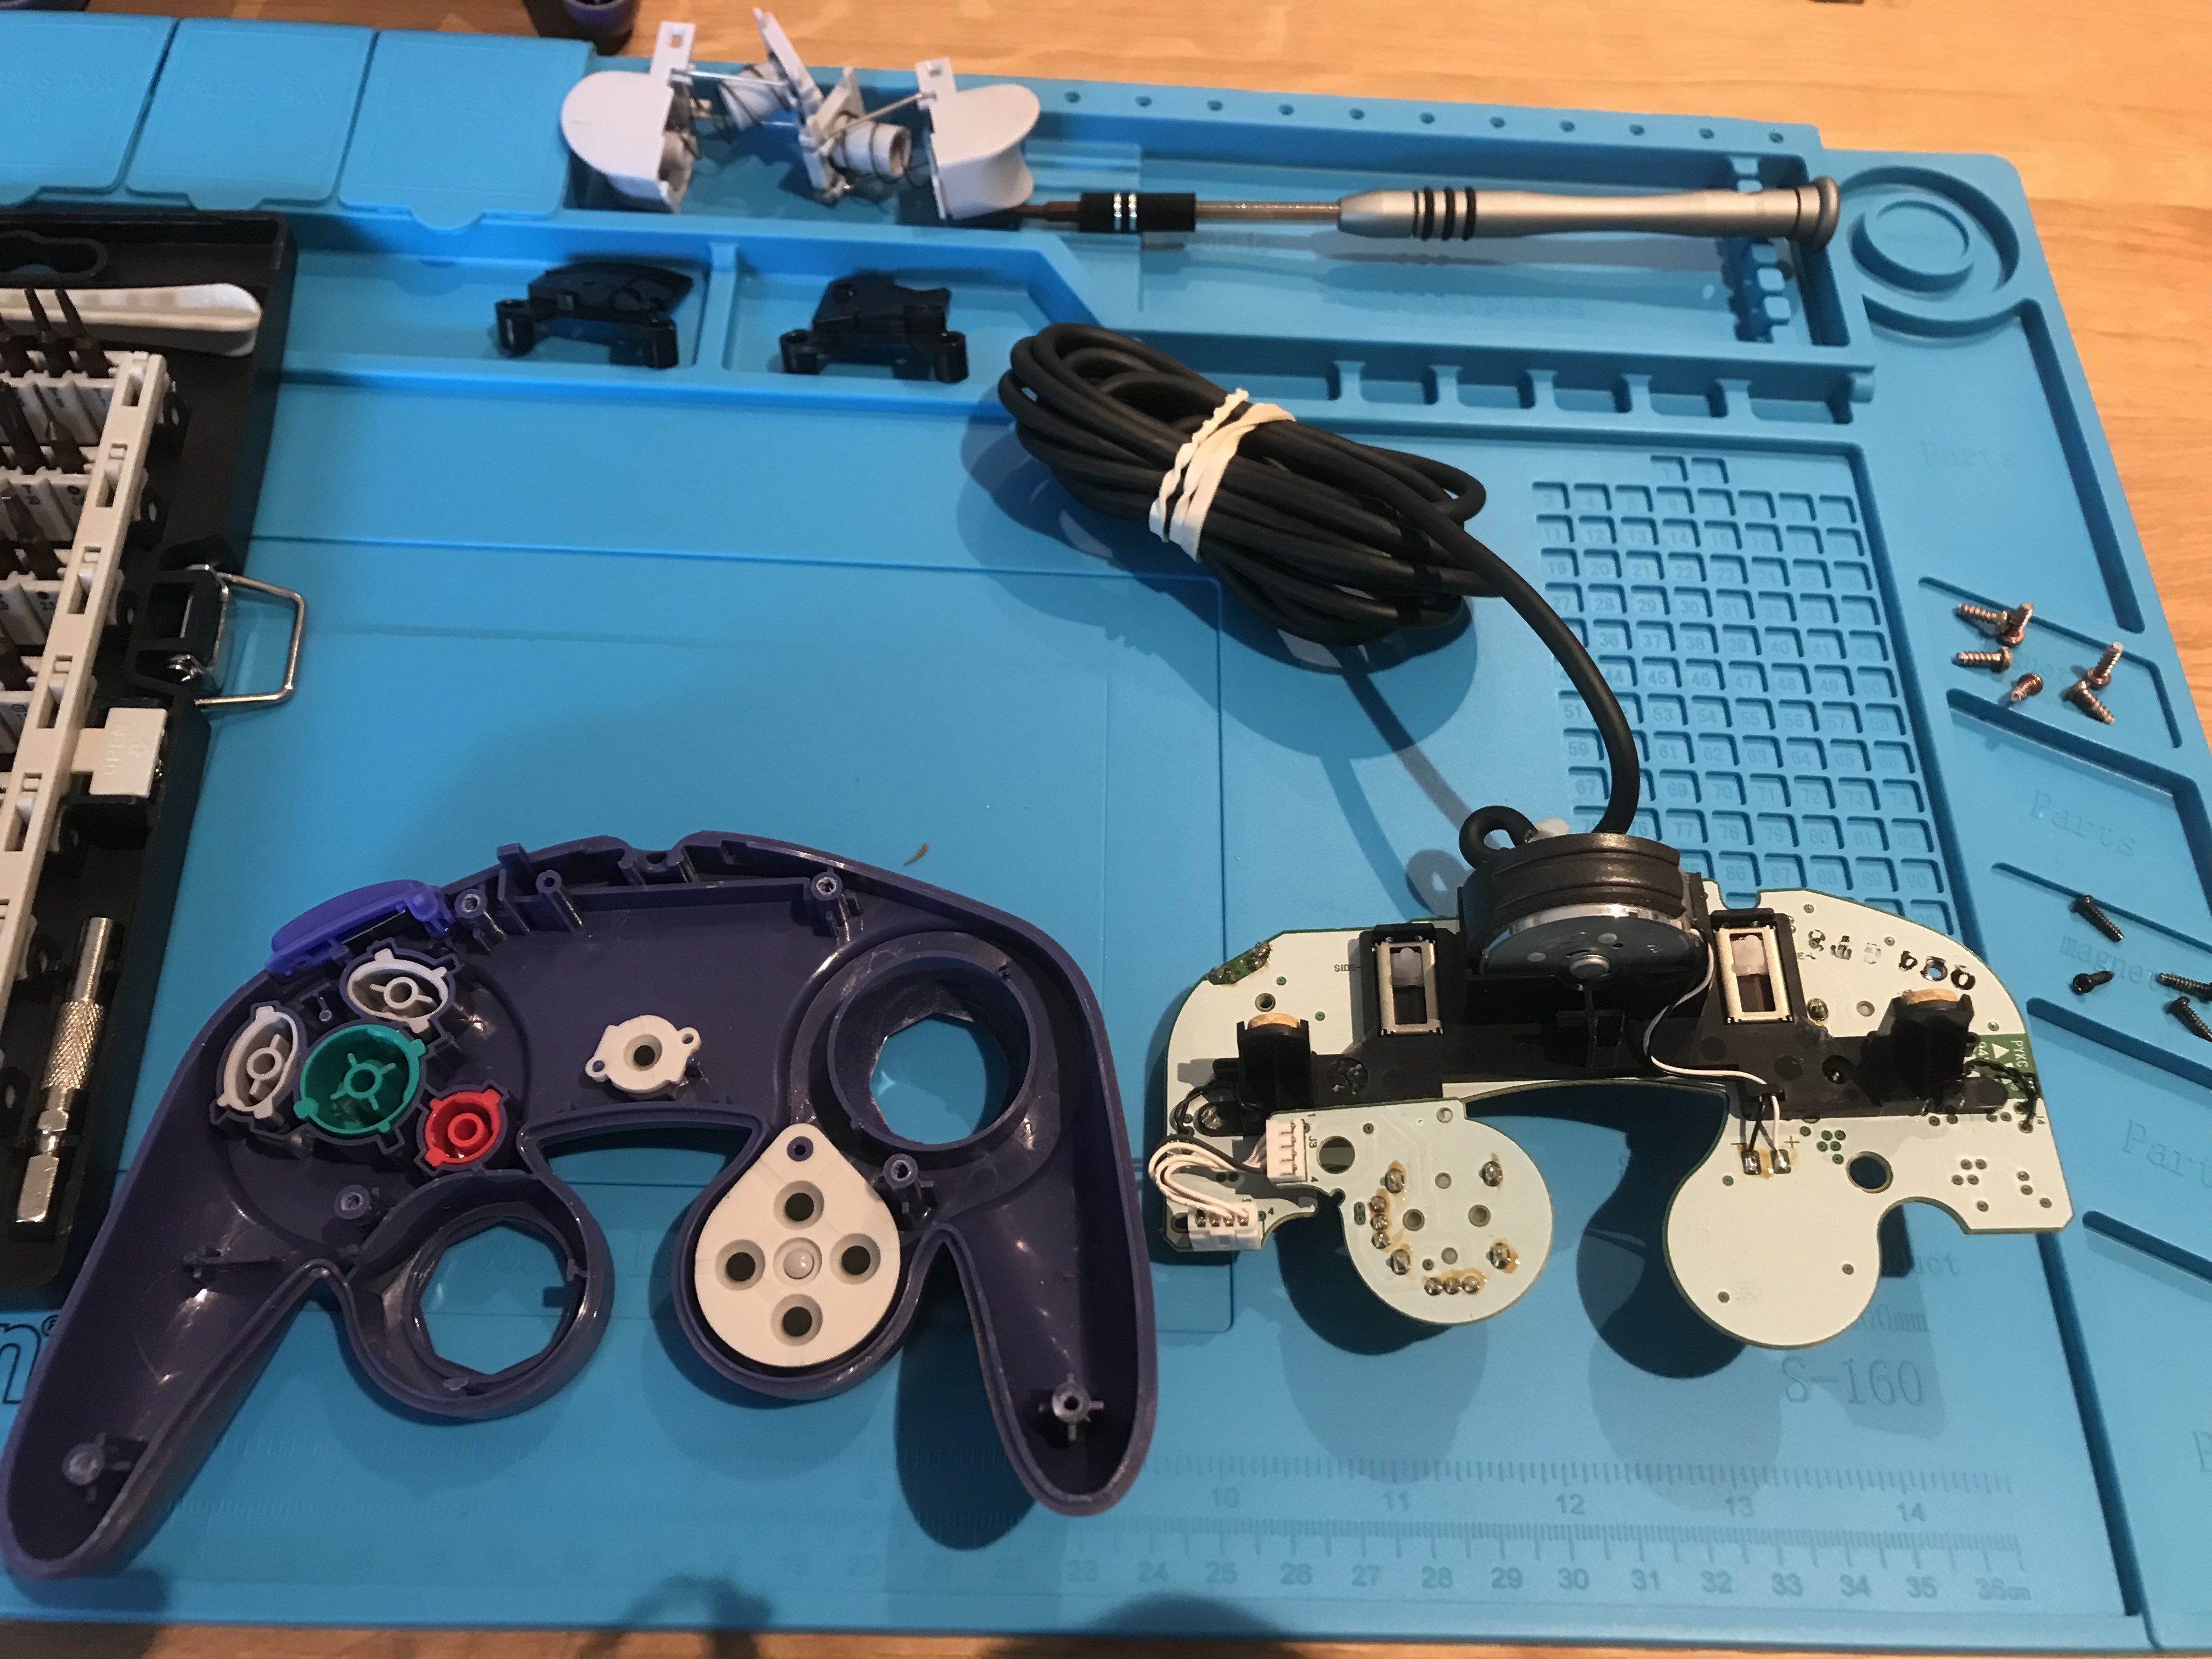
I took apart the GC OEM Controller.
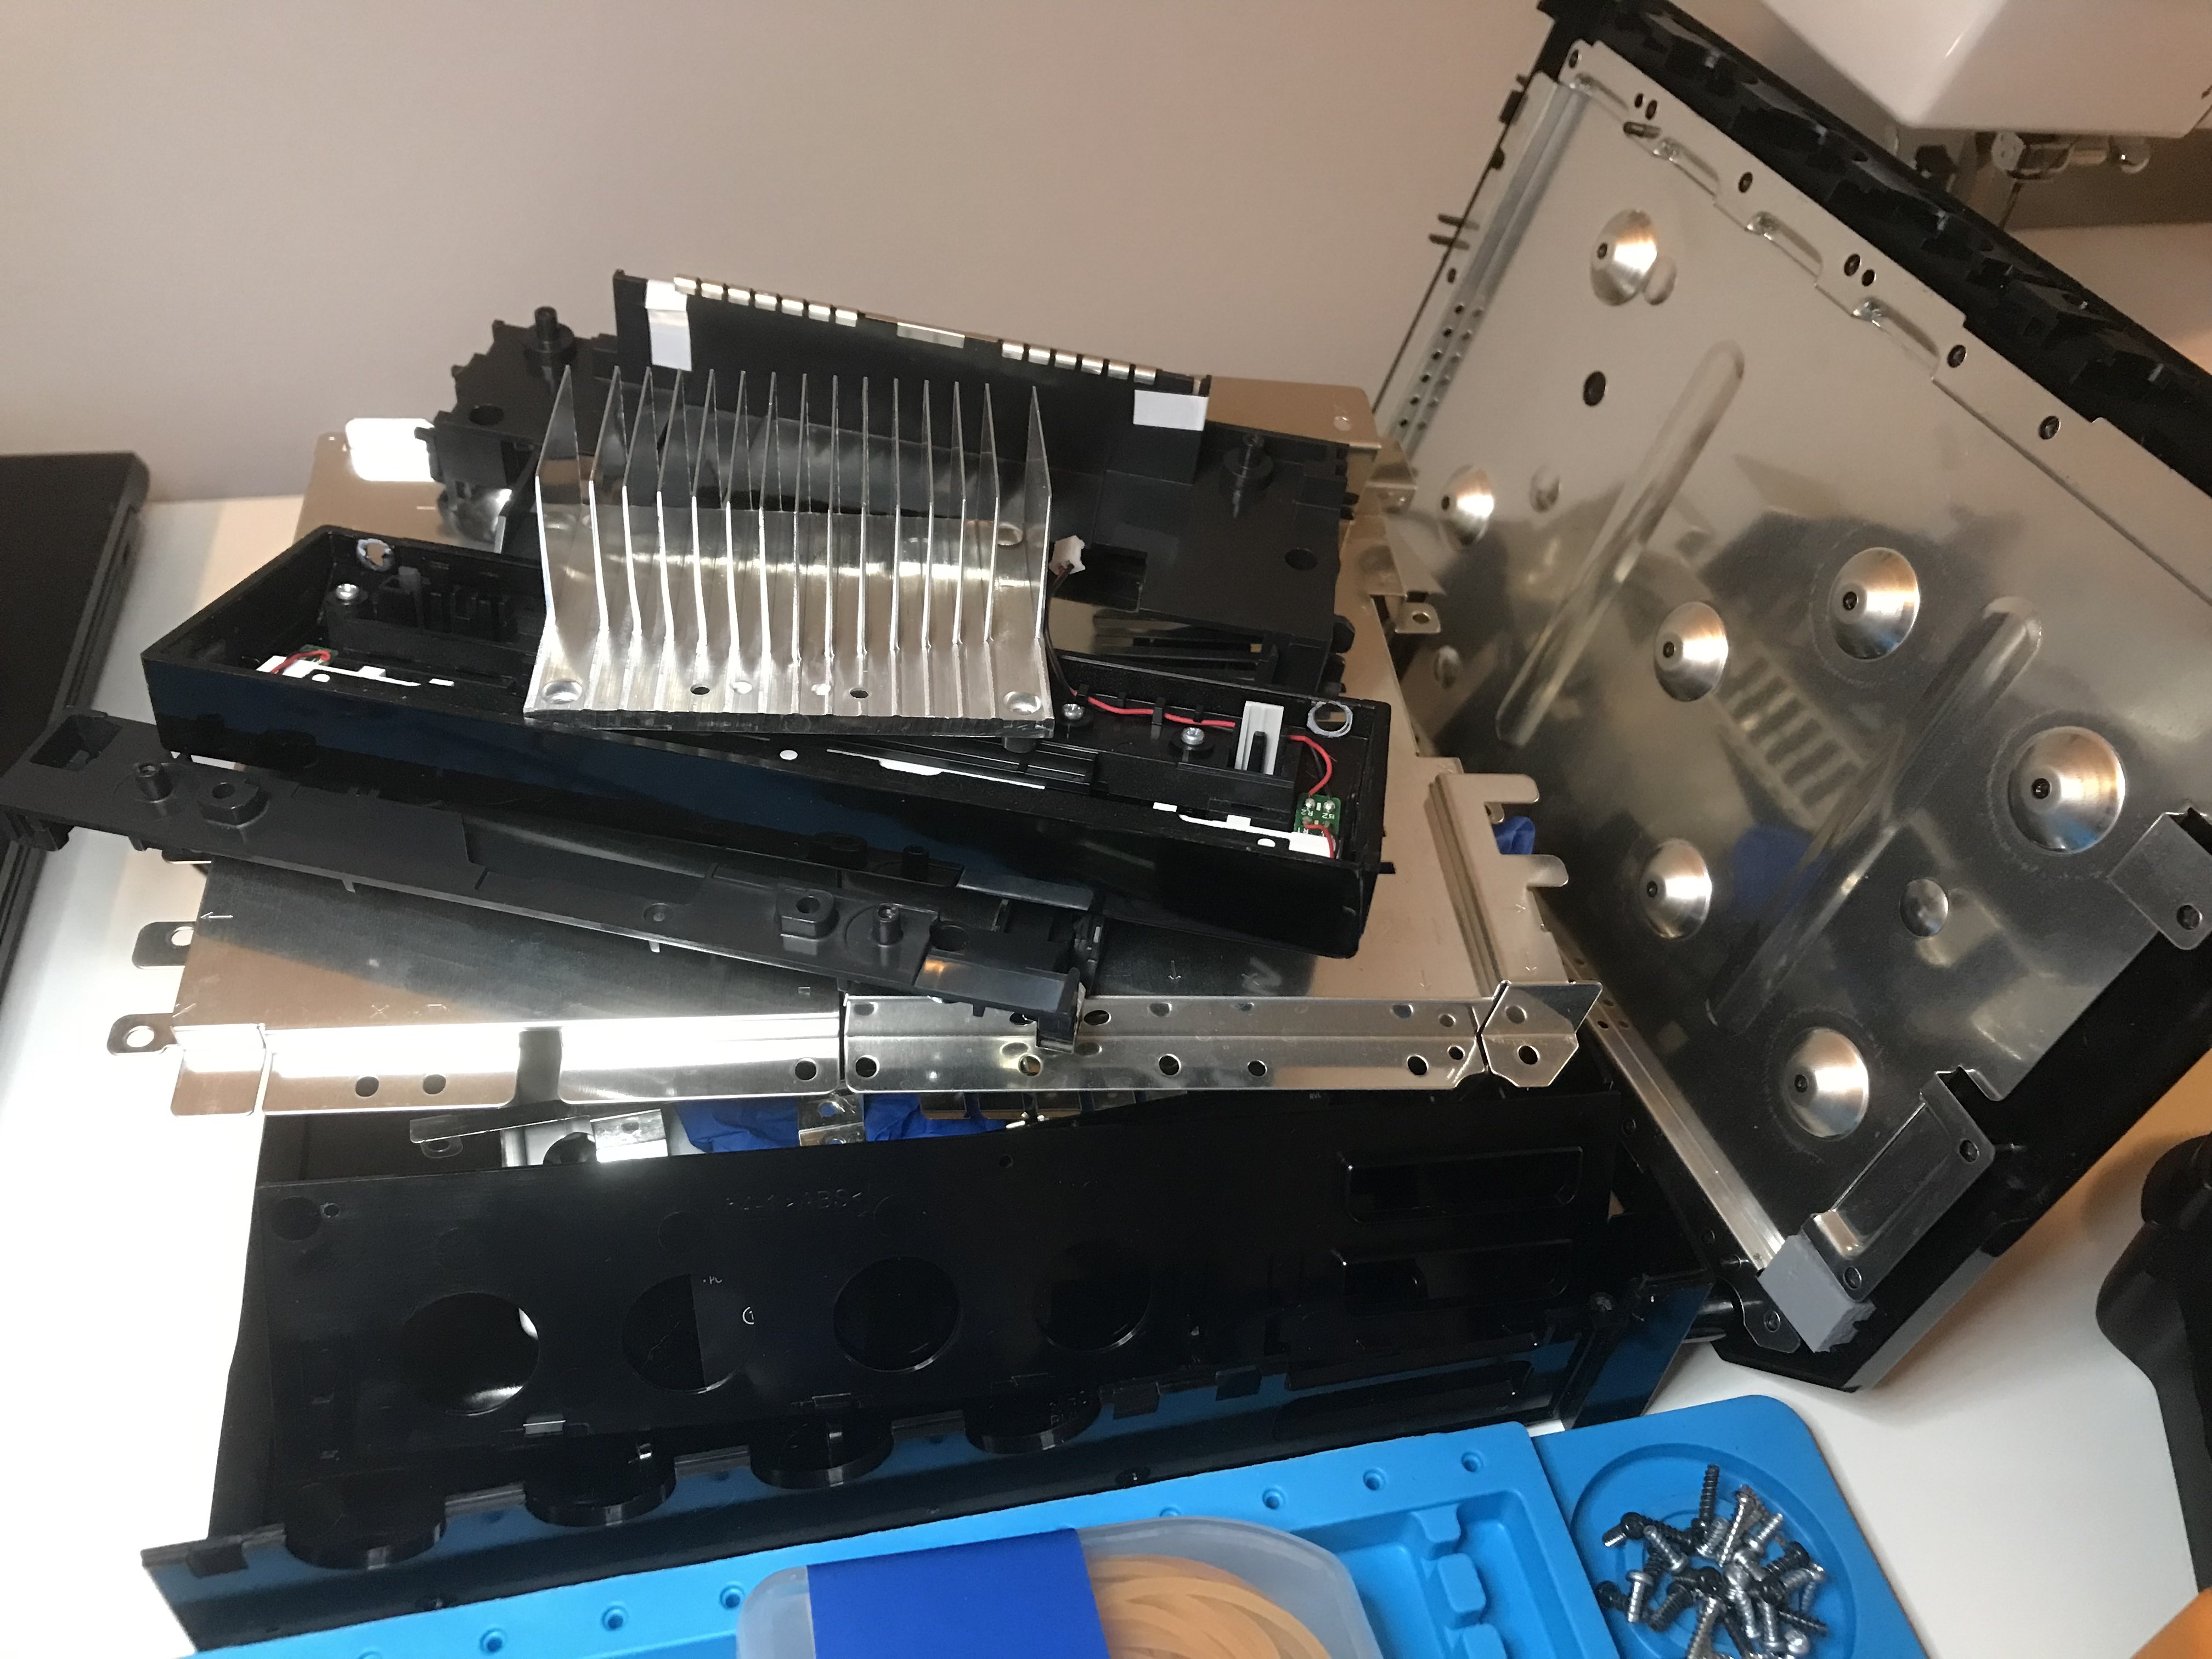
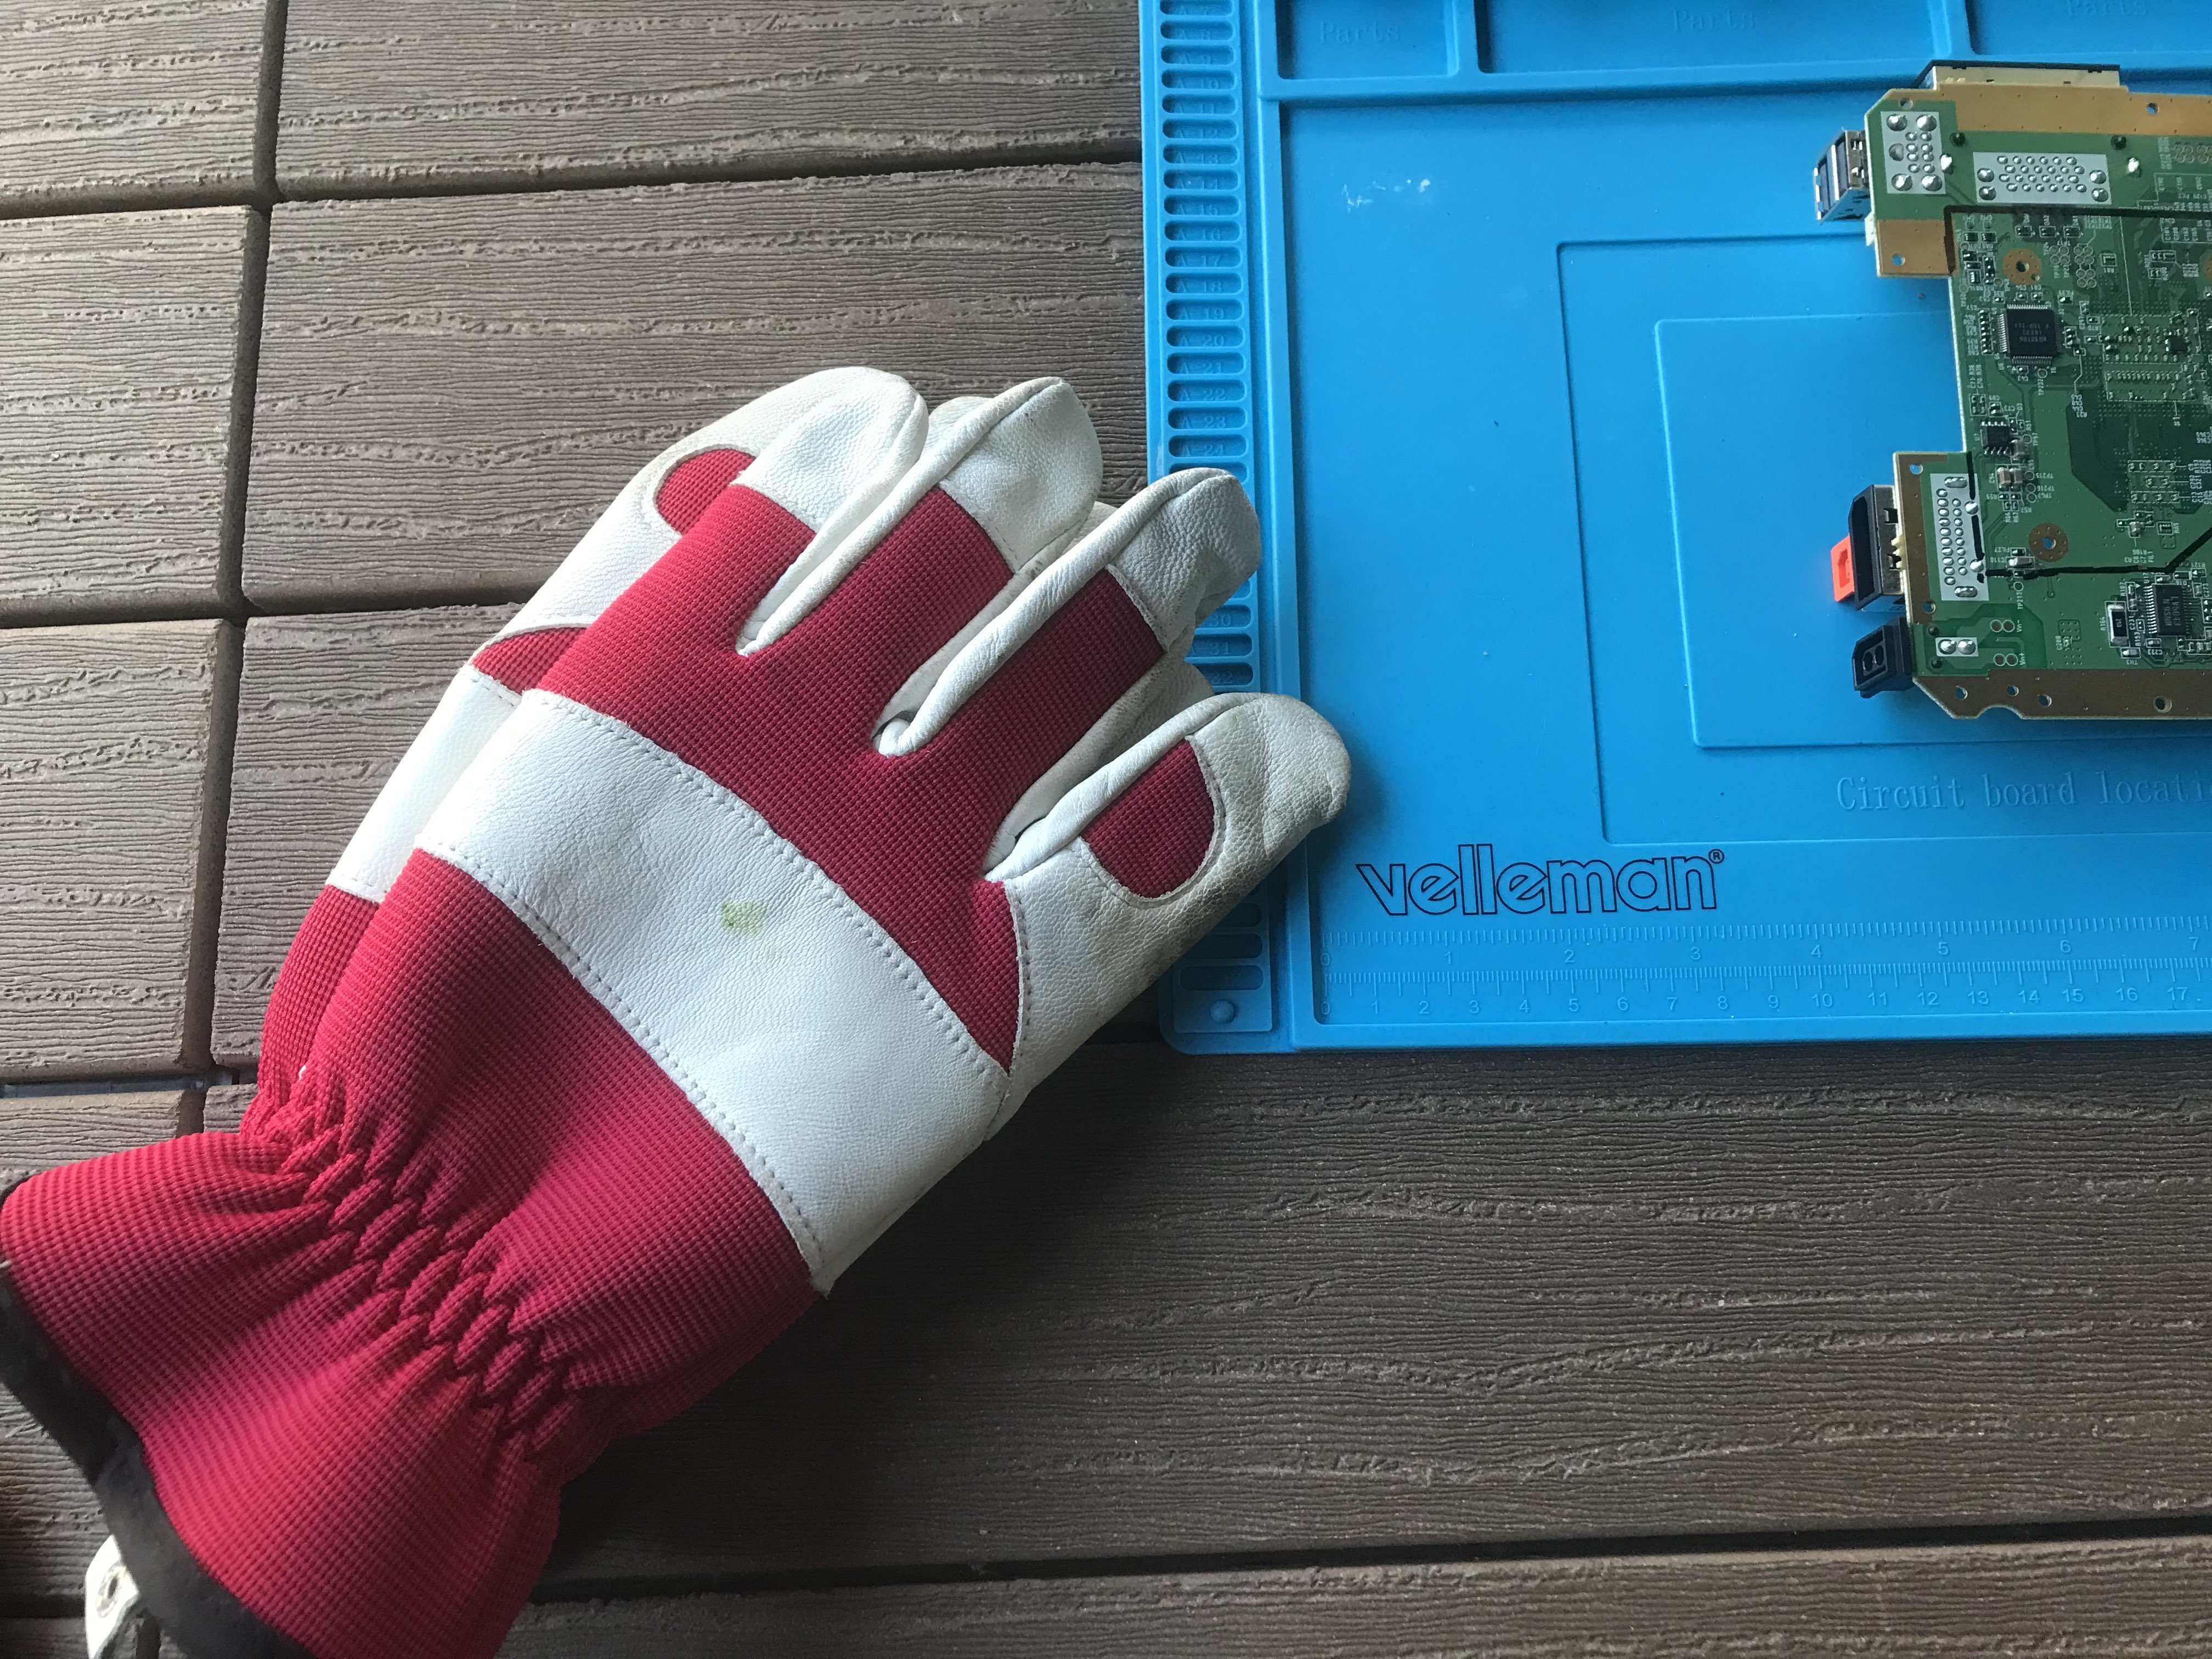
I took apart my Wii to ready it for trimming.
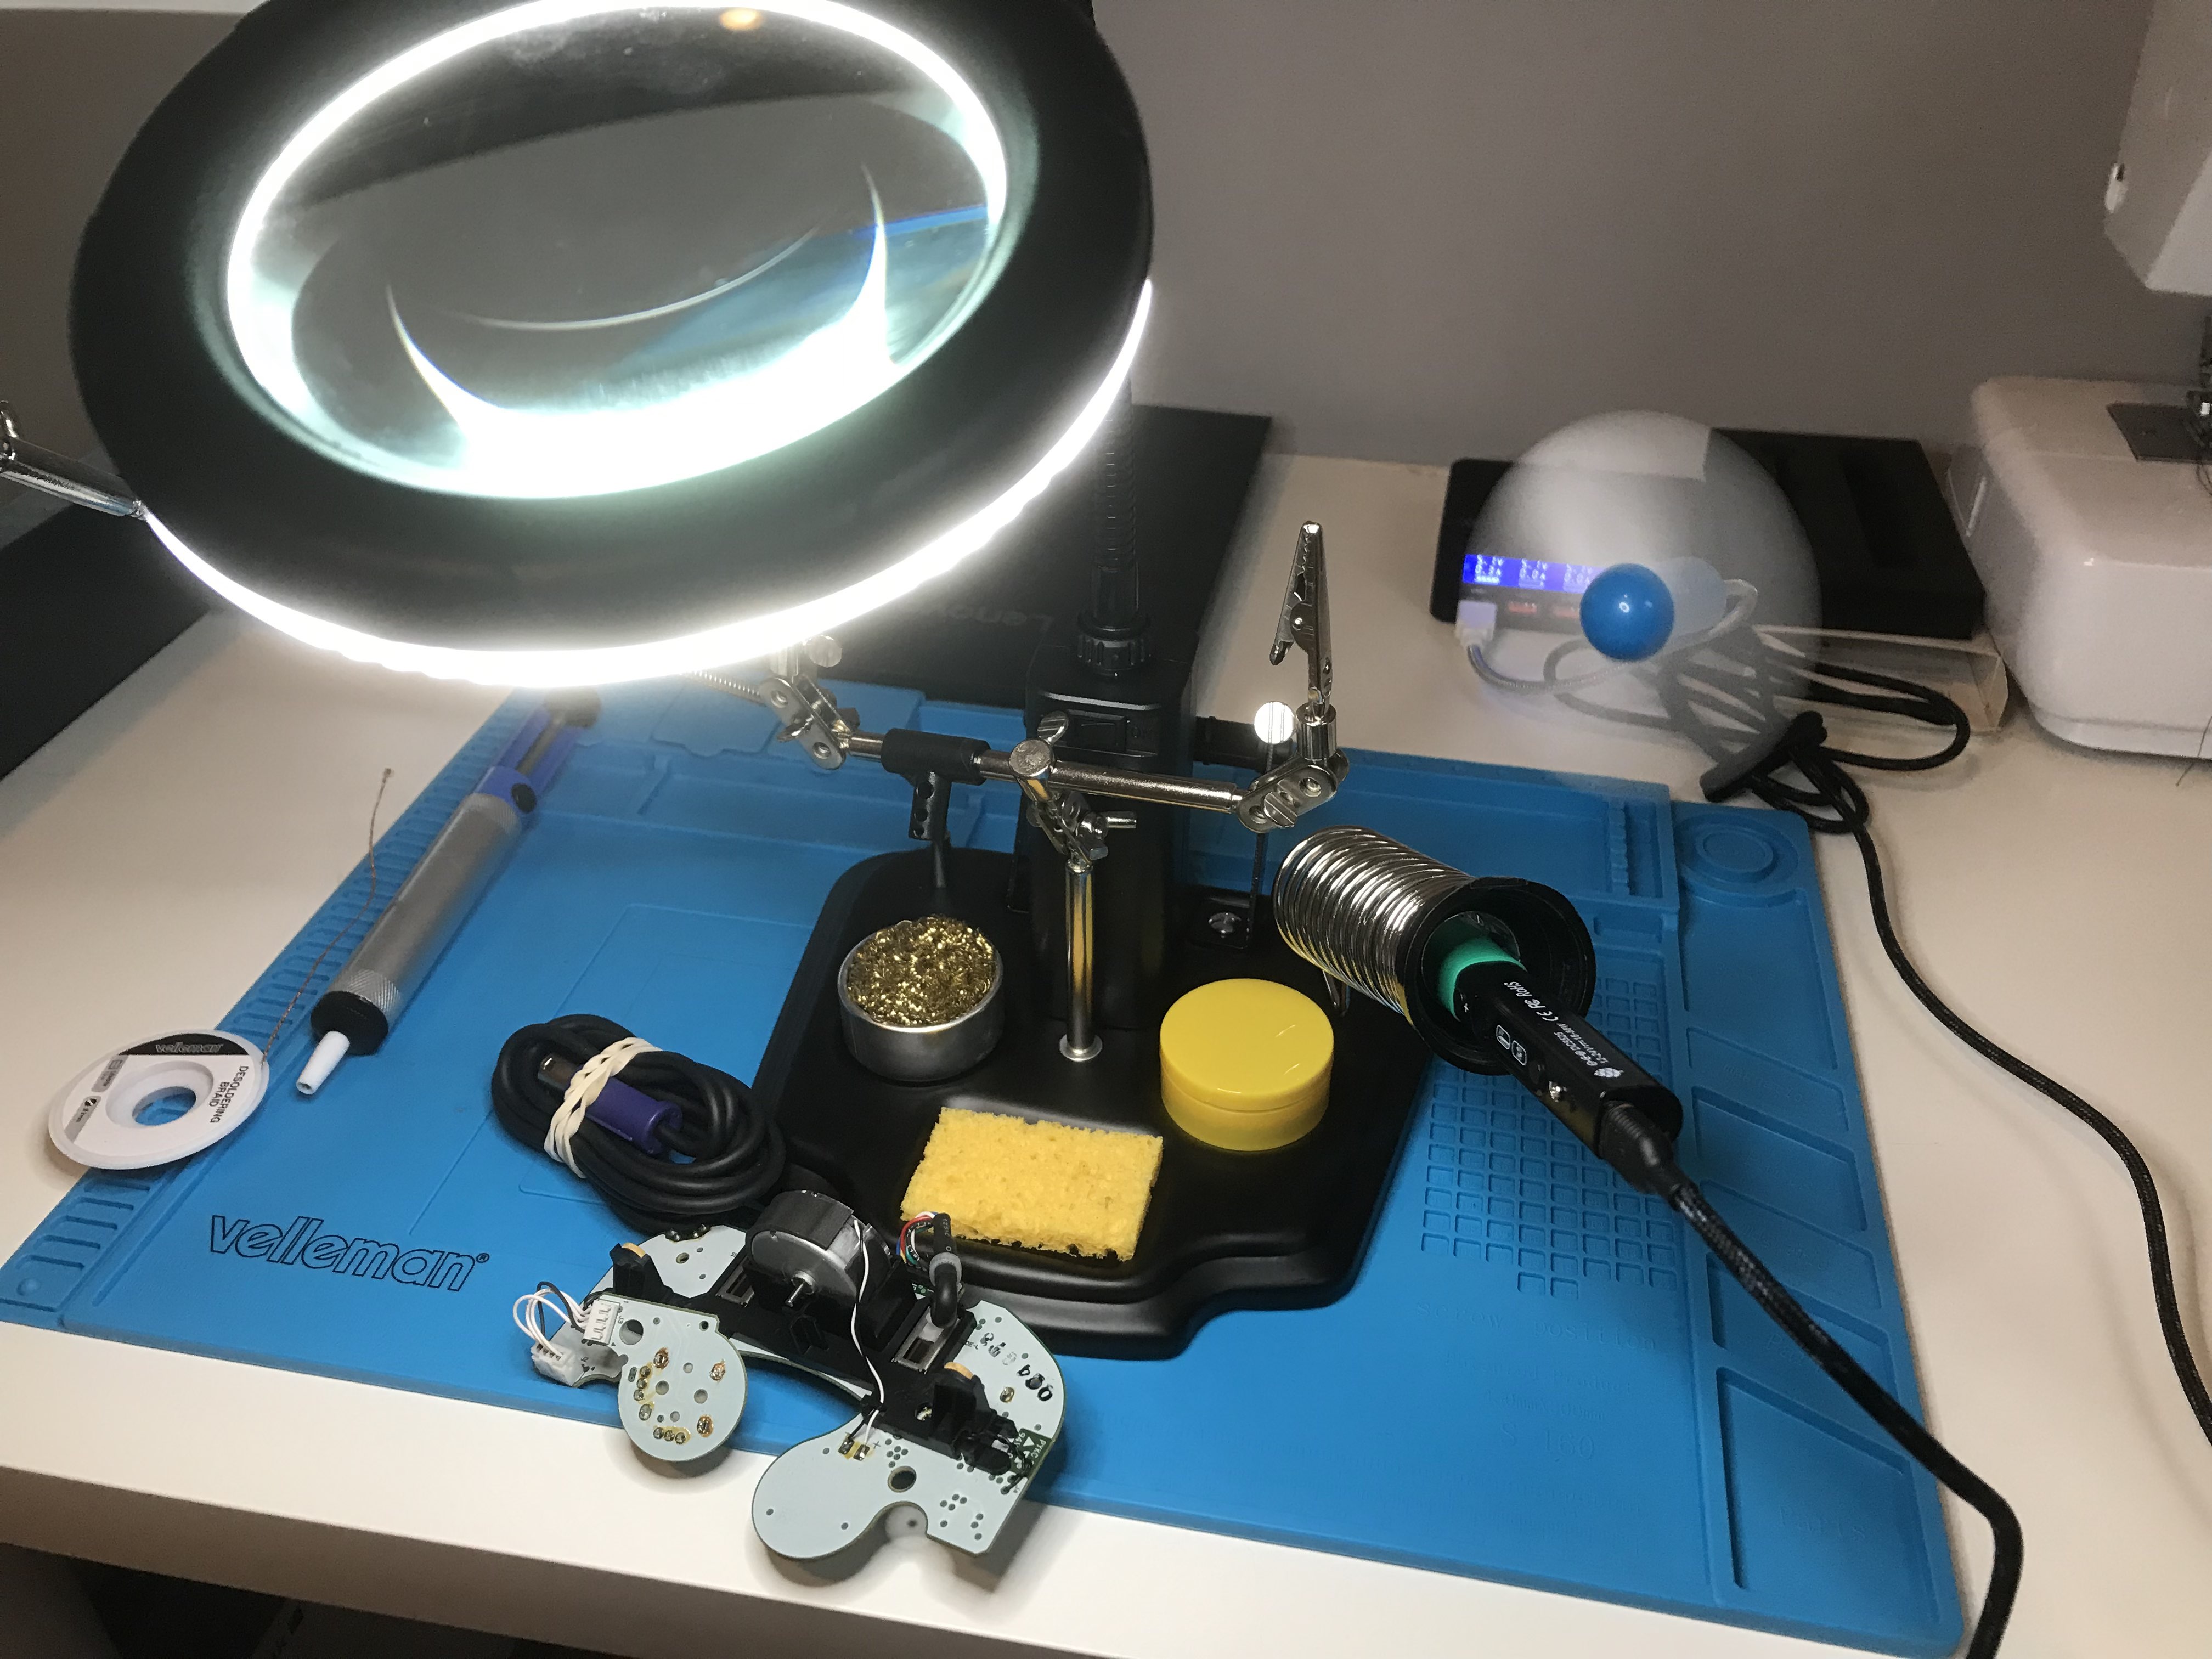
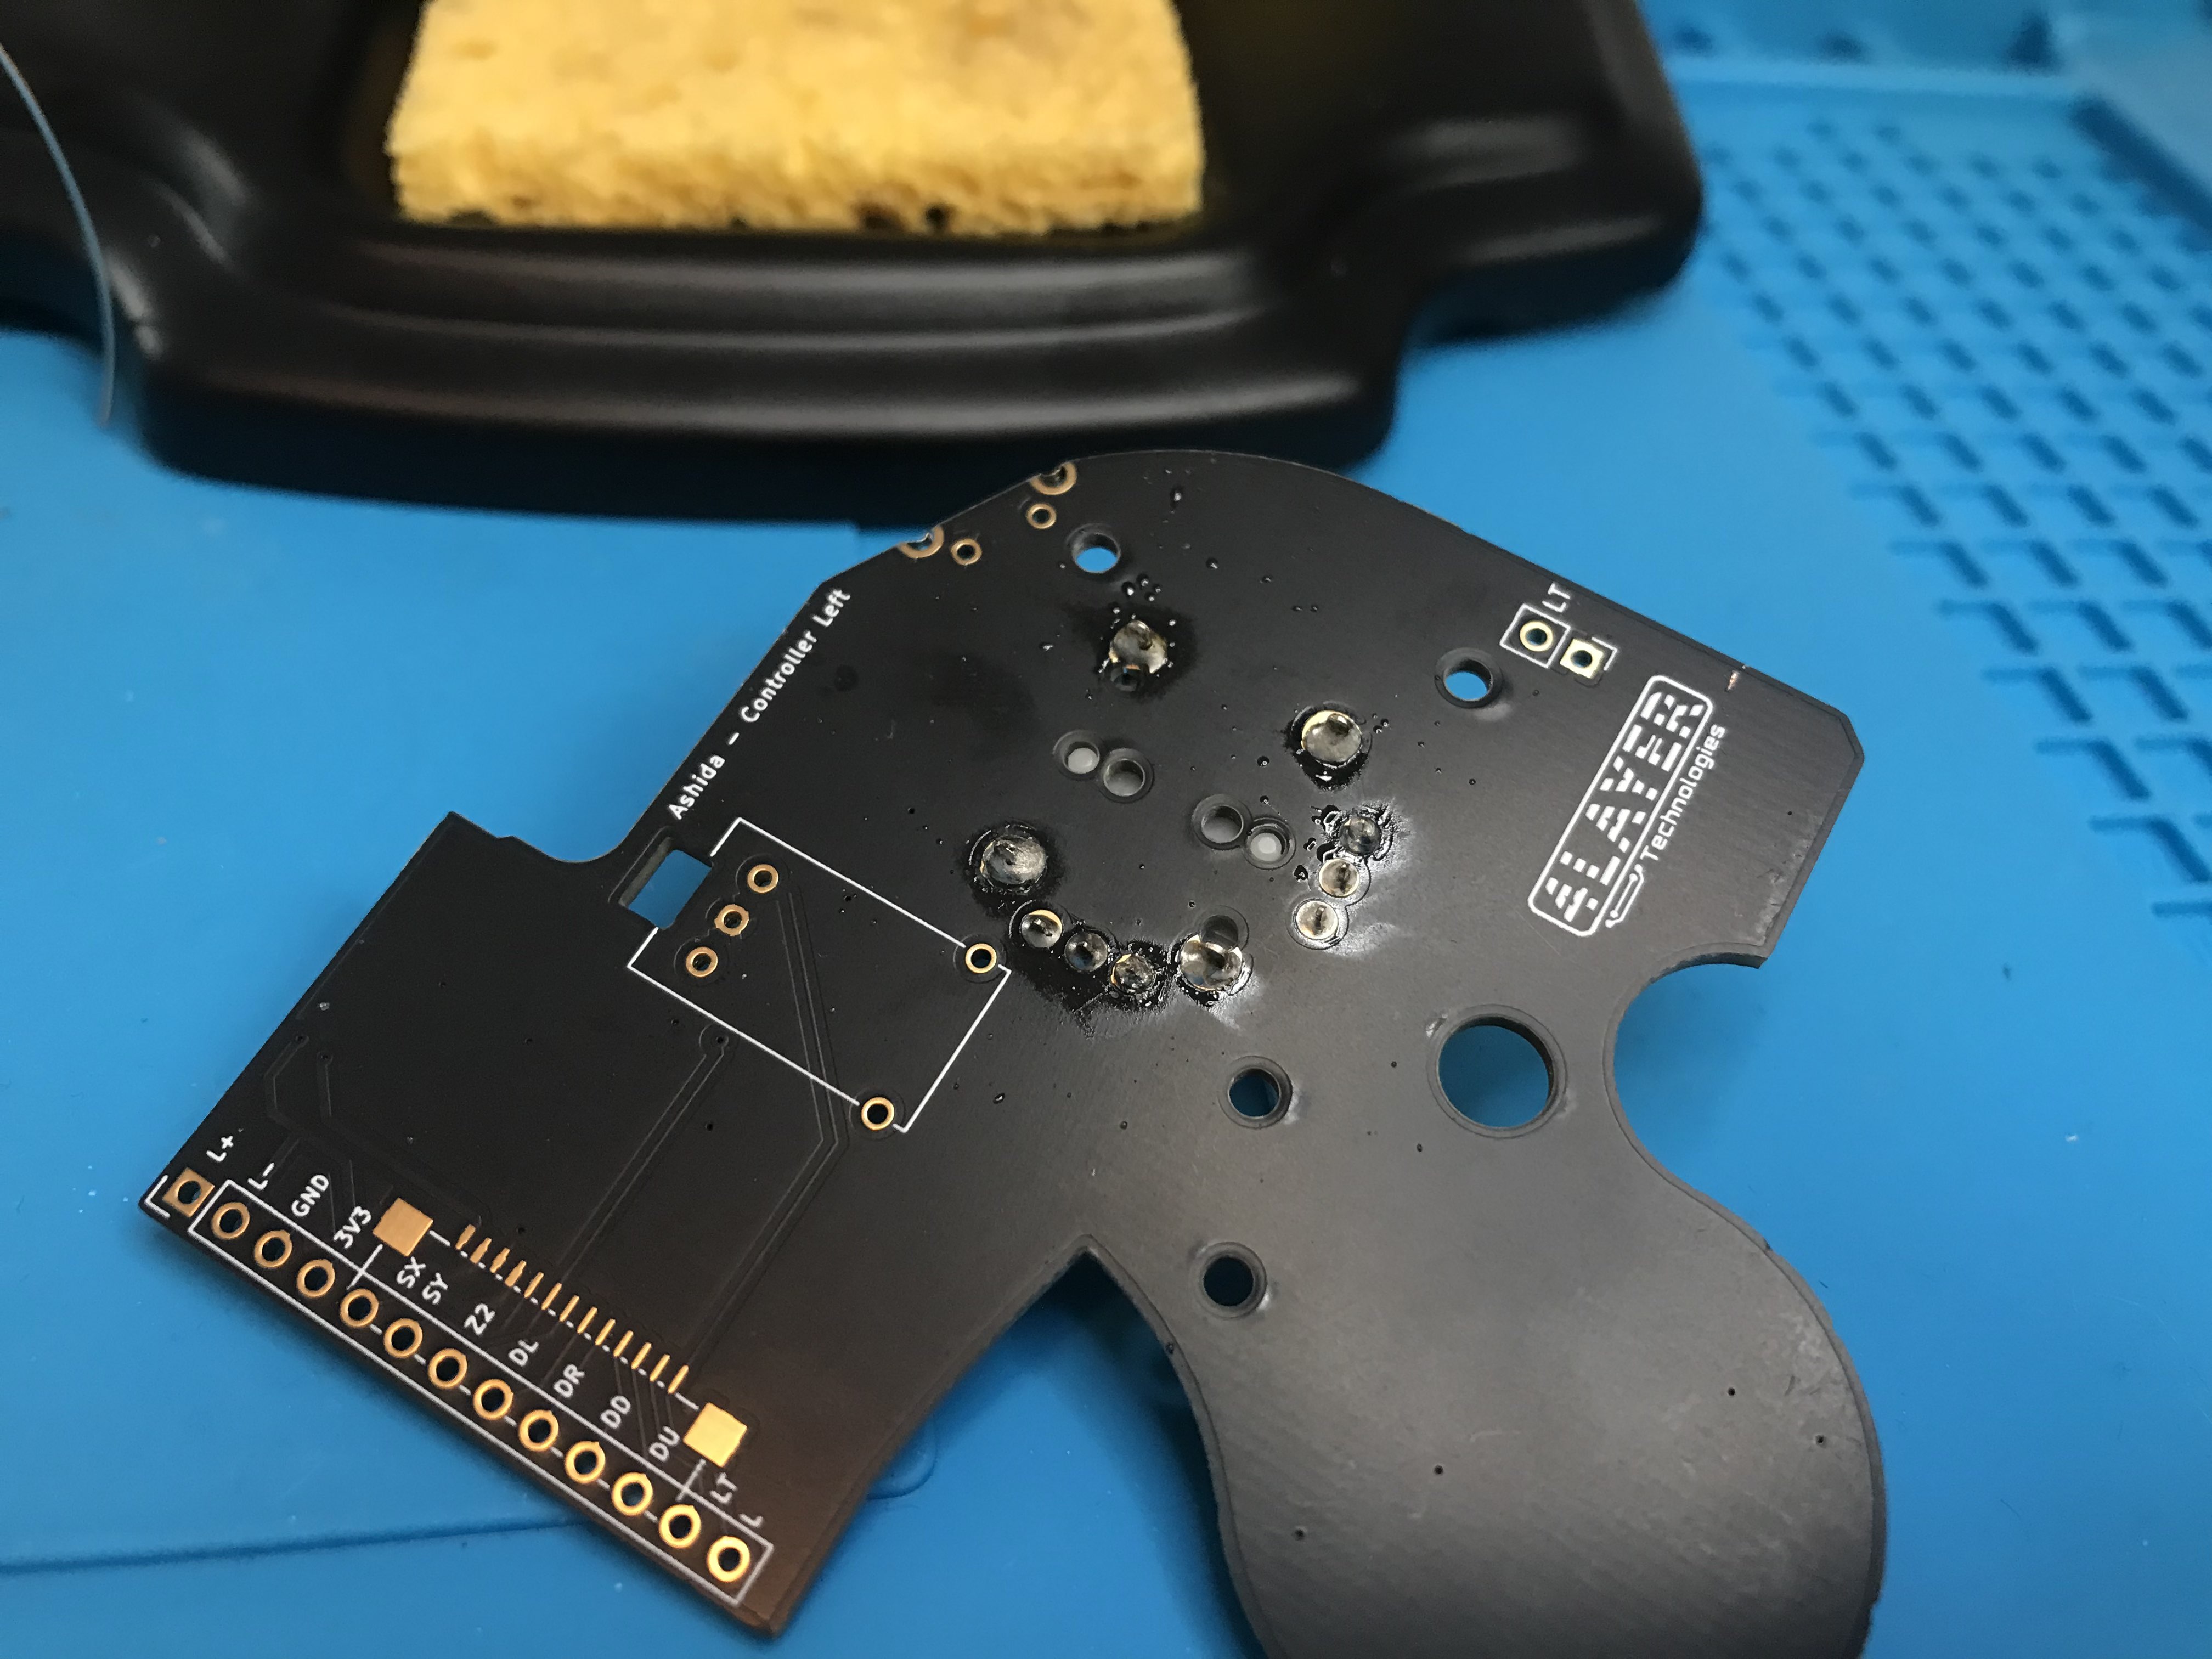
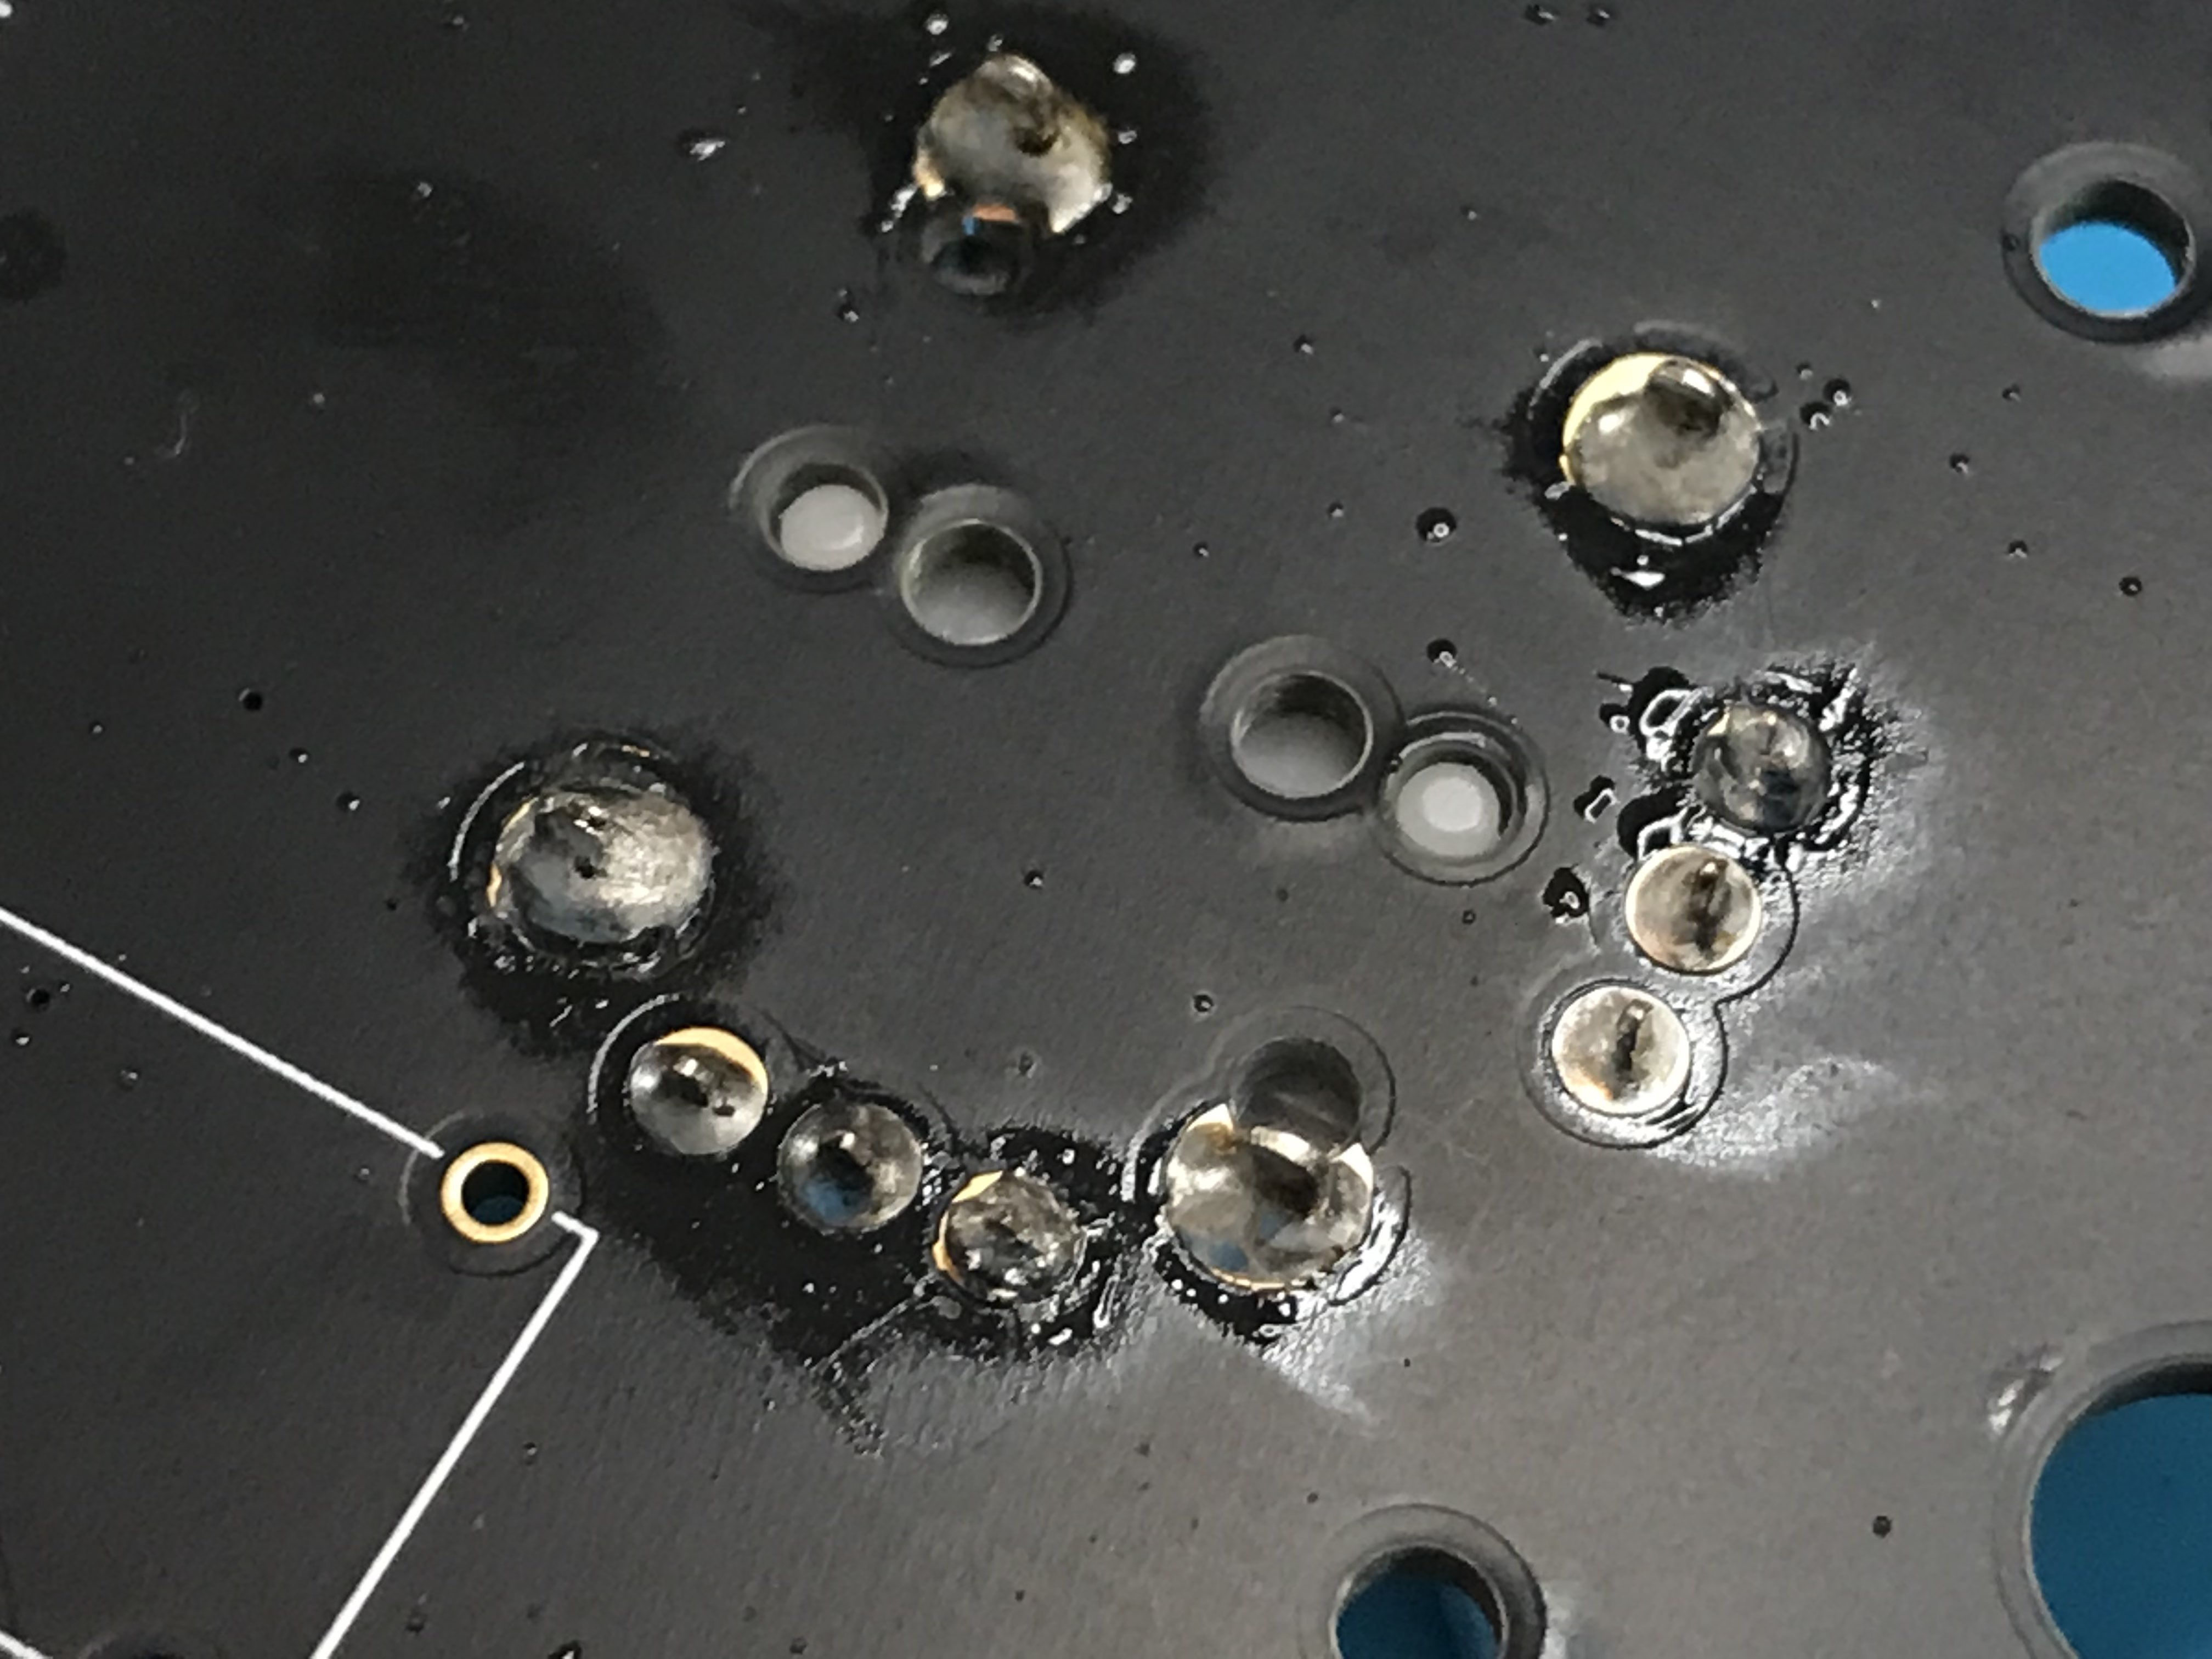
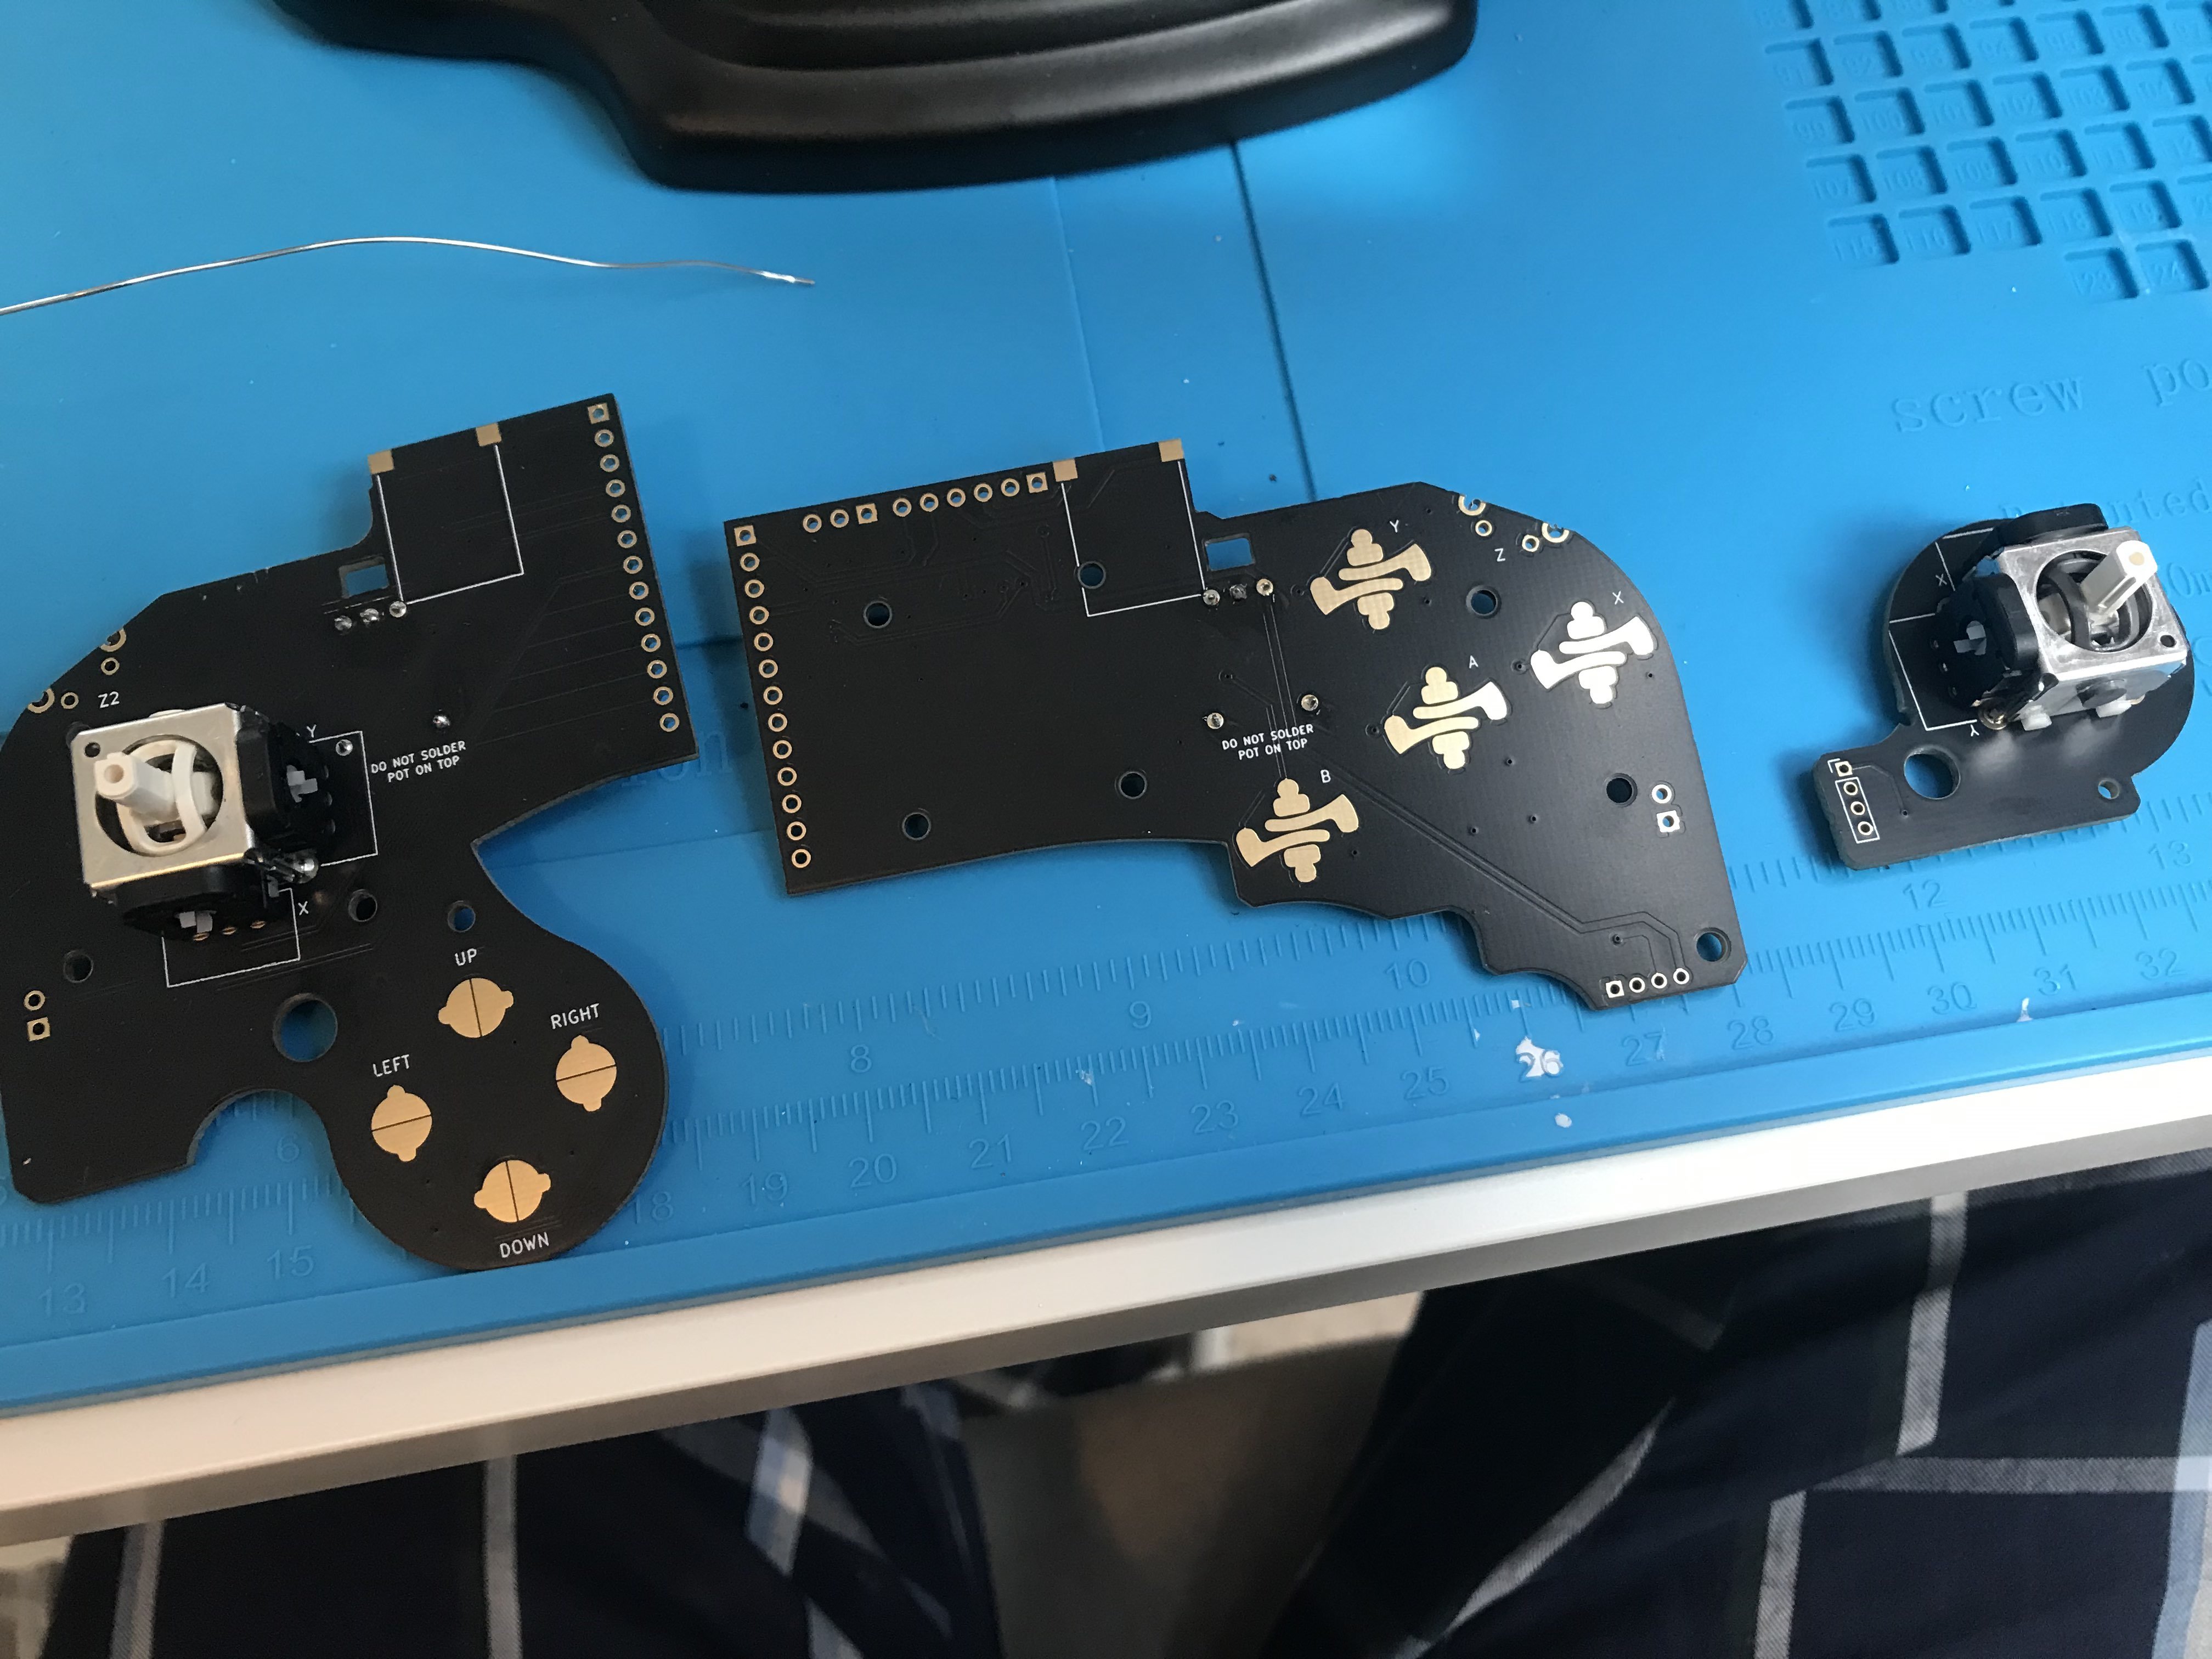
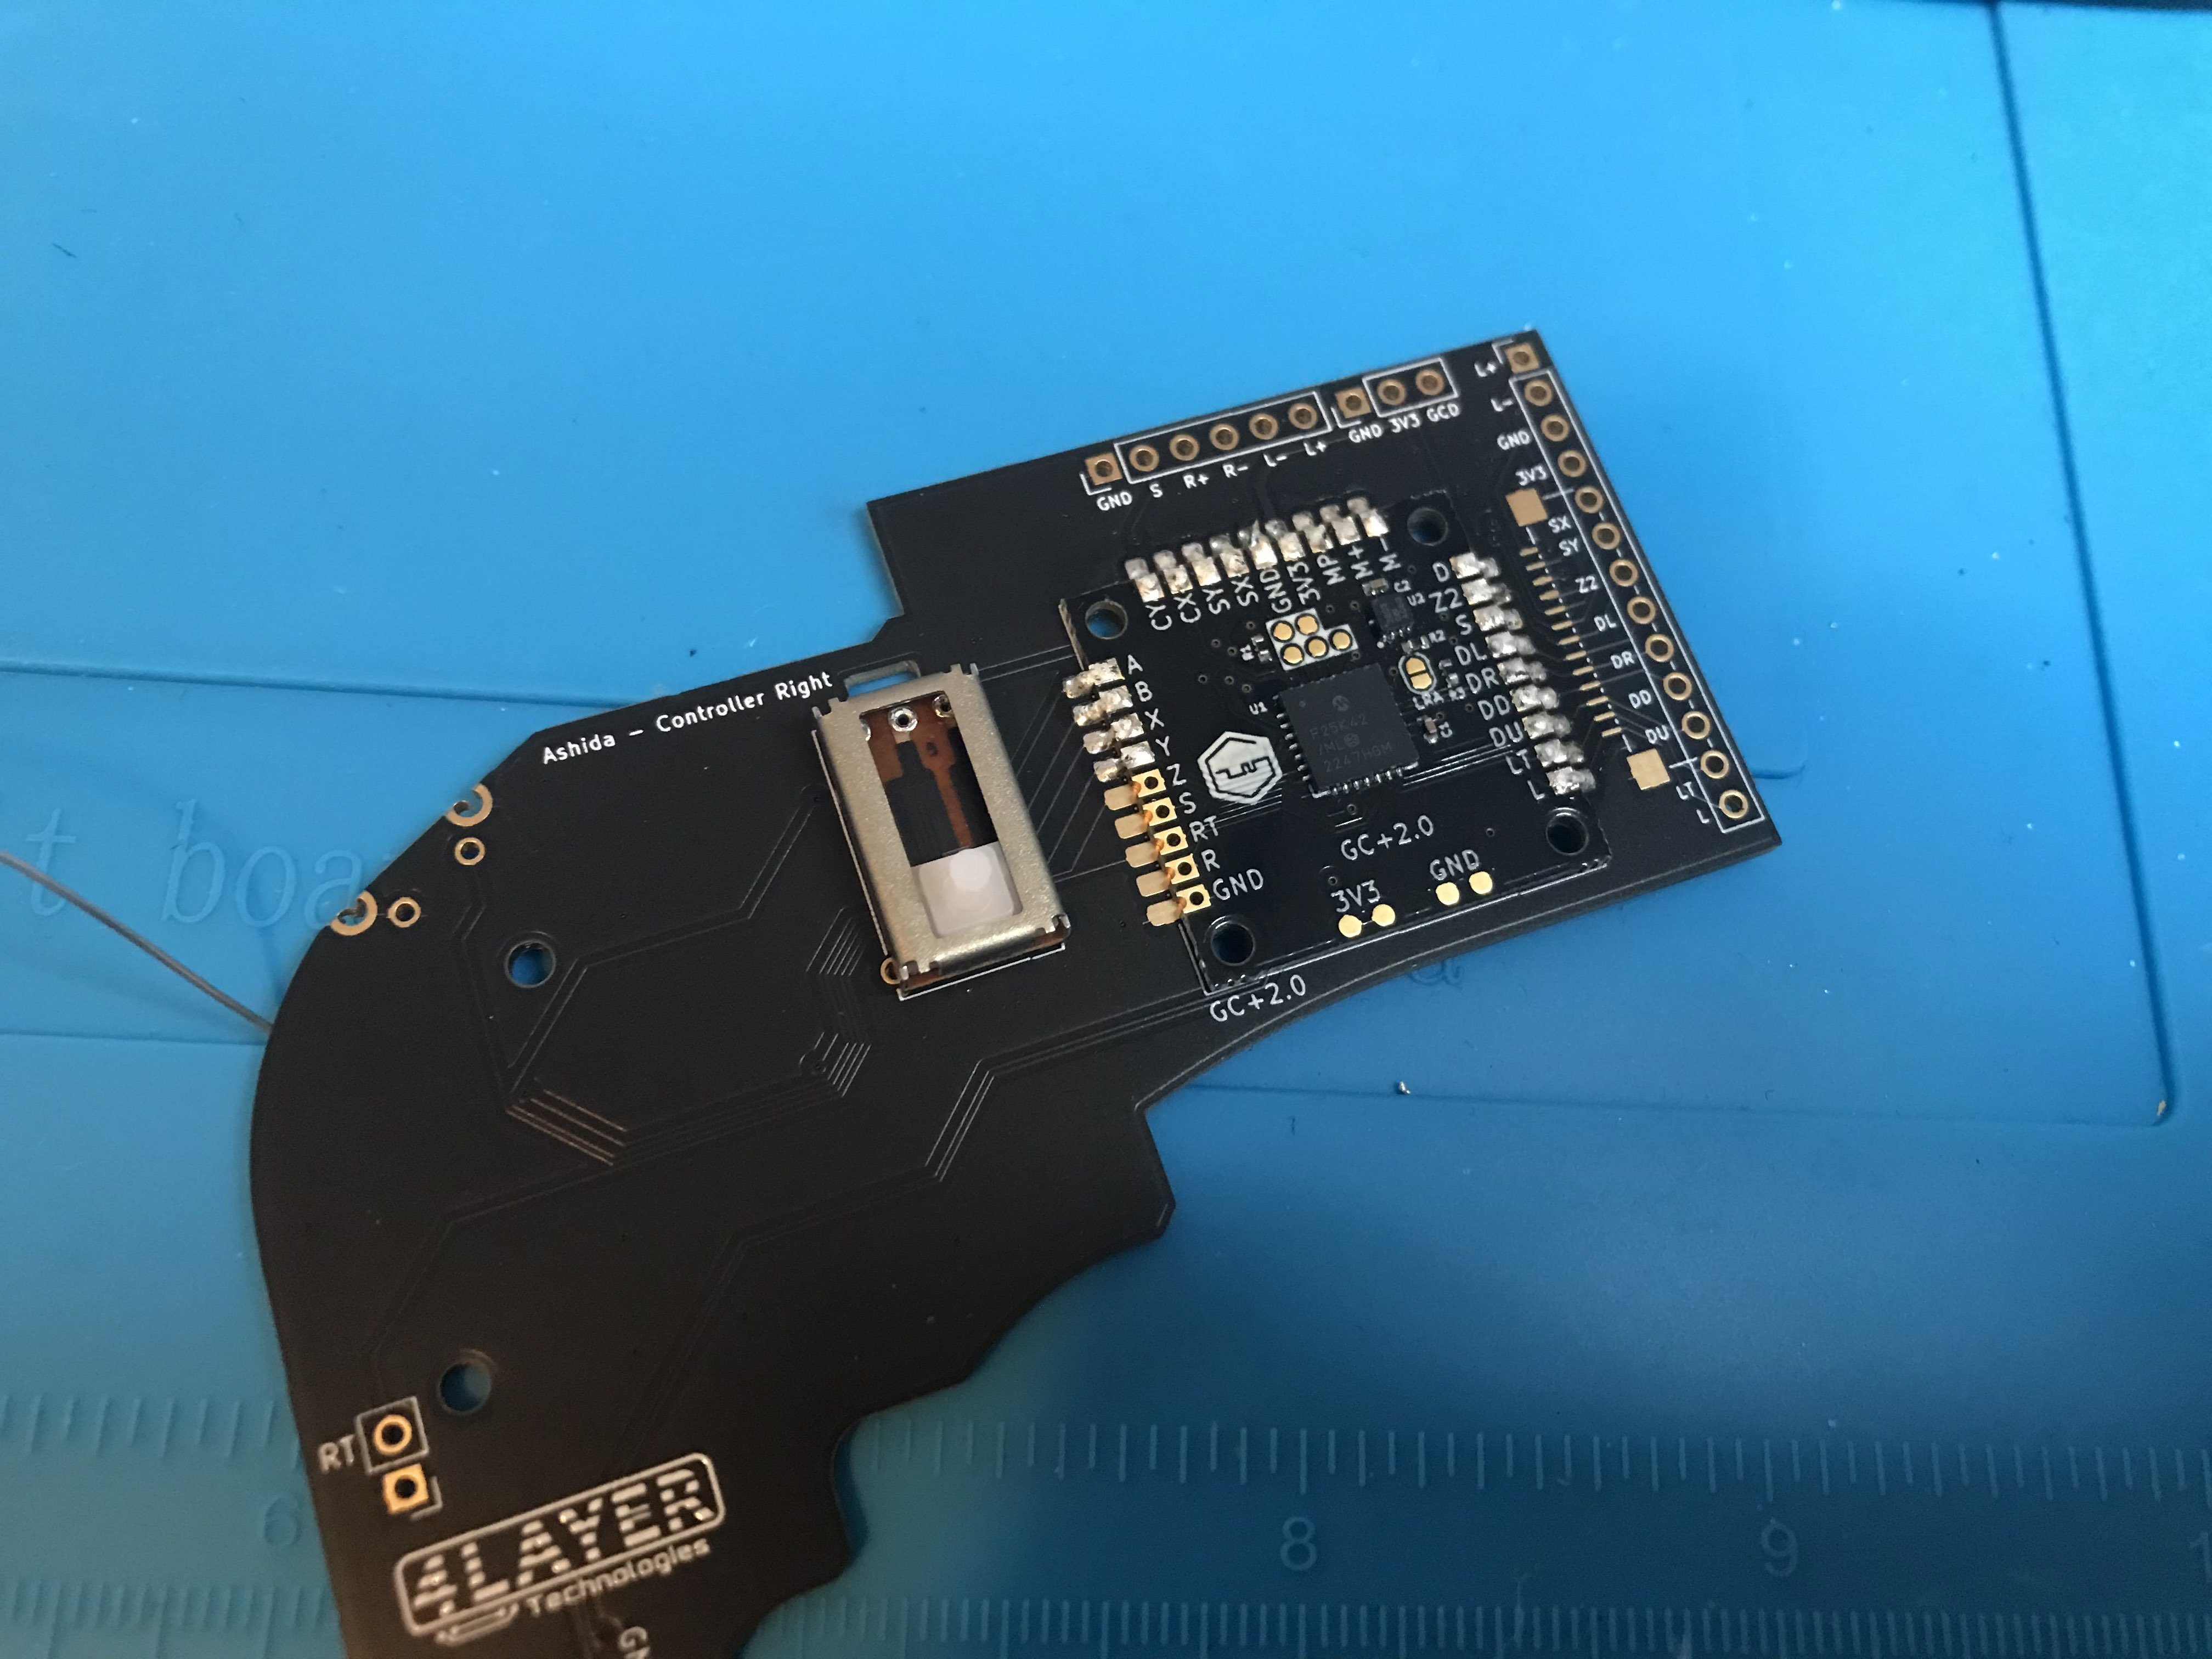
I started by soldering GC controller parts, UAMP2 and GC+2 to the Ashida PCBs.
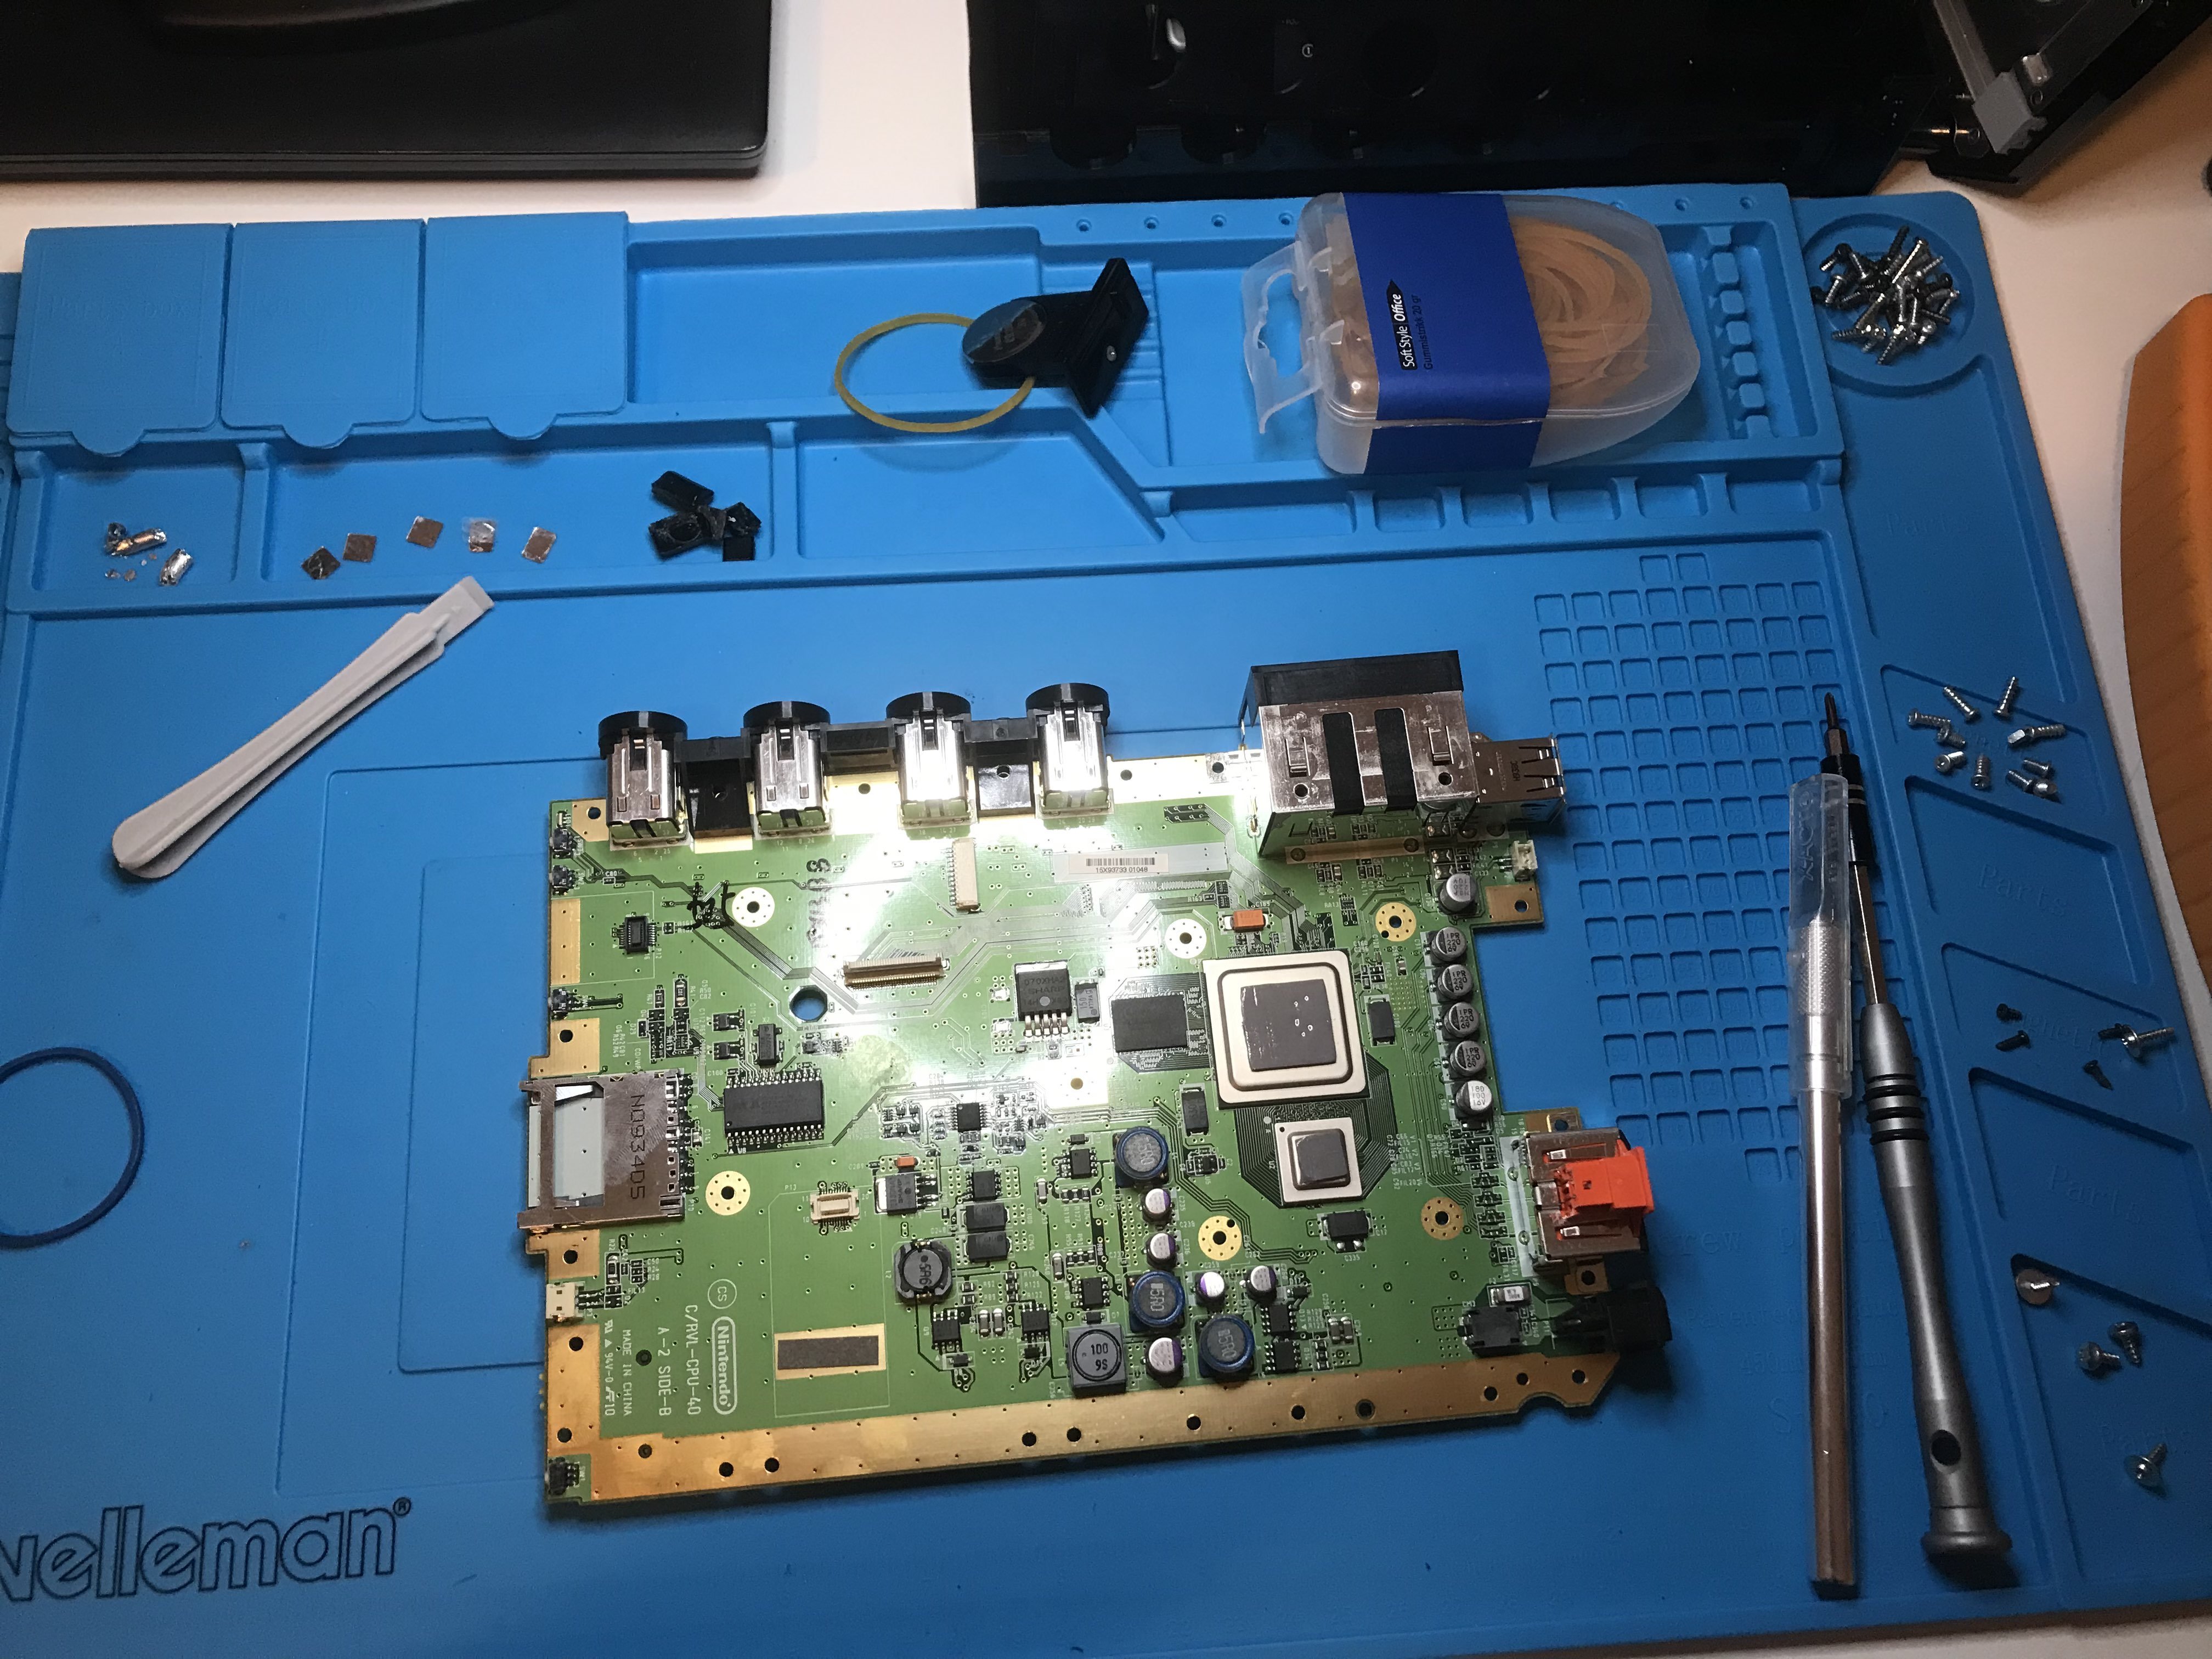
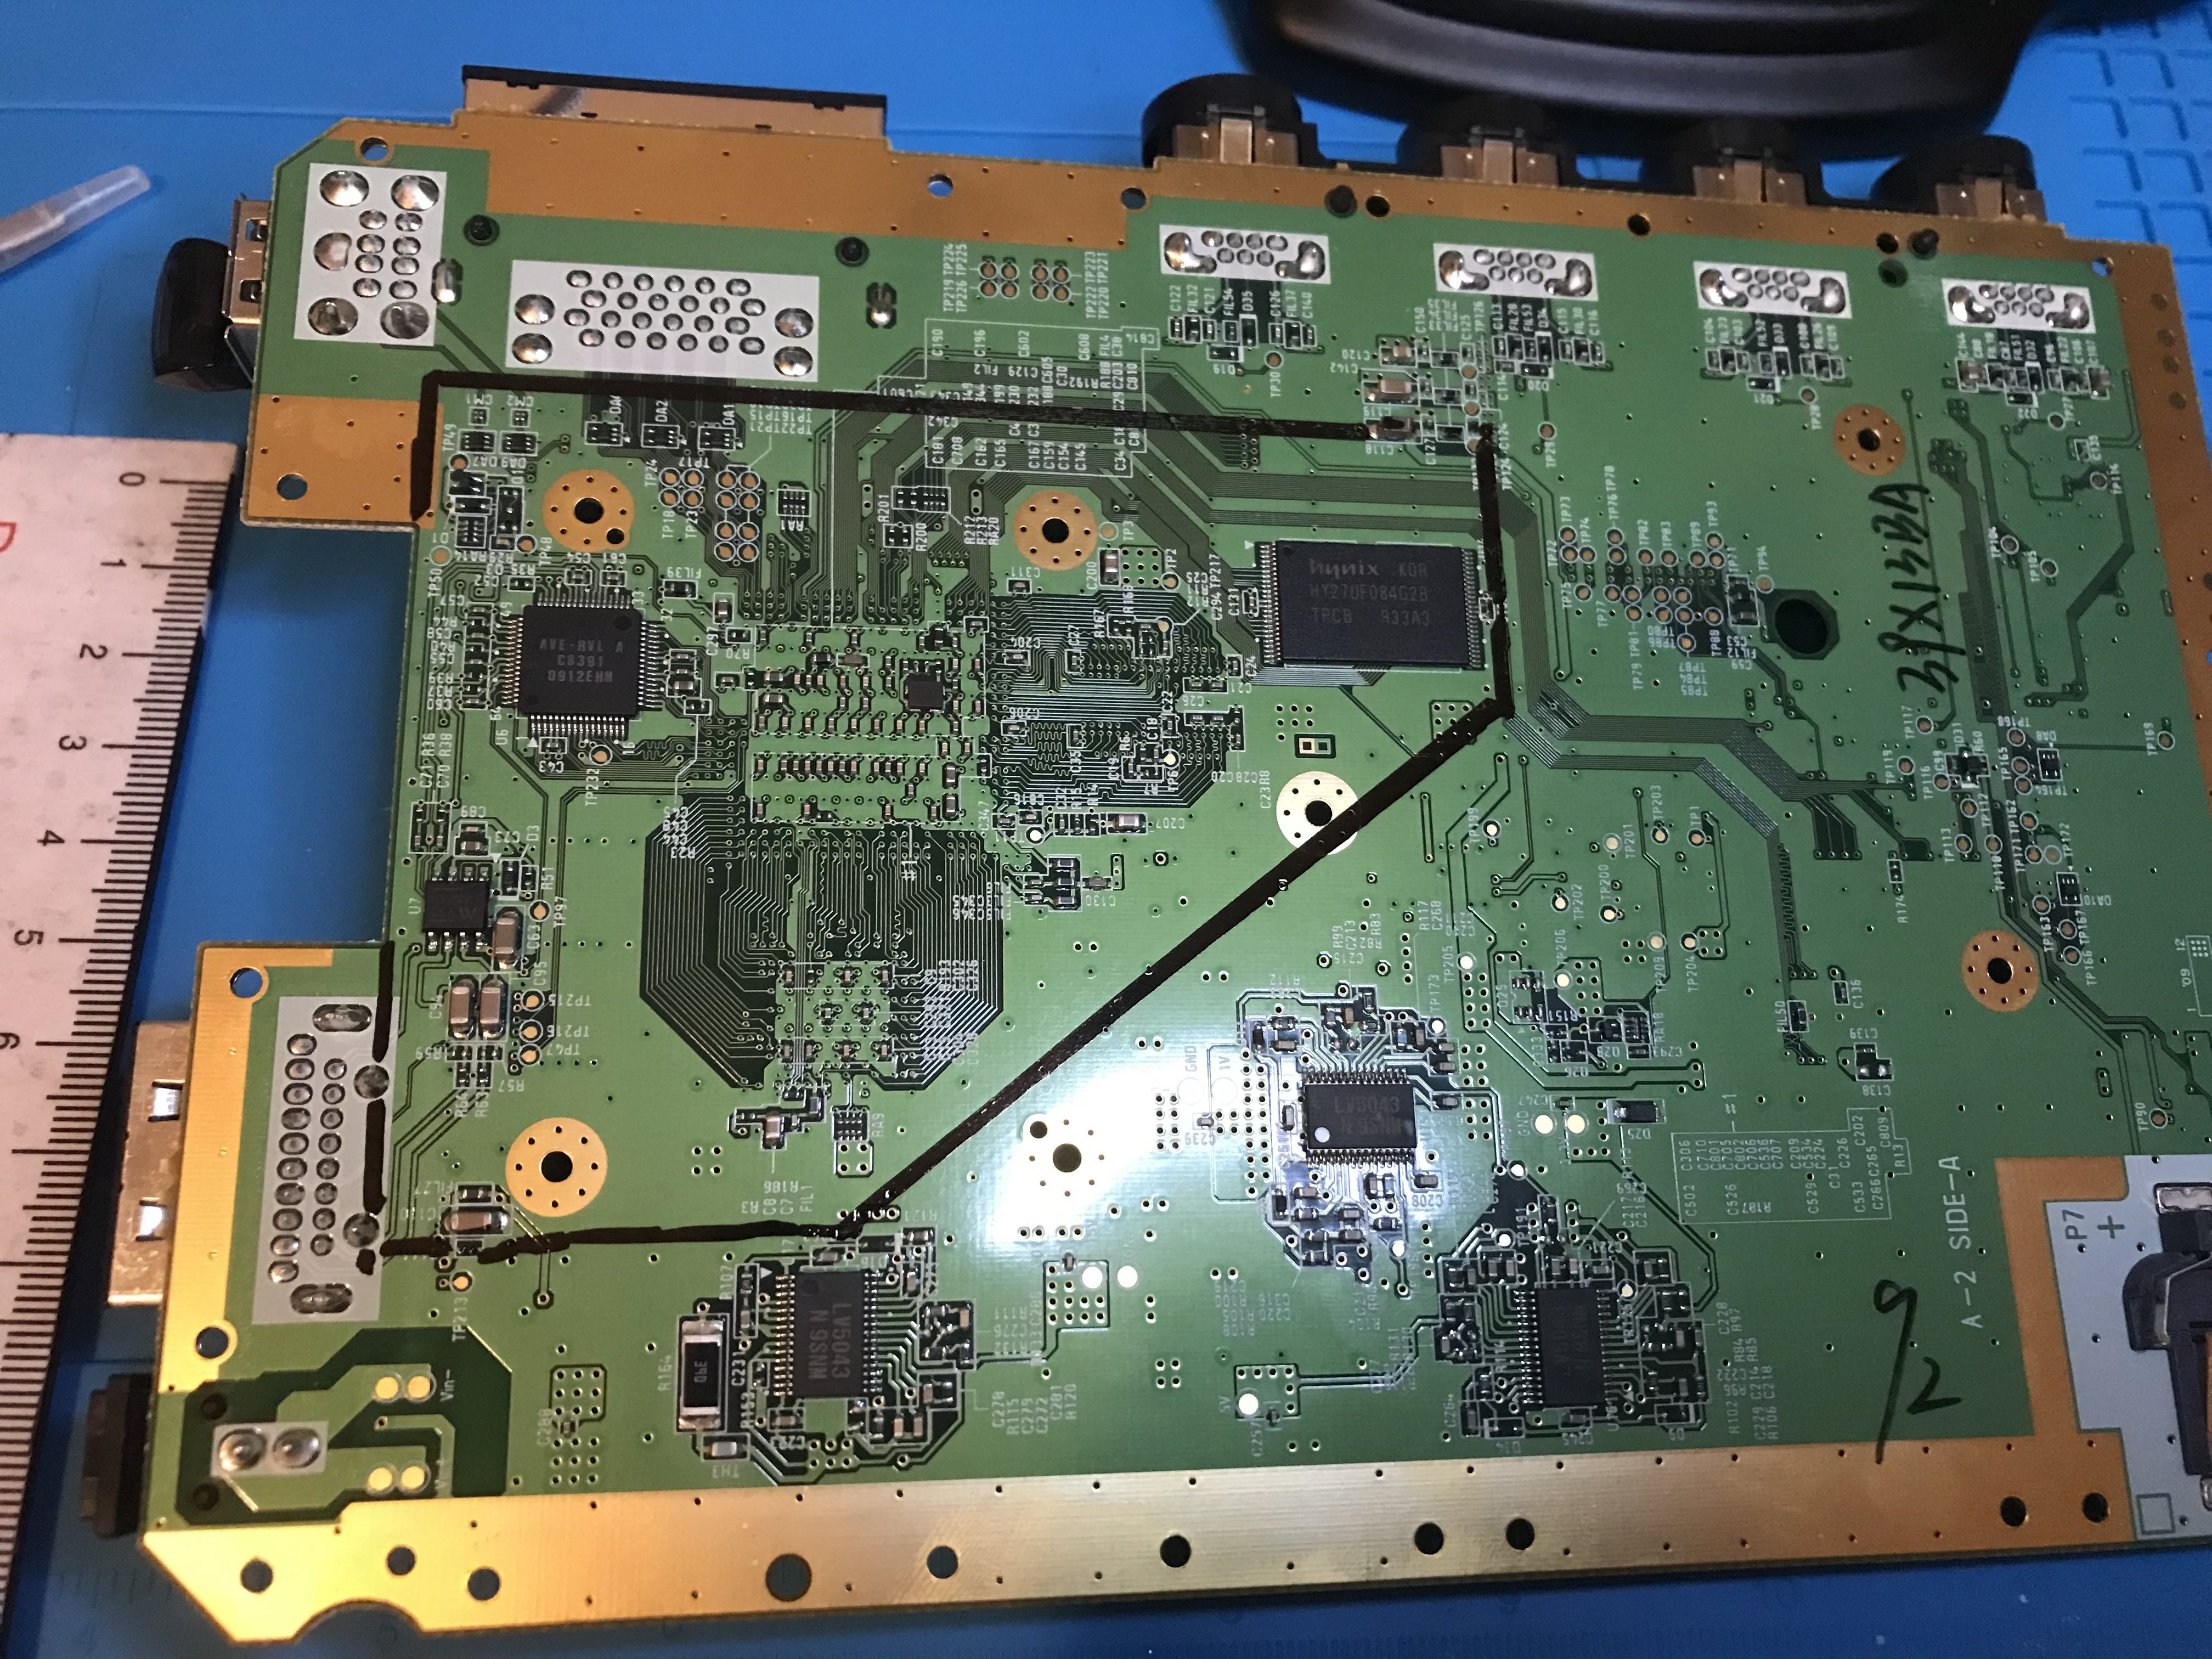
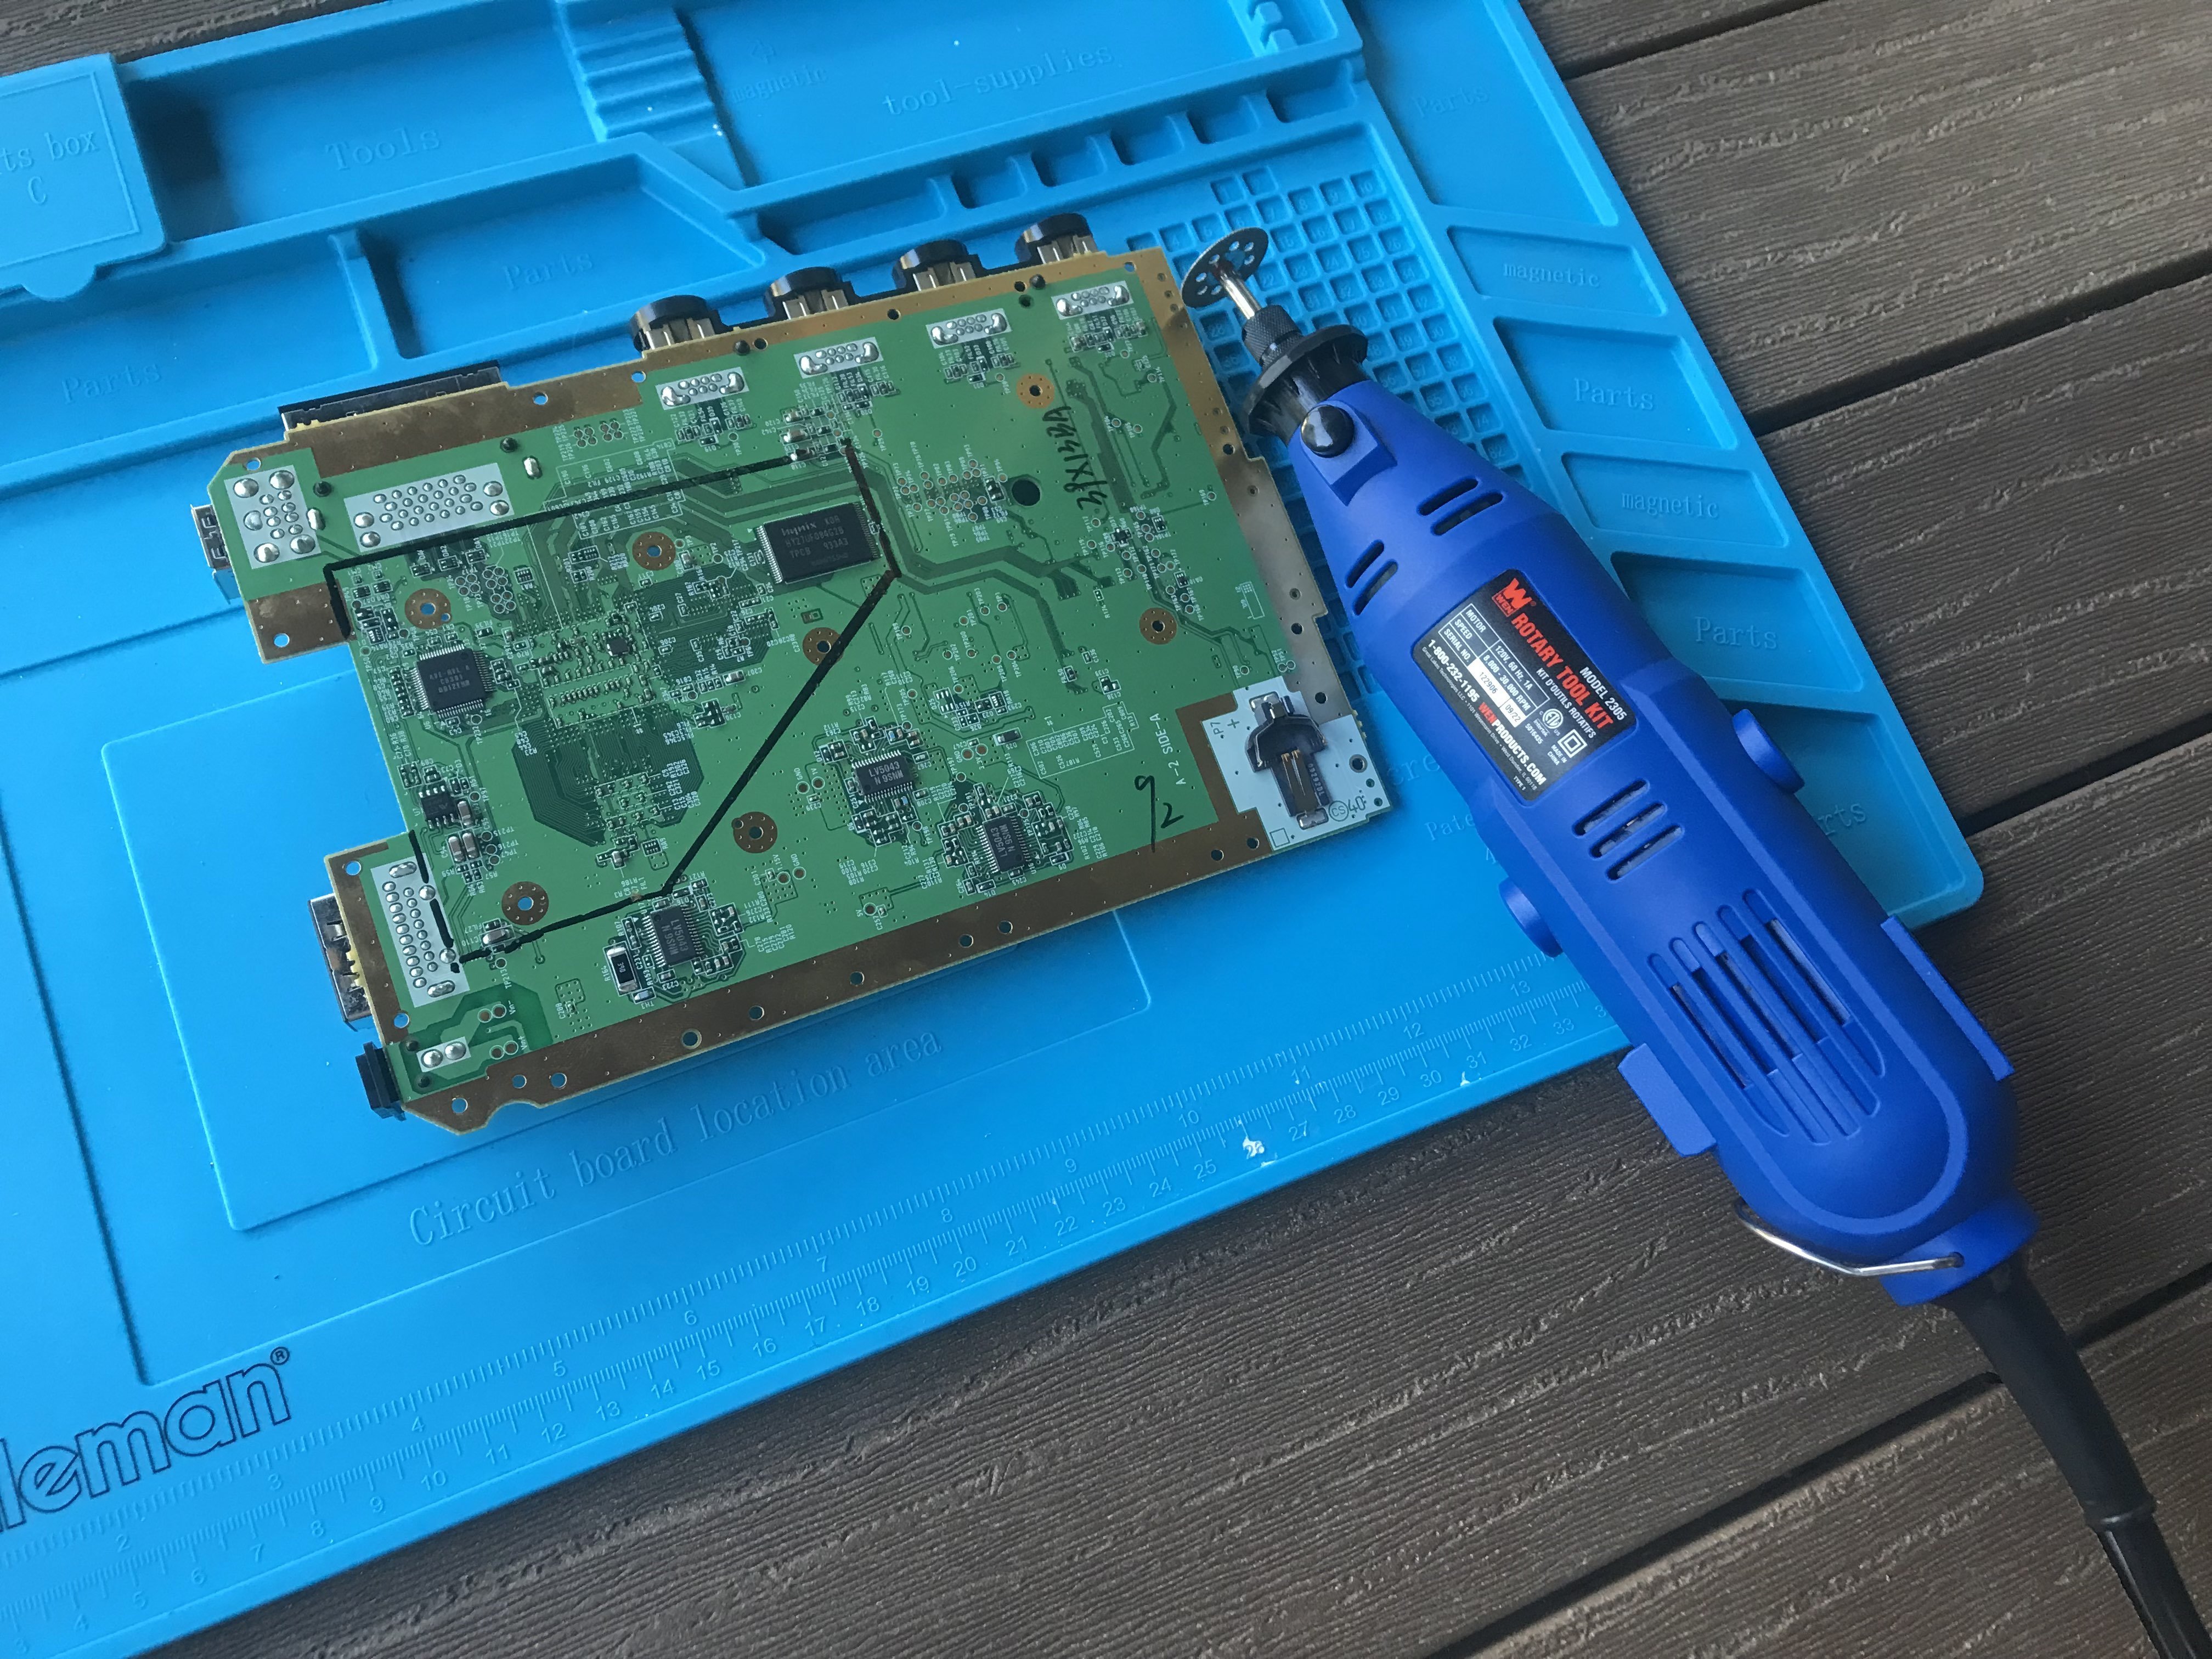
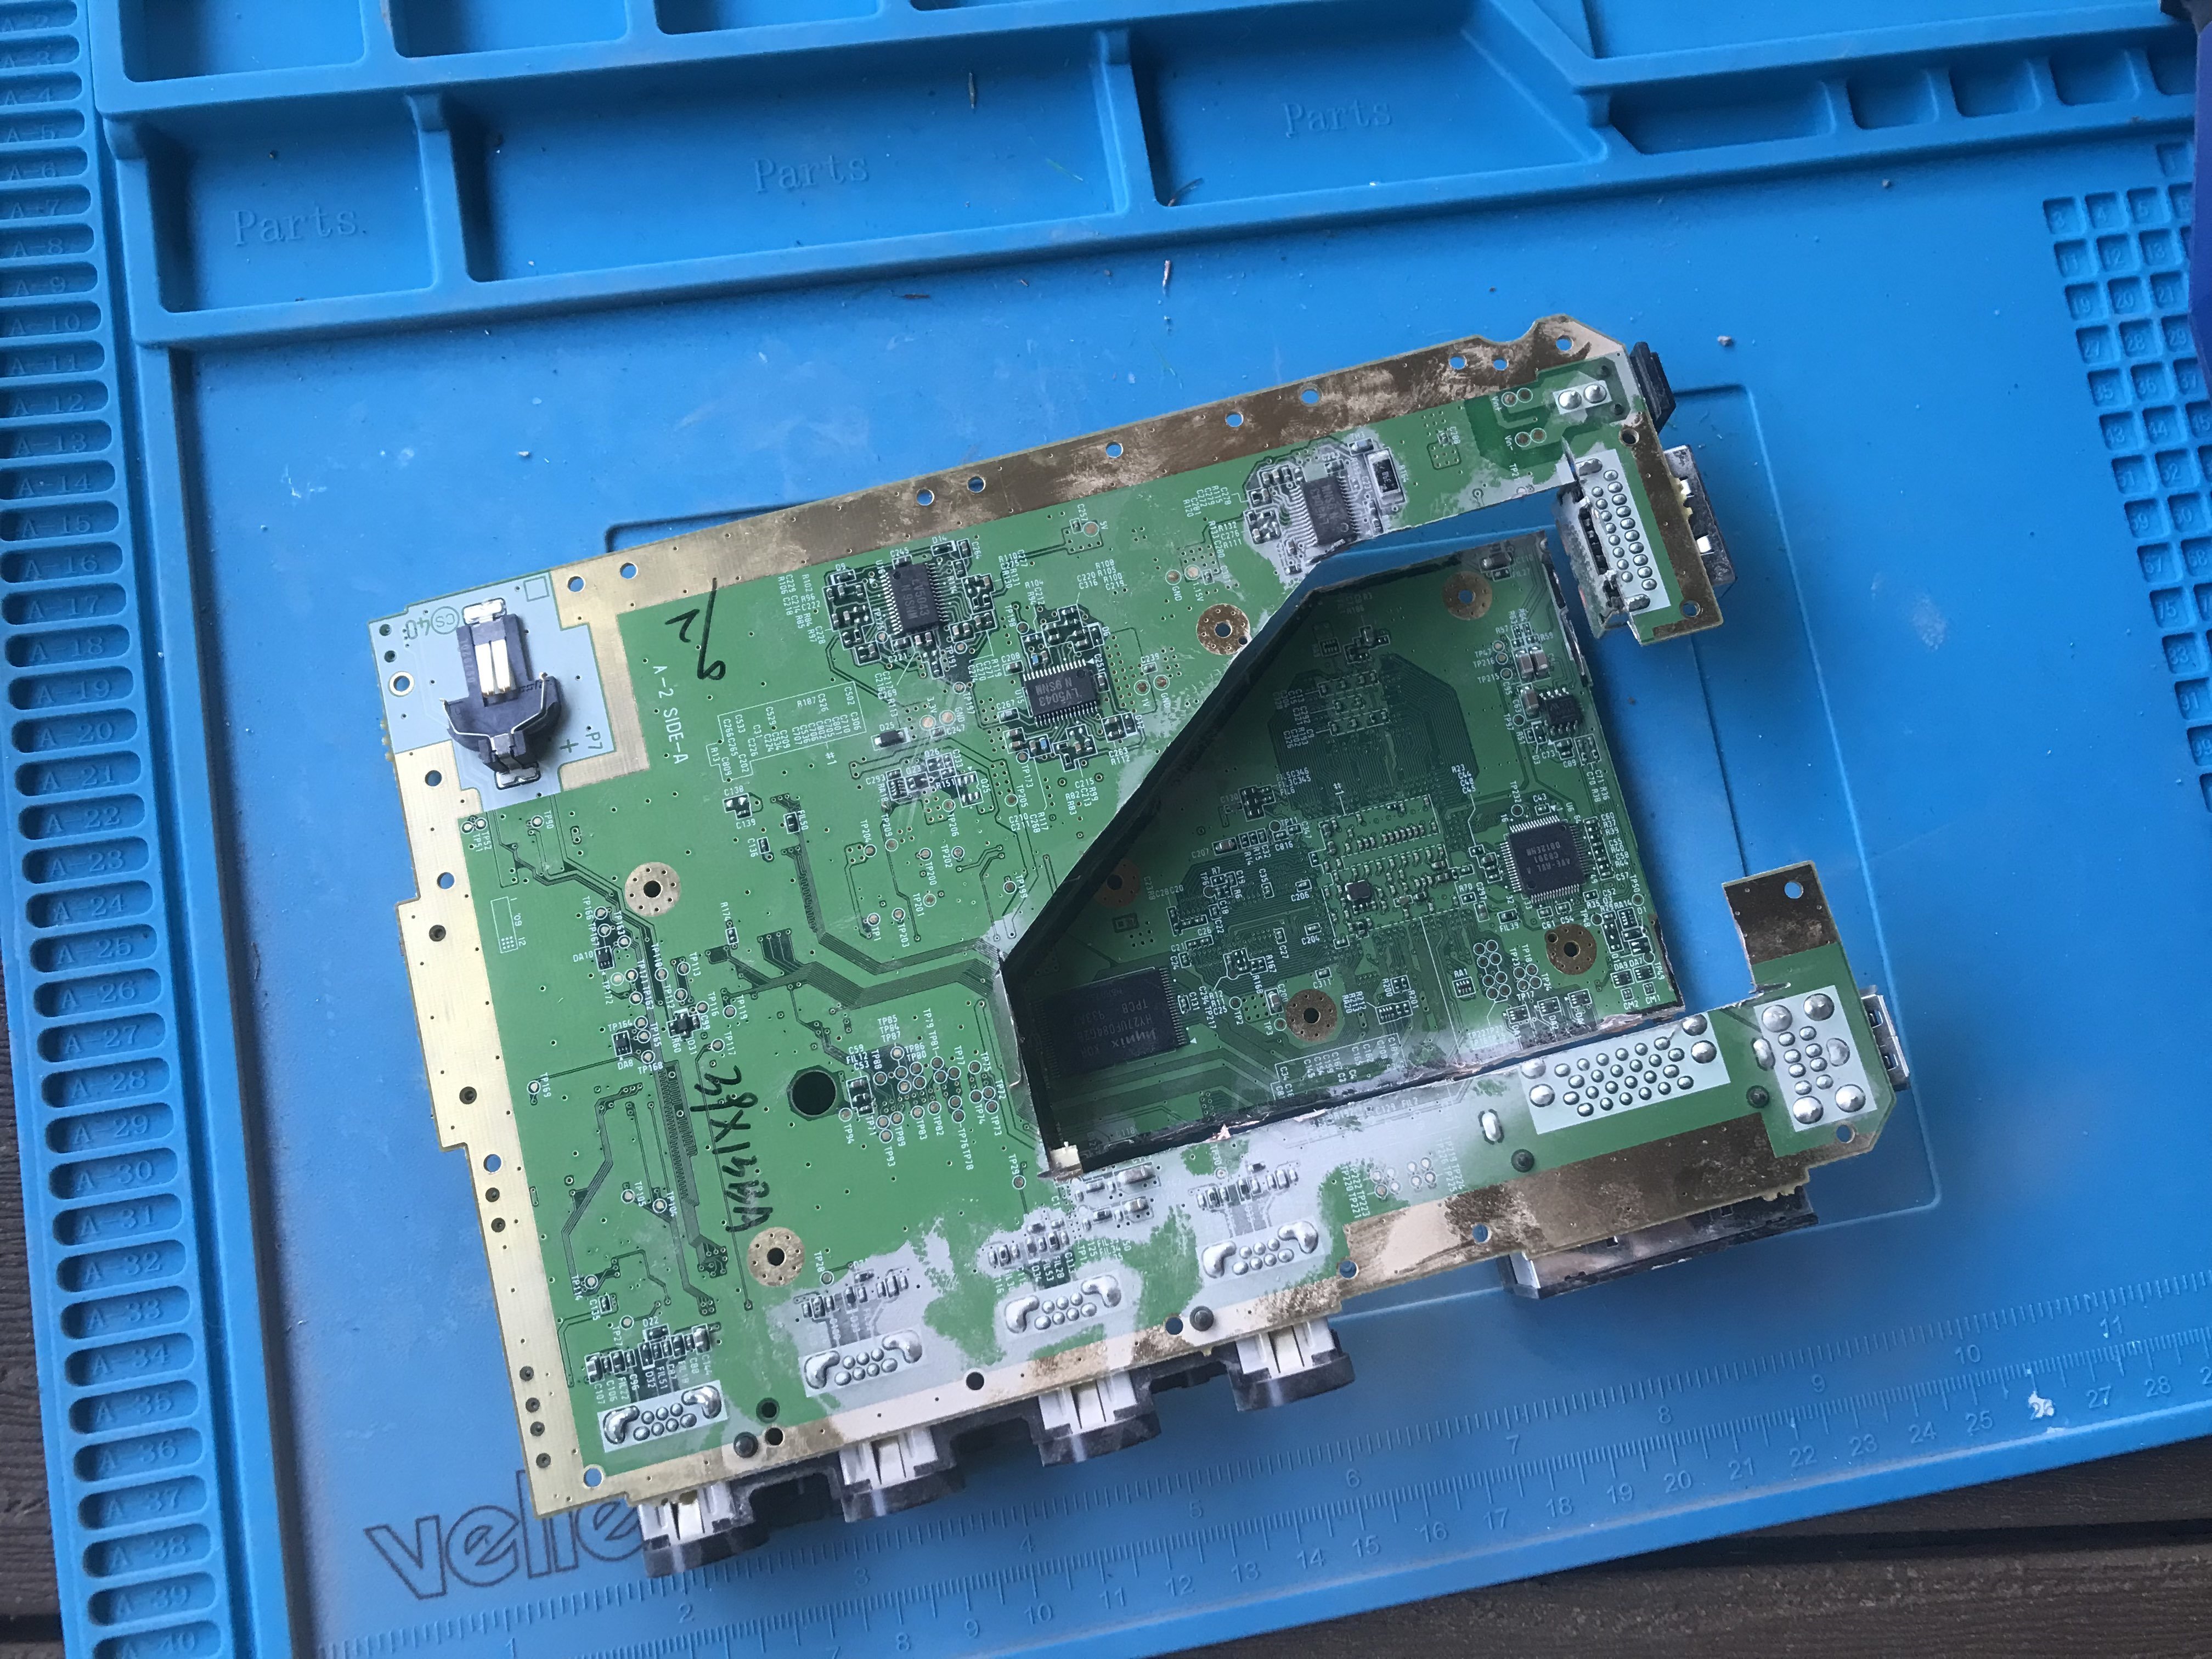
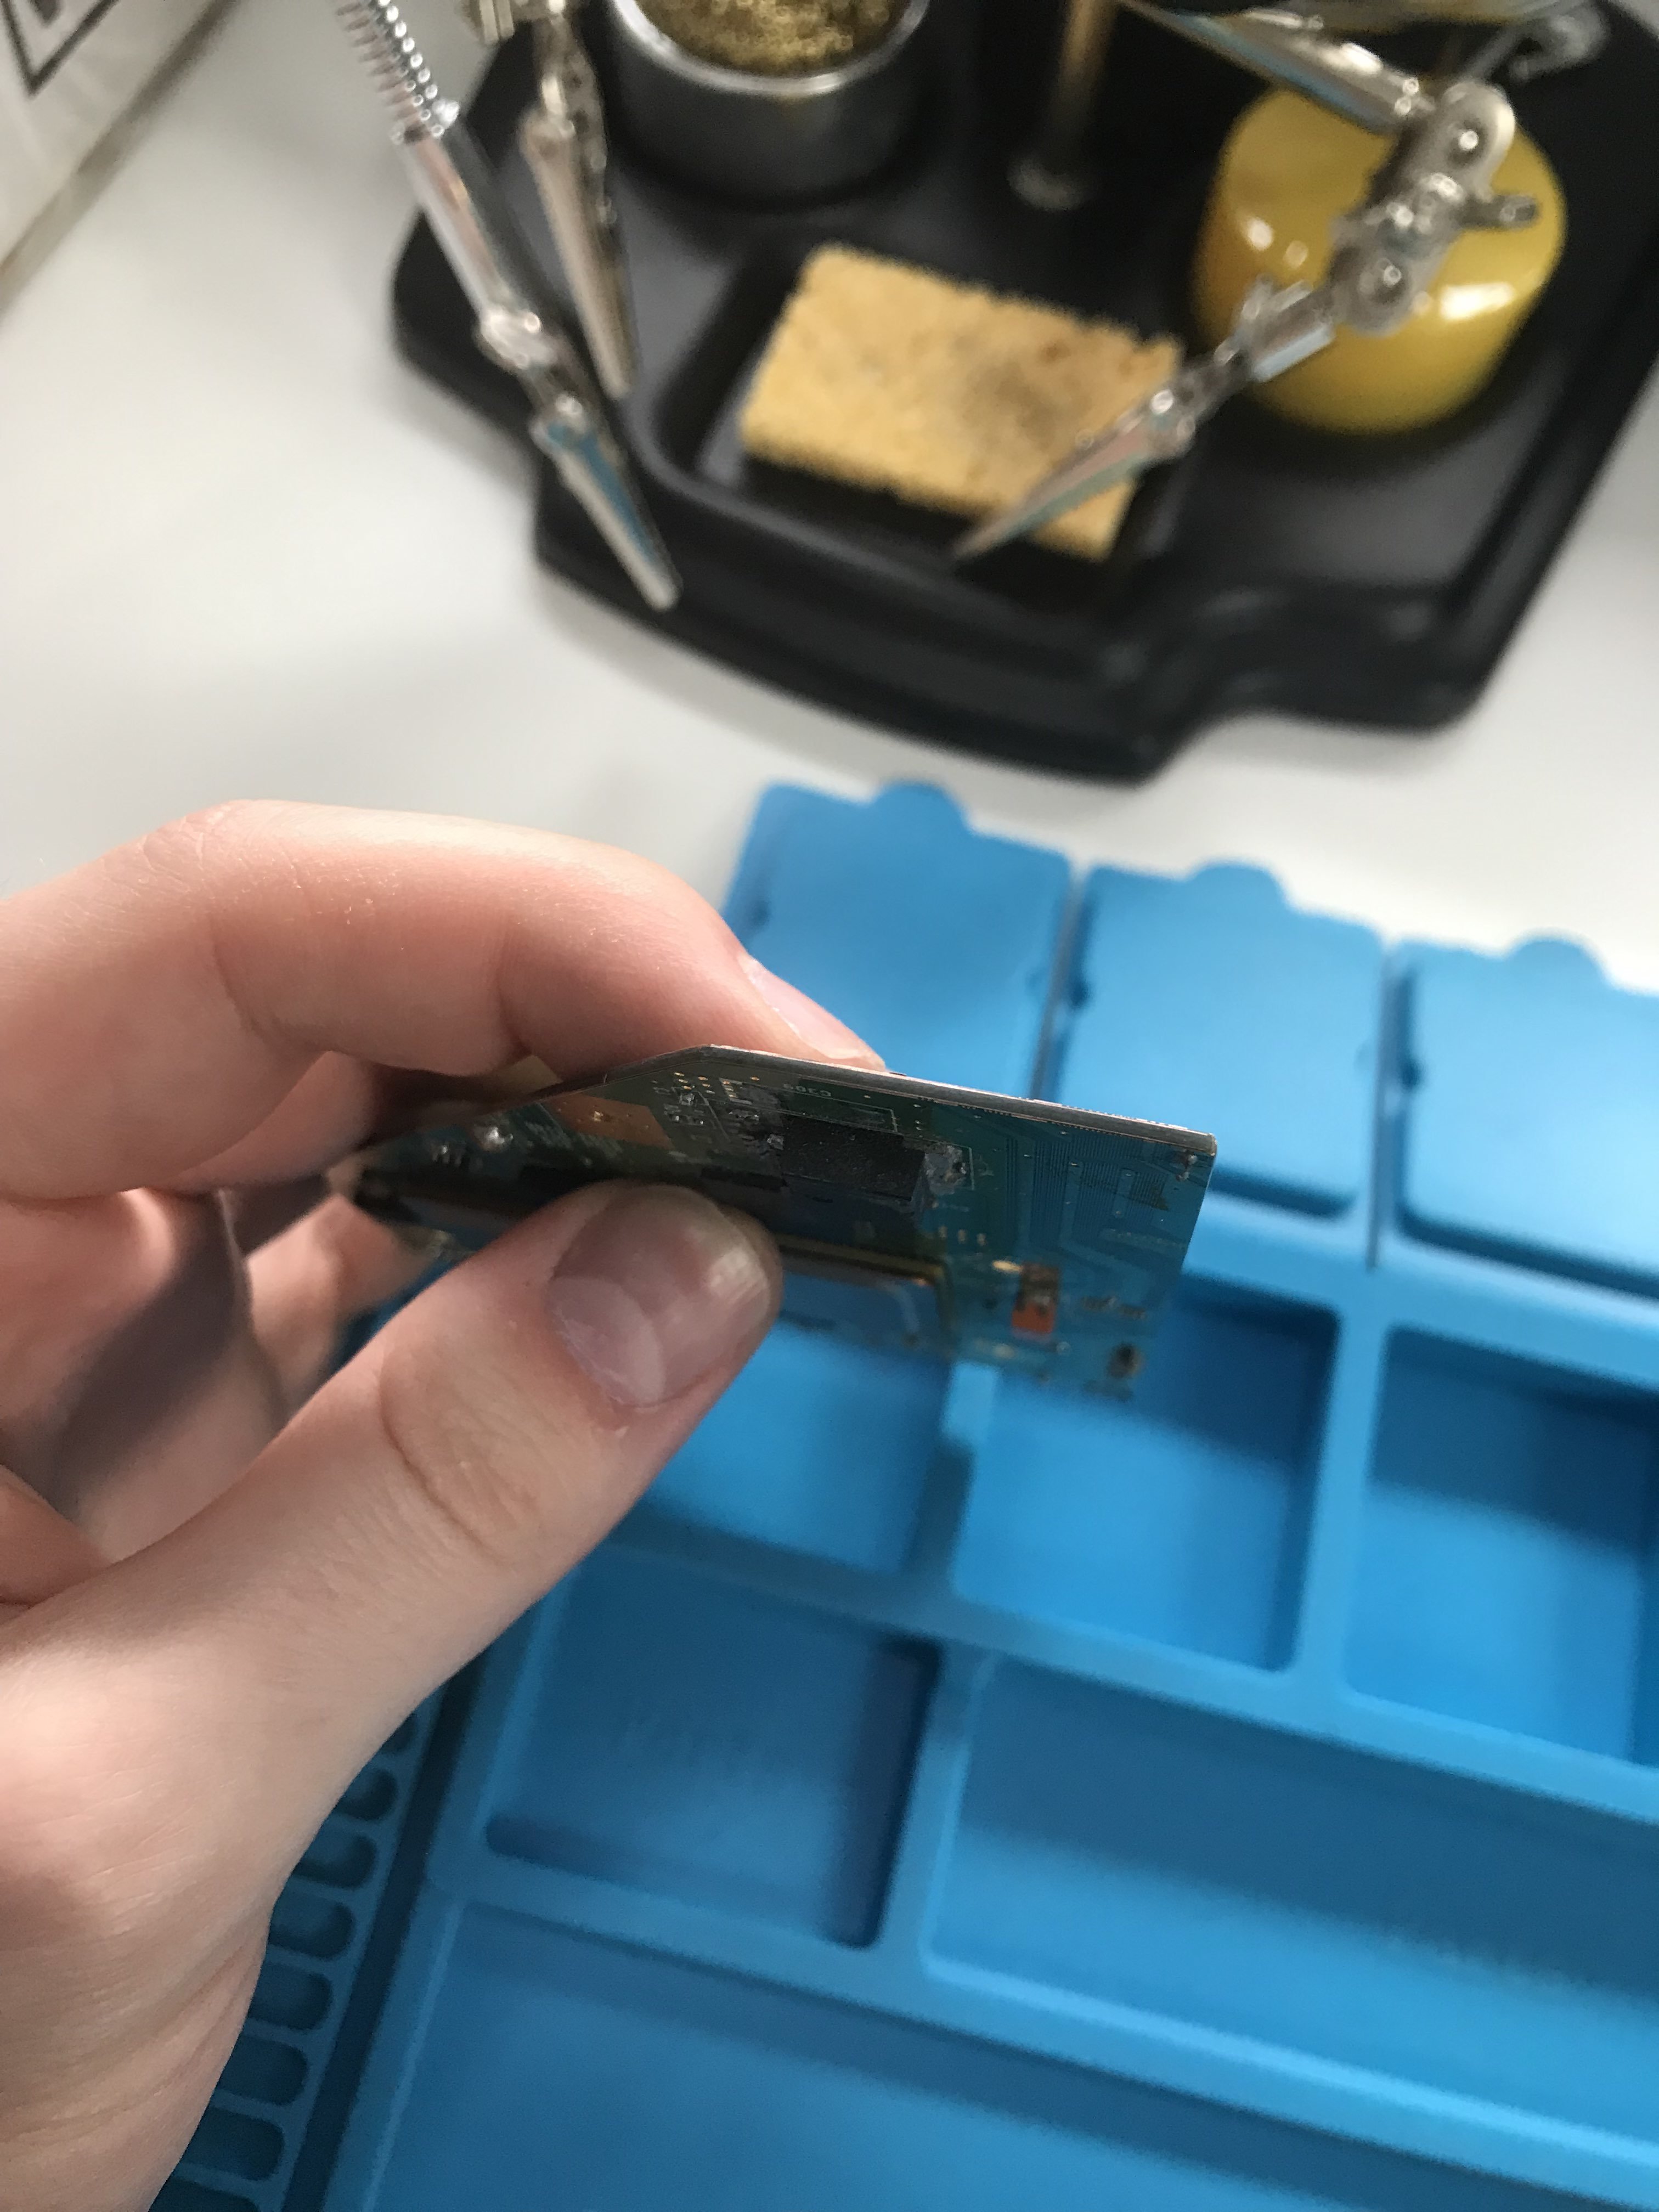
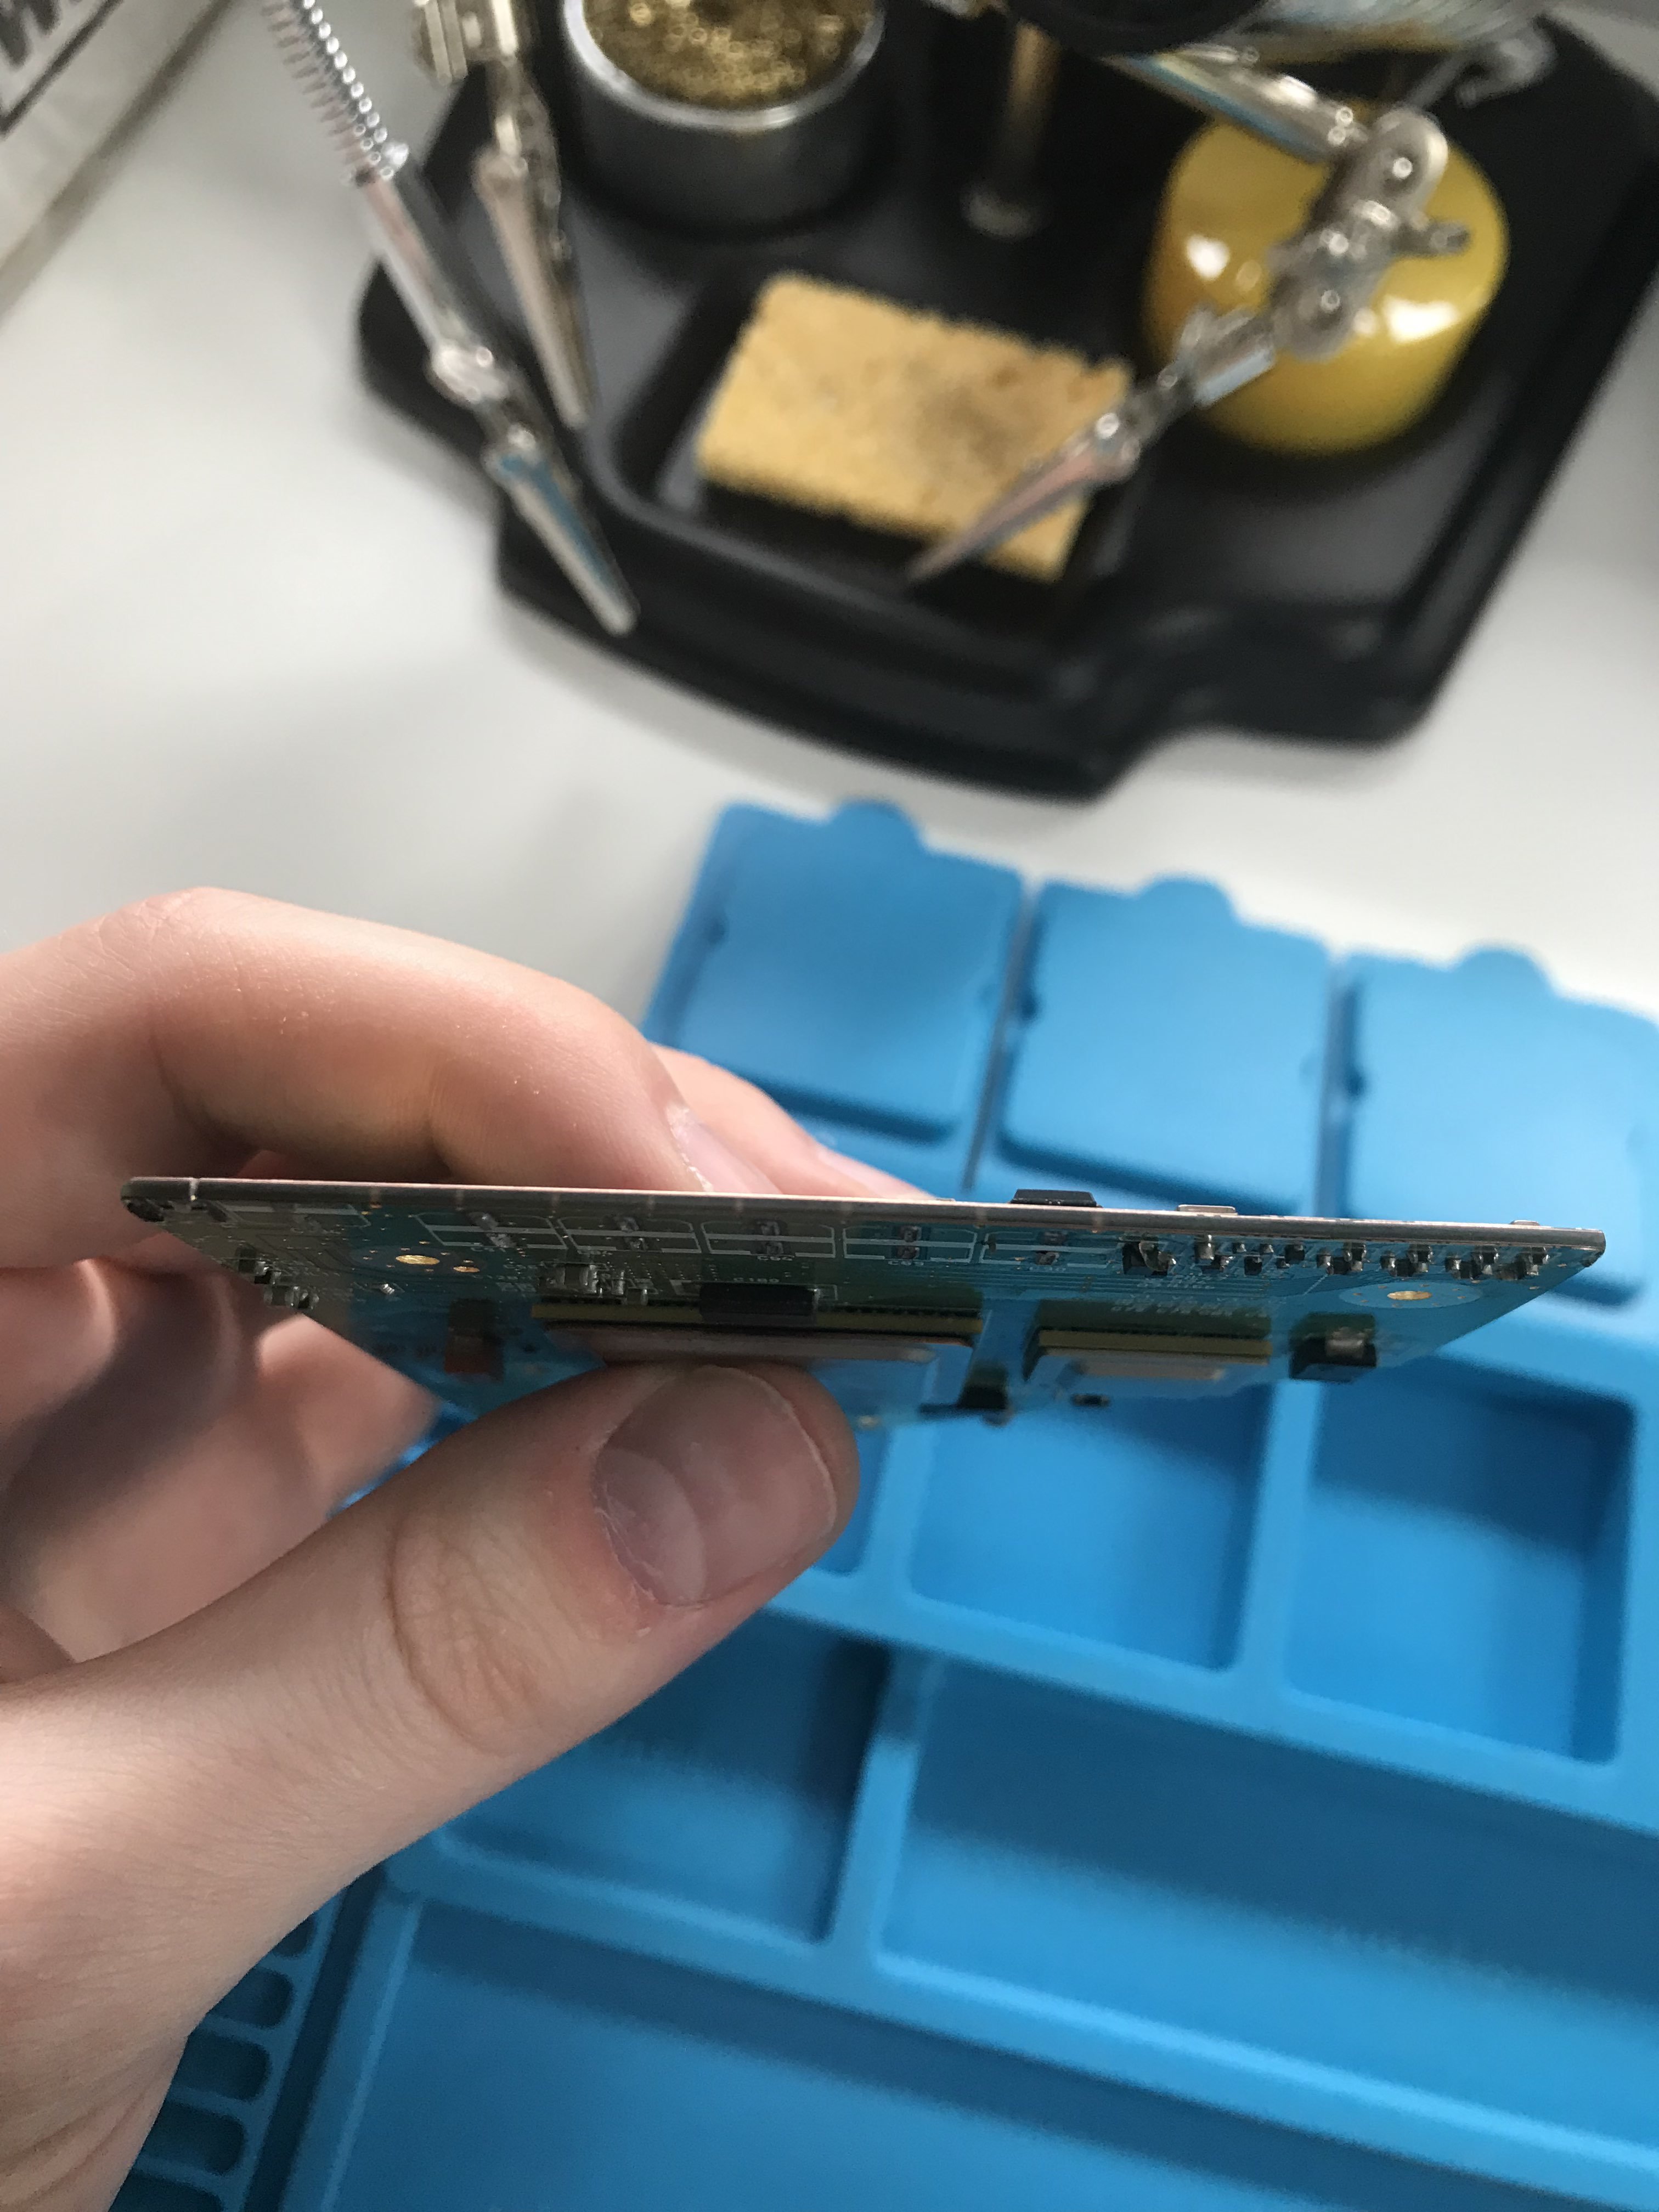
Removed capacitors and trimmed my Wii. Had some issues with the wheel slipping, but it looks like it went well. I sanded as well as I could using K240, K800, K1200. Resistances were good according to the table. I will say I noticed my Multimeter behaved weirdly when checking 3.3V. It has an auto-range feature and it ranged from very high to around 16K ohms. According to another user on this forum whom experienced the same it was fine and their Wii booted. So I will assume it's fine, but I have not tested turning my Wii on yet.
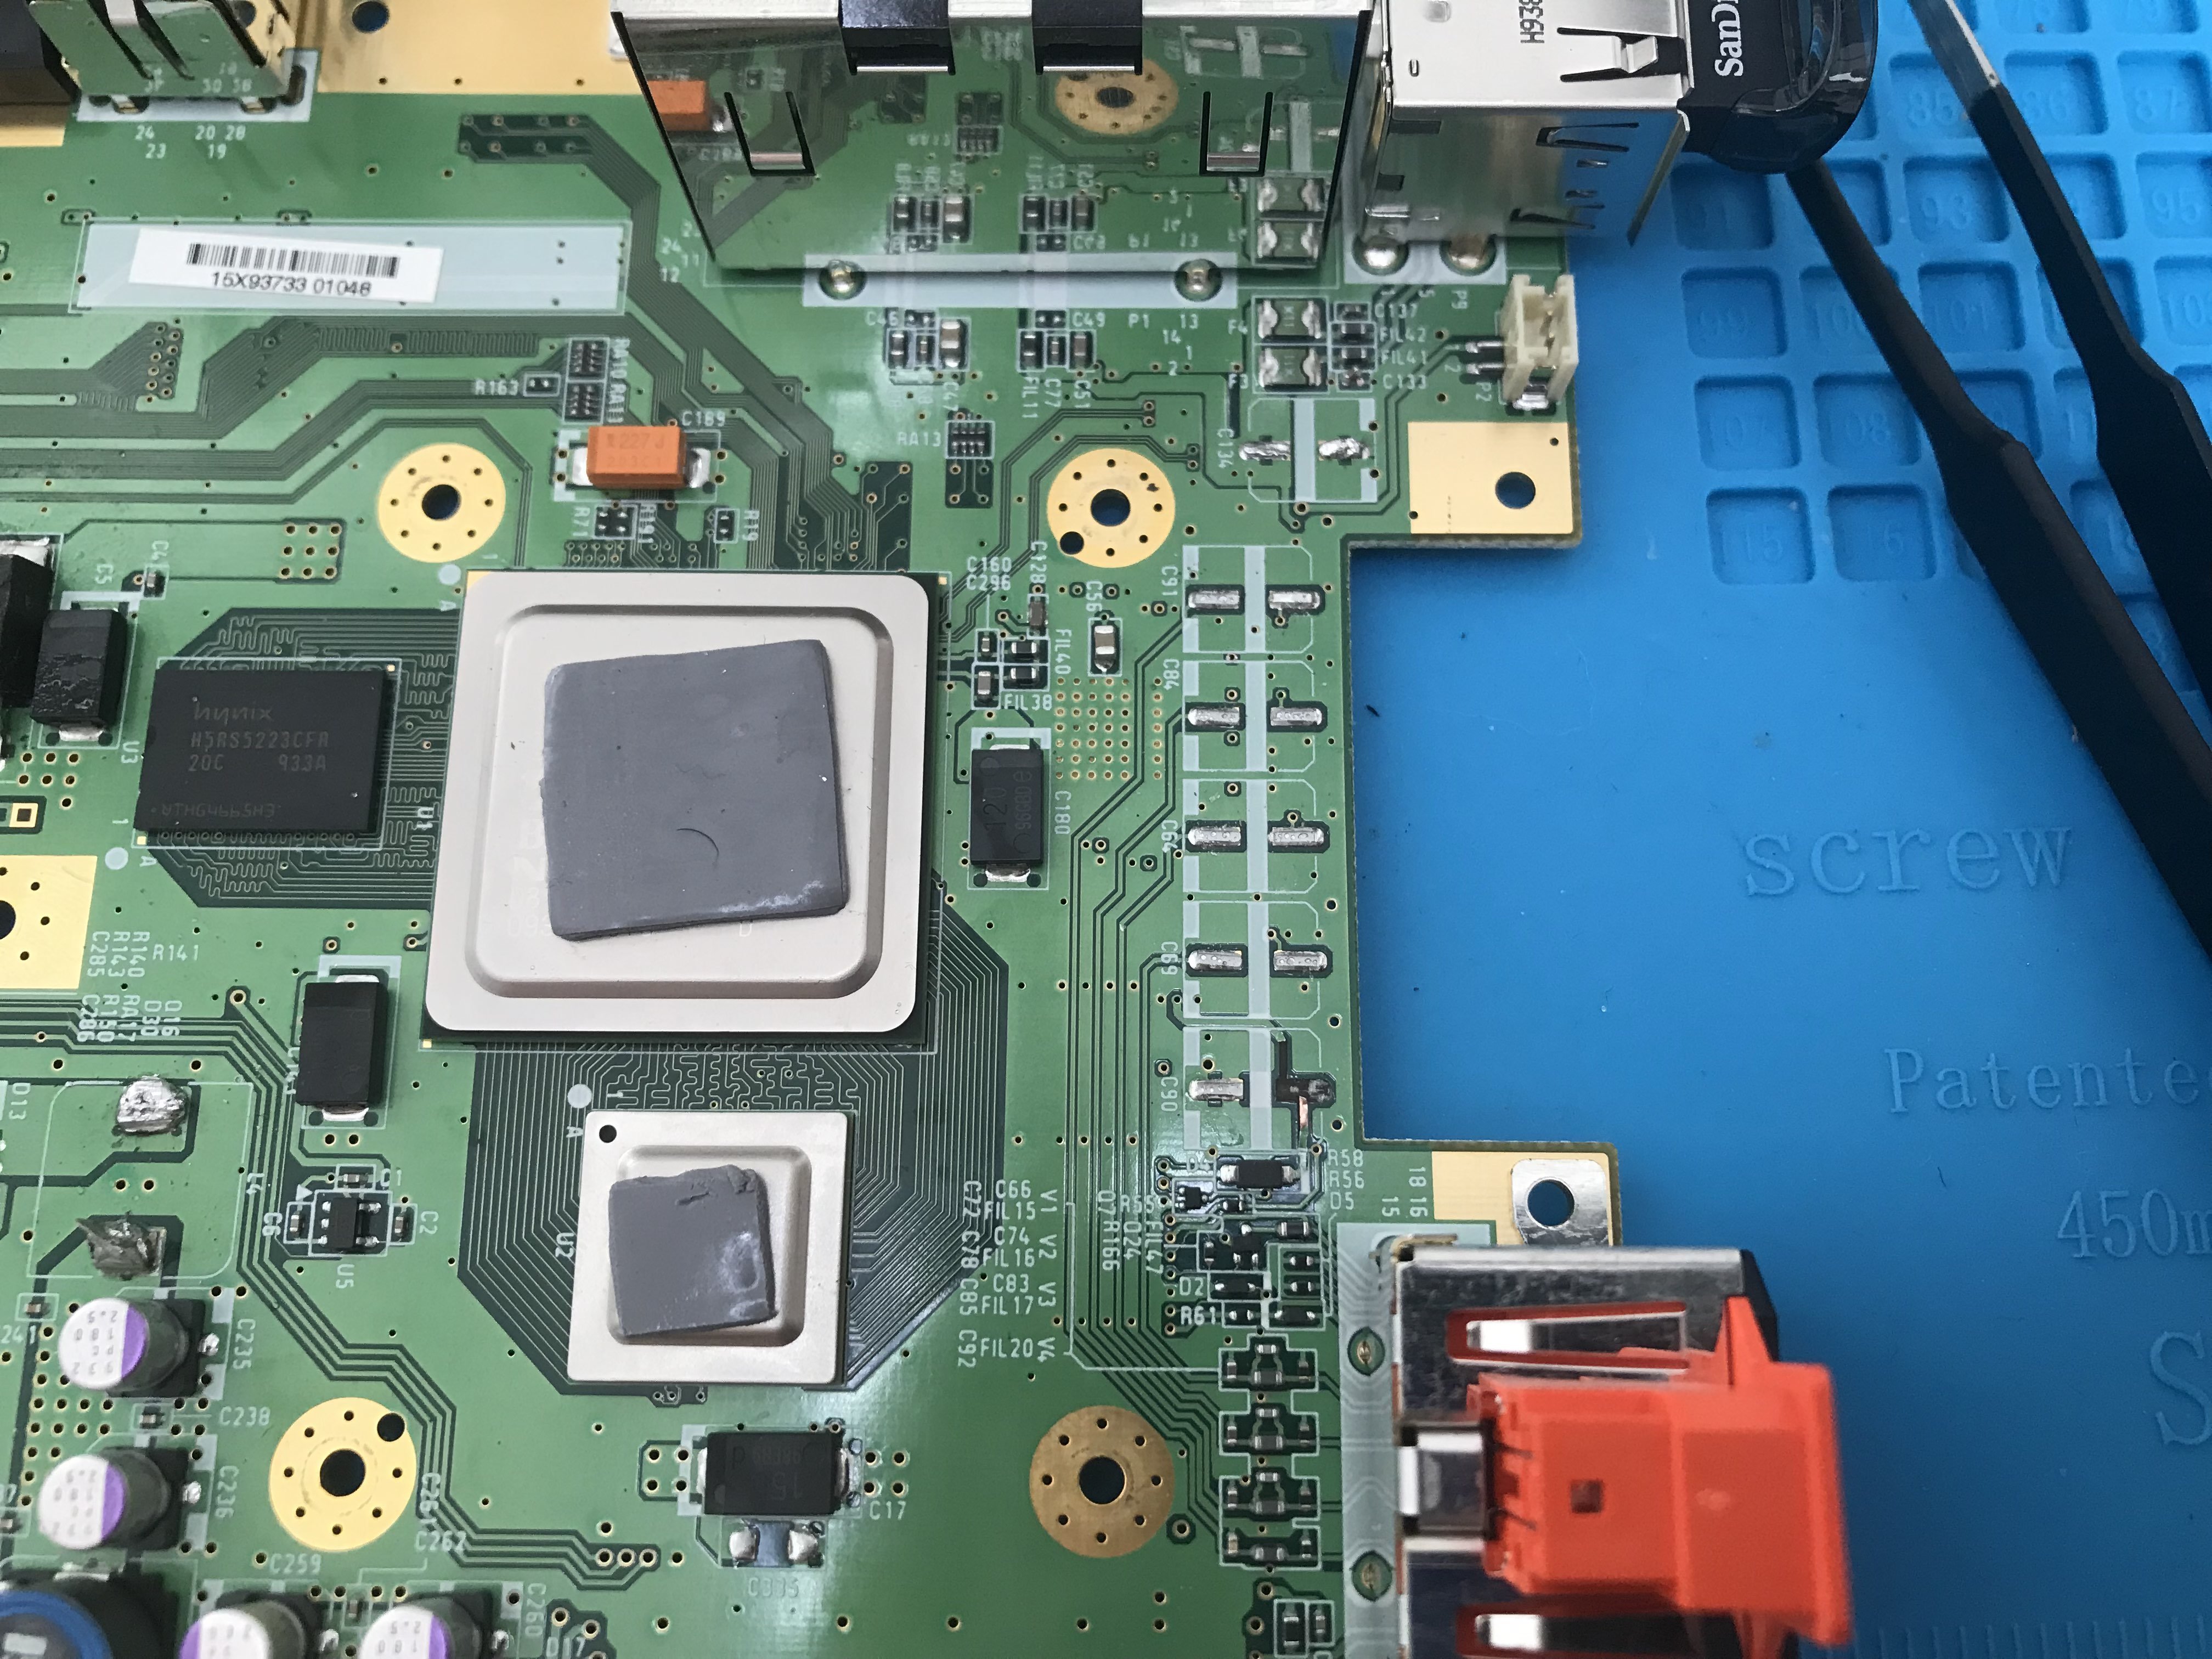
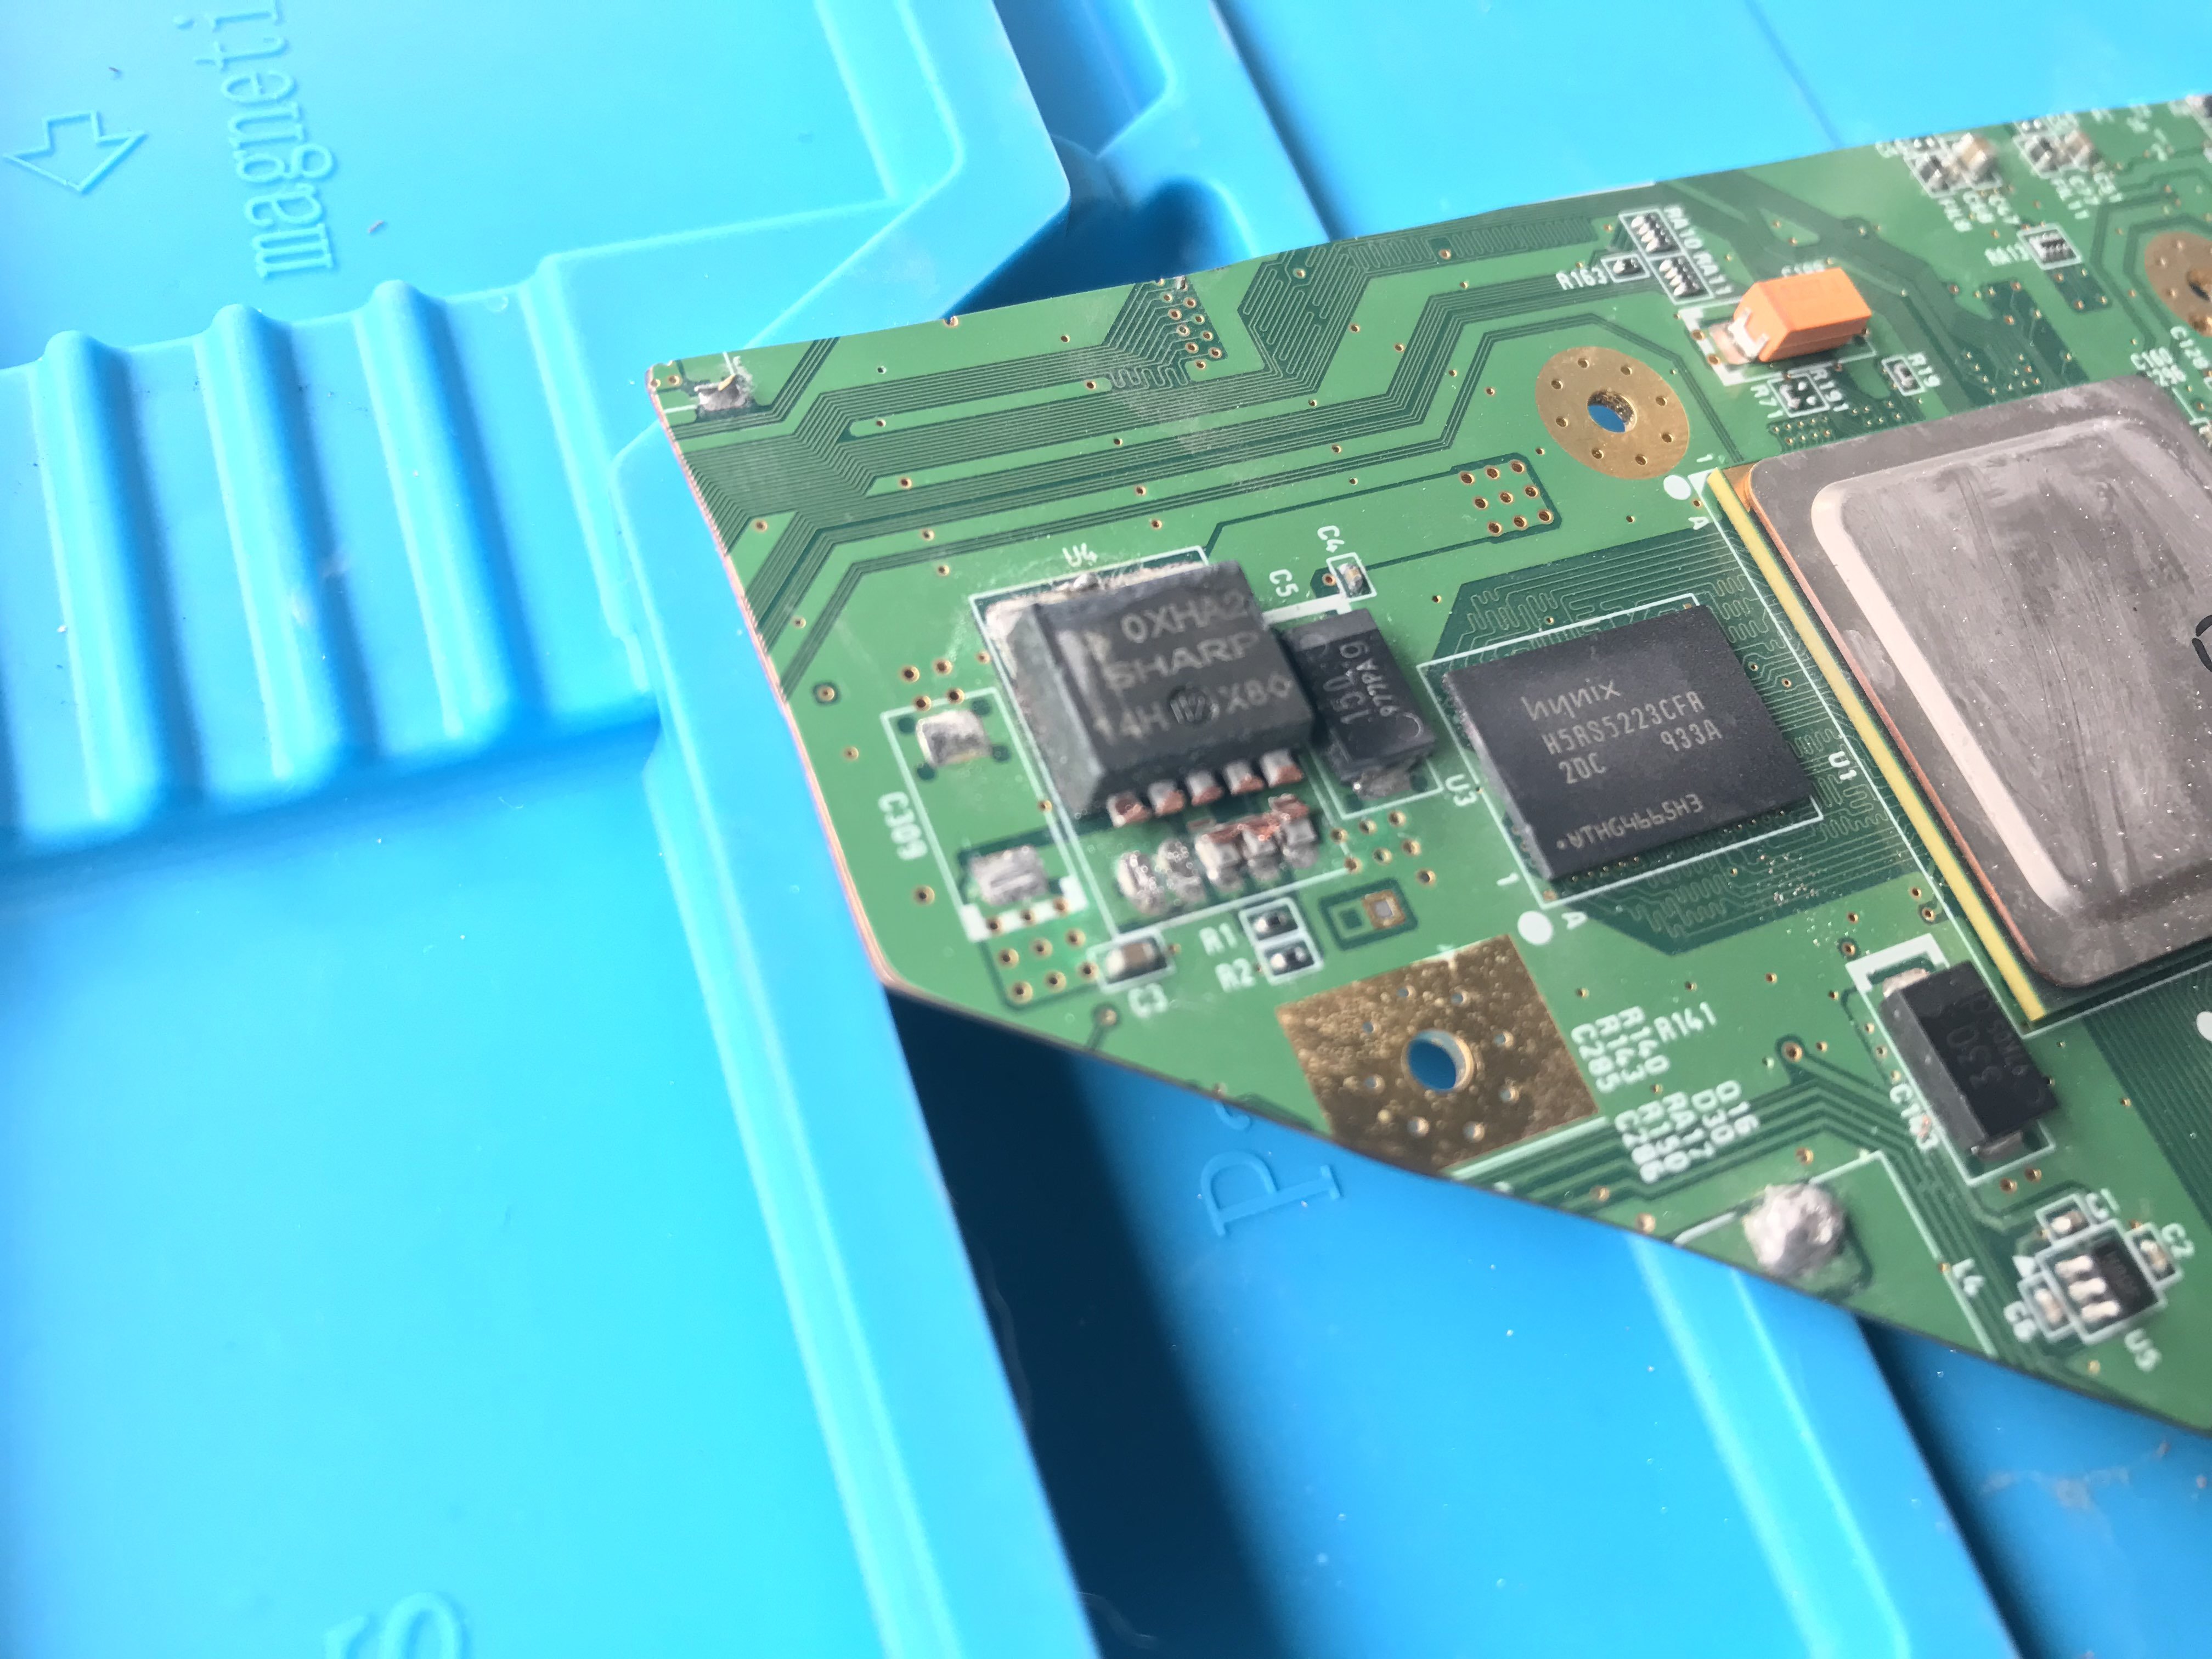
Notice the bottom capacitor? When I ripped it off the pad came off. Will this be a problem?


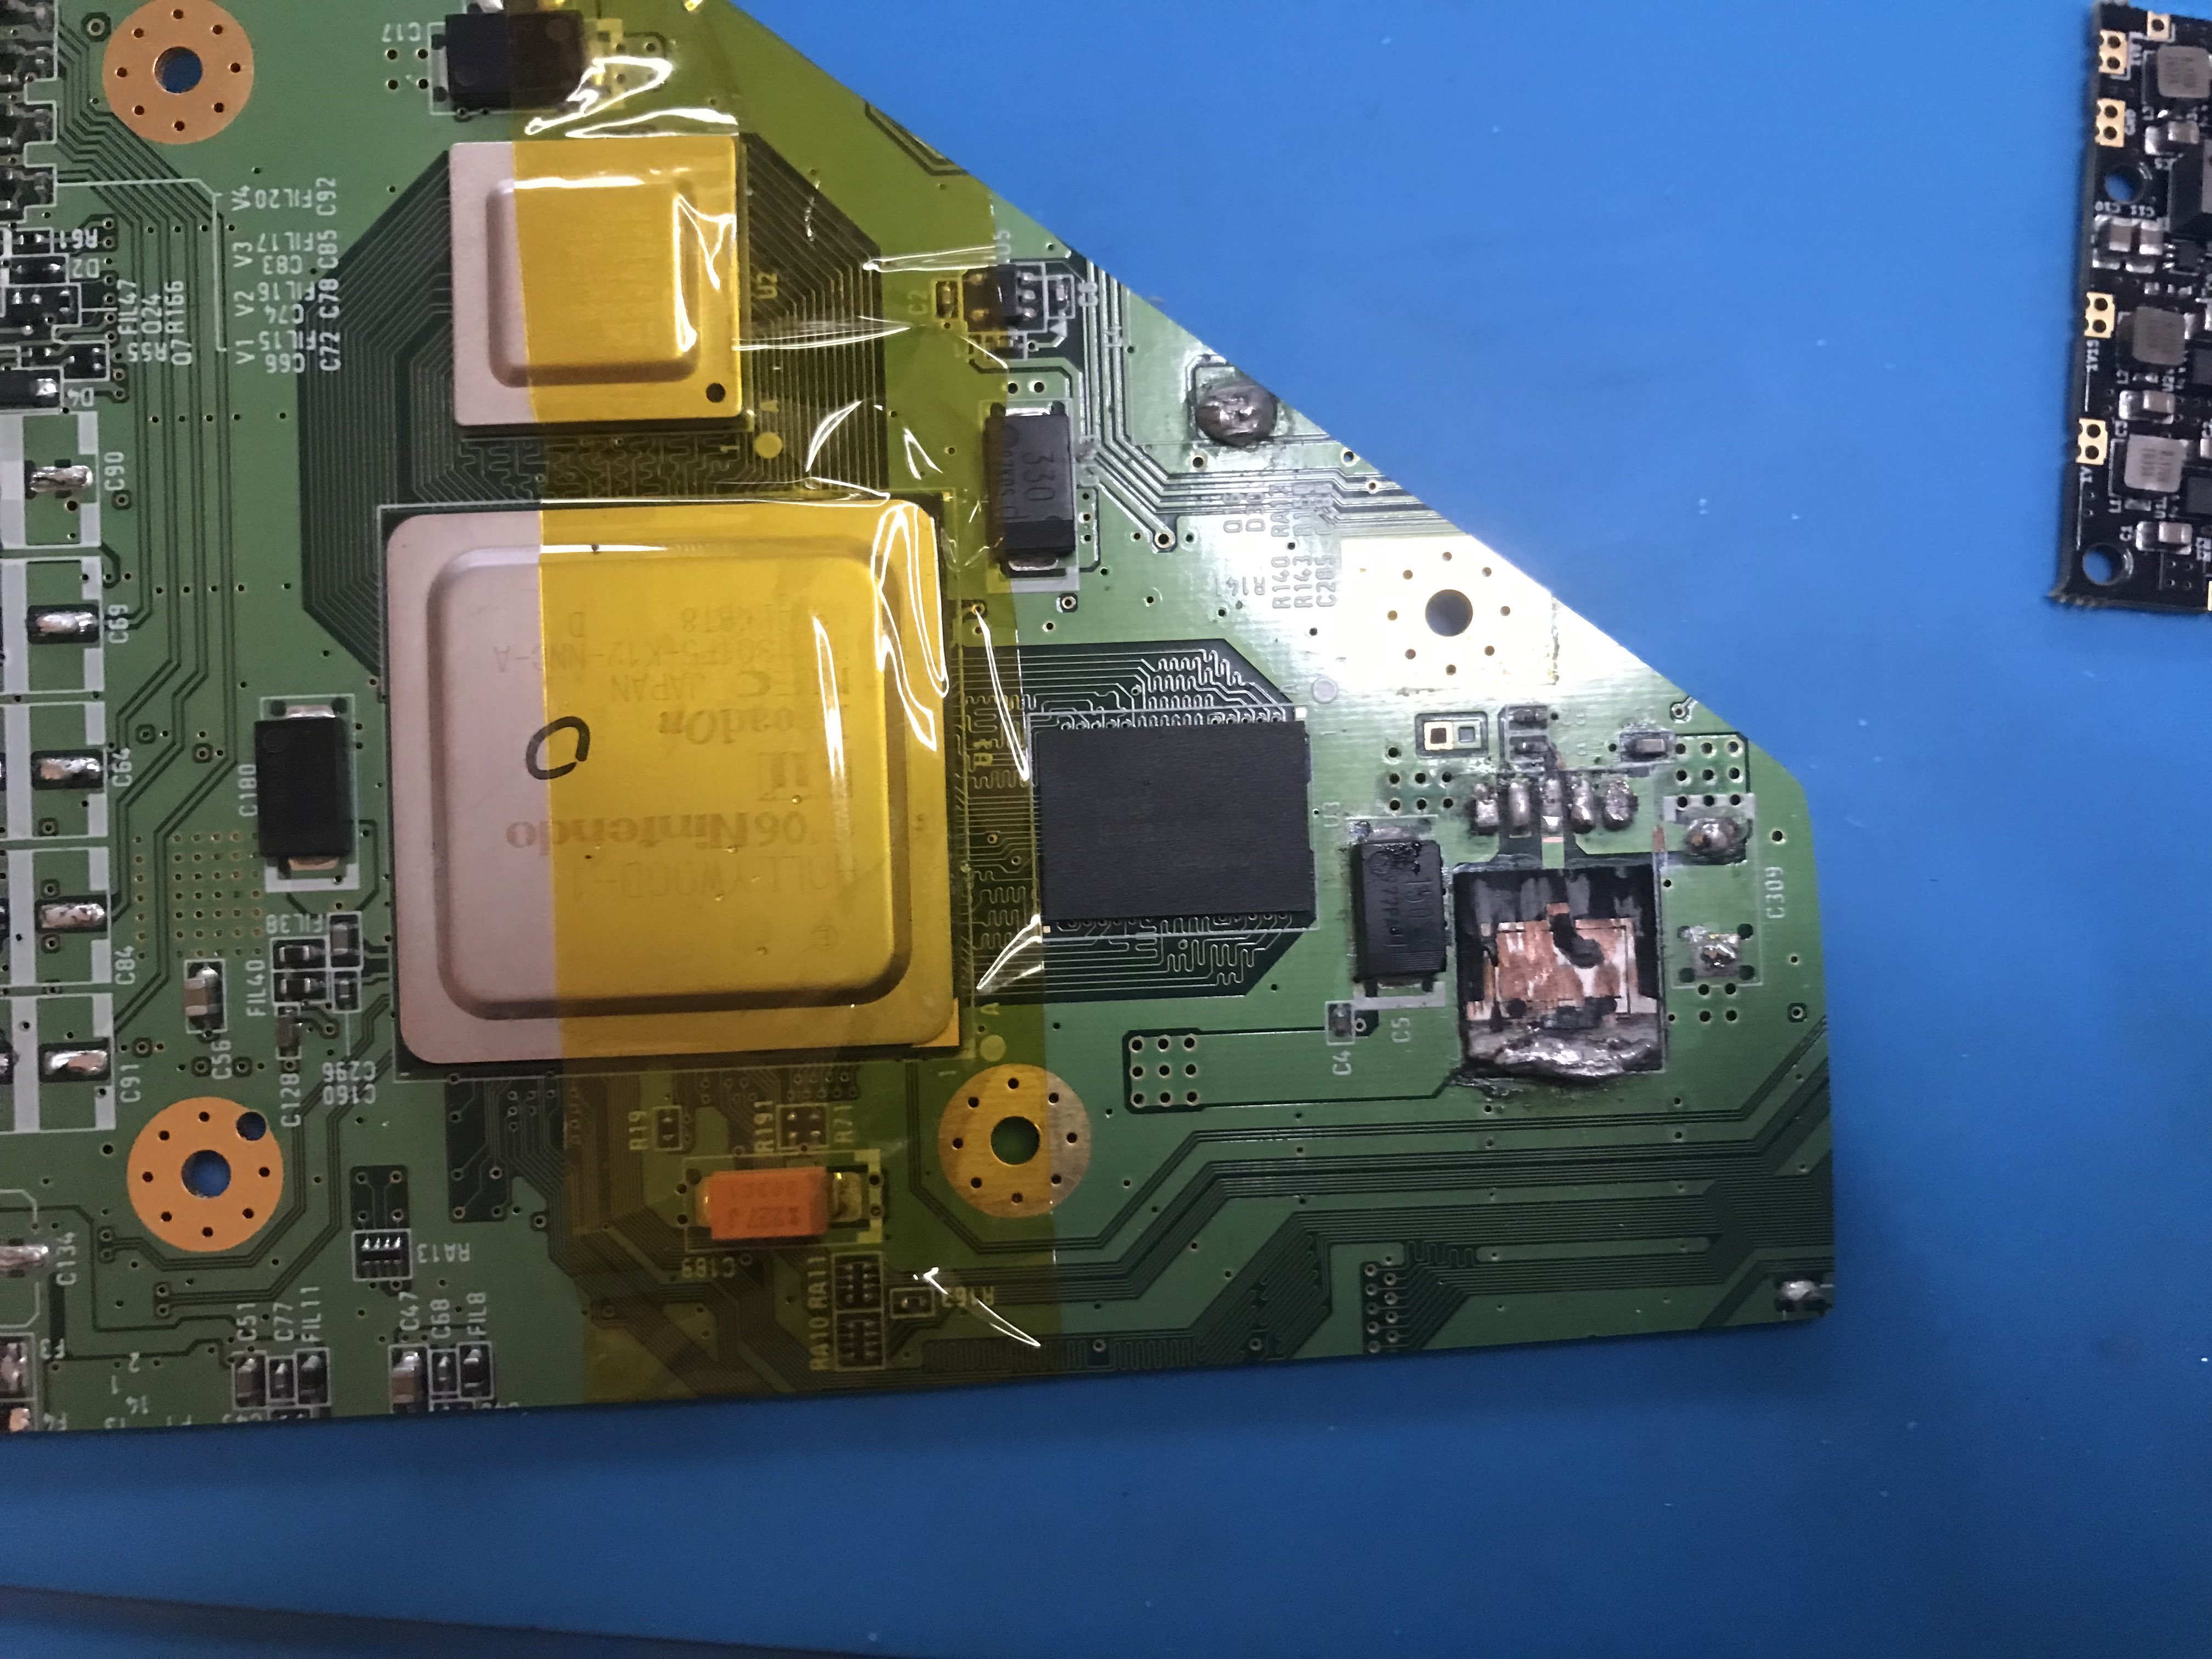
I tried to remove the LDO using Wesk method since I do not have a hot air station. But I have been unable to remove the component itself. My soldering iron runs into an issue with "Thermal Runway" (it shows that on the Pinecil). When I tried to look it up it seemed like the soldering iron is not able to hold the asked temperature, which may be because my power supply is not powerful enough. Will this be a problem or can I still use the Wii with the LDO half-removed? I checked resistance between the solder on the LDO and the 5 pads where the legs were, and they had some resistance (not shorted).
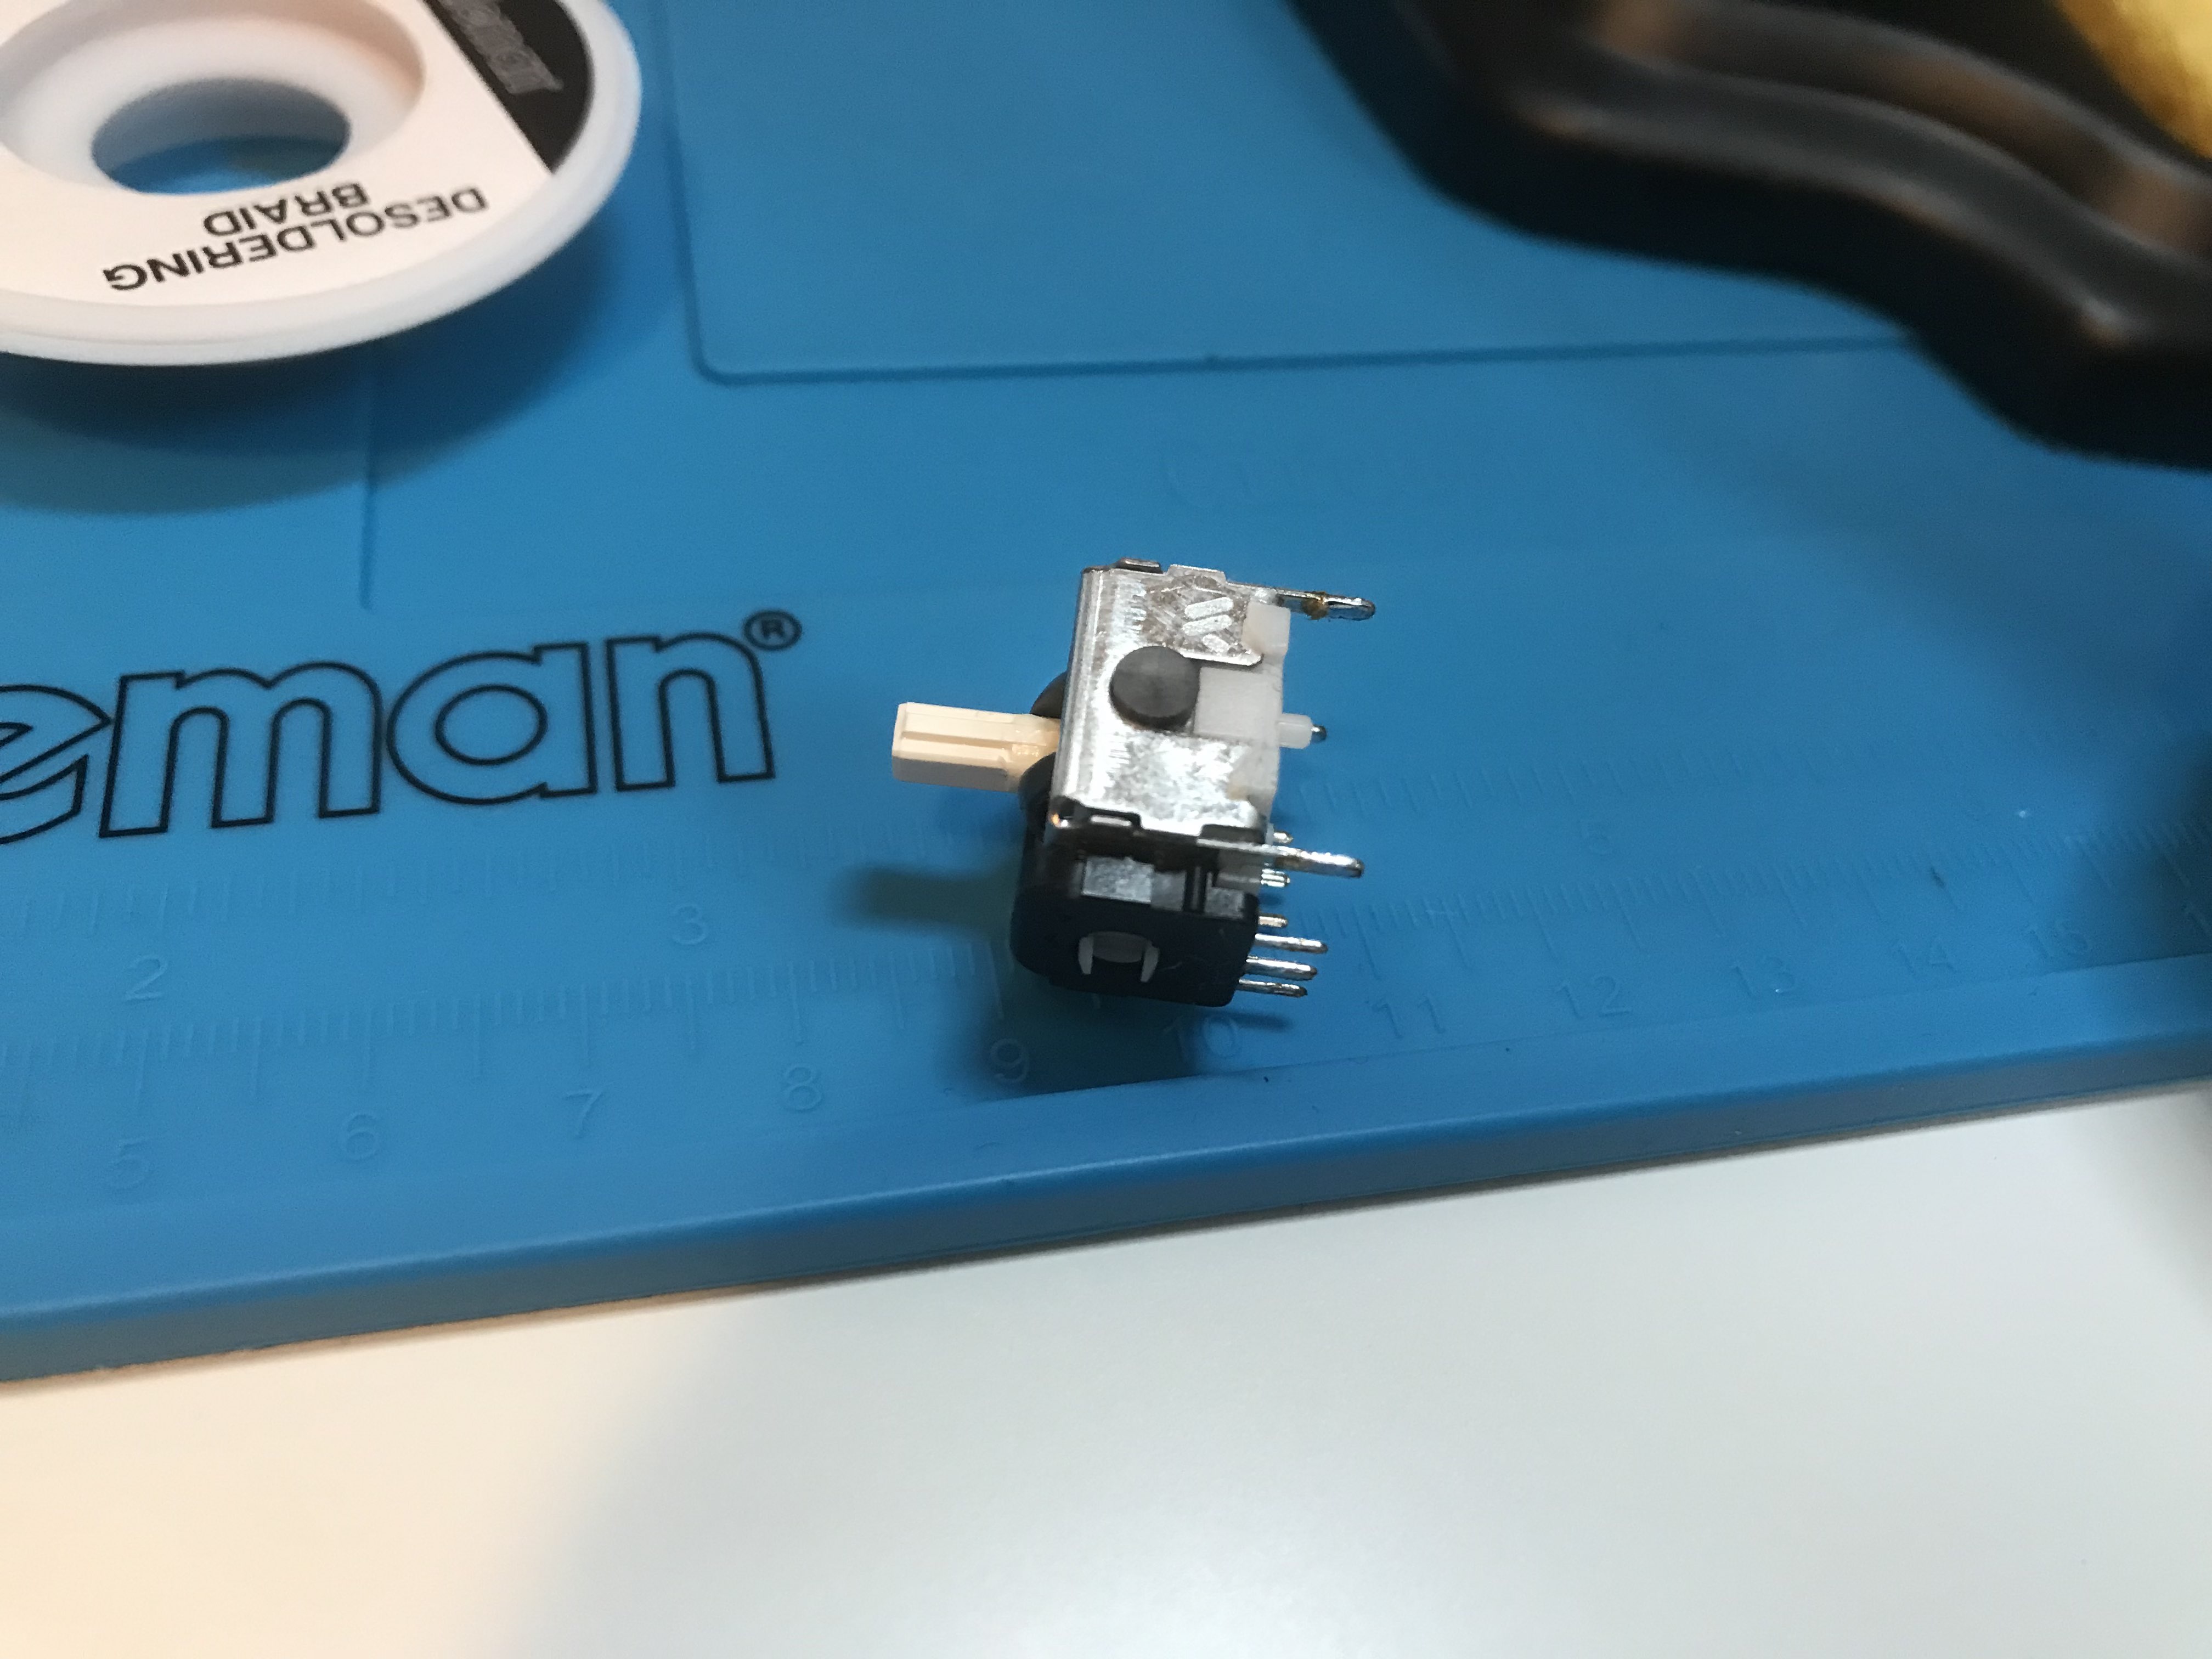
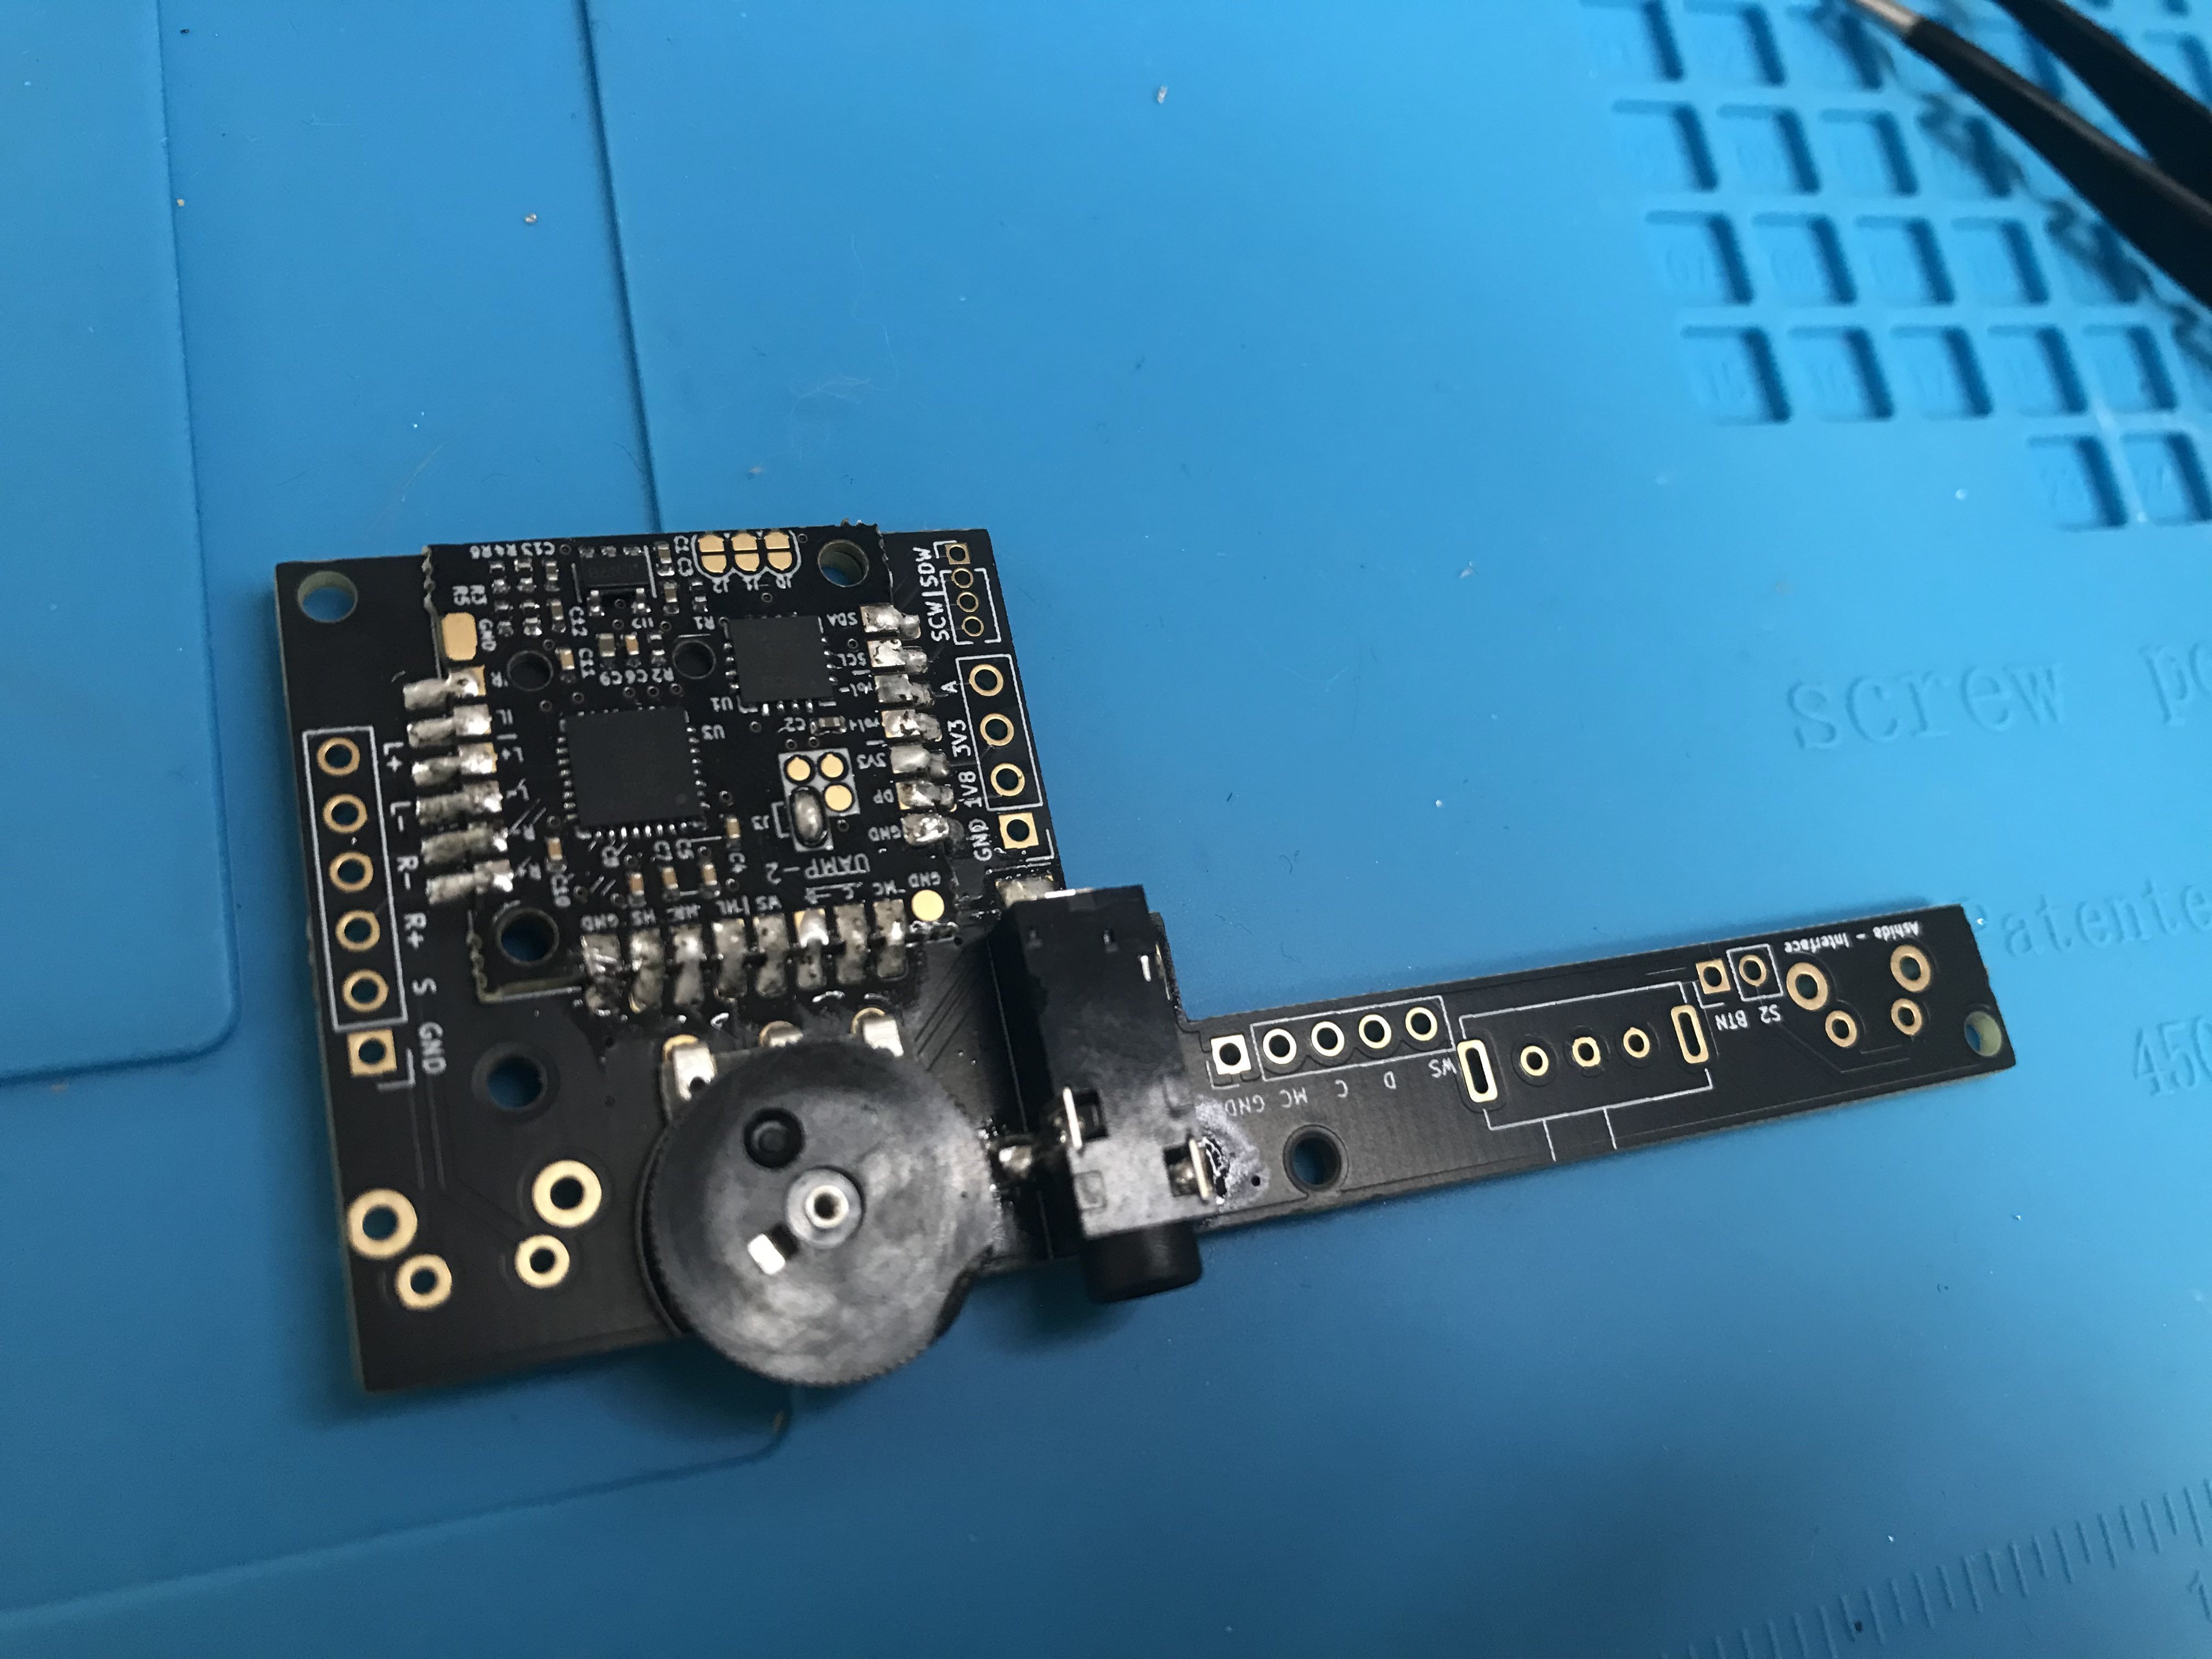
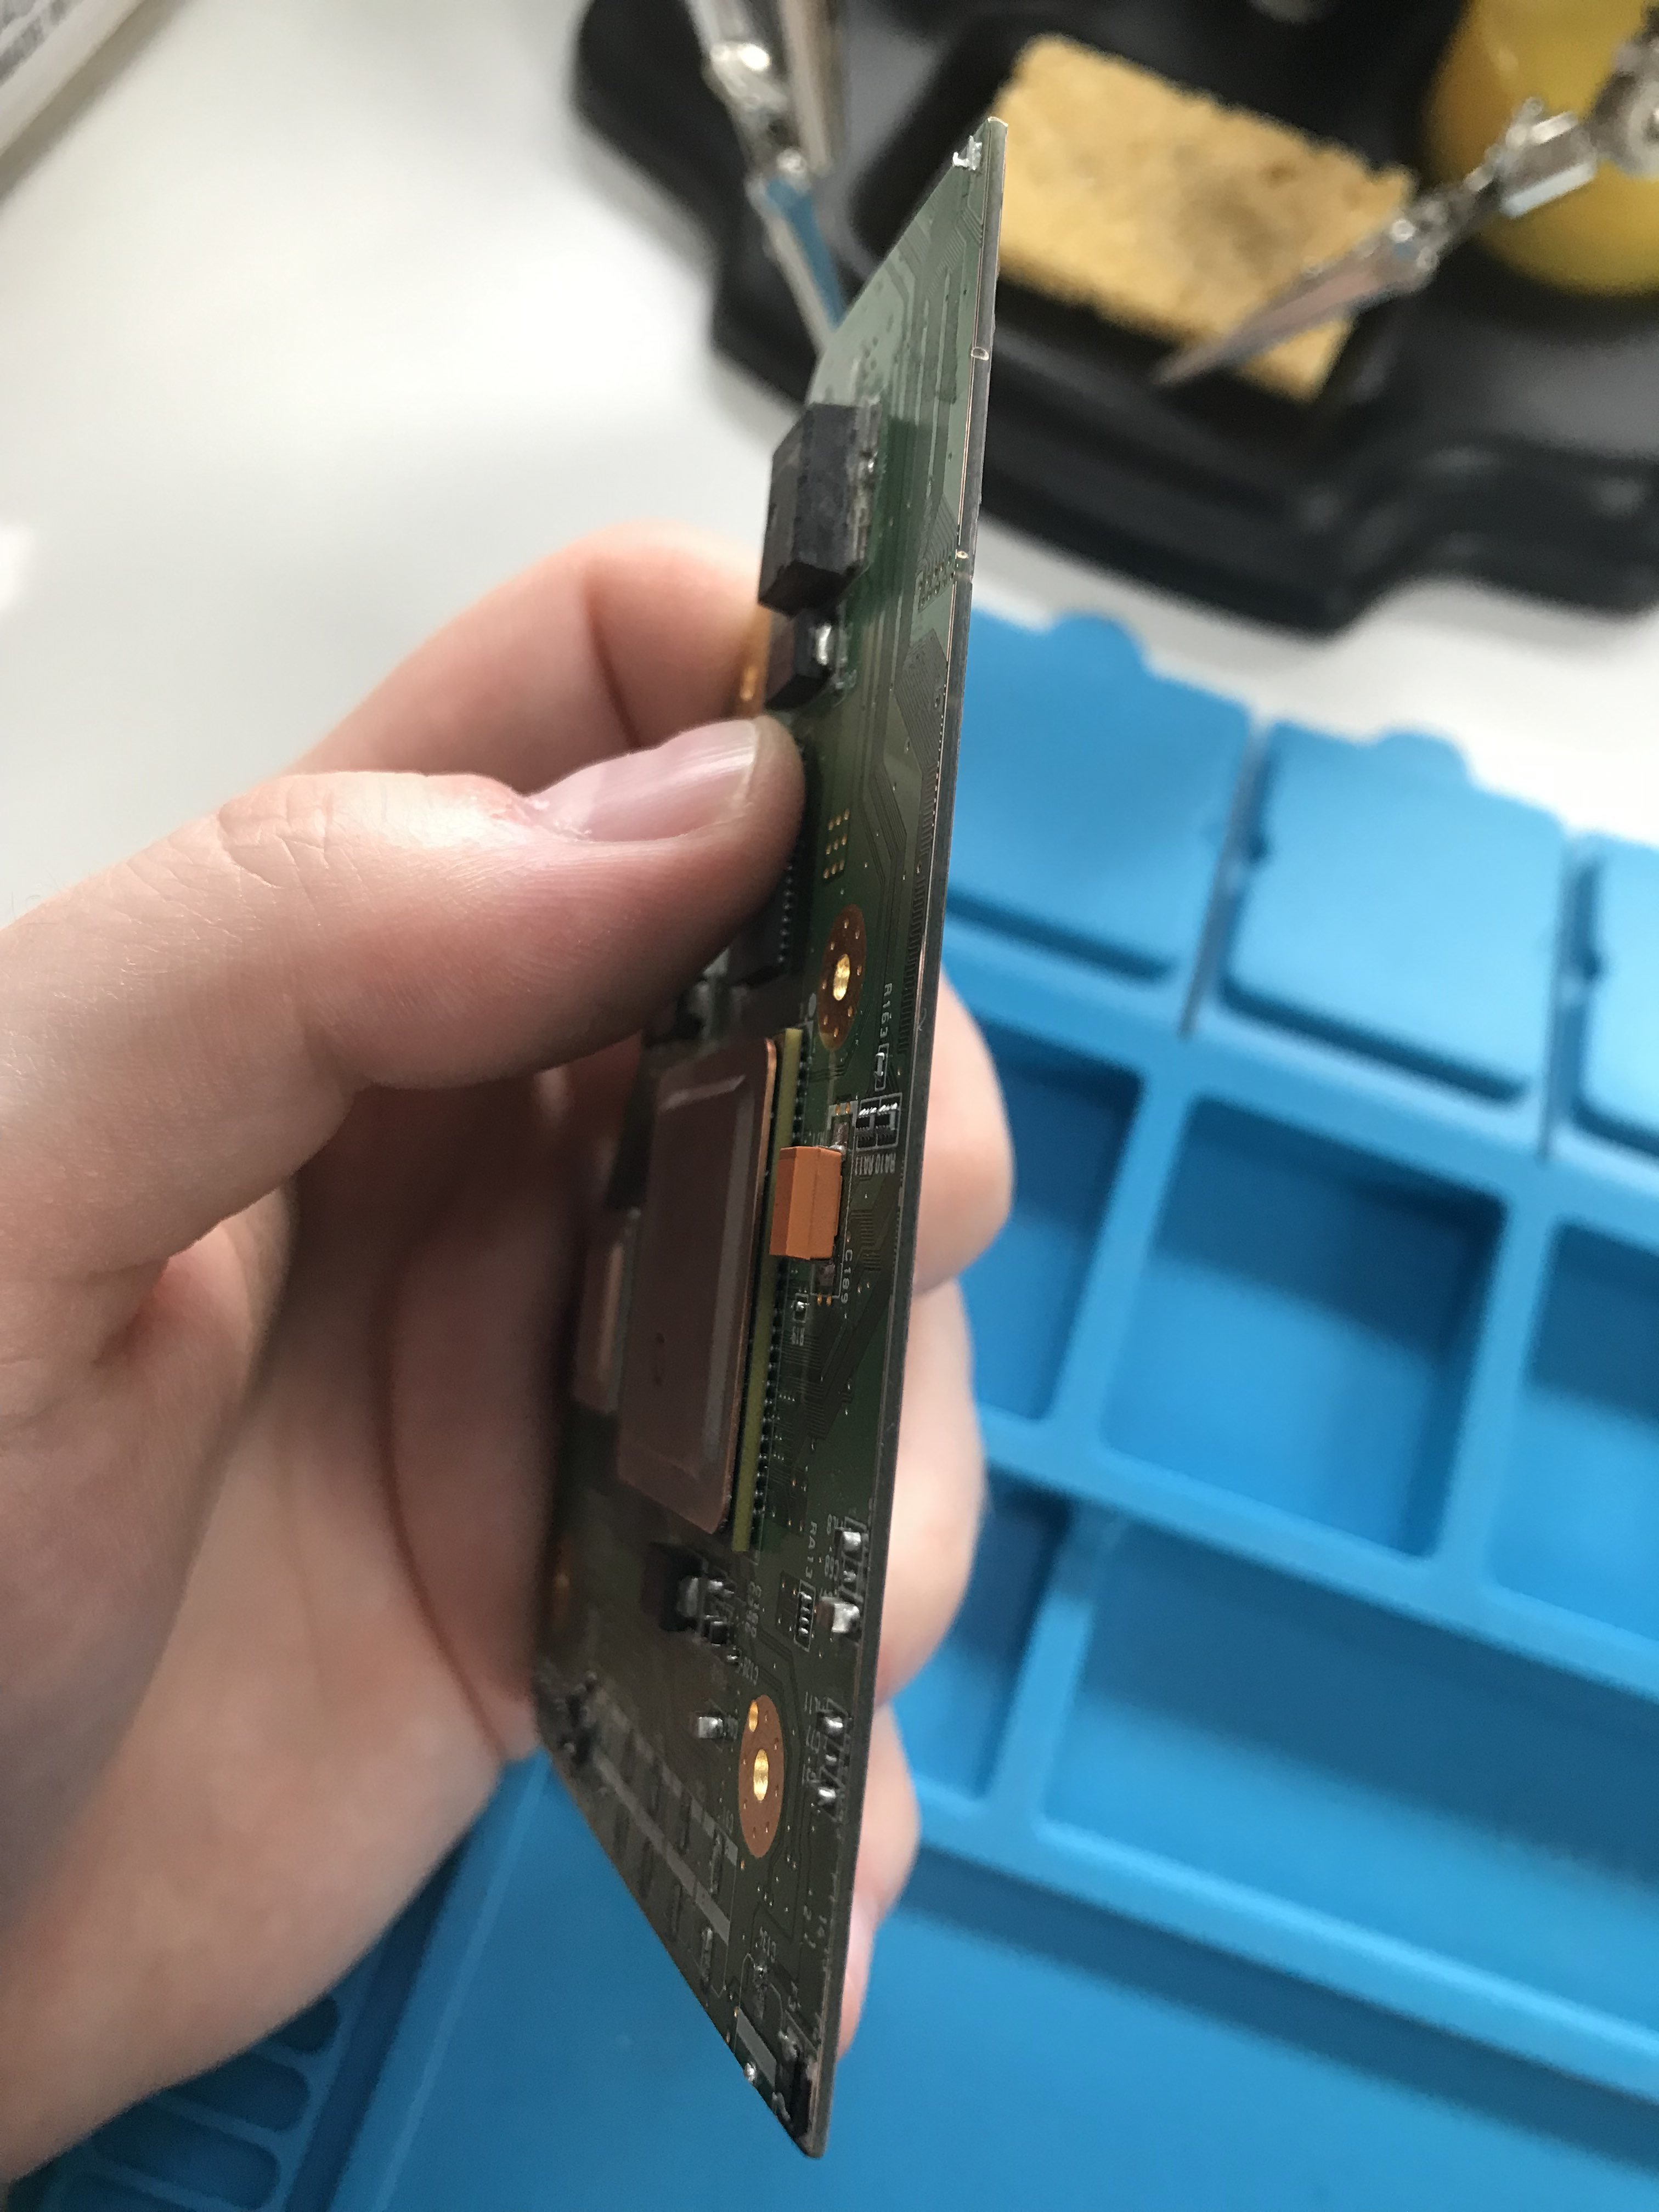
I removed some stuff from the Screen Drive Board that were not needed. They were in the way of the Ashida controller PCBs when inside the Ashida case.
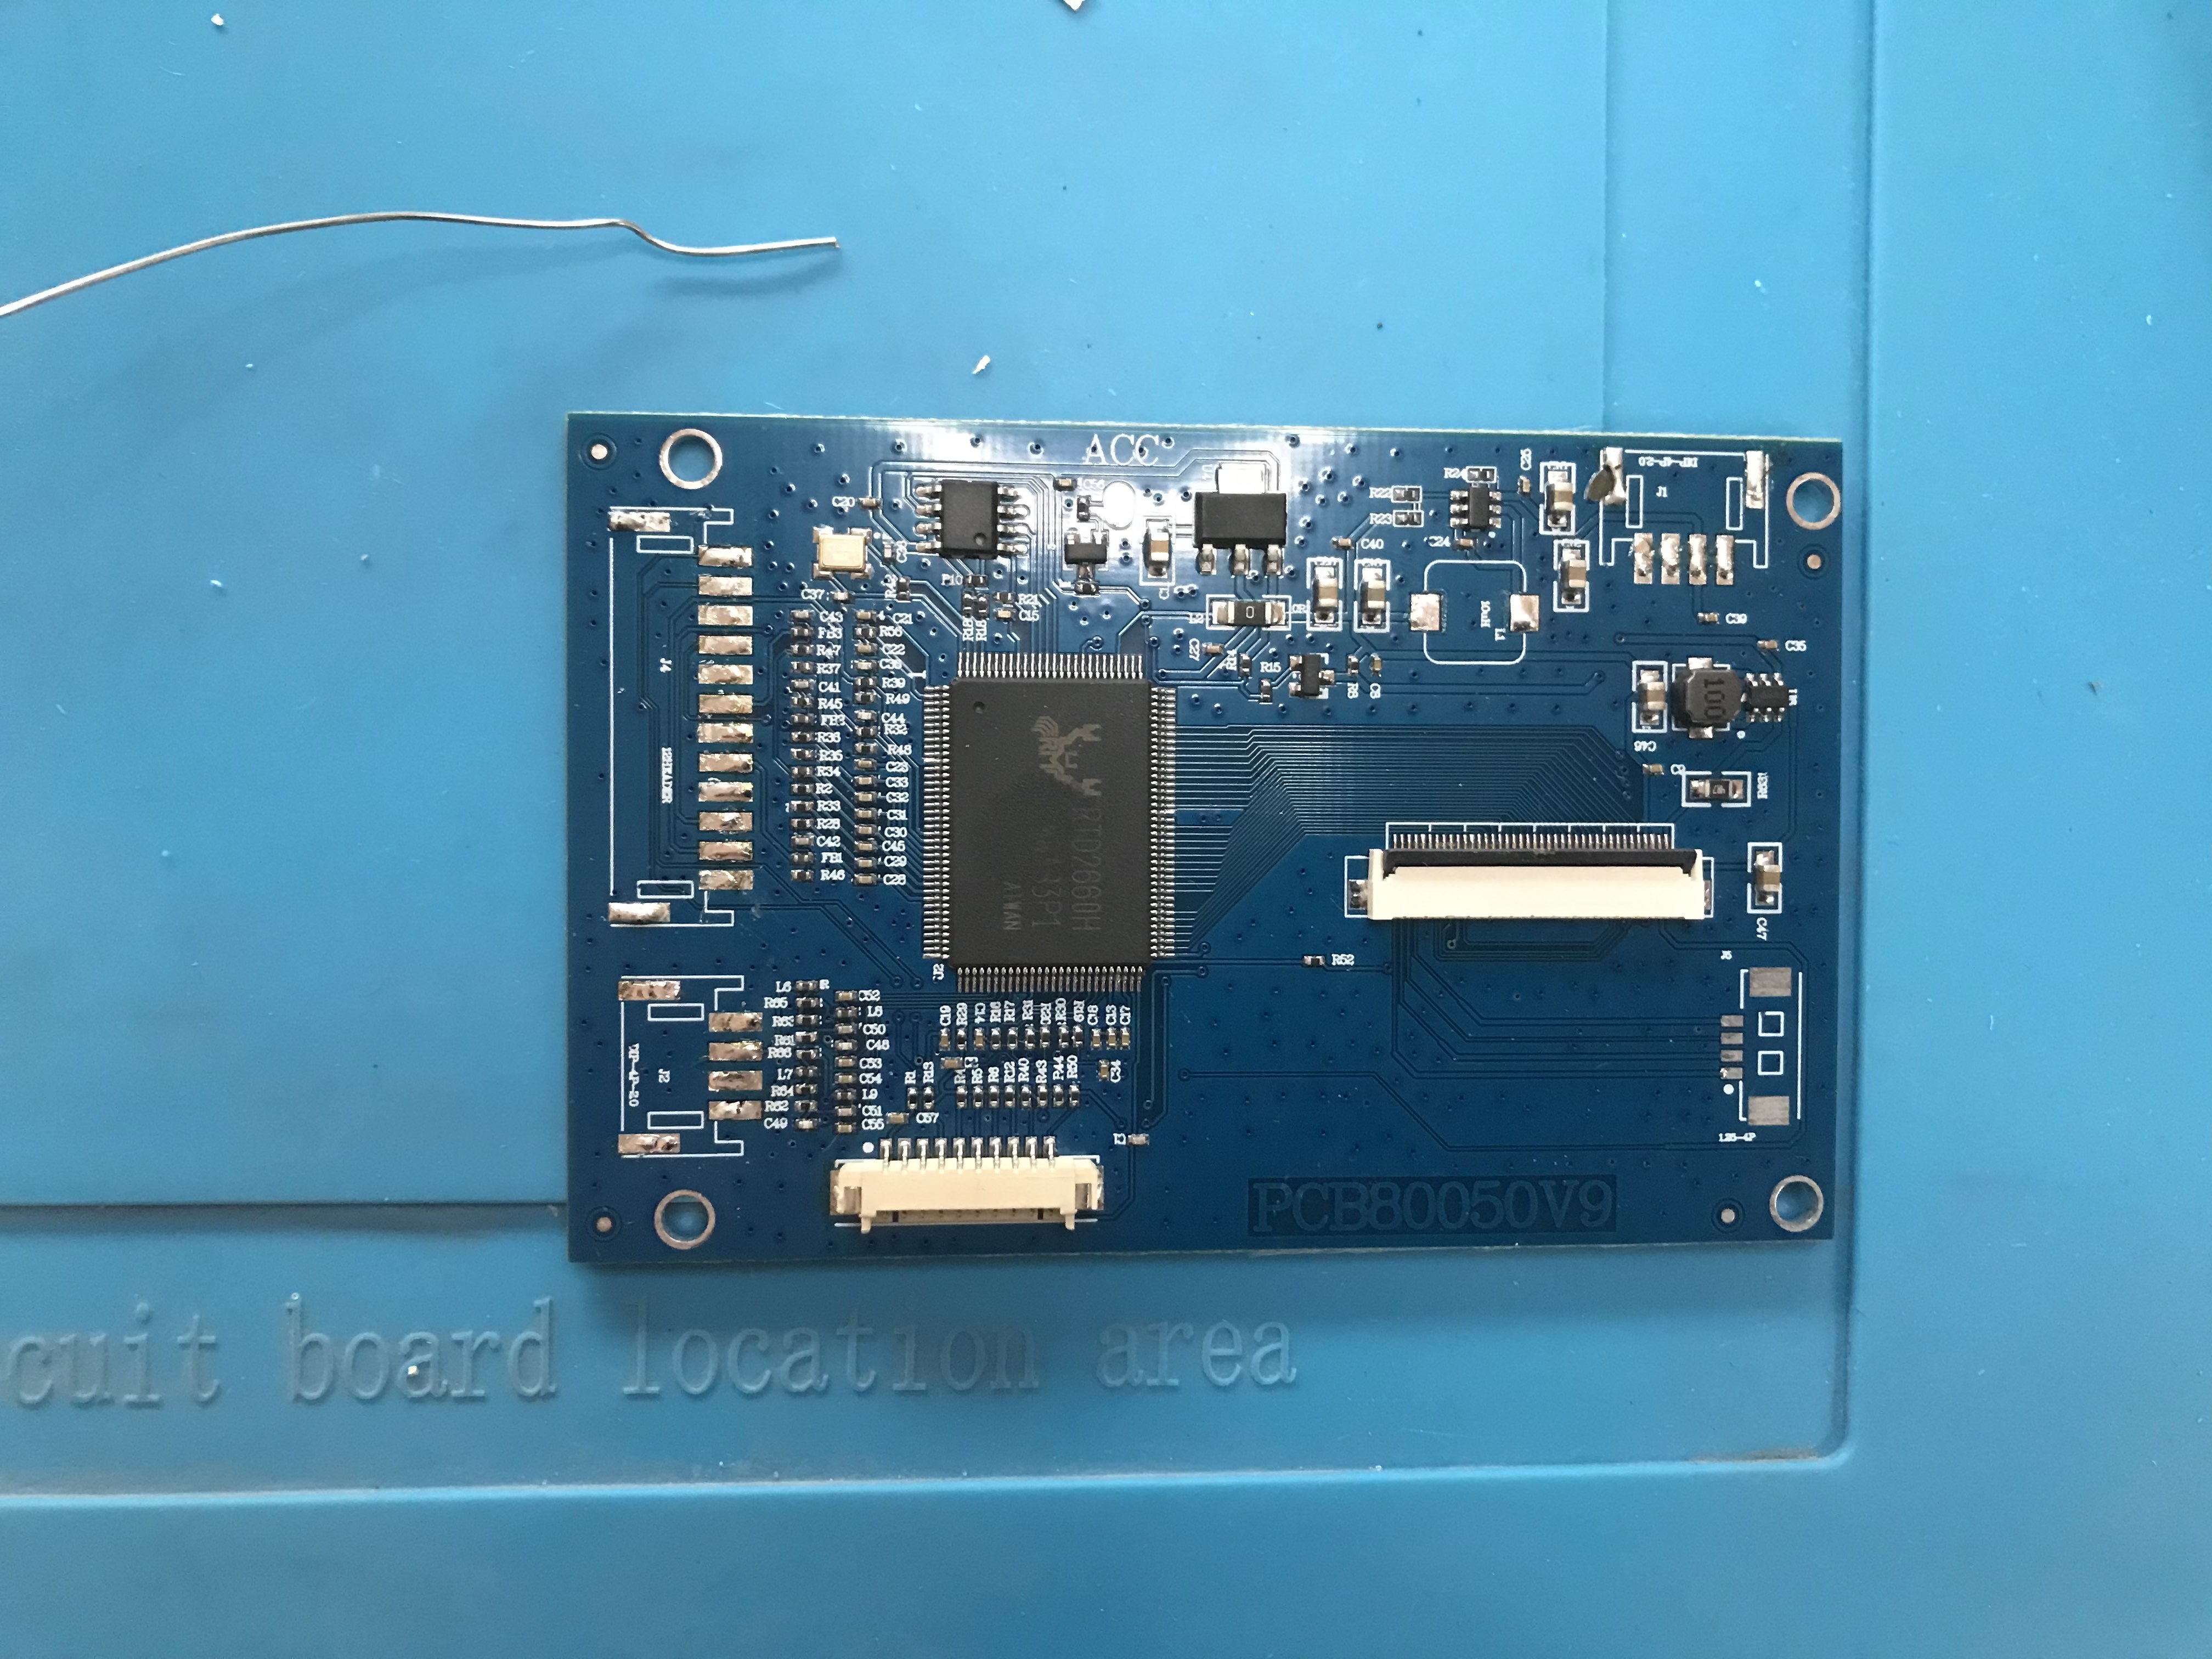
See the top right connector that I removed? The pad came up when I removed it. Will this be a problem?
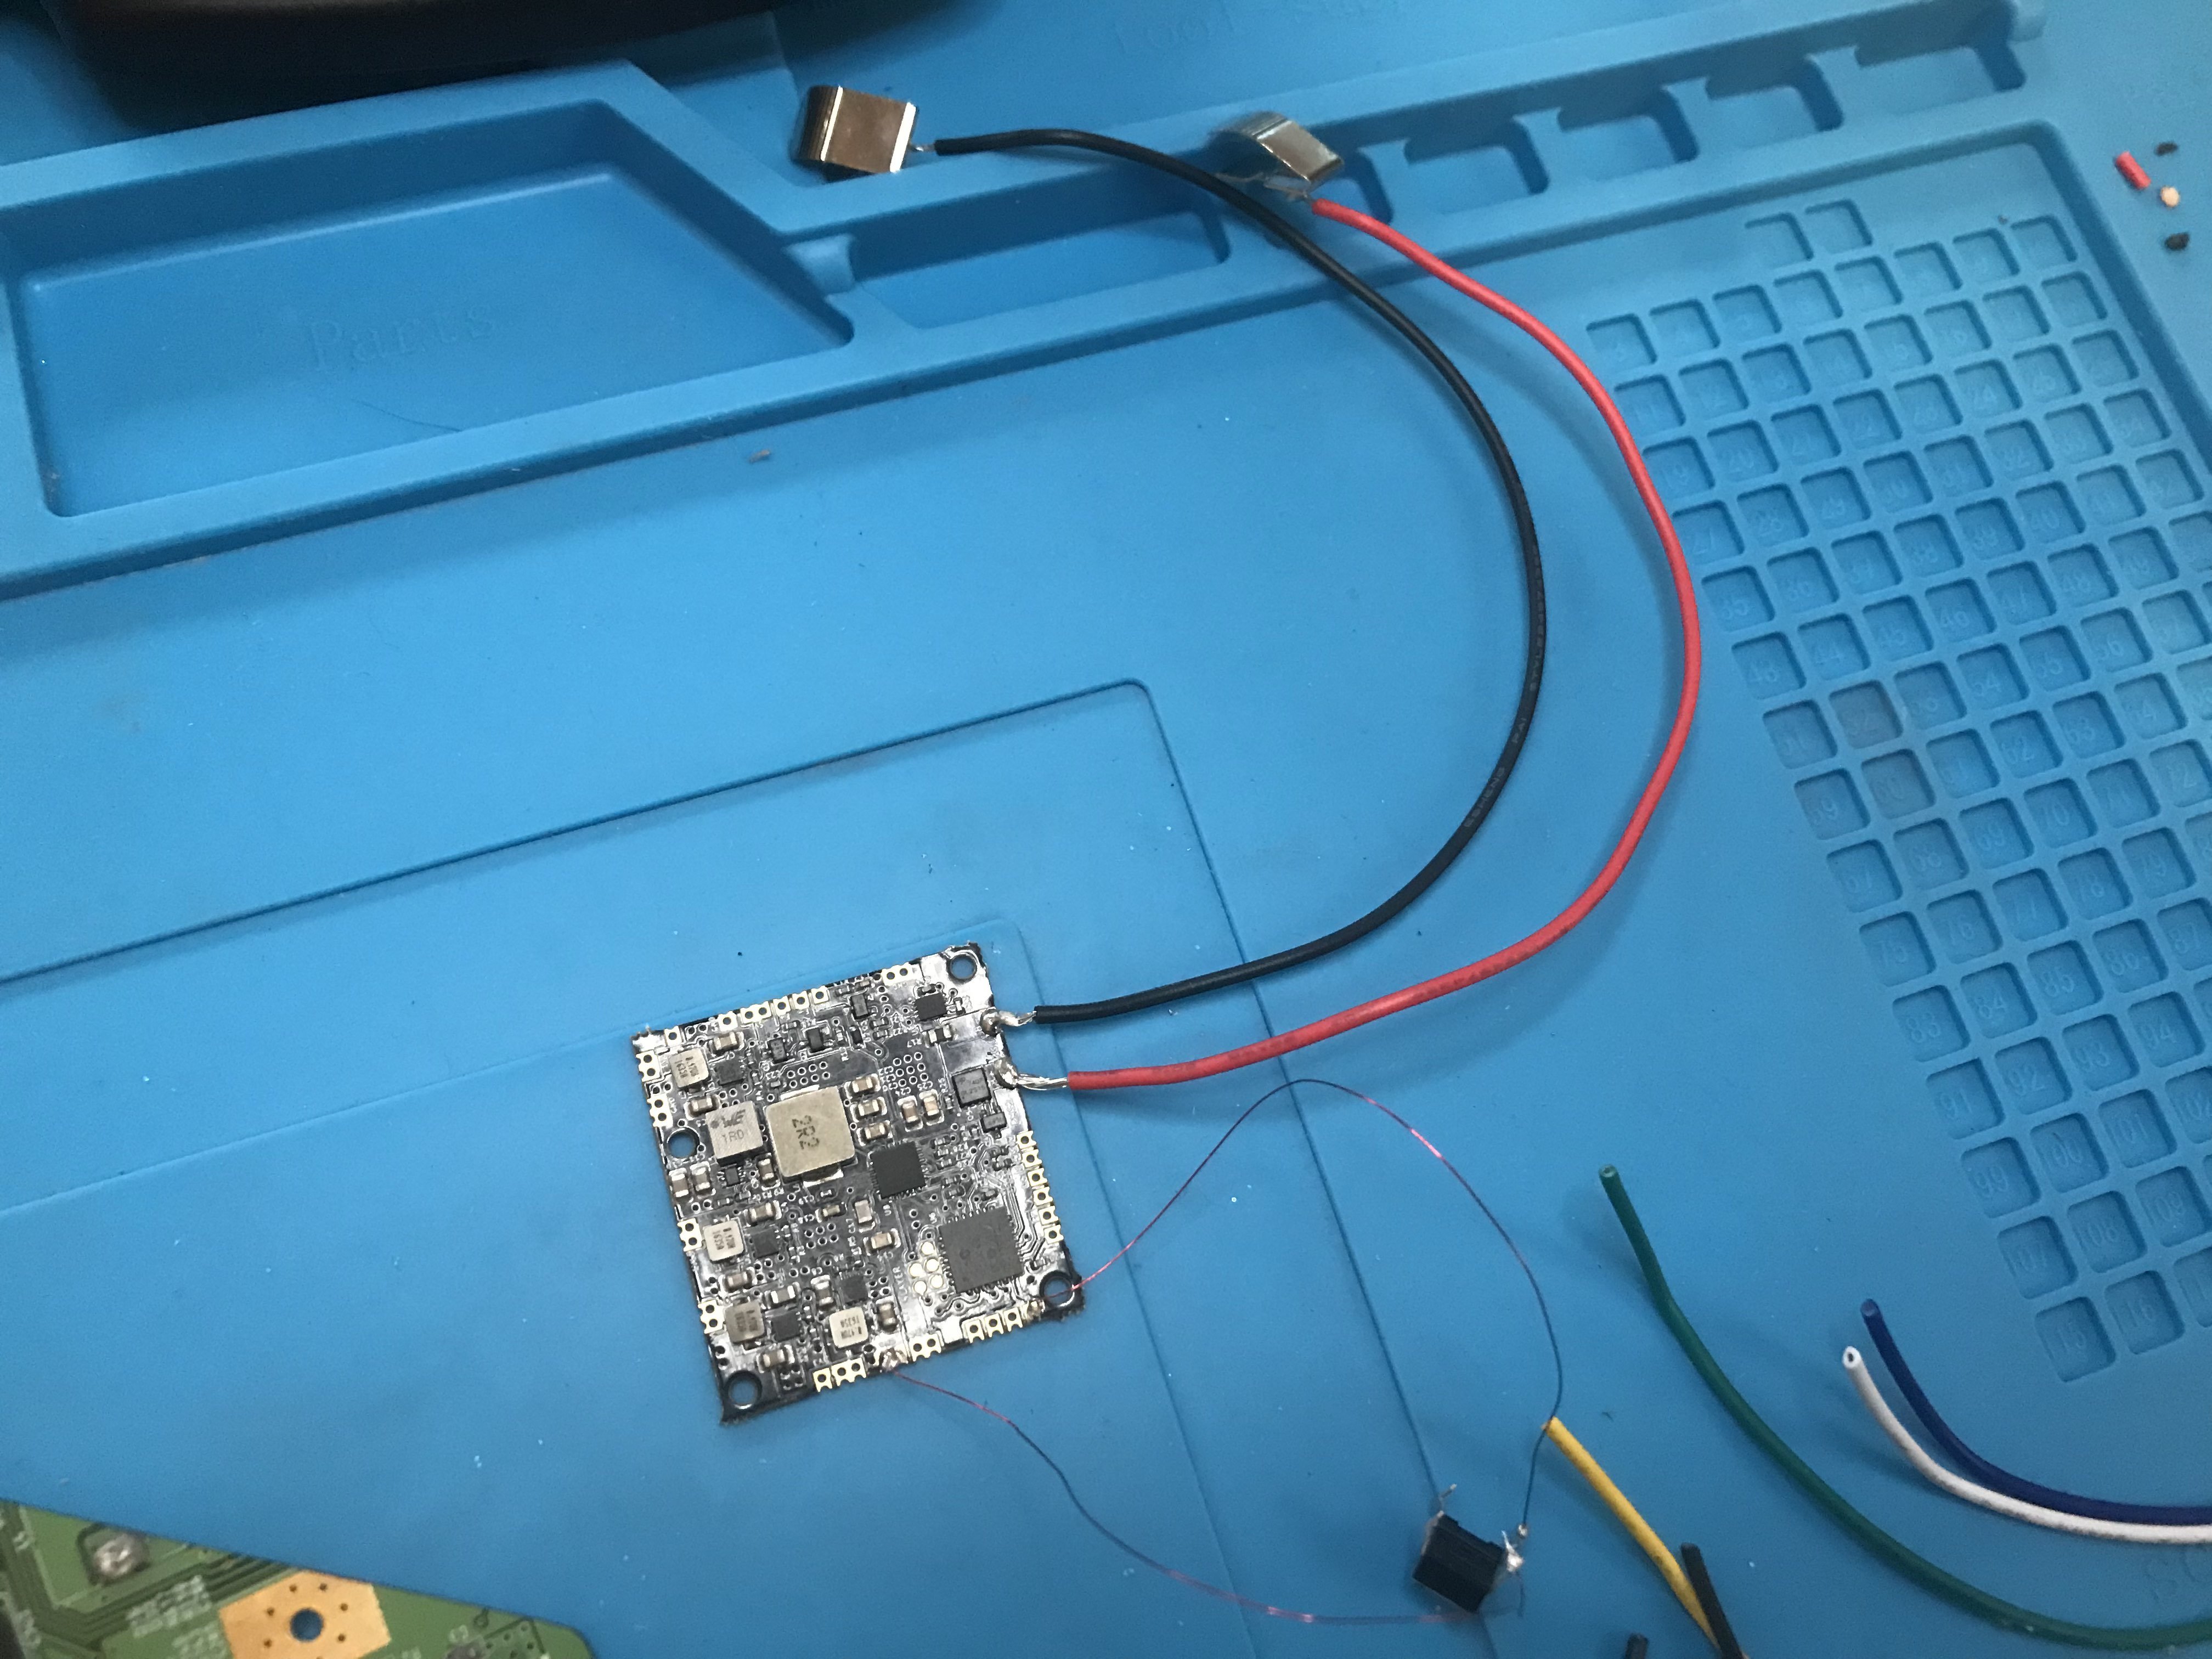
Lastly I have started connecting some wires to the PMS PD so I can test if my Wii is still alive. Still working on this.
Thanks for reading to the end of this first worklog post! I will post updates as I go.
After initially watching some amazing Wii portable builds on youtube by Shank and Ginger, I was inspired to build my own. I had no prior soldering experience and only electricity knowledge up to highschool level. After reading worklogs and watching some build streams by Ginger I decided on making an Ashida (like everyone else).
I bought a used black Wii with GC ports (4 layer) for about $40. I proceeded to softmod the Wii without issue. I followed the guide by Dubesinhower here. His guides have been very valuable and I will continue to use them to build my Ashida.
Took some time to gather all the required tools and items. I followed the Ashida BOM and a recommended tools list I found on this forum. I still need to buy some items, but I have all I need to start building.
Cost is rounded to nearest $1 at the time I bought them. I paid in NOK, but have converted it to american dollar here.
From Amazon.com
Components from Mouser:
Digikey also had a norwegian online store so that's nice! I ended up buying multiples of many components so I have replacements or can use them for future projects.
Components from Digikey:
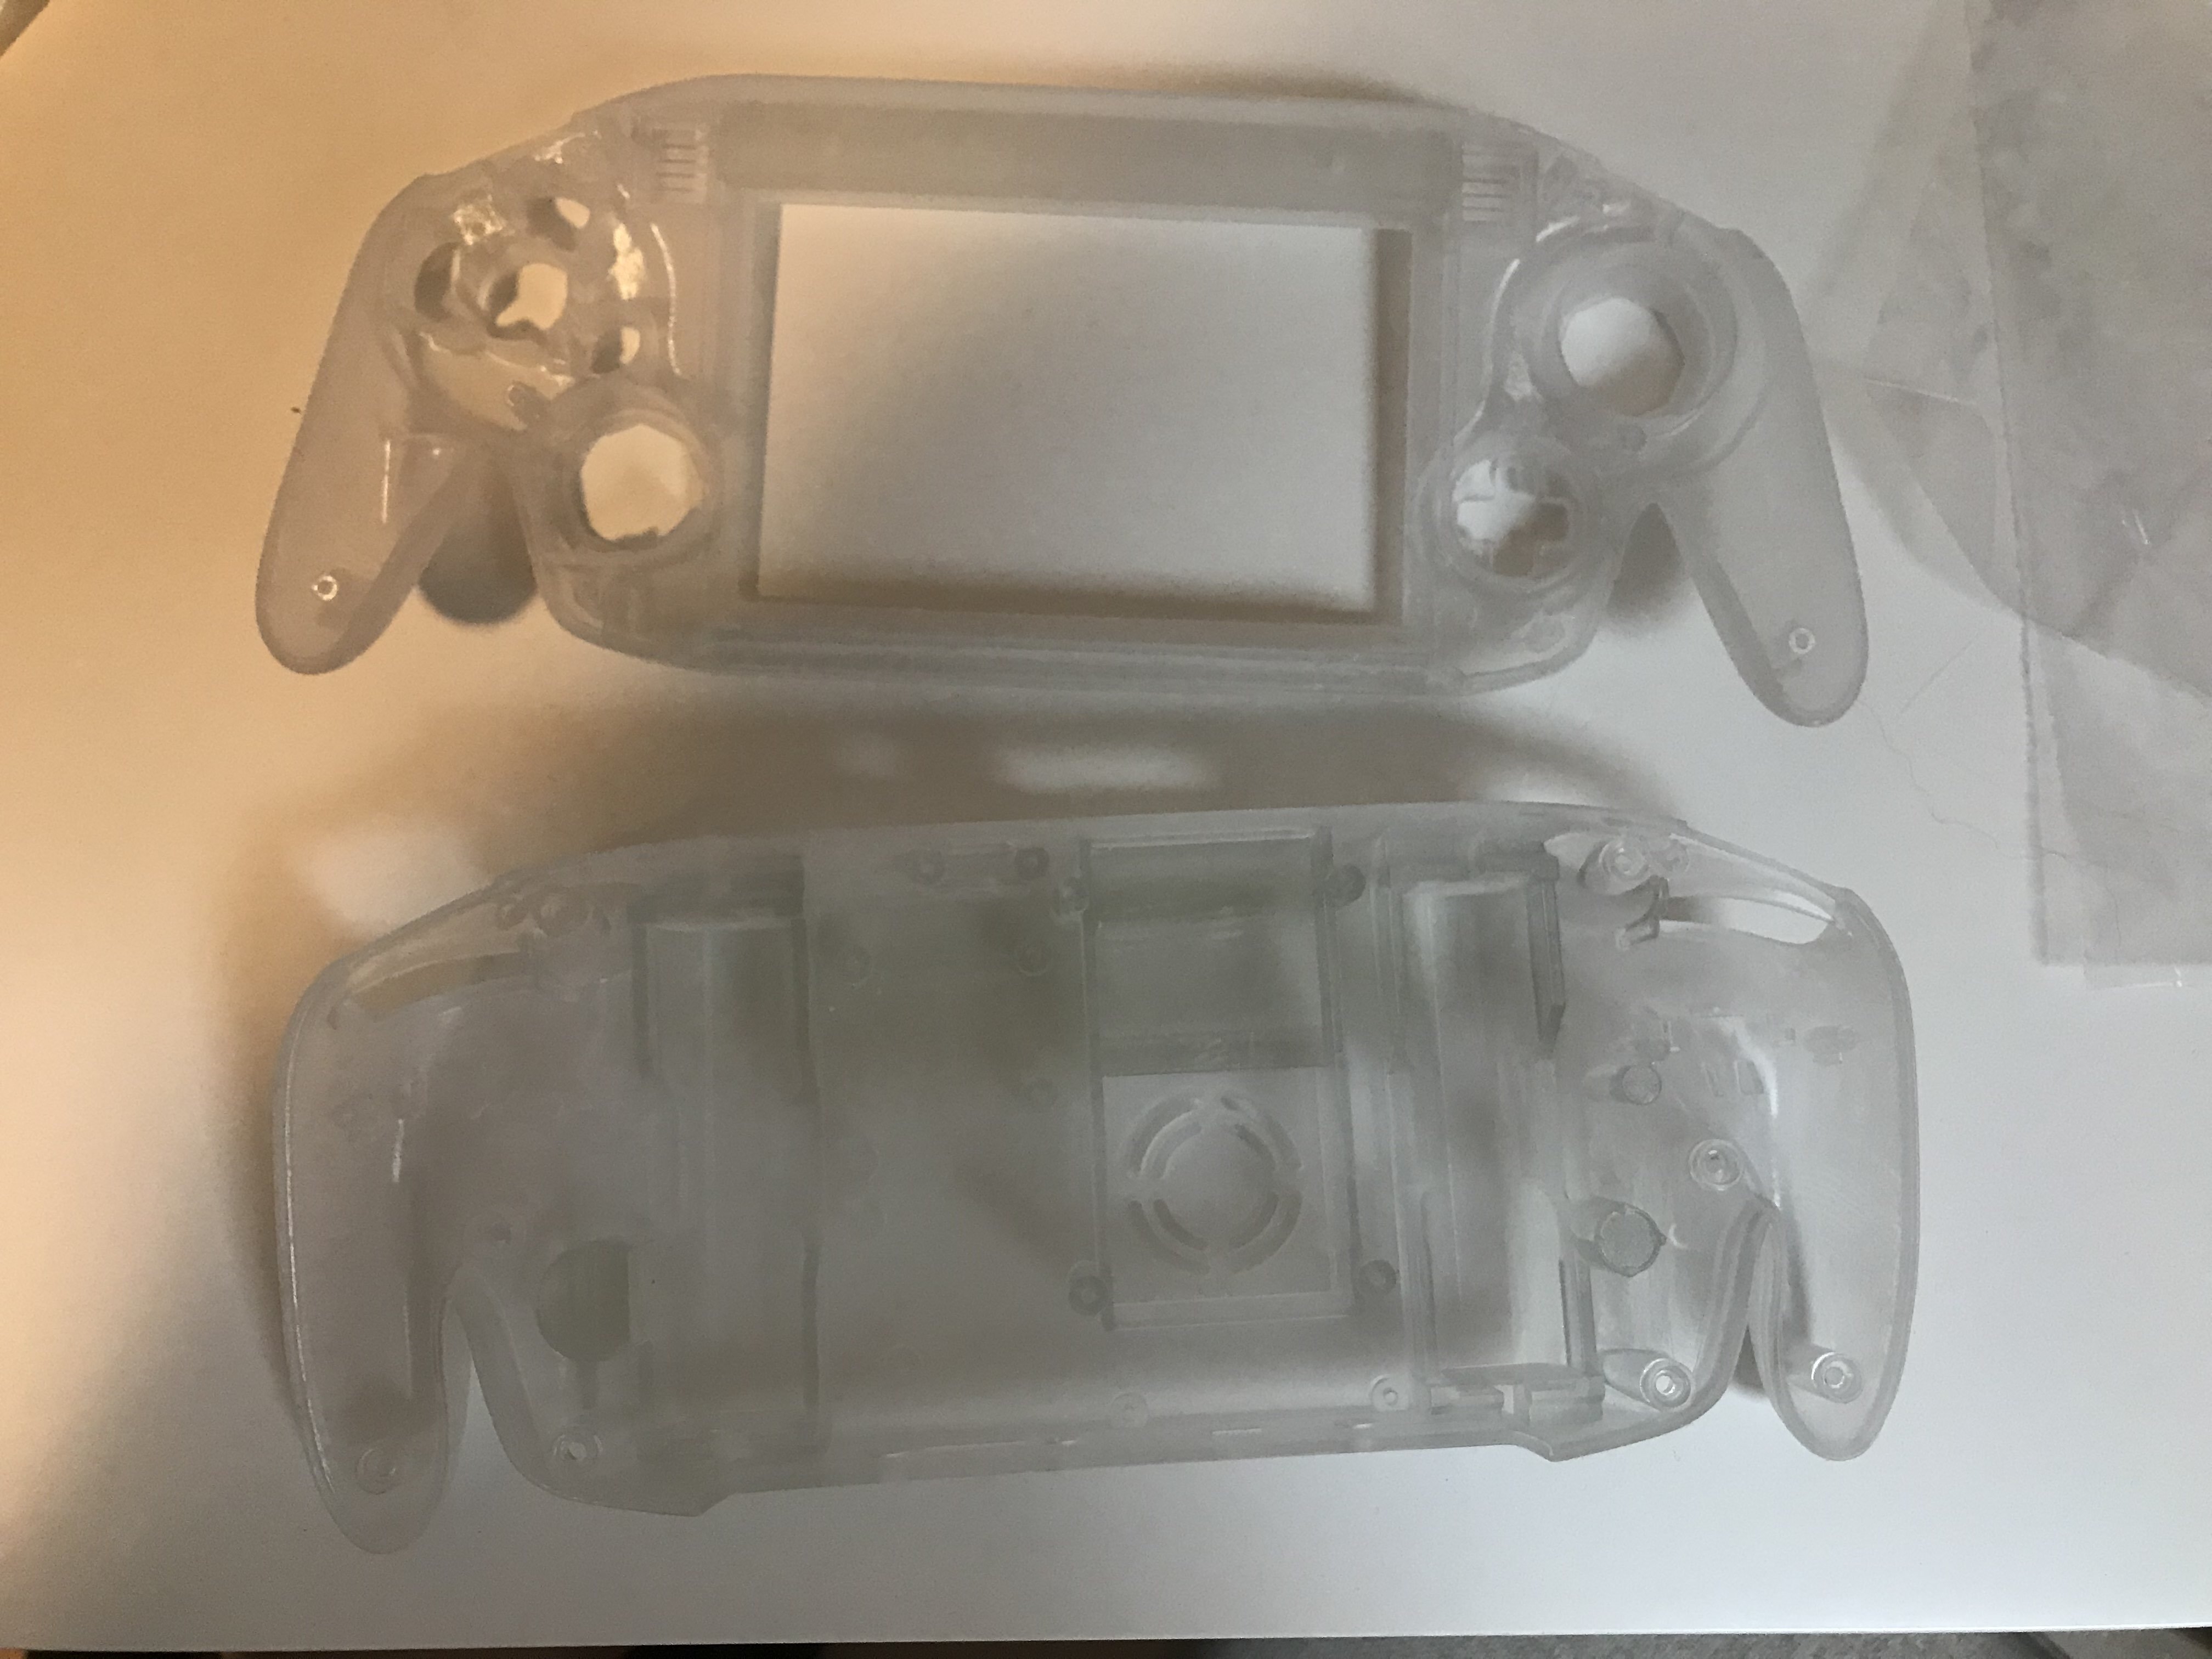
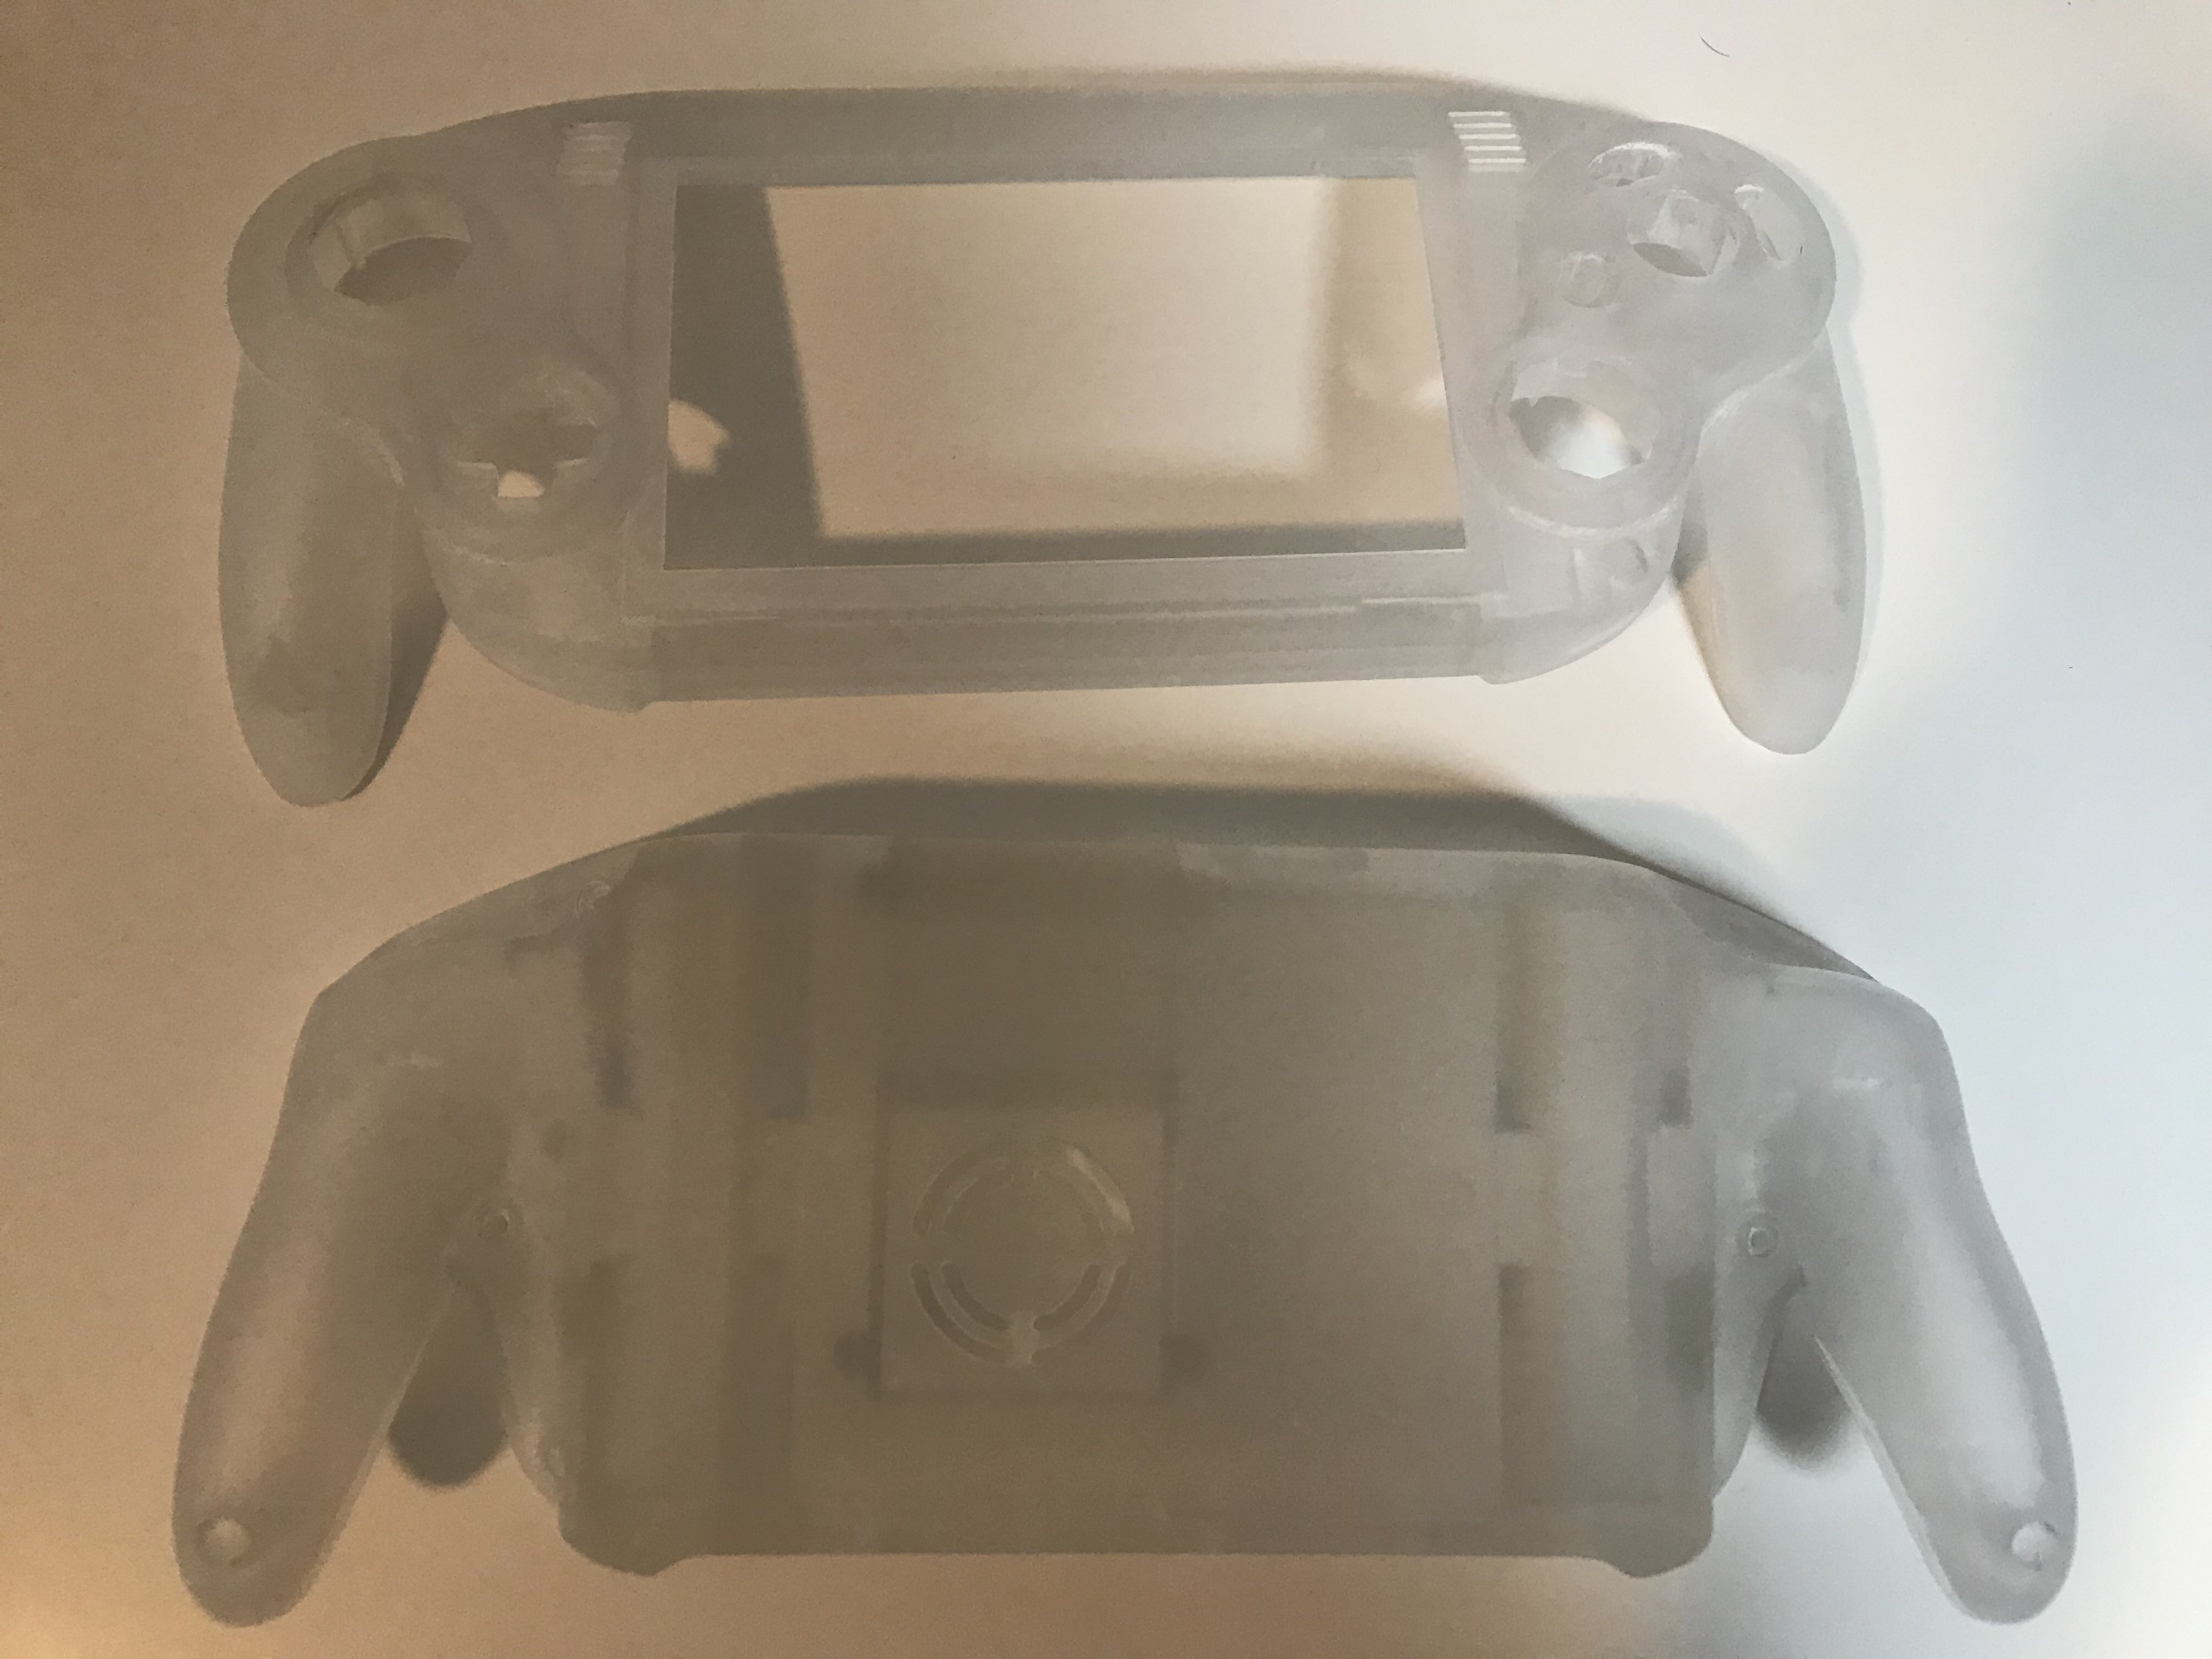
3D Printing from PCBWay:
Items I'm missing or want to buy:
From Amazon.com
- PINECIL Soldering iron $43
- Screwdrive Kit with Tri Y wing $16
- X-ACTO Knife $10
- 22 AWG Stranded wire set $16
- 34 AWG Magnet wire $13
- Dremel Cutting Tool $21 (note: this comes with an american power socket. I had to buy an international adapter to use it. I recommend buying a similar tool with your correct socket.)
- Diamond Cutting Wheel $12
- Kapton Tape $14
- USB hub $30 (with USB C. This comes with an american power socket. Note that I think this one might not be powerful enough. More on this later!)
- Shipping $55
- Tax ~$100
- Total $330
- Solder $30
- No clean flux $10
- Solder Sucker $10
- Solder Wick $7
- Soldering Iron Stand $38
- Tweezers $19
- Work Mat $29
- Sandisk 32GB USB stick $17 (This one worked with softmodding for me)
- Multimeter $48
- Basic stripping pliers $27
- Compartment Box $8
- Shipping $0
- Total $243
Components from Mouser:
- Potentiometer x4 $7
- Fan x1 $29
- Mini HDMI to HDMI adapter x2 $6
- USB Connector x10 $11
- Shipping $0
- Tax $12
- Total $65
Digikey also had a norwegian online store so that's nice! I ended up buying multiples of many components so I have replacements or can use them for future projects.
Components from Digikey:
- Cable FFC x10 $20
- Flex Connector x10 $5
- Speaker x10 $18
- Tactile Switch x10 $2
- Slide Switch x10 $8
- Tactile Switch (angled) x10 $2
- Battery Clips x25 $7
- Heatsink x2 $7 (includes thermal pad, so you dont need any thermal paste)
- Shipping $17
- Total $86
- GC+2 $19
- UAMP2 with Headphone Jack $27
- 5" IPS Screen with Drive Board $45
- PMS-PD 2 $24
- RVL-PMS-2 $90
- Ashida PCB Set $15
- Shipping $36
- Tax $77
- Total $333
- AVE Hdmi Kit $80
- Mini HDMI Adapter $4
- Shipping $24
- Tax $35
- Total $143
3D Printing from PCBWay:
- Ashida 3D print $165
- Shipping $63
- Tax $63
- Total $291
- 21700 Lithium Ion Battery x2 $30
- 60W USB C to USB C cable 1m $30
- GC OEM Controller $52
- GC 3rd Party Controller (for second Z Switch) $19
- Total $131
Items I'm missing or want to buy:
- Isopropanol and a toothbrush to clean with.
- USB C Power Supply (Anker 65W)
- USB C to USB C cable 2m (for charging)
- USB A to USB C cable 1m (for connecting to PC)
- Carry case
I received the packages.
I took apart the GC OEM Controller.
I took apart my Wii to ready it for trimming.
I started by soldering GC controller parts, UAMP2 and GC+2 to the Ashida PCBs.
Removed capacitors and trimmed my Wii. Had some issues with the wheel slipping, but it looks like it went well. I sanded as well as I could using K240, K800, K1200. Resistances were good according to the table. I will say I noticed my Multimeter behaved weirdly when checking 3.3V. It has an auto-range feature and it ranged from very high to around 16K ohms. According to another user on this forum whom experienced the same it was fine and their Wii booted. So I will assume it's fine, but I have not tested turning my Wii on yet.
Notice the bottom capacitor? When I ripped it off the pad came off. Will this be a problem?
I tried to remove the LDO using Wesk method since I do not have a hot air station. But I have been unable to remove the component itself. My soldering iron runs into an issue with "Thermal Runway" (it shows that on the Pinecil). When I tried to look it up it seemed like the soldering iron is not able to hold the asked temperature, which may be because my power supply is not powerful enough. Will this be a problem or can I still use the Wii with the LDO half-removed? I checked resistance between the solder on the LDO and the 5 pads where the legs were, and they had some resistance (not shorted).
I removed some stuff from the Screen Drive Board that were not needed. They were in the way of the Ashida controller PCBs when inside the Ashida case.
See the top right connector that I removed? The pad came up when I removed it. Will this be a problem?
Lastly I have started connecting some wires to the PMS PD so I can test if my Wii is still alive. Still working on this.
Thanks for reading to the end of this first worklog post! I will post updates as I go.
Attachments
-
 1.6 MB Views: 34
 -
 992.1 KB Views: 39