
Hello everyone! I am Redux, and I am pretty new to the BitBuilt forums. I am super excited to start working on this project. I have been toying with the idea of building my own portable Wii for a while, but I recently decided to commit and start working on it. There are a couple of goals I want to accomplish with the project
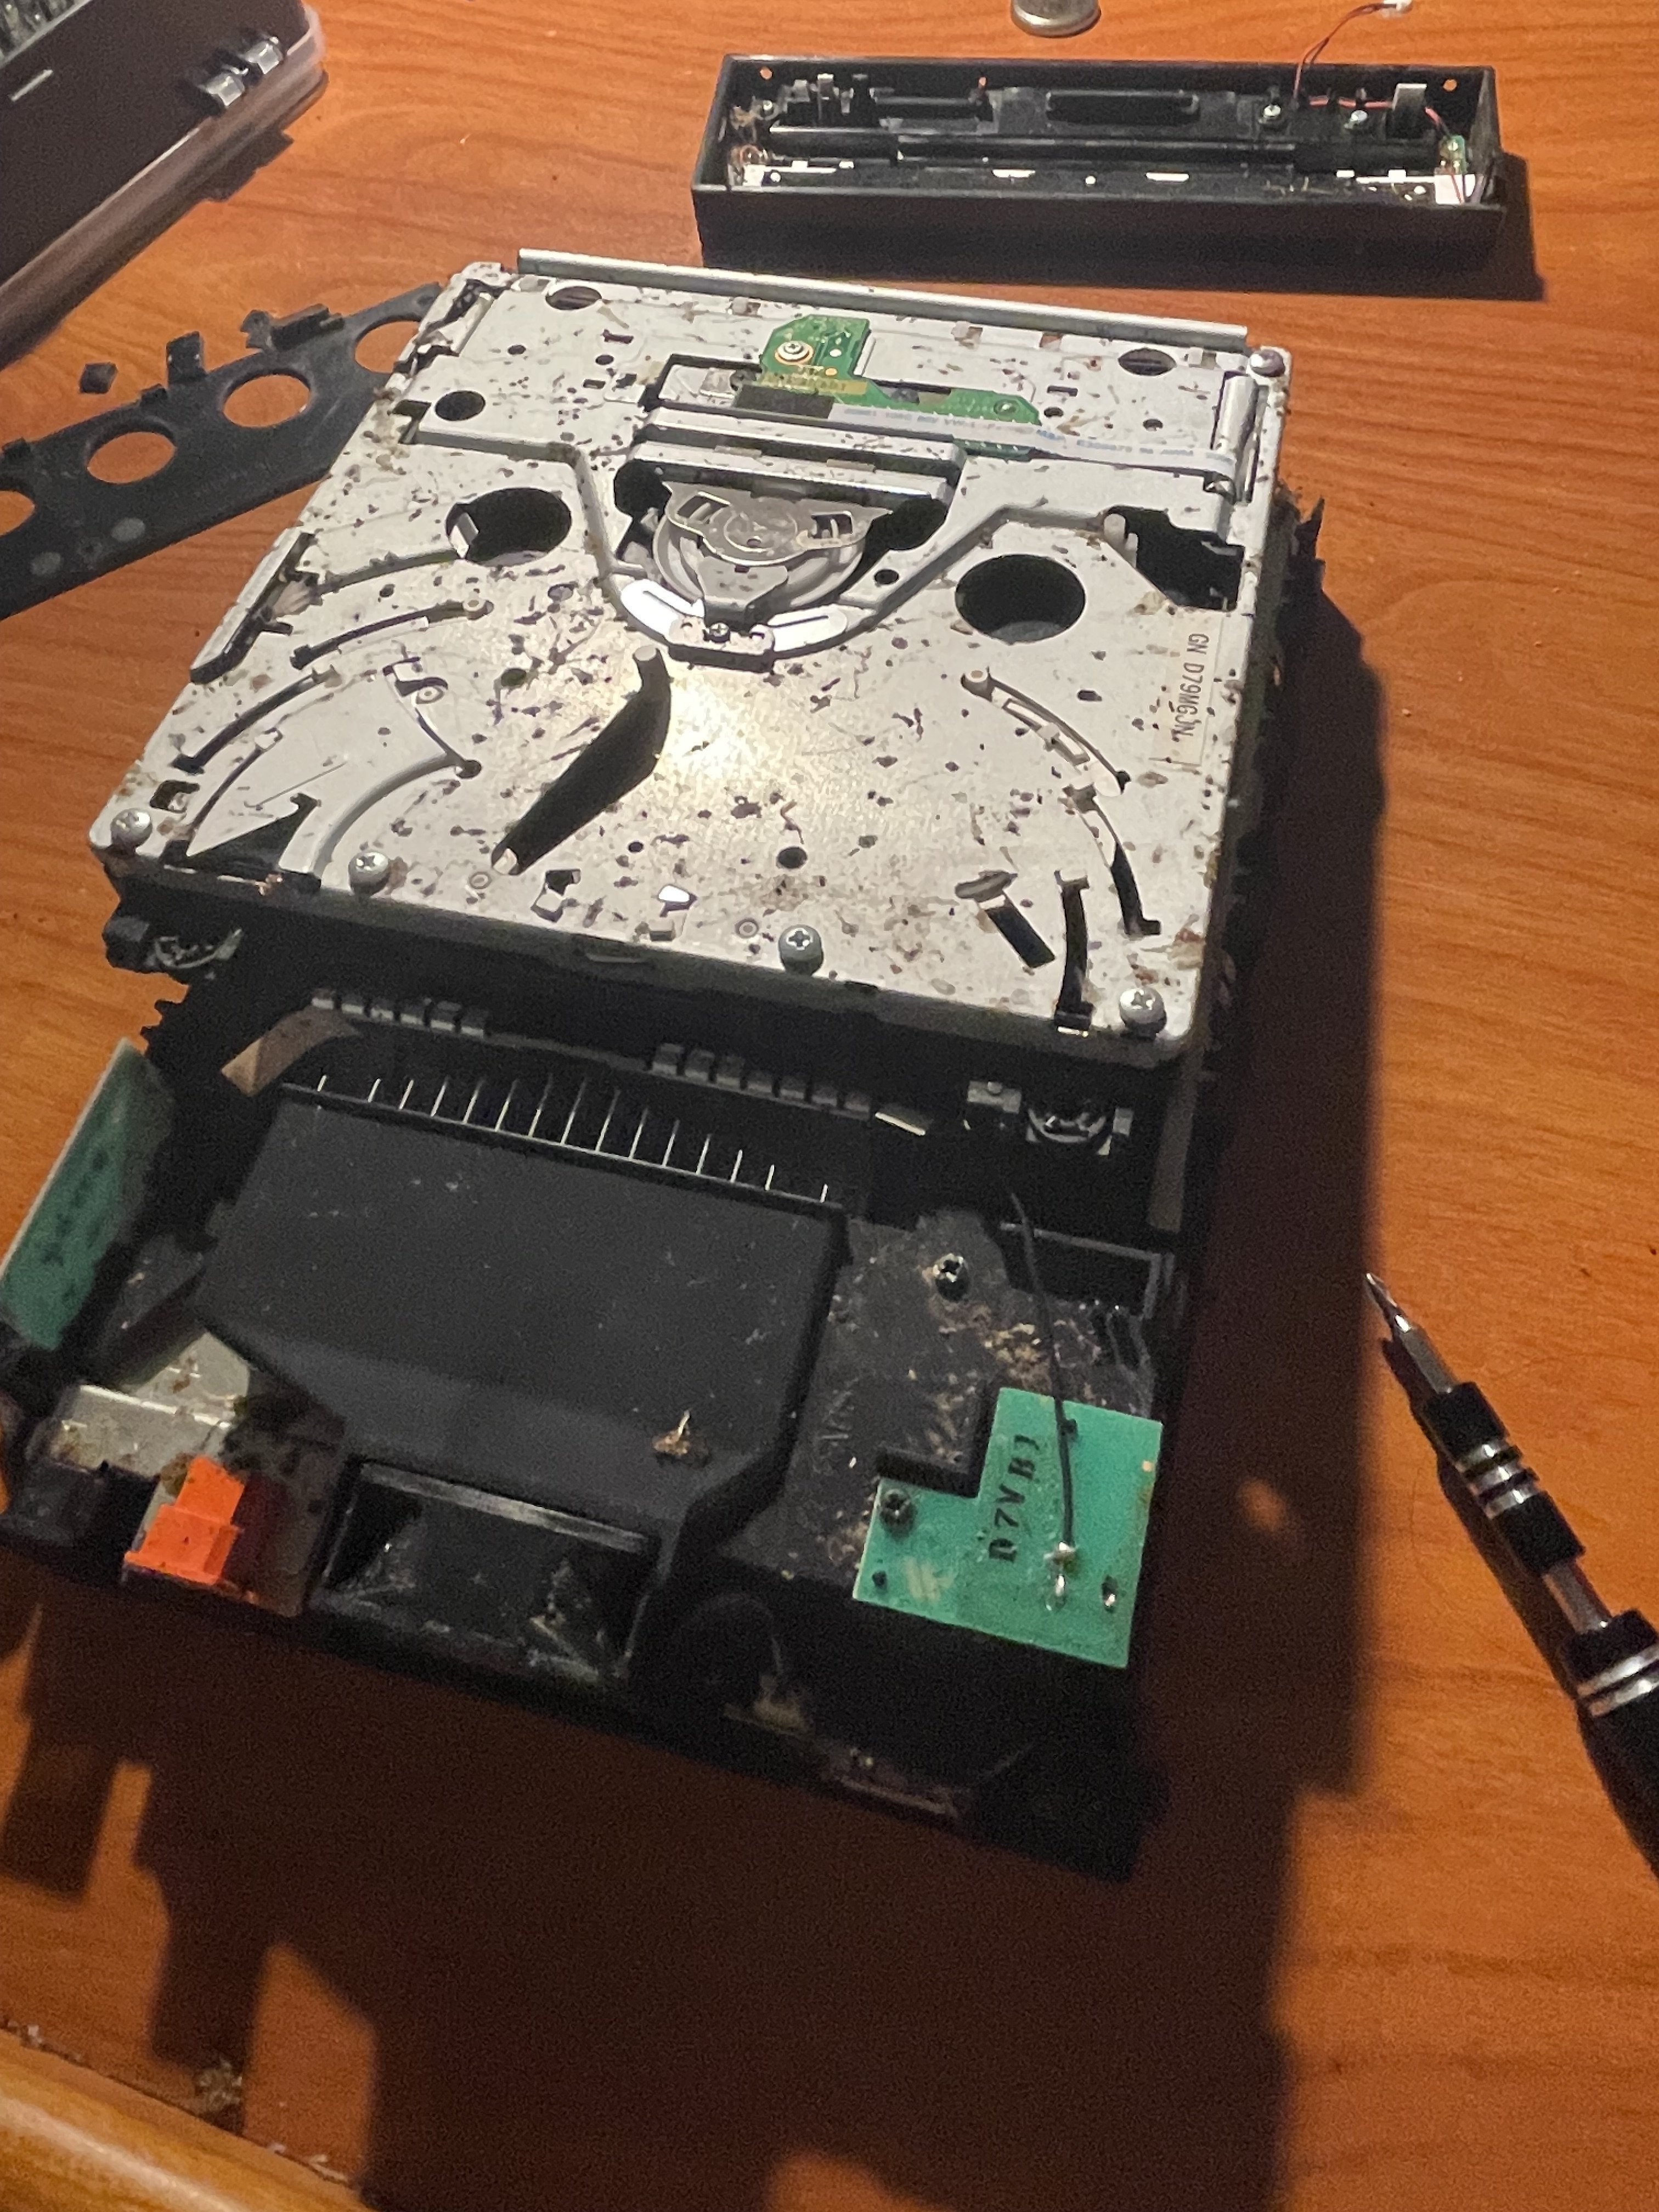
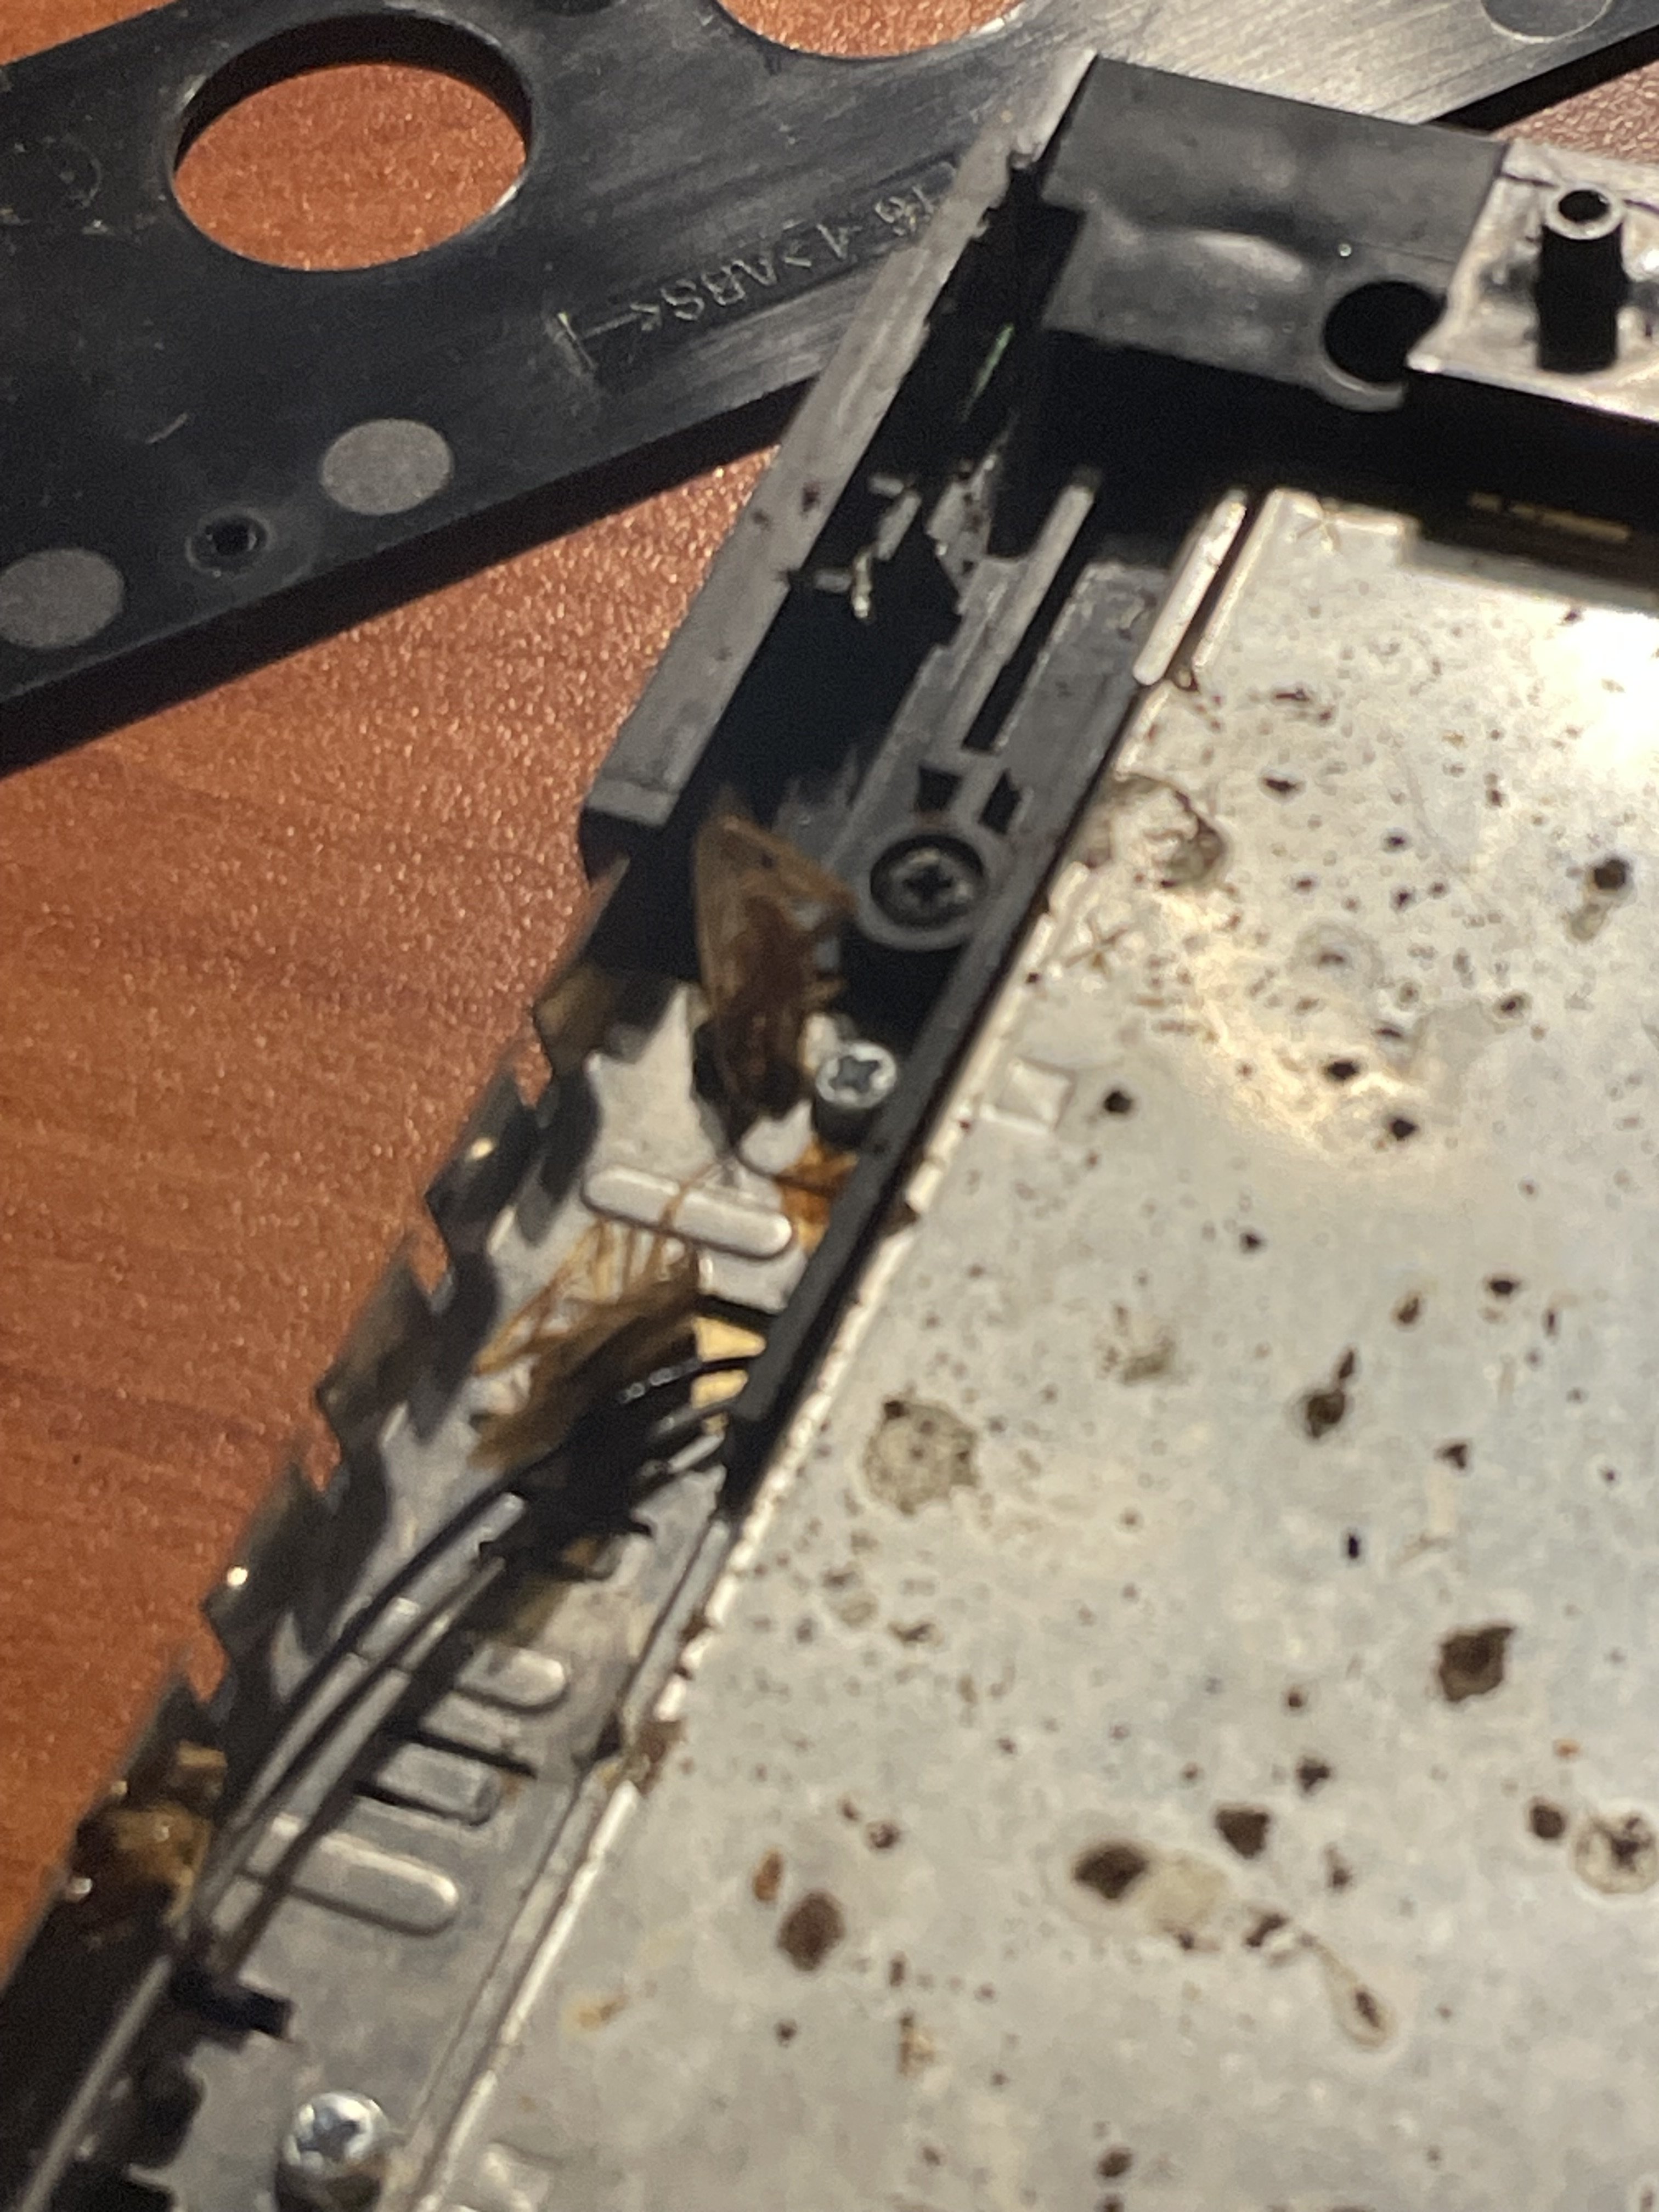
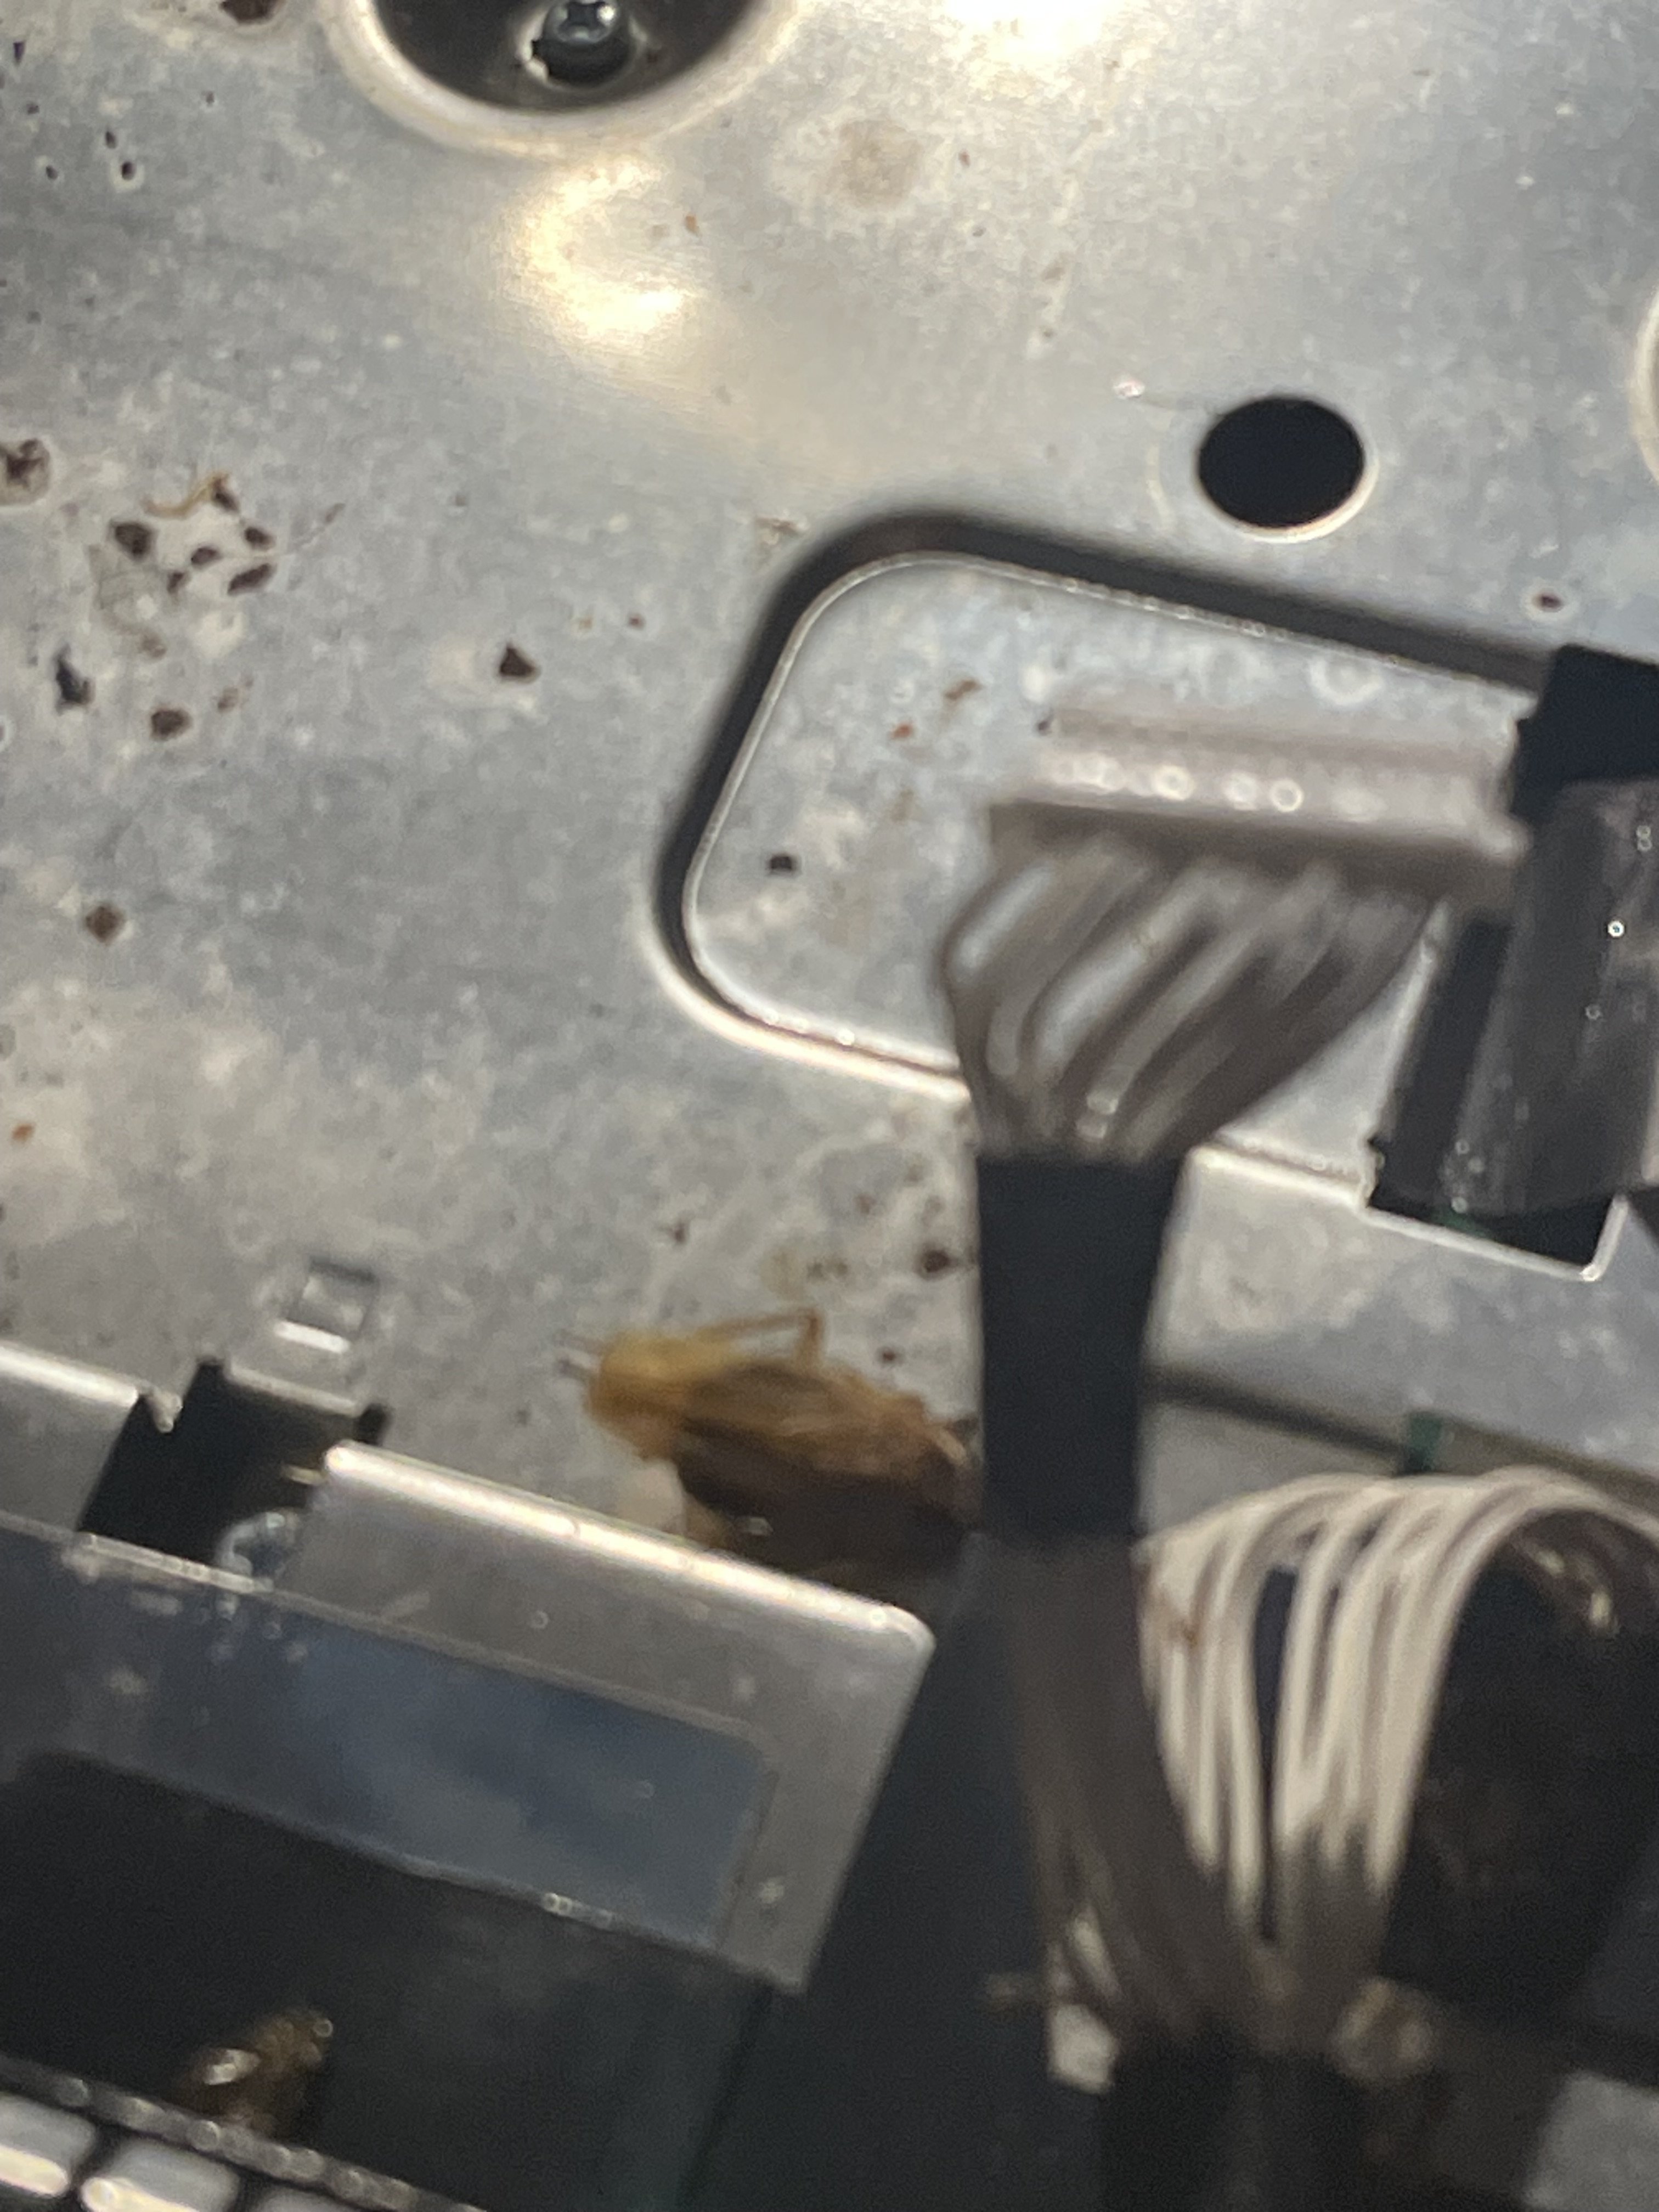
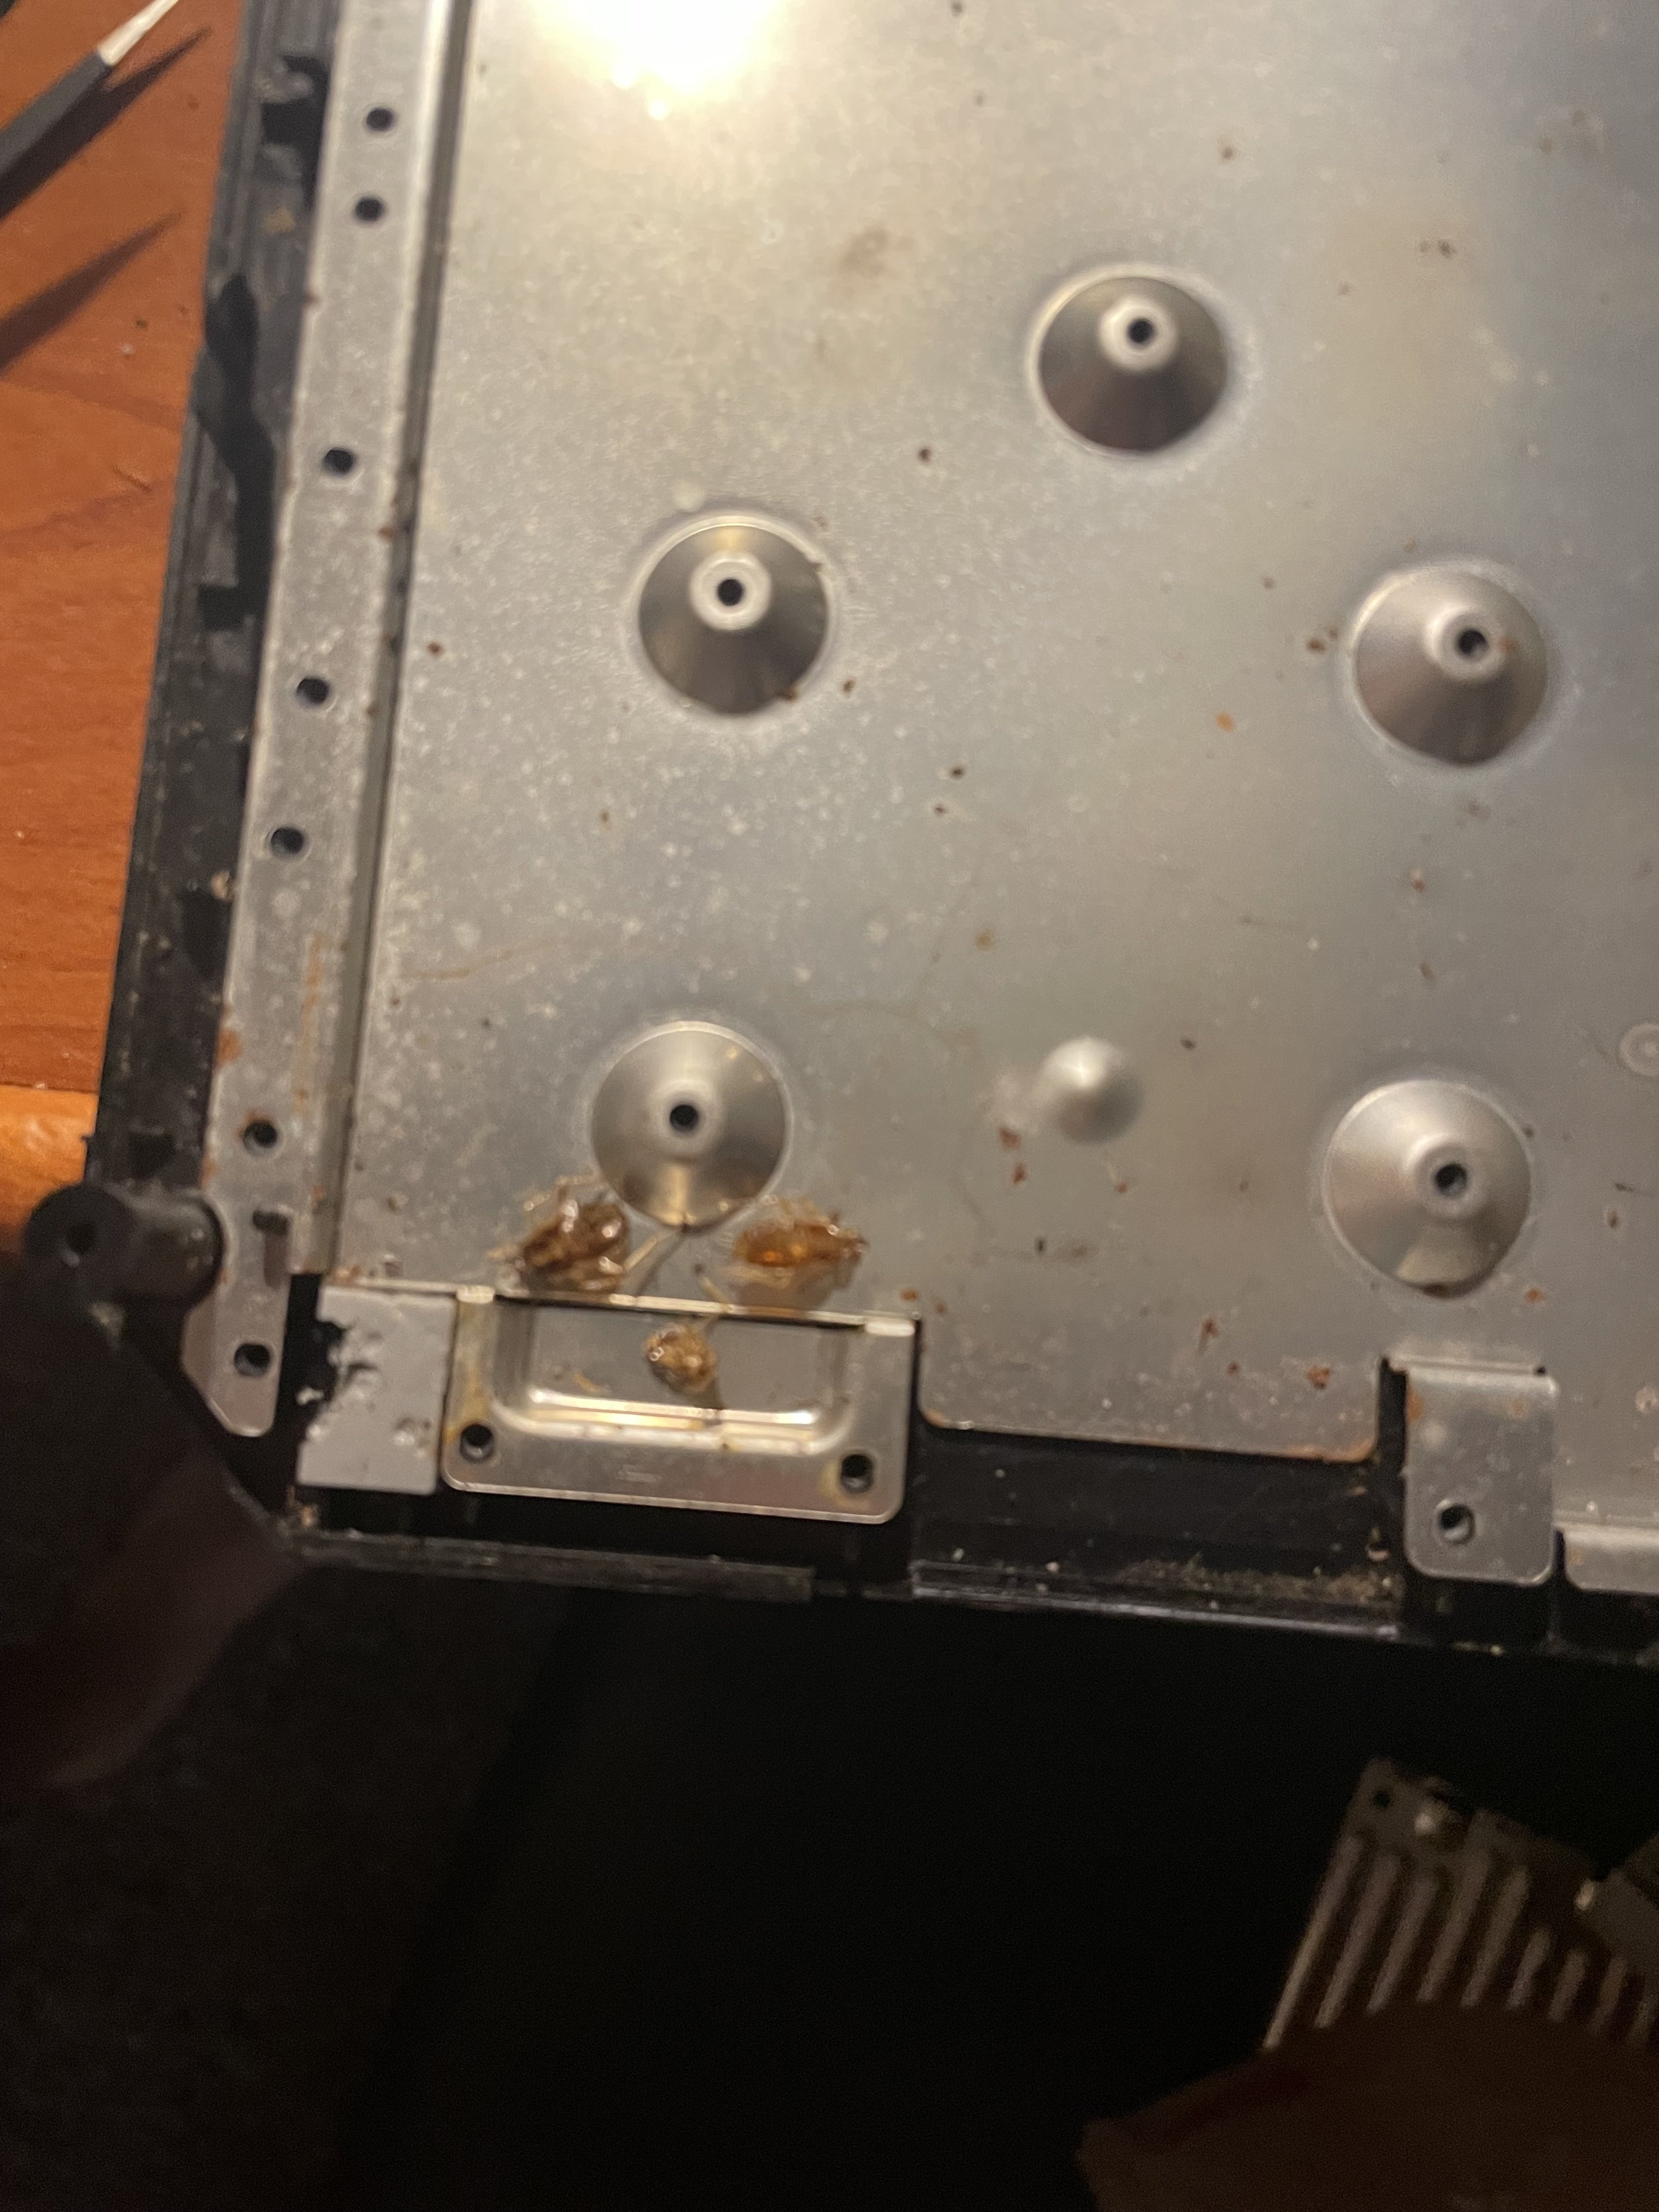
I opened up the Wii and ohhh no, it's filled with dead cockroaches.
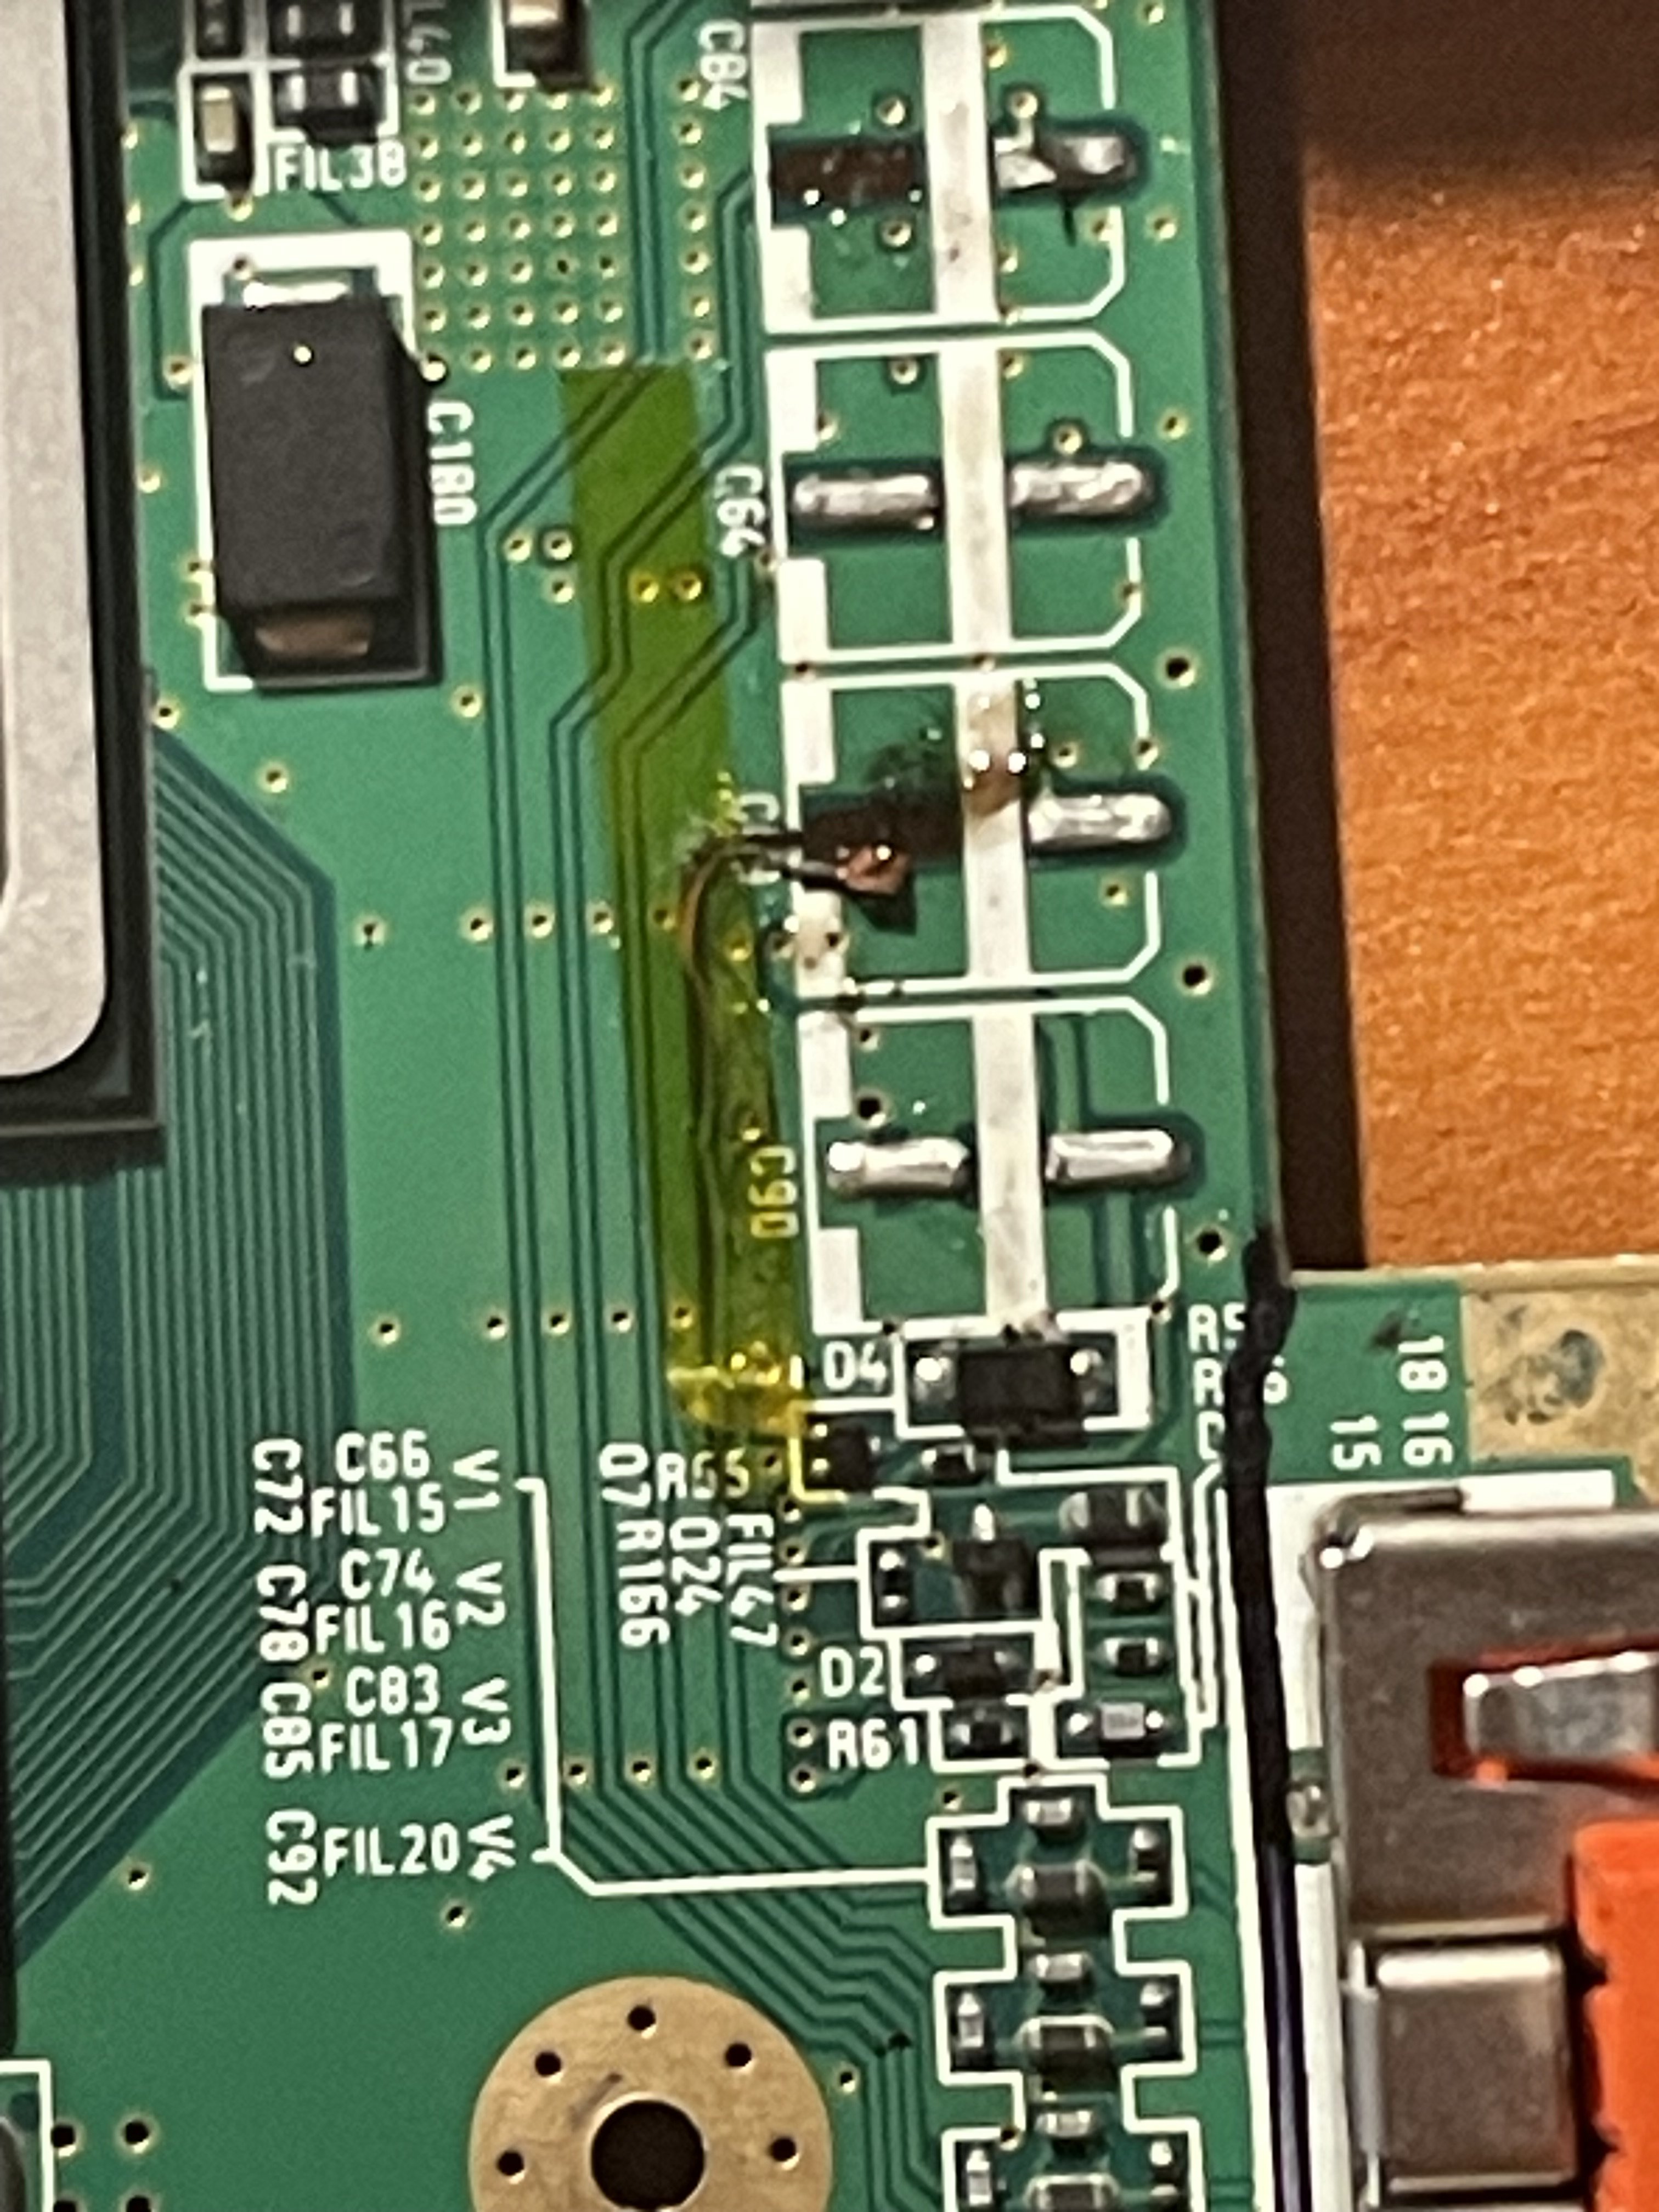
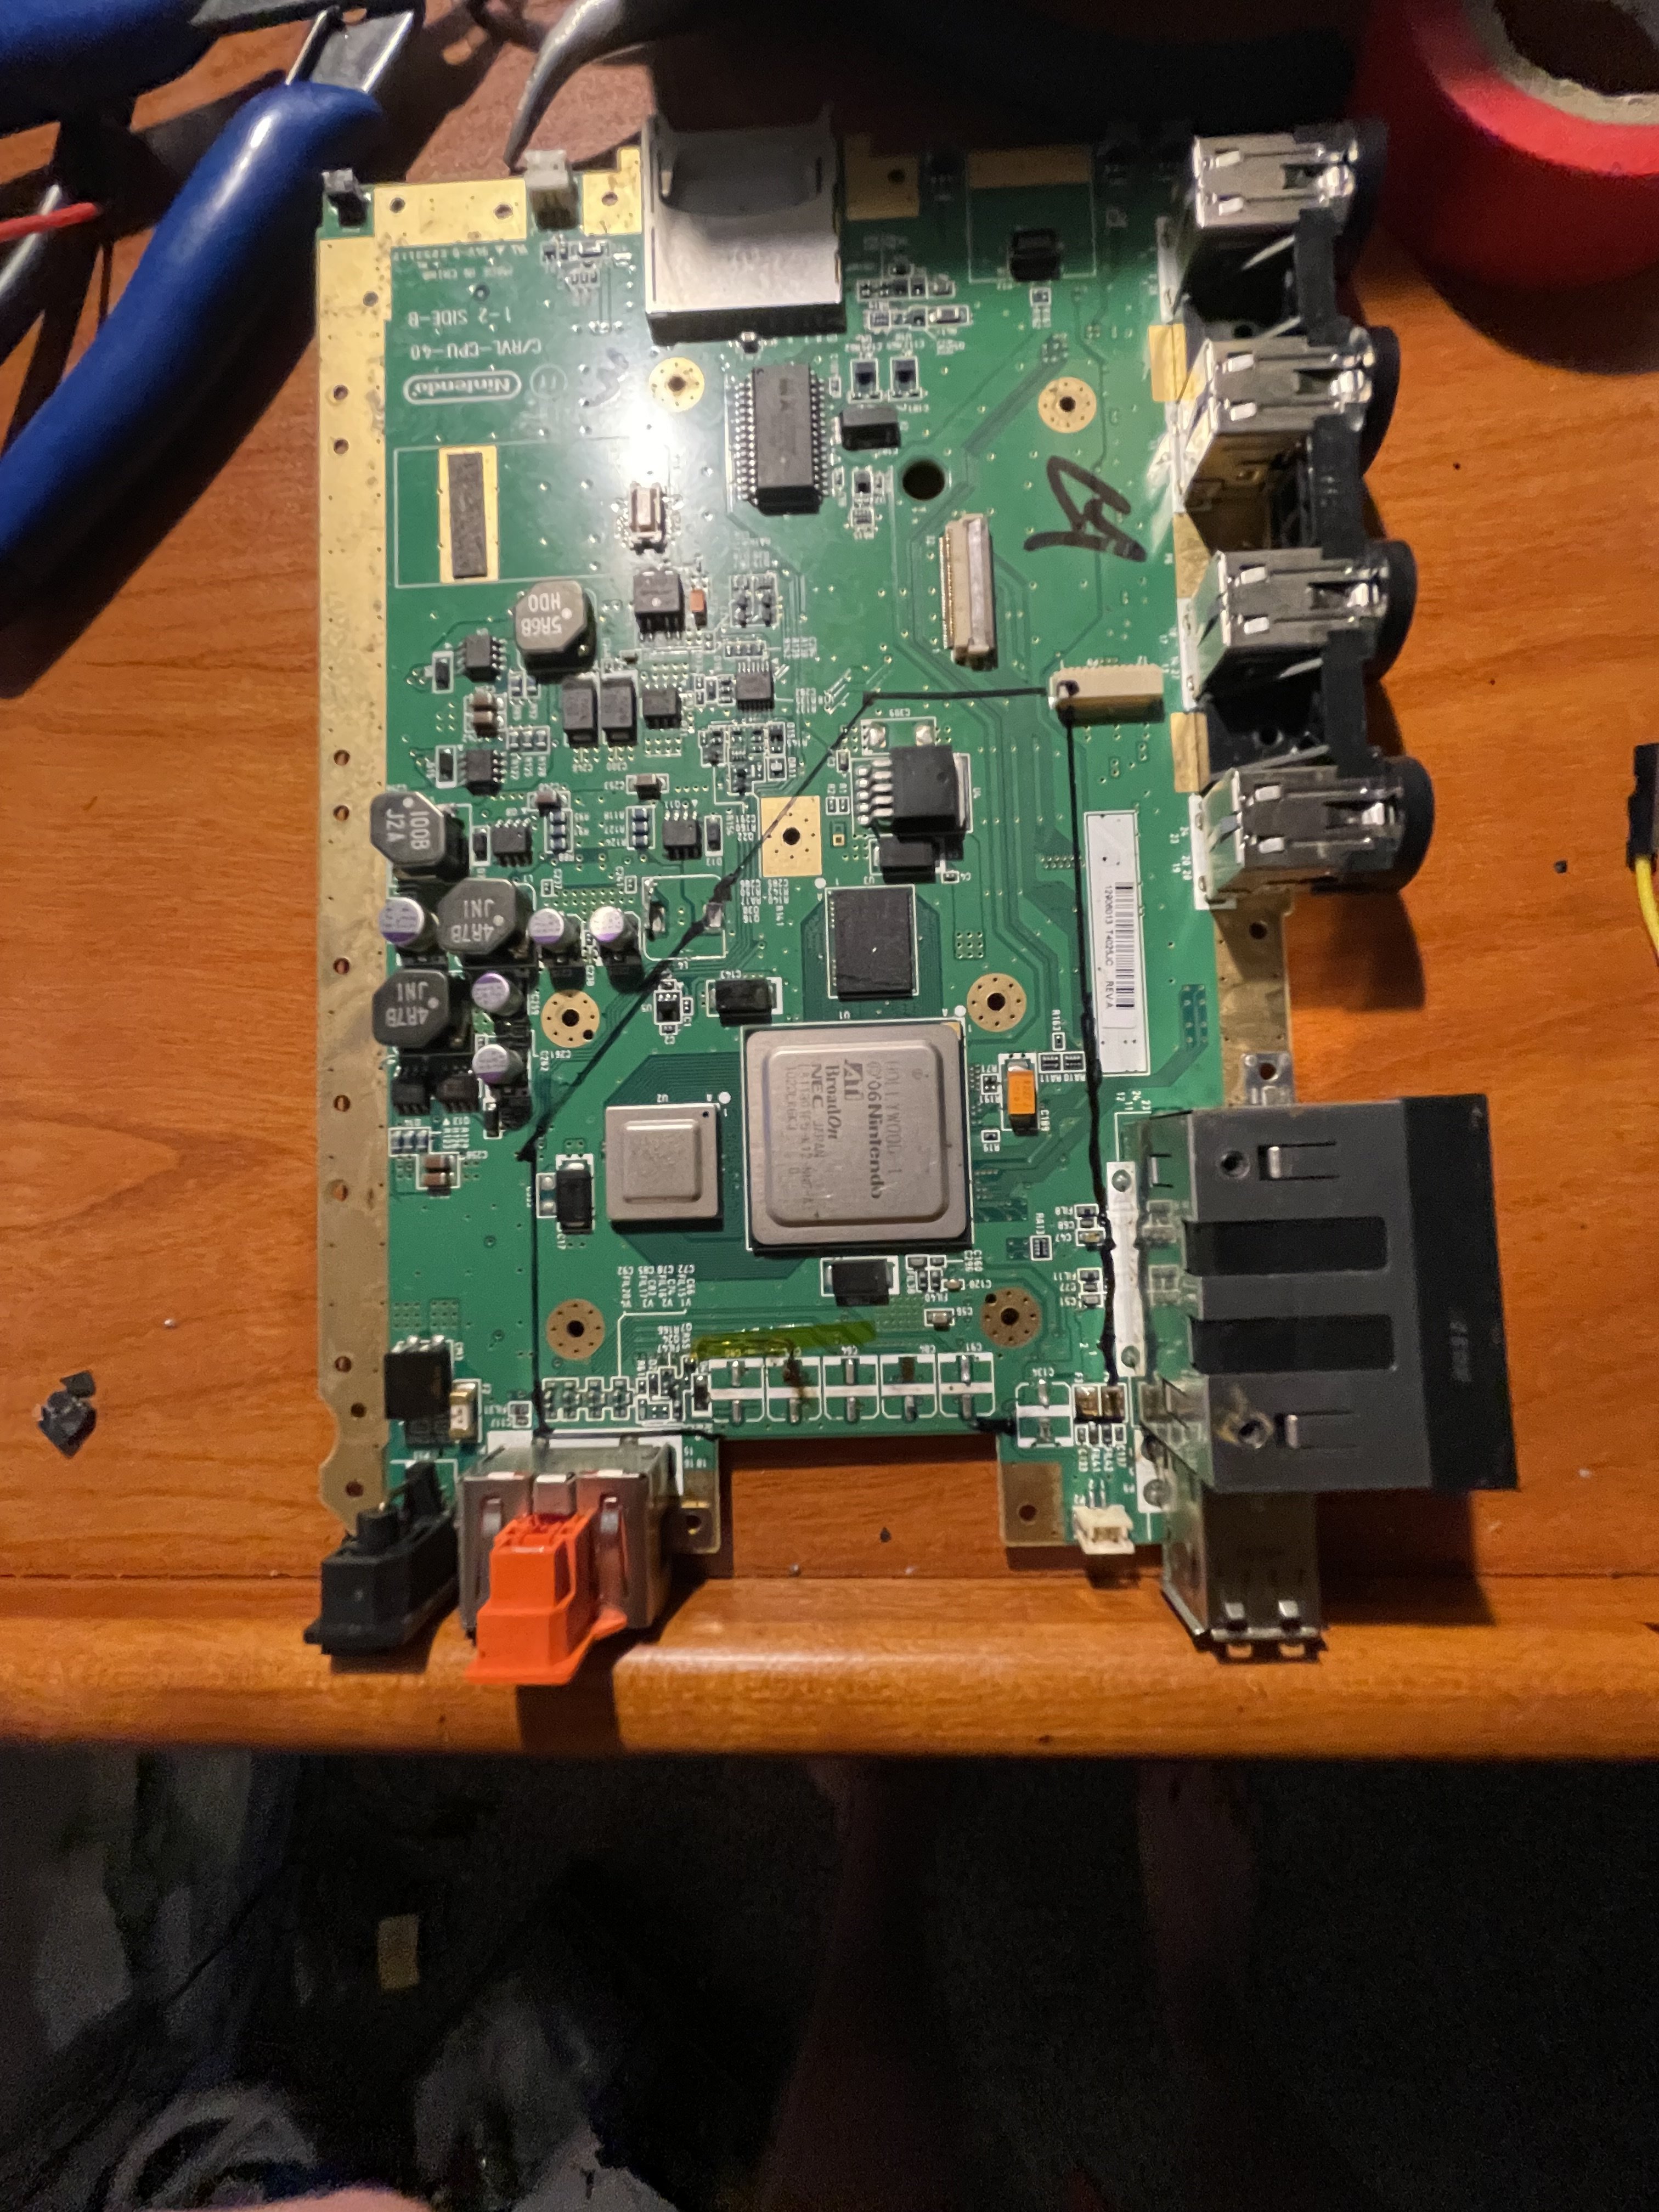
 I decided to call this portable project La Cucaracha upon this discovery. After cleaning up that mess, I was left with a bare Wii motherboard. I prepared the Wii for trimming by tracing the OMGWTF outline and removing some of the components in the way. Like the true delicate craftsman I am, I managed to rip up the trace to one of the video output capacitors while removing it. I just stuck it down with kapton tape for now, but if anyone has a better idea of what I should do about it, let me know.
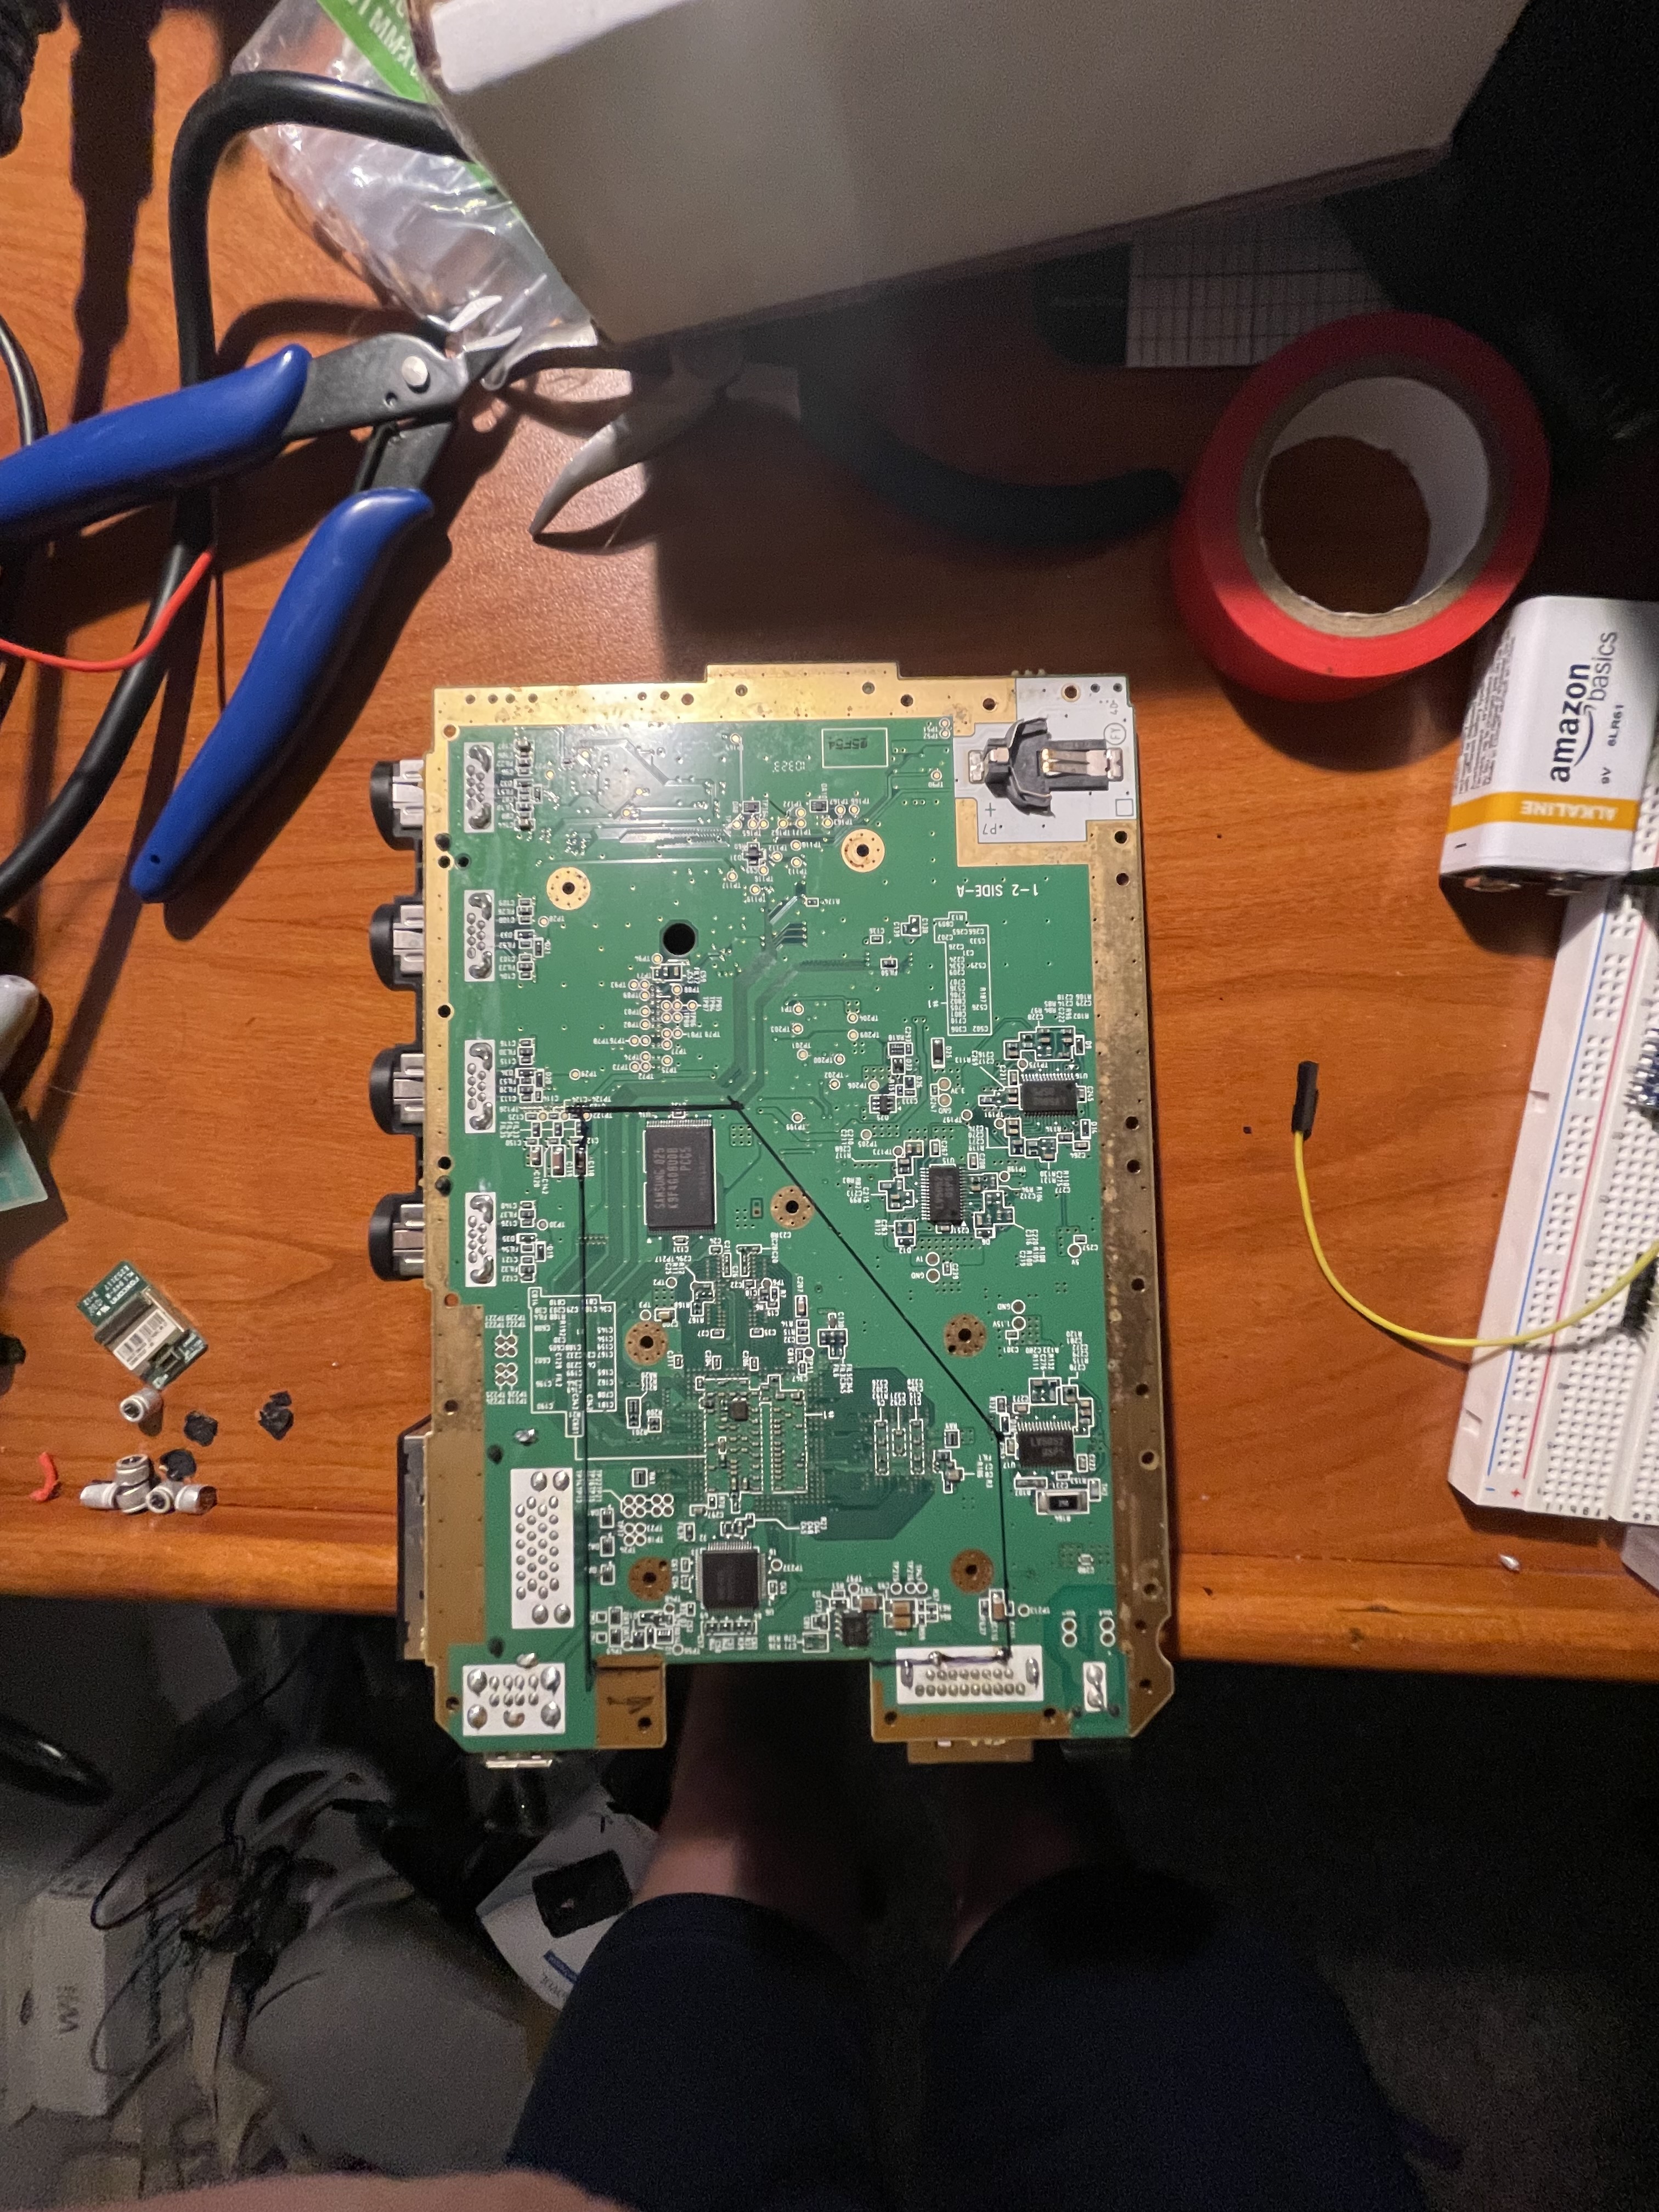
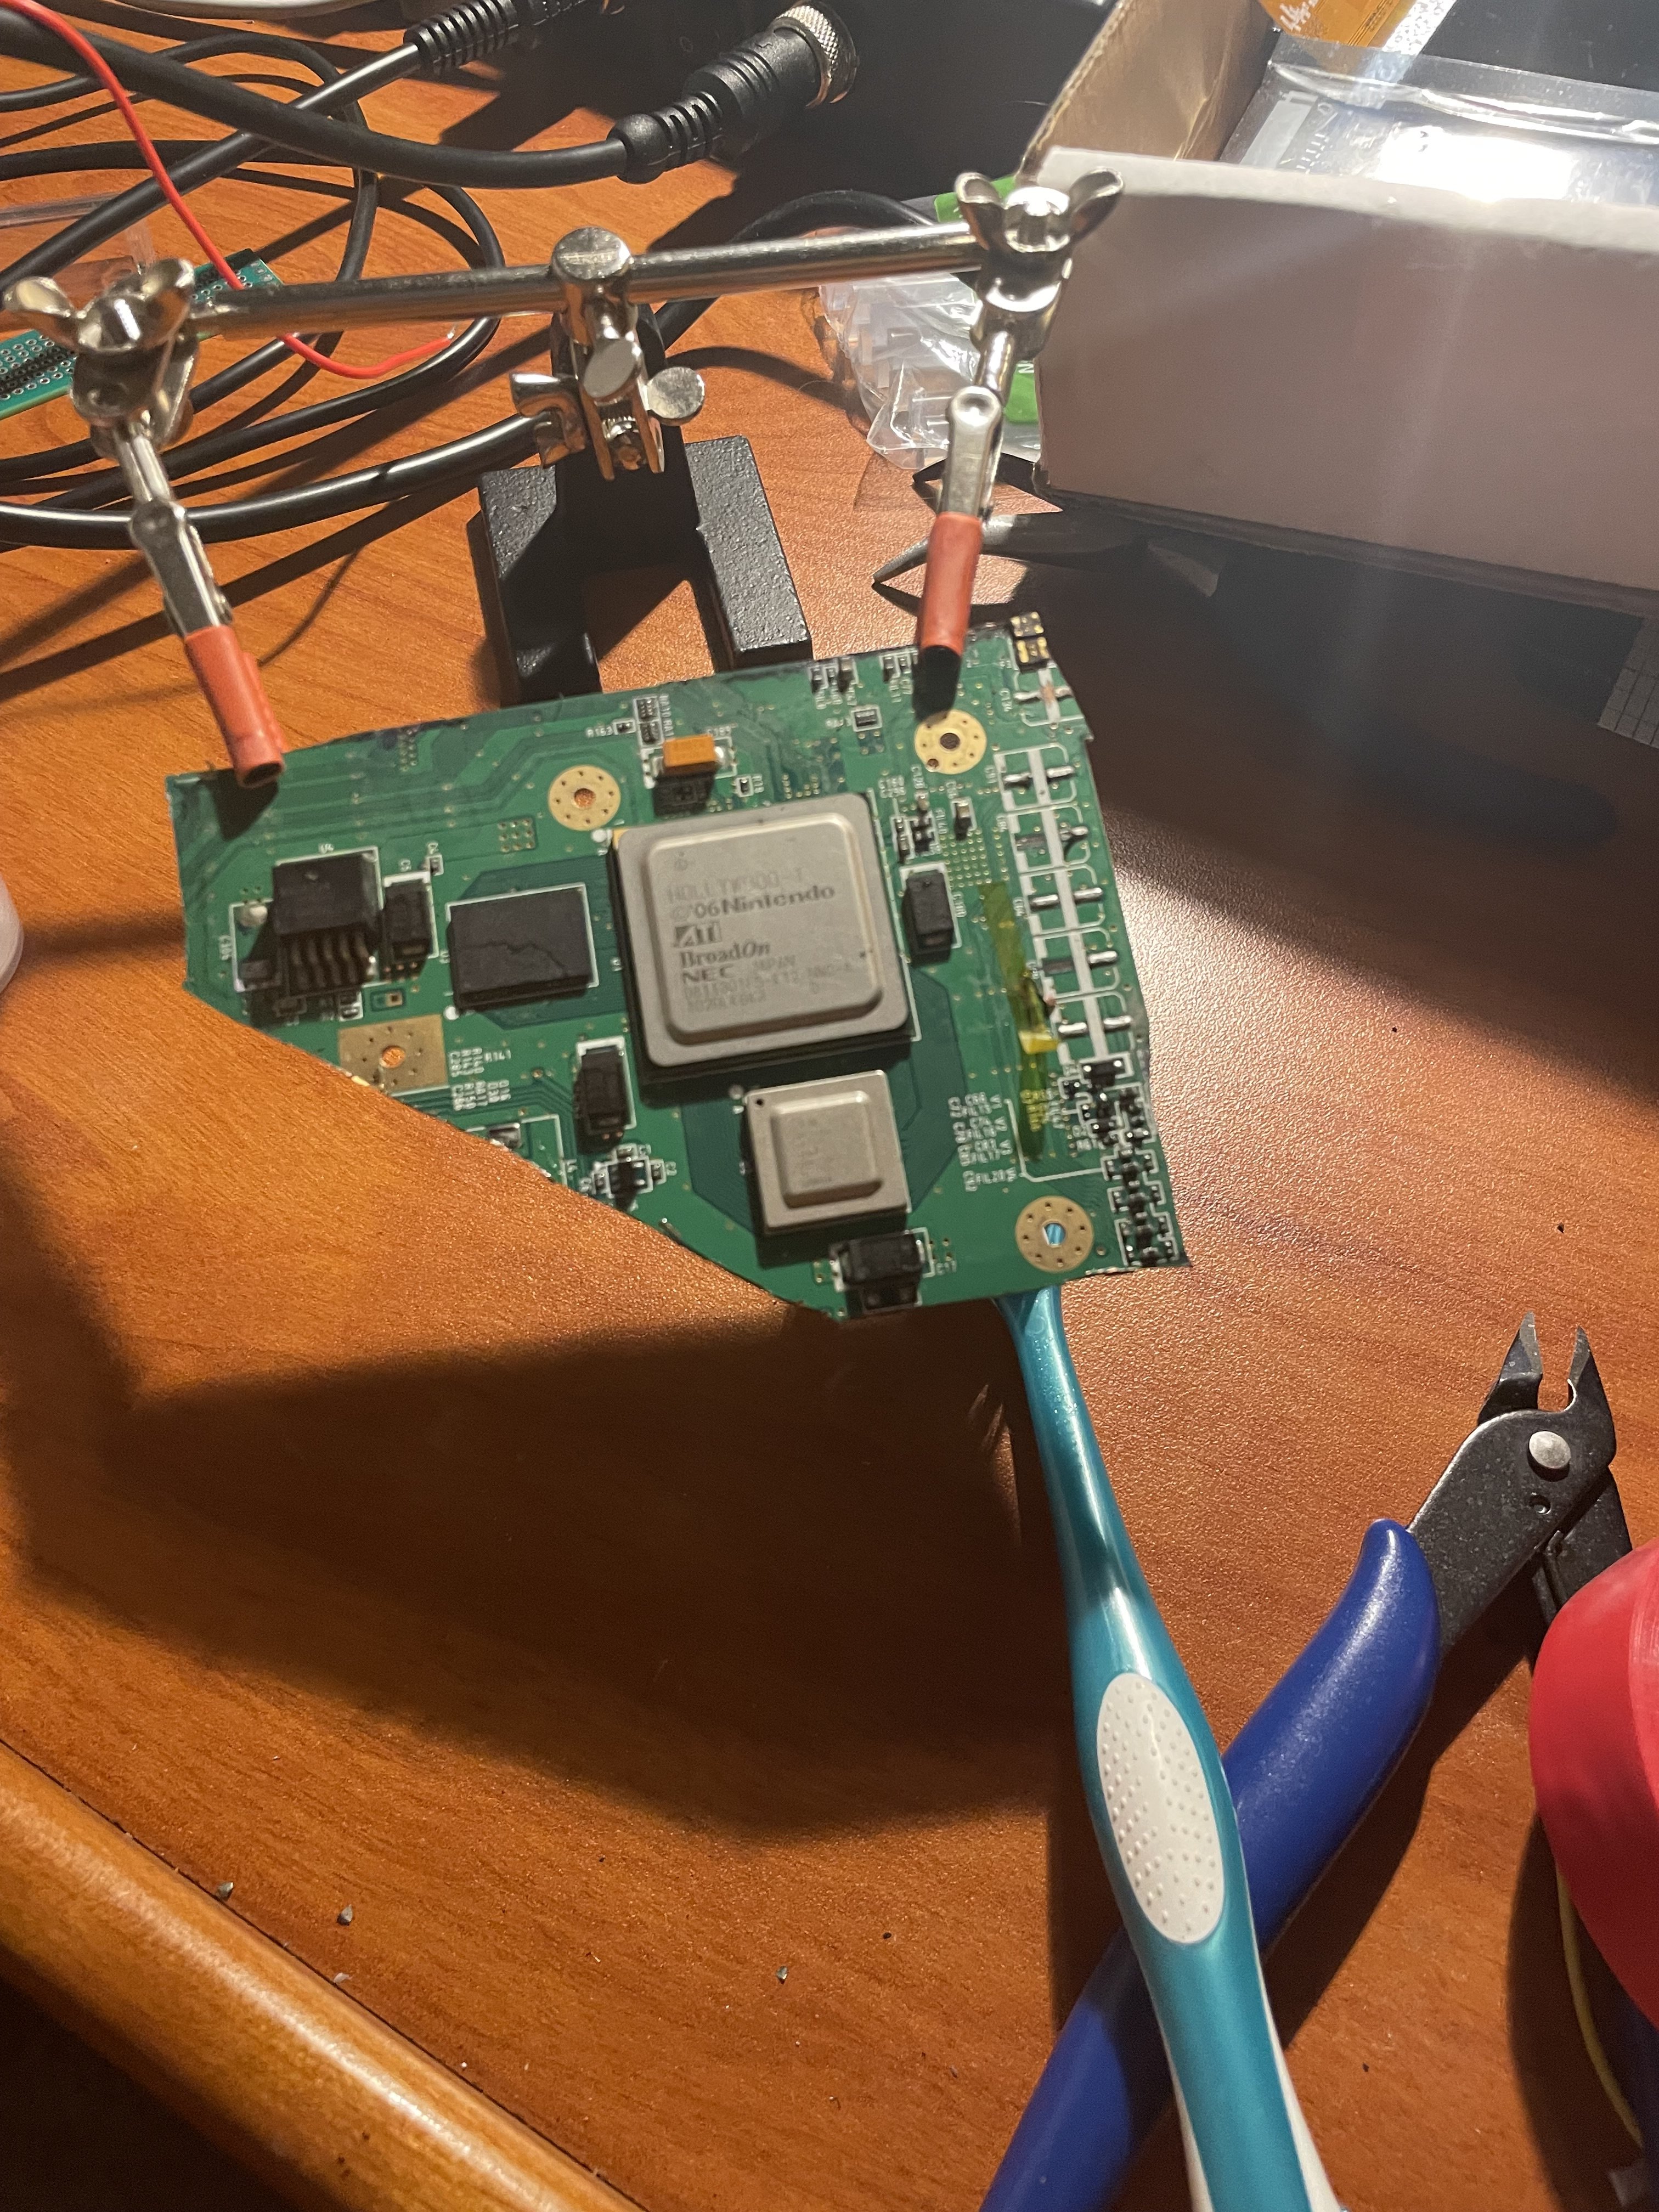
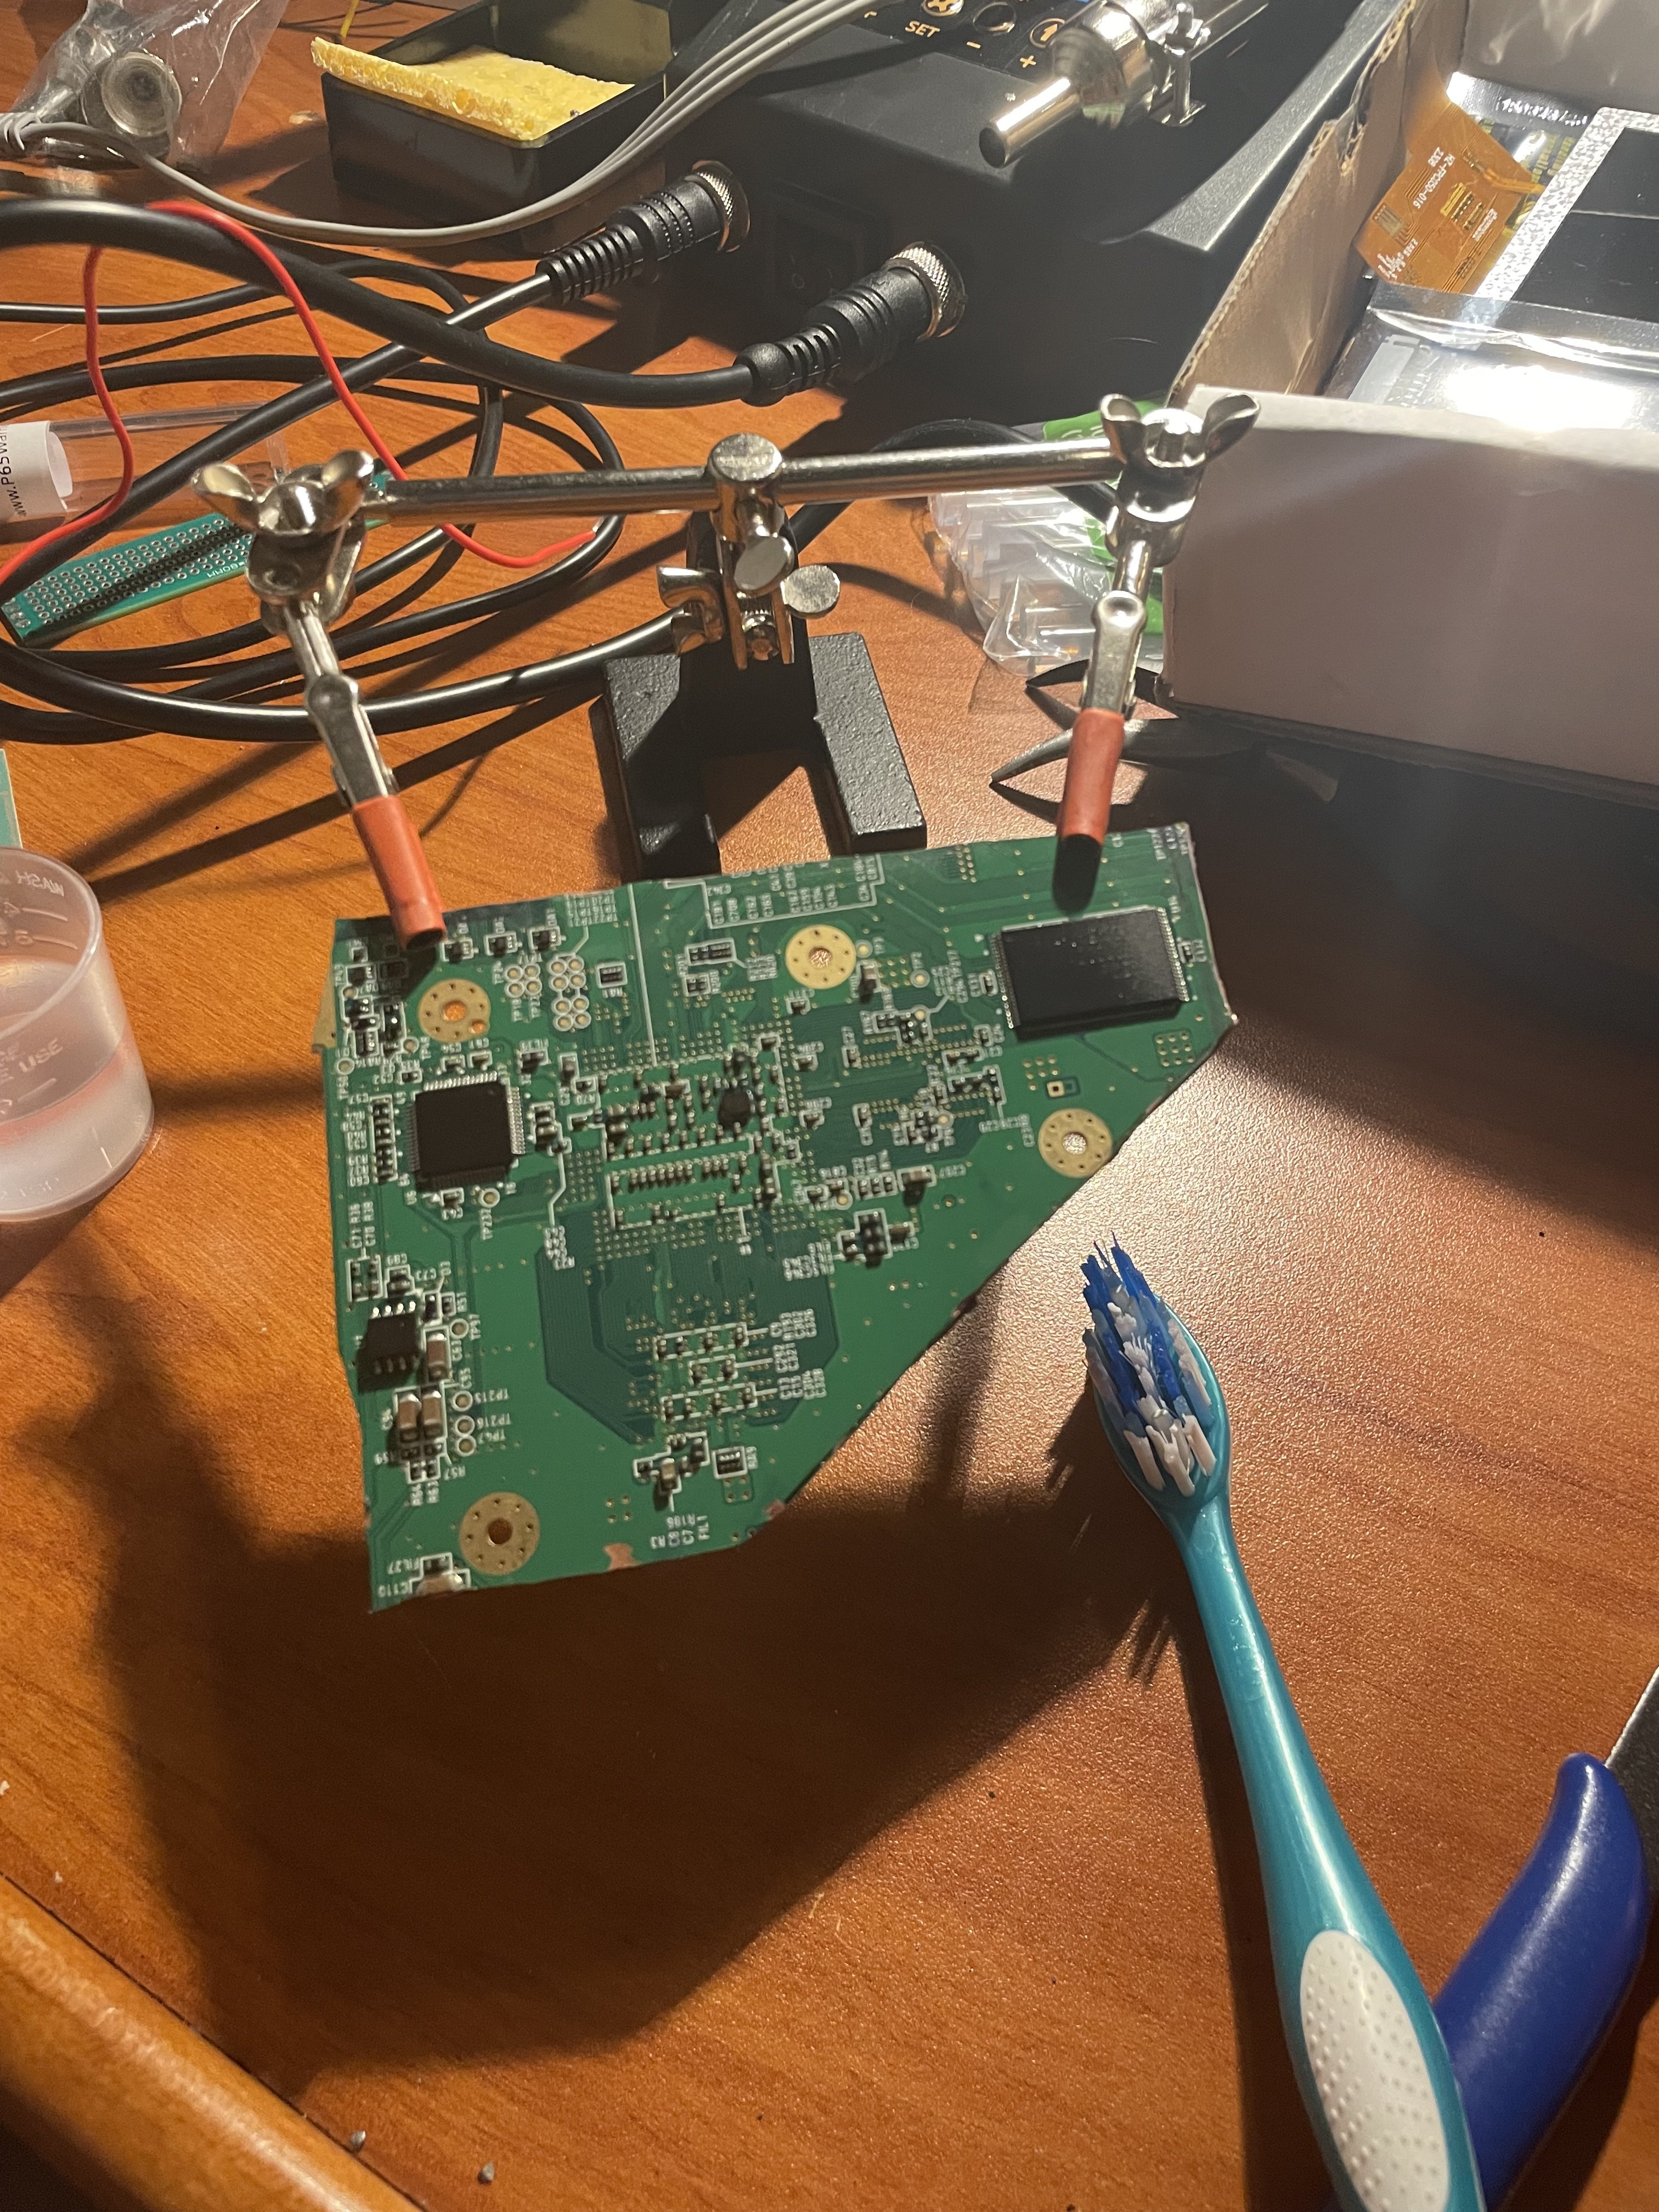
I then cut up the Wii with my Dremel, and sanded it down to a nice smooth edge. I tested the resistance values, and they all looked normal. The below images are of the initial rough cut before sanding.
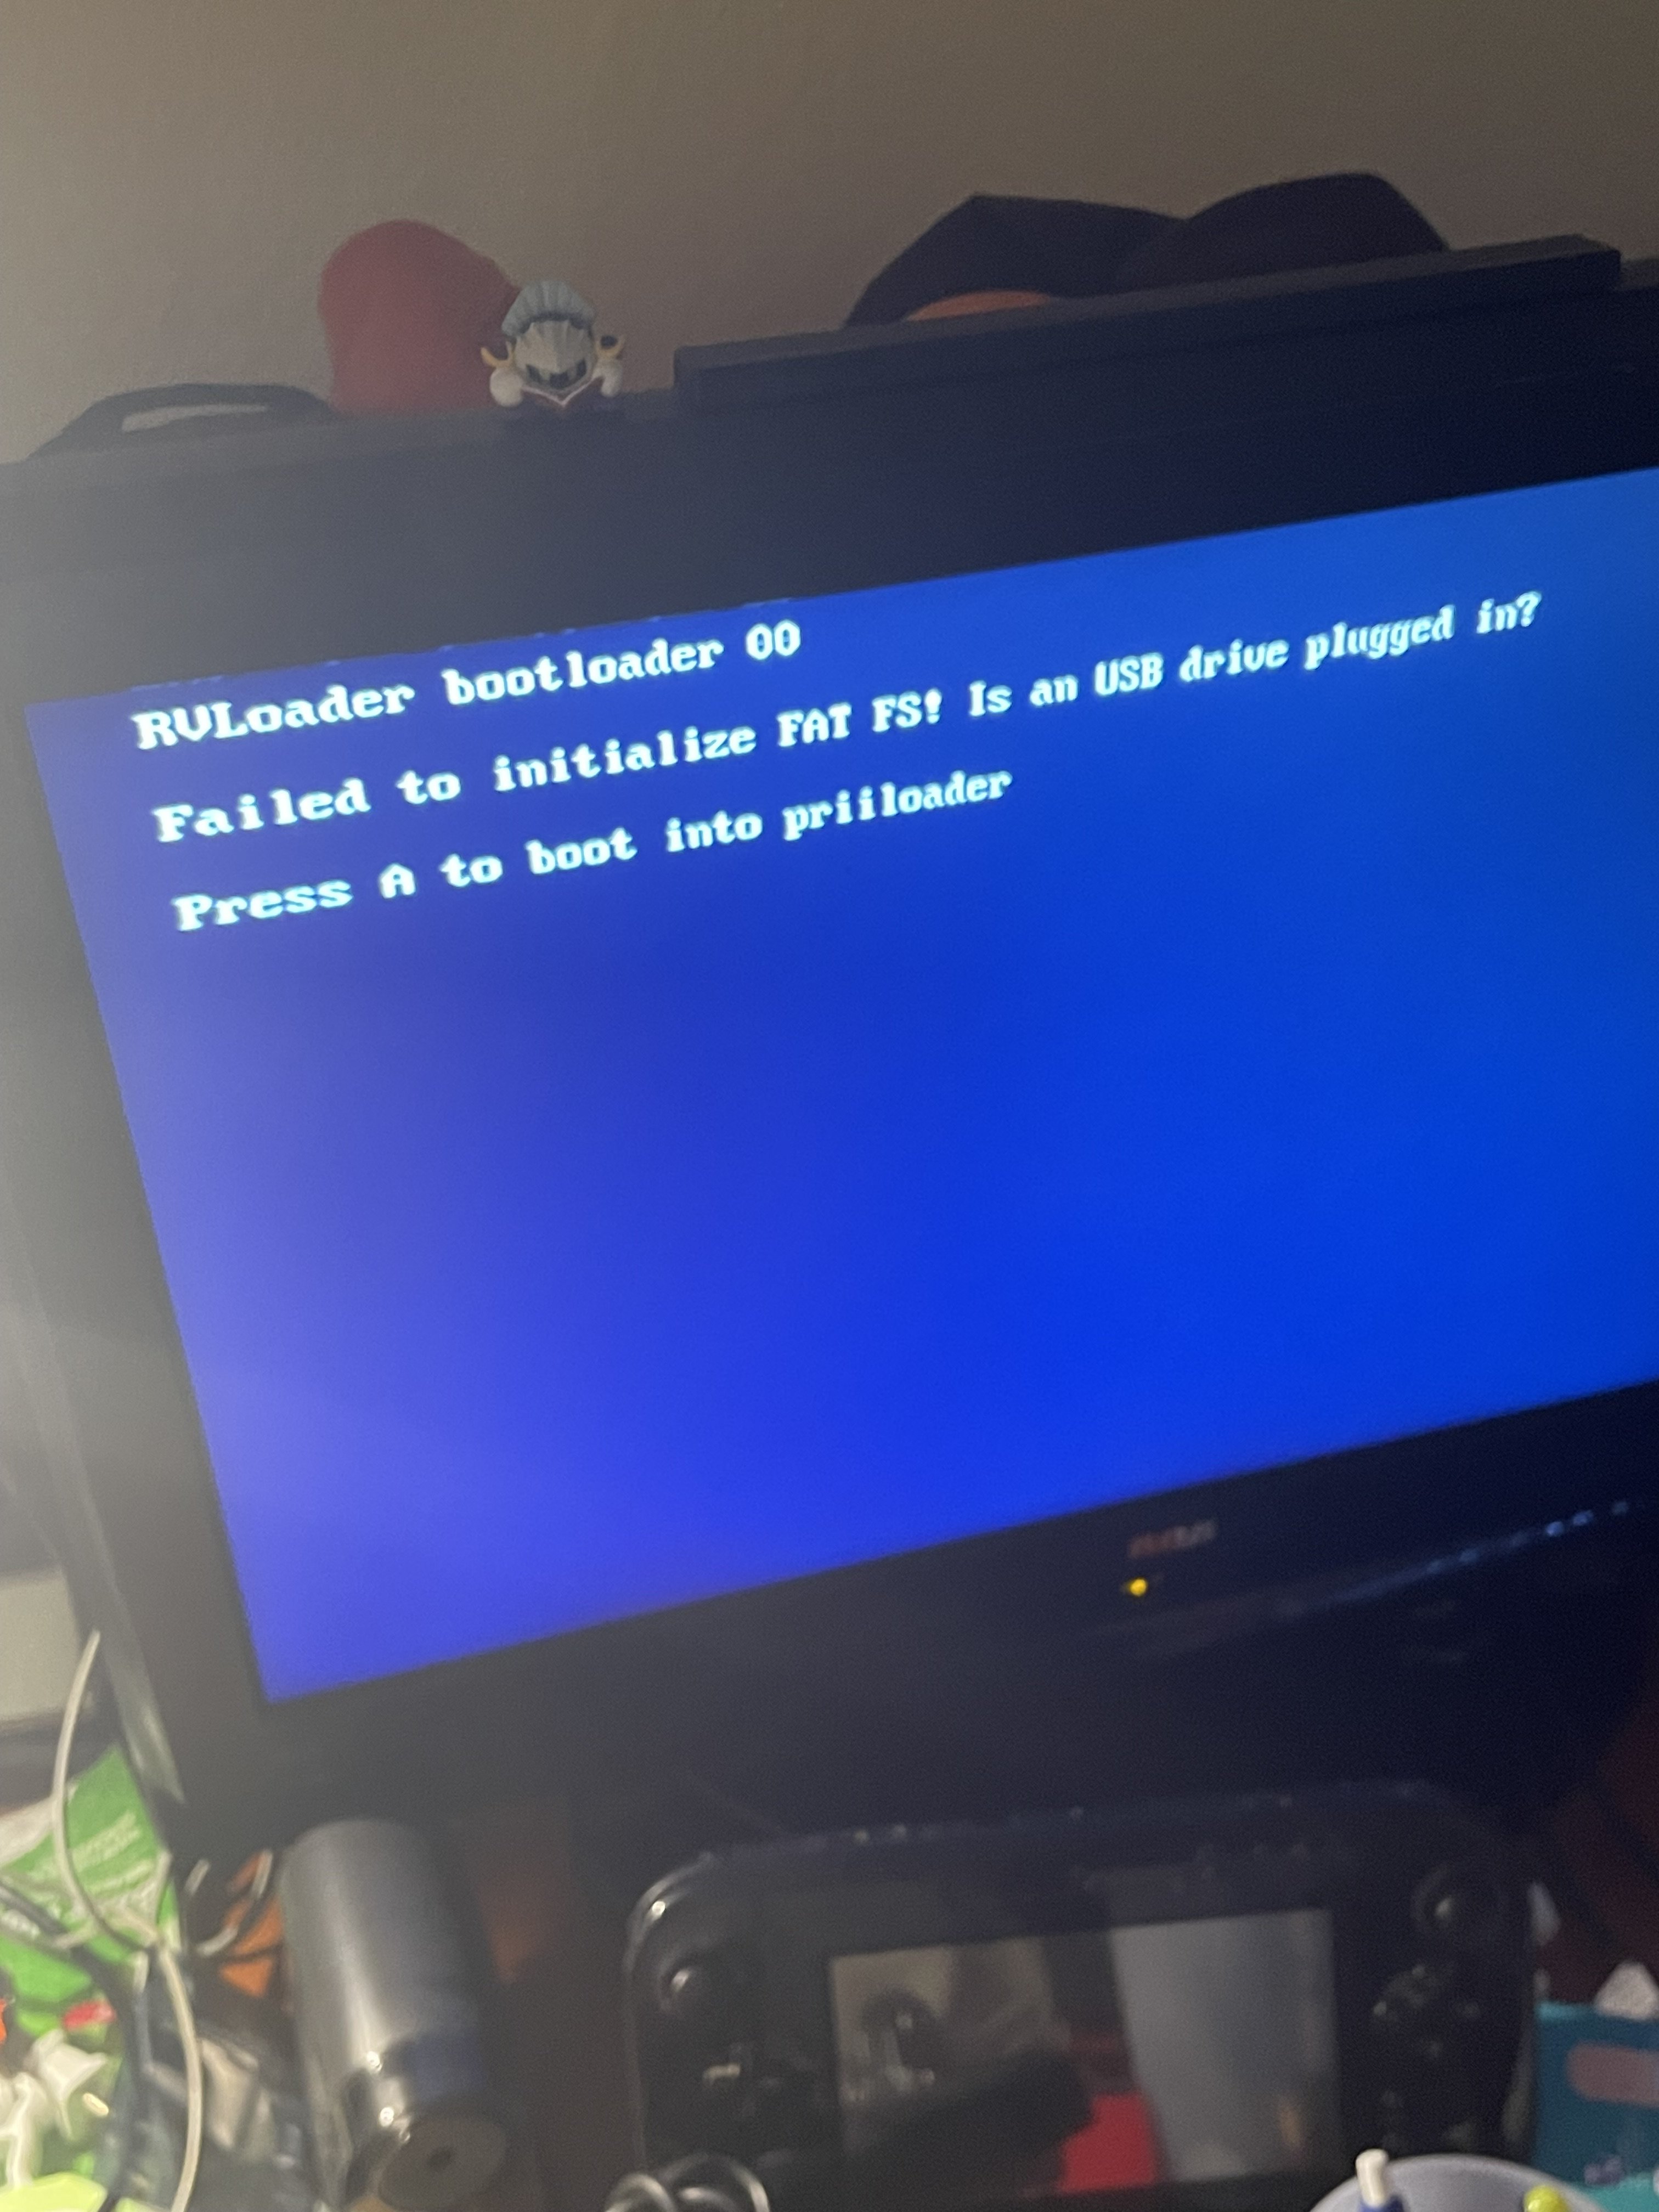
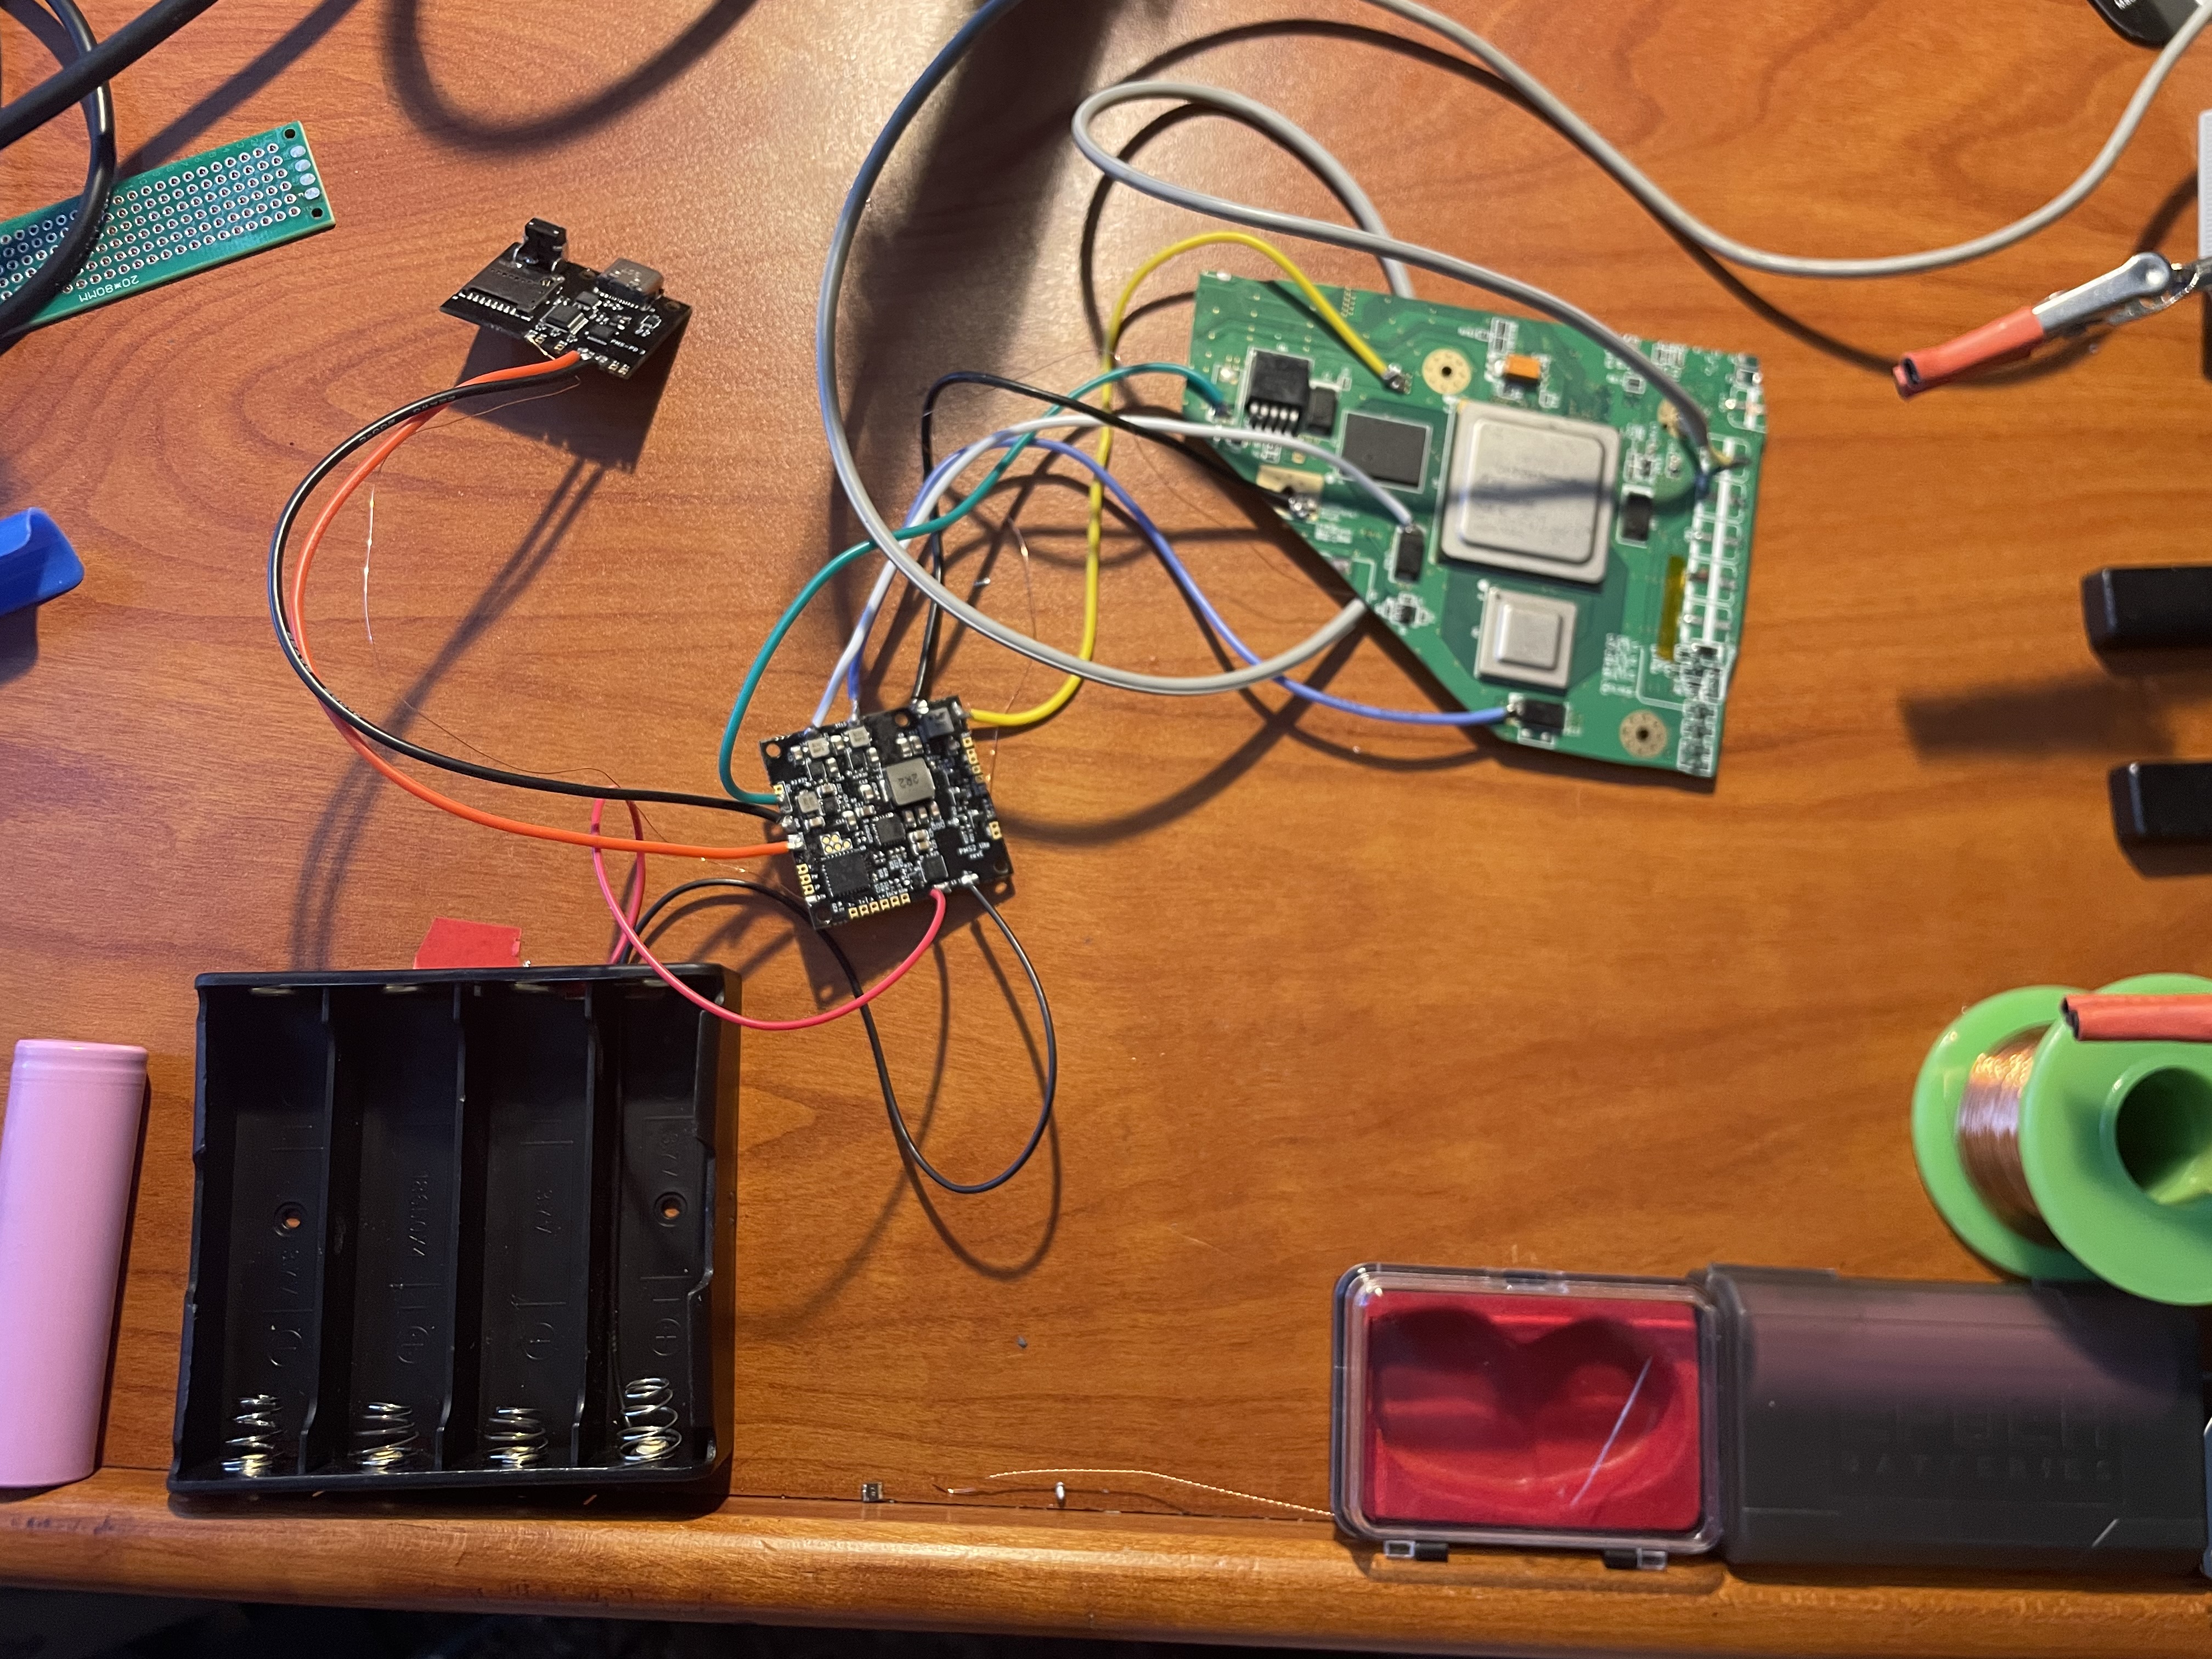
I then started to test the Wii by wiring up the PMS lite to the trimmed Wii, and a battery holder to the PMS lite. I also attached the PMS-PD to the PMS to use the power button and to charge my 18650 battery cells since they were a bit low. I cut up an old RCA cable to get composite video out, and she lives!
I plan on testing USB and GameCube controller functionality, and relocating the MX chip and the Bluetooth module later, along with starting work on the case design. Updates will probably be a bit slow for now since it is finals season at my university. I am super excited to work on this project, and I want to thank everyone who gave me the inspiration to start working on this. I want to give a special thanks to Wesk for providing a 3D scan of the Classic Controller Pro, as I will base my case design around this scan.
- Just get it to work (It is my first portable, after all)
- Include MX Chip, Bluetooth, and IR sensor functionality
- 3D printed case design based on the Classic Controller Pro
- Use original Classic Controller Pro parts
- (Possibly?) Redesign the ZR and ZL buttons to make them analog triggers
I opened up the Wii and ohhh no, it's filled with dead cockroaches.
I then cut up the Wii with my Dremel, and sanded it down to a nice smooth edge. I tested the resistance values, and they all looked normal. The below images are of the initial rough cut before sanding.
I then started to test the Wii by wiring up the PMS lite to the trimmed Wii, and a battery holder to the PMS lite. I also attached the PMS-PD to the PMS to use the power button and to charge my 18650 battery cells since they were a bit low. I cut up an old RCA cable to get composite video out, and she lives!
I plan on testing USB and GameCube controller functionality, and relocating the MX chip and the Bluetooth module later, along with starting work on the case design. Updates will probably be a bit slow for now since it is finals season at my university. I am super excited to work on this project, and I want to thank everyone who gave me the inspiration to start working on this. I want to give a special thanks to Wesk for providing a 3D scan of the Classic Controller Pro, as I will base my case design around this scan.