Worklog Indigo G-Wii rev 2

Alvaro

.
Joined
Nov 29, 2016
Messages
76
Likes
32
Location
somewhere
Portables
2
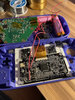
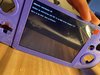
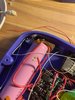
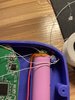
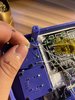
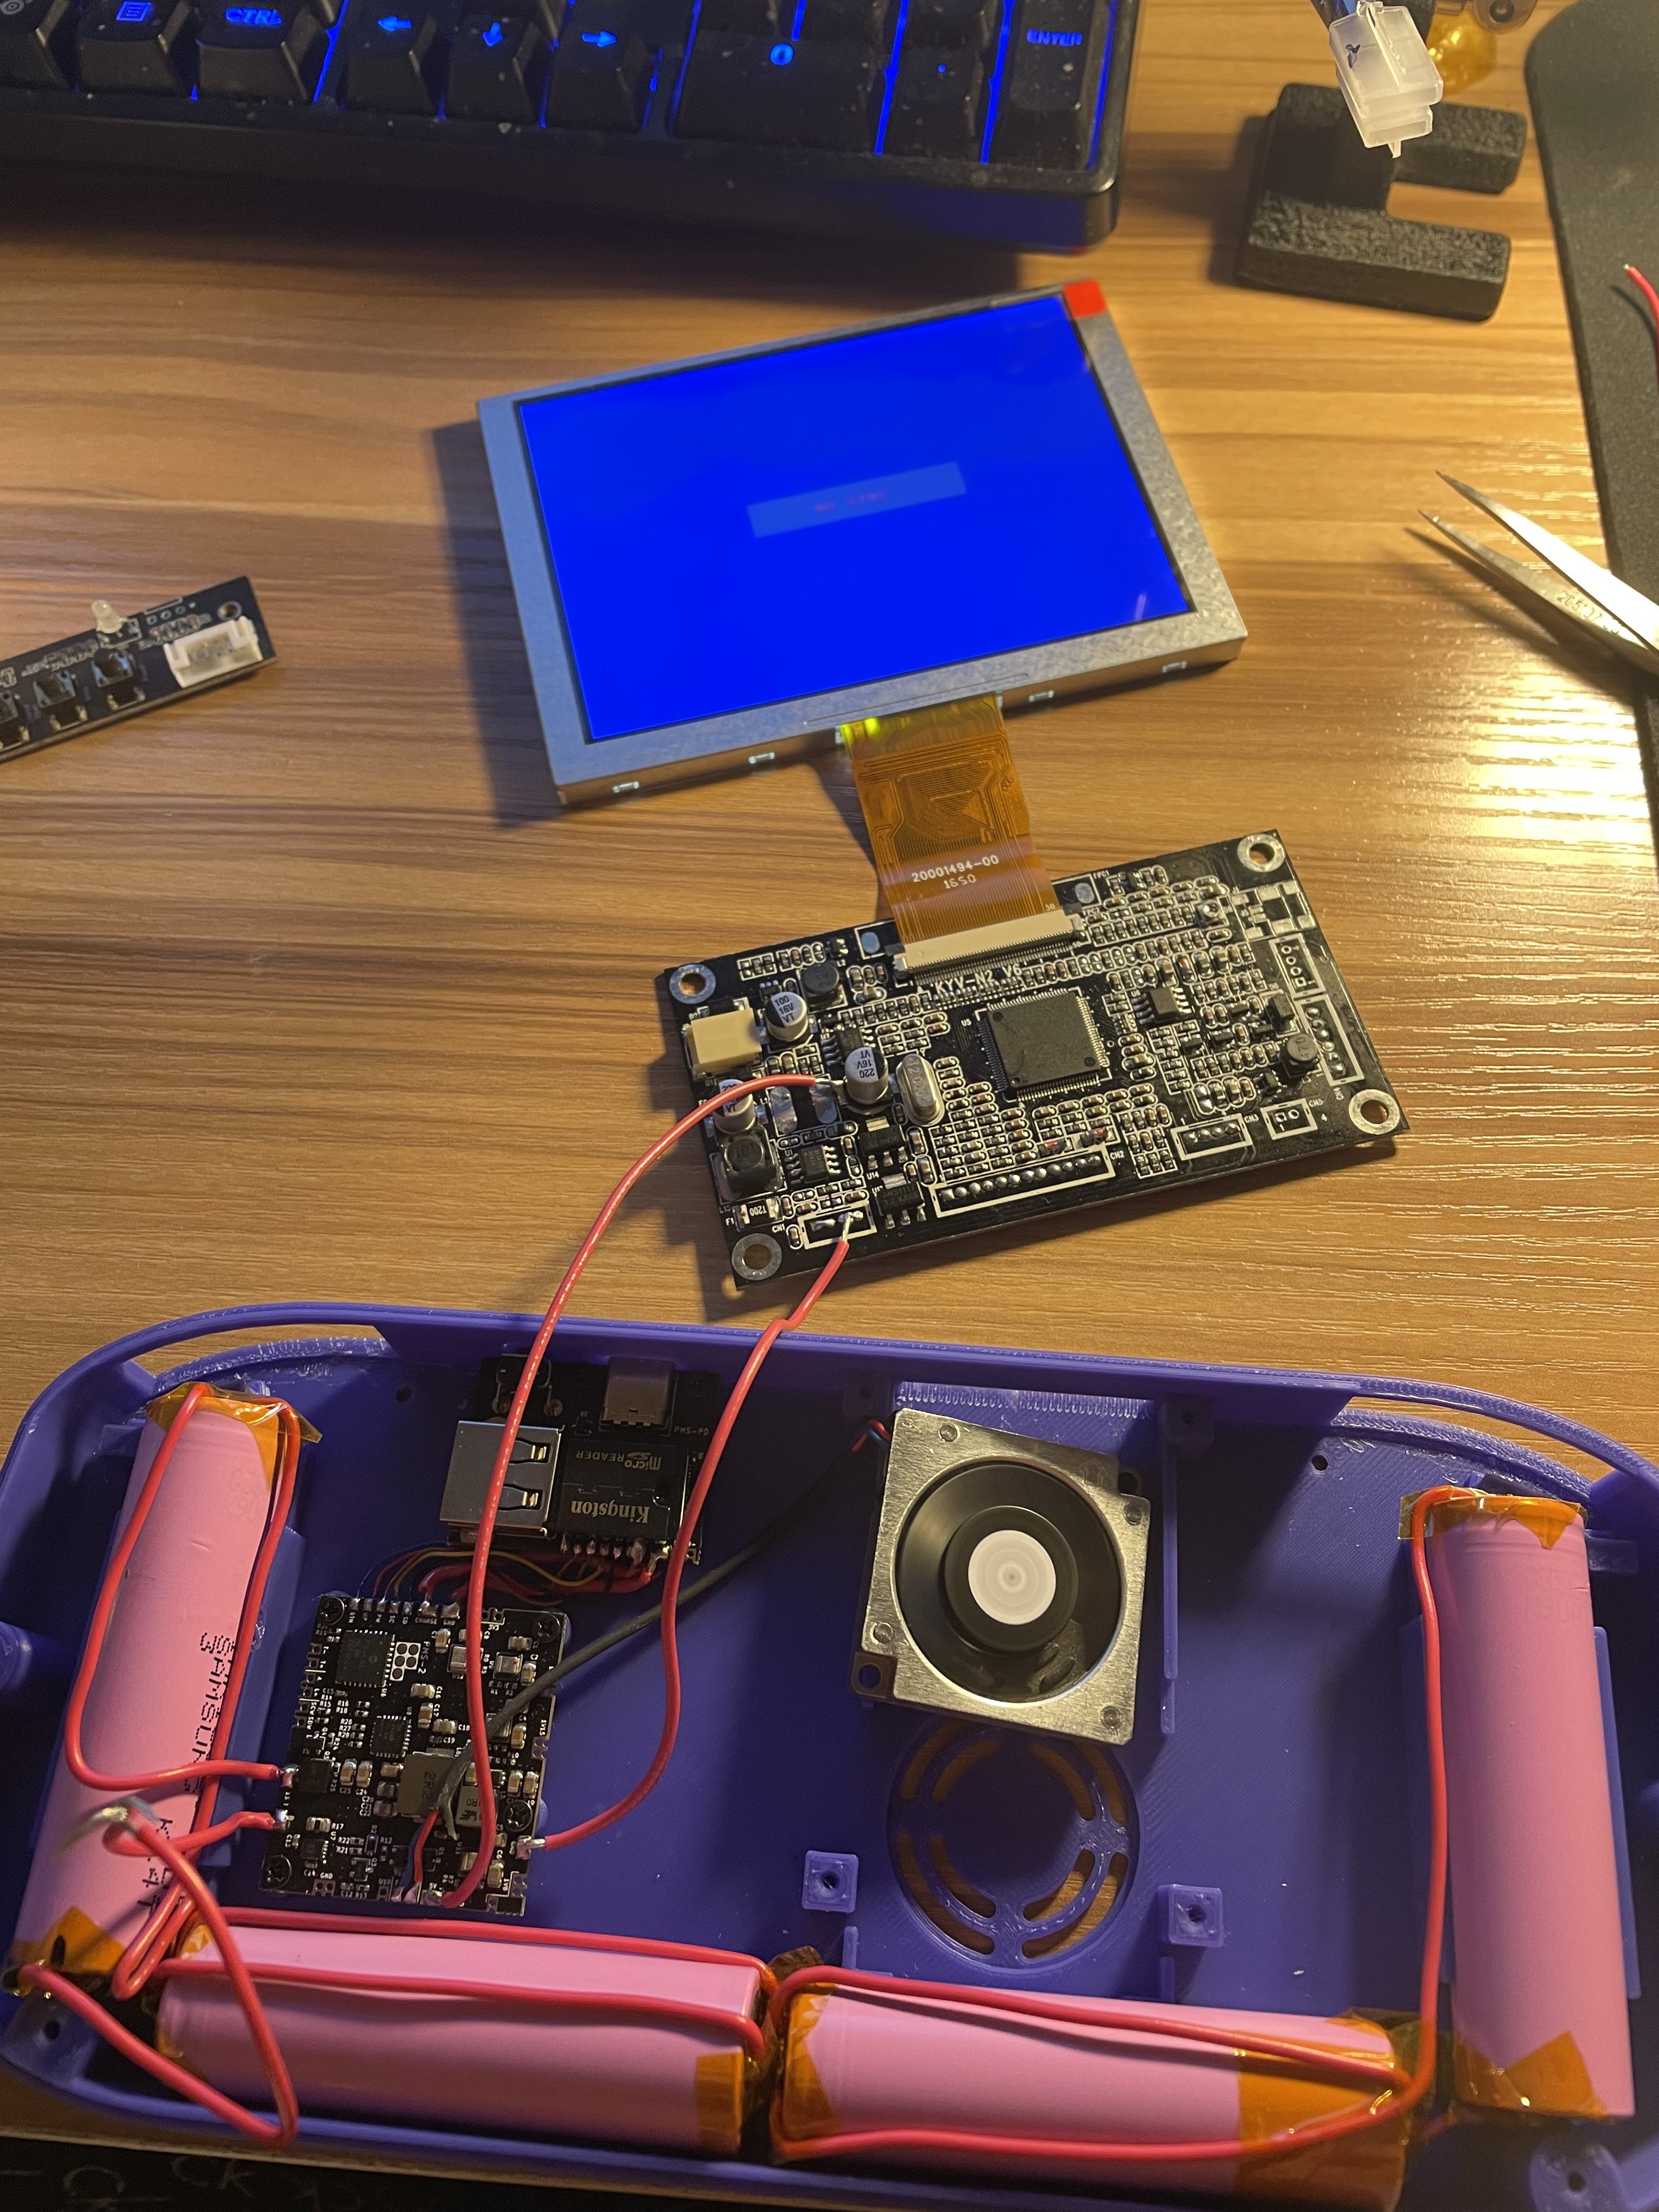
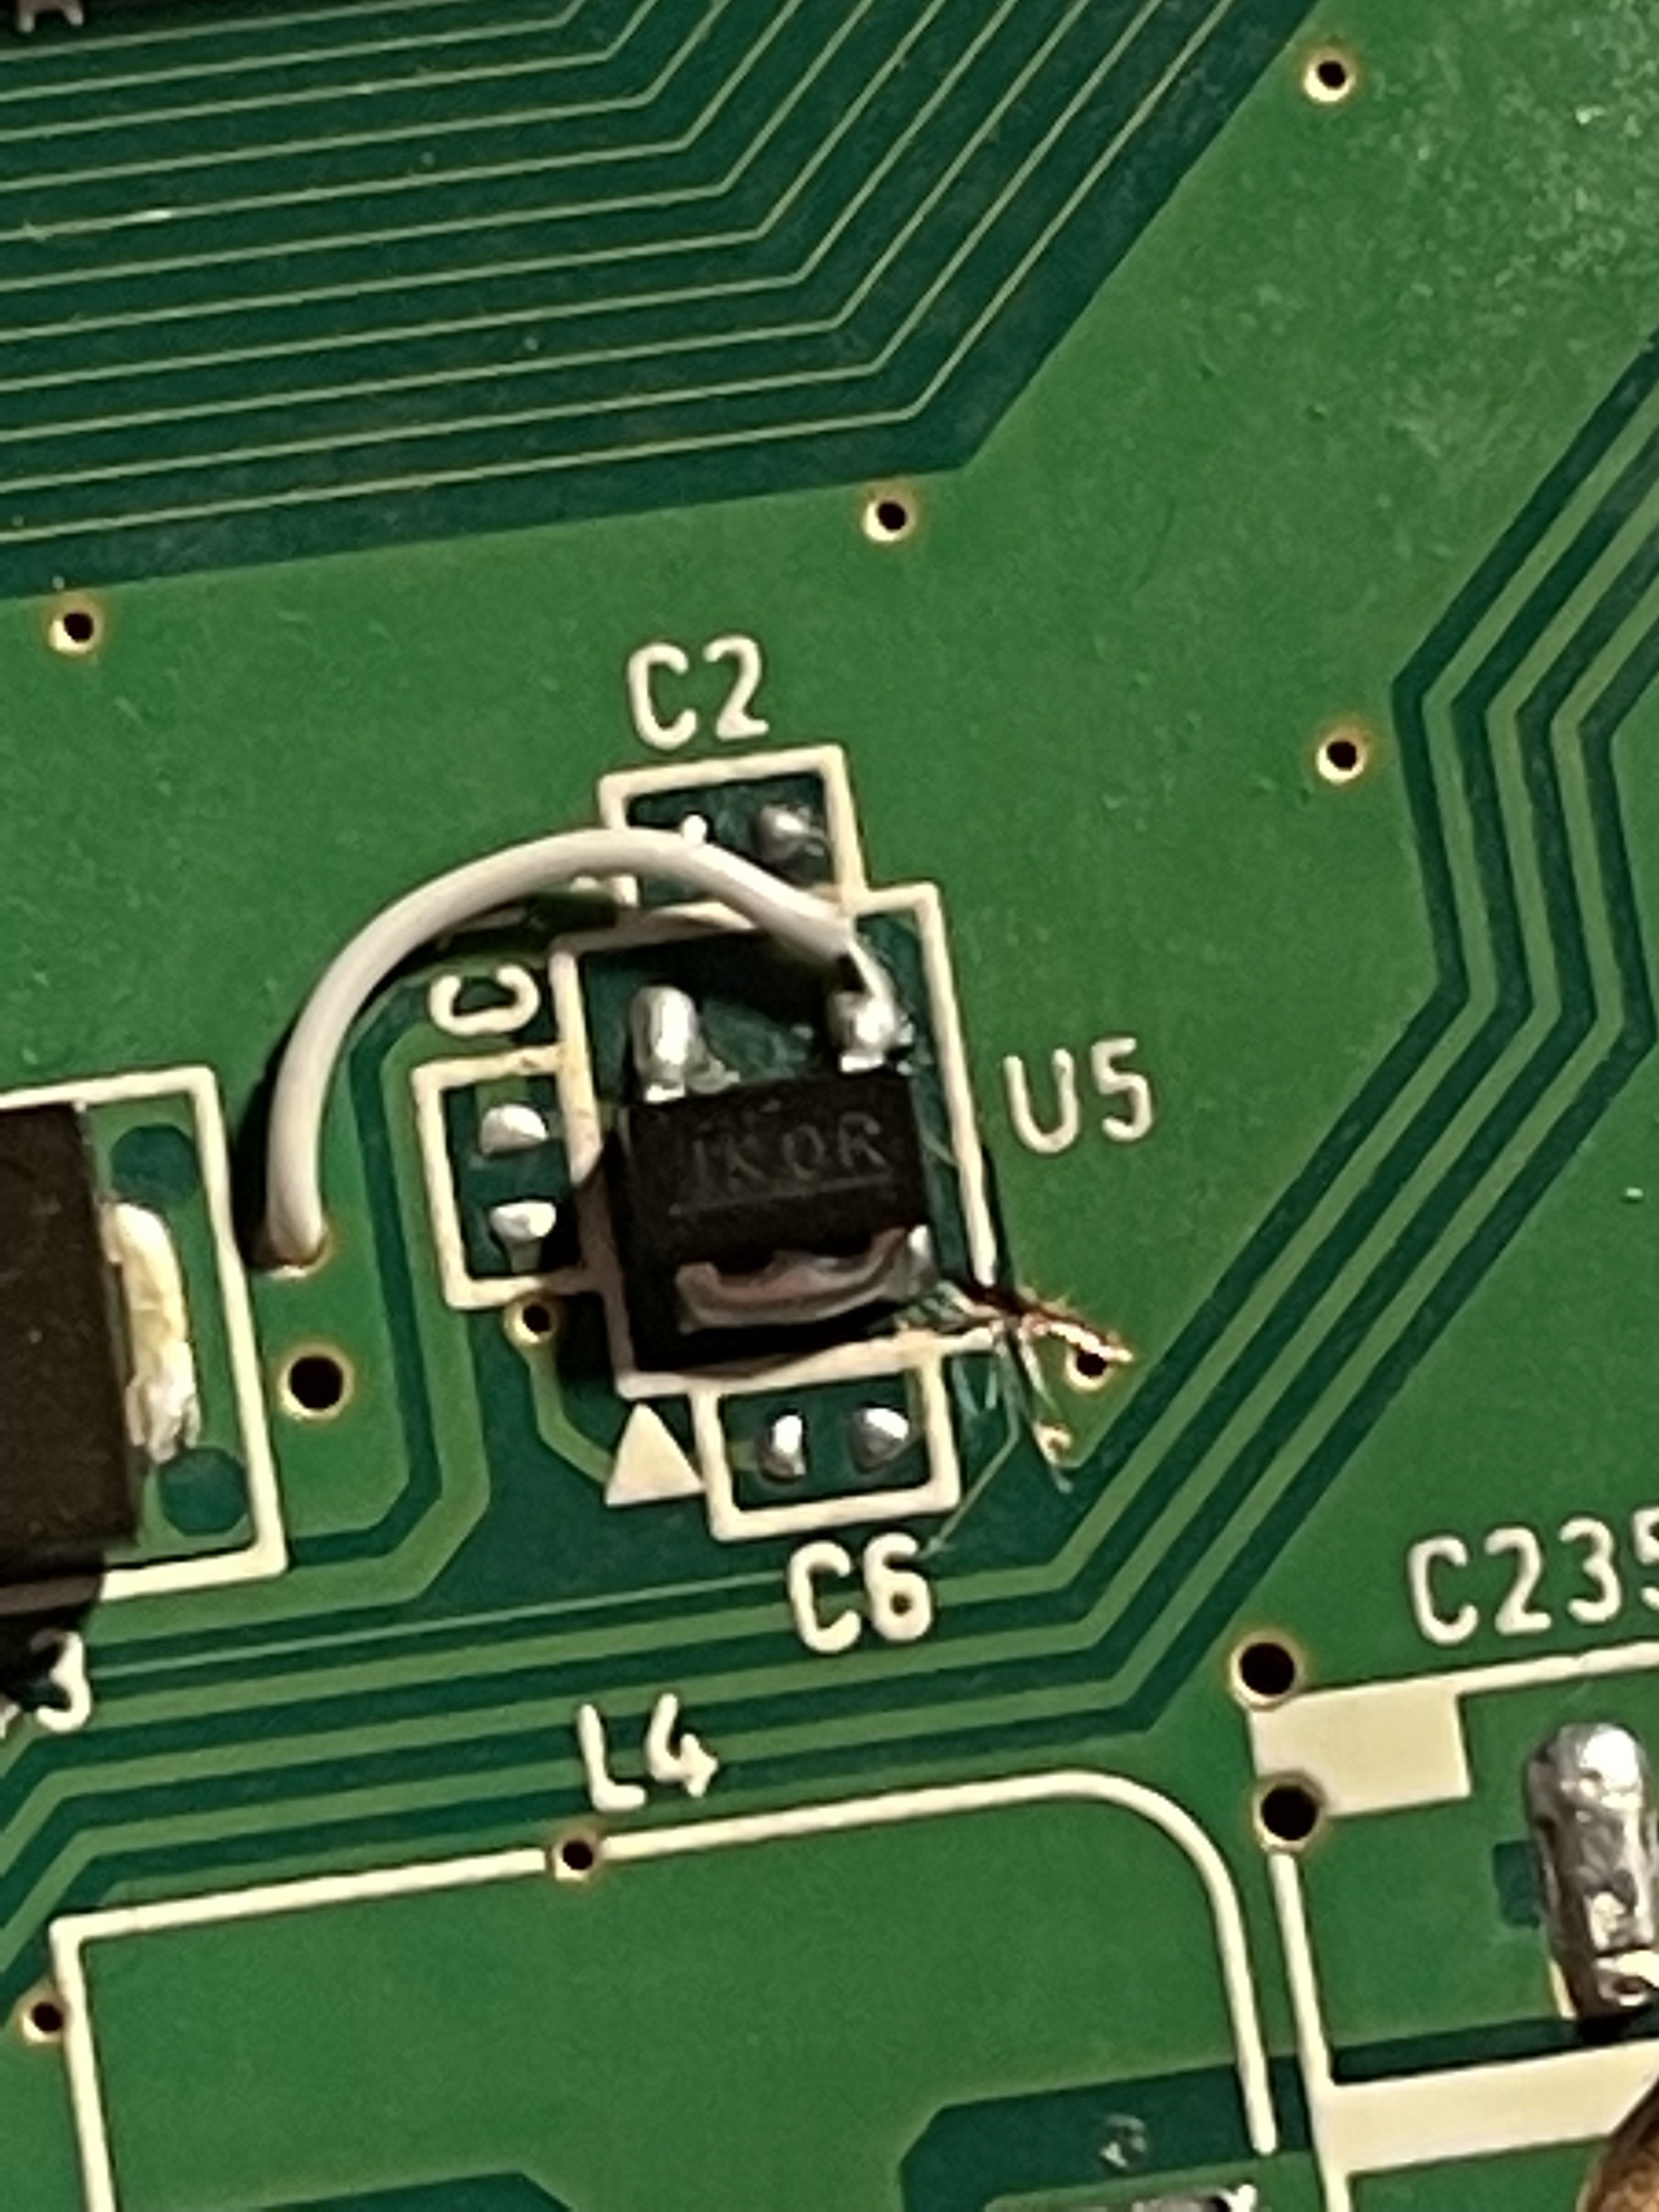
After completing a g-boy months ago I was left with a thirst to portabalize again but this time in a more comfortable form factor. So I sold my G-boy and researched the G-wii to make one! Recently ordered all the things I need. I started this project last night with desoldering my display driver boards ports and also modifying the board to run off 5v (Since I didn't get my parts until today). Today I've accomplished setting up my batteries and PMS connections to the PD board. Tested my screen off 5v and tested my fan and PD board. Apart from that I was figuring out how to relocate my daughter screen controls without having the circuit on the board (thanks to Nold and Gman). Here I tested just the menu button and it seemed to work :)
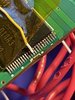
. I'll drop some pics here, my trim seemed to come our pretty clean apart from the shape lol. I have to sand the edges more to fit the board in.
IMG_2580.jpg

IMG_2583.jpg

IMG_2562.jpg
 
Joined
May 17, 2021
Messages
15
Likes
18
Location
Australia
Looking good mate! Can I ask how do you wire the daughter screen controls without having the circuit on the board? Currently in my G-Wii build I have soldered the daughter board into it.
 

Alvaro

.
Joined
Nov 29, 2016
Messages
76
Likes
32
Location
somewhere
Portables
2
Looking good mate! Can I ask how do you wire the daughter screen controls without having the circuit on the board? Currently in my G-Wii build I have soldered the daughter board into it.
You basically have to unsolder the resistors that each button connects to then solder them straight to the tact switches on the mount followed by a wire that goes to the “key” pin or atleast thats what mine was labeled to. I fucked one of the resistors for one of the buttons but no biggie, i ordered some more of the same resistance.

Anyways heres my progress so far. My trim works after so much troubleshooting the peeps on discord helped me resolve. (especially yveltalgriffin!) Basically i sanded to much next to the nand and severed a 3.3v line to the nand plus a decoupling cap. Ended up just soldering a wire and giving it 3.3v from the other side of the motherboard and it worked after much frustration. Seems to be looking good, just put together some controls and ill wire them sometime soon along with audio+video and itll be done ^^
 

Attachments

Last edited:

Alvaro

.
Joined
Nov 29, 2016
Messages
76
Likes
32
Location
somewhere
Portables
2
some updates! almost done putting her together… all that is left is vga+joysticks. I spent so much time fitting my trigger in to feel good. I used a combination of sanding and superglue as like a filler kinda. Not really sure how others dual tact shoulder buttons are but i kept trying to make it feel good and smooth. First half press is analog then press more for tactile digital click. Didnt really do that out the box and my squishy tact was almost pushed when mounted giving me terrible feedback/click to the shoulder. One issue i ran into tonight was my LED i couldnt figure out how to wire it or its fried (doesnt look fried tho). It just doesnt turn on and was wondering if switching having A connected on the wrong leg first time around would fry it? But yeh thats how its goin so far. I never posted and update but my screen controls are all working without the daughterboard. I connected ground of all the buttons with a fully stripped 34awg wire (did same for the buttons).
5172FA76-DFFE-4B51-9C32-5E7DDBC64773.jpeg
 

Attachments

Gman

RTFDS
Staff member
.
.
.
.
.
Joined
Feb 25, 2016
Messages
1,434
Likes
2,870
Did you switch the configuration in RVLoader in the power section to addressable led? By default it will be on single led mode.
 

Alvaro

.
Joined
Nov 29, 2016
Messages
76
Likes
32
Location
somewhere
Portables
2
Did you switch the configuration in RVLoader in the power section to addressable led? By default it will be on single led mode.
no i did not, when i get my vga wired i definitely will! thank you^^
 

Alvaro

.
Joined
Nov 29, 2016
Messages
76
Likes
32
Location
somewhere
Portables
2
never really updated this but i finished my gwii, thanks gman for the pro tip on the led and thermistor. I finished it but it wasnt easy, had many issues to troubleshoot and i opened and closed the case like 20 times. Somehow the screwpost still work lol. But ya i had an issue with video not working and just giving me a black screen and it only happened when i closed it up sometimes. Well i found a piece of wire that was shorting on the gc+ eventually but that wasnt the issue i think it got there after moving stuff around alot. I fixed my issue by just covering the driverboard and some parts of the wii motherboard in kapton tape because something surely was shorting when i closed it in half. Seemed to fix the issue ever since and she works fine! Didnt take pics of inside before closing sadly but here is the finished product
397B820F-516C-4452-8642-FAC9D303B5E7.jpeg
FFA58735-F1B2-4091-A748-7B38DA04CE38.jpeg
BEA17E4B-1D3F-4CB7-B720-94D7FE340A40.jpeg

nvm found a picture ahahah its some white spooghet (this was before covering in kapton tape it seems)
 
Last edited:
Top