

- Joined
- Jul 15, 2024
- Messages
- 28
- Likes
- 28
- Portables
- 1
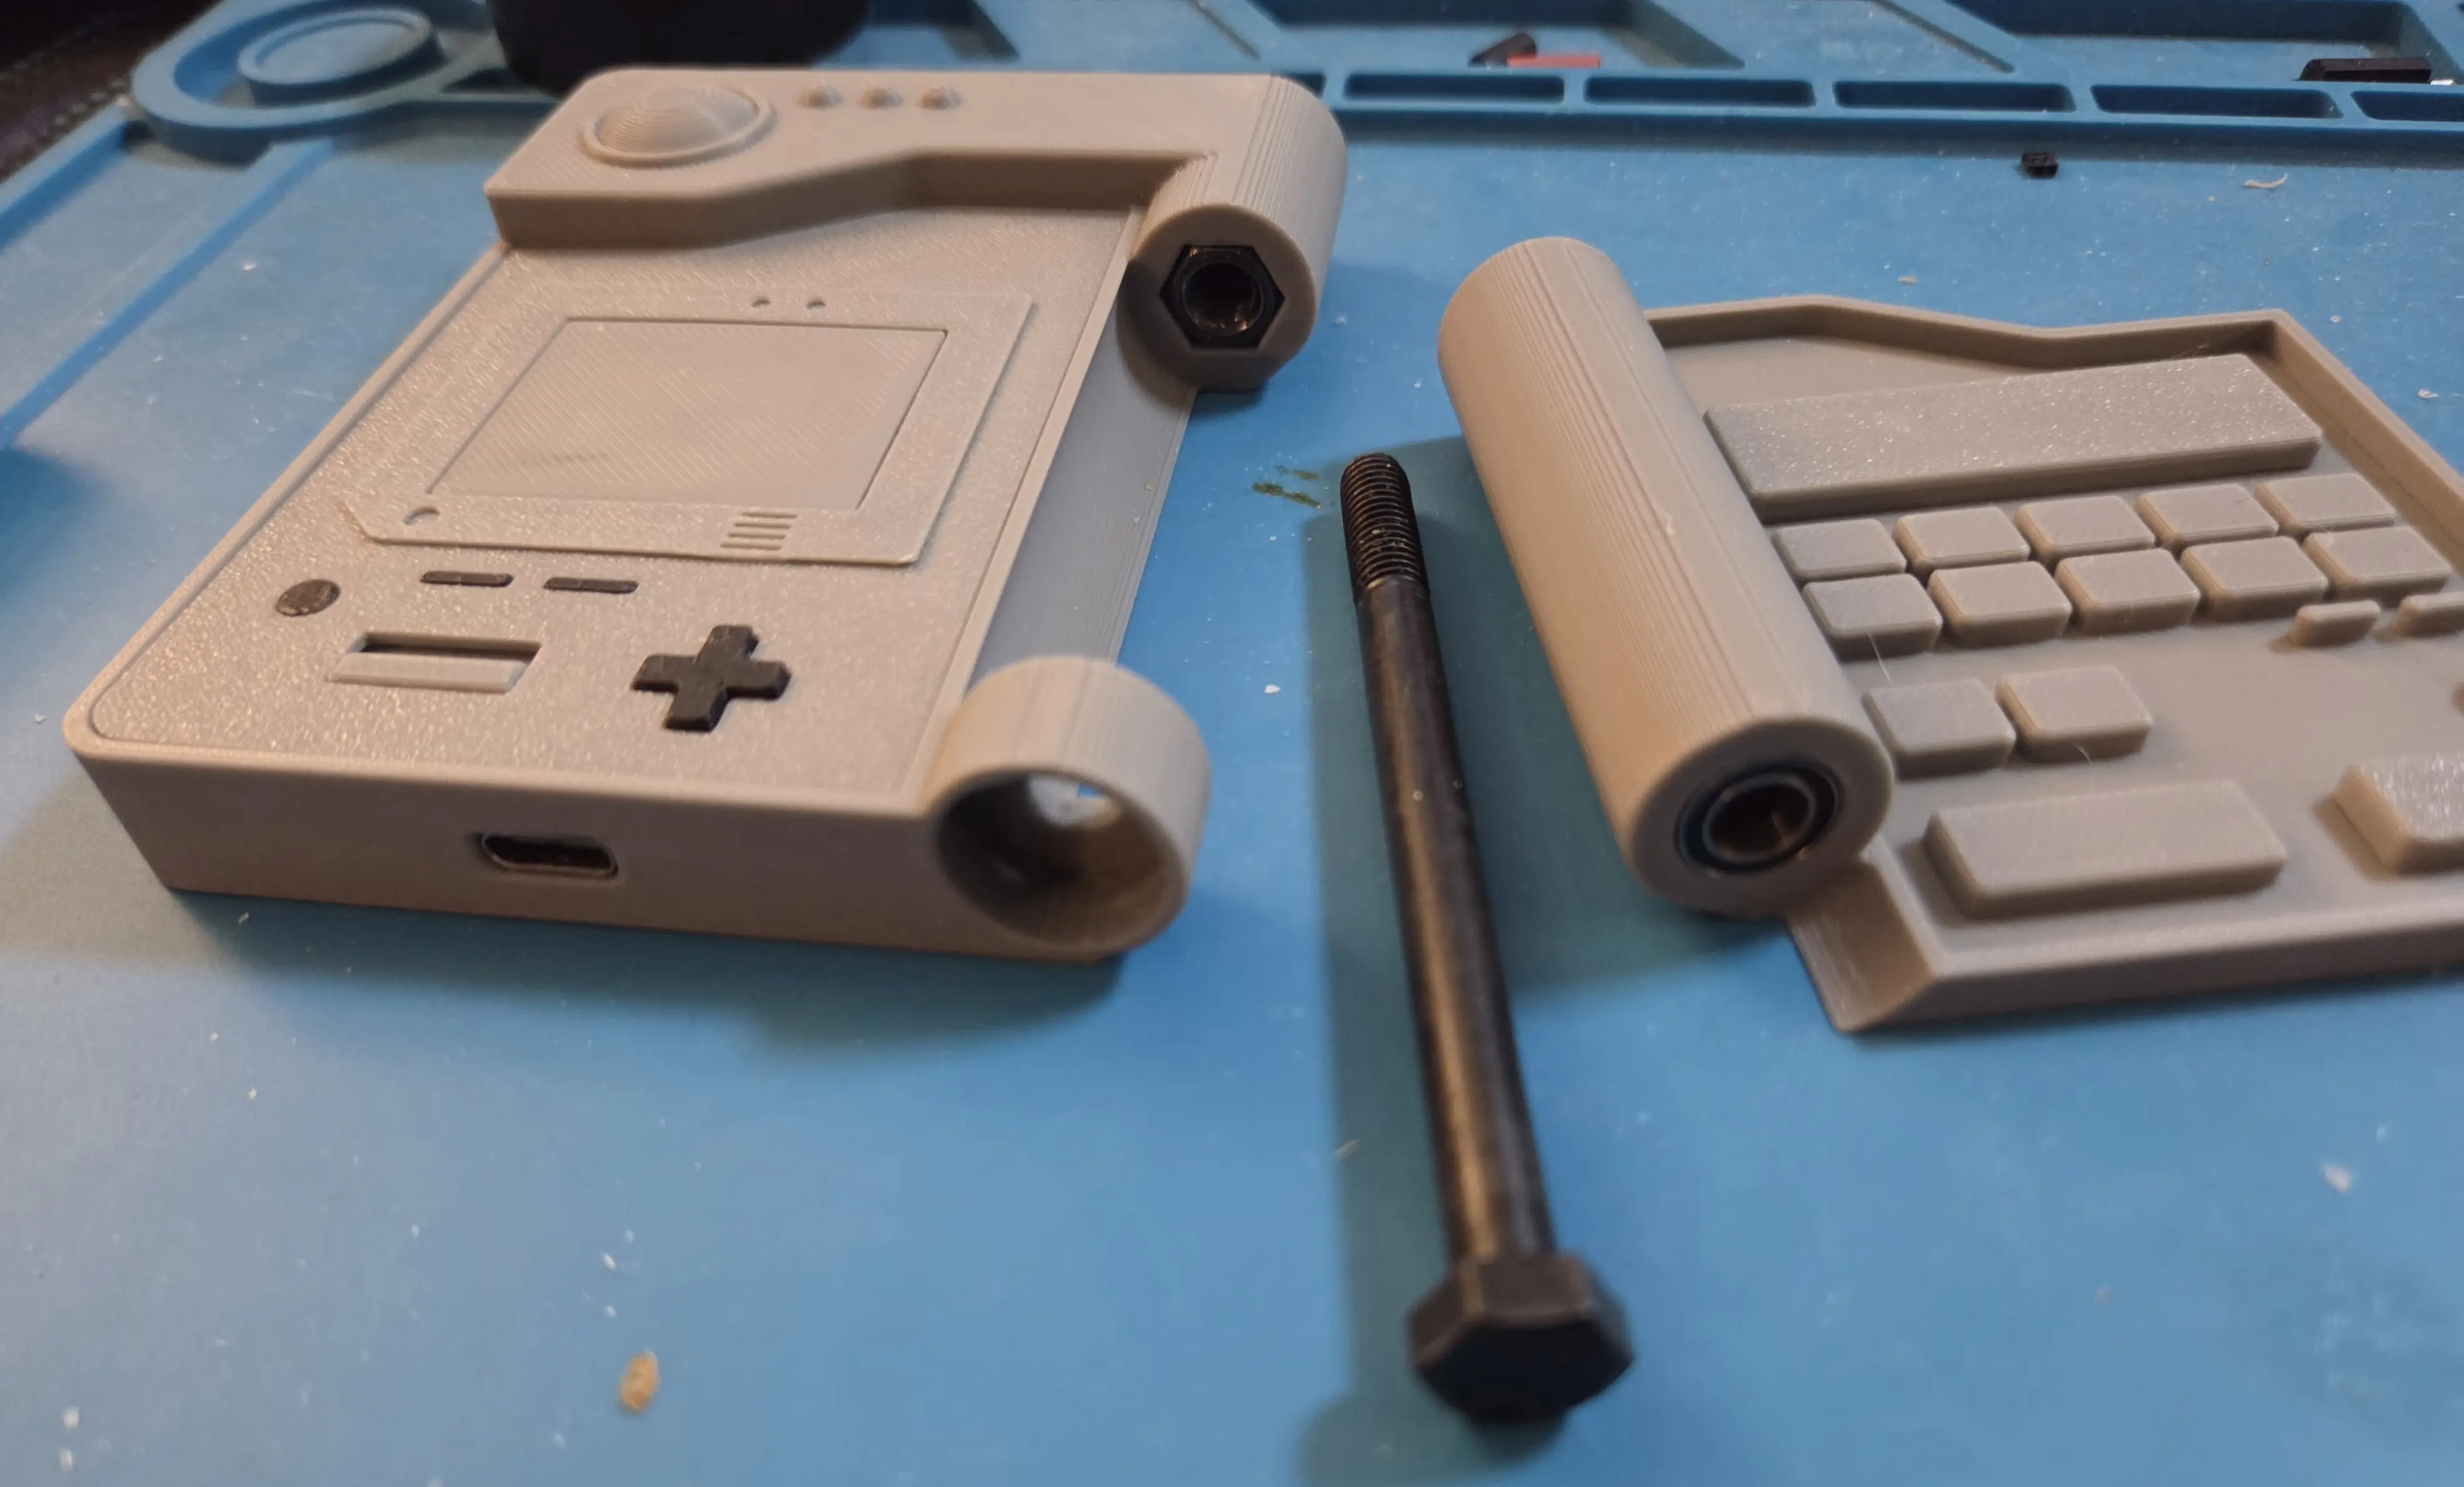
Finally reached a V1 milestone for my Pokemon Go Plus+ ReShell project. Everything now fits together and is working, so I am going to be stress testing it and finding any issues over the next few weeks. I added some pictures below and attached the STL/3MF files for what I have so far. Here is a small list of the features and upgrades over the original case.
- Upgraded battery from 525mAh Joycon battery to removable/replaceable 1500mAh 14500 cell
- Added Power switch on side of device to cutoff the connection between battery and device to reduce phantom power drain as it is always on by default
- Modded to automatically throw Great Balls and Ultra balls. Wired to 3D printed front facing slider switch
- Rewired Sync button to custom 3D printed fake D pad on device face
- Pokedex "Screen" is custom button to interact with device
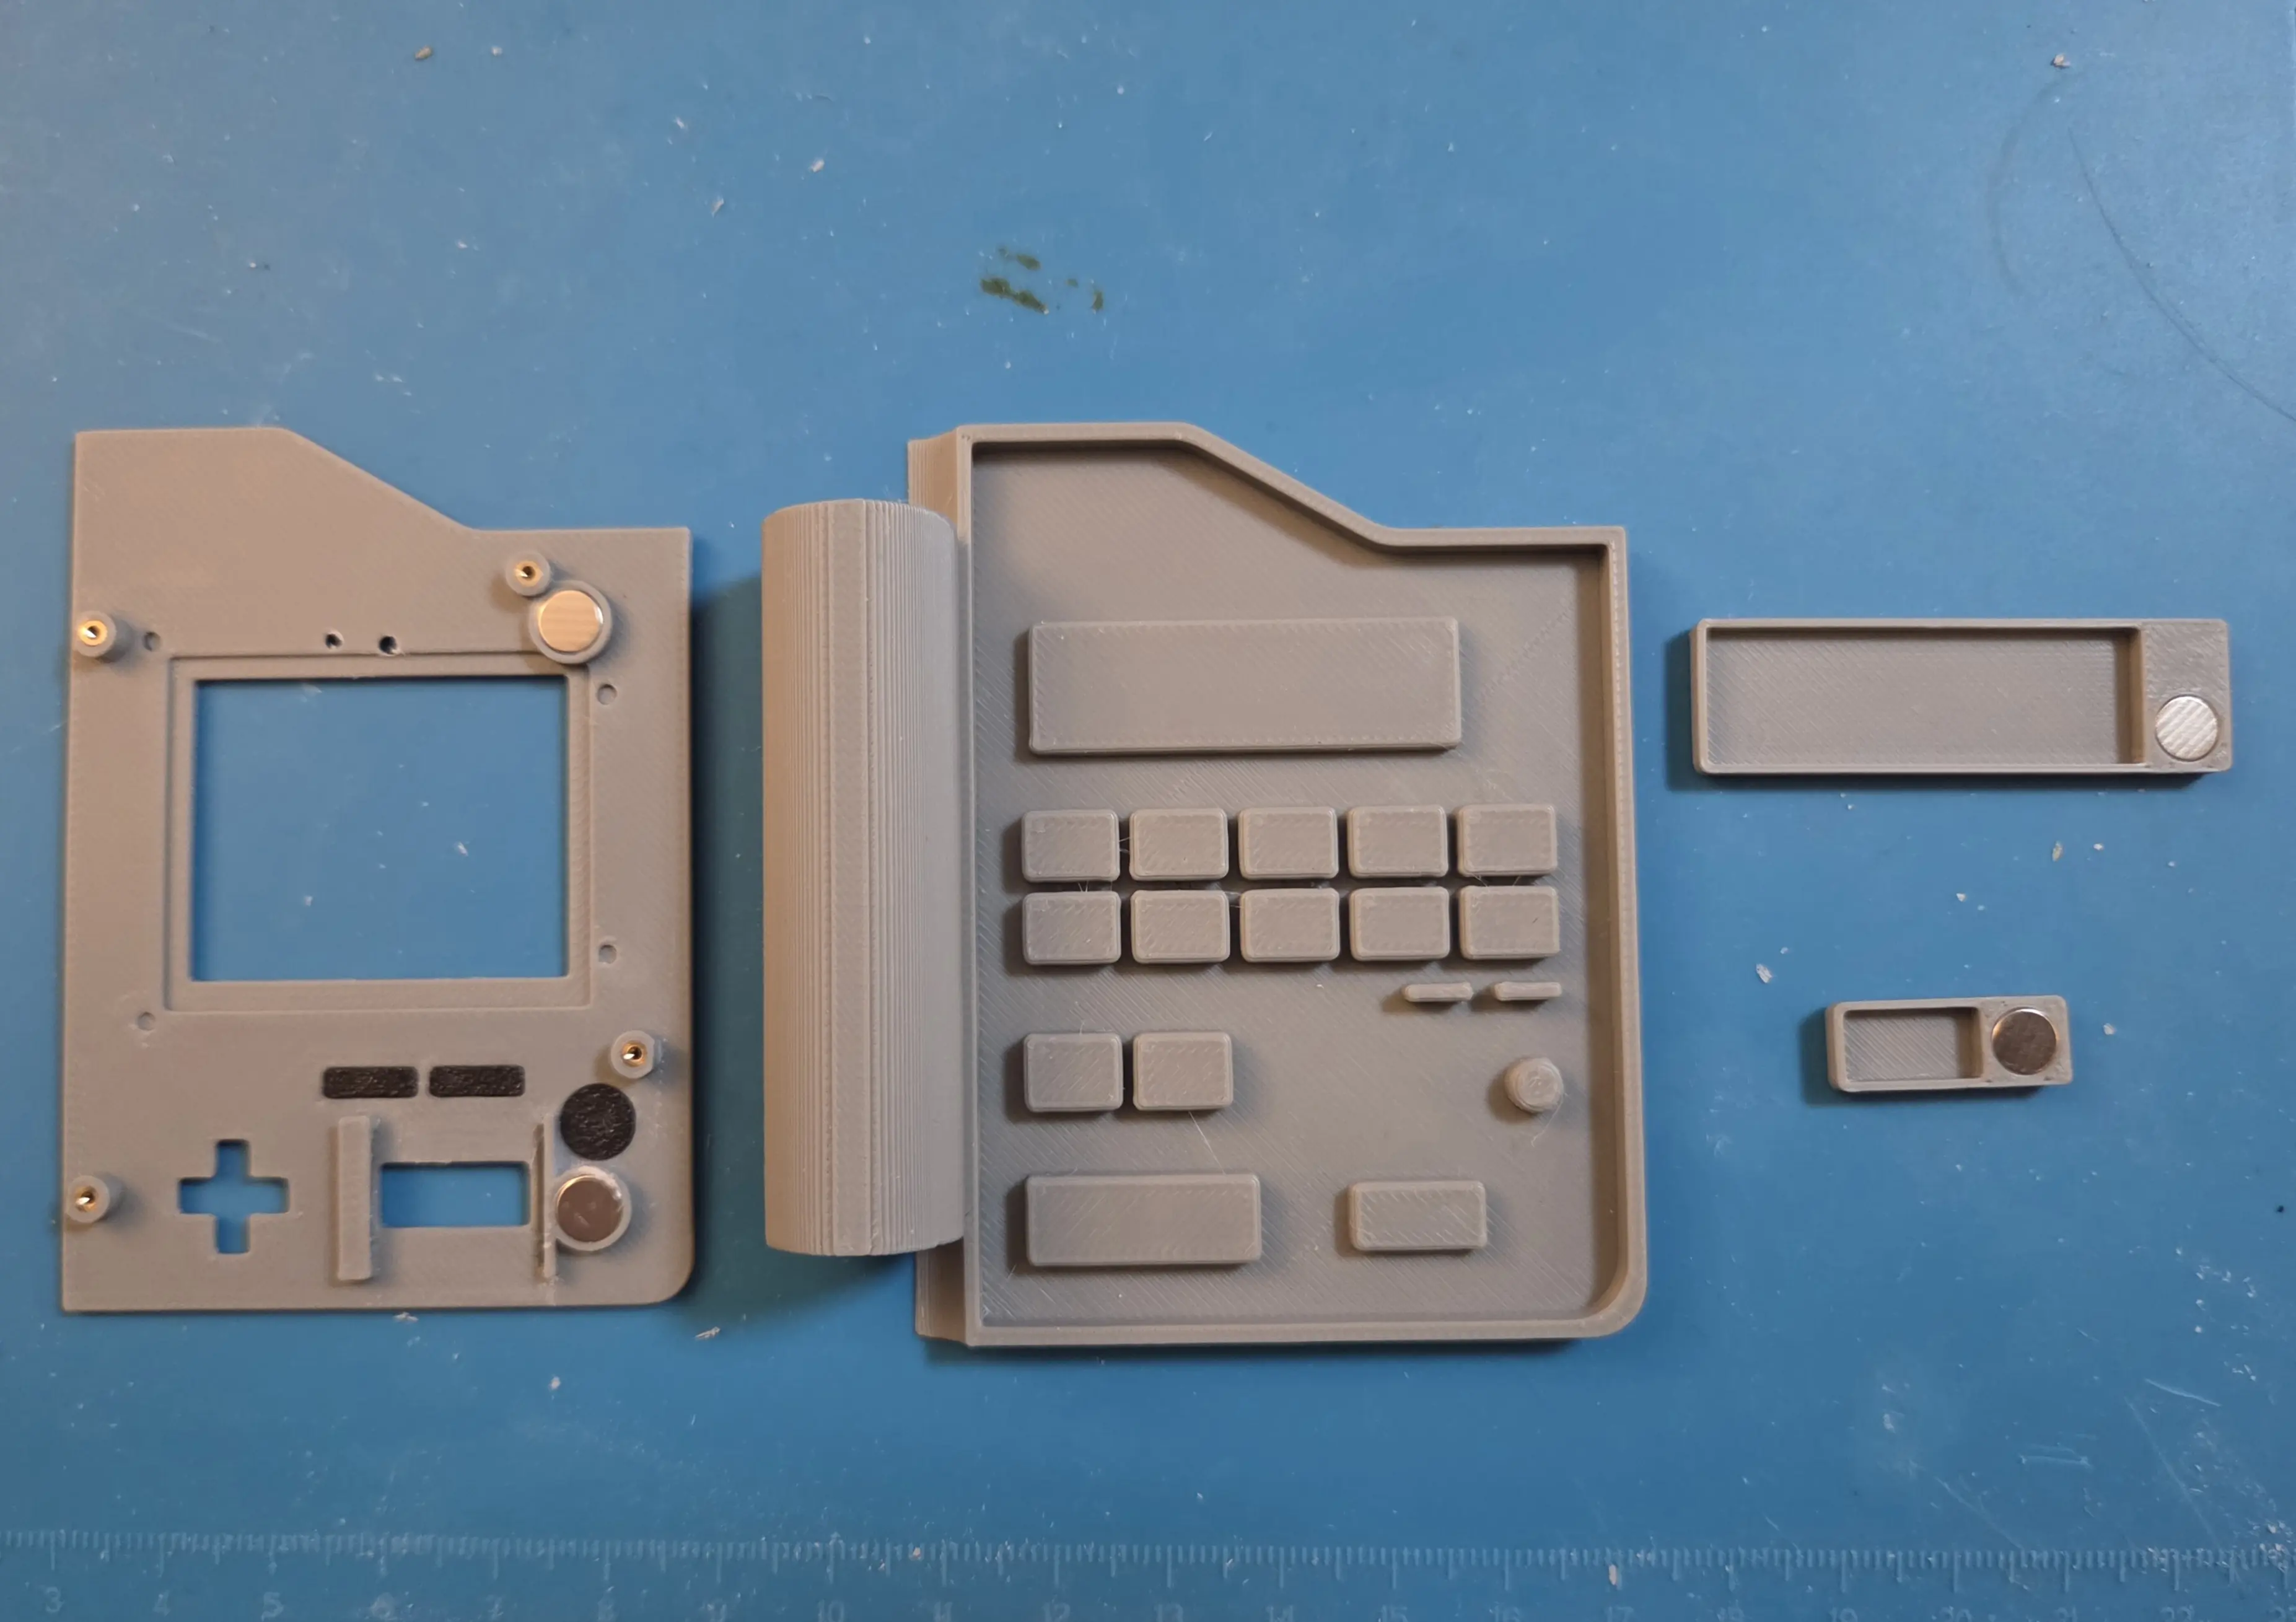
- Hidden 2x6mm magnets beneath cover and faceplate to keep device from swinging open
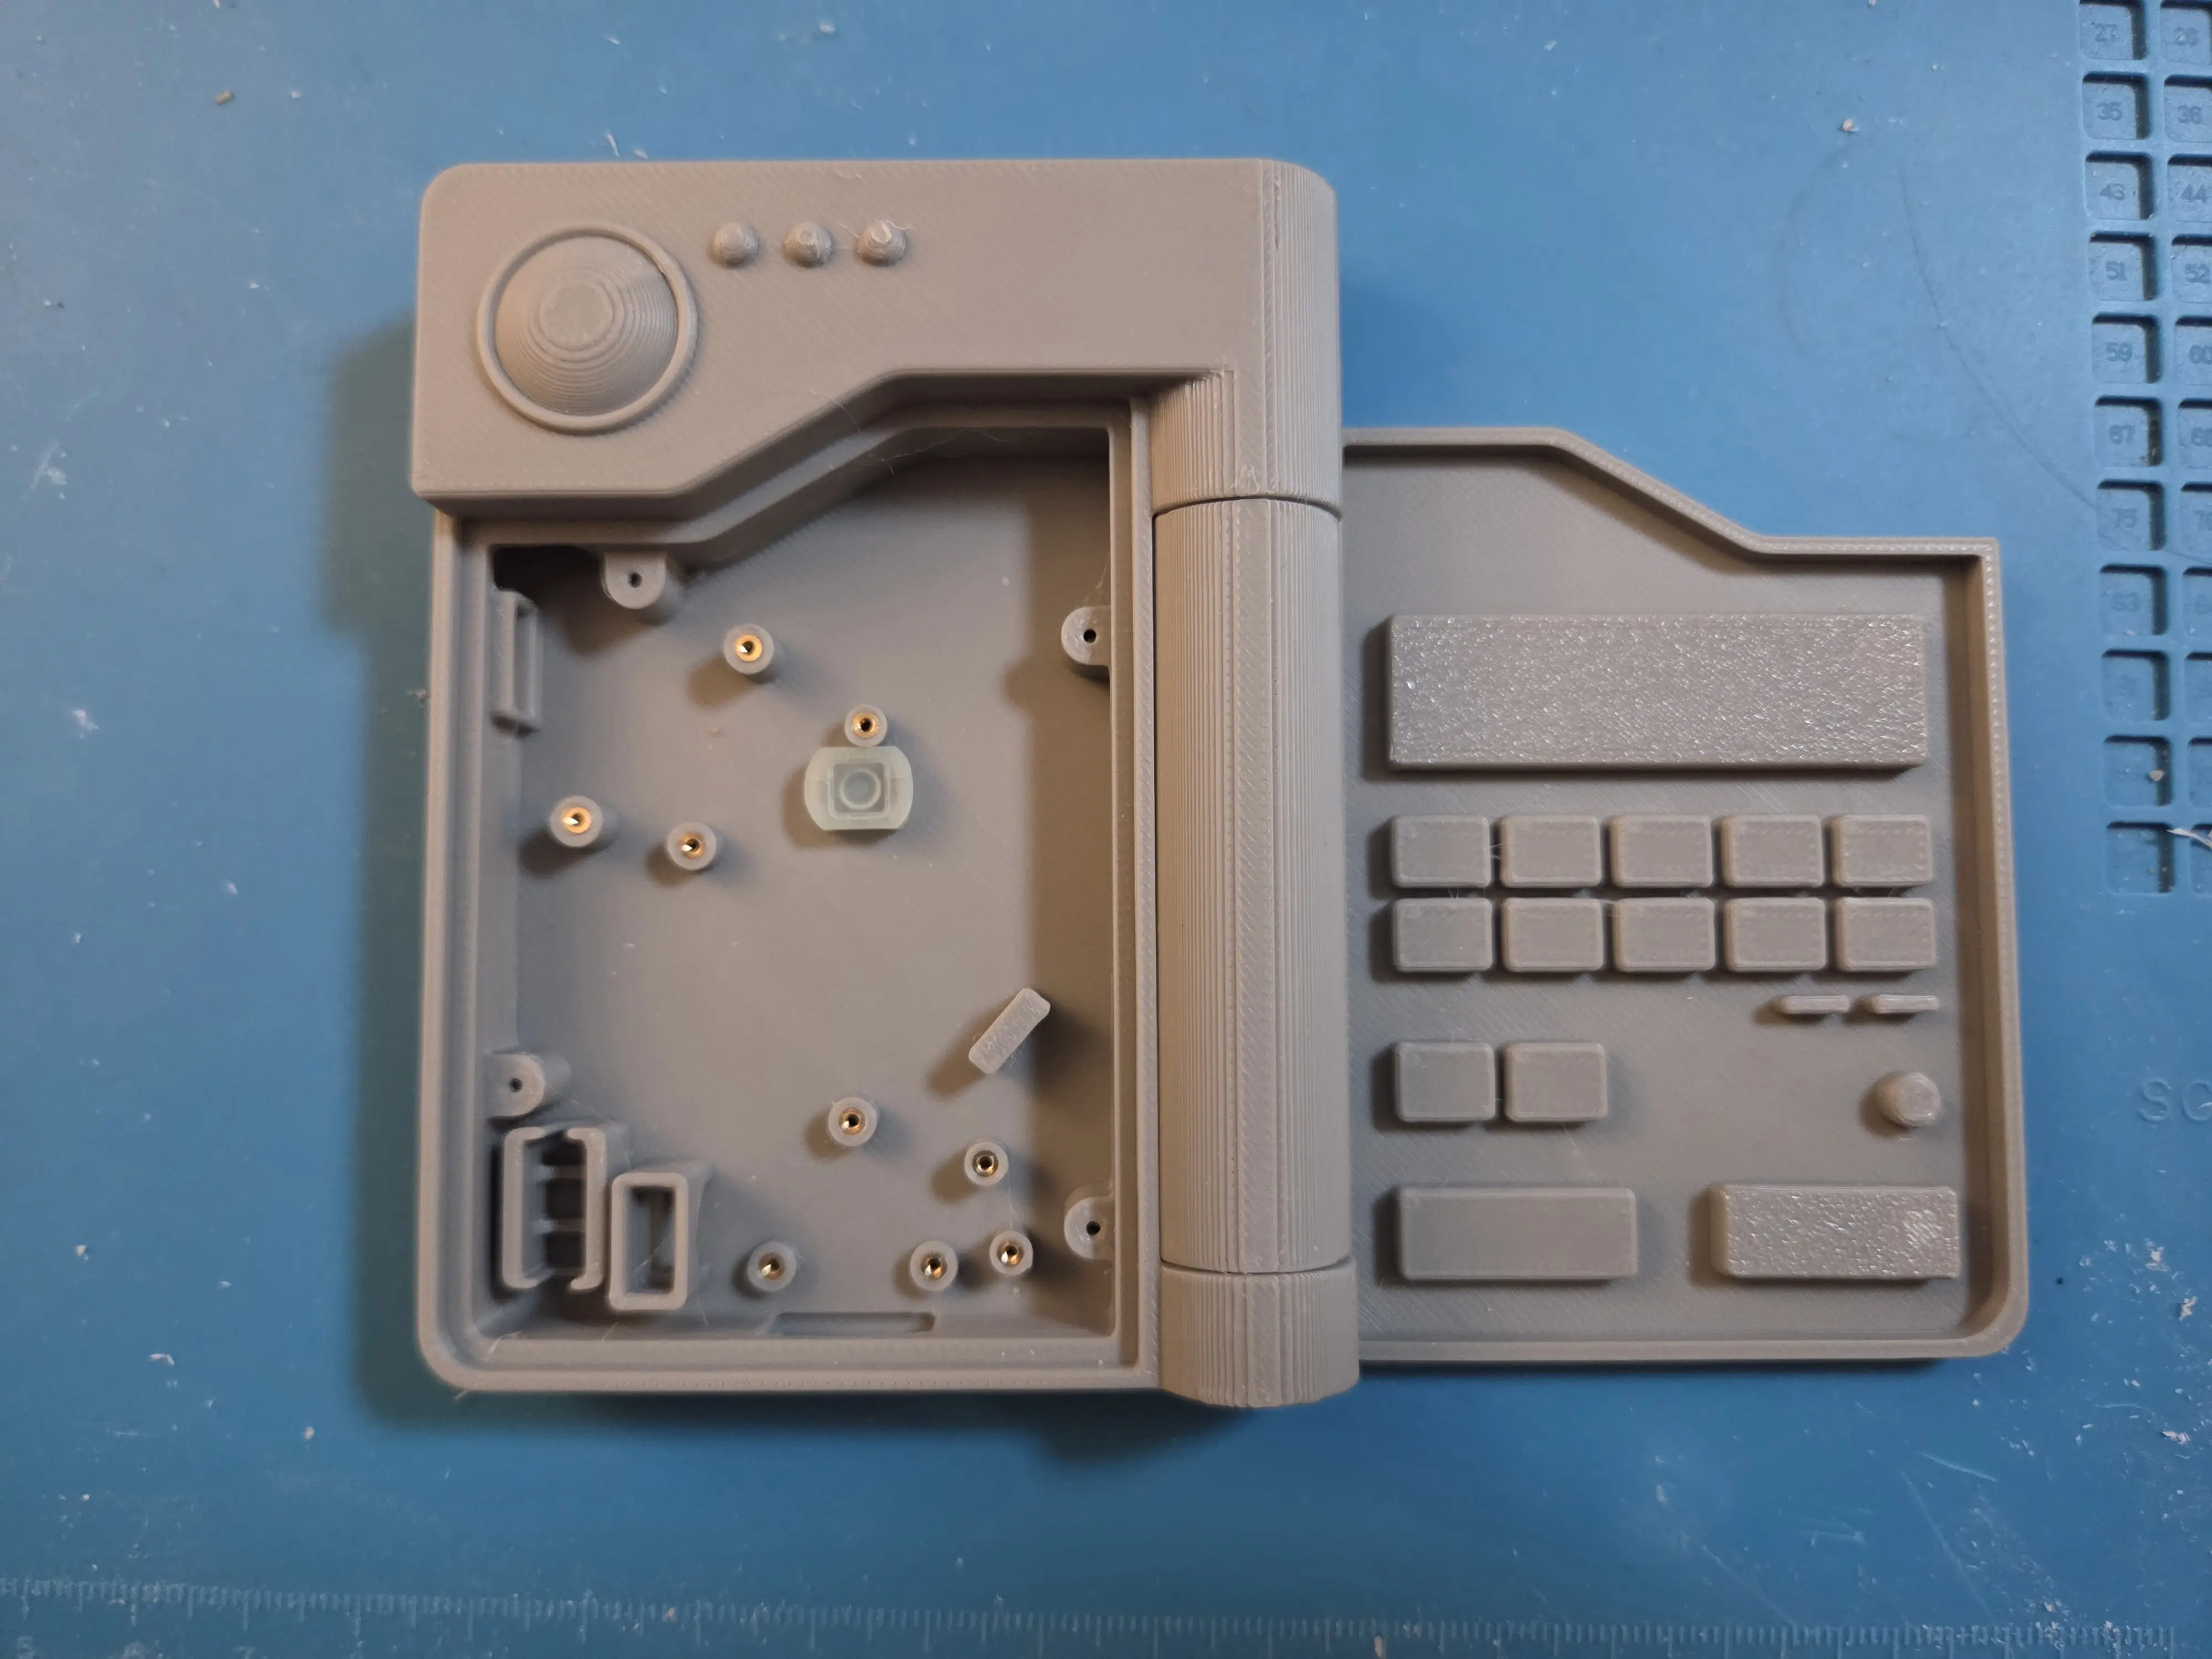
- Hinge uses 2 bearings with an 80mm M6 bolt and is very smooth!
- All screw posts designed with M1.4 screws and brass inserts in mind for clean assembly
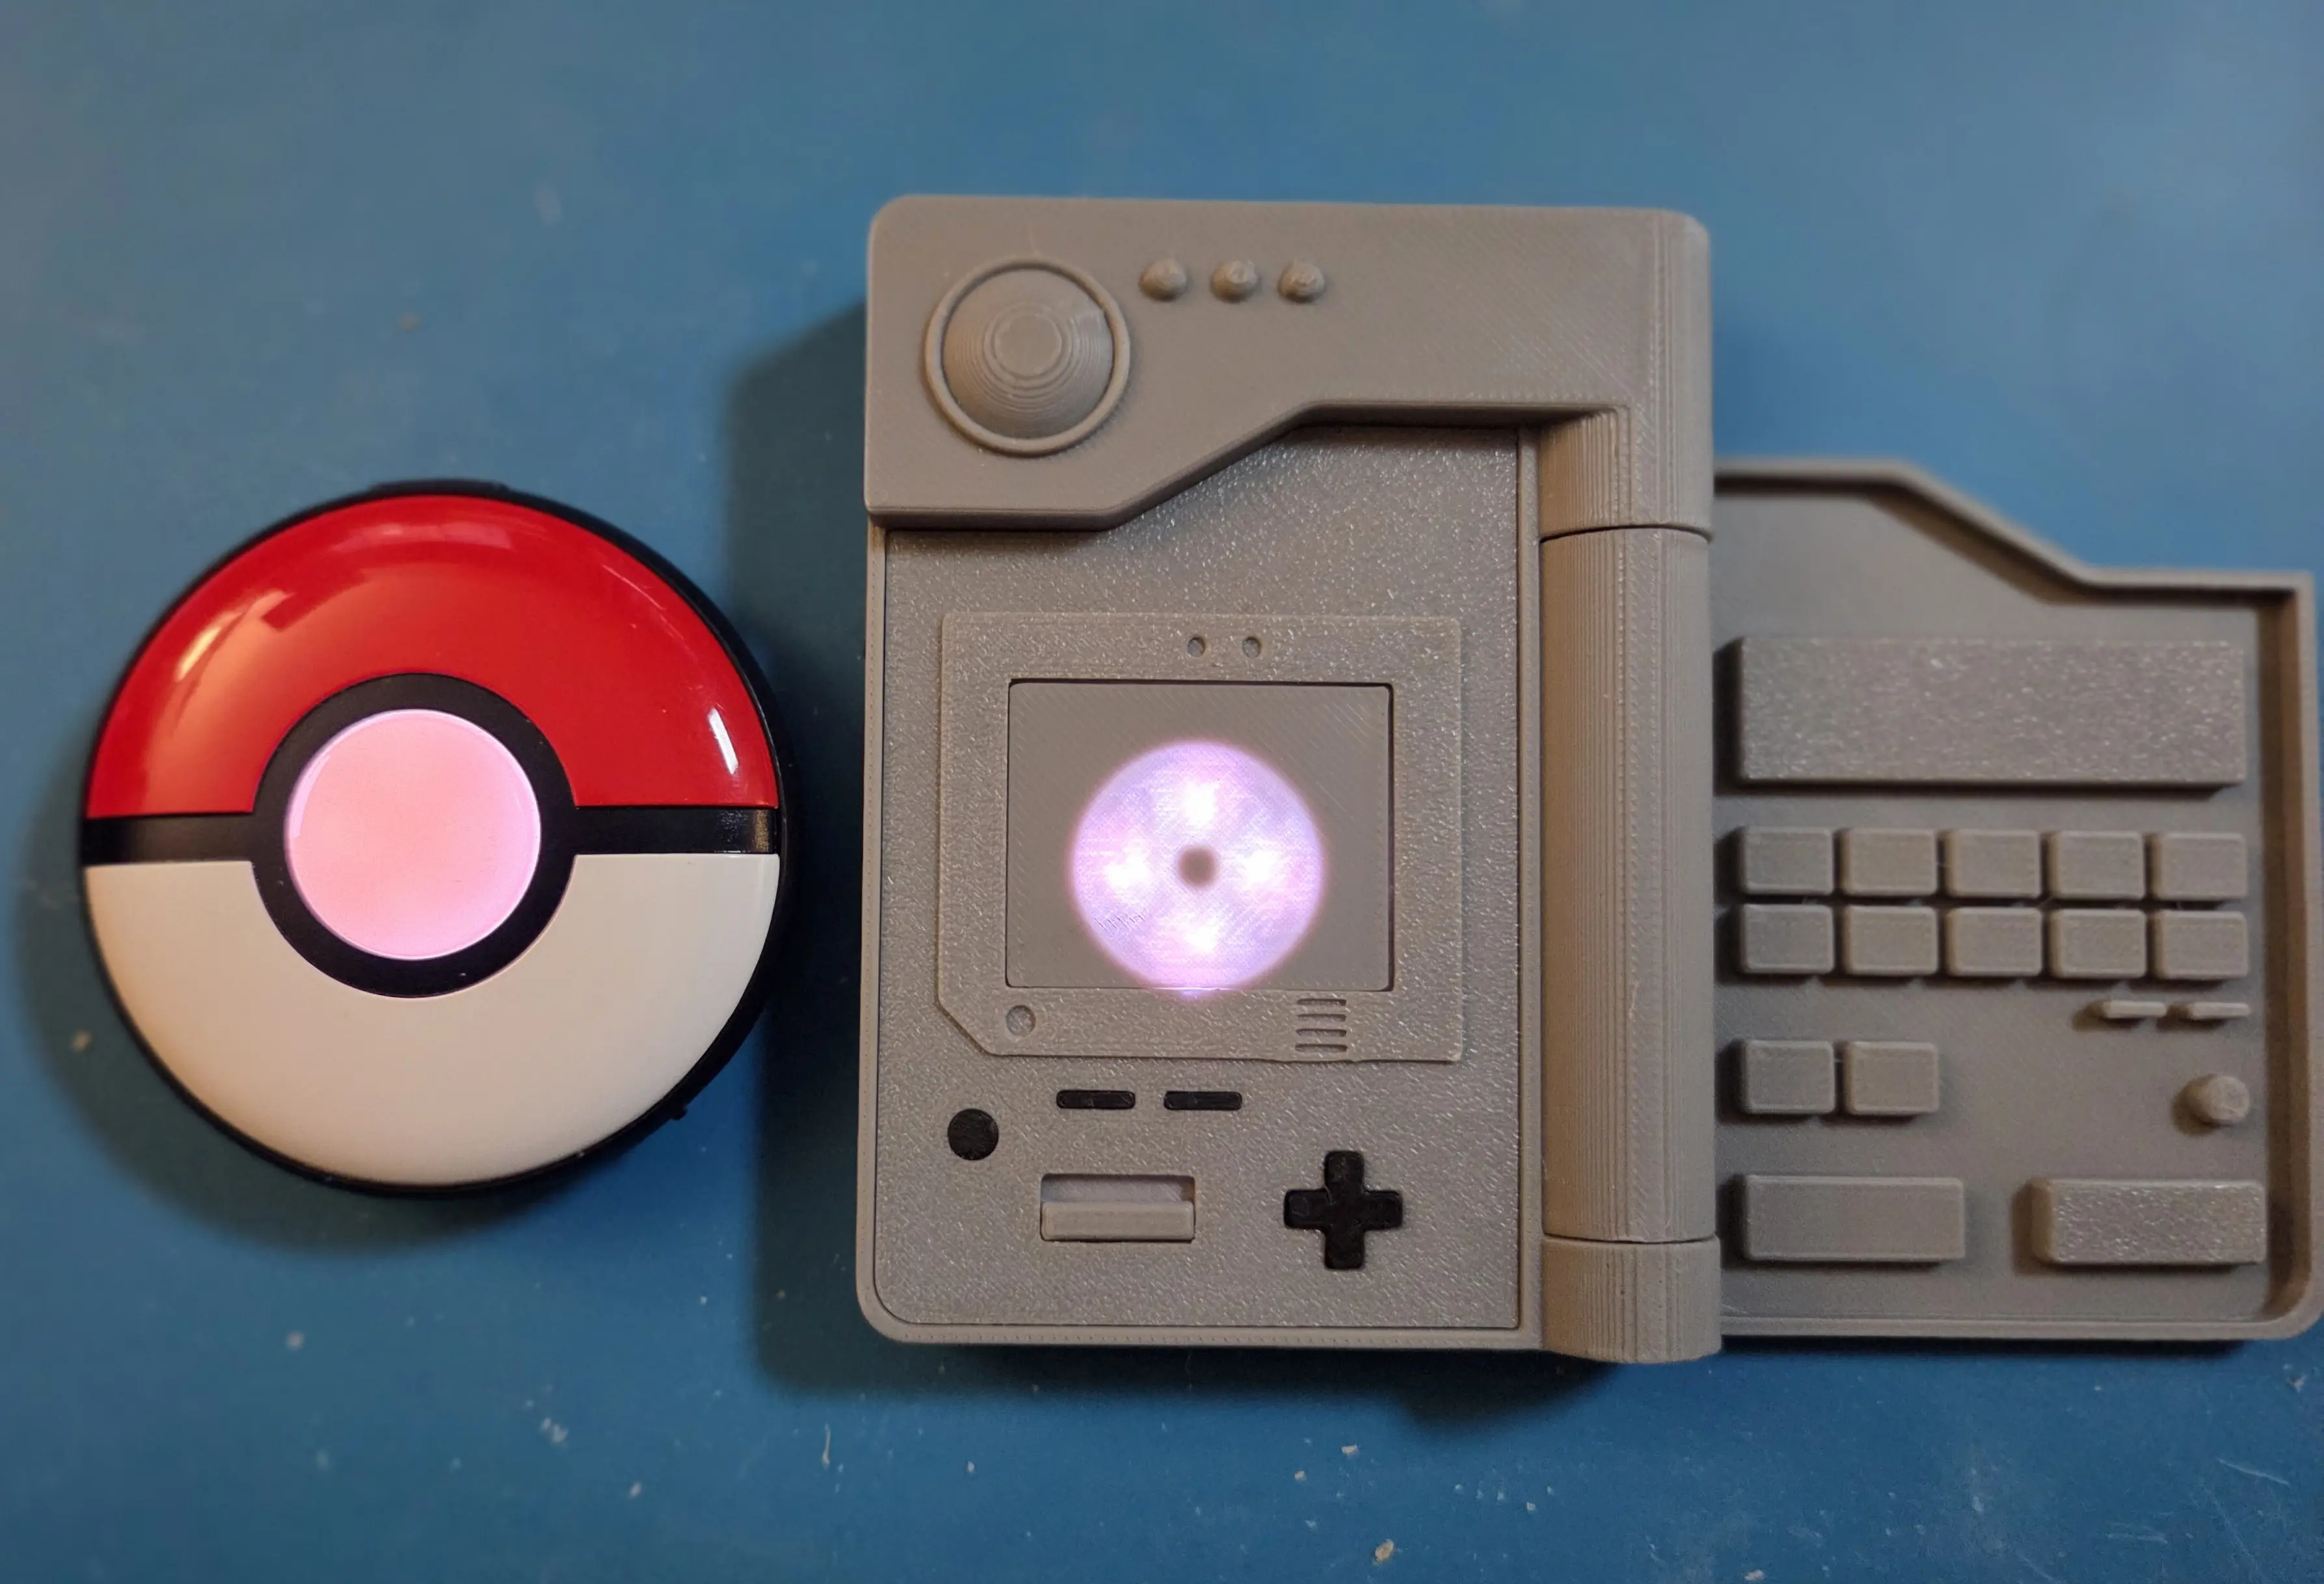
Currently brainstorming the final details. I just have a few problems to resolve and decisions to make. I currently don't have a mount for the speaker, but most people remove them when modding the Go Plus over how loud and annoying it is. I did leave room for it in the top right above the screen, just not sure if I am going to bother modeling it in. Then I need to decide if I am going to reroute/rewire the charging light indicator LED somewhere visible as right now its hidden inside the shell. It appears to be an RGB LED that changes between red/orange/yellow/green depending on charge etc and not sure how its wired. It's also very small so would take some reverse engineering and delicat soldering for a project I wanted to keep as 'drop in replacement' as possible. I also need to decide how to finish the "screen". I am thinking of just printing some sort of image on sticker paper and putting it on the screen. That way it could be customized with some pokemon/meme image and the light from the Button may still shine through the plastic/paper. Then lastly I need to figure what I am going to print the final product out of, and how to "finish" it. My current thinking is to use Red/Gray ASA filament so it can weather being outside in sunlight on hot days, just not sure if I want to try and fully paint a blank model, or print it in red filament.
Any feedback or suggestions would be helpful!
Some extra images:
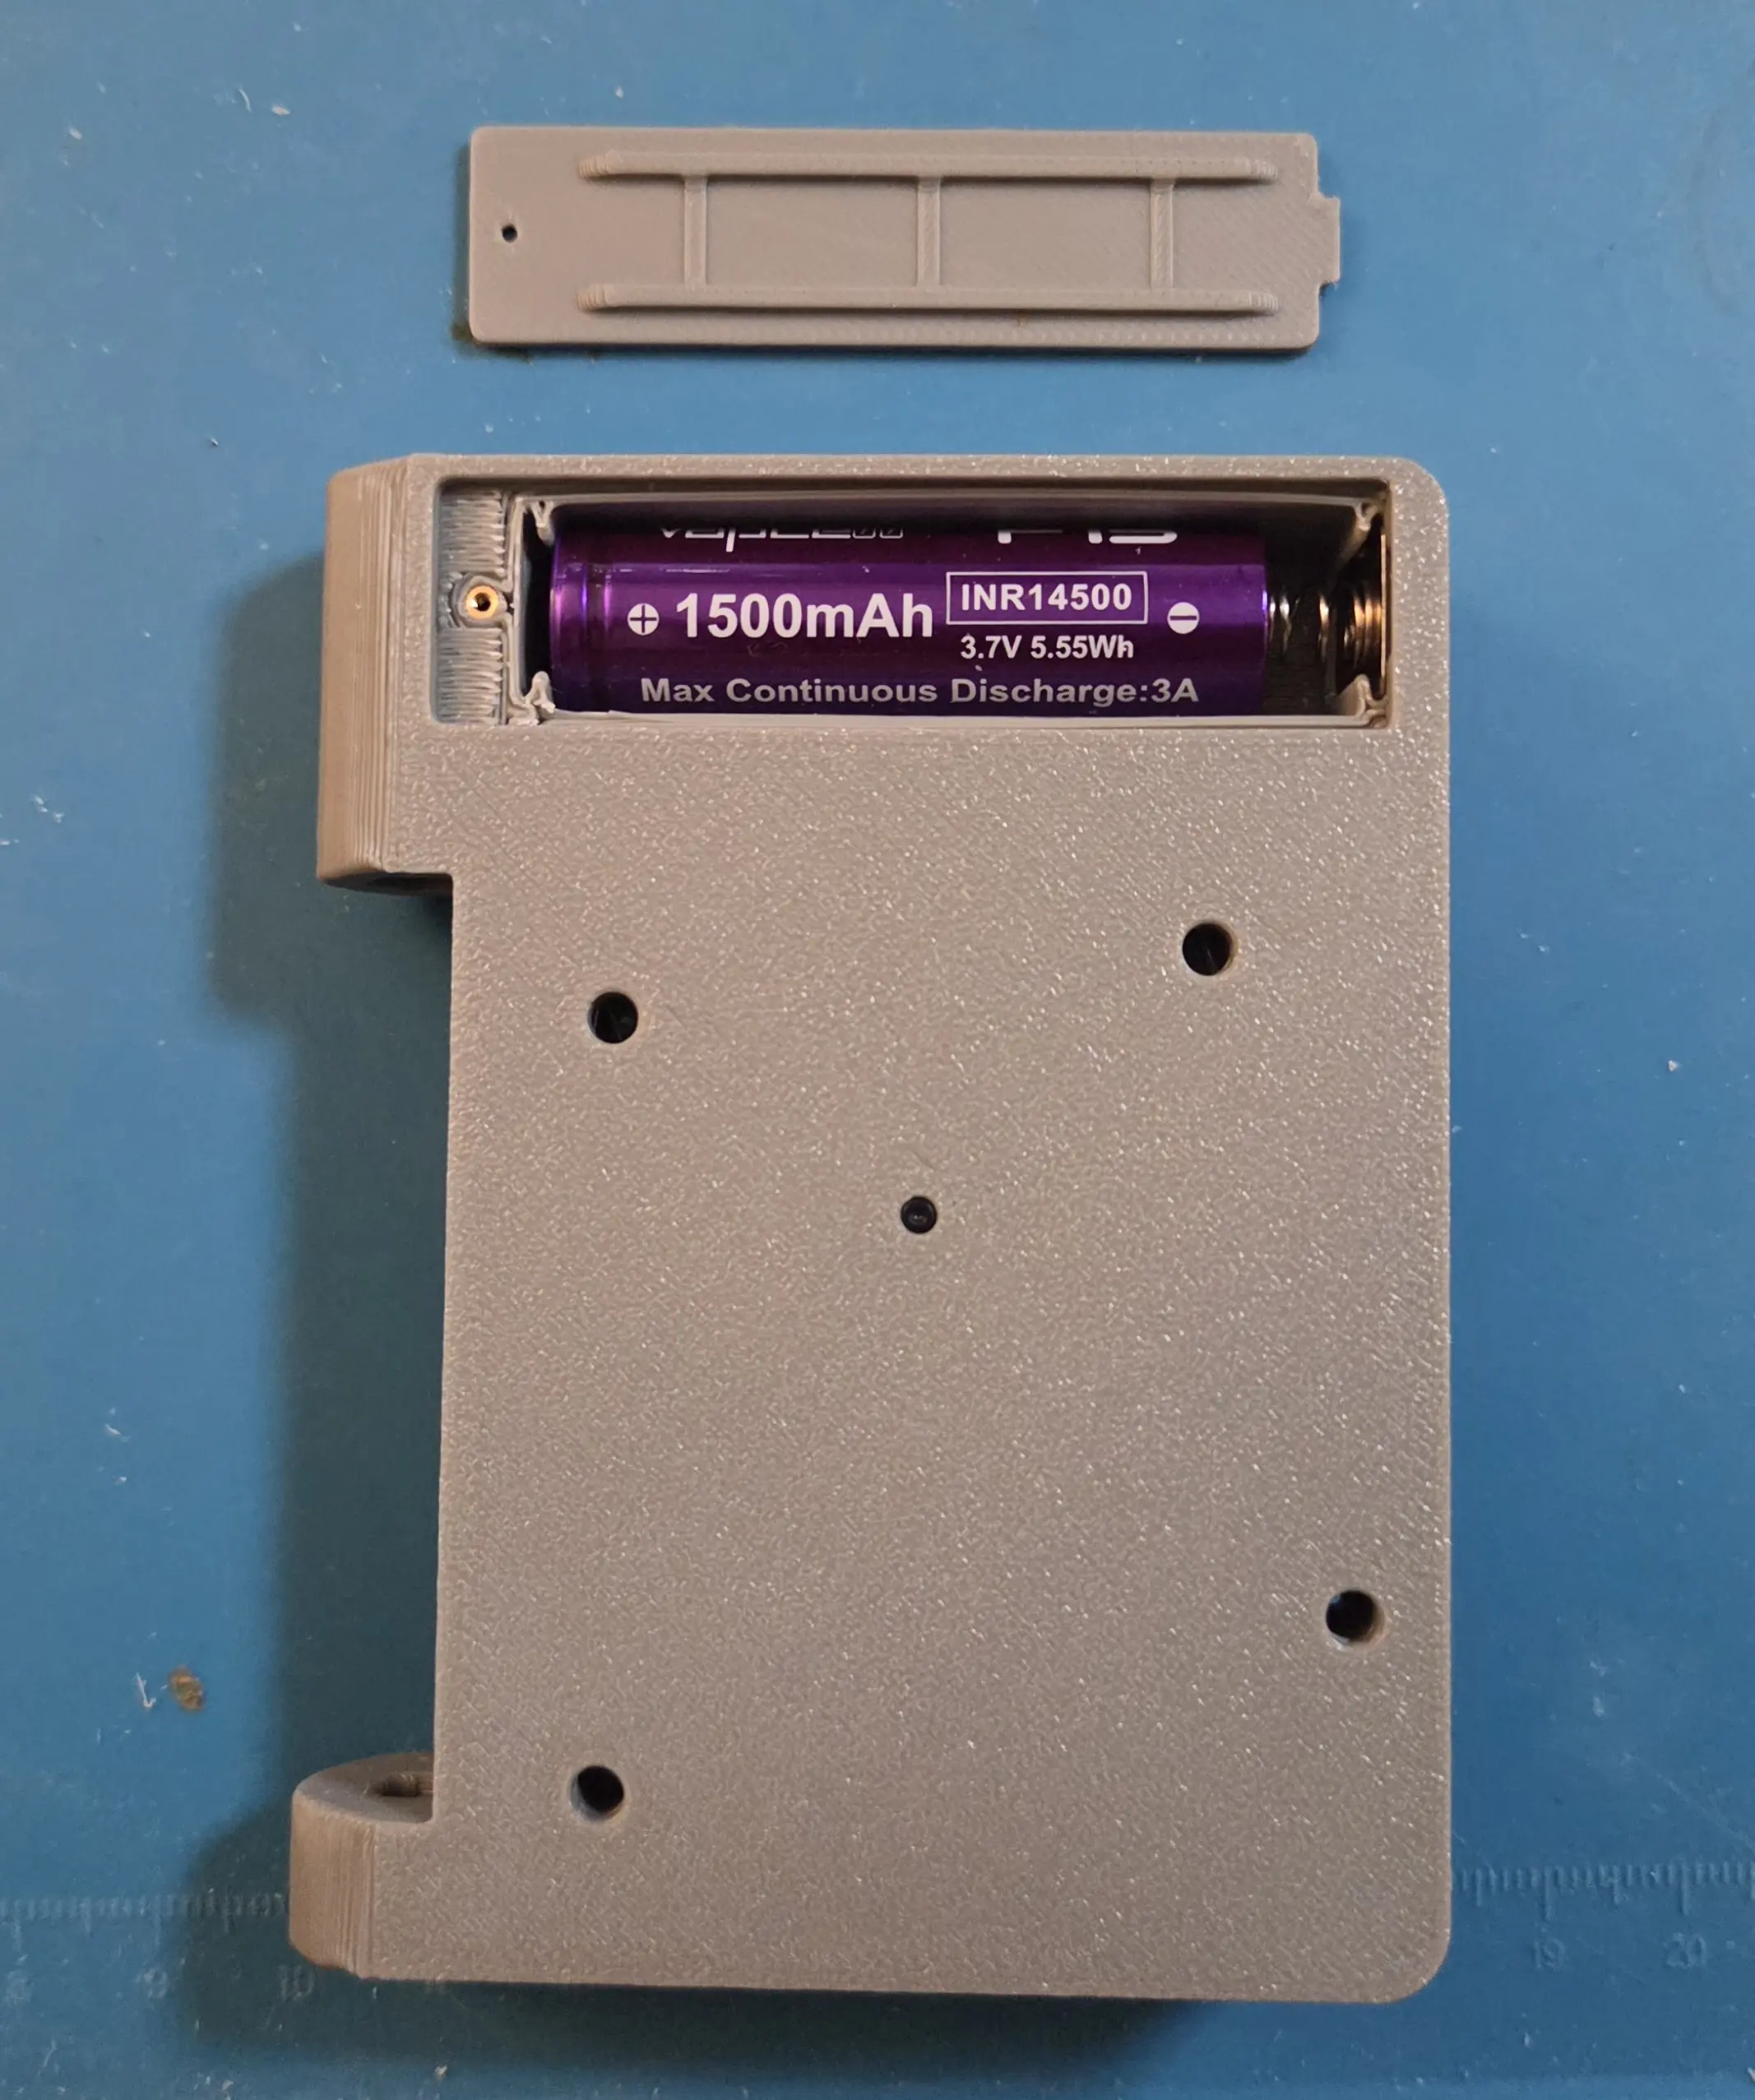
- Upgraded battery from 525mAh Joycon battery to removable/replaceable 1500mAh 14500 cell
- Added Power switch on side of device to cutoff the connection between battery and device to reduce phantom power drain as it is always on by default
- Modded to automatically throw Great Balls and Ultra balls. Wired to 3D printed front facing slider switch
- Rewired Sync button to custom 3D printed fake D pad on device face
- Pokedex "Screen" is custom button to interact with device
- Hidden 2x6mm magnets beneath cover and faceplate to keep device from swinging open
- Hinge uses 2 bearings with an 80mm M6 bolt and is very smooth!
- All screw posts designed with M1.4 screws and brass inserts in mind for clean assembly
Currently brainstorming the final details. I just have a few problems to resolve and decisions to make. I currently don't have a mount for the speaker, but most people remove them when modding the Go Plus over how loud and annoying it is. I did leave room for it in the top right above the screen, just not sure if I am going to bother modeling it in. Then I need to decide if I am going to reroute/rewire the charging light indicator LED somewhere visible as right now its hidden inside the shell. It appears to be an RGB LED that changes between red/orange/yellow/green depending on charge etc and not sure how its wired. It's also very small so would take some reverse engineering and delicat soldering for a project I wanted to keep as 'drop in replacement' as possible. I also need to decide how to finish the "screen". I am thinking of just printing some sort of image on sticker paper and putting it on the screen. That way it could be customized with some pokemon/meme image and the light from the Button may still shine through the plastic/paper. Then lastly I need to figure what I am going to print the final product out of, and how to "finish" it. My current thinking is to use Red/Gray ASA filament so it can weather being outside in sunlight on hot days, just not sure if I want to try and fully paint a blank model, or print it in red filament.
Any feedback or suggestions would be helpful!
Some extra images:


