

- Joined
- Apr 25, 2019
- Messages
- 41
- Likes
- 150
- Portables
- 1
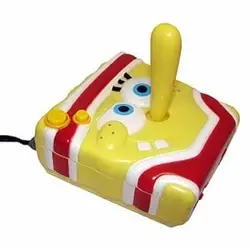
When I was a kid I had the SpongeBob Fry Cook Games Plug & Play game from Jakks Pacific. I recently checked eBay to see if I could grab one, and after seeing that they were kind of overpriced ($40), I did some research and decided I could make my own (for much more money).
I'm building a compact plug & play arcade stick using a Pi Zero 2 W. The stick will use a high quality SANWA stick and Seimitsu buttons, and will have start and select buttons to open up more emulation possibilities. I'll be running MAME and RetroArch to emulate classic arcade games, Jakks Pacific Plug & Play games, and NES. I could put other emulators on as well but these 3 are where I'll start.
Features
The Case
For the case, I decided to go with the Polycase JB-65. It has a nice trapezoidal shape that would work well for a tabletop controller, and it's a good size for the parts I was using. One concern I had was that the internal height of the JB-65 is listed as 35.5mm, and the height of the joystick assembly is 34mm. I was worried that the bottom of the joystick would bottom out when moved to a position, so I ordered the DC-47P as well, which has a less appealing, rectangular design but gives enough height to comfortably fit everything.
Polycase DC-47P (left) and JB-65 (right)
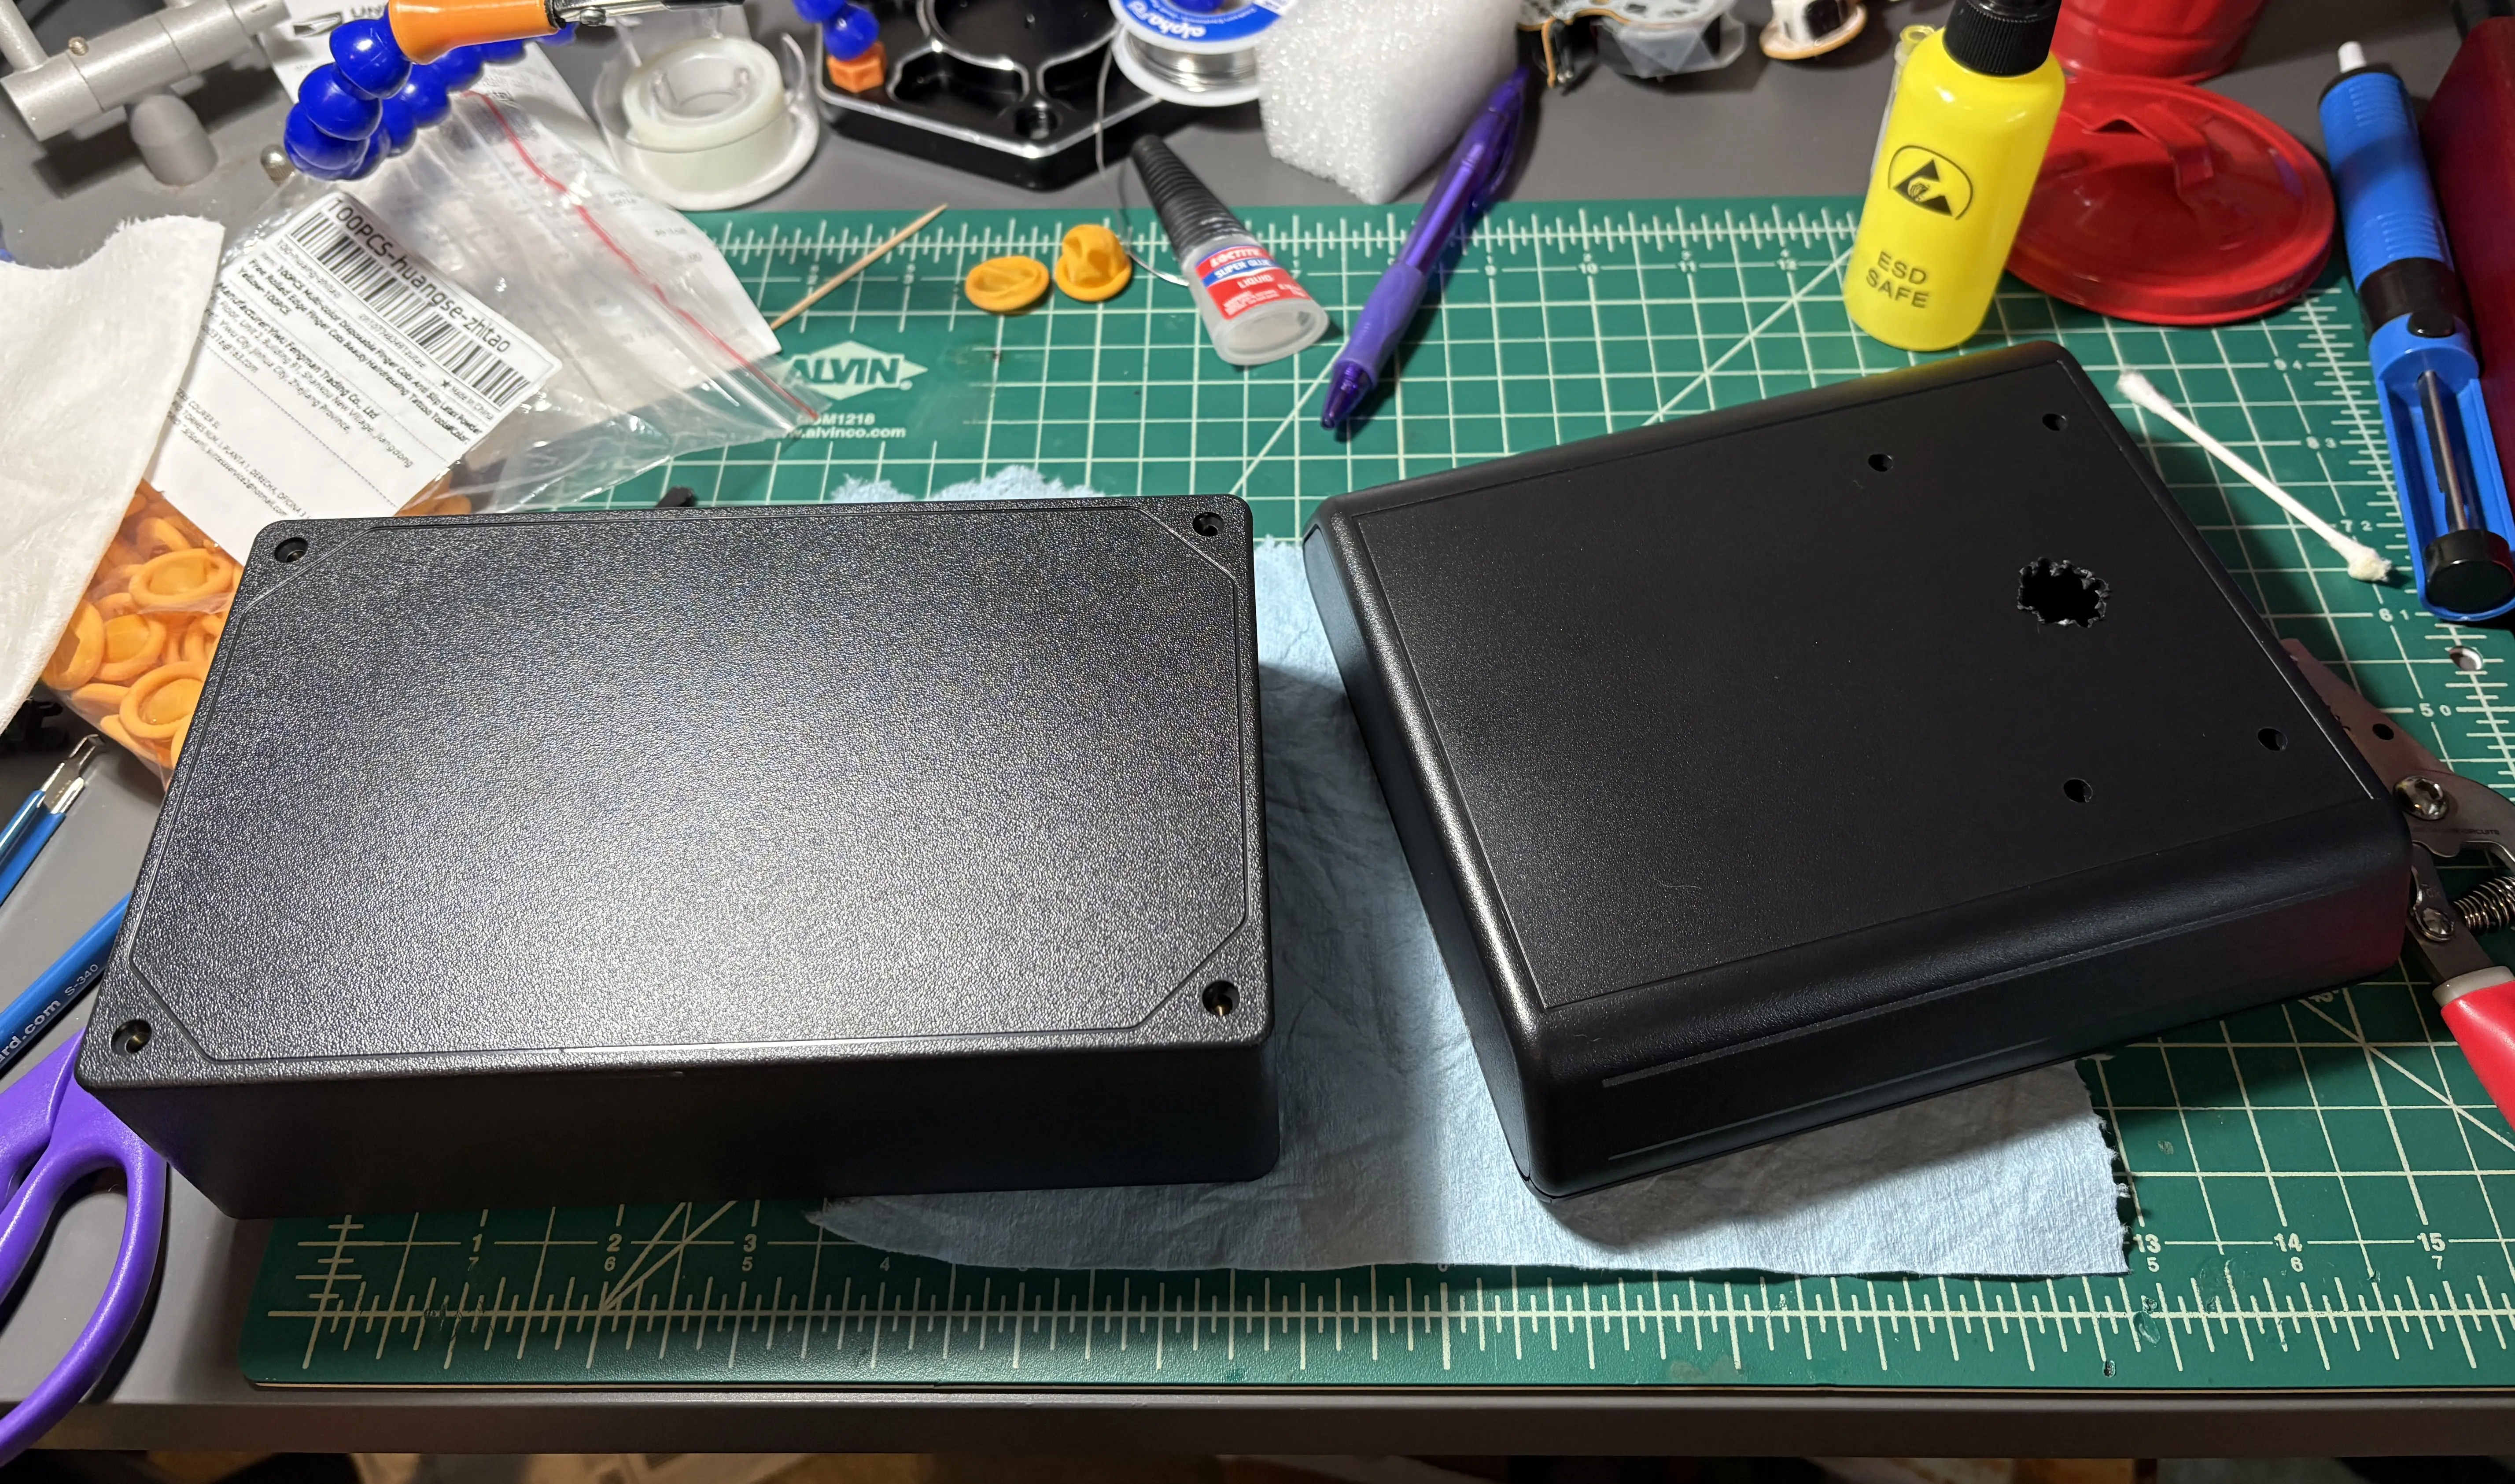
After receiving both cases I learned that the joystick has just enough clearance to move without hitting the bottom of the case. If I put enough pressure on the top, then it does depress a little, but these cases are very sturdy, with ~2.5mm thick walls so it takes a good amount of force. I will be adding a support pillar to the center of the case inside just to be safe.
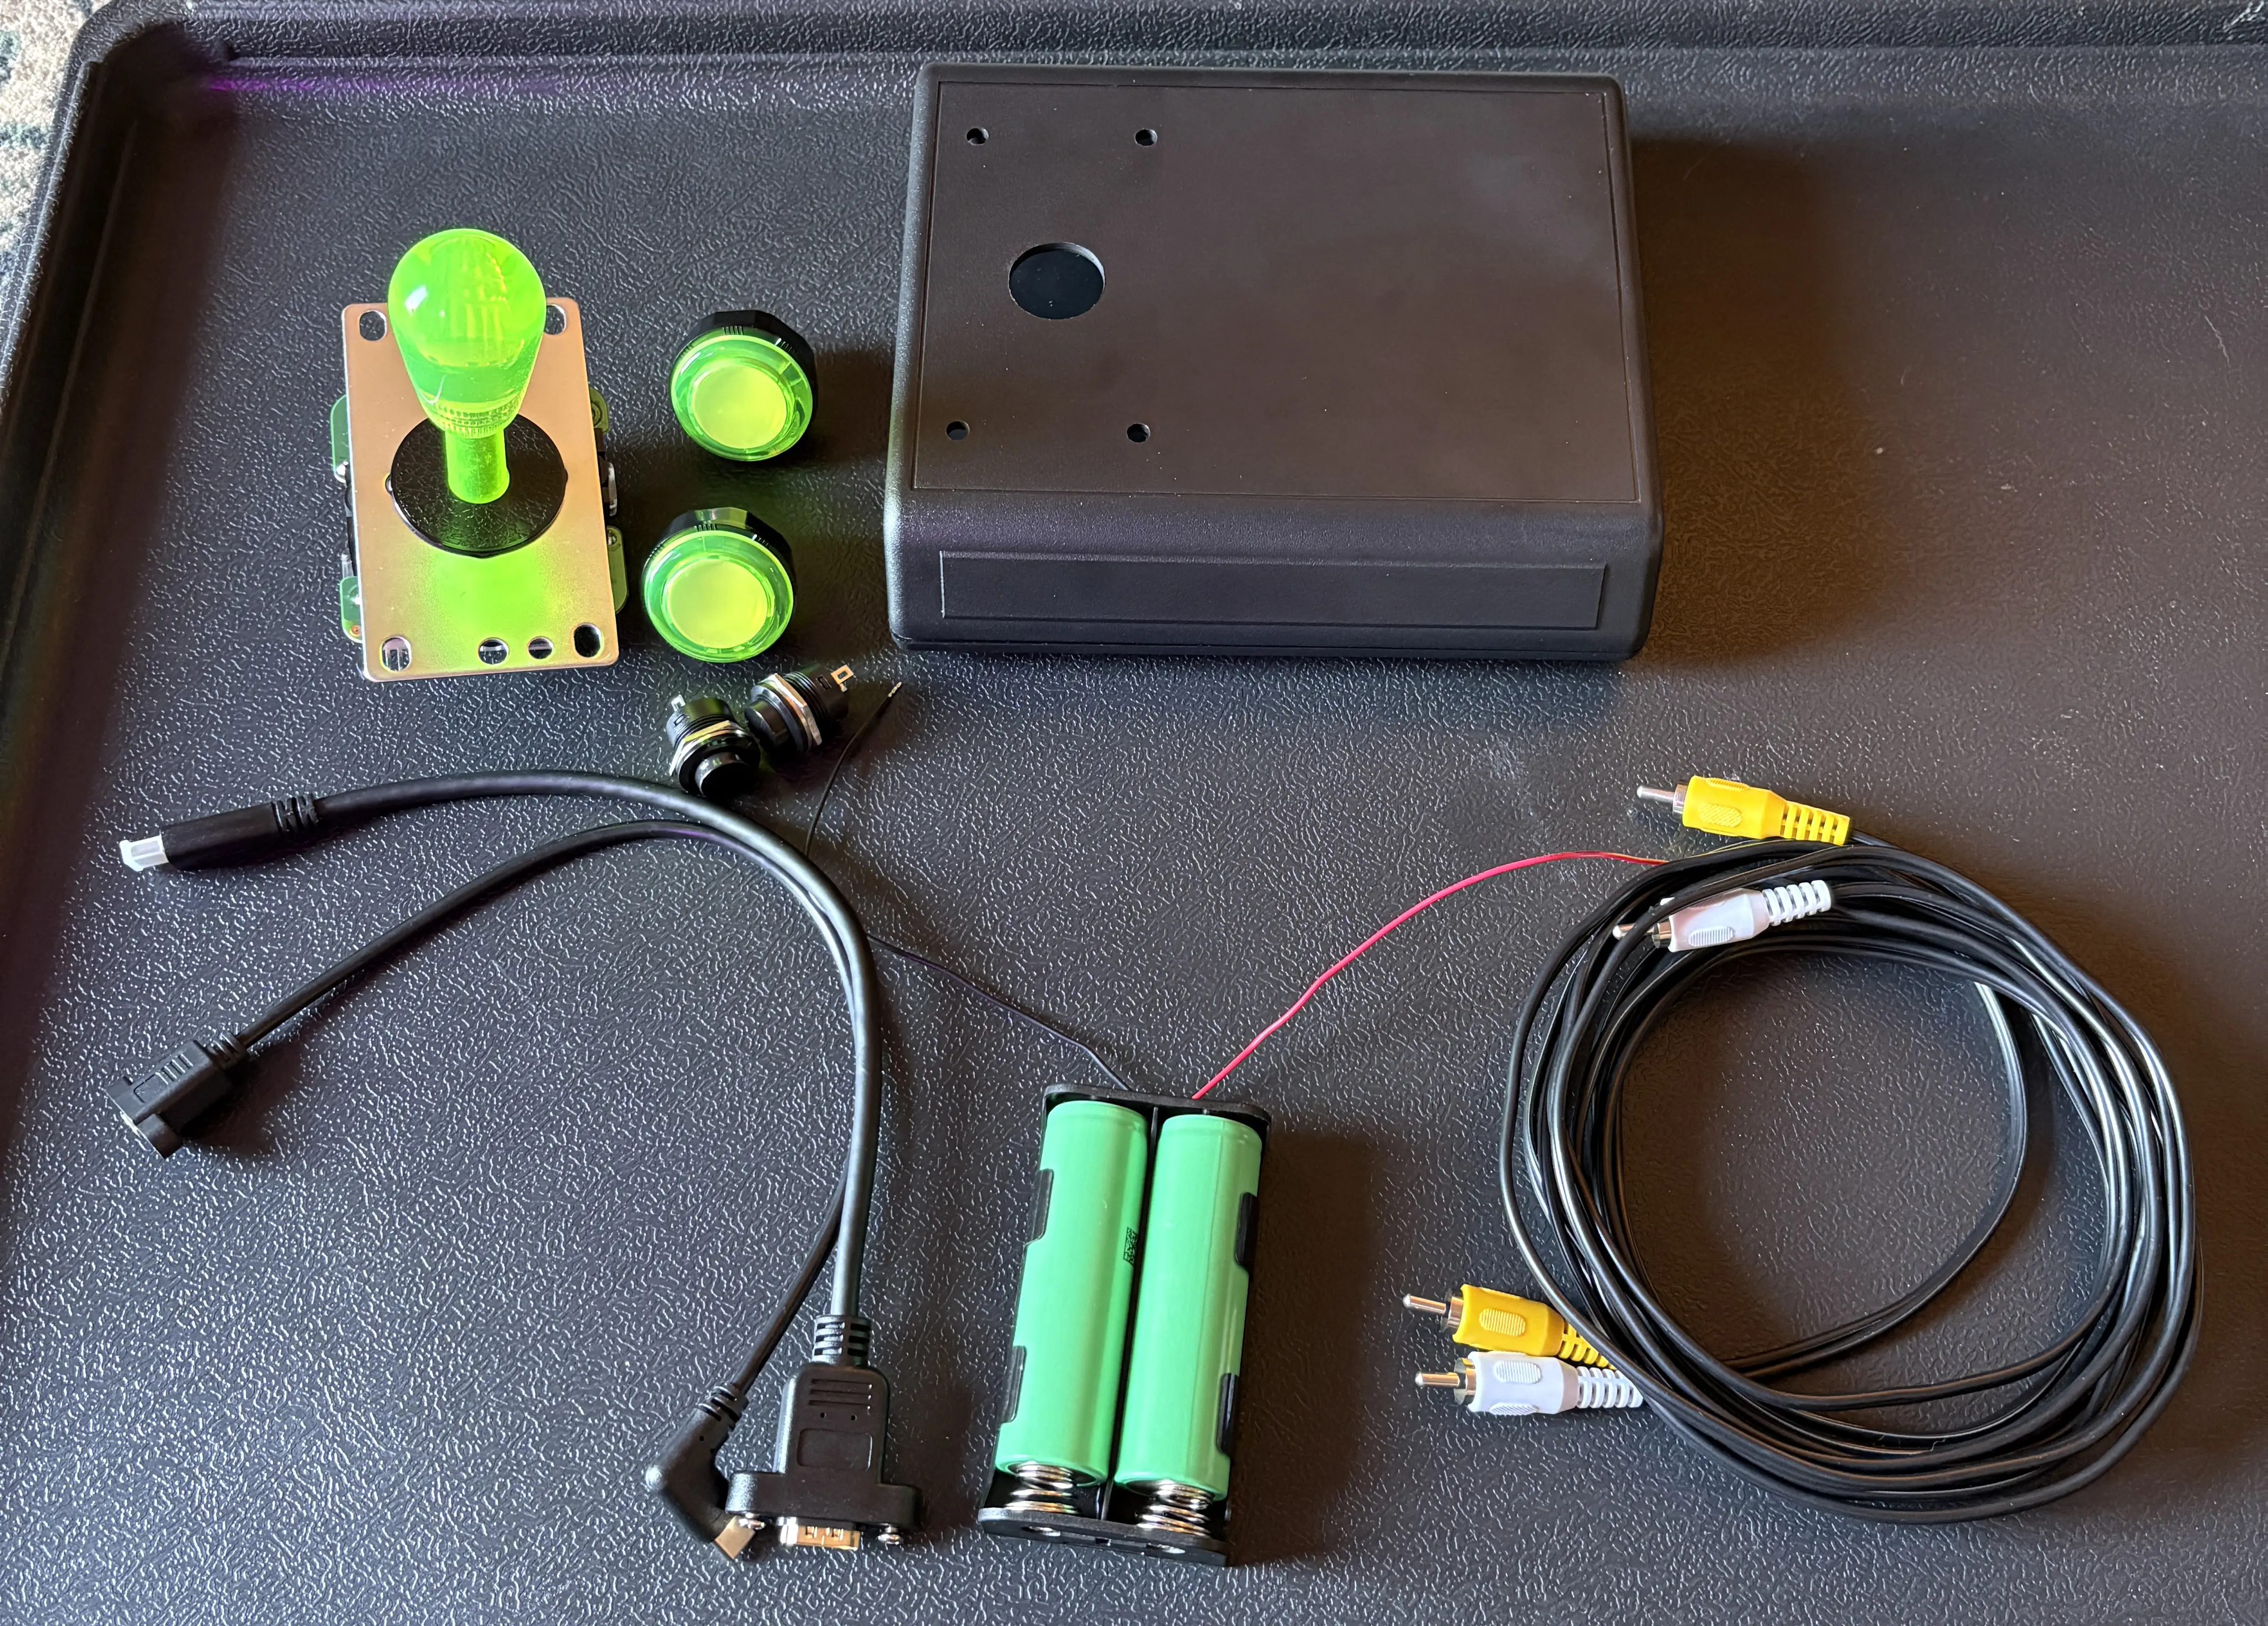
I've now hopefully purchased all the parts I need, and I'll start assembling as soon as I get my power switch in the mail. I already got to cutting the case before I took pictures, but here are some of the core parts:
BOM
Here are all the parts used for this and a rough sum of the costs:
I've purchased some other miscellaneous parts that I will cover as I get to them in the worklog, but the total cost is around $180 ($142 for parts listed + extra parts and shipping costs). Soon I'll get my power switch and then I can cut the rest of the holes in the case. I don't want to cut my button holes until the switch is in because the switch will be very close to one of the main buttons. Updates to come soon! I hope that this project wont take me more than a few weeks, but you know how that goes.
I'm building a compact plug & play arcade stick using a Pi Zero 2 W. The stick will use a high quality SANWA stick and Seimitsu buttons, and will have start and select buttons to open up more emulation possibilities. I'll be running MAME and RetroArch to emulate classic arcade games, Jakks Pacific Plug & Play games, and NES. I could put other emulators on as well but these 3 are where I'll start.
Features
- Sanwa JLF-TP-8YT Joystick
- Seimitsu PS-14KN 30mm buttons
- Start/Select buttons
- RCA mono audio/video output
- HDMI output for future-proofing
- 2x Samsung 21700 Batteries for power with USB-C charging
- Low battery safety shutdown to protect SD card
The Case
For the case, I decided to go with the Polycase JB-65. It has a nice trapezoidal shape that would work well for a tabletop controller, and it's a good size for the parts I was using. One concern I had was that the internal height of the JB-65 is listed as 35.5mm, and the height of the joystick assembly is 34mm. I was worried that the bottom of the joystick would bottom out when moved to a position, so I ordered the DC-47P as well, which has a less appealing, rectangular design but gives enough height to comfortably fit everything.
Polycase DC-47P (left) and JB-65 (right)
After receiving both cases I learned that the joystick has just enough clearance to move without hitting the bottom of the case. If I put enough pressure on the top, then it does depress a little, but these cases are very sturdy, with ~2.5mm thick walls so it takes a good amount of force. I will be adding a support pillar to the center of the case inside just to be safe.
I've now hopefully purchased all the parts I need, and I'll start assembling as soon as I get my power switch in the mail. I already got to cutting the case before I took pictures, but here are some of the core parts:
BOM
Here are all the parts used for this and a rough sum of the costs:
| Part | Cost (USD) |
|---|---|
| Controls | |
| SANWA JLF-TP-8YT | $29 |
| x2 Seimitsu PS-14-KN 30mm Button | $9 |
| KDiT Joystick Bat Top | $7 |
| SANWA Joystick dust cover | $5 |
| Octagonal Joystick gate insert | $3 |
| x2 Generic start/select buttons 16mm | $2 |
| Electrical | |
| Raspberry Pi Zero 2 W | $18 |
| X-150 5V 2A Charge Module | $3 |
| x2 Samsung 58E 21700 Lithium Cells | $5 |
| Battery cell holder | $2 |
| x2 RCA Jack | $6 |
| On/Off Rocker switch | $1 |
| Other | |
| Polycase JB-65 | $13 |
| 12ft Micro Center AV cable | $8 |
| Micro Center 32GB SD Card | $10 |
| Mini HDMI male to HDMI female panel mount cable | $15 |
| Usb-C male to female panel-mount cable | $6 |
I've purchased some other miscellaneous parts that I will cover as I get to them in the worklog, but the total cost is around $180 ($142 for parts listed + extra parts and shipping costs). Soon I'll get my power switch and then I can cut the rest of the holes in the case. I don't want to cut my button holes until the switch is in because the switch will be very close to one of the main buttons. Updates to come soon! I hope that this project wont take me more than a few weeks, but you know how that goes.