- Joined
- Jan 26, 2024
- Messages
- 51
- Likes
- 107
- Portables
- 3
I wasn't originally planning on building a G-Boy. After I finished with my Ashida I set my sights on building a portable N64 based of Nicholas' design. However, I have had a wii mobo sitting on my table, staring at me menacingly this entire time. I affectionately dubbed it the "Roach Wii", as I was surprised by 100s of tiny corpses (okay, I might be exaggerating here a bit) upon opening it. I had bought it as a "for parts or repair" unit from a local game store since wiimotes wouldn't connect to it but the wii would still boot. Well, I guess the little critters explained part of the problem.
I ended up throwing away the entire shell and deep cleaned the mobo and modules. After relocating the bluetooth module I was able to finally get a wiimote to connect and loaded it with RVLoader. Then it was time for beautification:
Take that roaches.
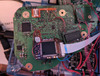
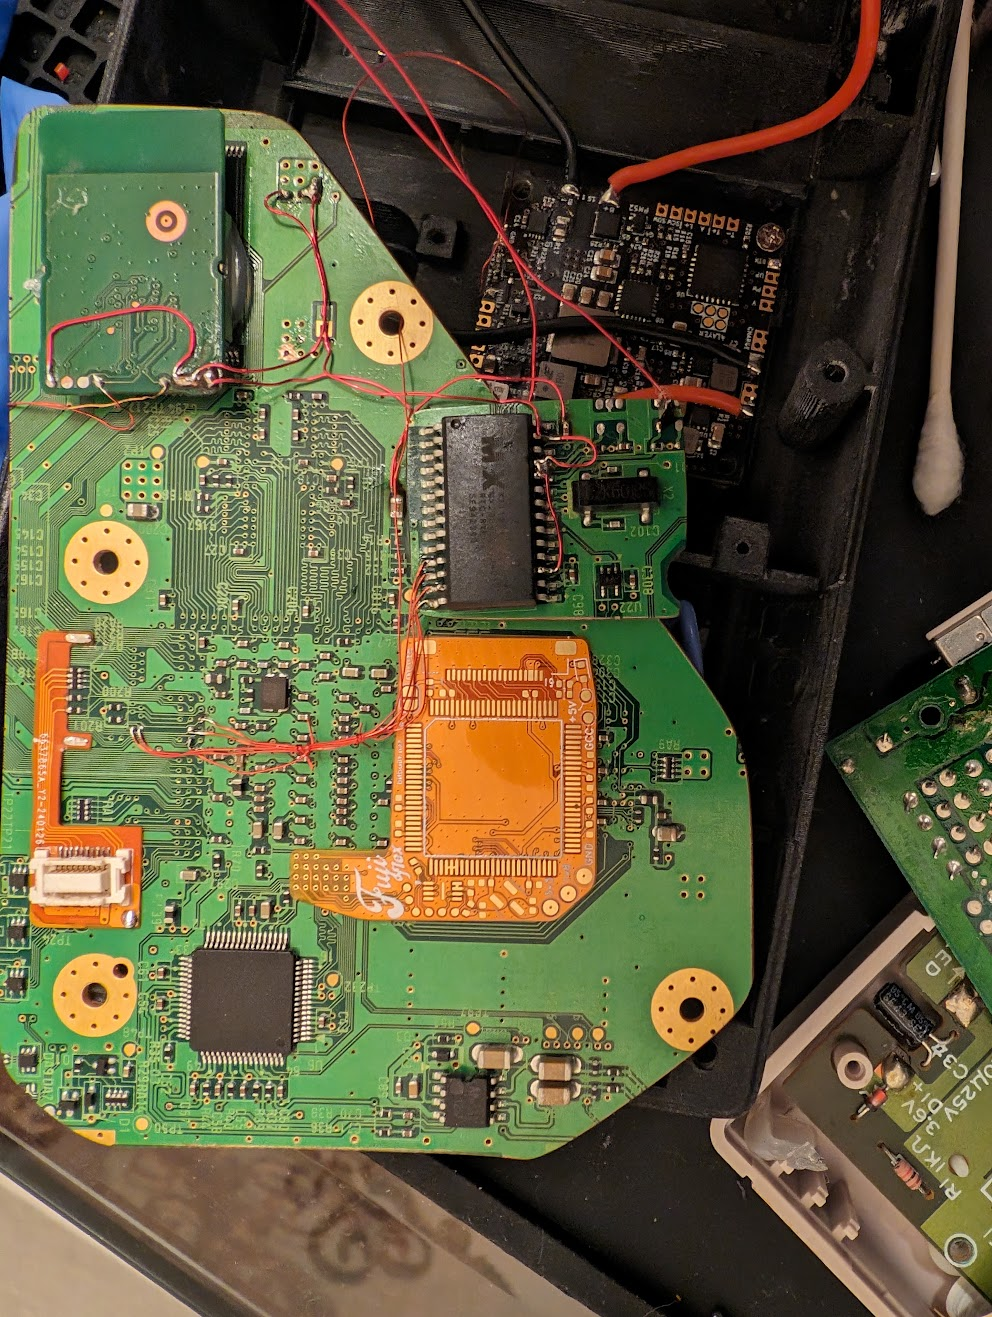
As you can see, I have decided to go overkill and relocate all the modules. I'm also going to be installing a Fuji Flex to have all the awesome video settings provided by GCVideo. Here is a great picture of where the FPGA would go, IF I HAD ONE. Thanks customs.
As I wait for the government to relinquish my chips, I have been able to at least start with putting the shell together:
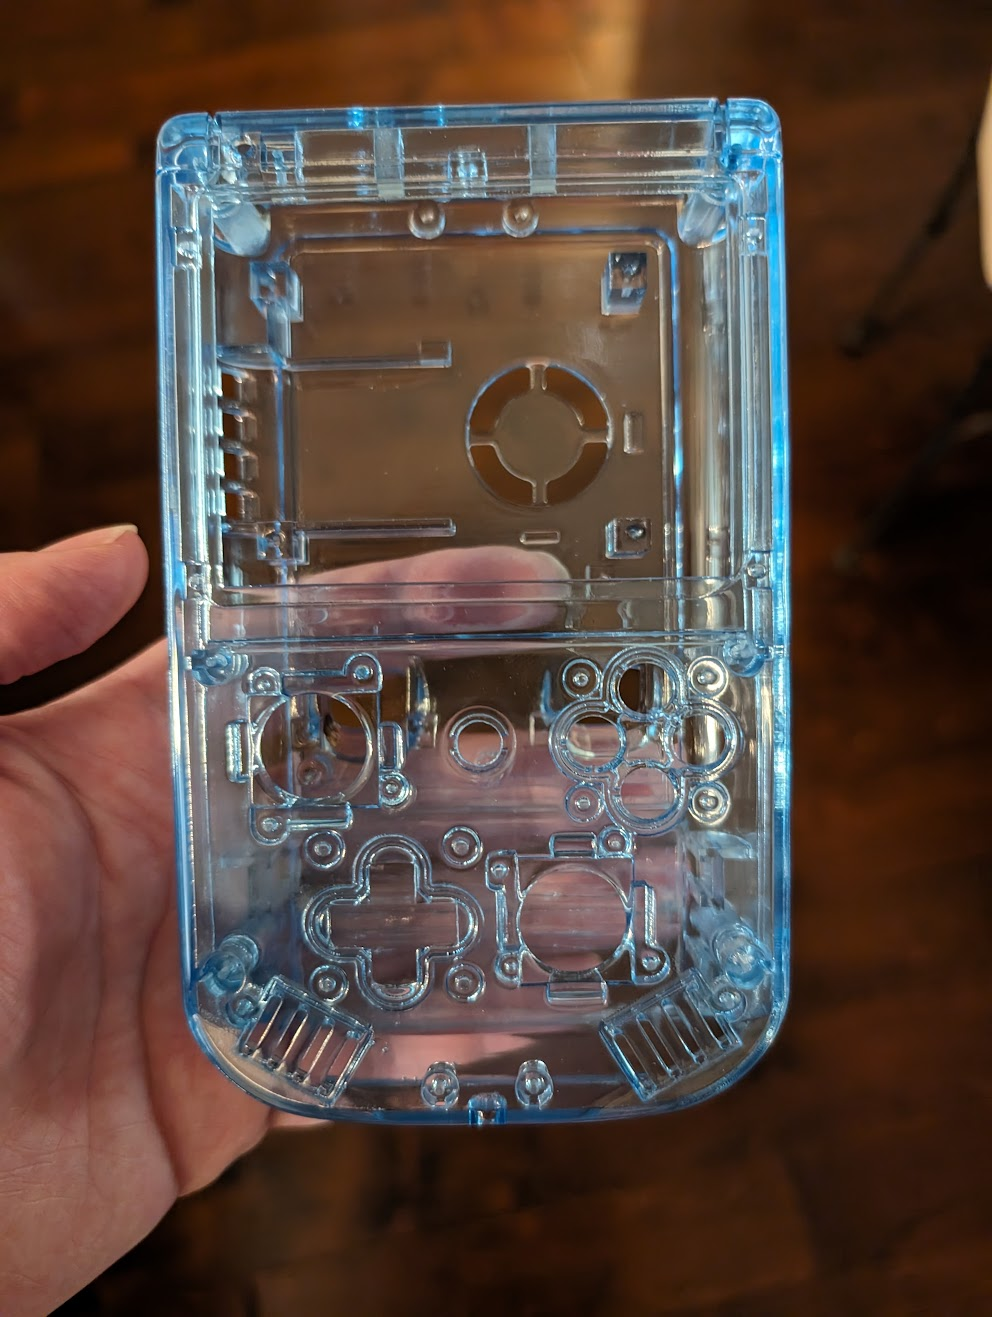
So pretty and shiny.
I went with a resin print from PCB way this time after I ruined my own 3d printed cases that I had worked on for 2 weeks sanding, priming, painting.... I digress. I'm glad I went with this shell because it looks very sleek and feels great in the hands. And so the assembly begins:
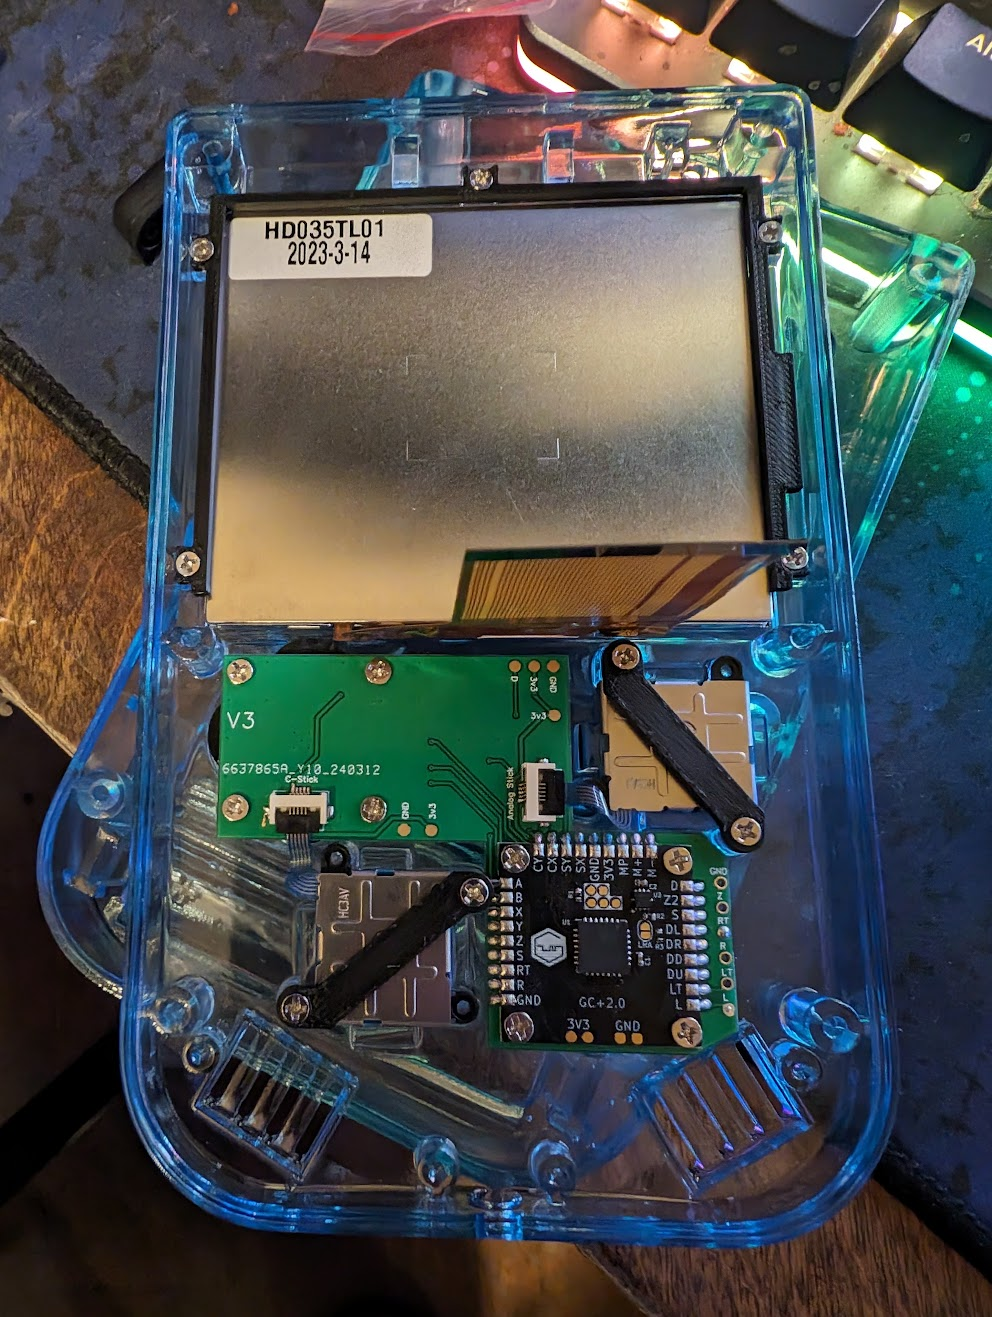
Hey, don't peak!
I struggled with getting the buttons to feel good and discovered it was because the screws I was using were too short and causing the membranes to get crushed. After swapping those out the button presses feel much better.
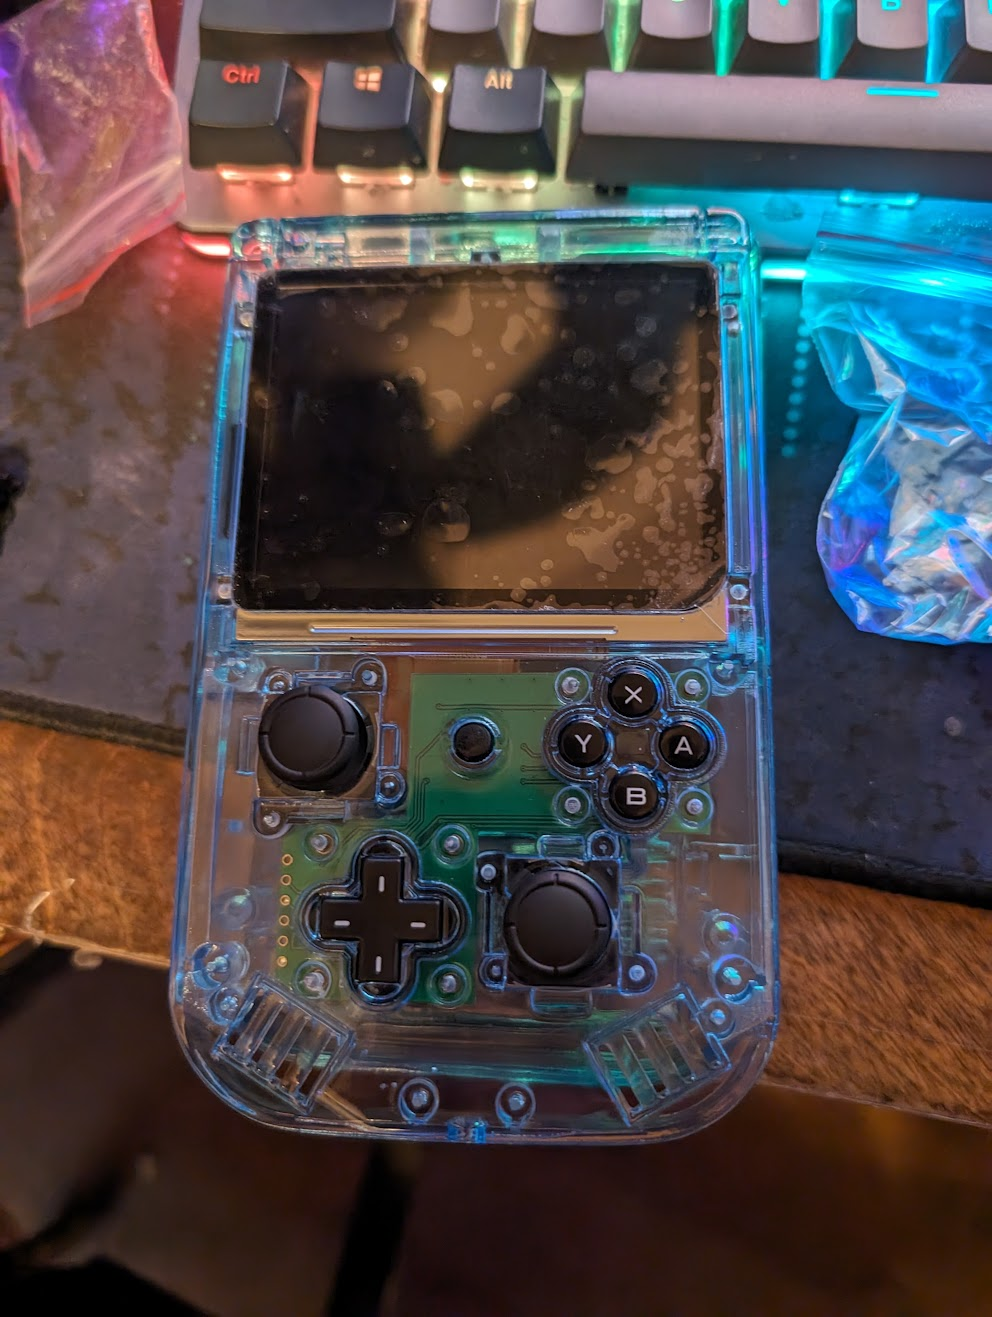
As StezStix Fix? on YouTube would say, "Stupid buttons."
That's all for today. I'll be working on assembling the bottom half of the shell tomorrow and start on some of the wiring as well. Till next time!
I ended up throwing away the entire shell and deep cleaned the mobo and modules. After relocating the bluetooth module I was able to finally get a wiimote to connect and loaded it with RVLoader. Then it was time for beautification:
Take that roaches.
As you can see, I have decided to go overkill and relocate all the modules. I'm also going to be installing a Fuji Flex to have all the awesome video settings provided by GCVideo. Here is a great picture of where the FPGA would go, IF I HAD ONE. Thanks customs.
As I wait for the government to relinquish my chips, I have been able to at least start with putting the shell together:
So pretty and shiny.
I went with a resin print from PCB way this time after I ruined my own 3d printed cases that I had worked on for 2 weeks sanding, priming, painting.... I digress. I'm glad I went with this shell because it looks very sleek and feels great in the hands. And so the assembly begins:
Hey, don't peak!
I struggled with getting the buttons to feel good and discovered it was because the screws I was using were too short and causing the membranes to get crushed. After swapping those out the button presses feel much better.
As StezStix Fix? on YouTube would say, "Stupid buttons."
That's all for today. I'll be working on assembling the bottom half of the shell tomorrow and start on some of the wiring as well. Till next time!
Last edited: