
So @supertazon made a super sick Famicom G-Boy a while ago, and when I got my Bambu A1 I knew exactly what I needed to do with it! With Tazon's permission (and a gracious bequeathment of the vector file for his sticker) I have created a modified version of Curtis' DMG lens remix of Dustin's Rev4U files that..... well............. clones his original project. (I'll make some original works soon I swear  )
)
I tried many a time to get a decent all in one print with an 0.4mm nozzle and a 0.2mm nozzle, but I just couldn't. The 0.2mm nozzle had great first layer detail but took 300 years and couldn't print the speaker grills to save its life, and the 0.4mm nozzle printed the shell quickly but couldn't print good text to save its life. Might be my cheapo filament, might be my lack of fine tuning, I dunno. So I came up with a workaround that ended up being like the New3DS custom shell pieces. Pretty much all I did was shave out 0.5mm of the face of the G-Boy and have it print as a separate object so that the main body can be printed by a larger nozzle for speed, the faceplate can be printed by a finer nozzle for text/image quality, and then the two just fit together with a bit of superglue to bond them!
I found it to be pretty simple to assemble and stick together, although I have only had reliable fitment when printing the front shell on its back with the controls facing up. For some reason printing face down, even with 0mm gap breakaway support material just never fits properly. Needing so much support material does add to the print time, but personally I think it's worth it.
Completed front shell! My filament is really wet so don't mind the blobbing around the letters
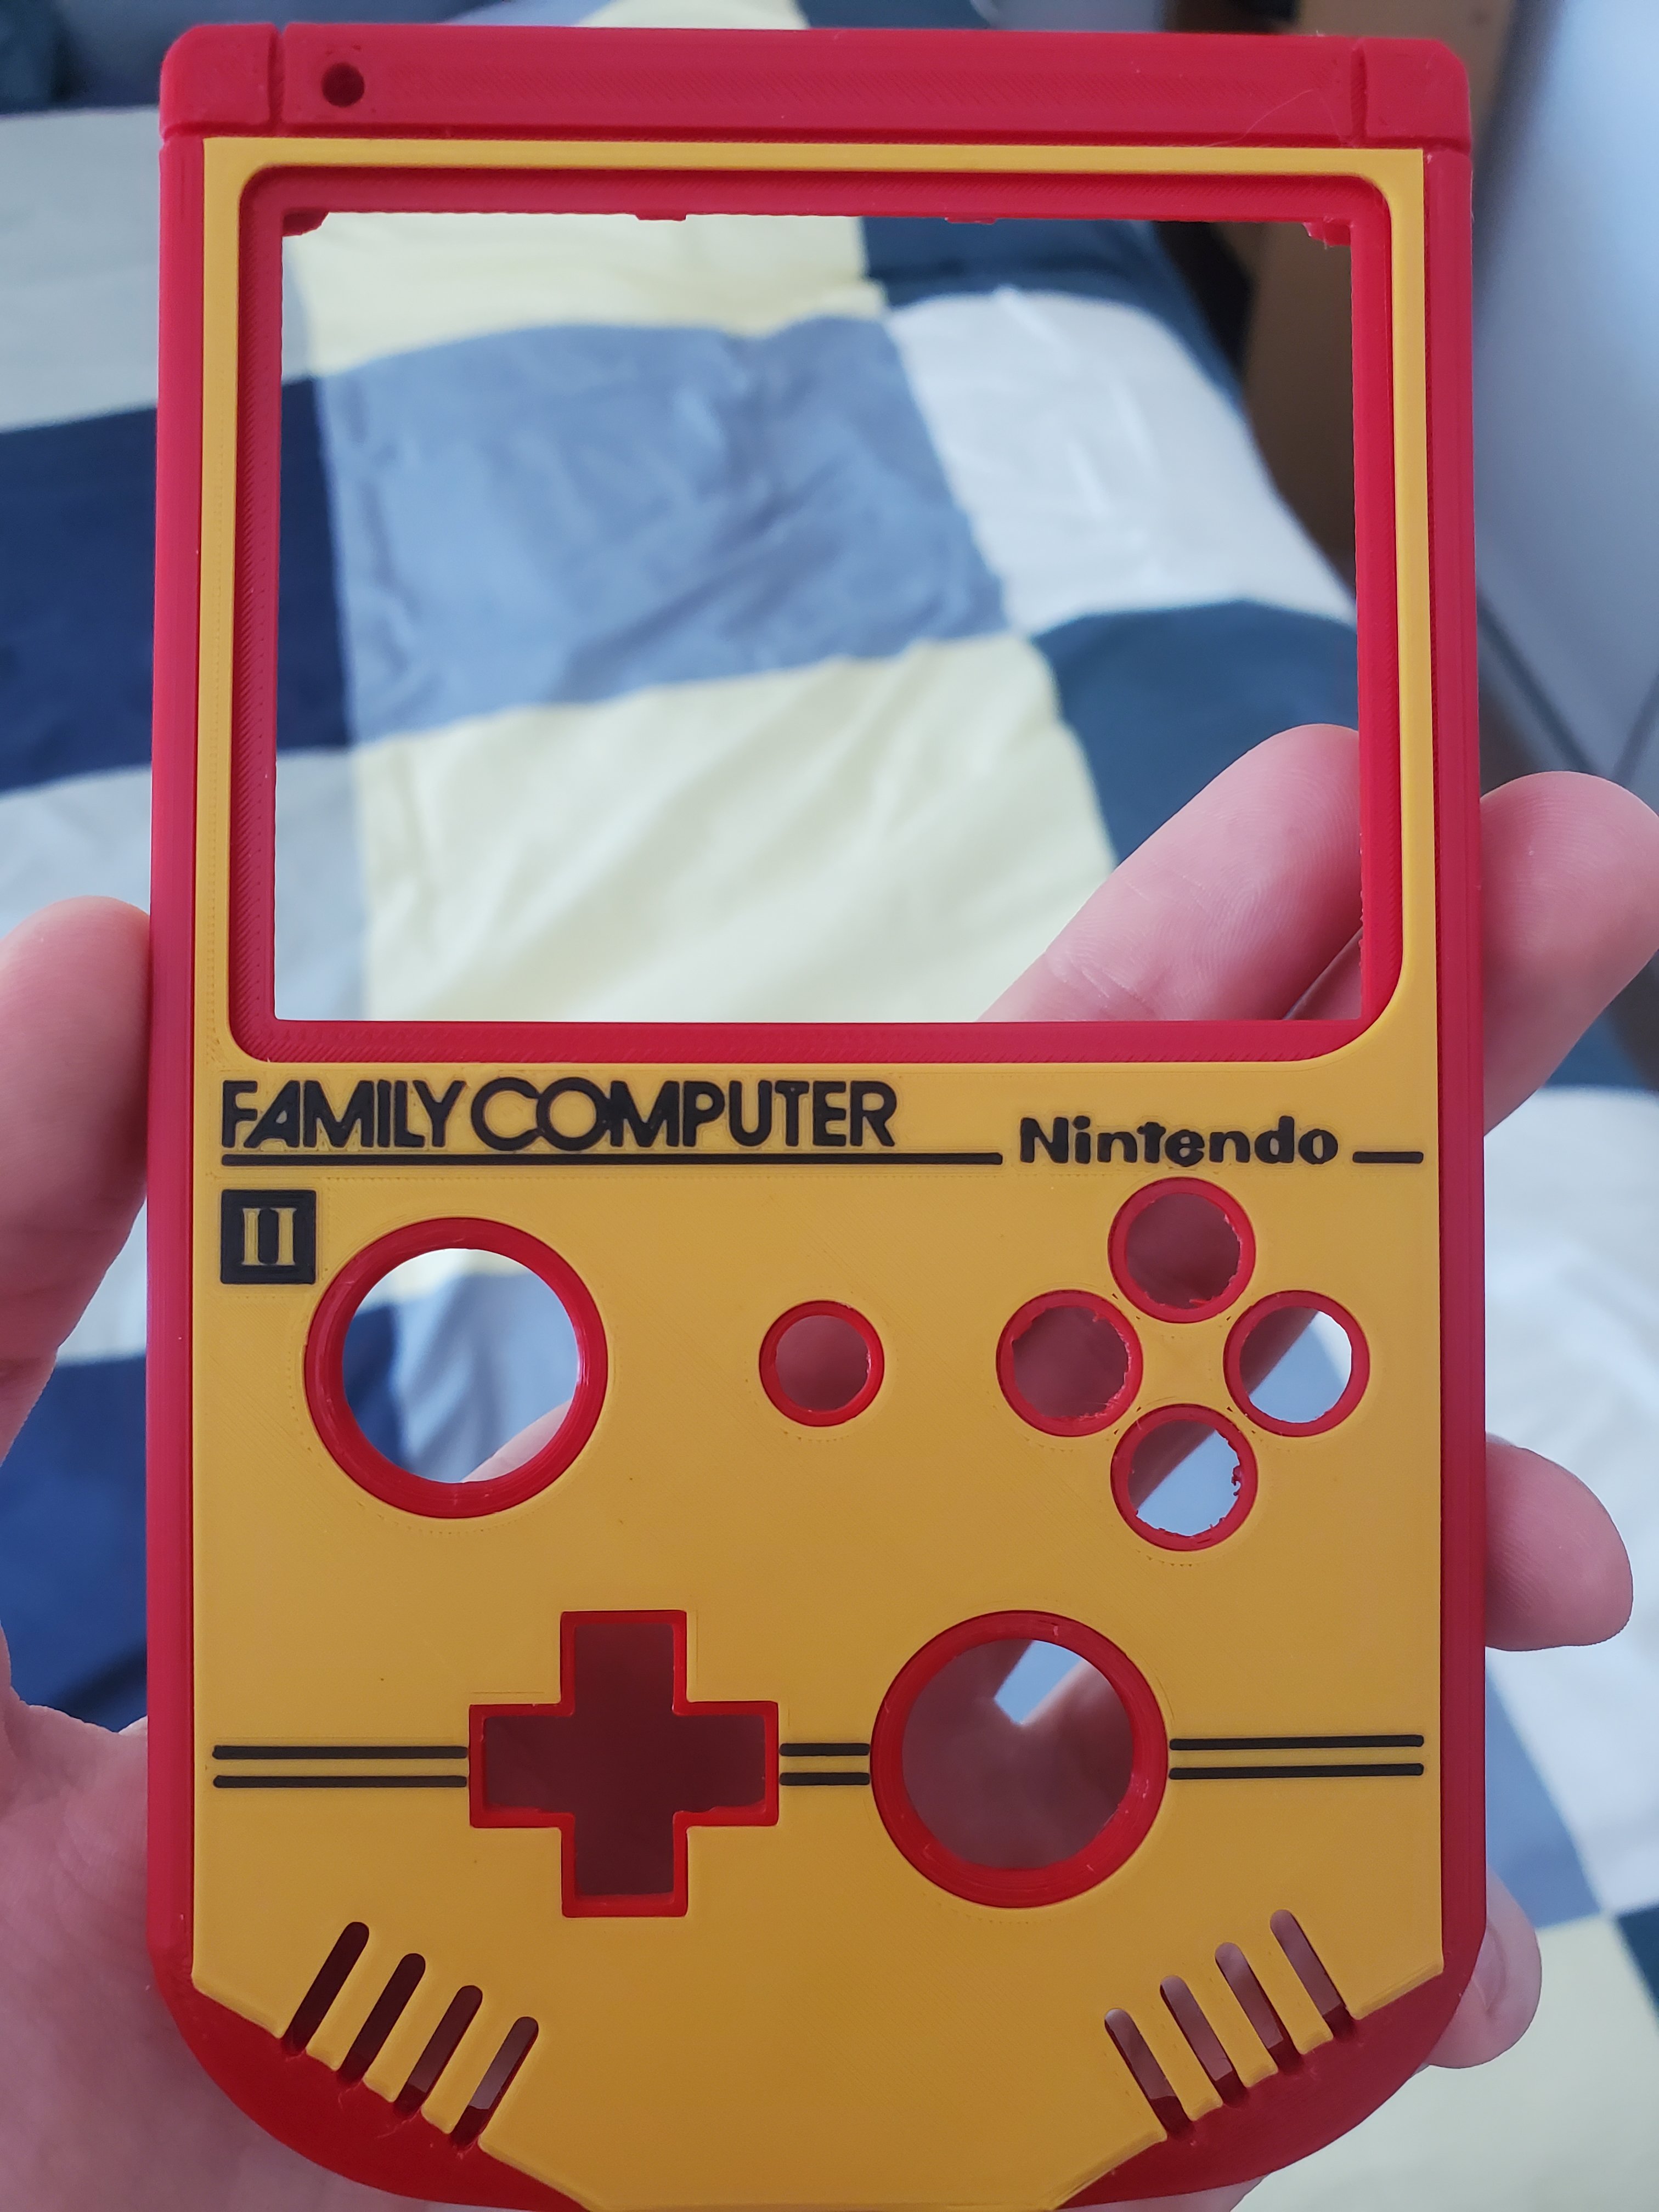
Not bad considering it's 100% 3D printed.
The attached zip package contains:
(Also I'll be selling pre-printed and assembled shell bundles at some point later this year. Don't know when yet, don't @ me)
)I tried many a time to get a decent all in one print with an 0.4mm nozzle and a 0.2mm nozzle, but I just couldn't. The 0.2mm nozzle had great first layer detail but took 300 years and couldn't print the speaker grills to save its life, and the 0.4mm nozzle printed the shell quickly but couldn't print good text to save its life. Might be my cheapo filament, might be my lack of fine tuning, I dunno. So I came up with a workaround that ended up being like the New3DS custom shell pieces. Pretty much all I did was shave out 0.5mm of the face of the G-Boy and have it print as a separate object so that the main body can be printed by a larger nozzle for speed, the faceplate can be printed by a finer nozzle for text/image quality, and then the two just fit together with a bit of superglue to bond them!
I found it to be pretty simple to assemble and stick together, although I have only had reliable fitment when printing the front shell on its back with the controls facing up. For some reason printing face down, even with 0mm gap breakaway support material just never fits properly. Needing so much support material does add to the print time, but personally I think it's worth it.
Completed front shell! My filament is really wet so don't mind the blobbing around the letters
Not bad considering it's 100% 3D printed.
The attached zip package contains:
- Stl files for the front and back shell halves, a blank faceplate, and the text and lines for the Famicom design.
- A step file for the whole assembly in case anyone wants to use the faceplate for their own designs, or tweak the tolerances for the faceplate to get a better fit for their printer.
- A 3mf file for the Famicom design faceplate with the text and lines pre-sized and positioned for a 0.2mm nozzle. I recommend printing the faceplate with the decal against the bed, unless you have a textured bed. The text might look kinda scuffed if printed on a textured bed.
(Also I'll be selling pre-printed and assembled shell bundles at some point later this year. Don't know when yet, don't @ me)
Attachments
-
2.3 MB Views: 13
Last edited: