- Joined
- Aug 3, 2021
- Messages
- 22
- Likes
- 29
Hello all,
Just taken the plunge towards building my own Wii portable. One day many moons ago, I strolled into an independent used game store in Edinburgh Scotland and saw a gamecube demo stand running Rogue Squadron. An N64 gamer as a wee lad, I wandered over incredibly intrigued at this other worldly looking contraption. This was the first ever time I had put my paws on the gamecube controller and was absolutely transfixed with how it felt (and how freaking fun RS was on GC!! - clicking the shoulder buttons all the way down to see your x-wing fold and unfold it's wings was the coolest damn thing 11yo DeadTreeCarcasses had ever seen)
Ultimately, I want to incorporate that nostalgia and feel of the gamecube controller into my portable design. I am hoping my CAD modelling skills are up to the task and I have been slowly familiarizing myself with Fusion 360 (use Seimens NX at work). For full authenticity and feel, my goal is to model the shoulder button mechanism and PCB mounts so that I can essentially transplant the OG button and slider PCB. Thanks to the excellent 3D mesh scans, Fusion 360s calibrated canvas functionality, and the bountiful resources you guys have already amassed - I think this should turn out to be a lot of fun!
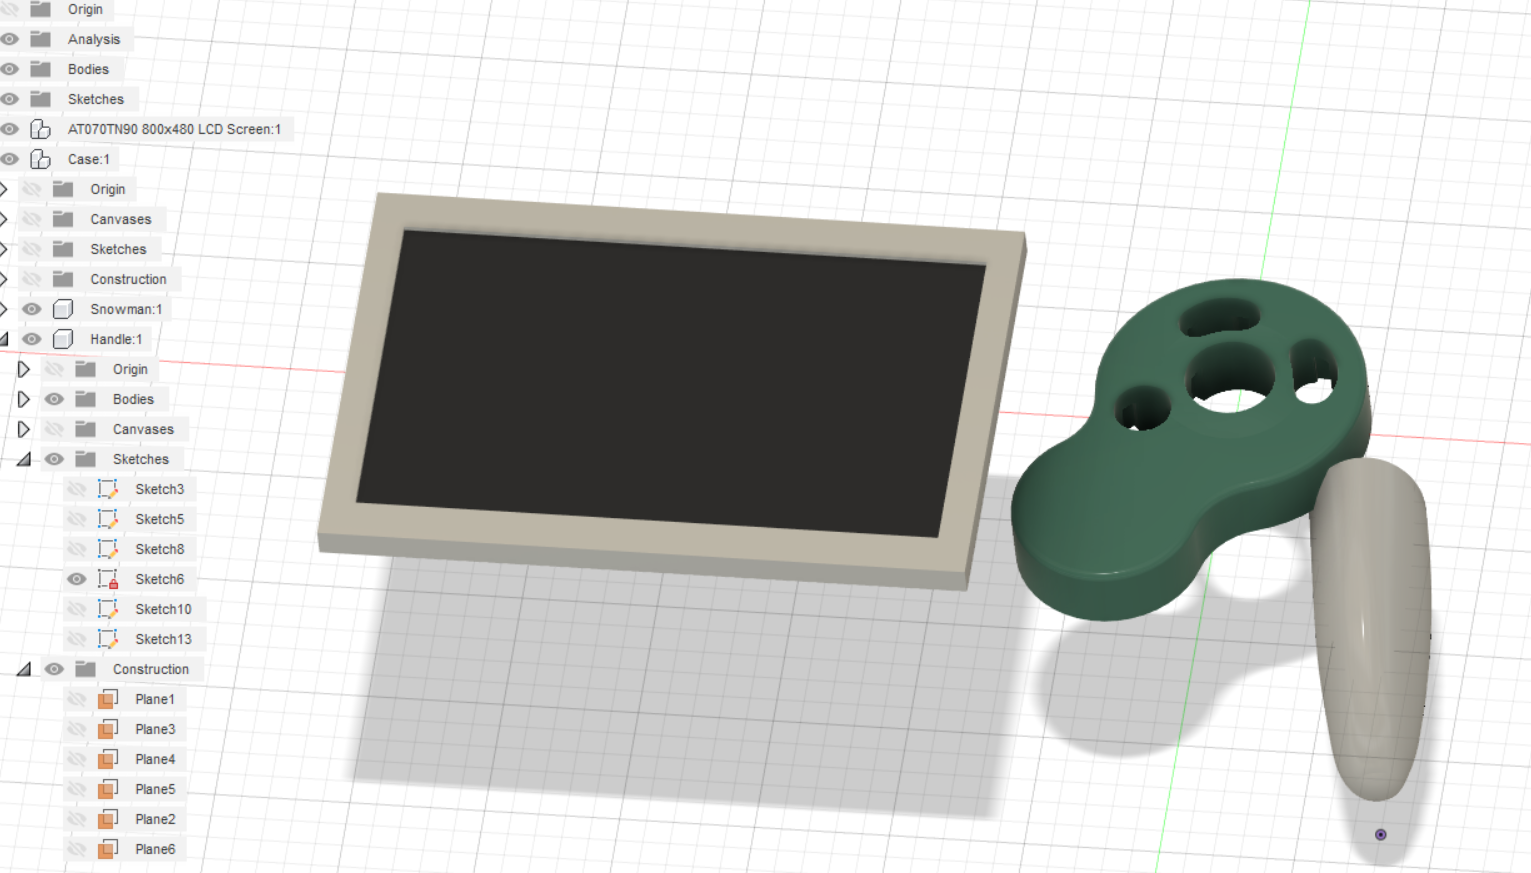
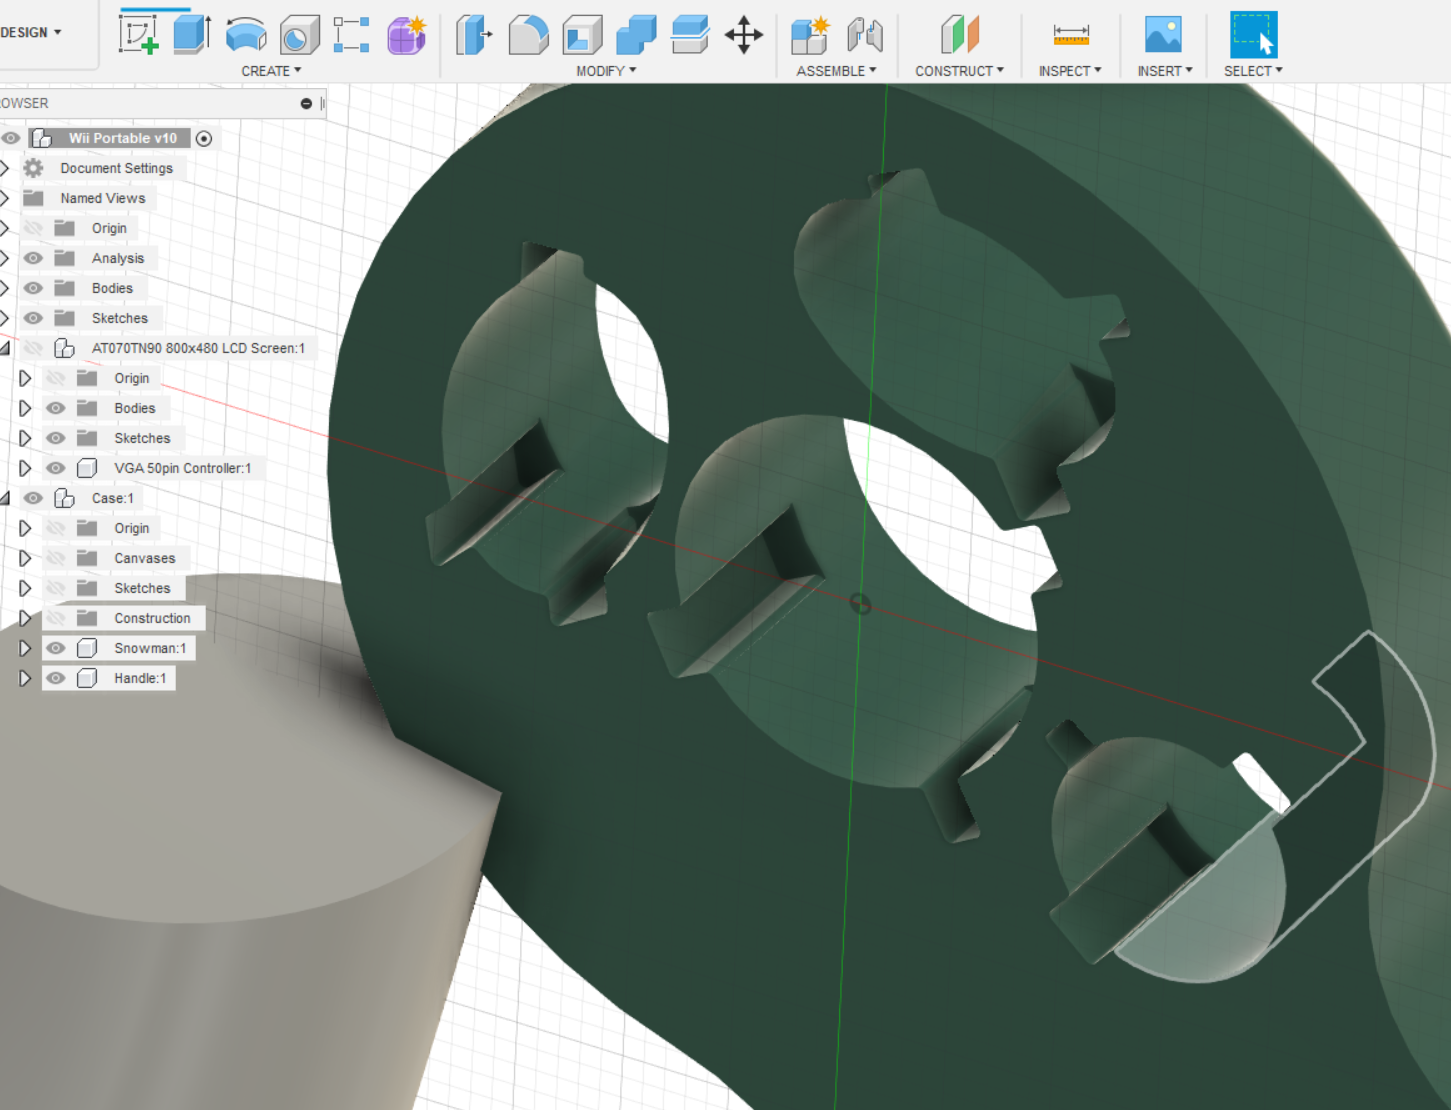
Case model progress so far:
BOM thus far:
Don't yet have:
Just taken the plunge towards building my own Wii portable. One day many moons ago, I strolled into an independent used game store in Edinburgh Scotland and saw a gamecube demo stand running Rogue Squadron. An N64 gamer as a wee lad, I wandered over incredibly intrigued at this other worldly looking contraption. This was the first ever time I had put my paws on the gamecube controller and was absolutely transfixed with how it felt (and how freaking fun RS was on GC!! - clicking the shoulder buttons all the way down to see your x-wing fold and unfold it's wings was the coolest damn thing 11yo DeadTreeCarcasses had ever seen)
Ultimately, I want to incorporate that nostalgia and feel of the gamecube controller into my portable design. I am hoping my CAD modelling skills are up to the task and I have been slowly familiarizing myself with Fusion 360 (use Seimens NX at work). For full authenticity and feel, my goal is to model the shoulder button mechanism and PCB mounts so that I can essentially transplant the OG button and slider PCB. Thanks to the excellent 3D mesh scans, Fusion 360s calibrated canvas functionality, and the bountiful resources you guys have already amassed - I think this should turn out to be a lot of fun!
Case model progress so far:
- Right hand controller 'snowman' shape for thumb buttons and C stick
- PCB layer button holes / tab slots that loft up into the controller face button cutouts
- Experimenting with lofts and rails to get the shape/look (and hopefully feel of the controller in my palm)
BOM thus far:
- OMGWTF trimmed Wii (received, installed. and tested RVLoader a few days ago)
- Harvested GC buttons, JS caps, trimmed PCB, original membranes, and shoulder slider/buttons
- enough 18650s for 4hrs MIN play time
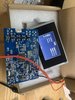
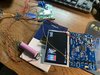
- 5-6 inch screen, ideally IPS
- UV LEDs for sensor bar functionality (with on/off switch?)
Relocations:
Bluetooth chip
MX-Chip (for N64 / VC emulator)
Purchased:
RVL-PMS-2
GC+ 2
U-Amp 2
PMS-PD 2
Black Wii
Black GC Controller for parts
Don't yet have:
- decided on screen / control board
- fan / heatsink
- speakers
- necessary magnet wire, coated wire, liquid flux