Can't forget about the back half of the portable. I got the batteries and power supply board mounted first.
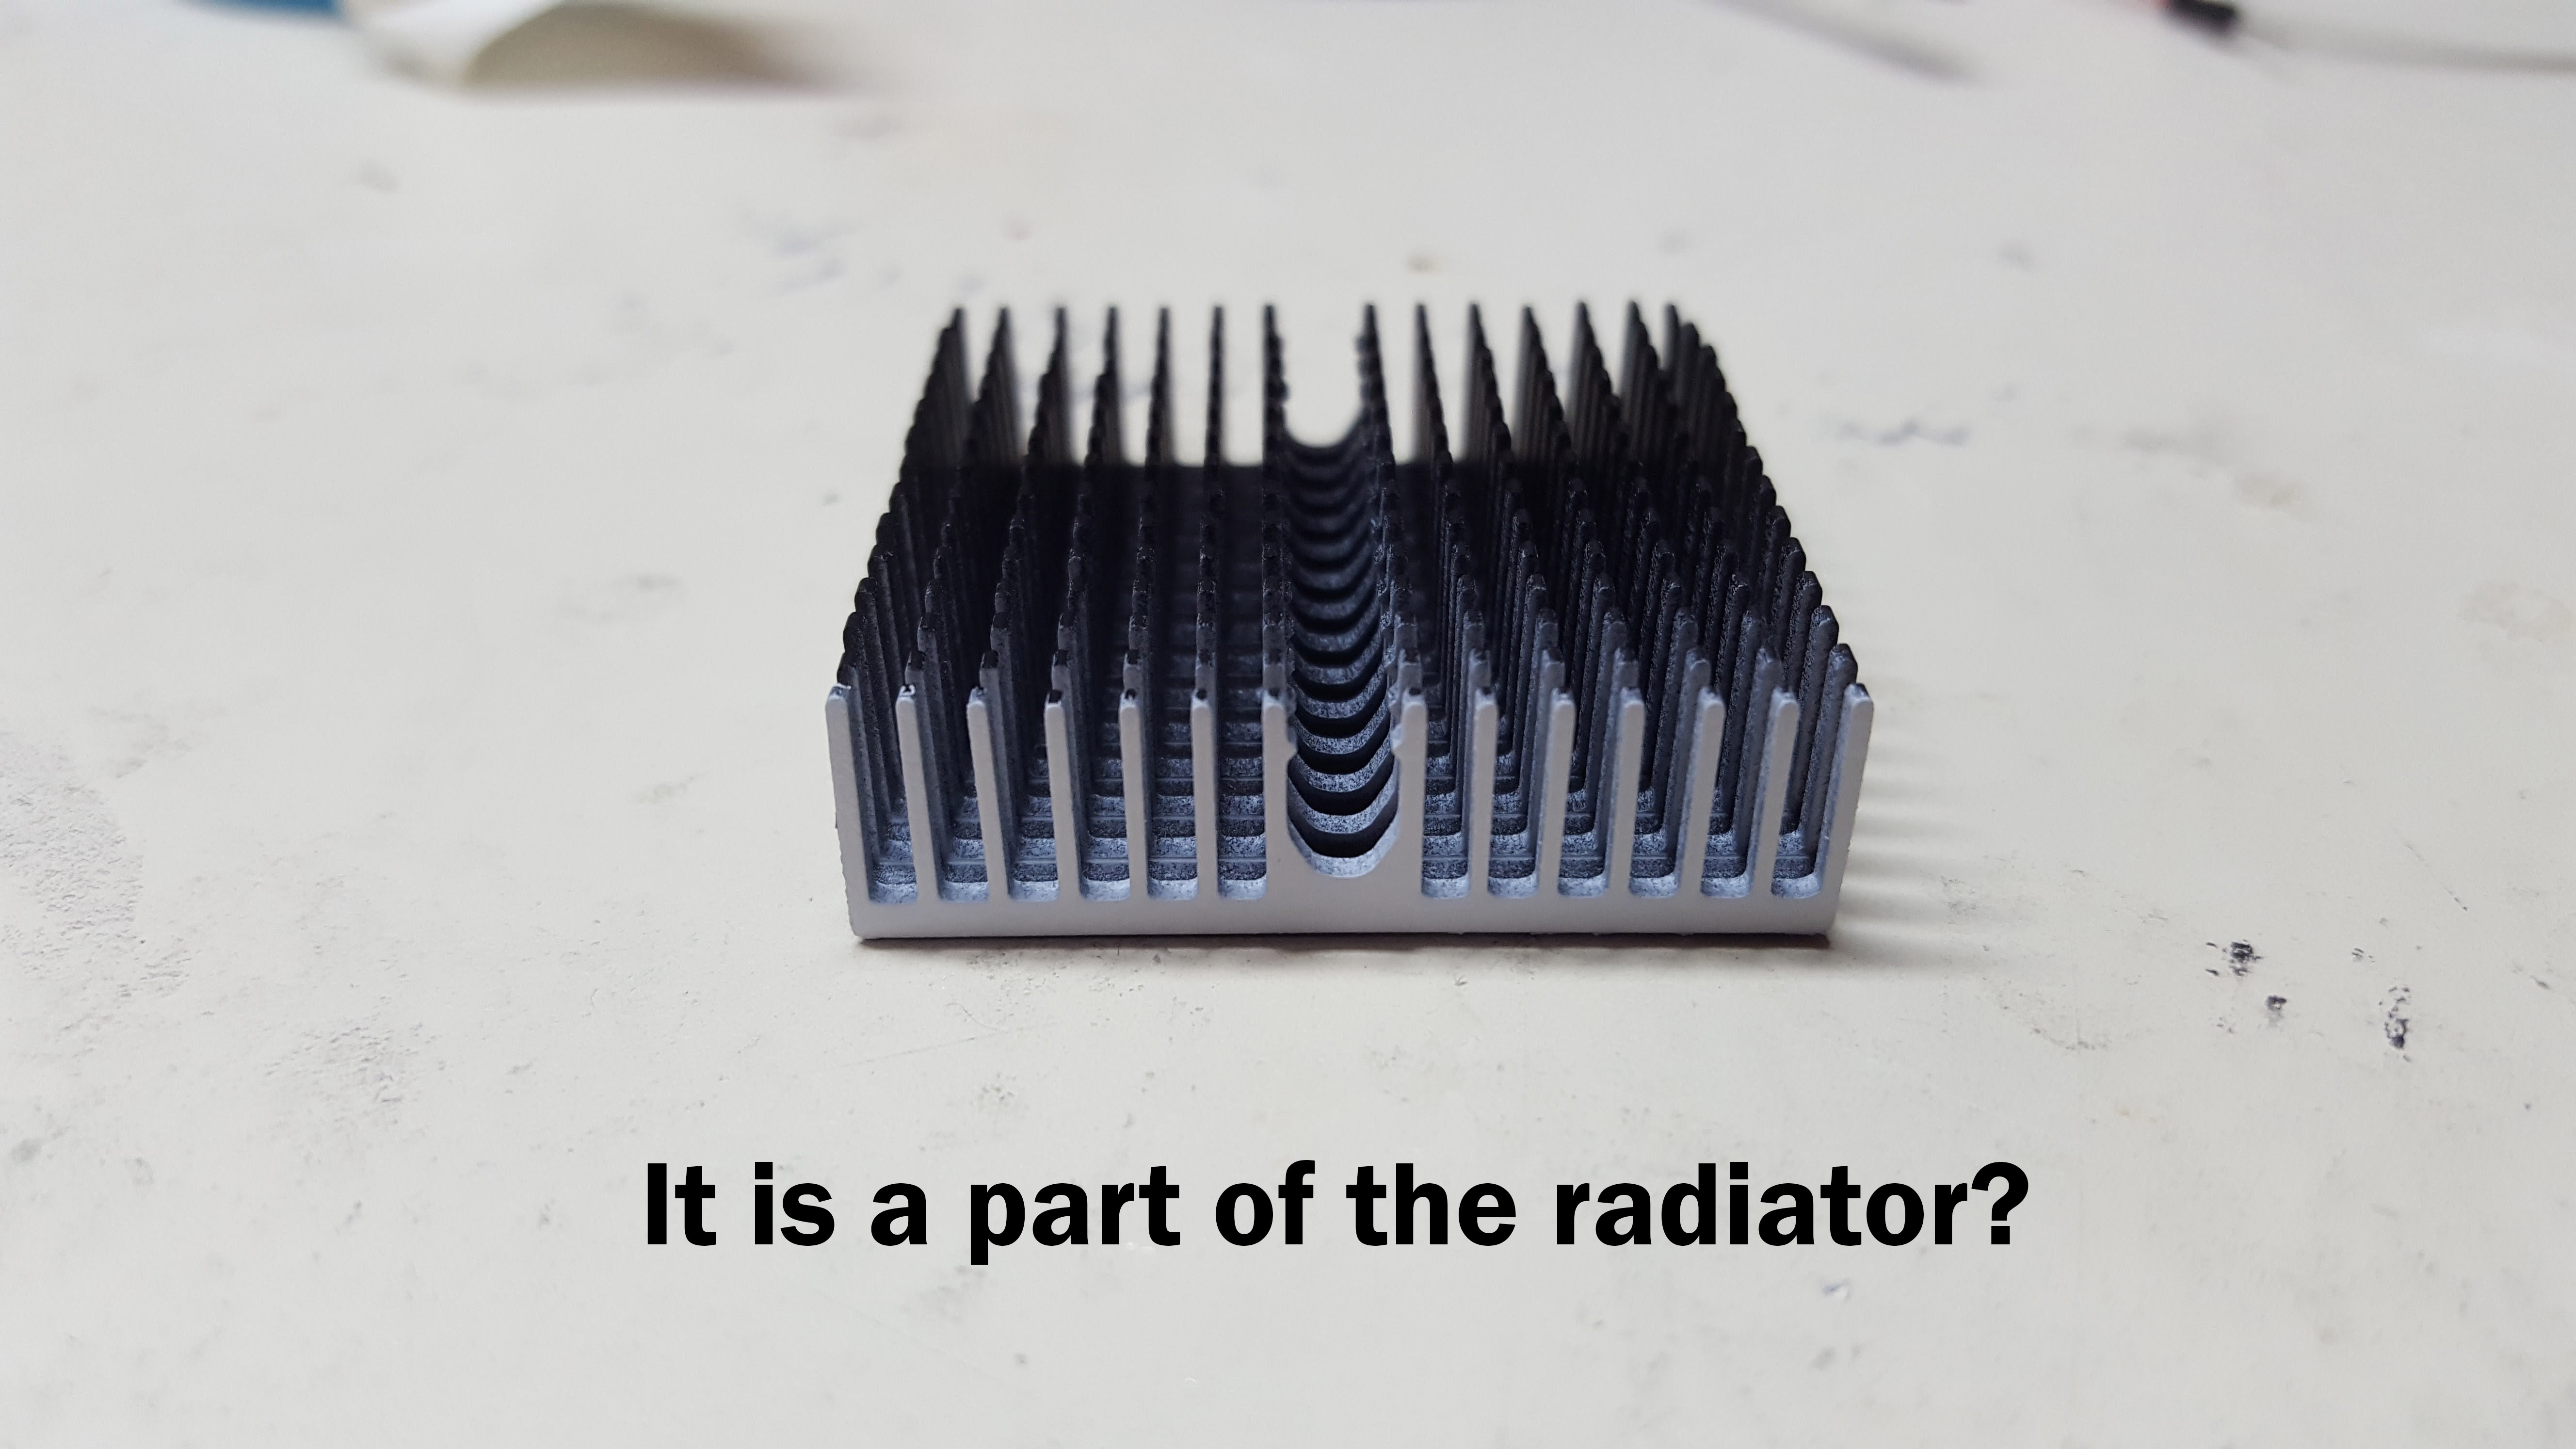
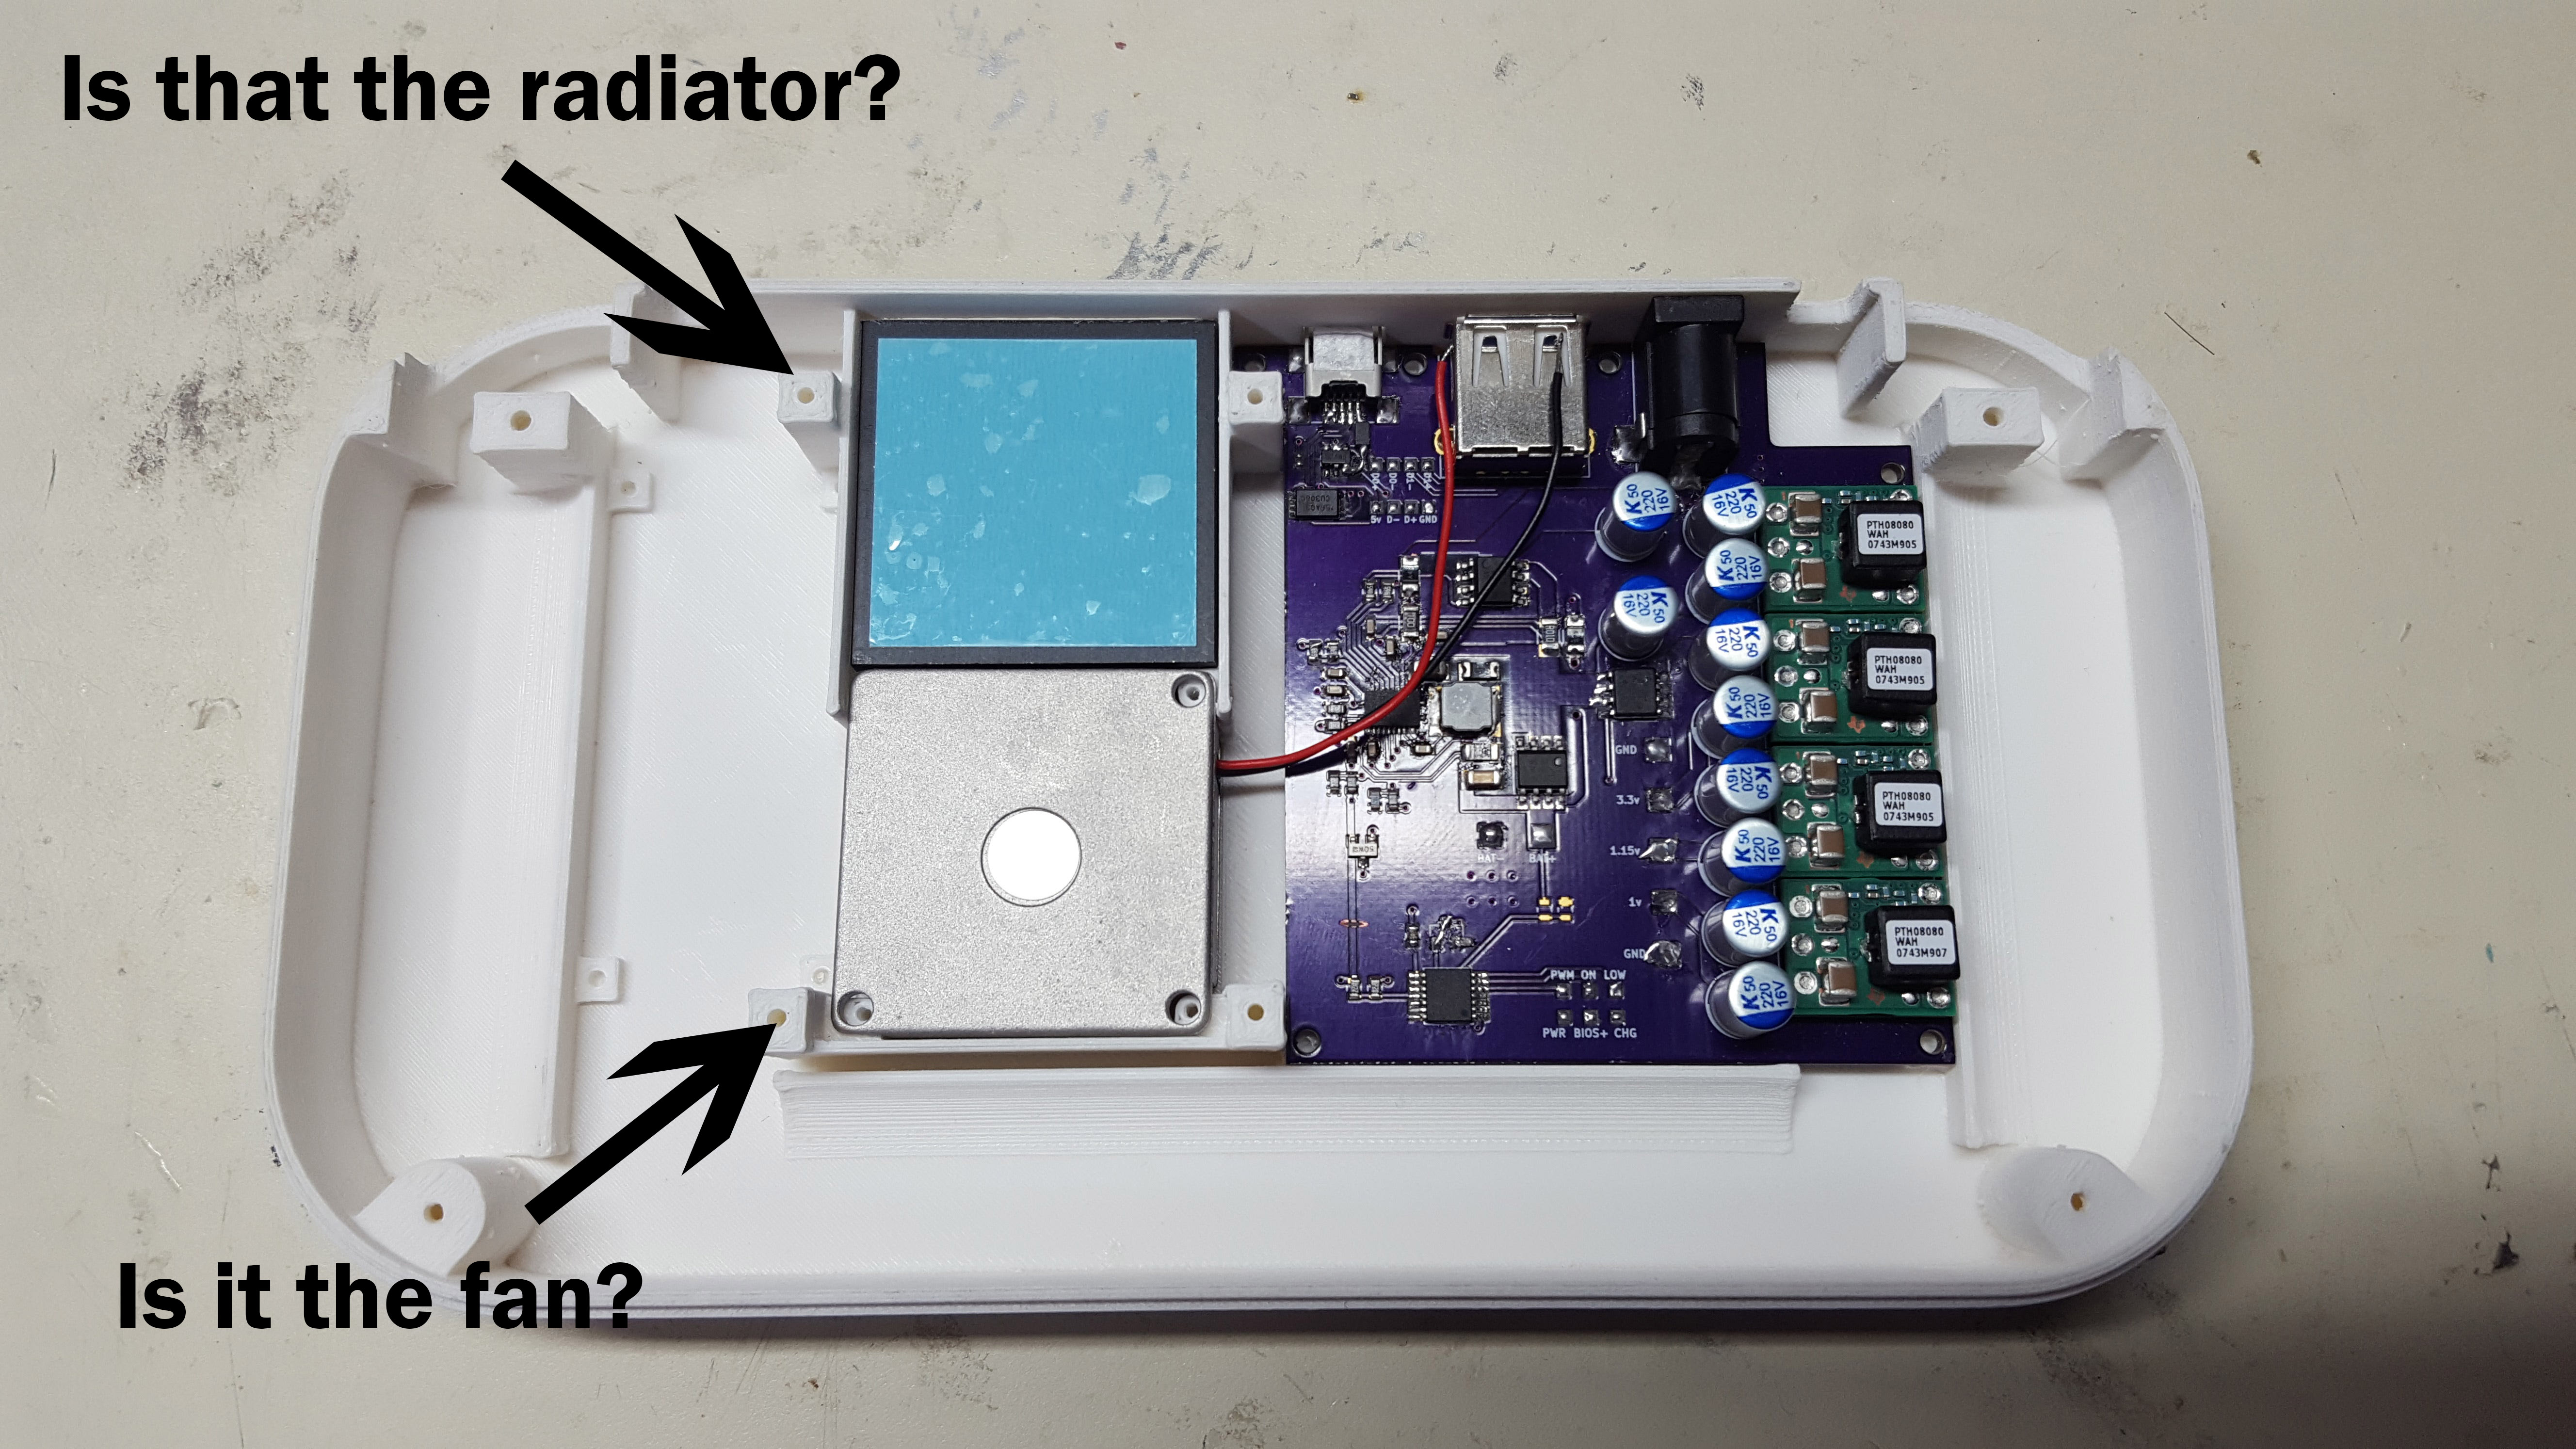
Next I got the AV board mounted, put some thermal pads on the heatsink and fan, and stuck a copper sheet on them. I also put a bunch of wires on the power supply board so I can be ready to lay the motherboard down. The twisted wires near the top are USB data wires that go to the motherboard and flash drive.
My motherboard trim is pretty conservative; I don't need any super slimming techniques to get it to fit in this case.
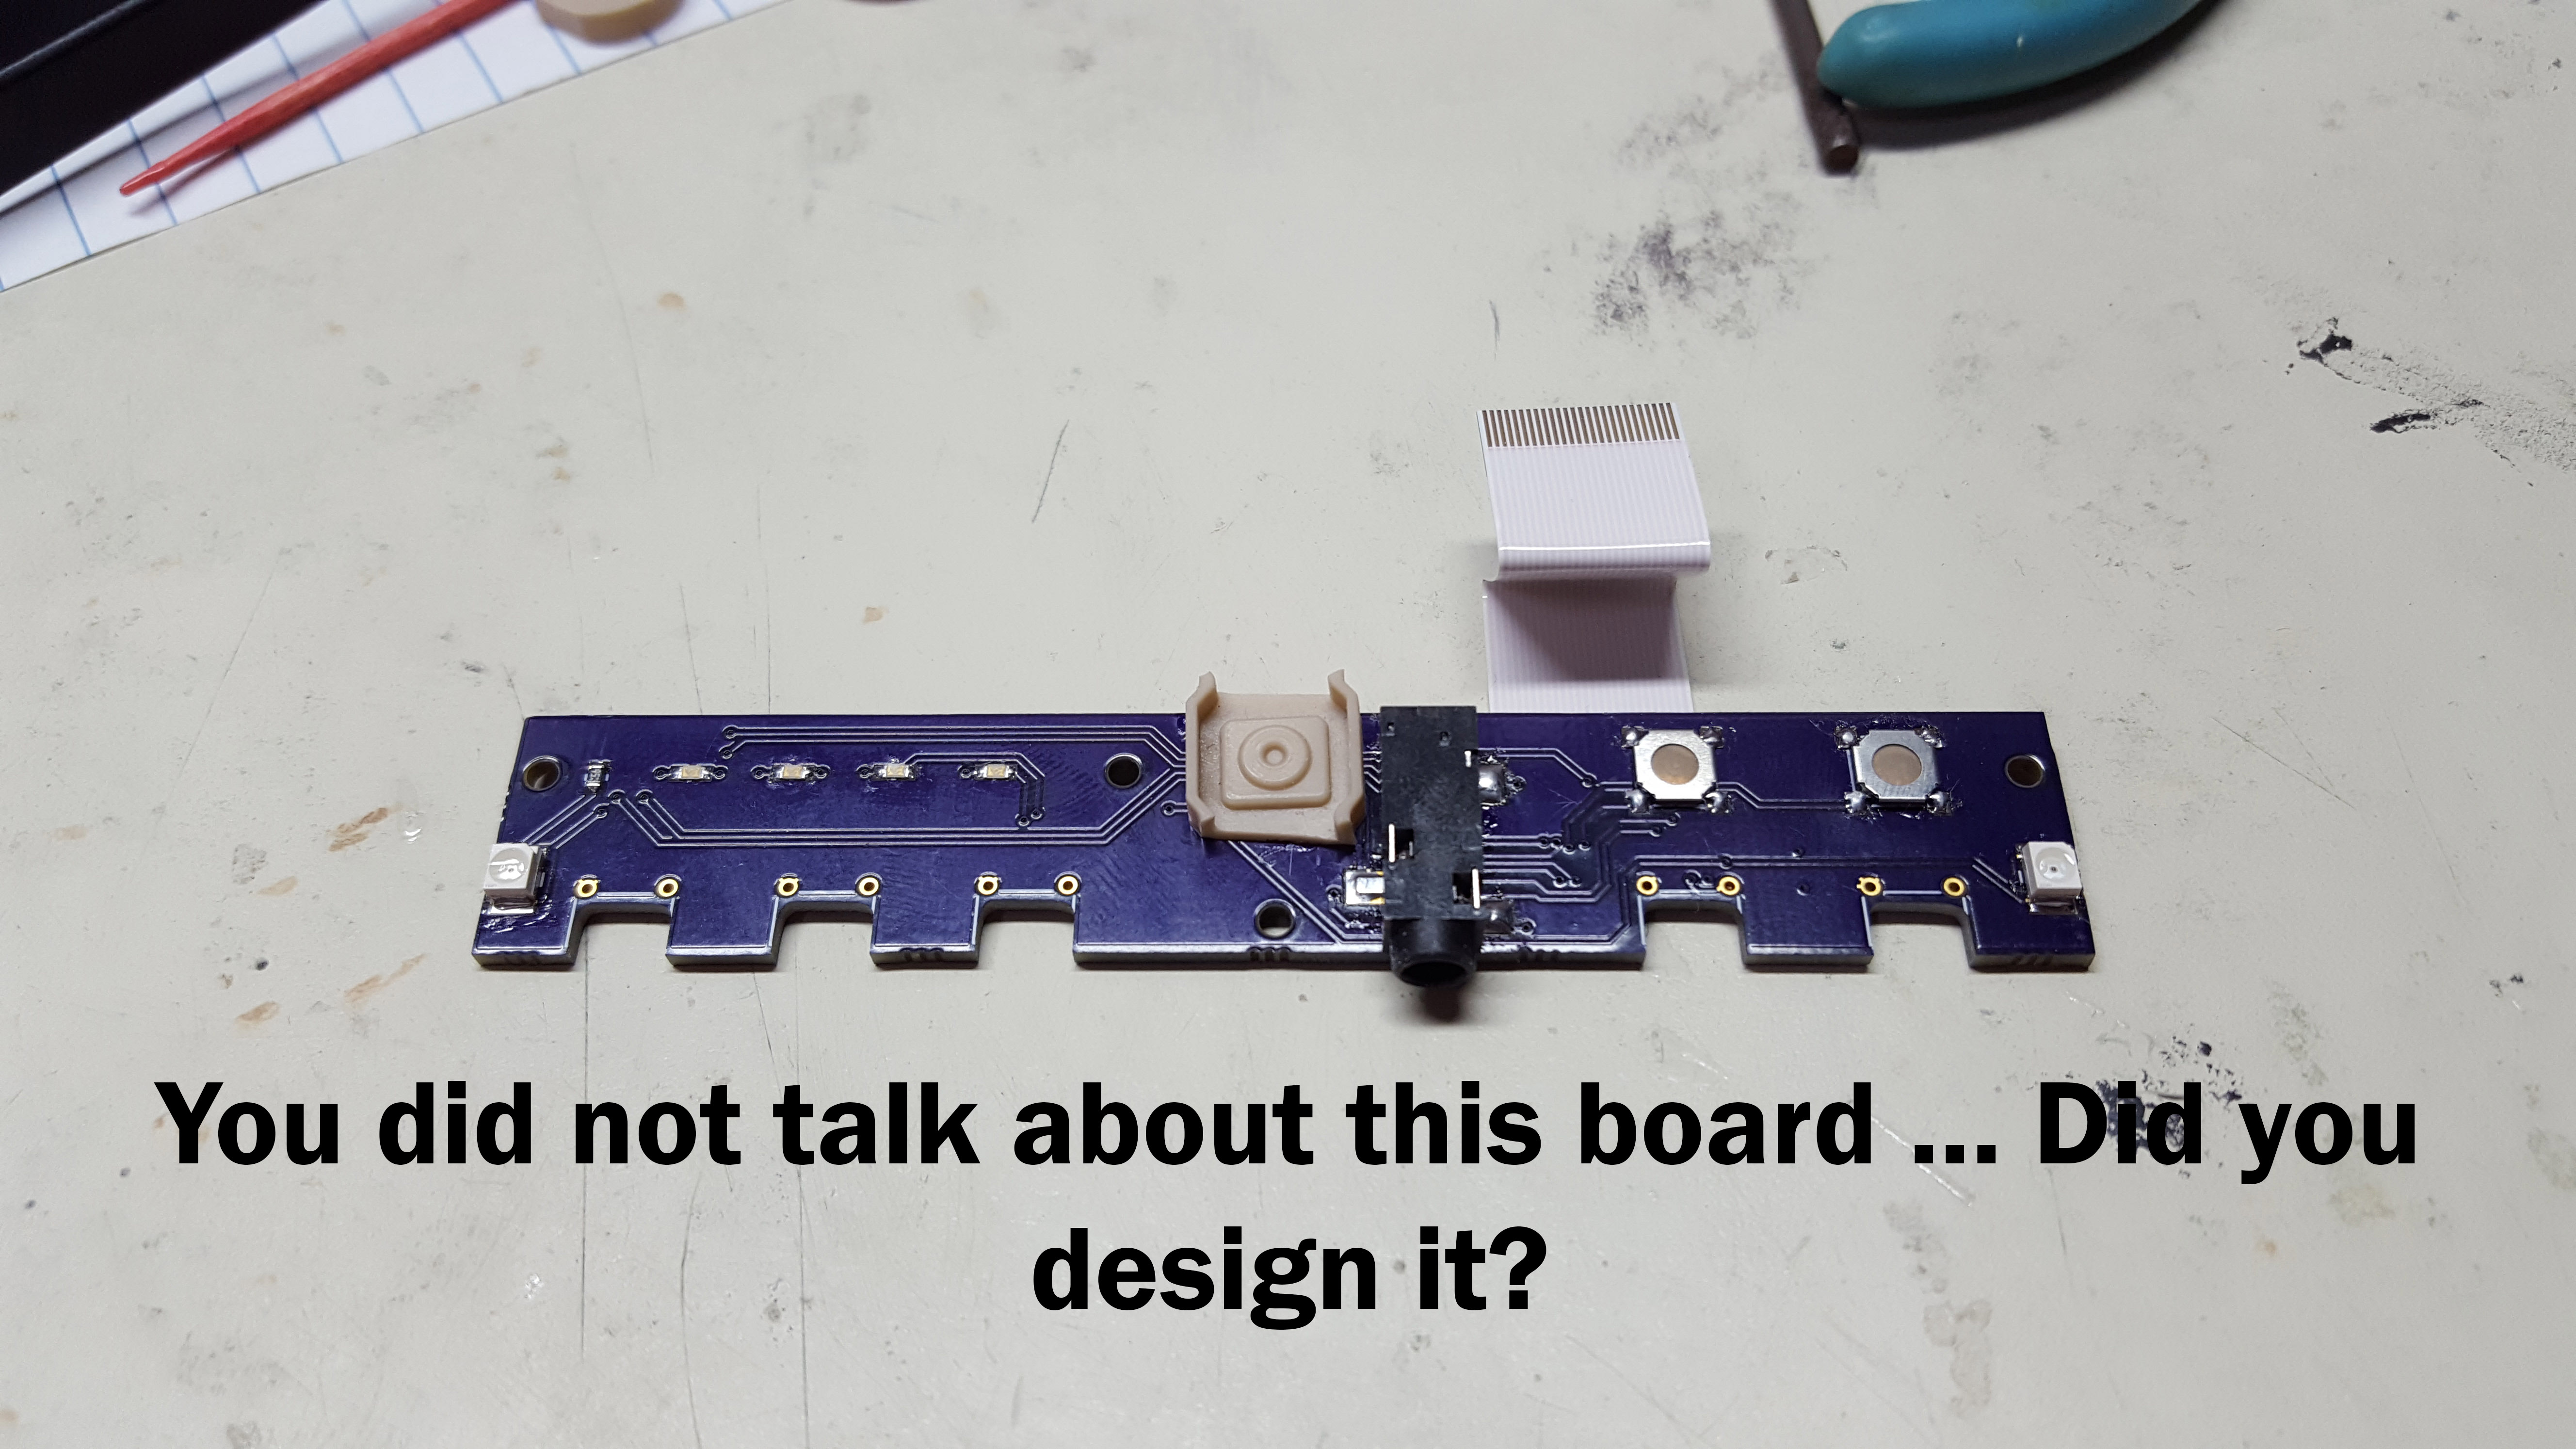
All wired up (mostly). The L-shaped board helps the wires be a bit more organized, as all the power wires from the power supply board can go to one spot. The board is shaped that way because there was originally going to be a WiFi module sitting in that notch, below the NAND chip, but I didn't have any place to put the antennas, so I decided against it.
The AV board wiring took a little while, but it worked without any issues. The black and gray wires are shielded wire from Wii WiFi antennas, definitely my favorite shielded wire to use. They carry the analog audio and video clock signals. I've found that it's really necessary to shield the 54 MHz clock signal if you're using GCVideo on Wii.
Here are the two halves, finally connected. There's also a 30-pin FFC between the two halves carrying HDMI video and audio that I haven't attached yet.

")


