
- Joined
- Feb 25, 2016
- Messages
- 1,437
- Likes
- 2,887
This is my 2016 competition entry. I've enjoyed participating so far, thank you Bitbuilt for hosting this opportunity. All the builds are looking great, good luck to all the participators finished and still modding!
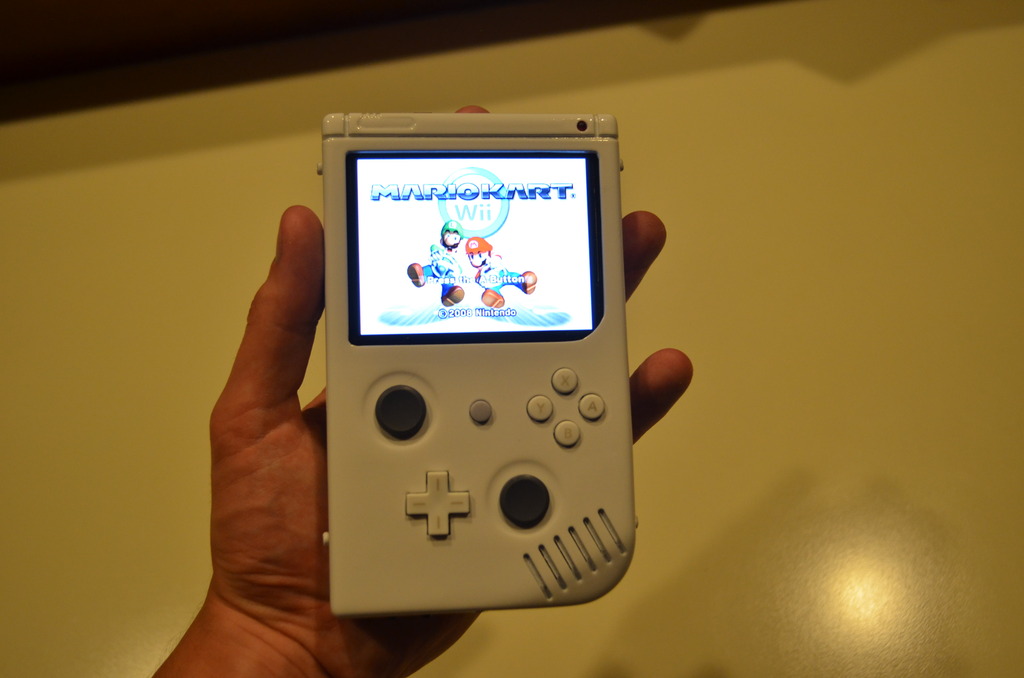
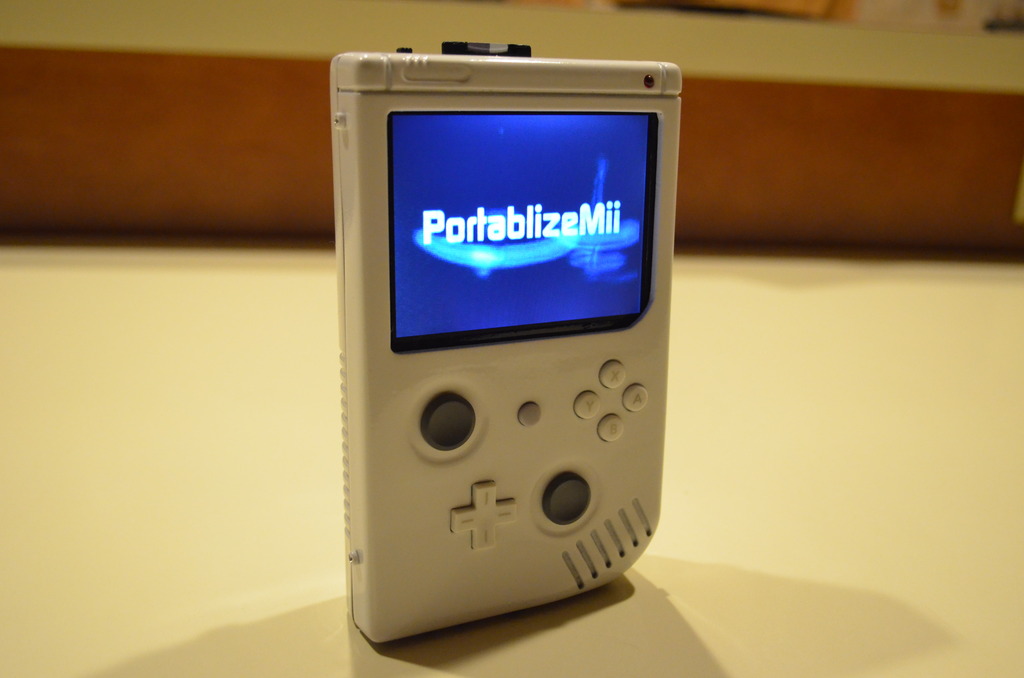
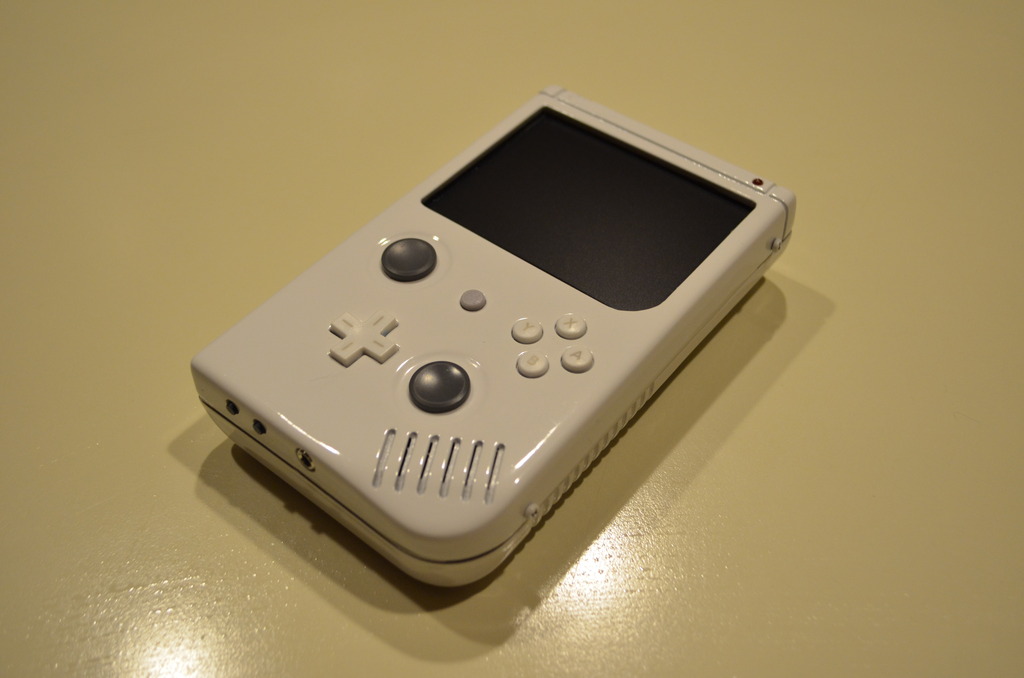
The Wiiboy rev2:
-LMAO trimmed Wii
-4 voltage regulators. 1v, 1.15v, 3.3v, and 5v (just for fan)
-6800mah Panasonic batteries
-3.5” screen
-3-way on/off switch for charging and wall power through same jack
-Switching headphone jack and speakers
-Double-tact modded shoulder buttons
-Z button made using actuator from clicky tact on top of soft tact from an original GC controller
-Volume minus doubles as sync button (why clutter a small case with buttons that are not used often)
-SD card reader (running off 3.3v)
-Low battery indicator active around 15 minutes left
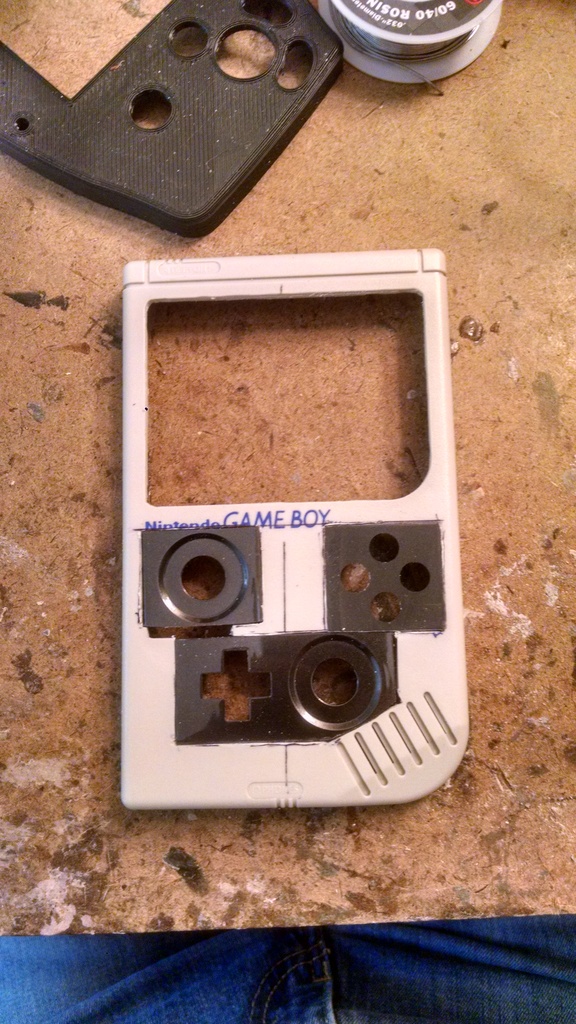
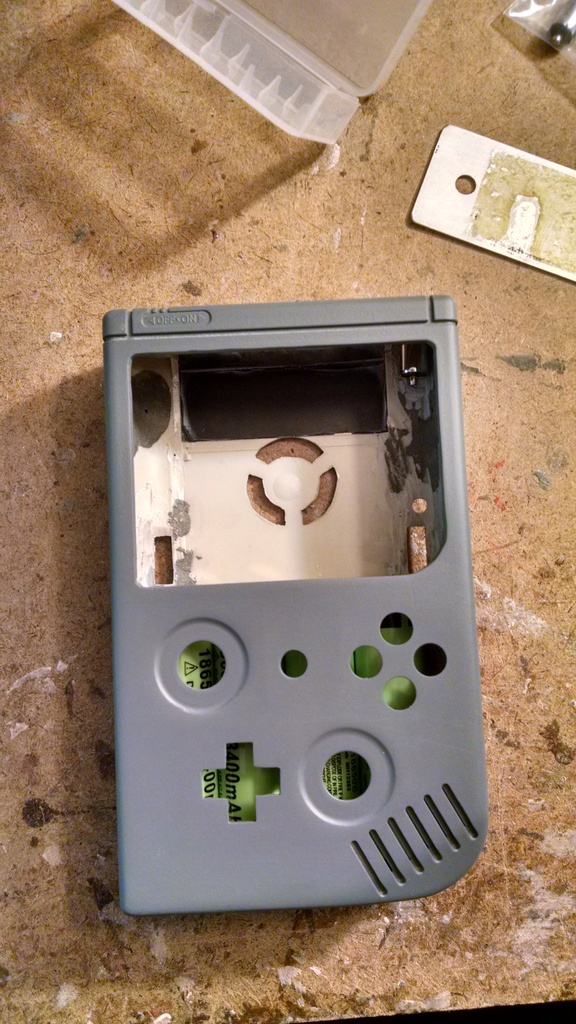
June 19: Cut up an original DMG case and super glued the 3DS pieces in.
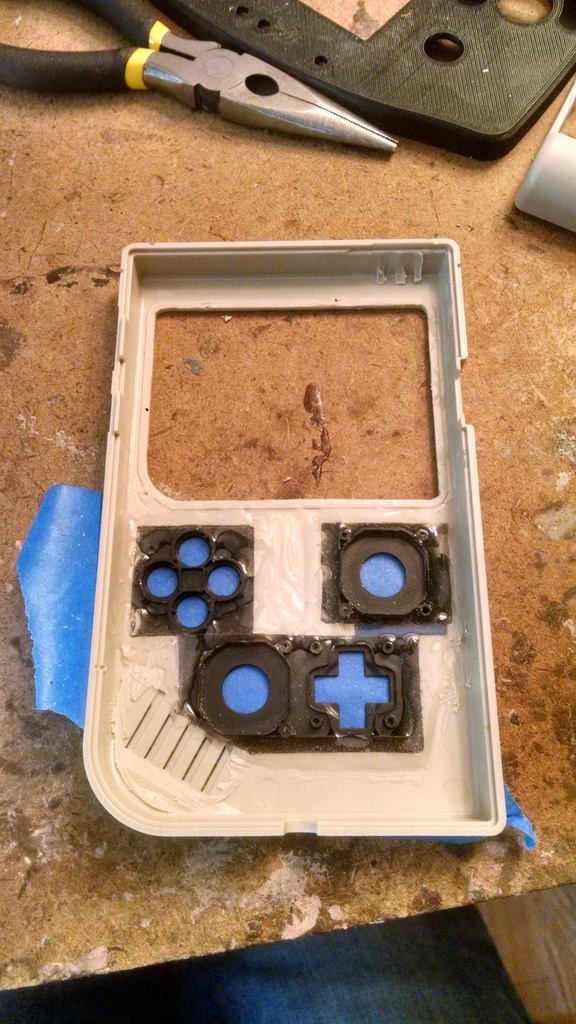
June 19: Lather it in epoxy
June 23: It’s a tight fit. The 3DS sliders basically rubbing against the batteries.
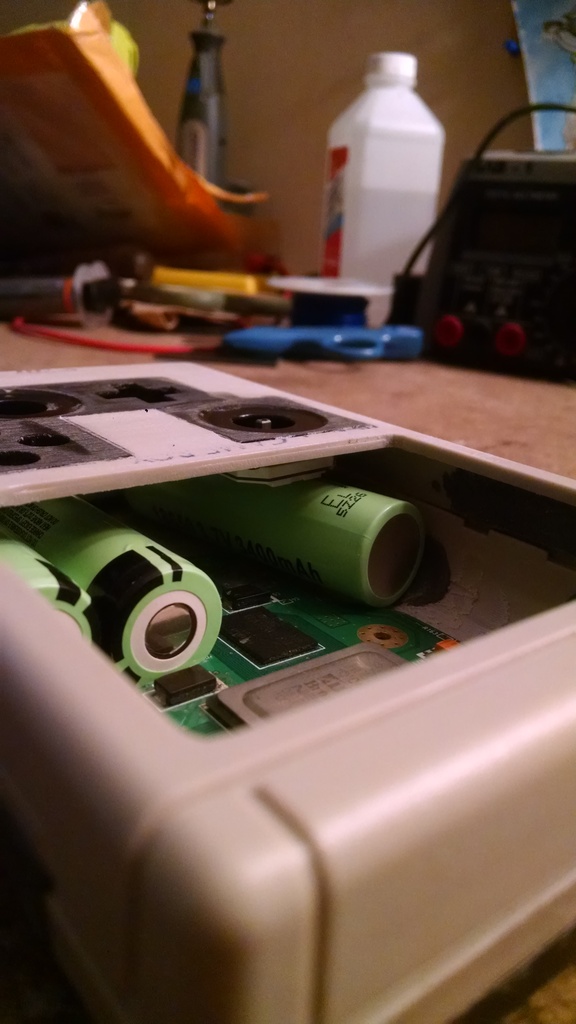
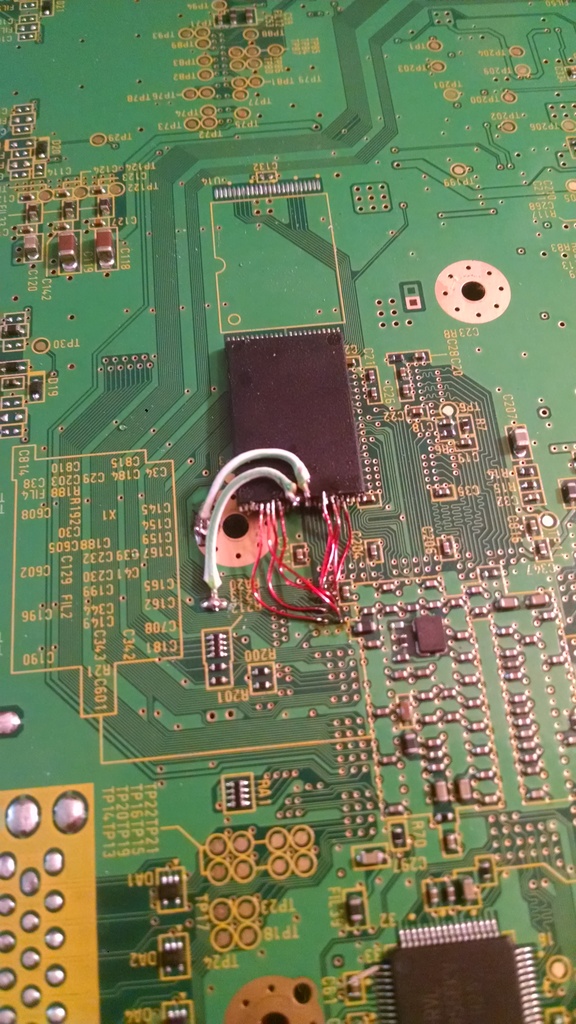
June 25: Relocating the NAND took a few hours but the rest was standard.
July 1: Primed
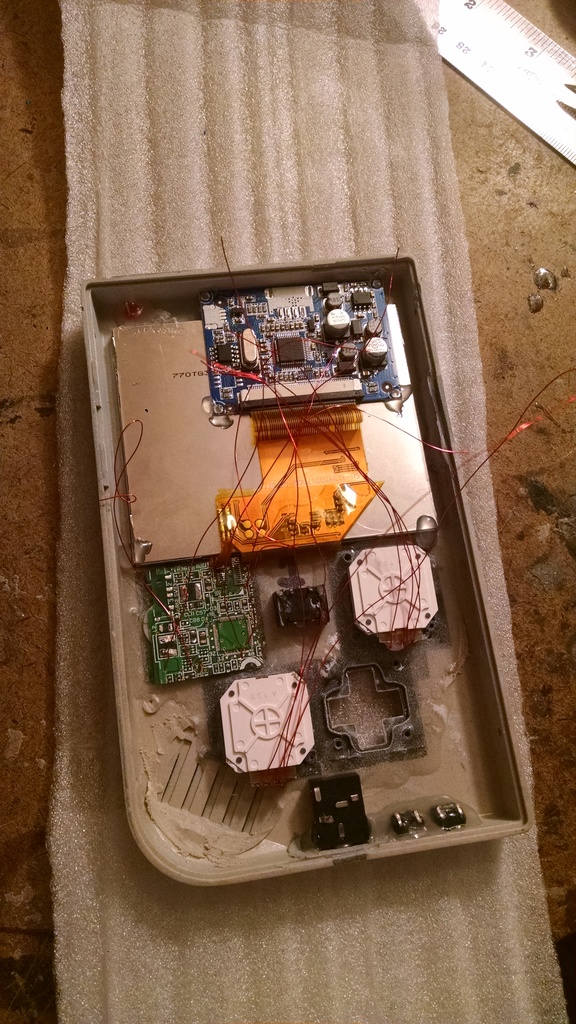
July 12: Mounted the controller pieces in the front case. I used magnet wire for this as the batteries are basically touching the front half so I will have to keep this tidy.
June 19: Lather it in epoxy
June 23: It’s a tight fit. The 3DS sliders basically rubbing against the batteries.
June 25: Relocating the NAND took a few hours but the rest was standard.
July 1: Primed
July 12: Mounted the controller pieces in the front case. I used magnet wire for this as the batteries are basically touching the front half so I will have to keep this tidy.
No Spaghetti wires.
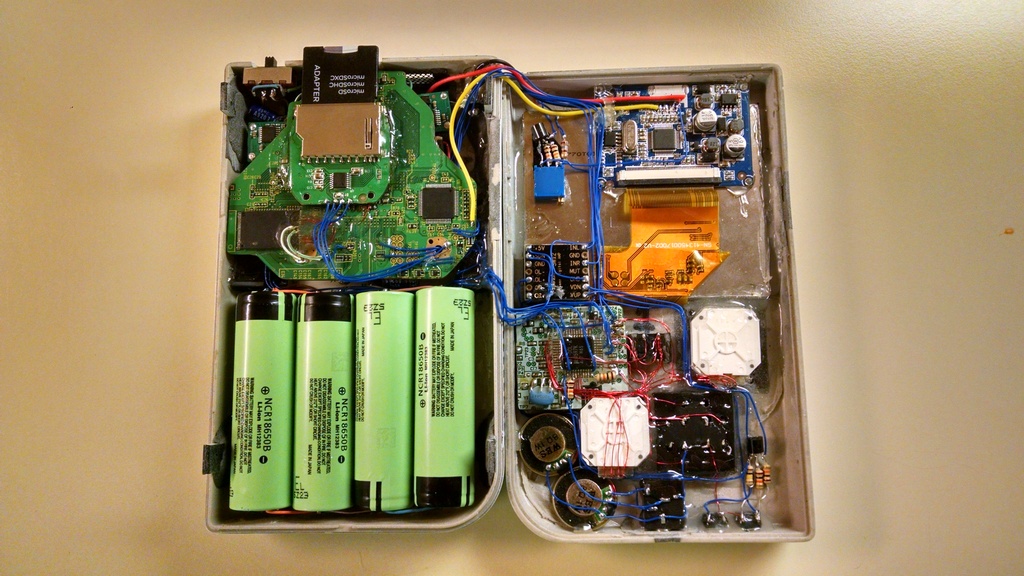
Transistor for the volume minus button sync mod. Thanks to Aurelio for helping me with this during my first Wii portable.
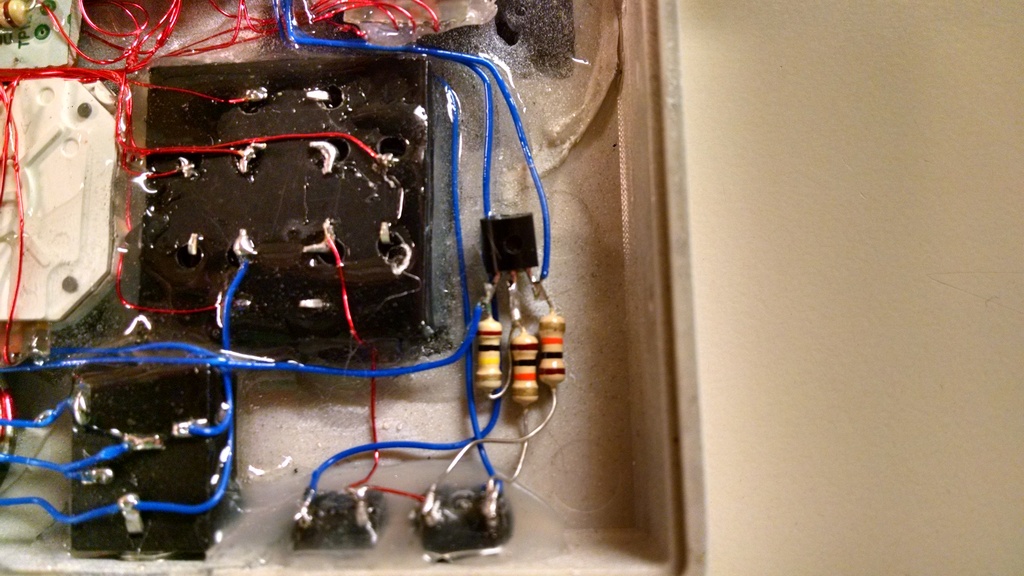
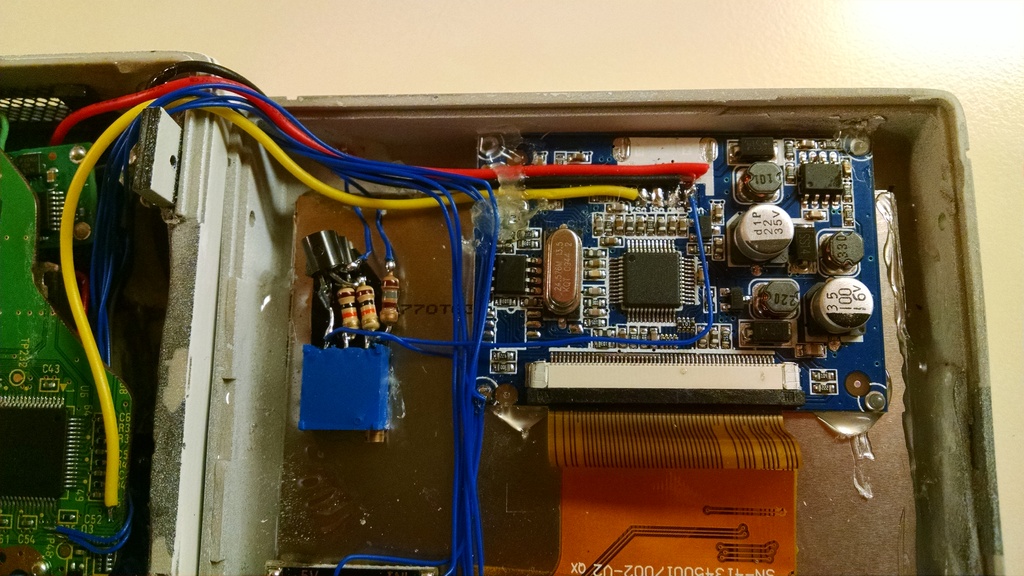
The trimmed GC controller and the audio amp.
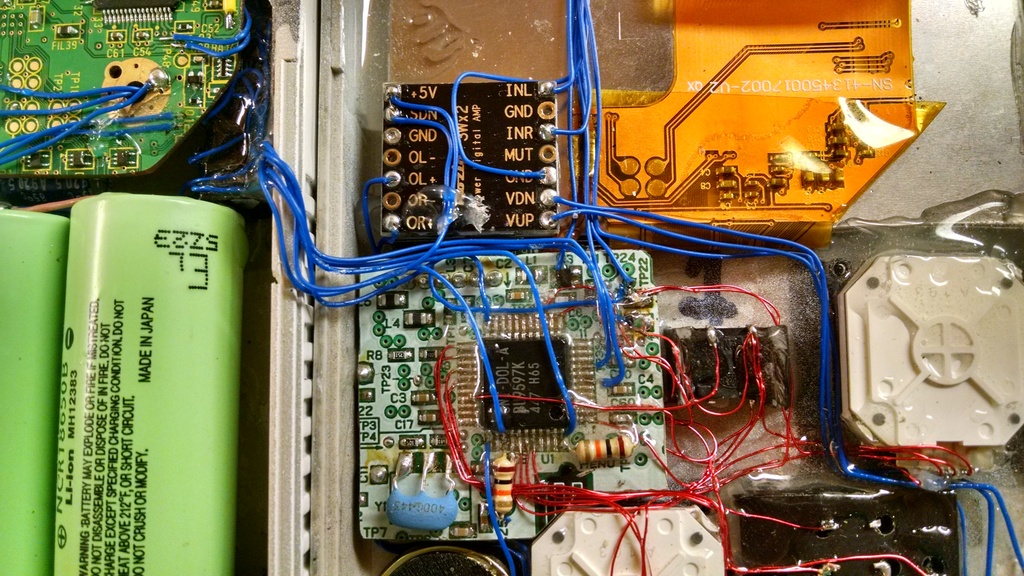
Stacked two transistors on top of each other to make the low battery indicator. The potentiometer is adjusted so it turns on at 6.2v which I found is the perfect setting for the Panasonic batteries.
The LMAO trim. I opted on using an SD card reader instead since it is low profile and fits nicely right on top of the motherboard.
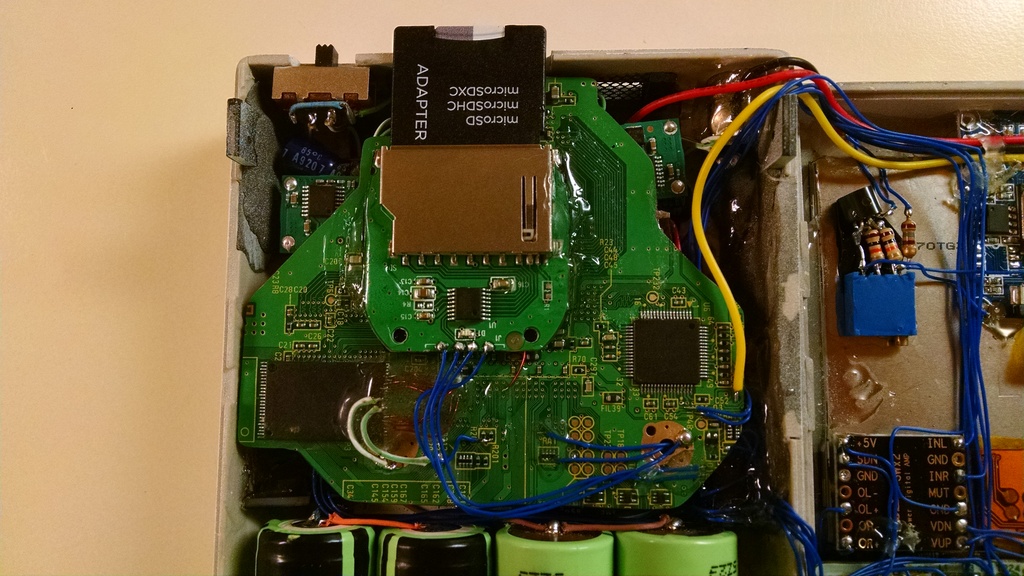
I wired it up so that way the motherboard can be removed very easily from the case. The fan sits tightly in that box I made which holds the motherboard in and keeps it from shaking around. Now I don’t have to secure it permanently which made it very easy to do work on it.
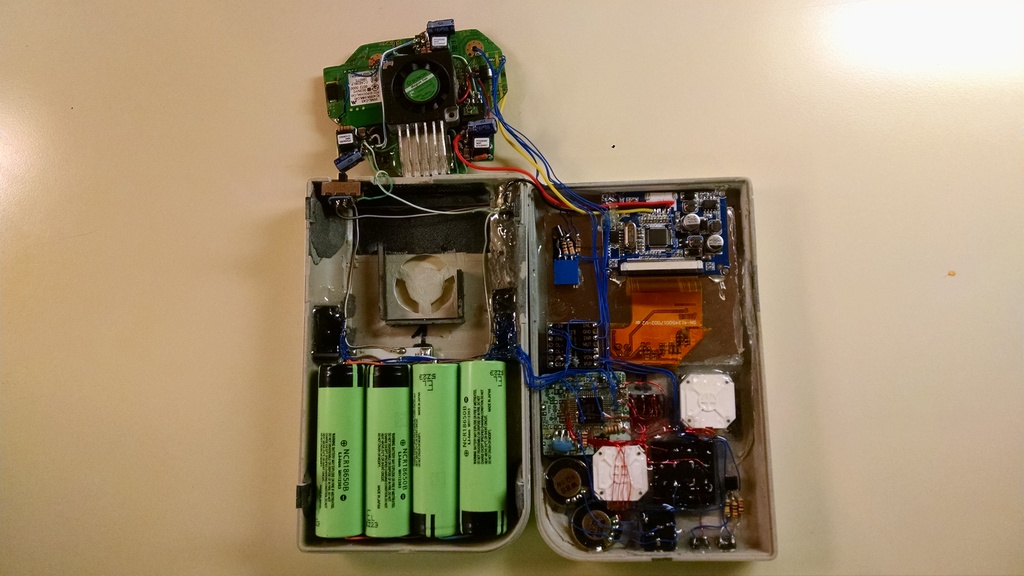
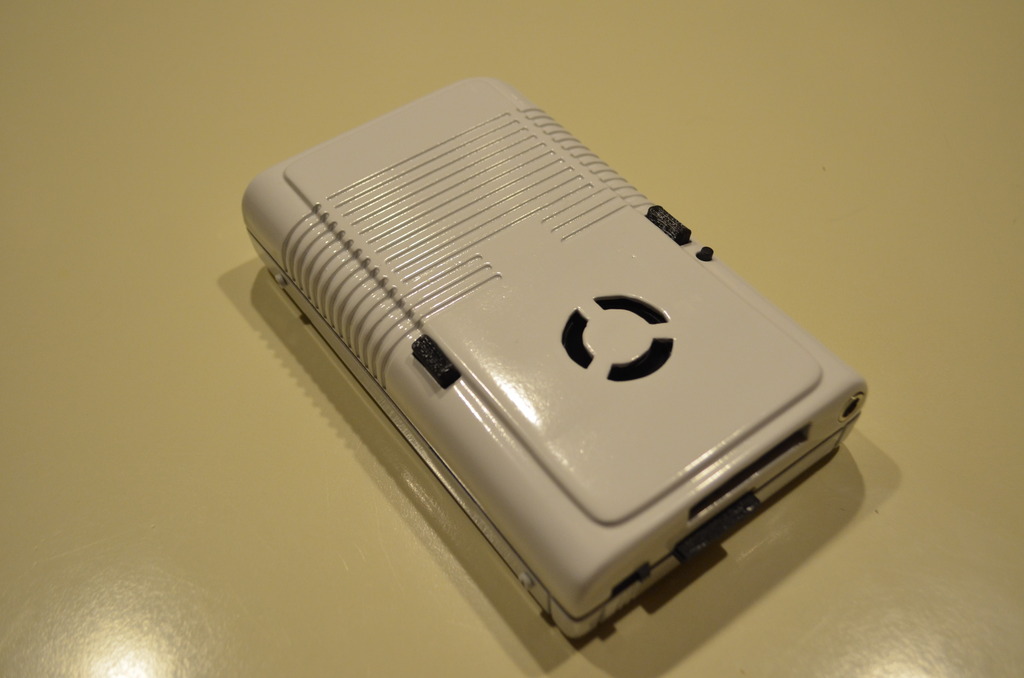
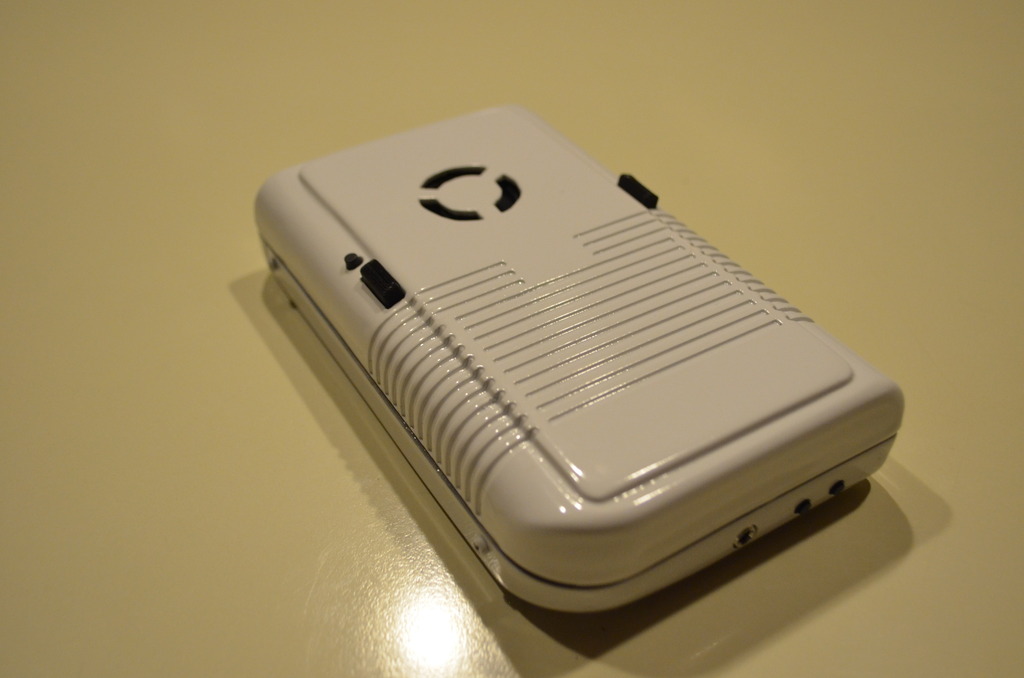
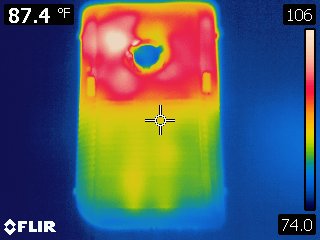
I didn’t have room for the typical heatsink/fan setup so I got this method from ShockSlayer. It is essentially just a metal fan stuck on the Hollywood and a tiny chunk from a GC heatsink stuck on the Broadway. It draws in air from the back of the case and pushes it out right through the top. I used a plastic screen covering the ventilation cut. Being a stupid small cooling setup, naturally it is not as efficient as a typical setup. However, shown from the IR scans, the outside of the case peaks at a safe temperature. The IR camera detects radiation so it is like x-ray vision. The white heat spots on the case are where the regulators are located on the inside. The Ti regulators are rated for 185F so the temperature is in range. The batteries remain cool and all the heat is located at the top of the case, away from your hands too. This picture was taken 3 hours into Melee.
Transistor for the volume minus button sync mod. Thanks to Aurelio for helping me with this during my first Wii portable.
The trimmed GC controller and the audio amp.
Stacked two transistors on top of each other to make the low battery indicator. The potentiometer is adjusted so it turns on at 6.2v which I found is the perfect setting for the Panasonic batteries.
The LMAO trim. I opted on using an SD card reader instead since it is low profile and fits nicely right on top of the motherboard.
I wired it up so that way the motherboard can be removed very easily from the case. The fan sits tightly in that box I made which holds the motherboard in and keeps it from shaking around. Now I don’t have to secure it permanently which made it very easy to do work on it.
I didn’t have room for the typical heatsink/fan setup so I got this method from ShockSlayer. It is essentially just a metal fan stuck on the Hollywood and a tiny chunk from a GC heatsink stuck on the Broadway. It draws in air from the back of the case and pushes it out right through the top. I used a plastic screen covering the ventilation cut. Being a stupid small cooling setup, naturally it is not as efficient as a typical setup. However, shown from the IR scans, the outside of the case peaks at a safe temperature. The IR camera detects radiation so it is like x-ray vision. The white heat spots on the case are where the regulators are located on the inside. The Ti regulators are rated for 185F so the temperature is in range. The batteries remain cool and all the heat is located at the top of the case, away from your hands too. This picture was taken 3 hours into Melee.
The Wiiboy rev2:
-LMAO trimmed Wii
-4 voltage regulators. 1v, 1.15v, 3.3v, and 5v (just for fan)
-6800mah Panasonic batteries
-3.5” screen
-3-way on/off switch for charging and wall power through same jack
-Switching headphone jack and speakers
-Double-tact modded shoulder buttons
-Z button made using actuator from clicky tact on top of soft tact from an original GC controller
-Volume minus doubles as sync button (why clutter a small case with buttons that are not used often)
-SD card reader (running off 3.3v)
-Low battery indicator active around 15 minutes left
Attachments
-
 318.4 KB Views: 1,355
 -
 184.2 KB Views: 1,317
Last edited:


")
