
Sepencer
.
- Joined
- Jan 29, 2021
- Messages
- 6
- Likes
- 9
Hello BitBuilt community!
I have been wanting to portableize a Wii for a long time now, but due to me being in school, and without a job until summer, I am a bit short on money. Instead I’m planning on making a Wii micro following Noldtronics design due to the hardware needed being a lot more cost friendly.
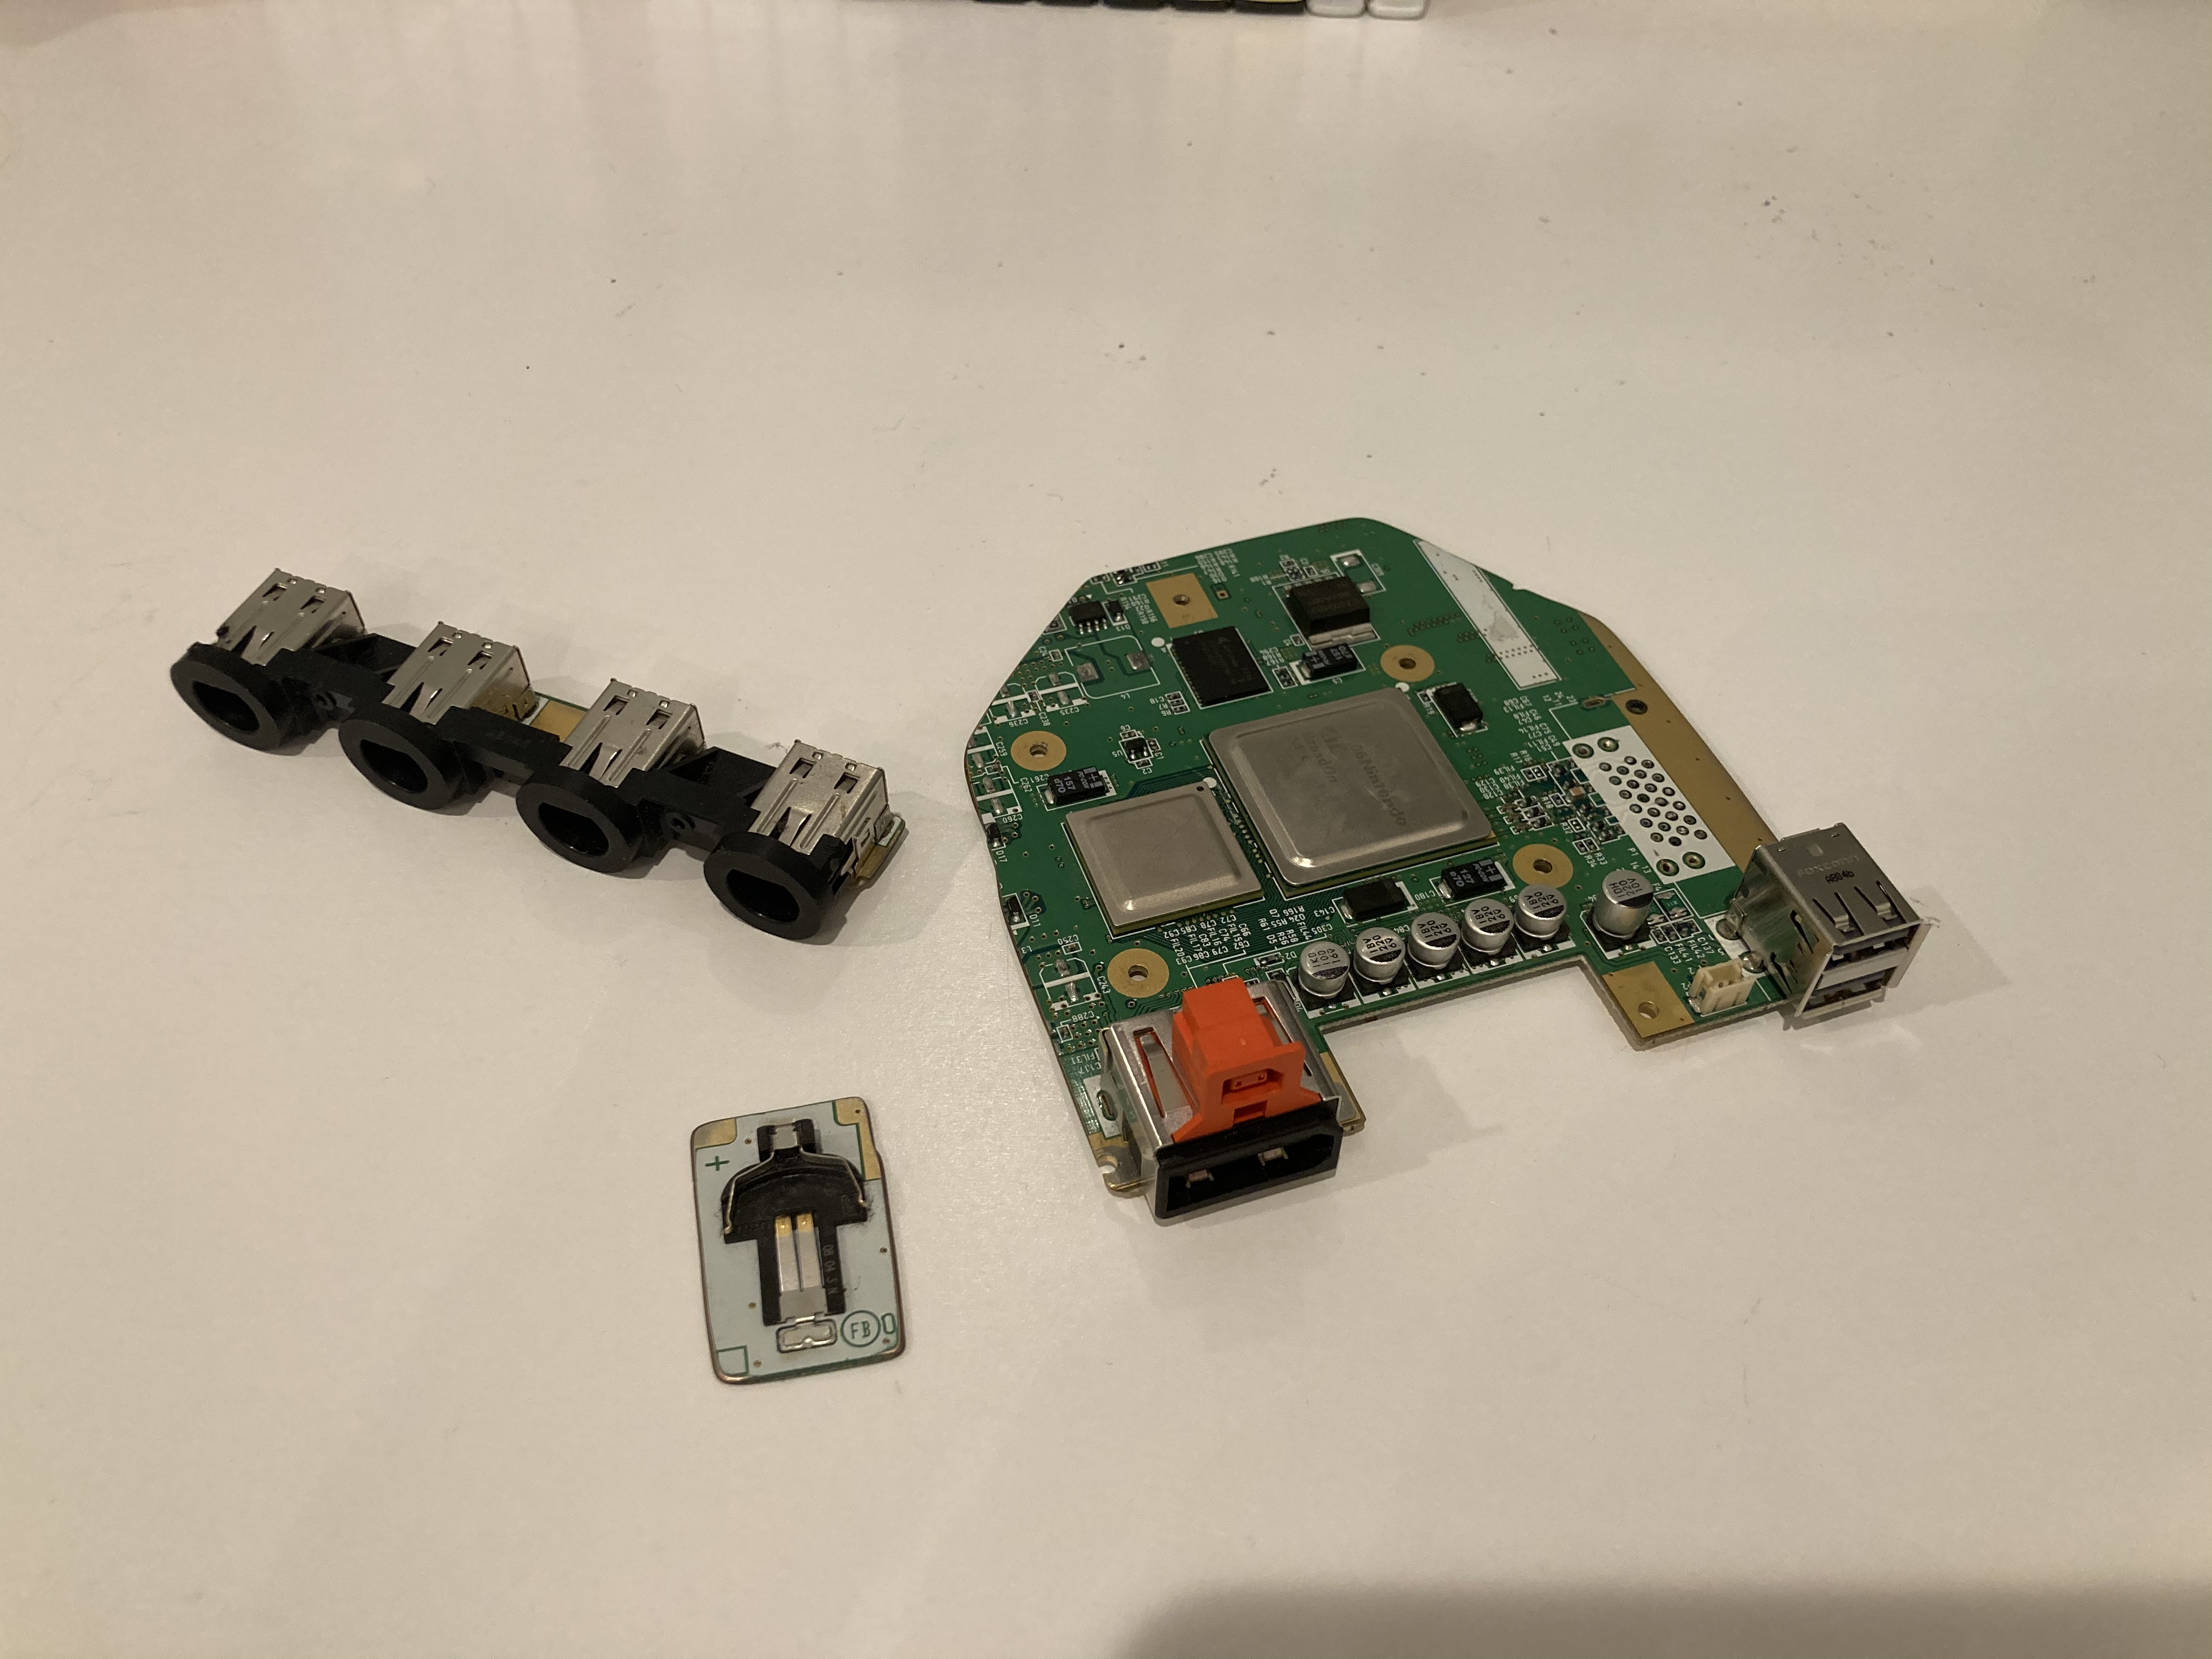
I have the case 3D printing and currently have trimmed and sanded my 6 layer Wii motherboard, GameCube controller ports, and the 3.3v battery holder for the internal clock.
I have also order the parts for the power regulators:
16v 100uF capacitors
assorted resistors
And the fantastically named PTH08080WAH modules.
While relocating U10 my soldering iron slipped and scratched some CPU to GPU traces.
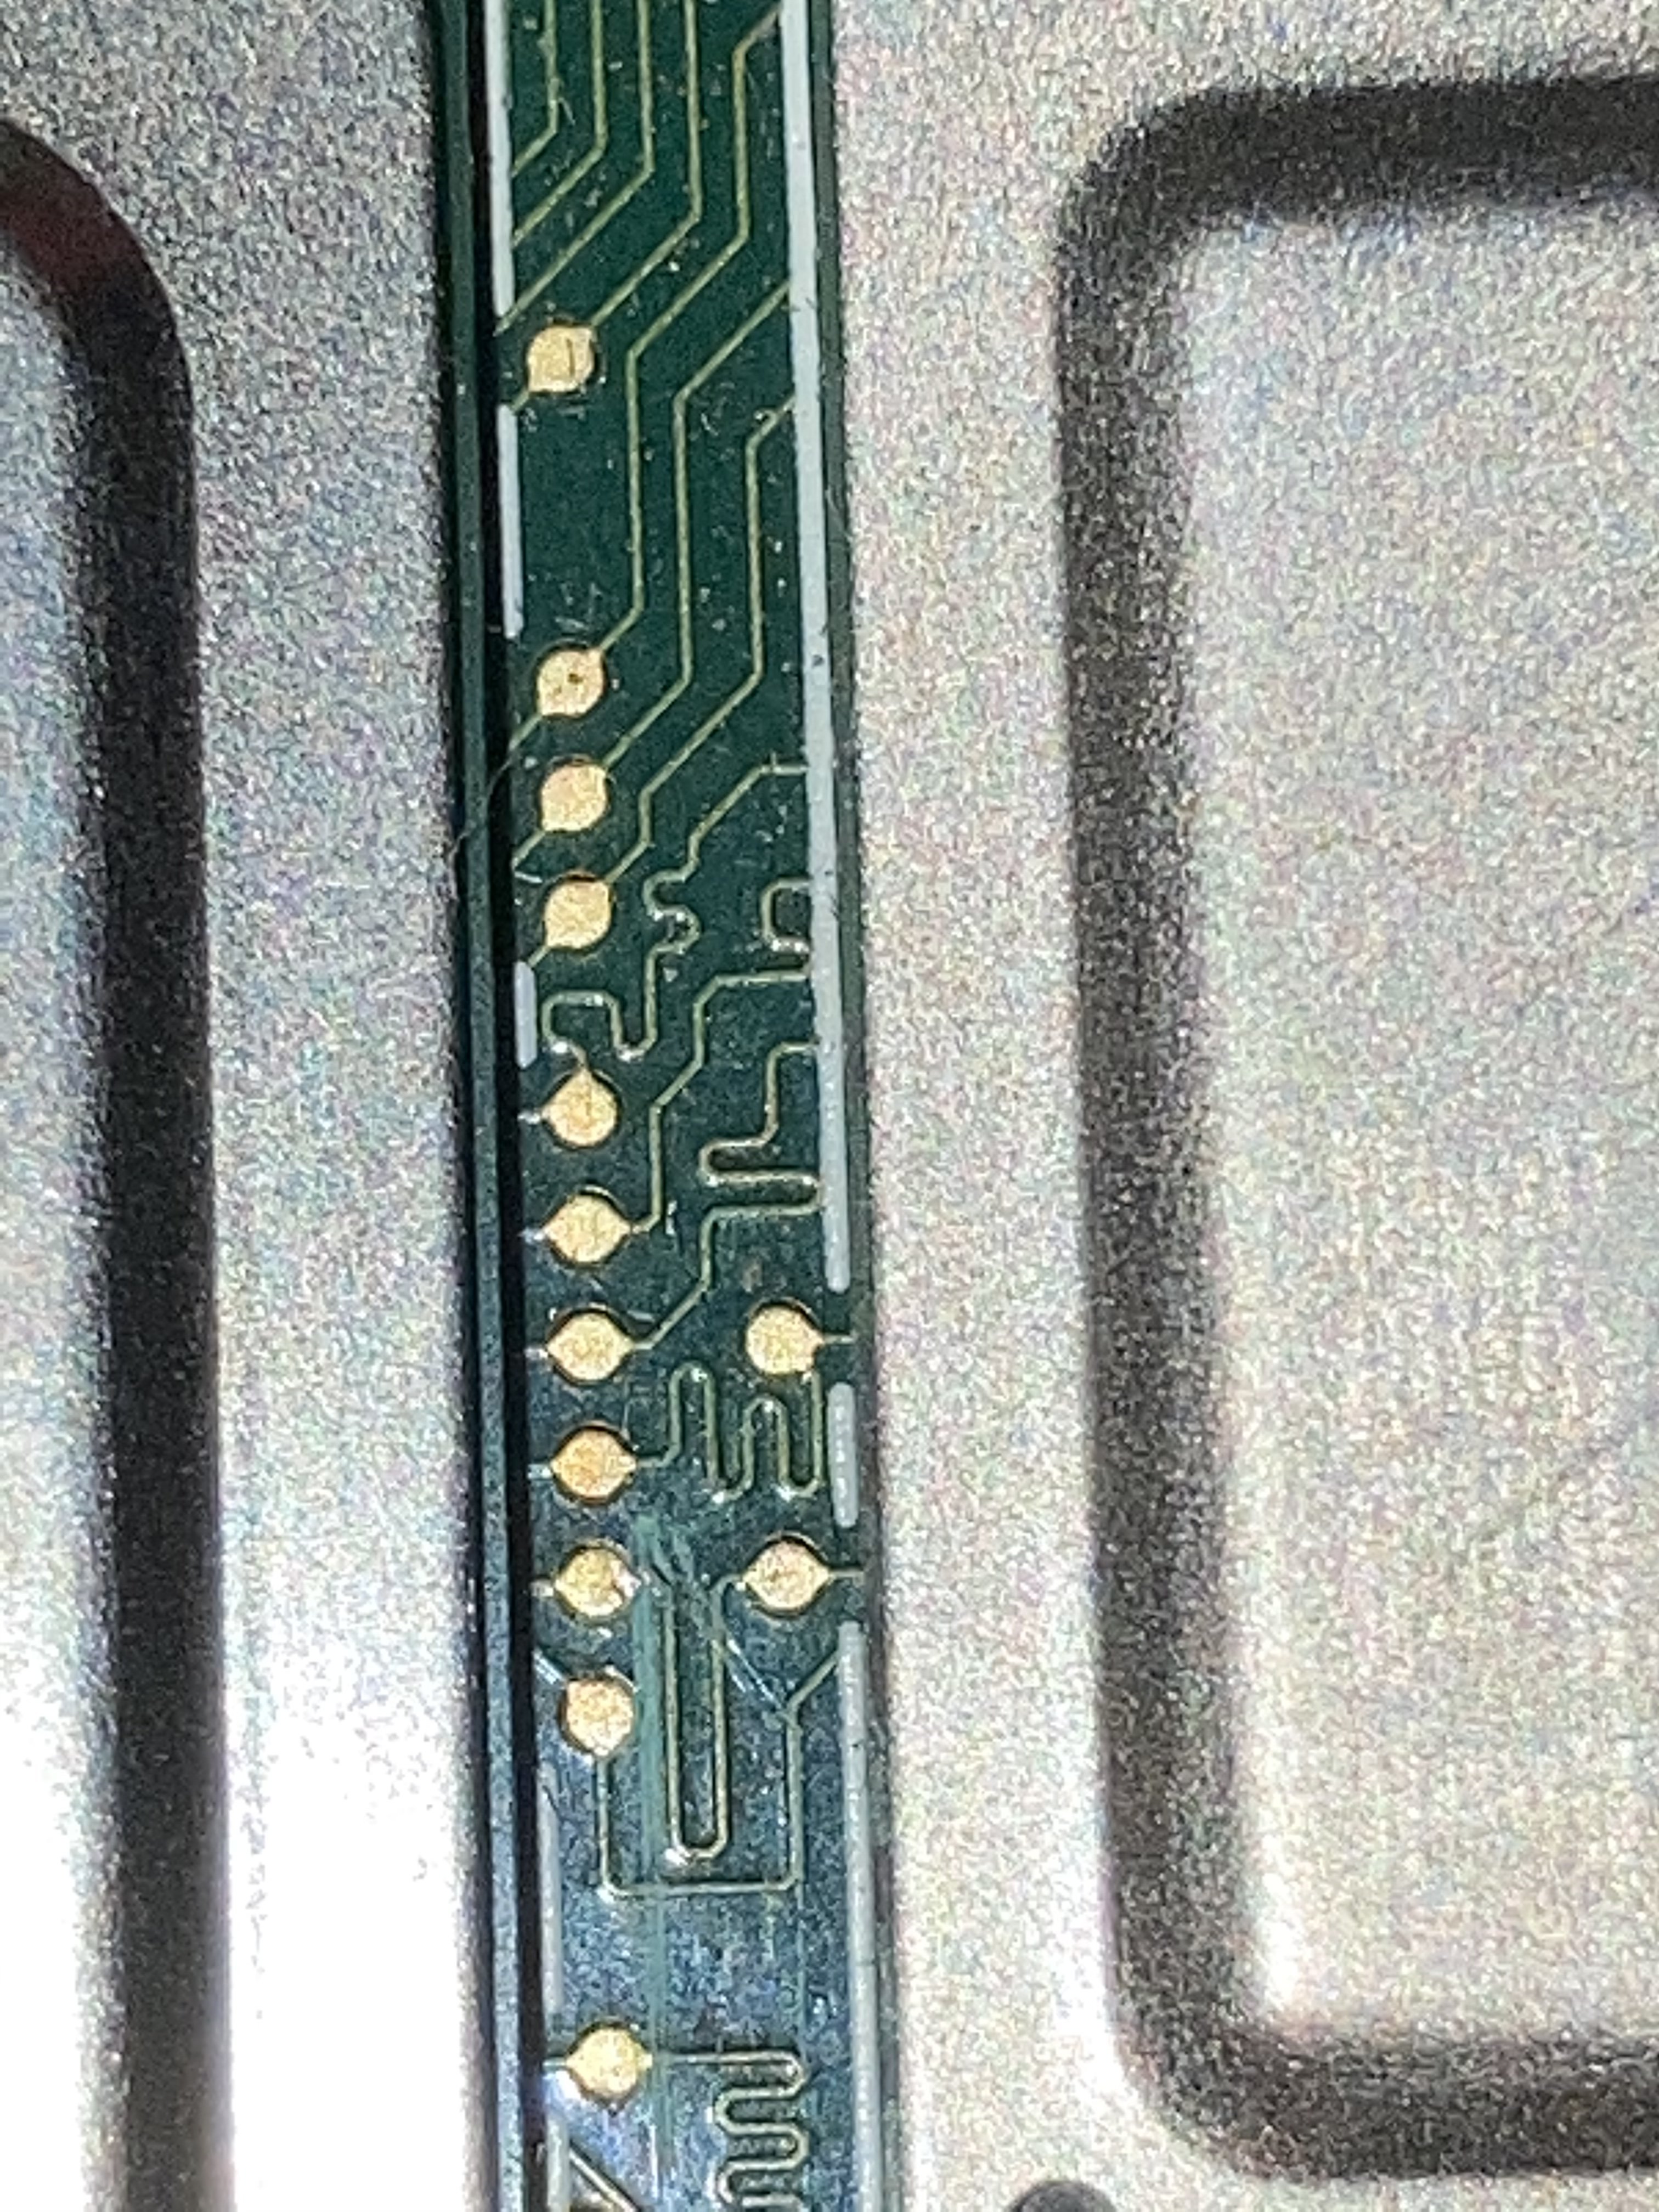
After panicking for a while, I worked up the courage to see if it was destroyed, so I broke out the ‘ol multi-meter, and tested on some conveniently placed test pads, and luckily enough it wasn’t broken, Thank God.
-sepencer
I will make sure to keep you all updated on the status on my build.
I have been wanting to portableize a Wii for a long time now, but due to me being in school, and without a job until summer, I am a bit short on money. Instead I’m planning on making a Wii micro following Noldtronics design due to the hardware needed being a lot more cost friendly.
I have the case 3D printing and currently have trimmed and sanded my 6 layer Wii motherboard, GameCube controller ports, and the 3.3v battery holder for the internal clock.
I have also order the parts for the power regulators:
16v 100uF capacitors
assorted resistors
And the fantastically named PTH08080WAH modules.
While relocating U10 my soldering iron slipped and scratched some CPU to GPU traces.
After panicking for a while, I worked up the courage to see if it was destroyed, so I broke out the ‘ol multi-meter, and tested on some conveniently placed test pads, and luckily enough it wasn’t broken, Thank God.
-sepencer
I will make sure to keep you all updated on the status on my build.
