
- Joined
- Apr 5, 2016
- Messages
- 130
- Likes
- 369
- Portables
- 20ish...
What's up everyone! Been a very long time since I've made any kind of project log, but seems this is a special occasion I wanted to share what I'll be bringing with me to the Midwest Gaming Classic for the BitBuilt Experience. This will be my first time ever going to a conference like this and I'm very excited about it!
So anyway, I realize the N64p has little place in the modding community anymore.Or at least not as big as it once was. But, for the past almost 5 years now I've been working off and on with an idea to make something I wish I had had when first started to make portables and that is simply, a Kit and reasonably easy to follow Guide on how to put it together. This as we all know though is not a simple task, hence it taking the better part of 5 years to come up with a tested design and making the custom components specifically for that design.
That said though, I think we're finally ready to reveal a Beta version at MGC that would give those with interest an idea of what they can expect to receive from the raw kit, and what it could look like with some extra elbow grease when it comes to paintwork and general finishing.
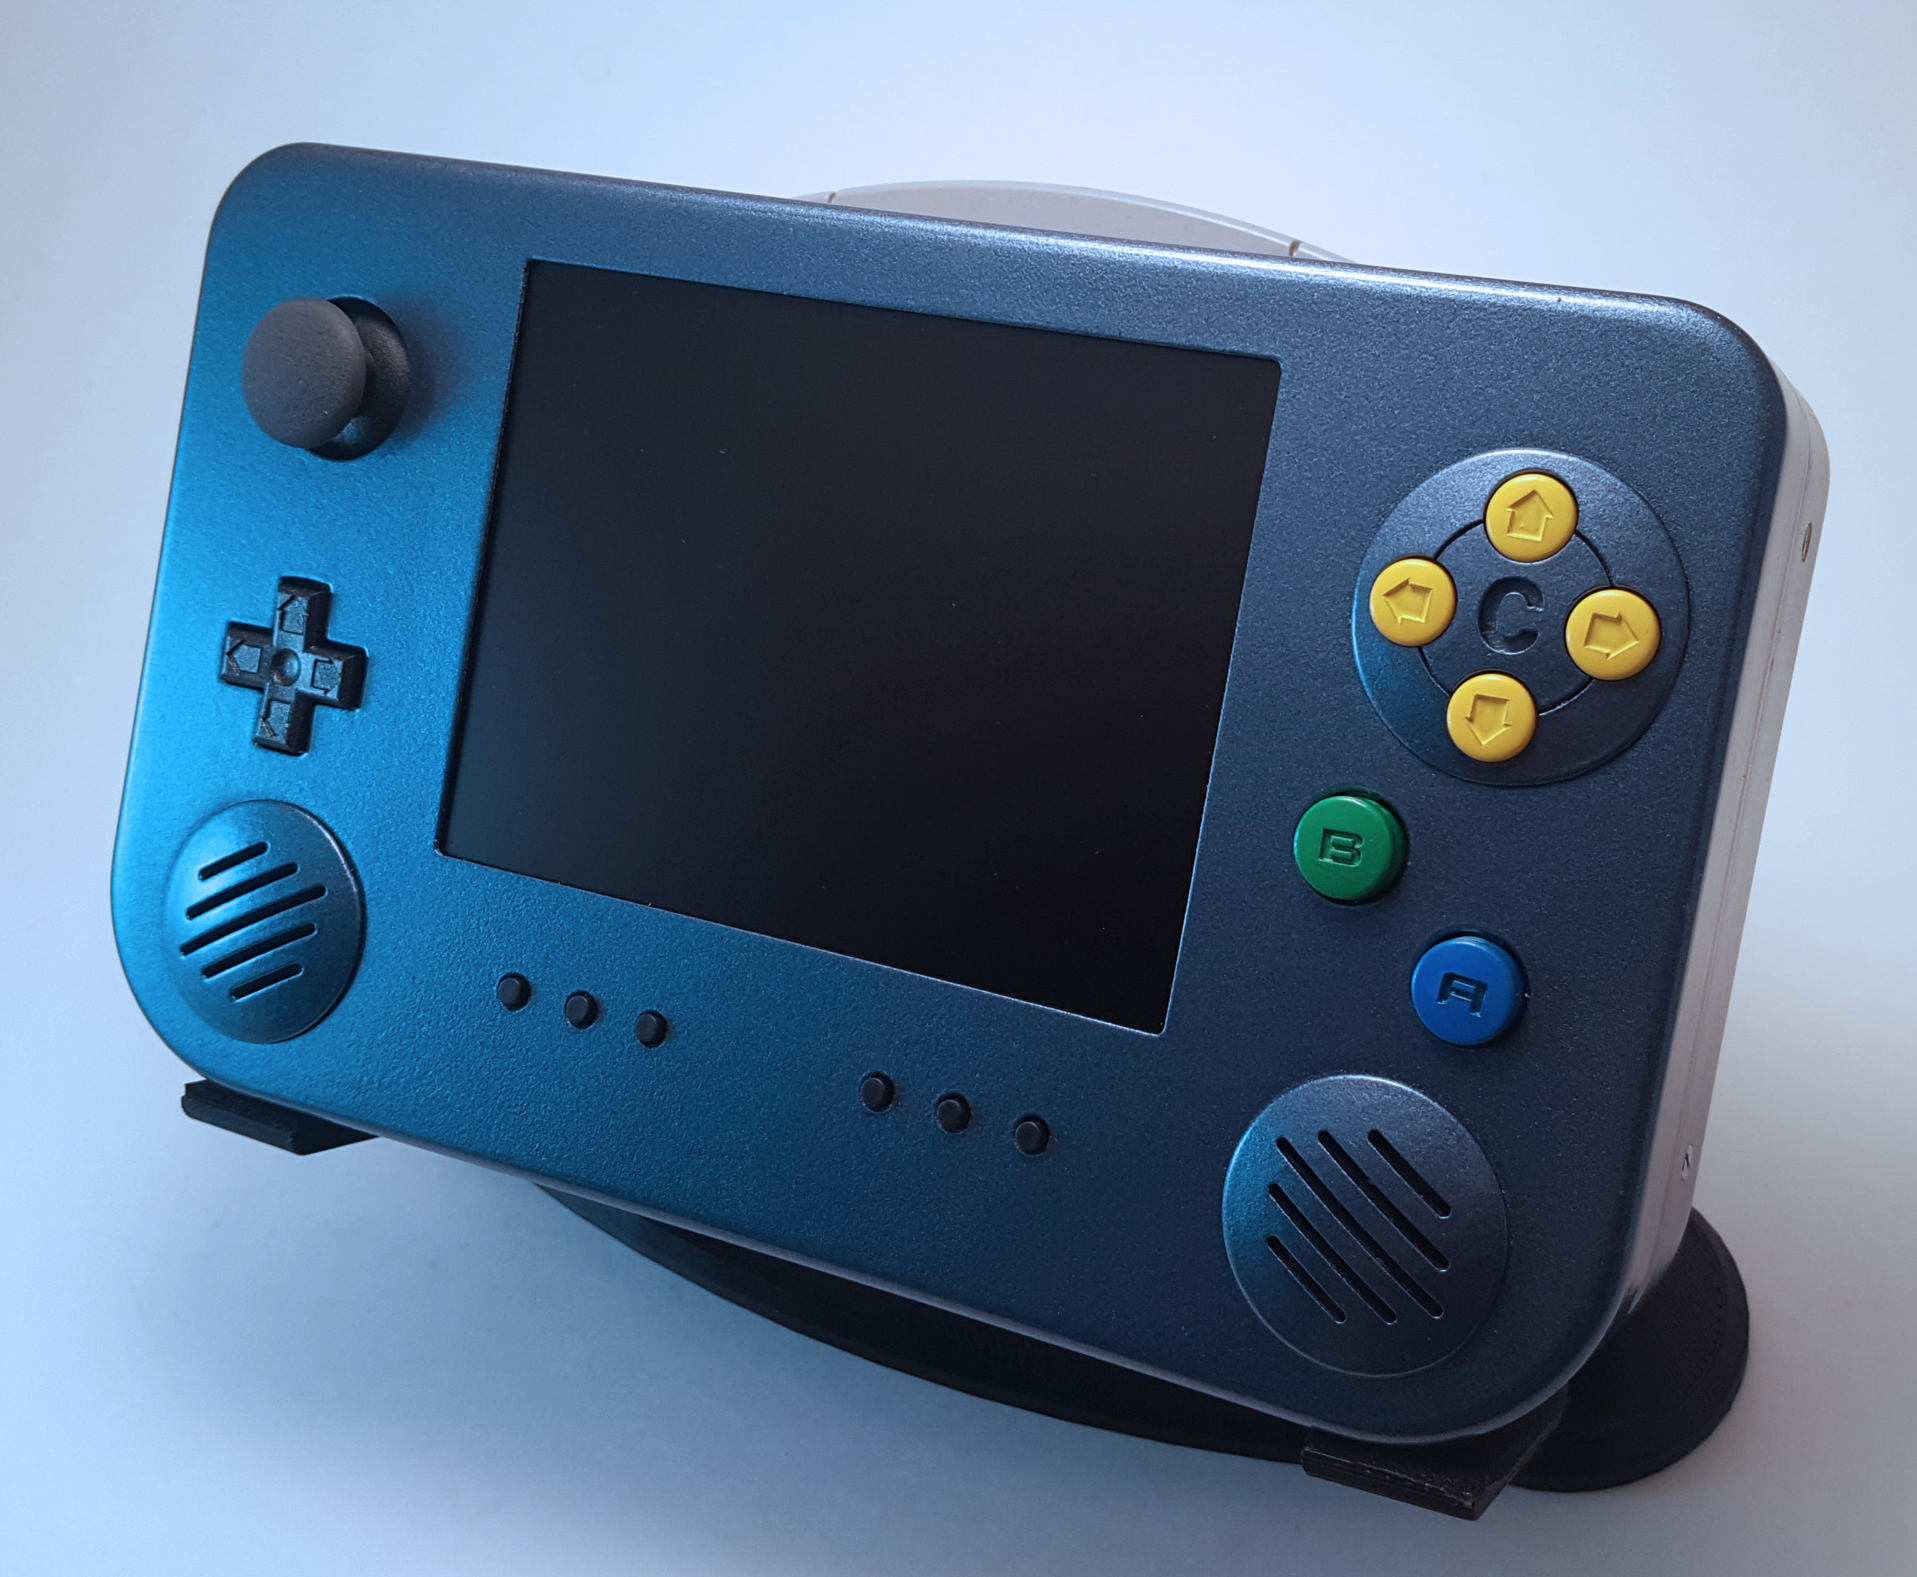
My first project I've ever actually "water sanded" which is going to be a process I use from now on. I was quite happy with how the final finish came out and felt.

I also designed and 3D printed a stand for the system which was made up of 5 parts all bolted together.

The decals on the back took a fatal hit with the clear coat though. Not sure why, but the textured paint I used to make the SLA decals look like Pewter did not take the clear coat well at all. I'd never seen that reaction in paint before so I'll have to look into different options in the future.
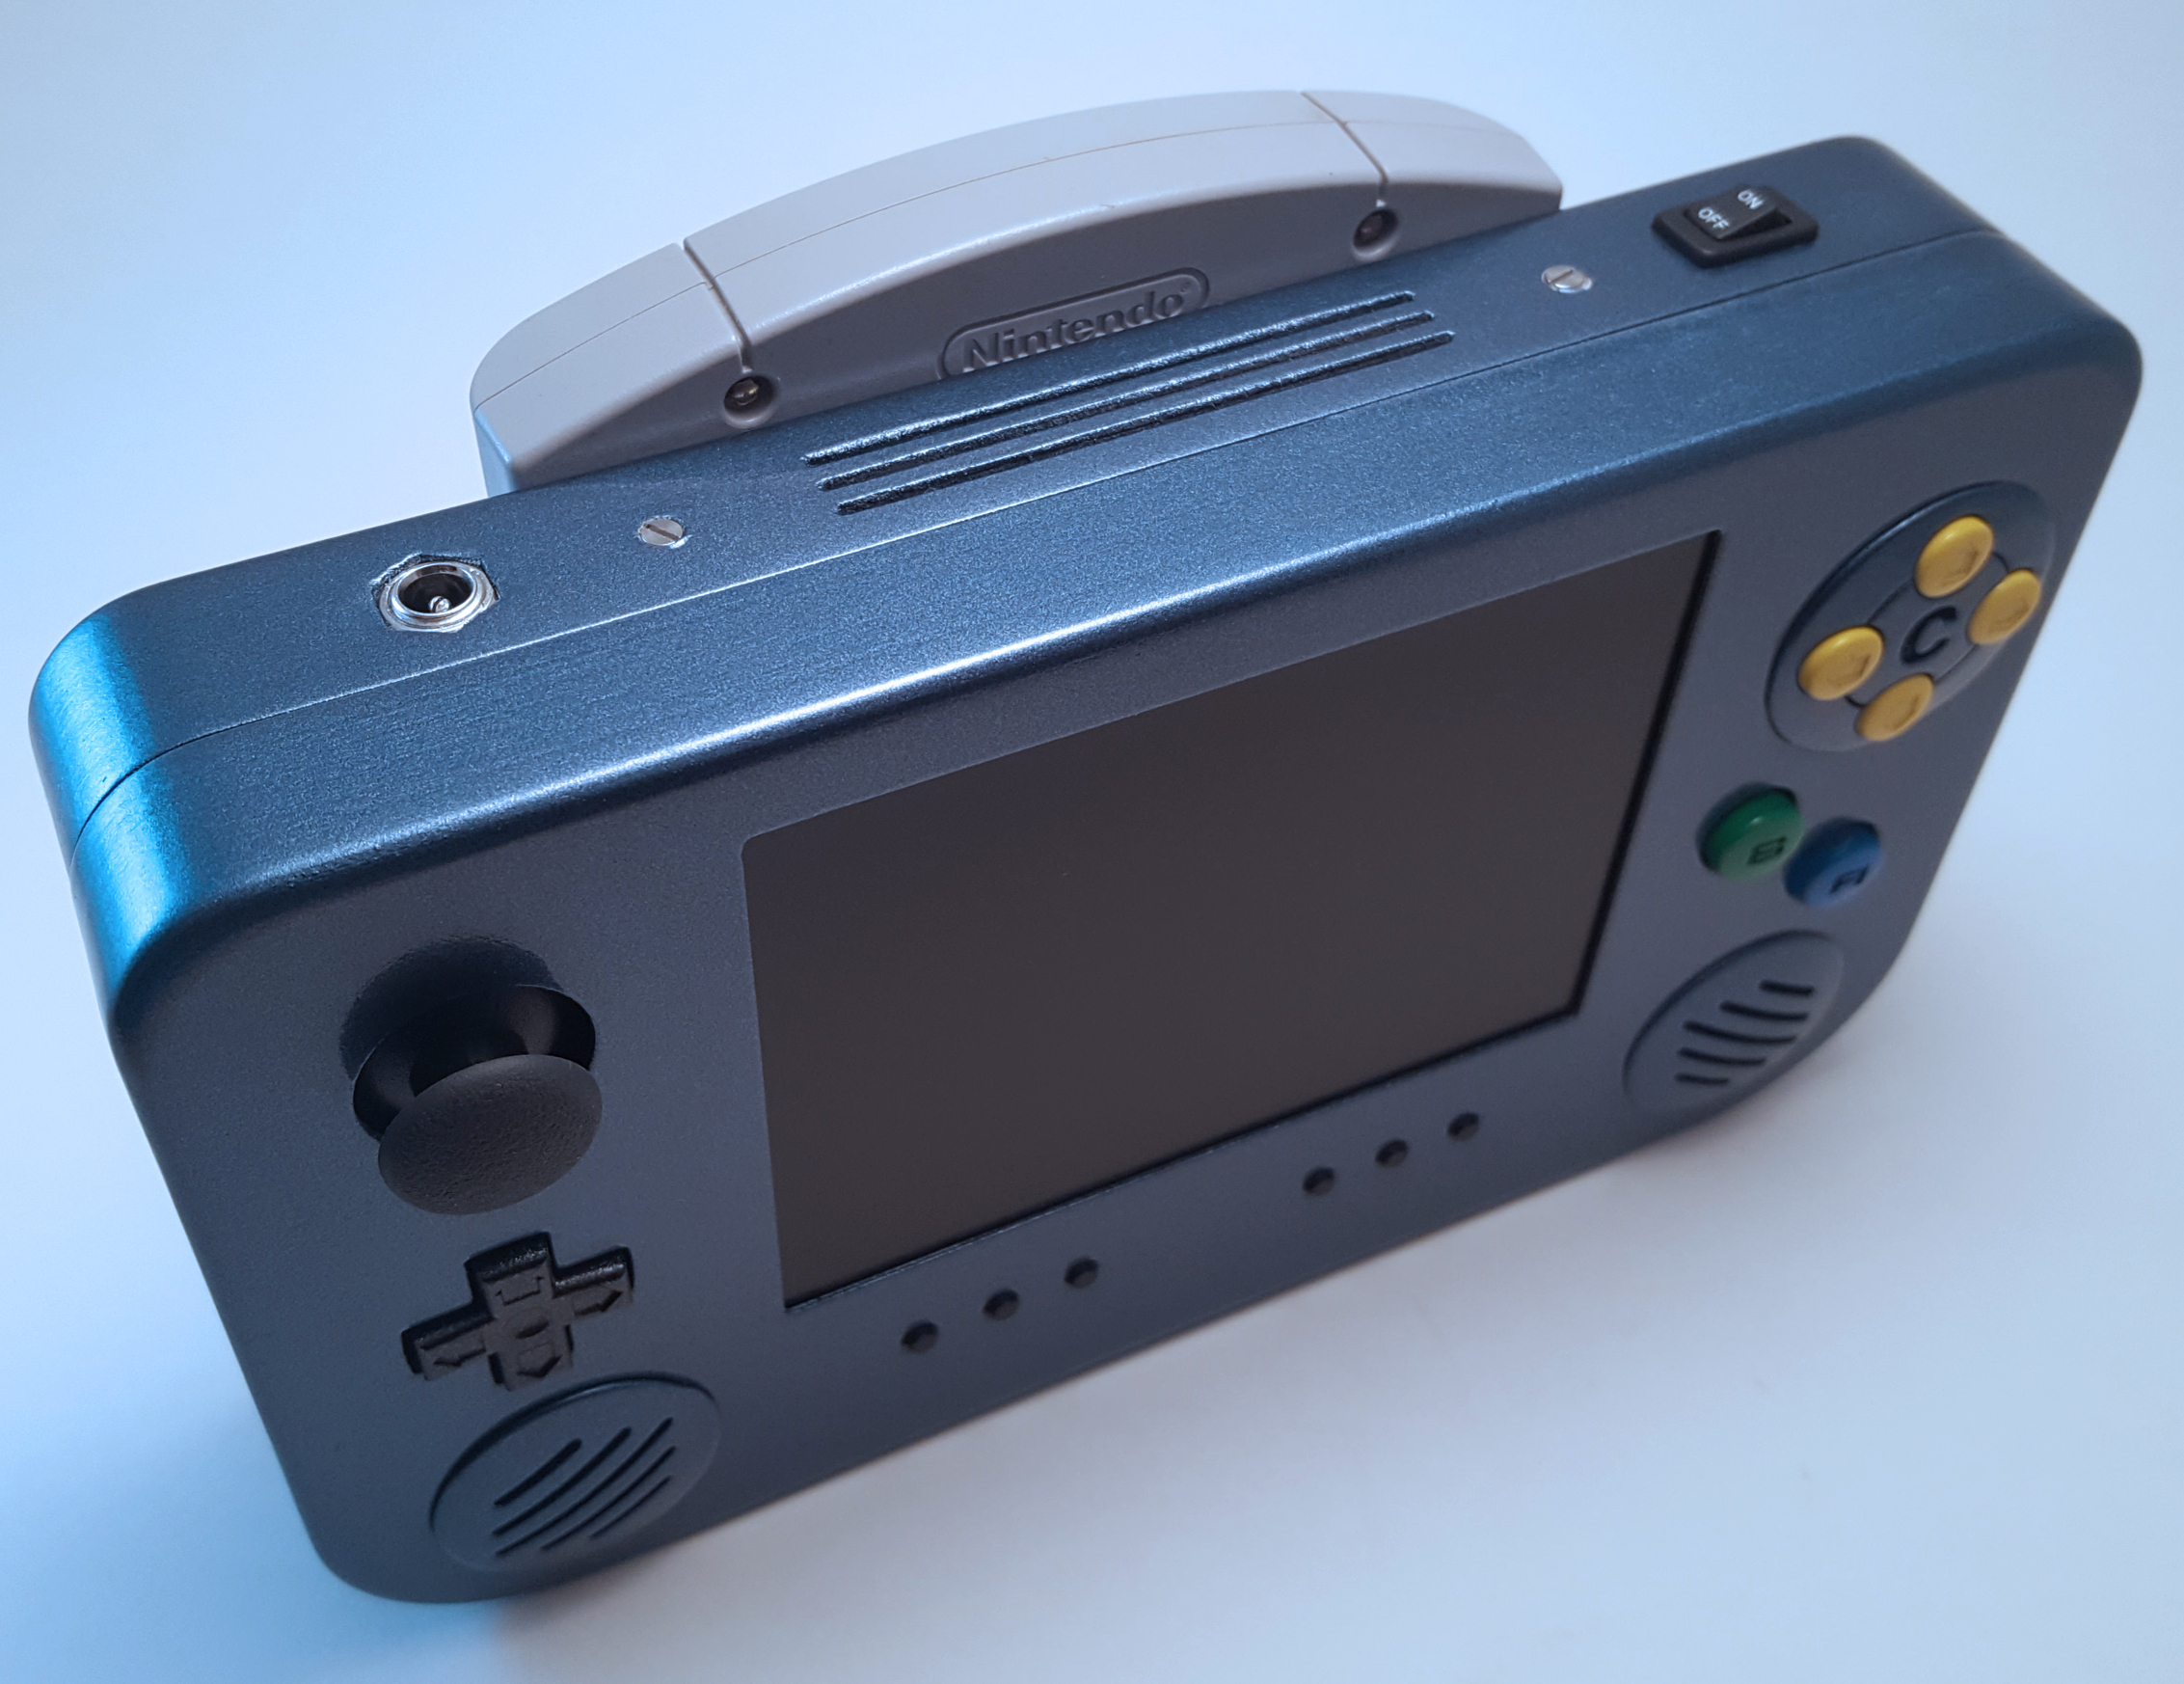
And a few of the big updates. A single power jack, a SPST switch and instead of having the vent SLA printed and then set in place, filled, sanded and painted, I just 3D printed it into the Back Face Bracket. These changes were a direct result of the new charger board that now allows you to use any 12V 3A power source to charge the batteries while playing off wall power.

And the bottom with the custom switchable headphone jack. Also I bought a bunch of tamper evident holographic stickers from Amazon...that's another story though.

Oh yeah, and it actually works.

And the finished internals all wired up and ready to go. Without the need to wire up a memory card or having the screen's tact button board, I had to actually put foam padding on the batteries to take up the extra space. May be able to make these a bit thinner now. Wiring is decently clean but secure.
The big part of the display is the 3D Printed Exploded Display which would show those interested how the layout and components are supposed to line up. Granted this was built using mostly spare/rejected parts it's not quite as clean as what will be shipped with the kits but it get's the main idea across. The video explains the details of the display and I'd love to do a full write up on that alone, but unfortunately don't have the time. So here are just a couple pics to supplement.

The Front Face Plate bare as it can be.

And what makes it tick on the back. Now this isn't the actual screen PCB that will be sent, nor is the controller board the same. As I said, these were spare/rejected or even outdated parts that I had laying around to make this, but the idea is still there.
But yeah, I'm very excited to see if this is well received when next weekend get here. Hope you enjoyed!
Last edited:

