
DDIblis
.
- Joined
- Feb 28, 2019
- Messages
- 74
- Likes
- 42
Alright so I'll be updating this as a journal almost maybe? Anyway, I'm actually nearing the end of the process (unless the 3D model I made ends up being really horrible which so far it doesn't look too bad). Let me take you through the process of making it so far though.
Before I start though I'd like to thank the reddit community for inspiring me to do this, because when I went to them asking for advice on how to make a portable-ish PS2 (I was thinking more like a laptop kind of design since it'll require much less design work on my end and trimming and electrical soldering work etc.) and asked them for tutorial, the only responses I got were "You're an idiot you can't do this" so I'm doing it out of spite mostly and I'm going a step above and learned all the things they literally told me I can't do because "you're not an electrical engineer" though honestly the credit absolutely goes to the amazing people of this website that have made so many tutorials and helpful work logs.
I will over time actually include more detail, since I've noticed many people on here asking questions about how to do things or how to wire up certain things, and I've been there with the confusion, so if I can do it, trust me you can, and I'll try and make it as easy on you as possible.
So I started out with a 2D model of it all along with some measuring work I did but that's in a physical notebook.
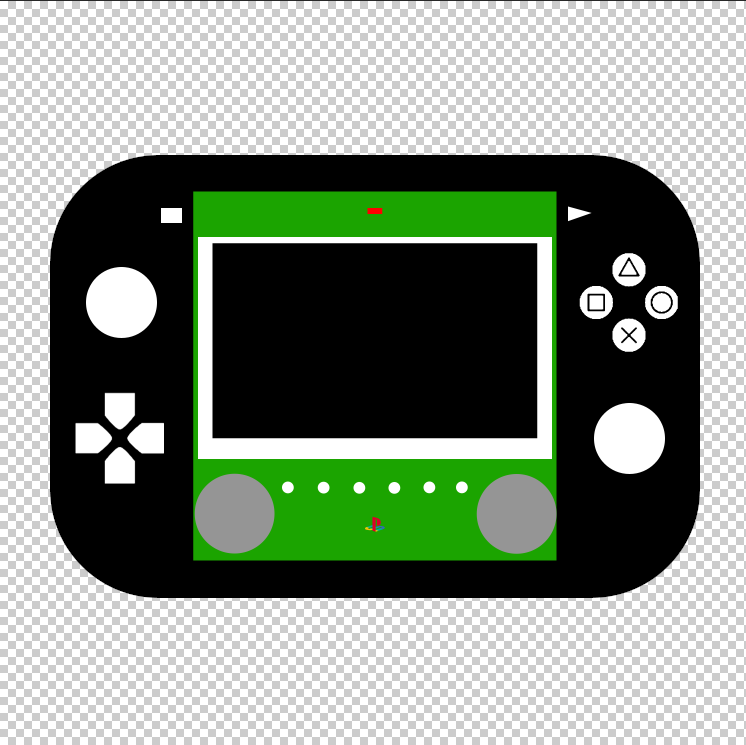
(sorry Gman I know it looks too close to yours, this is my first ever portable or try in working on anything related to electricity, PCBs, modding, etc.)
I wanted mostly to get a general idea of how things would fit inside.
then came the work on the 3D model.
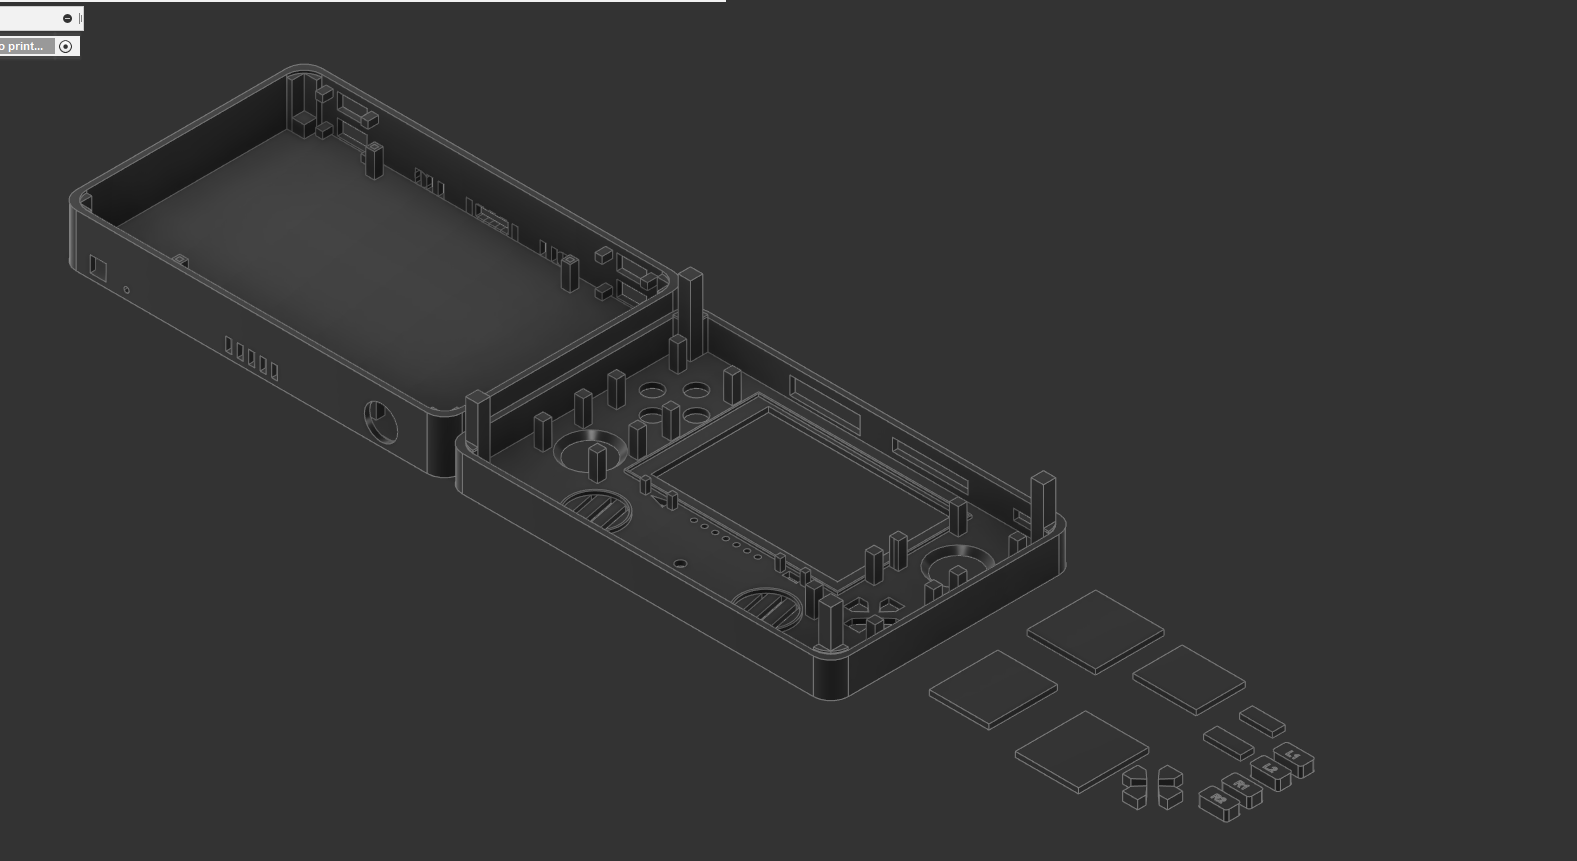
It honestly went through a billion iteration and I've changed so many things about it, but in the end I settled on this (for now)
Now it's important to note that in this version I am by no means competing for size category, for one making or owning one of these has been a dream of mine since I was a kid, and two, I actually want most of the functionality of the console such as multiplayer (And since I've realised that I can actually output video to two sources at the same time by just plugging the original connector) I want it to be dockable, kinda? as well as including the second controller port and second memory card port. for a better version of those latter two please check Gman's mod, mine is most likely going to look horrible.
Currently everything got wired up to the PS2 board to test as well as a tiny trim to the second USB port and it works great (though it is my second try since I accidentally shorted out my first board's IC and at first it was making an audible click and shutting off then I tested two leads on an IC and it literally blew a bit of smoke out (I'm saving that one for a "holy fuck" trim since I believe that the issue is with the regulators a nd if I supply my own the board should come back to life) (also if anyone knows what's doing that, I think it's a capacitor? please let me know)
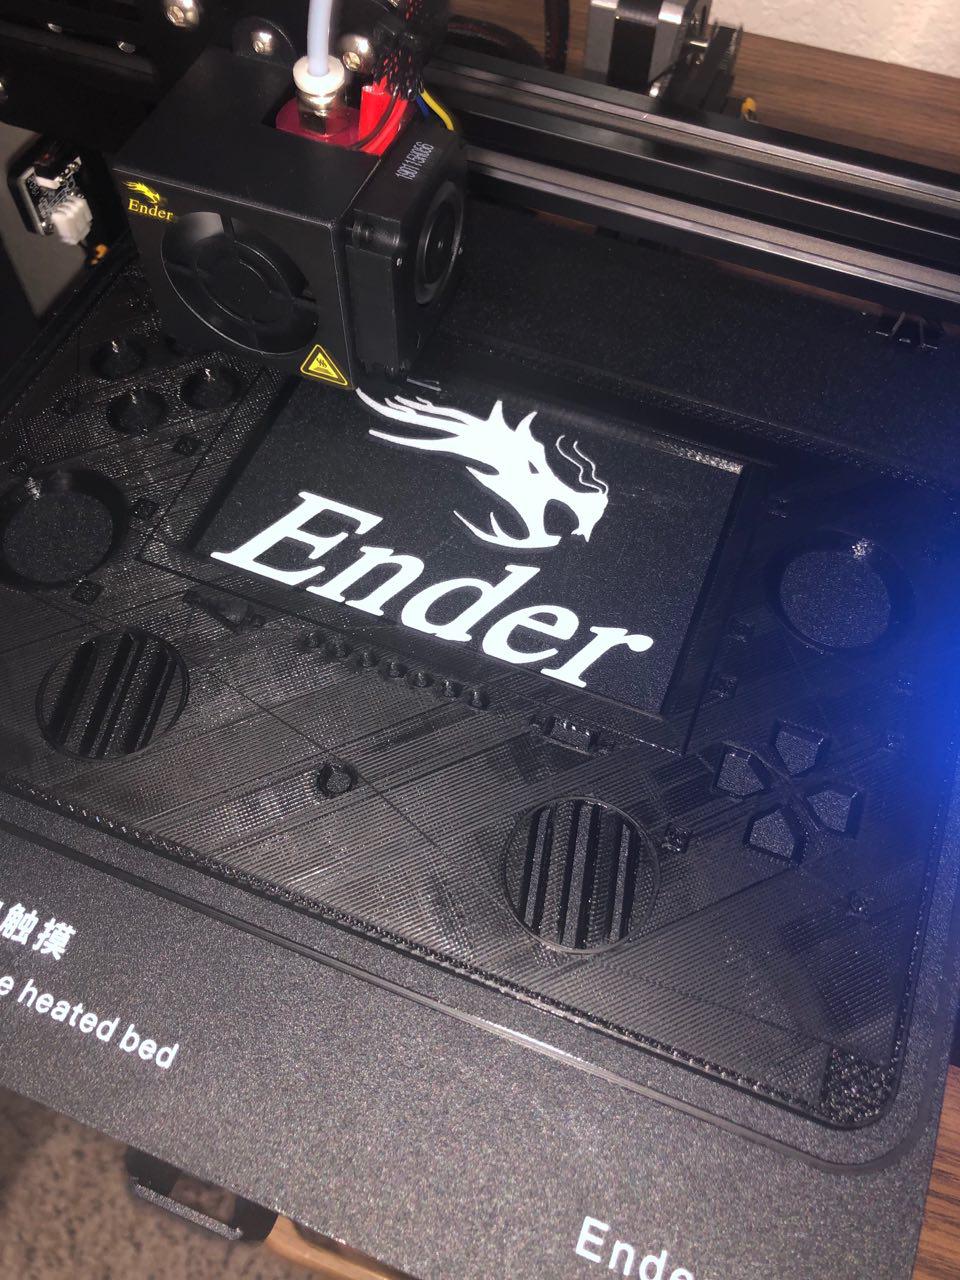
I just got my 3D printer, an Ender 3, 2 nights ago and it's currently printing the face plate so we'll see how the size of everything goes and whether my measurements were accurate or not. I'll update you all once I'm done, here's the current print going so far.
No worries, I have a name for it now, I'm calling it PA2, for Pain in my Ass 2? 3? I think 4 at this point, 12 hours of 3d printing and the parts are too small in some places which meant edits,then 4 hours into printing the lower half after which I realised that I didn't load in the most recent version of the bottom case with the shoulder buttons so I had to restart is just now, but honestly I'm still having fun because it seems that everything is more and more falling into place. Also in the BOM the only listing for the soft tactile buttons is from ebay which I've been waiting on for more than a month now, but you guys can find them for a lot faster shipping on adafruit, they sell them in 10's and the shipping costs 5 dollars for 1 week shipping, but I literally got them today and the ones from ebay haven't left china yet.
Here's the link:
https://www.adafruit.com/product/3101
HA WHO SAYS THAT JUST BECAUSE YOU'RE AT THE SANDING AND ASSEMBLING PHASE YOU CAN'T BASICALLY START OVER FROM SCRATCH ON THE CASE, NOT THIS GUY, case is honestly too thick and makes it VERY hard to press the shoulder buttons, so i need to make it thinner and I'm thinking of ways to have better shoulder buttons we'll see.
Before I start though I'd like to thank the reddit community for inspiring me to do this, because when I went to them asking for advice on how to make a portable-ish PS2 (I was thinking more like a laptop kind of design since it'll require much less design work on my end and trimming and electrical soldering work etc.) and asked them for tutorial, the only responses I got were "You're an idiot you can't do this" so I'm doing it out of spite mostly and I'm going a step above and learned all the things they literally told me I can't do because "you're not an electrical engineer" though honestly the credit absolutely goes to the amazing people of this website that have made so many tutorials and helpful work logs.
I will over time actually include more detail, since I've noticed many people on here asking questions about how to do things or how to wire up certain things, and I've been there with the confusion, so if I can do it, trust me you can, and I'll try and make it as easy on you as possible.
So I started out with a 2D model of it all along with some measuring work I did but that's in a physical notebook.
(sorry Gman I know it looks too close to yours, this is my first ever portable or try in working on anything related to electricity, PCBs, modding, etc.)
I wanted mostly to get a general idea of how things would fit inside.
then came the work on the 3D model.
It honestly went through a billion iteration and I've changed so many things about it, but in the end I settled on this (for now)
Now it's important to note that in this version I am by no means competing for size category, for one making or owning one of these has been a dream of mine since I was a kid, and two, I actually want most of the functionality of the console such as multiplayer (And since I've realised that I can actually output video to two sources at the same time by just plugging the original connector) I want it to be dockable, kinda? as well as including the second controller port and second memory card port. for a better version of those latter two please check Gman's mod, mine is most likely going to look horrible.
Currently everything got wired up to the PS2 board to test as well as a tiny trim to the second USB port and it works great (though it is my second try since I accidentally shorted out my first board's IC and at first it was making an audible click and shutting off then I tested two leads on an IC and it literally blew a bit of smoke out (I'm saving that one for a "holy fuck" trim since I believe that the issue is with the regulators a nd if I supply my own the board should come back to life) (also if anyone knows what's doing that, I think it's a capacitor? please let me know)
I just got my 3D printer, an Ender 3, 2 nights ago and it's currently printing the face plate so we'll see how the size of everything goes and whether my measurements were accurate or not. I'll update you all once I'm done, here's the current print going so far.
No worries, I have a name for it now, I'm calling it PA2, for Pain in my Ass 2? 3? I think 4 at this point, 12 hours of 3d printing and the parts are too small in some places which meant edits,then 4 hours into printing the lower half after which I realised that I didn't load in the most recent version of the bottom case with the shoulder buttons so I had to restart is just now, but honestly I'm still having fun because it seems that everything is more and more falling into place. Also in the BOM the only listing for the soft tactile buttons is from ebay which I've been waiting on for more than a month now, but you guys can find them for a lot faster shipping on adafruit, they sell them in 10's and the shipping costs 5 dollars for 1 week shipping, but I literally got them today and the ones from ebay haven't left china yet.
Here's the link:
https://www.adafruit.com/product/3101
HA WHO SAYS THAT JUST BECAUSE YOU'RE AT THE SANDING AND ASSEMBLING PHASE YOU CAN'T BASICALLY START OVER FROM SCRATCH ON THE CASE, NOT THIS GUY, case is honestly too thick and makes it VERY hard to press the shoulder buttons, so i need to make it thinner and I'm thinking of ways to have better shoulder buttons we'll see.
Last edited: