
Worklog Pengy's first Wiip worklog
- Thread starter pengy
- Start date
- Joined
- Feb 25, 2016
- Messages
- 1,437
- Likes
- 2,887
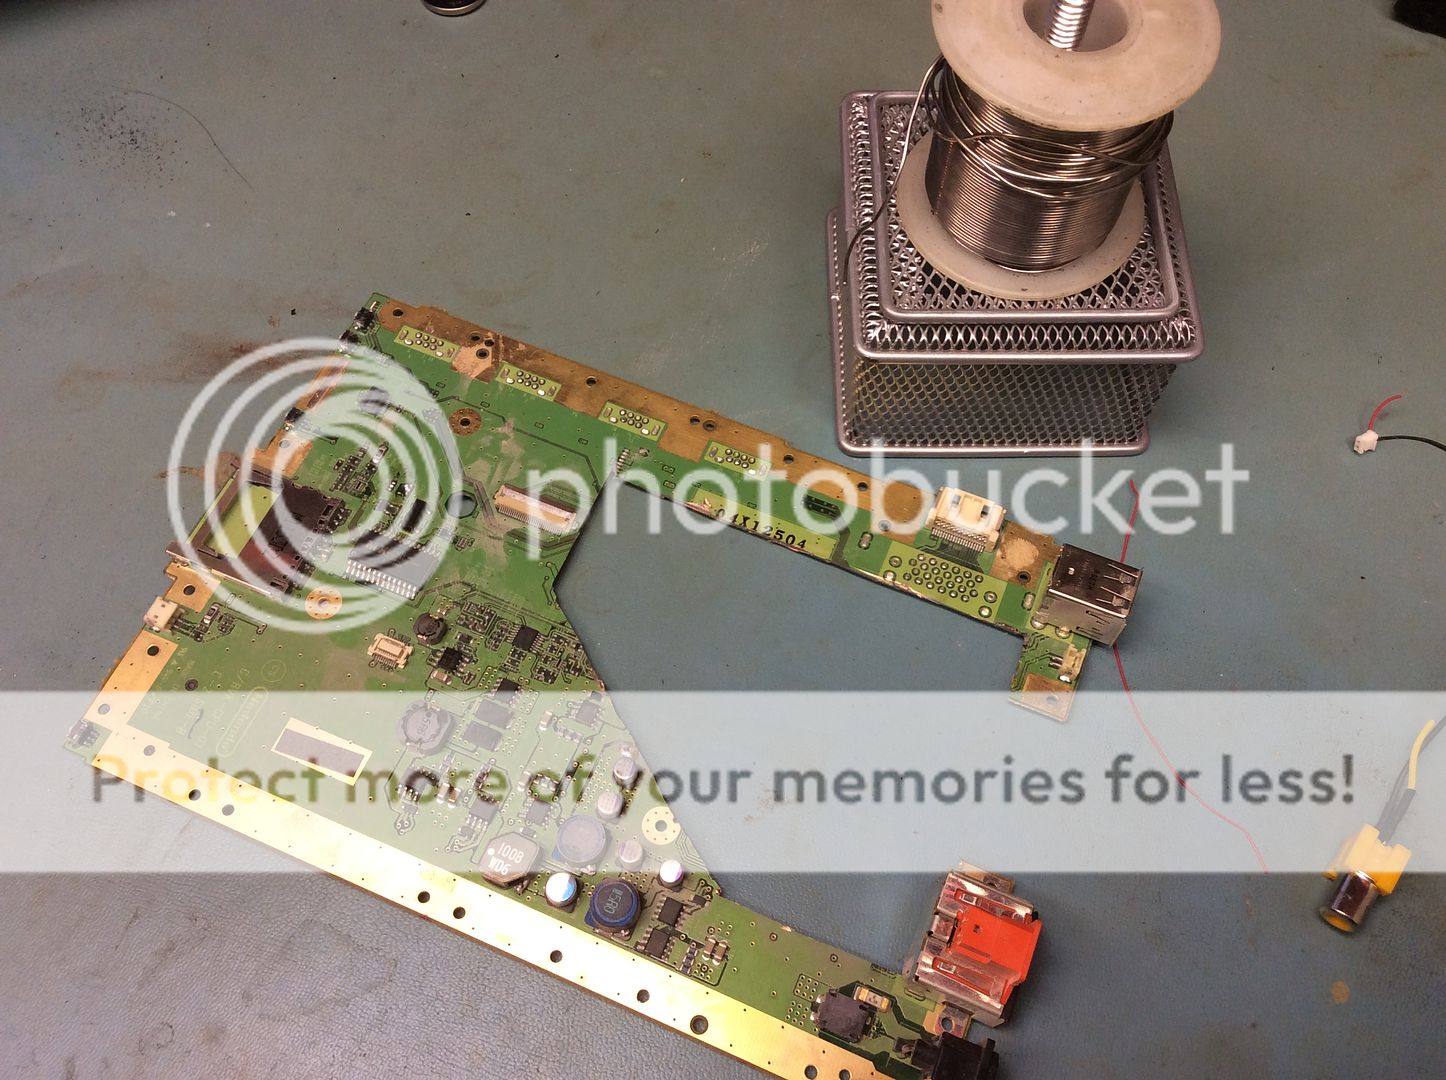
You can take it off sure, but you will have to relocate itDay 2: can I take this damned regulator off? Do I have to bridge anything or do anything special or can I just yank it off and call it good?
")
The LDO is for 1.8v powering the video encoder
- Joined
- Feb 25, 2016
- Messages
- 1,437
- Likes
- 2,887
I suppose that might be possible but I don't think it would be too practical since it's already on the board. Also I'm not sure if anyone has successfully powered the video encoder from another regulator before. The LDO doesn't have any switching noise unlike the Ti regulators so I'm not certain if it would be stable or not.Why do I have to keep this 1.8v regs if I have my own with the 08080
- Joined
- Feb 25, 2016
- Messages
- 1,437
- Likes
- 2,887
Current is .440 A at maximumDamn. I'm gonna have to find a spot to put this thing then. It's too thick. Do you know what kind of current flows through it so I can figure my wire size?

- Joined
- Feb 25, 2016
- Messages
- 1,437
- Likes
- 2,887
Why do you need to relocate it?Alright I'll squeeze it in somewhere lol. It might need a little bit of a heat sink too but at only half an amp I'm not sure.
- Joined
- Feb 25, 2016
- Messages
- 1,437
- Likes
- 2,887
Make sure you leave room for a good cooling setupI need my batteries to sit directly against the pcb in that spot or the thickness will become a major issue
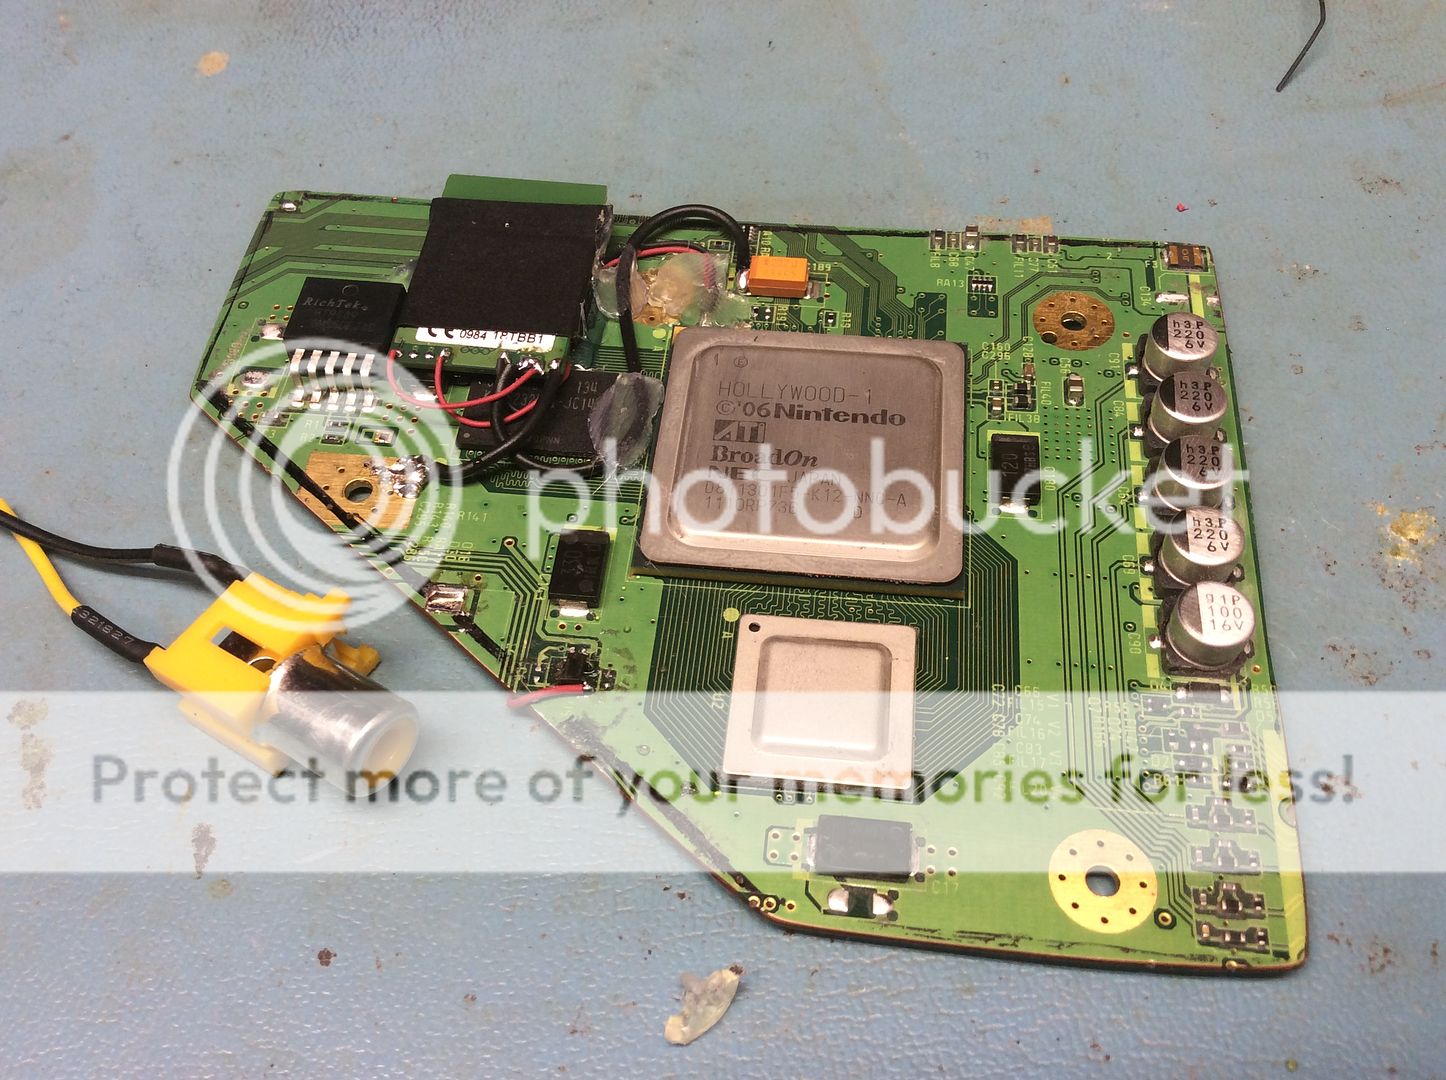
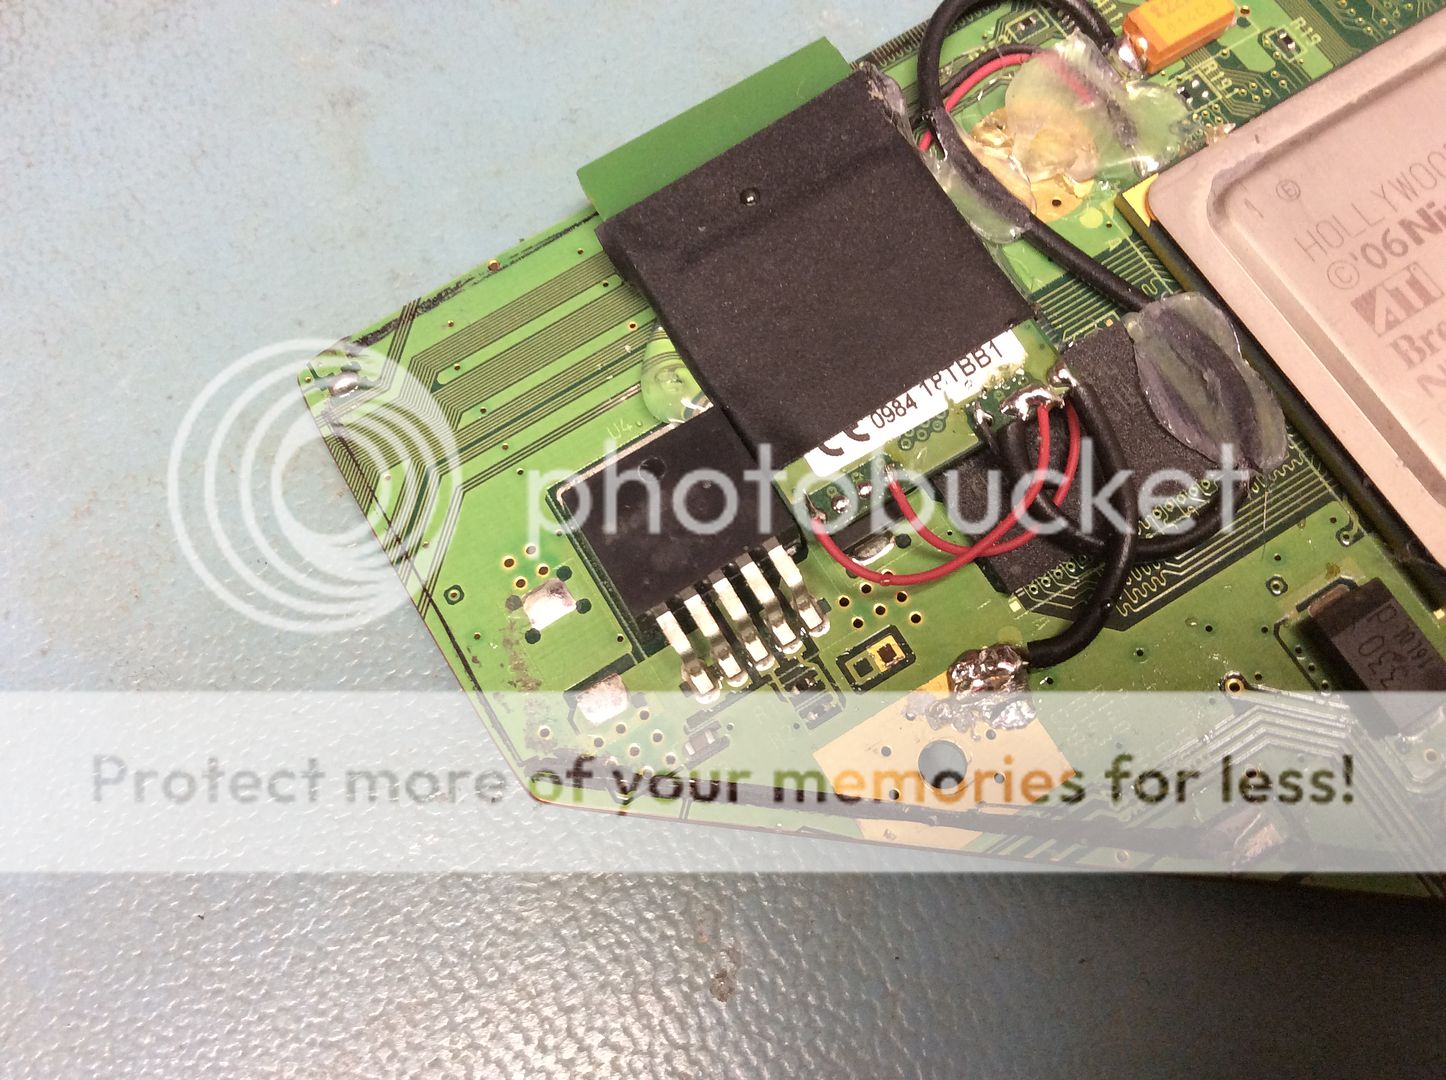
Just a FYI the 1.8V line also powers the RAM. As for relocation, make sure you grab those two little resistors next to it, as those set the voltage the regulator outputs. Alternatively, you could use another 08080 and apply voltage to one of the two alternate points circled in red (grabbed from the Wii Compendium and then circled the two points the 1.8v layer is exposed):


- Joined
- Jan 16, 2016
- Messages
- 1,512
- Likes
- 3,940
- Location
- standing up
- Portables
- please do not ask!!!! I will NOT respond
That's actually a pretty neat trick, I'll have to write that one down.
Learn somethin' new every day, boys.
Learn somethin' new every day, boys.
pengy
.
- Joined
- Aug 22, 2016
- Messages
- 118
- Likes
- 47
Day 3: can I get a hell yeah?
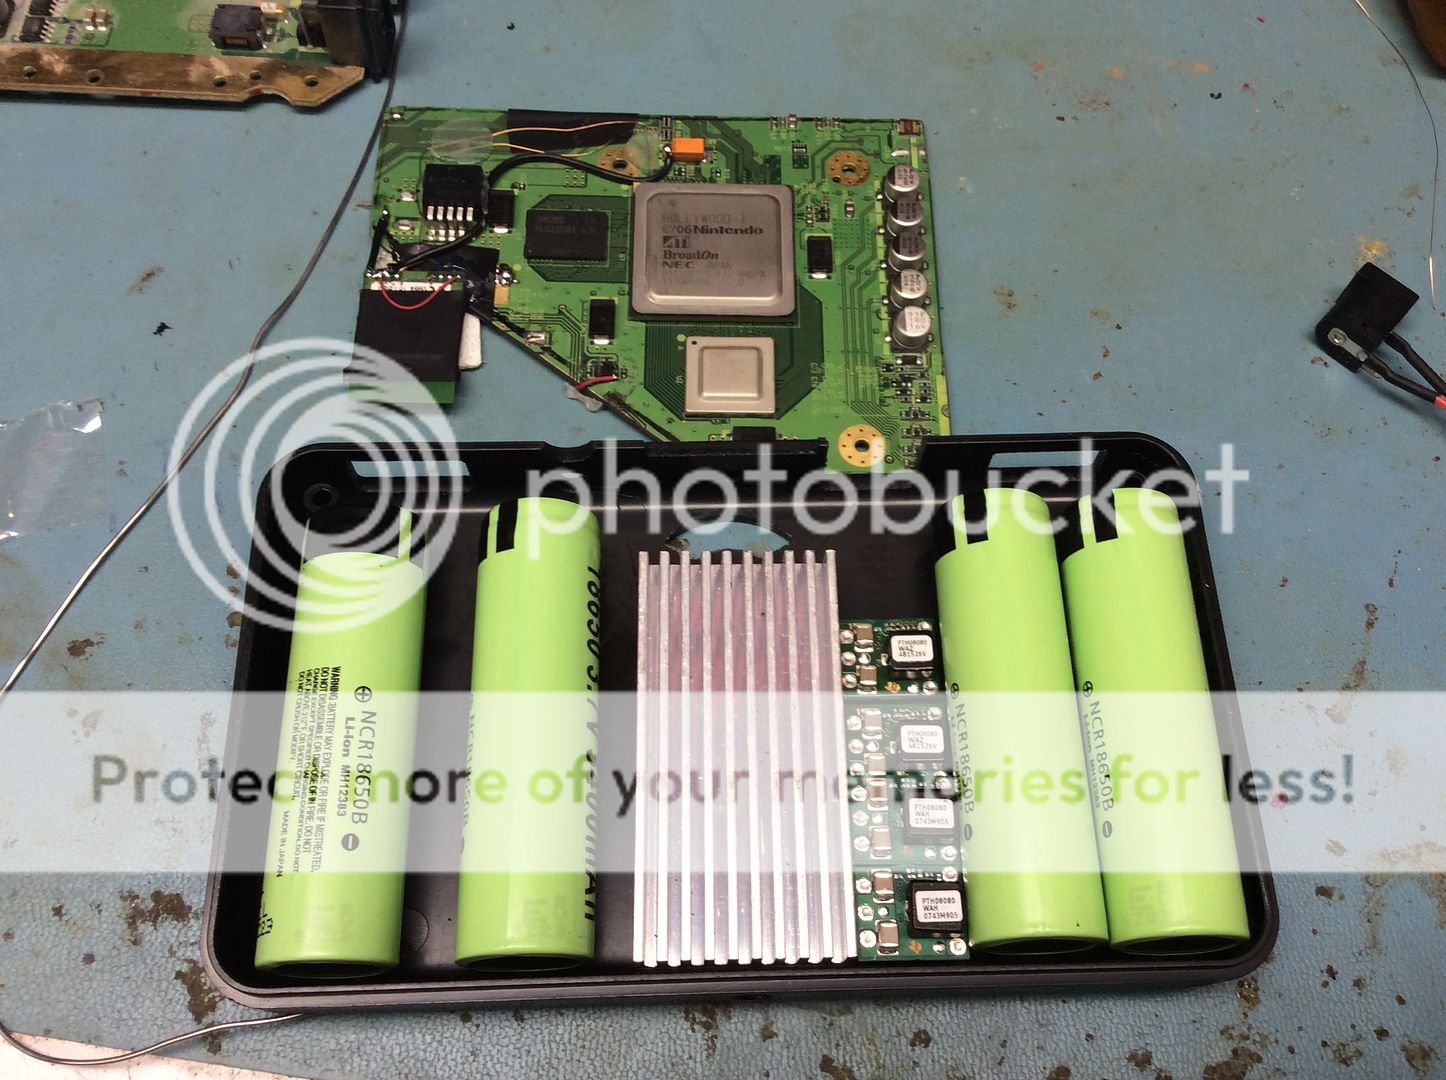
Your first look at the case. This one was laser cut by shank. As you can see, it will be a tight fit. The two cells on the left are separated slightly as you can see when the wii board flips over, the 1.8v reg will settle in between them just barely. I have removed the bottom two screw posts to make room for the cells. The battery PCM will be under the two cells on the left probably. I will probably have about 15mmx15mm of free space under the heat sink. I'll probably end up stuffing something in there.
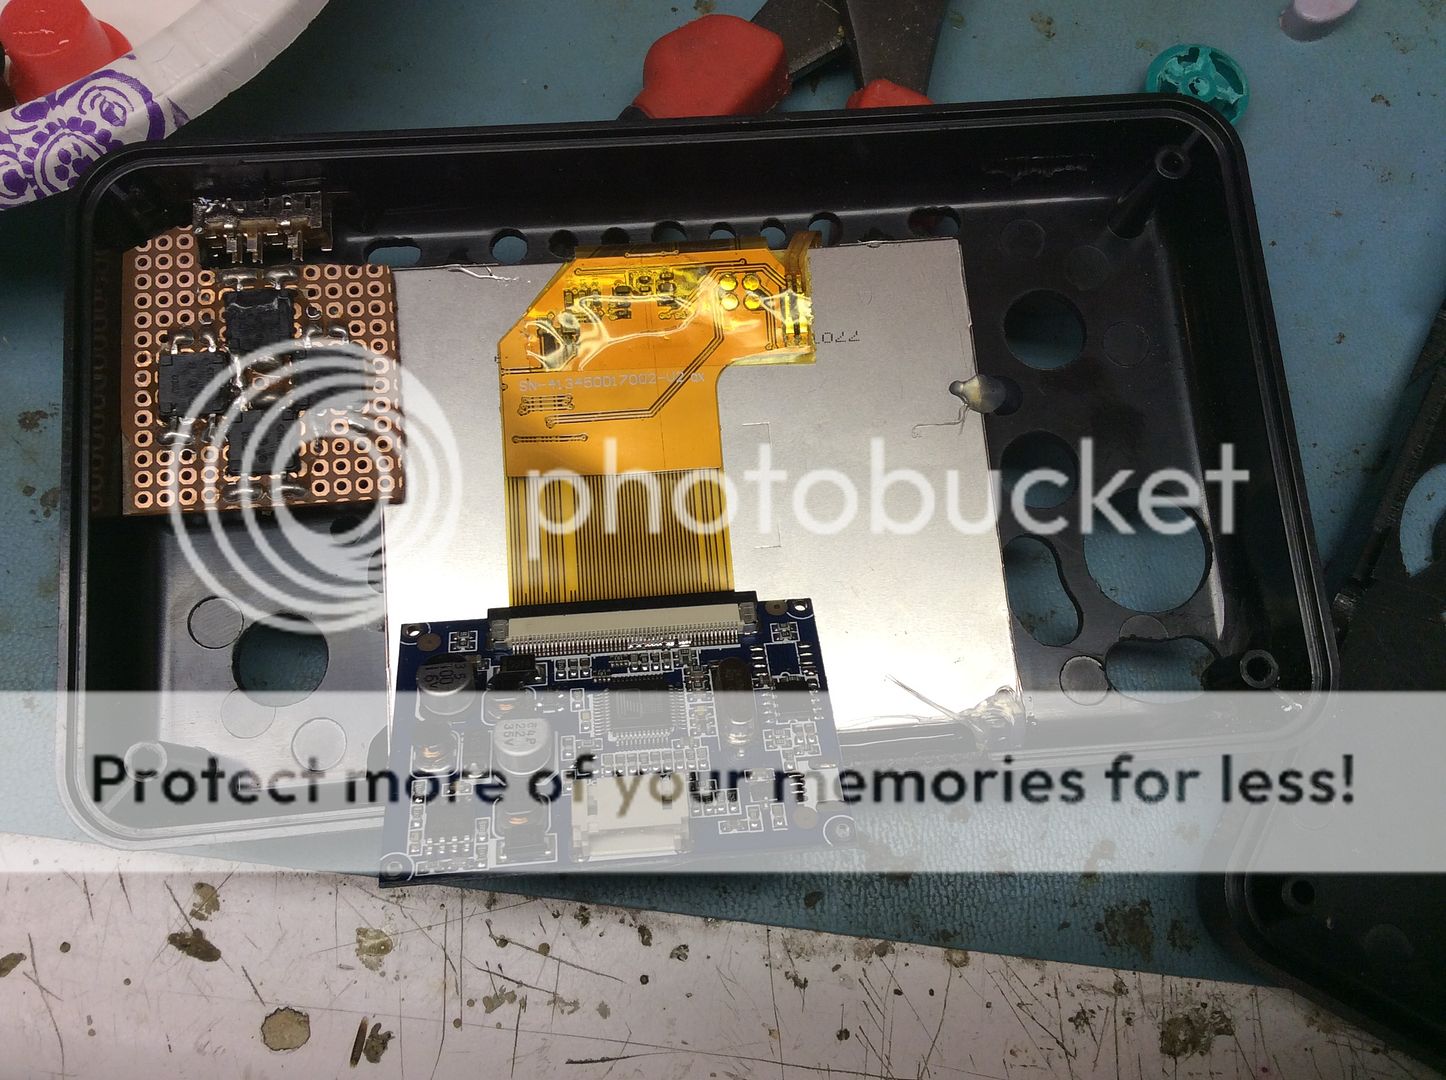
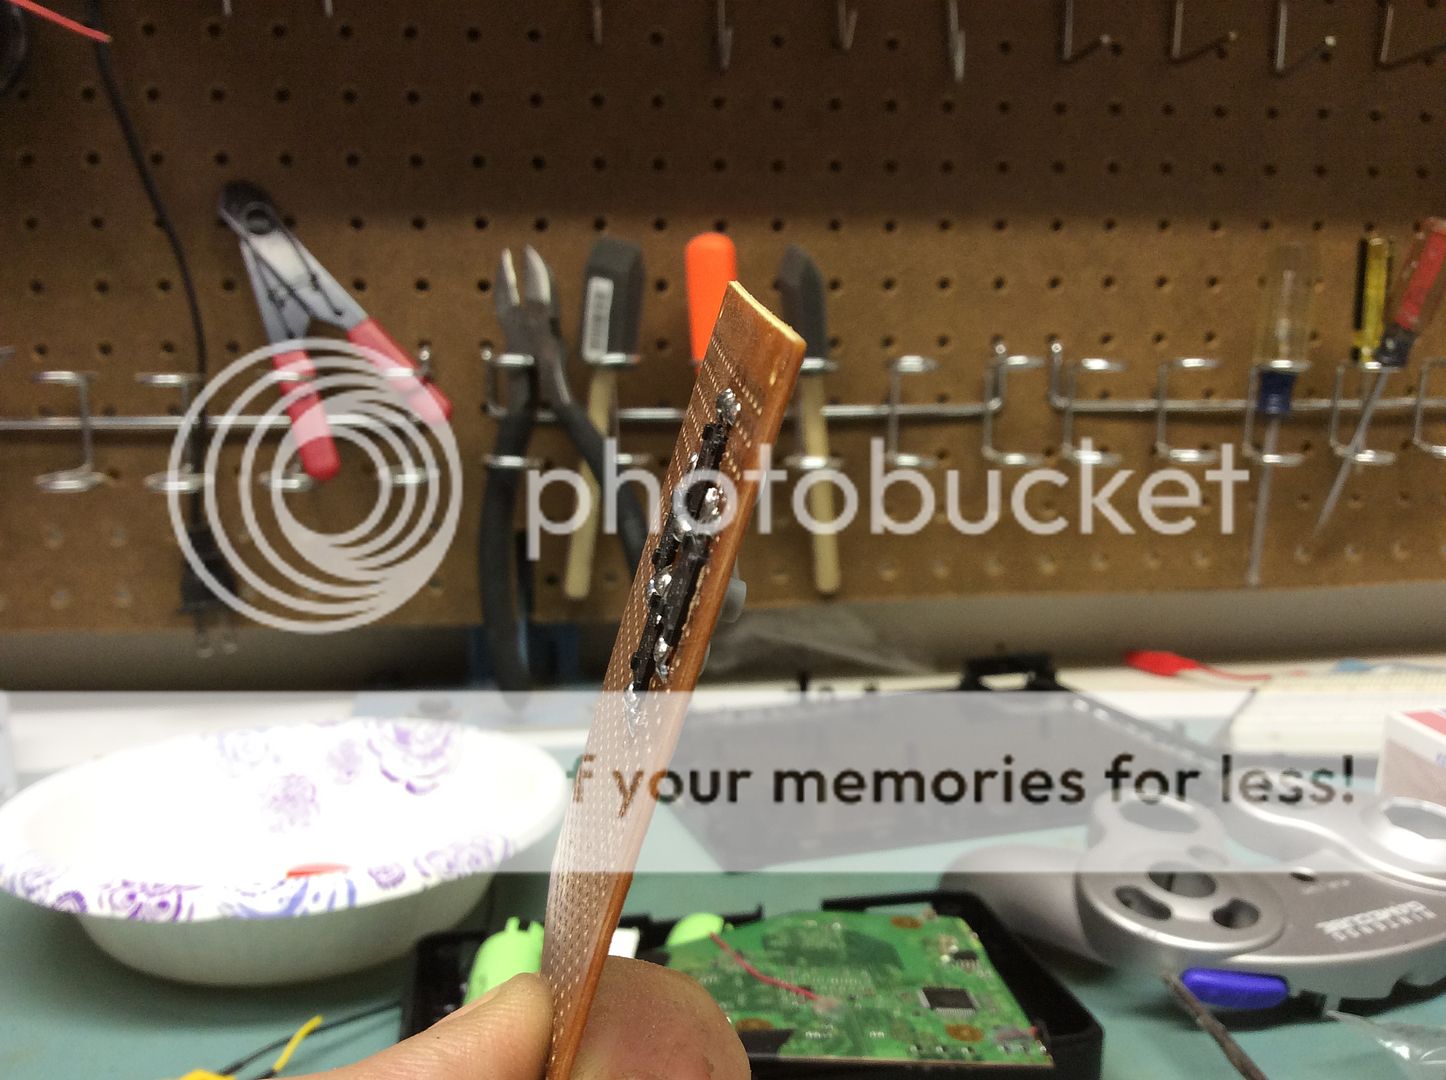
Mounting of shit has begun in the front of the case. See that ugly glob of solder on the screen connector? Really ticked me off. It came like that. Instead of waiting for a replacement, I tried to use a solder sucker to remove it, but it took a shitload of tries and before I could even get some of the solder that is under the pins off, the heat had lifted and destroyed a few solder pads. And the solder was still under the connector. Ended up having to get a replacement.
The real meat and potatoes. It took me more attempts than I'd like to admit to get an N64 cart slot relocation working for the first time like 6 years ago, so I'm pretty satisfied that as an adult I have enough attention to detail to complete one of the more involved trims ever created for our hobby and have everything work on the first go round. Thanks to the dudes at bit built for putting together everything it took to get the wii to this point.
More to come fo sho yo
Your first look at the case. This one was laser cut by shank. As you can see, it will be a tight fit. The two cells on the left are separated slightly as you can see when the wii board flips over, the 1.8v reg will settle in between them just barely. I have removed the bottom two screw posts to make room for the cells. The battery PCM will be under the two cells on the left probably. I will probably have about 15mmx15mm of free space under the heat sink. I'll probably end up stuffing something in there.
Mounting of shit has begun in the front of the case. See that ugly glob of solder on the screen connector? Really ticked me off. It came like that. Instead of waiting for a replacement, I tried to use a solder sucker to remove it, but it took a shitload of tries and before I could even get some of the solder that is under the pins off, the heat had lifted and destroyed a few solder pads. And the solder was still under the connector. Ended up having to get a replacement.
The real meat and potatoes. It took me more attempts than I'd like to admit to get an N64 cart slot relocation working for the first time like 6 years ago, so I'm pretty satisfied that as an adult I have enough attention to detail to complete one of the more involved trims ever created for our hobby and have everything work on the first go round. Thanks to the dudes at bit built for putting together everything it took to get the wii to this point.
More to come fo sho yo
- Joined
- Jan 31, 2016
- Messages
- 1,287
- Likes
- 2,726
- Portables
- 6
Love it. Yours is looking like it could turn out better than mine! I may have to redo mine once I see yours all finished up.
Interested to see how you will close it up since you removed the screw posts.
I may be wrong, but I don't see any capacitors on those regs.
I see you went with 4 cells. Its going to be tough, but I believe in you!
Can't wait to see how this turns out!
Interested to see how you will close it up since you removed the screw posts.
I may be wrong, but I don't see any capacitors on those regs.
I see you went with 4 cells. Its going to be tough, but I believe in you!
Can't wait to see how this turns out!