nobble
.
- Joined
- Apr 30, 2017
- Messages
- 170
- Likes
- 268
I have been putting off my WiiP for a few days and felt bad about my laziness. After I had been laying in bed night after night, restless, knowing that my project was watching me from the corner of the room, I hid it away and thought about my life decisions.
So I decided to go on a diet of raspberry pi and solder fumes. In my Wiik state, I had visions of Gameboys and Pigrrls reproducing small foldable Gamebabies while Pikachu stood in the corner grinning and nodding his head. He new the pokeyiffing would soon begin.
All of the sudden, I was greeted by giant god-like men. They told me that I was chosen to forge something with my hot iron pressed deep into pins and cross circuits quickly, with haste, like on prom night. Then I would regret my actions and have to live with it, wishing that I had bought a better battery protection module for the event.
In return of having to witness such a horrid vision, the π Gods granted me 3 wishes:
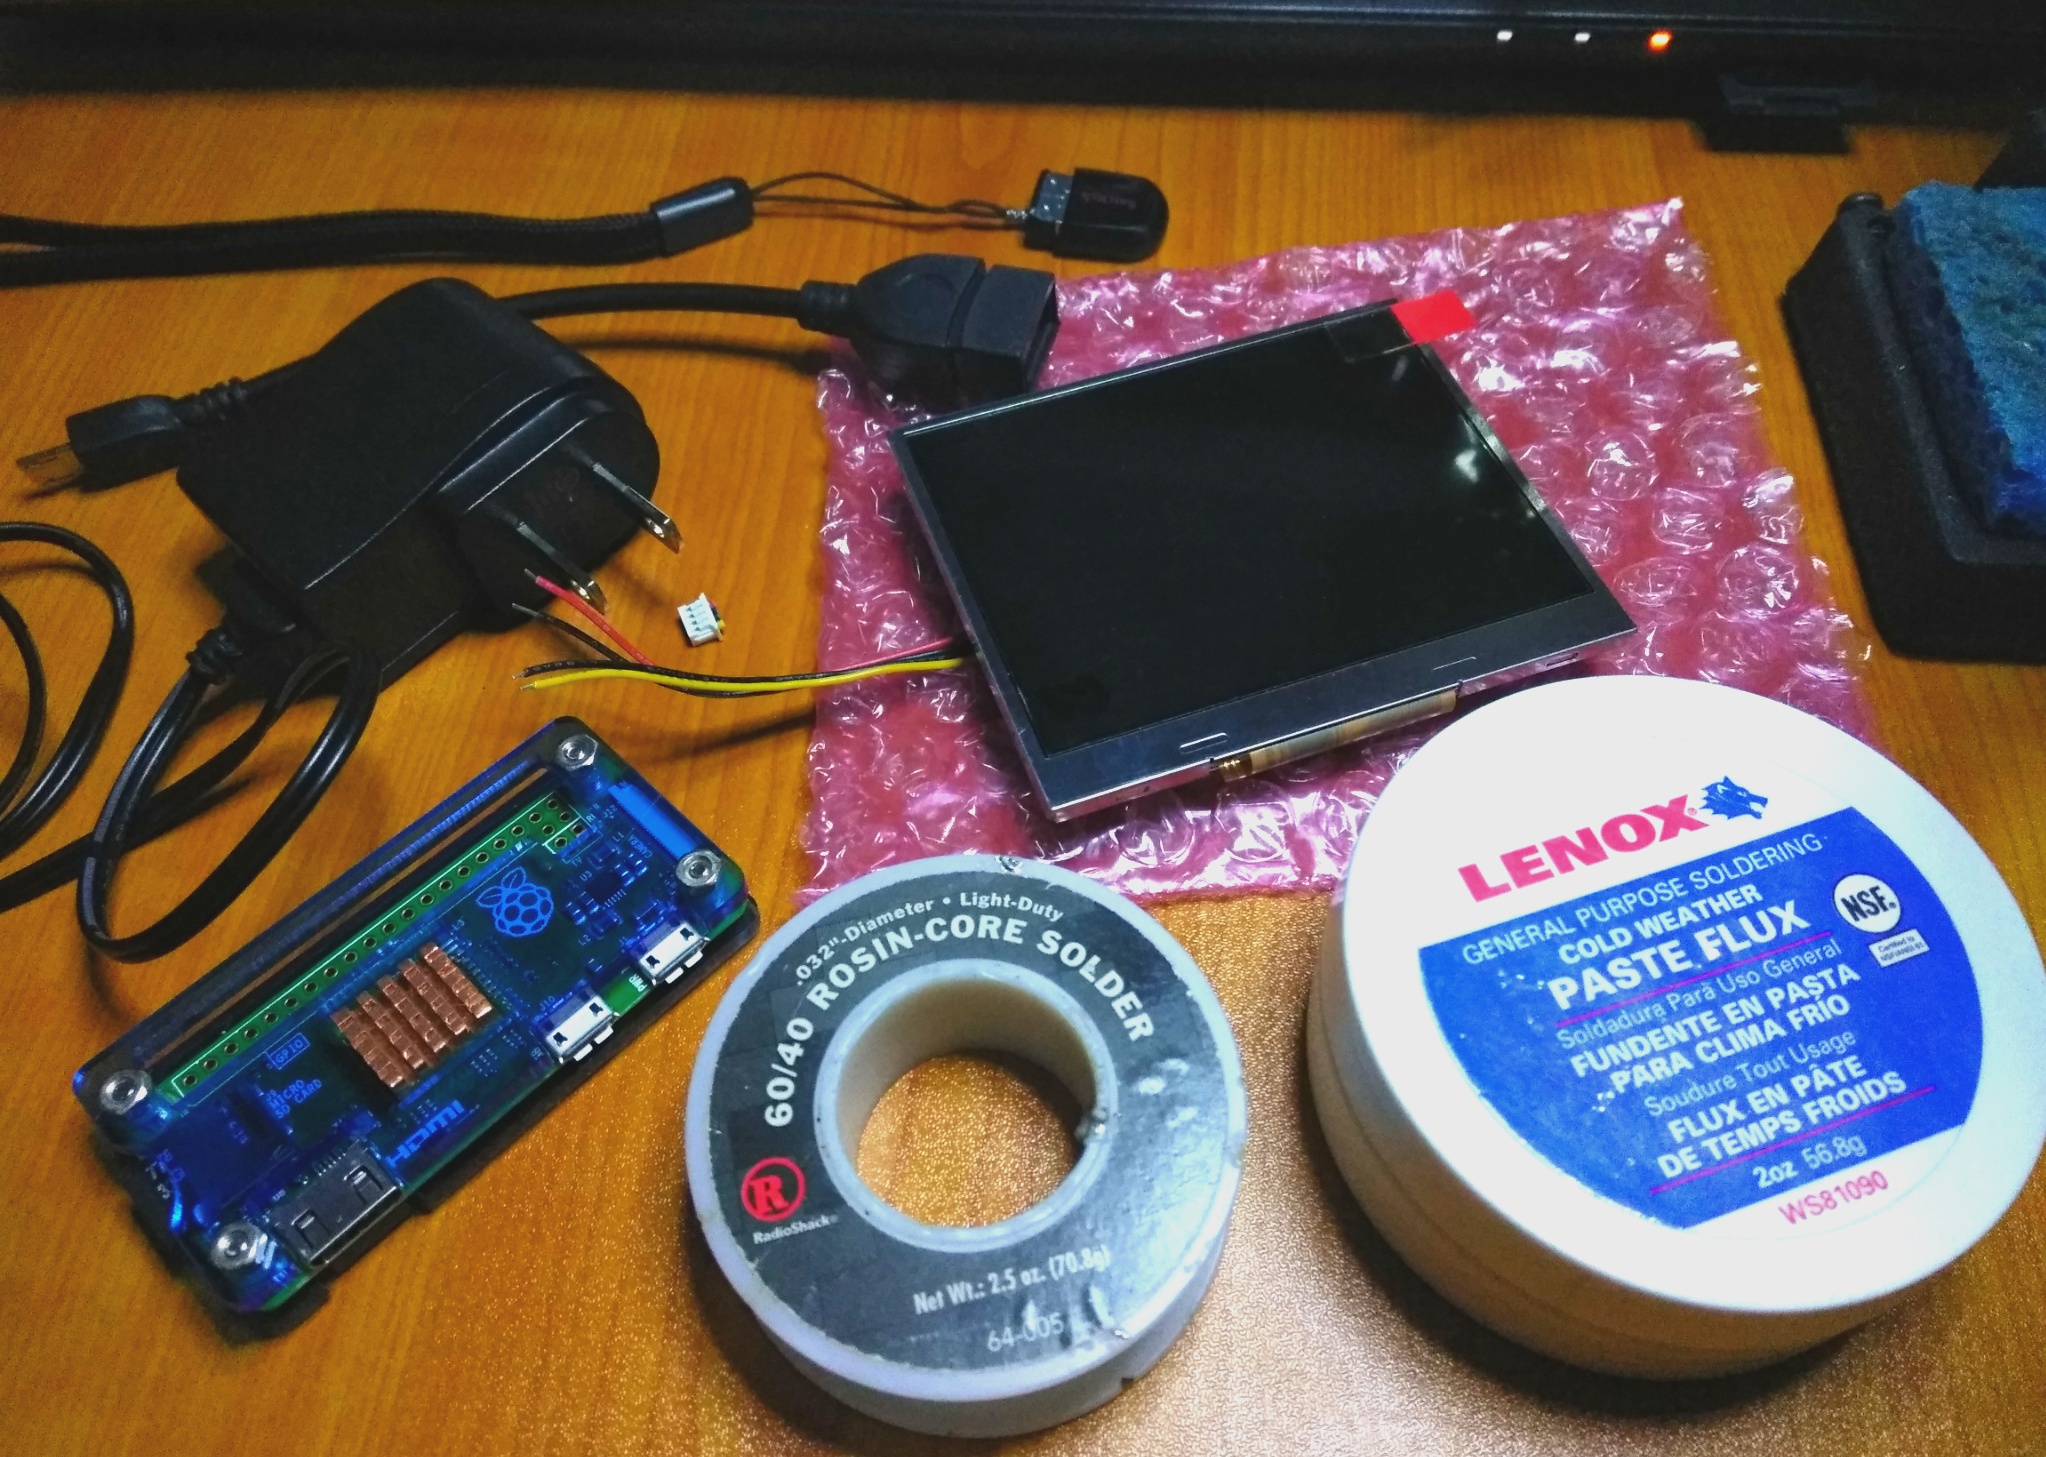
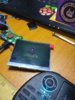
I took the pi zero out of the plexi case and wired up the screen to composite out.
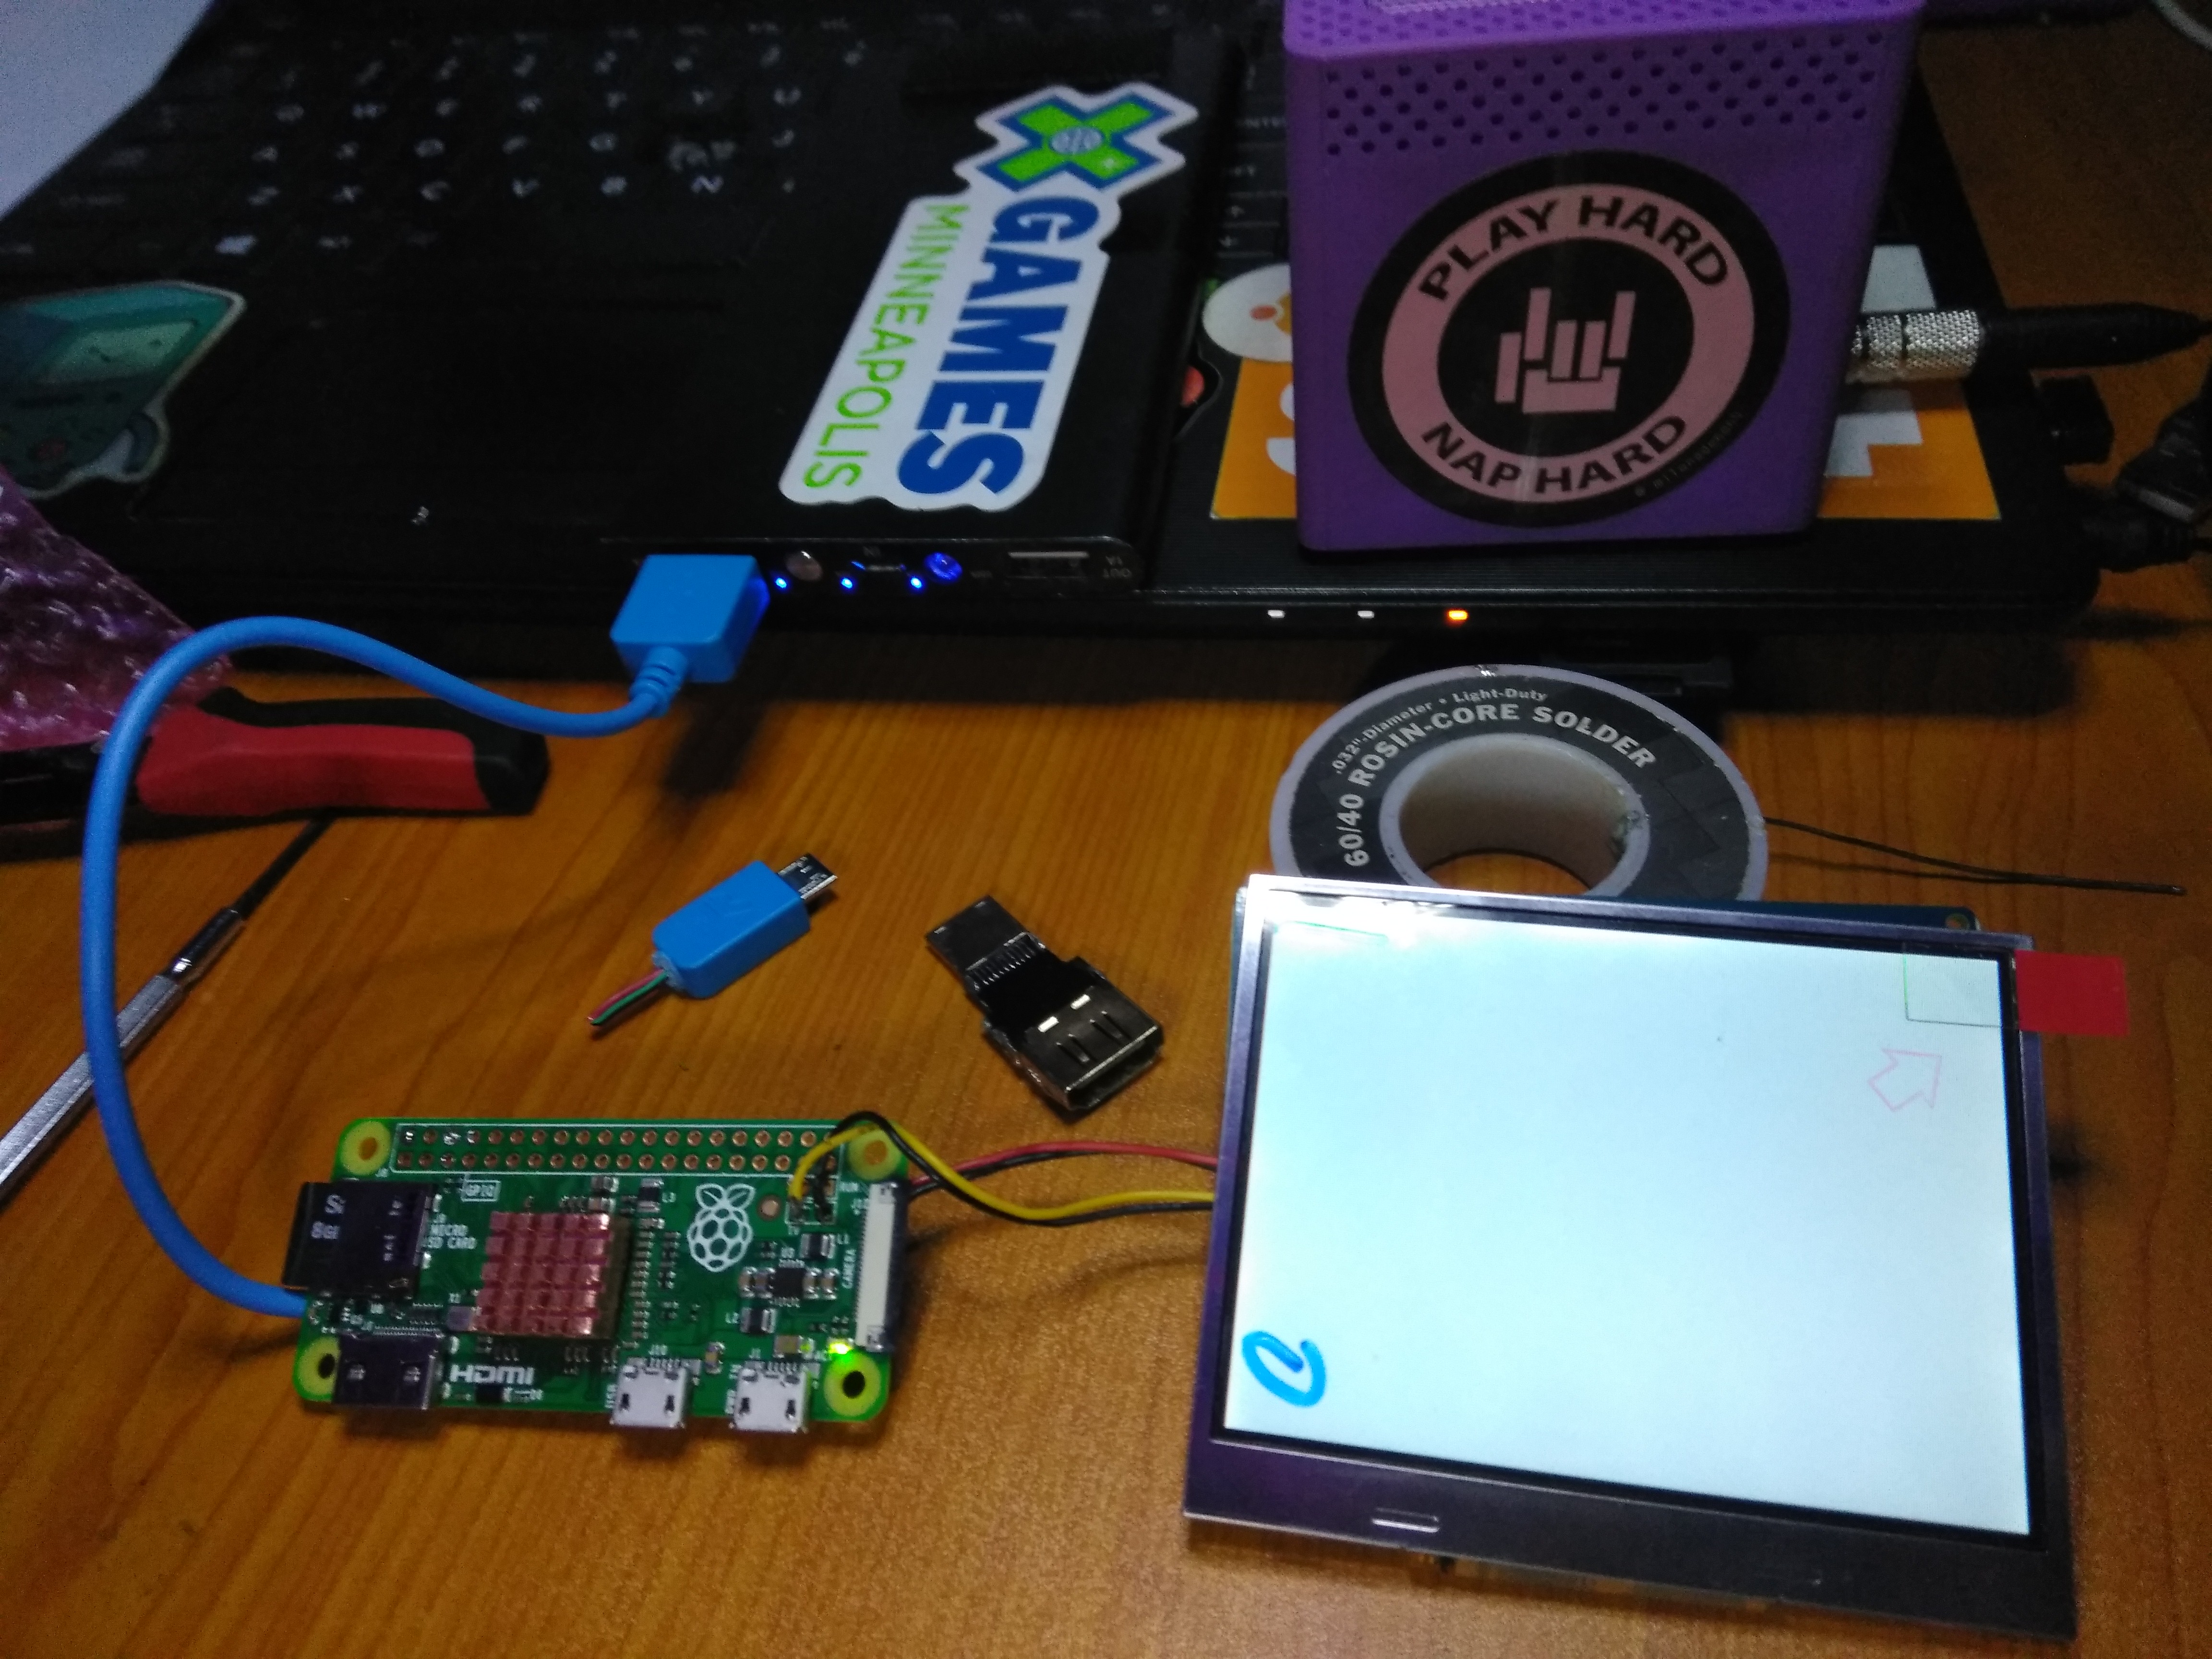
My screen didn't function properly with the wiring from the connector that comes with the screen so I had to wire 5v directly to an onboard regulator. The screen and pi booted up just fine after that.
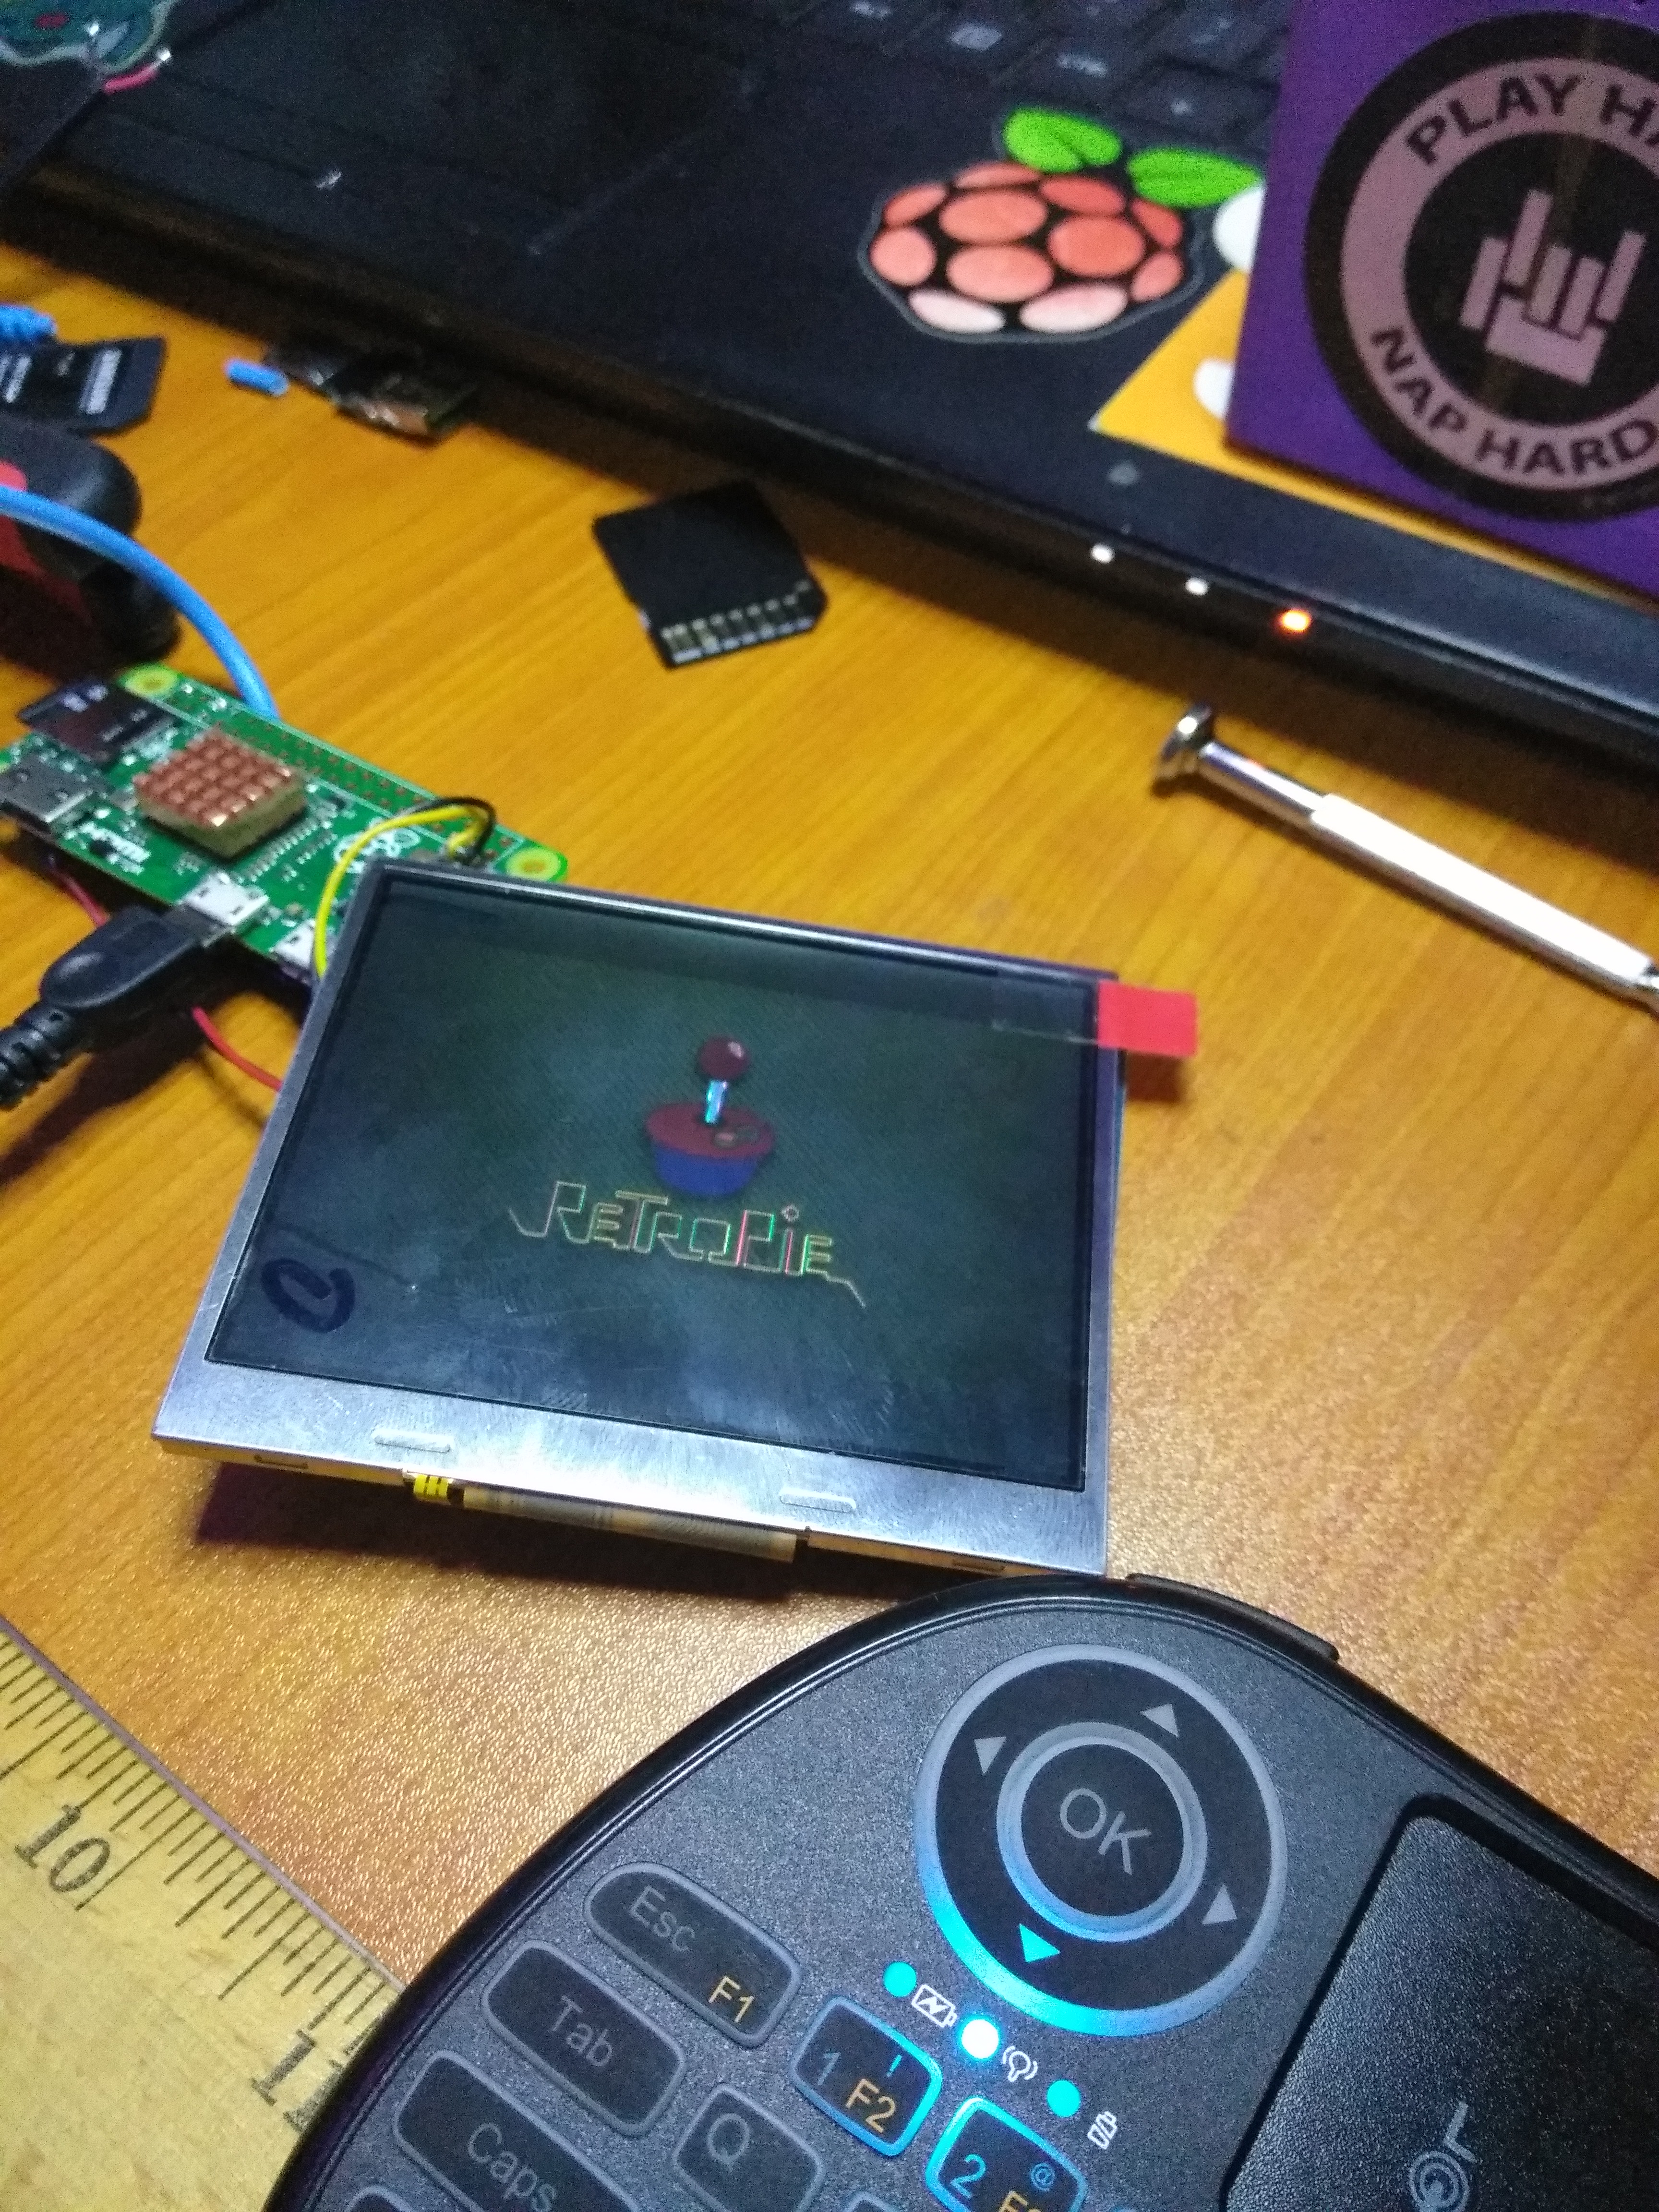
I even tested a few games for memes.
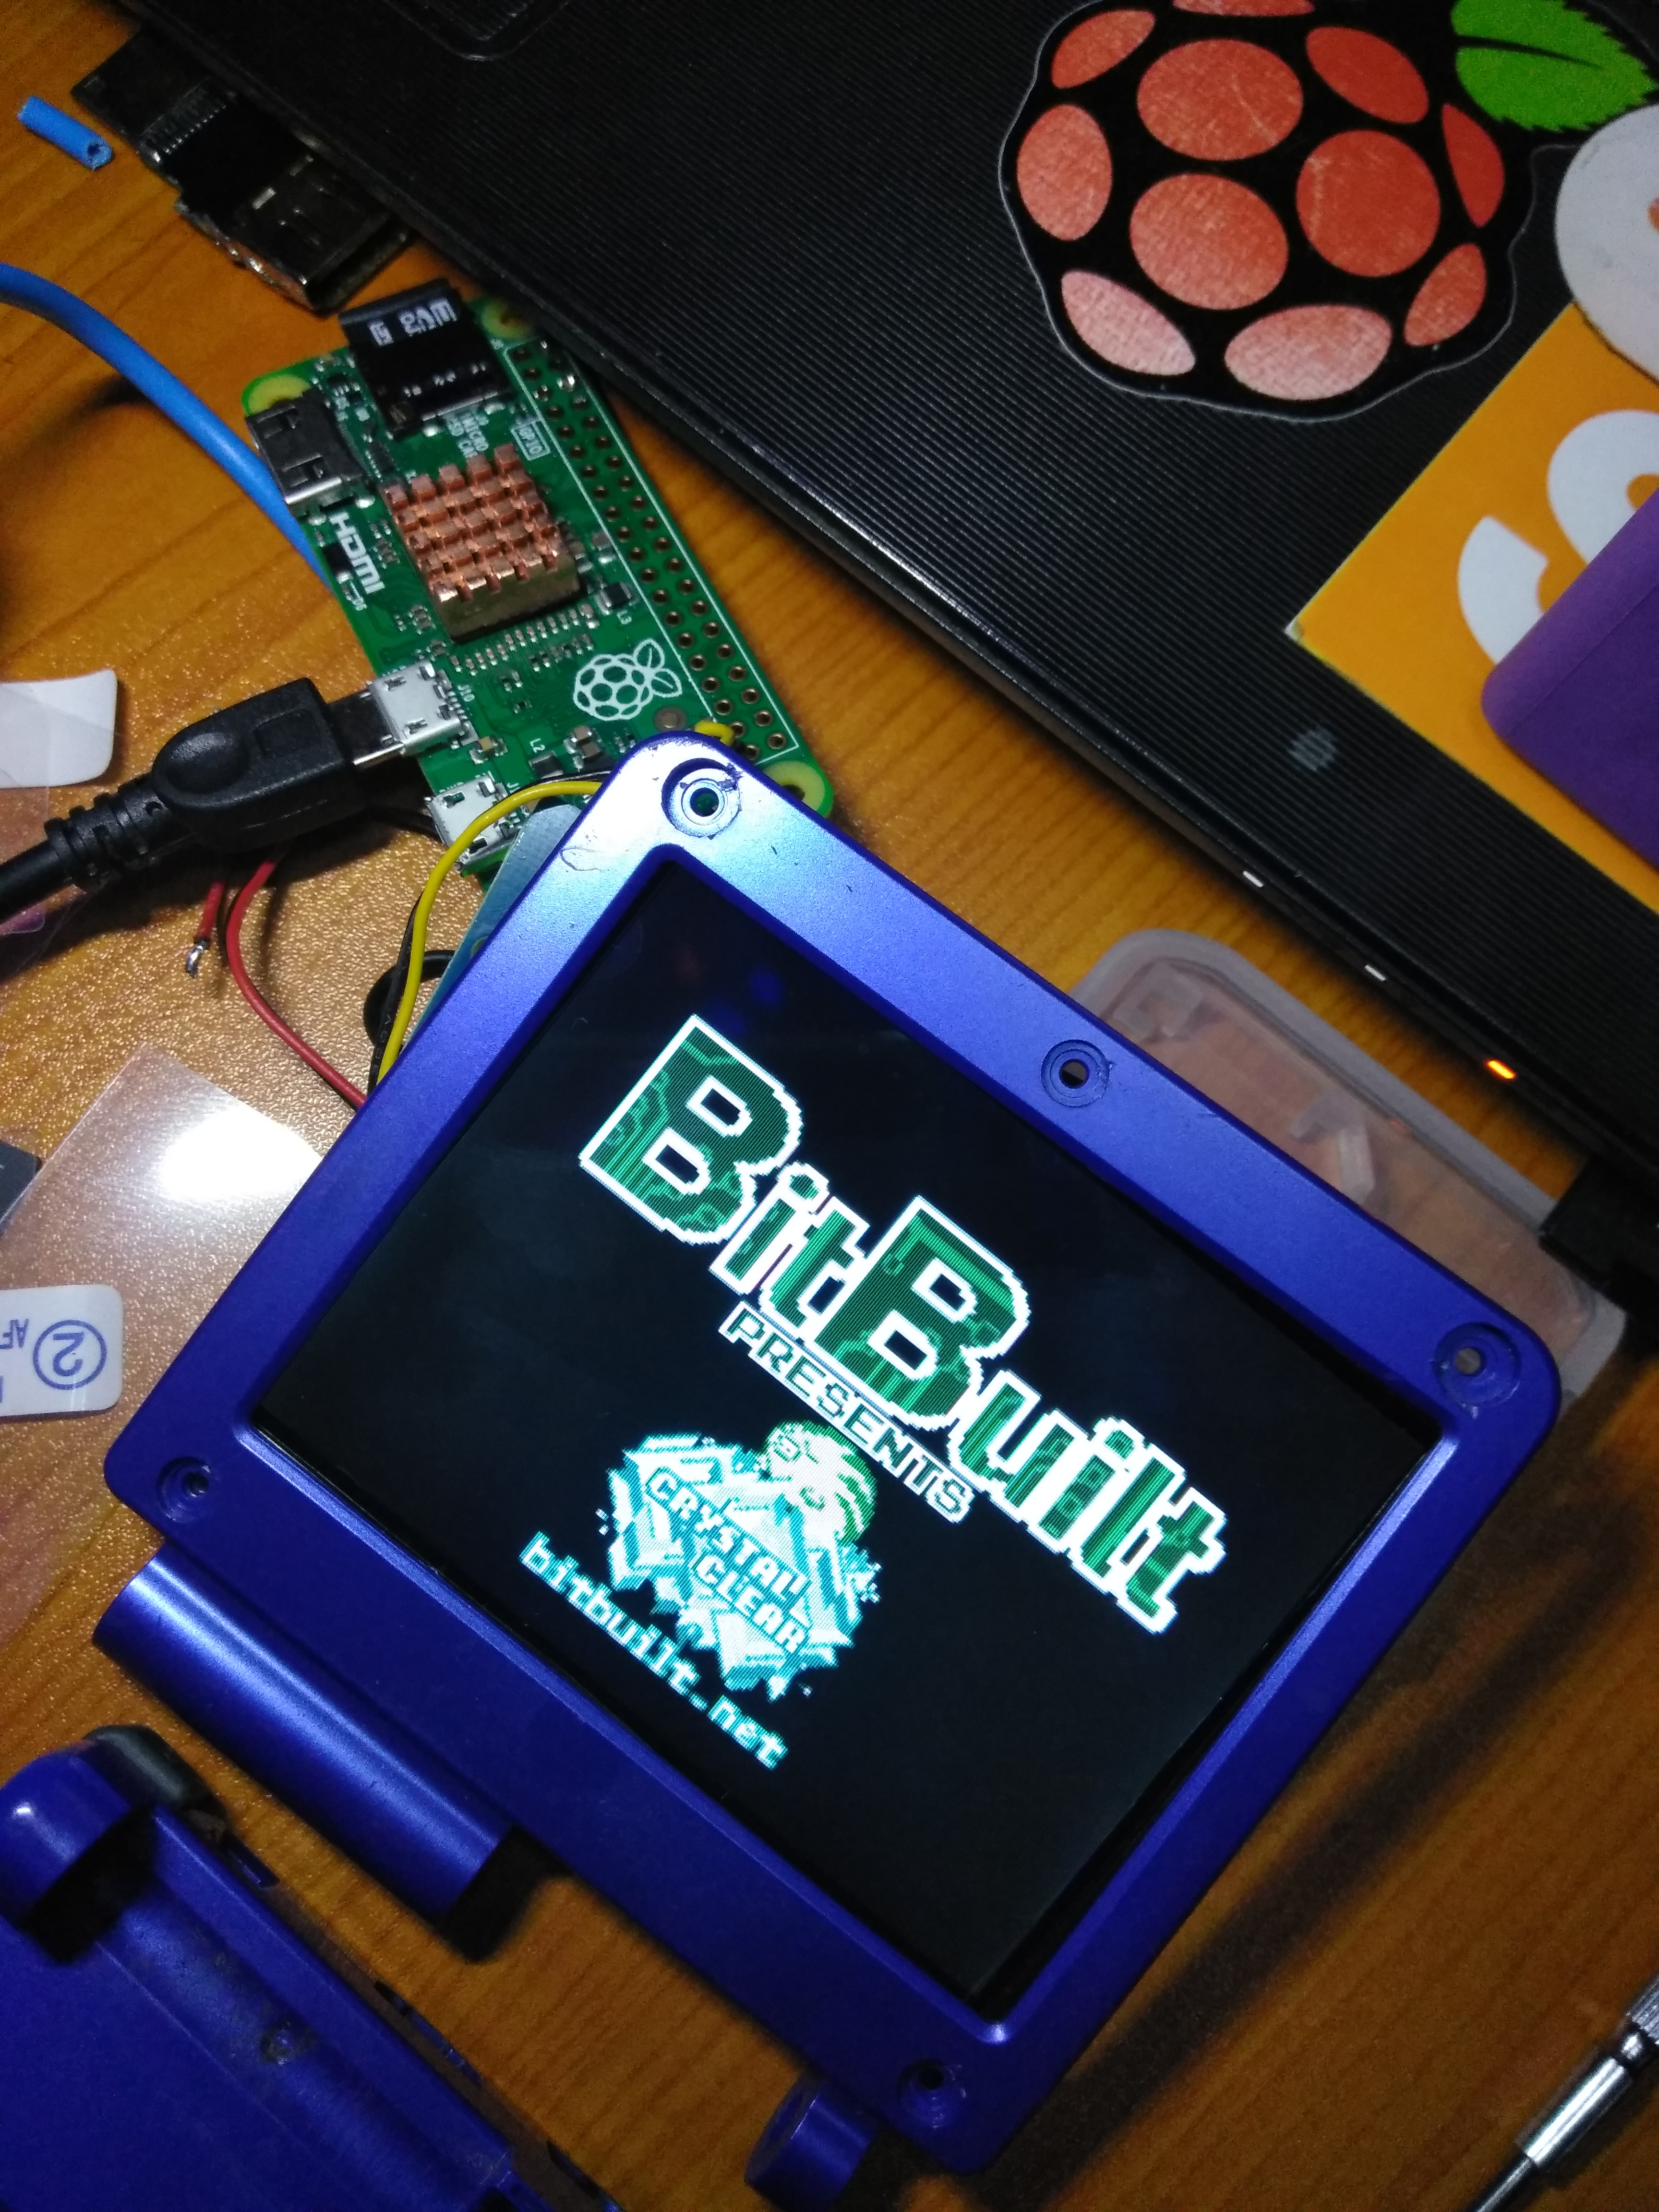
The SP casing I have is leftover from a case swap I did years ago. I don't have the top half, but won't be needing it really since I have to make it thicker to house the LCD board. I have been wanting to make a Pokemon themed handheld and finally decided to go for it. Nothing fancy, just something probably yellow with Pikachu features.
I will have to buy a teensy for the control mapping, unless someone knows of an easier way OR has a solution to map with Attiny85s because I have too many still from my arduinoboy.
I may forget about this project..
Only time will tell.
So I decided to go on a diet of raspberry pi and solder fumes. In my Wiik state, I had visions of Gameboys and Pigrrls reproducing small foldable Gamebabies while Pikachu stood in the corner grinning and nodding his head. He new the pokeyiffing would soon begin.
All of the sudden, I was greeted by giant god-like men. They told me that I was chosen to forge something with my hot iron pressed deep into pins and cross circuits quickly, with haste, like on prom night. Then I would regret my actions and have to live with it, wishing that I had bought a better battery protection module for the event.
In return of having to witness such a horrid vision, the π Gods granted me 3 wishes:
- My first wish, was to use as many parts as I already have to build this ungodly offspring.
- Second, I want to be cheap about this. I don't know how much more ramen my body can take.
- Third, to be able to replicate and possibly make more to sell, because why not populate the world some more?
I took the pi zero out of the plexi case and wired up the screen to composite out.
My screen didn't function properly with the wiring from the connector that comes with the screen so I had to wire 5v directly to an onboard regulator. The screen and pi booted up just fine after that.
I even tested a few games for memes.
The SP casing I have is leftover from a case swap I did years ago. I don't have the top half, but won't be needing it really since I have to make it thicker to house the LCD board. I have been wanting to make a Pokemon themed handheld and finally decided to go for it. Nothing fancy, just something probably yellow with Pikachu features.
I will have to buy a teensy for the control mapping, unless someone knows of an easier way OR has a solution to map with Attiny85s because I have too many still from my arduinoboy.
I may forget about this project..
Only time will tell.
Attachments
-
 4.4 MB Views: 331
Last edited: