Worklog MP3's Ashida Worklog

MP3

.
Joined
Jan 8, 2020
Messages
64
Likes
79
Location
United States
Portables
2
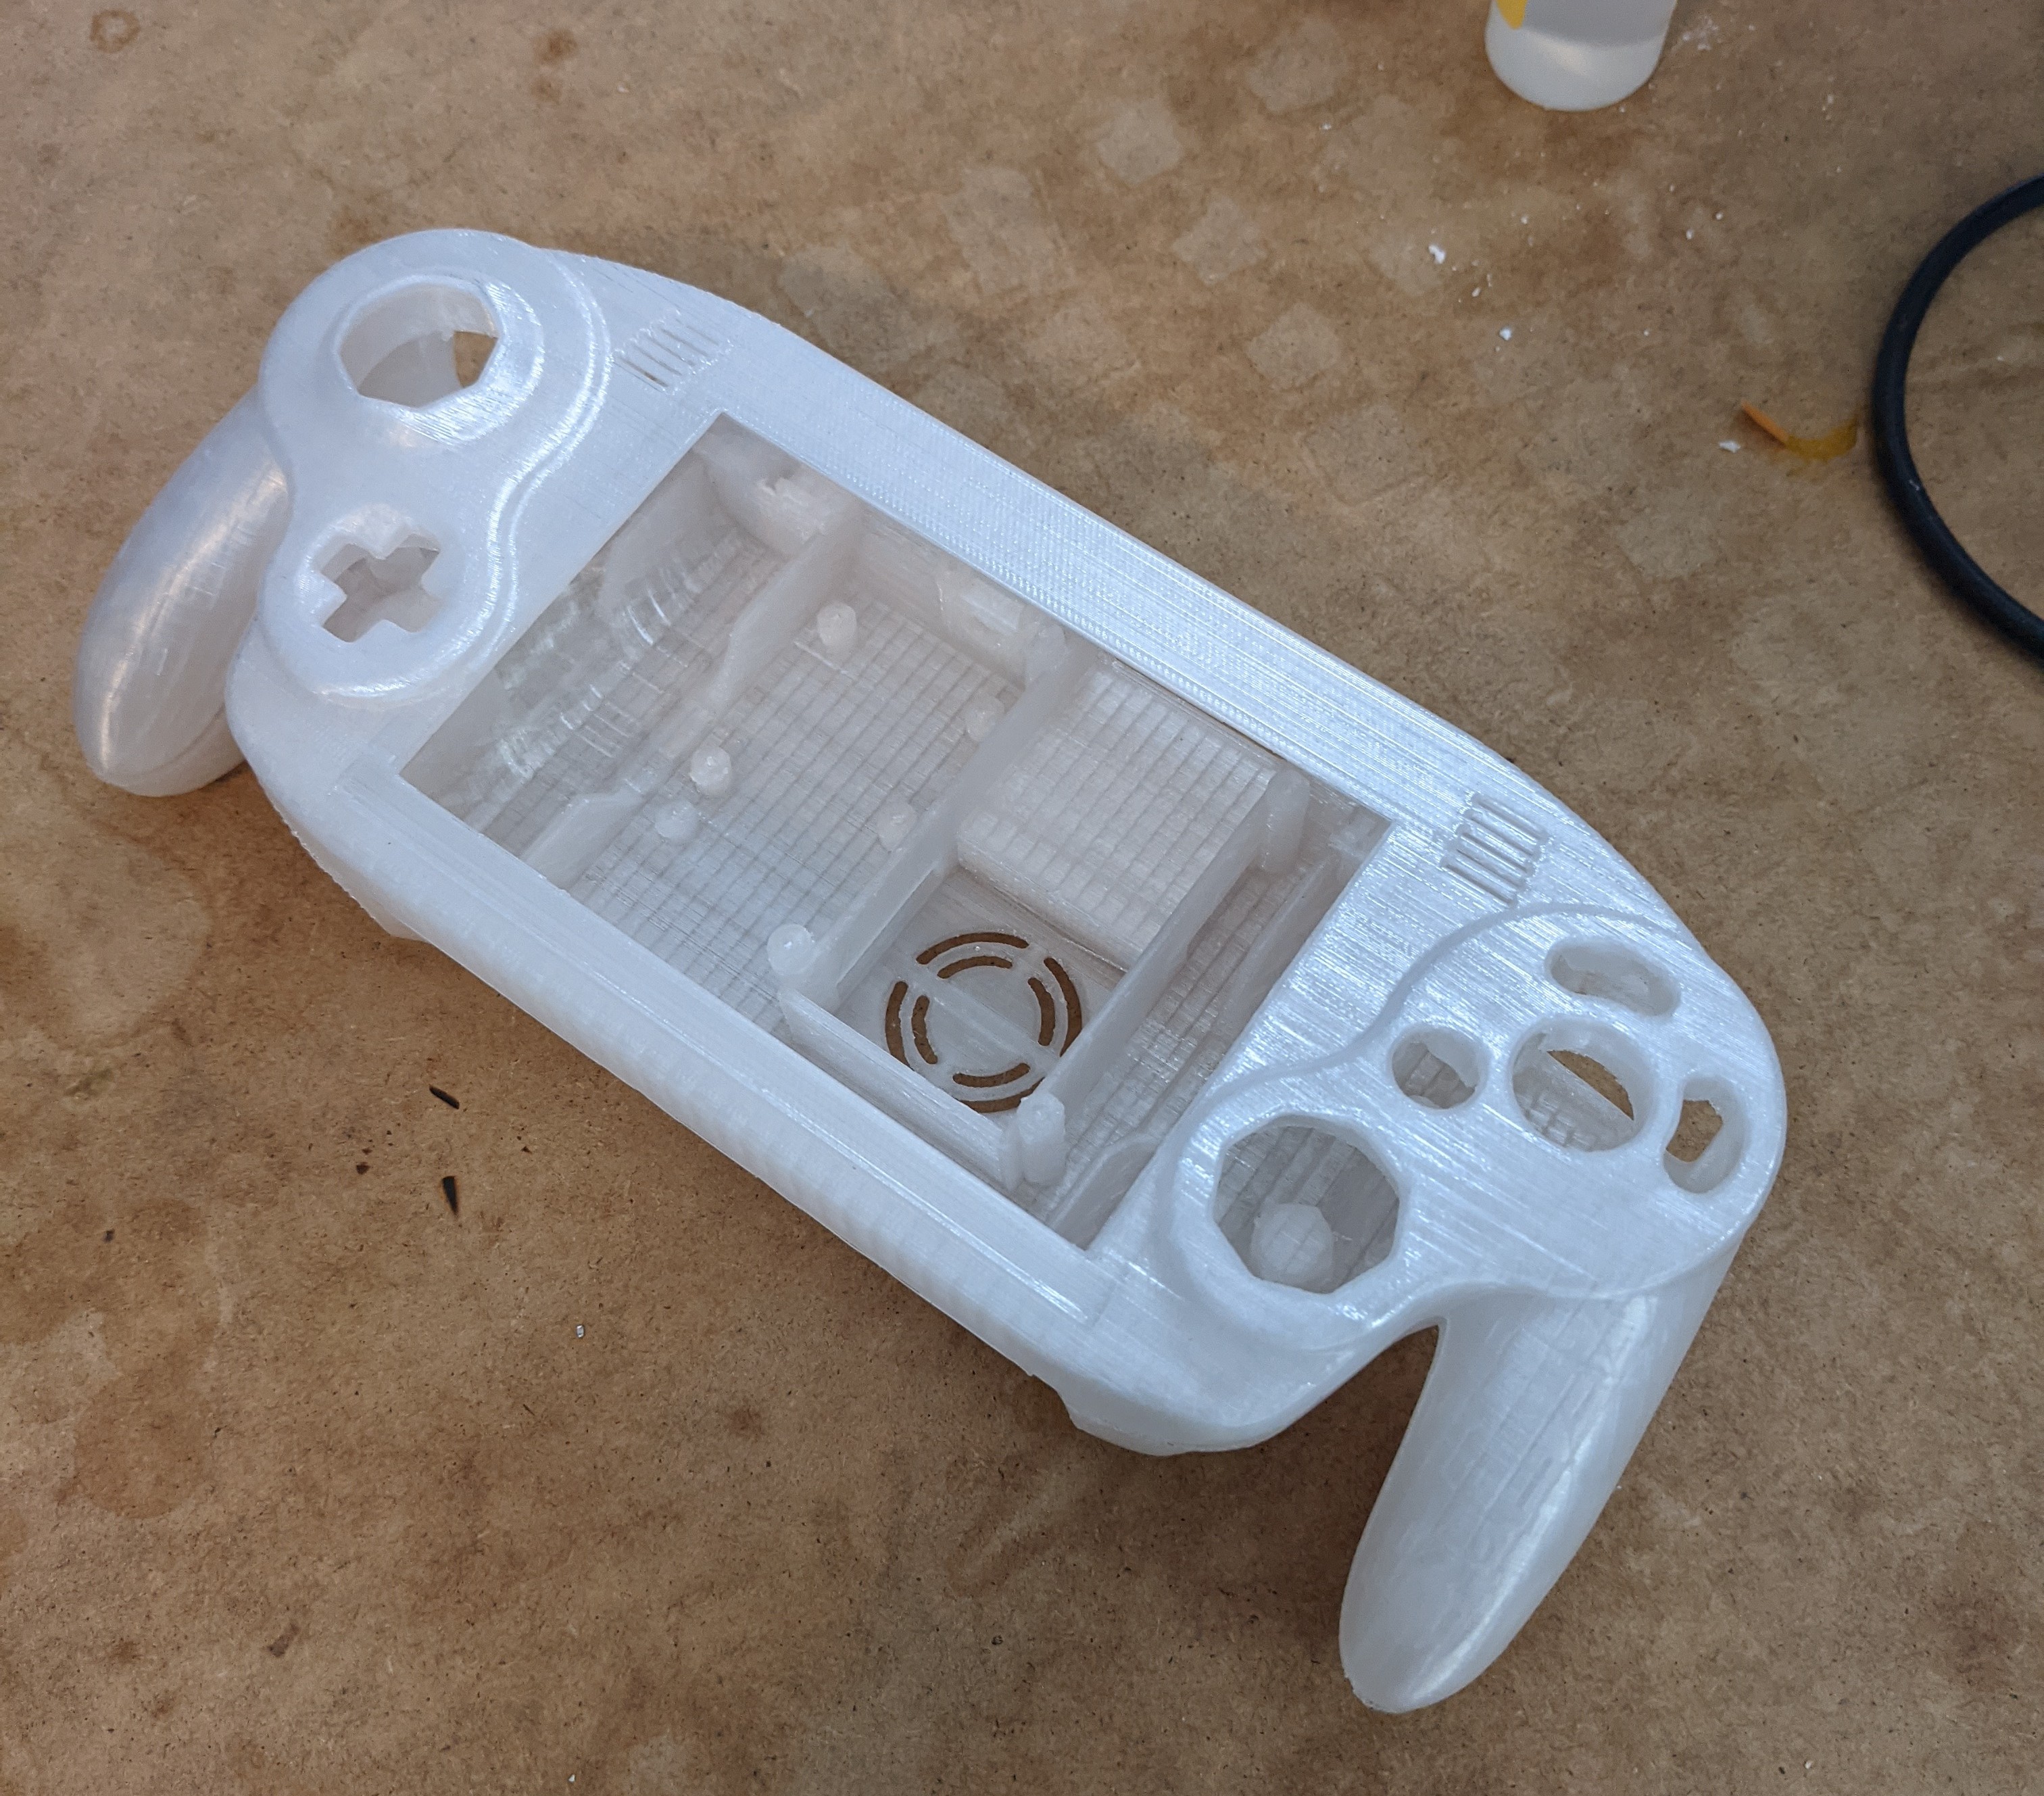
After the whole G-Boy situation, I still wanted to build a portable and was going to build a G-Wii, but then I saw the Ashida and decided to hold out until I could build one. Now that the files are out I can finally start. I printed the case in Atomic Filament's clear filament, which is a very cool looking translucent white once it's actually printed. I plan to pair this with some blue buttons and sticks and I think it should look pretty nice once it's all together. I still need to sand the edges a bit.
case.jpg

I went ahead and got my controller boards partially assembled. I'm still waiting on a lot of the parts from Digikey. Fedex is being weird and it's taking forever to show up. The castellated pads on the 4layertech boards are really nice. They made soldering them down really easy.
parts.jpg

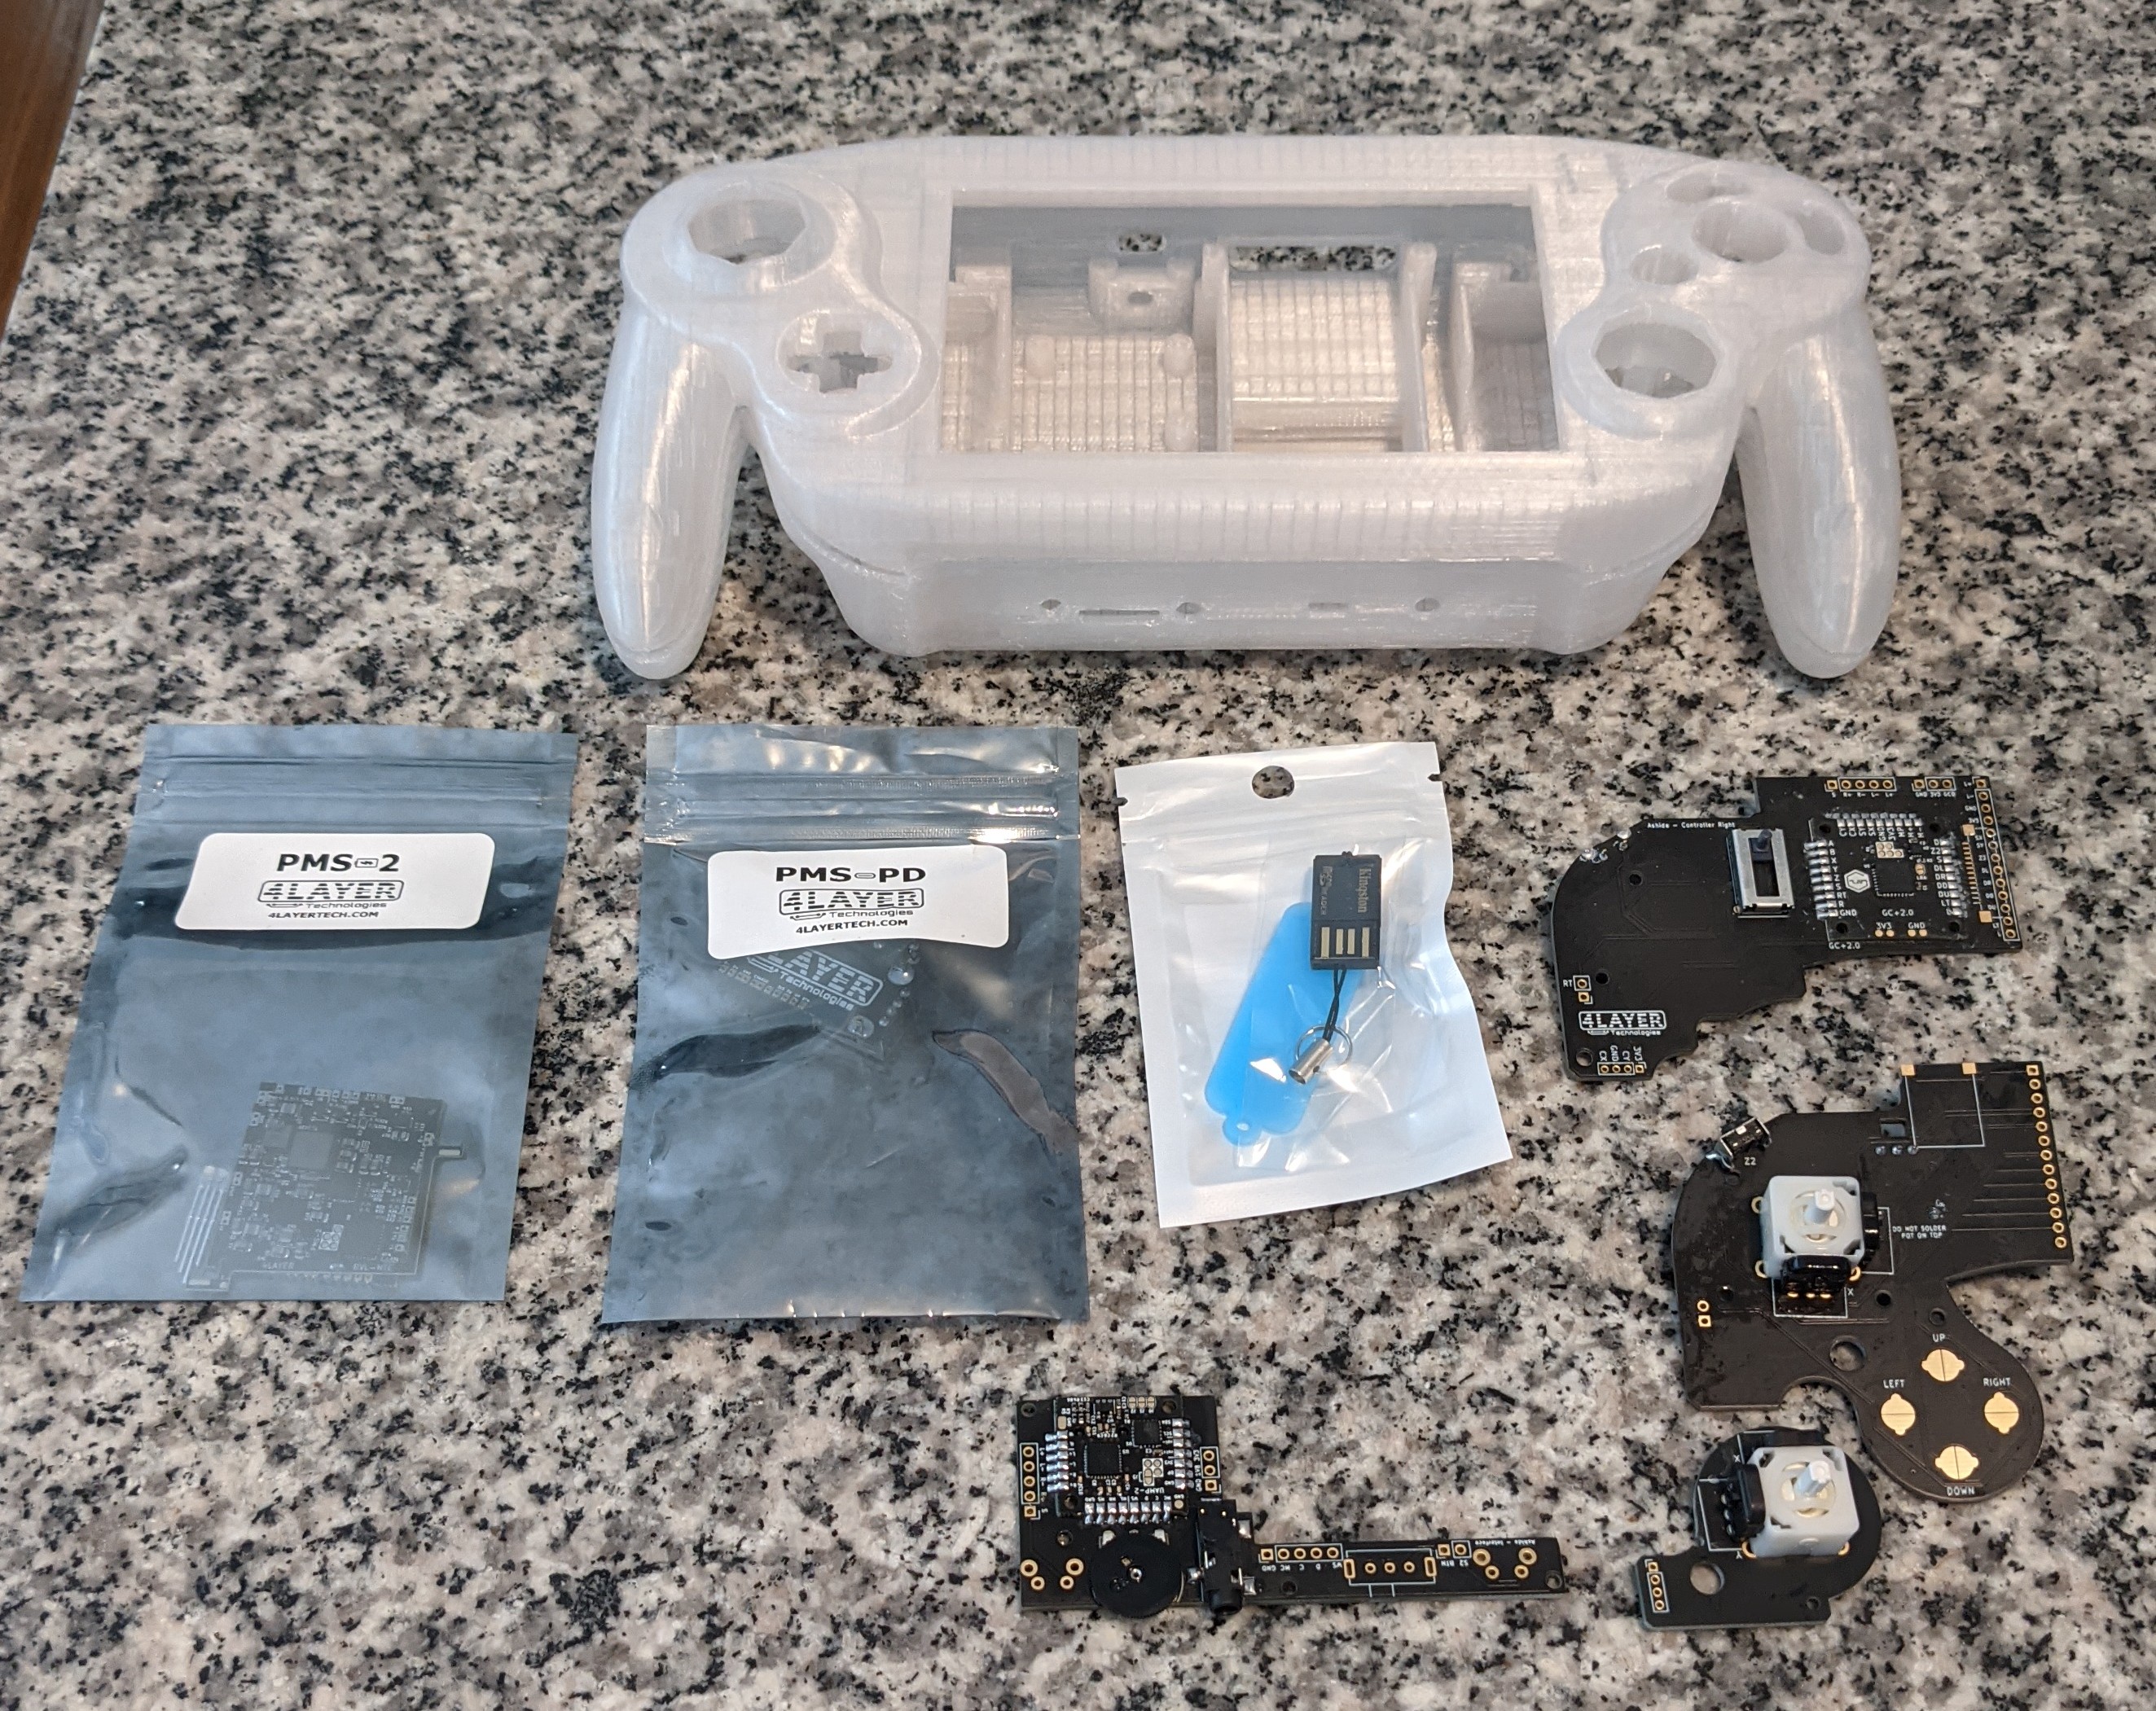
That's it for now. I'll be able to show more once my Digikey order, batteries, screen, and buttons all show up. This is my first time making a worklog so if I messed up formatting wise or something please let me know.
 

Gman

RTFDS
Staff member
.
.
.
.
.
Joined
Feb 25, 2016
Messages
1,437
Likes
2,887
Can't wait to see all these beautiful ashidas. A tip: take your time making sure all the buttons feel good before closing it up. I had to back off the screw holding on the controller boards a few threads otherwise the buttons are a little pressed in. The screw is only to keep it held in while you flip it over, it isnt mechanical once it is closed.
 
  • Like
Reactions: MP3
Joined
Sep 30, 2021
Messages
49
Likes
69
Location
Idaho
Portables
2
Can't wait to see the progress! What a bummer that your digikey order has issues. I just ordered the parts to start an ashida so I'm excited to see more pictures of yours
 

MP3

.
Joined
Jan 8, 2020
Messages
64
Likes
79
Location
United States
Portables
2
Updates plz, I know you've got new pics to share. ;)
Welp, it's update time I guess. The tolerances on my original case were off by just enough to totally screw everything up. I noticed this when the screen showed up and I near broke it trying to press it in. So I caved and went the PCBWay route. The case is pretty good, my one major annoyance is there are some areas that are super scratched up. I reached out to them and apparently this is just a by-product of removing the supports on this material. So sadly, I would advise against anyone ordering the translucent resin from PCBWay. Despite this, I'm still pretty happy with how the color scheme turned out. However, it might finally be time for me to buy a Prusa.
issue1.jpg
case.jpg
case with buttons.jpg

The screen fits!
case with screen.jpg

Other than that, my Digikey parts showed up. Literally 5 minutes after I made my initial post in this thread. Soldering in the flex cable connectors was pretty fun.
connectors.jpg

That's it for now, I'll hopefully be able to get a bunch of work done tomorrow and this weekend.
 

Attachments

Joined
Oct 25, 2021
Messages
18
Likes
10
That is a beautiful case, and the button choice makes it awesome. I kinda wish I would have gone transparent from pcbway like you, even though you did say there were a few scratches I think the look makes up for it
 

Stitches

2 and a Half Dollarydoos
Staff member
.
.
Joined
Feb 5, 2017
Messages
3,815
Likes
3,009
Location
Banana Bender Land, Australia
Portables
6
You might be able to buff the scratches out a bit if you're slow and careful, but otherwise it looks really neato
 

MP3

.
Joined
Jan 8, 2020
Messages
64
Likes
79
Location
United States
Portables
2
So, I finally was able to start actually putting my portable together. I had some case clearance issues that caused me to have to remove the trigger guards. I also discovered you have to slightly cut the ABXY membrane in order for it to fit right.
membrane.jpg

Additionally, I actually trimmed my Wii. It was surprisingly easy, but a little stressful. Overall I think I ended up with a pretty clean trim.
trimoutline.jpg
trimfront.jpg
trimback.jpg
sandedtrim.jpg

It works!
boots.jpg

I also got the screen in my portable to turn on. It wasn't working initially, but I found a hairline piece of solder that was bridging VCC and ground. I removed it and the screen worked fine.
screen.jpg

Next up is getting VGA, audio and controls wired up. I'll make another post then.
 
Last edited:

MP3

.
Joined
Jan 8, 2020
Messages
64
Likes
79
Location
United States
Portables
2
Alright, I've been slacking a little bit on updating this worklog, so before I upload my "Cutting Edge" post, here are some things that happened to me. Due to either frustration or excitement I didn't get photos of a lot of things I probably should of in hindsight, so you're going to have to work with my verbal descriptions on some of these.

First off, VGA refused to work on my first trim and eventually it just wouldn't boot at all. I spent a few hours troubleshooting and couldn't find the cause. So I went with the tried and true "give up and trim a new board" method. The U10 via flaked off this board the second I touched my iron to it (no clue how that happened), so I had to trim another one. I got VGA working on this one super easily and was able to move onto other things.

I had this issue where the PMS-PD 2 would be detected by the Wii or PC some but not all of the time. I fixed this by redoing the wire on the "up" line and it's worked flawlessly ever since.

Now, the first one I have photo evidence for, breaking the case. Fun fact, resin is kinda brittle. When I tried screwing the case together for the first time, this happened.
1641174191700.png

Massive thanks to @Gman, who suggested that I use JB Weld Steel Stik to patch it back together. This worked very well and I was able to finally put my case together. Drill out your screw holes!
PXL_20220101_214735207.jpg

That's it for this work log. Assembled pics will be uploaded in another post shortly. Massive thanks to everyone who's answered my questions and given advice throughout this process.
 
Top