
Talhaman
.
- Joined
- Sep 26, 2020
- Messages
- 15
- Likes
- 20
Hello everyone,
I wanted to share my PS2 Portable built which i started back September 2020.
On the 27th Sep. 2020 I opened a thread which startet this project
So what did i do? Let's see:
The Case:
So i am a lucky and proud owner of a 3D printer and rudimentary CAD skills.
I designed the Case first on paper with cut out Cardboard pieces. For size and design I used my Nintendo Switch and PS Vita as orientation.
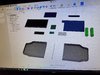
Here you can see my CAD designs:
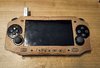
This was my first Prototype. I designed all the parts and I was naiv to belive they would all fit.
Then i made it like twice as thick and tweaked some things here and there:
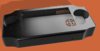
You can see, that i did holes for the facebottons and analogsticks.
I did cut of these parts of a Dualshock2 with a Dremel and glued them onto these holes. I forgot to cut out the holes for the R1R2 L1L2 in parts in CAD so i did it afterwards with my trusty soldering iron.
Then I glued them on the shoulders. I also used my soldering iron and 3D filament to kinda "weld" these pieces together.
The Inside:
I used a scph-79004 board and trimmed it a liitle bit on the top and bottom, Since I am a beginner, i was not very confident.
What I realized pretty early is that my board was slightly different than the board shown in the PS2 trimming guide. Capacitors and resistors were placed different. But in the end it helped me learn a bit more about electronics. I was not able to "copy" the guide one by one which helped me in the end.
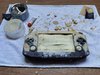
The Inside is a mess. Cables everywhere, way too much hot glue. I wanted to avoid using this tempting hot and sticky stuff but i could not resist.
I used a 1024x600 screen to display all the fun. But getting it to work was not fun at all. I first tried using VGA wich kinda worked. But evreytime i chose a game it just lost signal until i cut of the power of the screen and turn it on again.
So i decided (with help from the Forum) to use a HDMI converter. This did the trick and was way easier to wire up than the VGA.
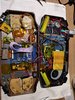 on this photo the HDMI converter is lacking
The Conrtols were a pain in the ass.
I wanted to use a Dualshock1 with it's hard PCB instead of the flex PCB you have on the Dualshock2. I tried everything but i could not get it to work somehow.
Because of that, I did use tactile switches for all the buttons. Not what I originally wanted but hey it works.
For battery management I used a CMB and the help of the Batterie guide.
For sound i used the uamp board and also help from the comunity.
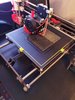
Finishing touches:
After printing and glueing and wiring i finally was able to do the most fun part.
I colored the whole thing with black spraypaint. Then I used bodyfiller to fill all the gaps and even out the surface (which did not work btw. because i was unpatient and unexpierienced). Afterewards I sanded the rough edges and uneven places.
After that I clear coated it. This gave my PS2 a nice smooth touch. You can still see the uneven parts the bodyfiller left but i am still pleased with the result.
And here she is:
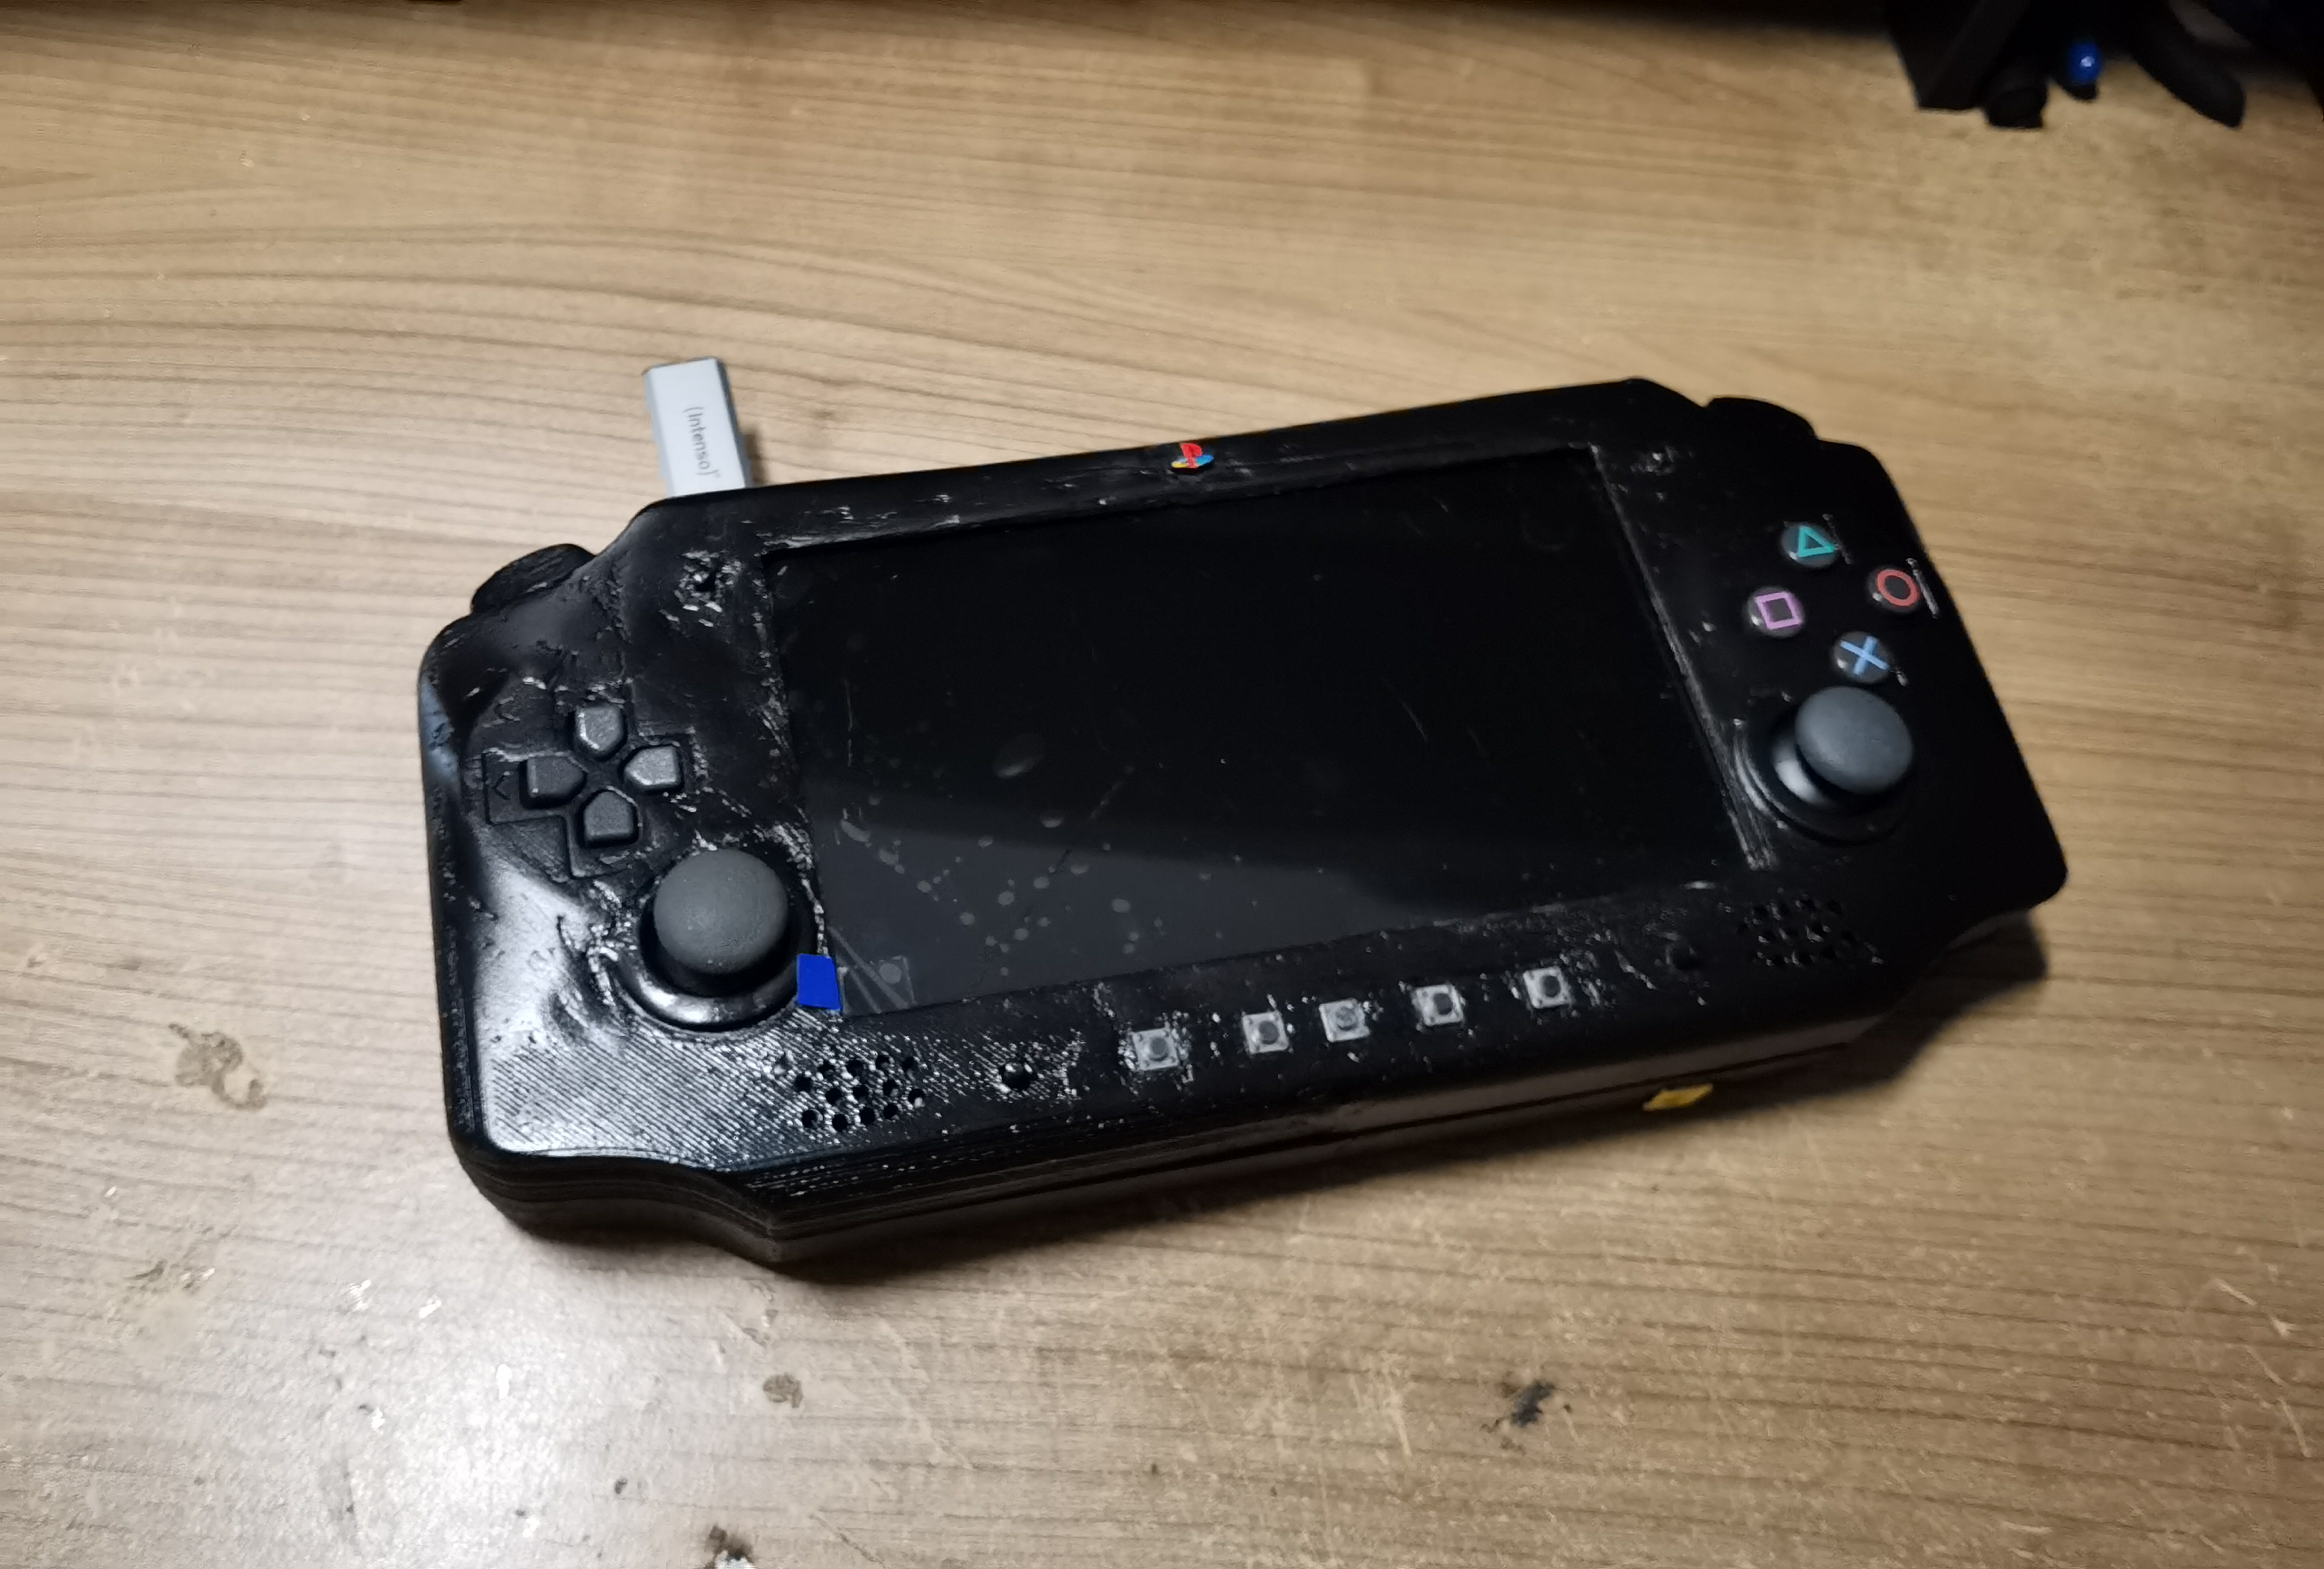
It works and plays like a charm. Despite using the fan and a heatsink, the PS2 can get a bit toasty after a while but nothing really worriying.
My PS2 is quite thick and chonky but still feels good to use.
Throughout this project i often came across very desperate times where I wanted to quit. But i am glad I kept on going.
I am not 100% finished though. I dont hava a headphone jack at this moment which definitely wnat to add later. Also my R3 button does not work for some reason.
But all in all i consider it finished.
I want to thank all people who helped me during this project. This is a great comunity and in will definitly stay here to build even more handelds. This is not my last project!
A big Thank you to all of you and the guide writers
I wanted to share my PS2 Portable built which i started back September 2020.
On the 27th Sep. 2020 I opened a thread which startet this project
So what did i do? Let's see:
The Case:
So i am a lucky and proud owner of a 3D printer and rudimentary CAD skills.
I designed the Case first on paper with cut out Cardboard pieces. For size and design I used my Nintendo Switch and PS Vita as orientation.
Here you can see my CAD designs:
This was my first Prototype. I designed all the parts and I was naiv to belive they would all fit.
Then i made it like twice as thick and tweaked some things here and there:
You can see, that i did holes for the facebottons and analogsticks.
I did cut of these parts of a Dualshock2 with a Dremel and glued them onto these holes. I forgot to cut out the holes for the R1R2 L1L2 in parts in CAD so i did it afterwards with my trusty soldering iron.
Then I glued them on the shoulders. I also used my soldering iron and 3D filament to kinda "weld" these pieces together.
The Inside:
I used a scph-79004 board and trimmed it a liitle bit on the top and bottom, Since I am a beginner, i was not very confident.
What I realized pretty early is that my board was slightly different than the board shown in the PS2 trimming guide. Capacitors and resistors were placed different. But in the end it helped me learn a bit more about electronics. I was not able to "copy" the guide one by one which helped me in the end.
The Inside is a mess. Cables everywhere, way too much hot glue. I wanted to avoid using this tempting hot and sticky stuff but i could not resist.
I used a 1024x600 screen to display all the fun. But getting it to work was not fun at all. I first tried using VGA wich kinda worked. But evreytime i chose a game it just lost signal until i cut of the power of the screen and turn it on again.
So i decided (with help from the Forum) to use a HDMI converter. This did the trick and was way easier to wire up than the VGA.
on this photo the HDMI converter is lackingThe Conrtols were a pain in the ass.
I wanted to use a Dualshock1 with it's hard PCB instead of the flex PCB you have on the Dualshock2. I tried everything but i could not get it to work somehow.
Because of that, I did use tactile switches for all the buttons. Not what I originally wanted but hey it works.
For battery management I used a CMB and the help of the Batterie guide.
For sound i used the uamp board and also help from the comunity.
Finishing touches:
After printing and glueing and wiring i finally was able to do the most fun part.
I colored the whole thing with black spraypaint. Then I used bodyfiller to fill all the gaps and even out the surface (which did not work btw. because i was unpatient and unexpierienced). Afterewards I sanded the rough edges and uneven places.
After that I clear coated it. This gave my PS2 a nice smooth touch. You can still see the uneven parts the bodyfiller left but i am still pleased with the result.
And here she is:
It works and plays like a charm. Despite using the fan and a heatsink, the PS2 can get a bit toasty after a while but nothing really worriying.
My PS2 is quite thick and chonky but still feels good to use.
Throughout this project i often came across very desperate times where I wanted to quit. But i am glad I kept on going.
I am not 100% finished though. I dont hava a headphone jack at this moment which definitely wnat to add later. Also my R3 button does not work for some reason.
But all in all i consider it finished.
I want to thank all people who helped me during this project. This is a great comunity and in will definitly stay here to build even more handelds. This is not my last project!
A big Thank you to all of you and the guide writers
Last edited: