
I've had this happen before, this is what I did (note I didn't care about the shell at all). If you take all the other screws out you should be able to open the case slightly. Set the bottom down on a table or something, hold it down with one hand and rip the top off, pulling from the opposite corner of the shell. It should pop open with enough force, and you won't damage anything else if you keep the base down on a solid surface
Worklog Ginger's Wii Portable Worklog
- Thread starter GingerOfOz
- Start date
- Joined
- Dec 16, 2016
- Messages
- 1,122
- Likes
- 2,709
- Location
- The Oregon Wildlands
- Portables
- just so many i am so cool
Just tried this a few times, but the hot glue just lets go of the screwdriver. Maybe superglue?Make sure the hot glue is just a super tiny amount so you don't feel any holes and just get the screw.
These would work if the screw was at the surface, but I don't have any tools narrow enough to accomplish that.Dealt with a stripped screw in a laptop just last week. First thought was try to grip the screw head with needle nose pliers, but couldn't get a grip on the screw. Only other option available (this was at work) was a pair of cutting pliers. The sharp edges of the pliers grabbed the screw head and I was unable to unscrew it in a heartbeat.
I might have to go with this...Which side of the Wii is considered the bottom?I've had this happen before, this is what I did (note I didn't care about the shell at all). If you take all the other screws out you should be able to open the case slightly. Set the bottom down on a table or something, hold it down with one hand and rip the top off, pulling from the opposite corner of the shell. It should pop open with enough force, and you won't damage anything else if you keep the base down on a solid surface
Thanks for the help!
I consider the bottom to be what the motherboard and stuff all screw into, basically the orientation I have in the pictureWhich side of the Wii is considered the bottom?
Attachments
-
 1.1 MB Views: 336
I second this. Just drill the entire head off so there's only the shaft and the case should slip right over it. Of course you'll be one screw short if you decide to put that one back together tooIf you have a power drill you could probably drill the head off. I've had to do that before.

I usually get one of those fat red rubber bands, put it flat over the screw head, push down hard with the screwdriver(but not hard enough to pierce the rubber band) and turn it slowly until the screw gives in.OK, so small update/ question. Got a different Wii that previously had issues to install PortablizeMii with no hiccups whatsoever, so I put the first Wii back together. (And by that I mean I electrical taped the Bluetooth/WiFi Boards down, screwed the heatsink back on, put the case back on, and called it good.) The issue with the new Wii is that there is a stripped screw in the most inconvenient spot. There are two screws that run through basically the whole Wii, and the stripped one is one of those. It's about an inch from the top of the hole to the screw, so many of the methods I've tried to get it out haven't worked. I tried making a BIC pen screwdriver (It was too wide so it just mushed up around the beginning of the hole), tried using a rubber band between the screwdriver, but all this did was make the stripped screw worse. Do you guys have any suggestions on how to get it out?
I'm not even sure how the screw got stripped in the first place. Maybe there's a Wiikey at the end of this rainbow...
- Joined
- Dec 16, 2016
- Messages
- 1,122
- Likes
- 2,709
- Location
- The Oregon Wildlands
- Portables
- just so many i am so cool
So another small update, got that Wii apart thanks to Cheese's suggestion, and found... 3 more stripped screw. Wrestled with those until I finally made it to the motherboard! I've also spent the last few days working with PortablizeMii to set up emulators and covers and such. Tonight I got started by sketching out the cut line, removing the components that were on the cut line, and then tried to start soldering. However I quickly learned that my method of soldering was a very bad way of doing it, so I went to YouTube and tried to learn how to actually solder. Do you guys have any tips? My solder just seems to clump to the iron and I cant get it to stick to anything on the Wii. My flux also came in today, but I need a better way to get it out. Right now I'm dipping a toothpick in the flux to try to get just little bit, but it's hard to tell if it is actually helping anything.
Thanks for the support!
Thanks for the support!
The idea is not to put solder on the iron and then touch the iron to the board. That's the wrong way of doing it. You need to put the iron to the object you want to solder and put the solder to the object. That way the object will be heated and solder will want to flow into it. Make sure you have a clean tip and use plenty of flux especially when you haven't soldered to the object before. If you still have no success turn up the heat. I generally use 350C but it often need to turn up the heat to ~400C to reheat the manufacture solder.So another small update, got that Wii apart thanks to Cheese's suggestion, and found... 3 more stripped screw. Wrestled with those until I finally made it to the motherboard! I've also spent the last few days working with PortablizeMii to set up emulators and covers and such. Tonight I got started by sketching out the cut line, removing the components that were on the cut line, and then tried to start soldering. However I quickly learned that my method of soldering was a very bad way of doing it, so I went to YouTube and tried to learn how to actually solder. Do you guys have any tips? My solder just seems to clump to the iron and I cant get it to stick to anything on the Wii. My flux also came in today, but I need a better way to get it out. Right now I'm dipping a toothpick in the flux to try to get just little bit, but it's hard to tell if it is actually helping anything.
Thanks for the support!
Have you done any soldering in the past? If not, try practicing on some junk boards with larger components (through hole stuff is easiest). I personally don't use flux unless I'm doing hot air.
Also, 350c is even a little high, for the wii I wouldn't go over 325c. Although, if you can't get the solder to melt, you can bump up the heat a little to get it to work better.
Also, 350c is even a little high, for the wii I wouldn't go over 325c. Although, if you can't get the solder to melt, you can bump up the heat a little to get it to work better.
I had that issue all the time with my old soldering iron. That one didn't have a temperature control, and my new one does and that fixed it immediately. If you can, try turning up the heat like jefflongo said. Also, make sure your tip is clean. Sometimes they get corroded and that can make them act weird. If it's not shiny / silver when you get solder on it, consider cleaning it. Also, make sure you're using a sponge when soldering. It's also important that you're using the iron to heat the pin, then touch the solder to the pin not the iron.So another small update, got that Wii apart thanks to Cheese's suggestion, and found... 3 more stripped screw. Wrestled with those until I finally made it to the motherboard! I've also spent the last few days working with PortablizeMii to set up emulators and covers and such. Tonight I got started by sketching out the cut line, removing the components that were on the cut line, and then tried to start soldering. However I quickly learned that my method of soldering was a very bad way of doing it, so I went to YouTube and tried to learn how to actually solder. Do you guys have any tips? My solder just seems to clump to the iron and I cant get it to stick to anything on the Wii. My flux also came in today, but I need a better way to get it out. Right now I'm dipping a toothpick in the flux to try to get just little bit, but it's hard to tell if it is actually helping anything.
Thanks for the support!
- Joined
- Dec 16, 2016
- Messages
- 1,122
- Likes
- 2,709
- Location
- The Oregon Wildlands
- Portables
- just so many i am so cool
I little bit, but the difference in size on what I was soldering on is drastically different. I'll probably get some junk stuff to practice on, that's a good idea.Have you done any soldering in the past?
I'm borrowing a soldering iron from my school which is a standard black one with one heat setting. We do have ones that change temperature though, so I'll grab one of those on Monday and see if it helps. Now that I think about it, I did use one of the temperature changing irons on my school project, and I had less issues. That will probably help.I had that issue all the time with my old soldering iron. That one didn't have a temperature control, and my new one does and that fixed it immediately.
Thanks for all of the suggestions!
That makes a night/day difference for sure, the temperature changing ones are usually much higher quality compared to the 15$ radioshack onesNow that I think about it, I did use one of the temperature changing irons on my school project, and I had less issues. That will probably help.
- Joined
- Dec 16, 2016
- Messages
- 1,122
- Likes
- 2,709
- Location
- The Oregon Wildlands
- Portables
- just so many i am so cool
Ayyy, so a hotter soldering iron was pretty much the key to everything I think. I'm also an idiot who never realized that the fact that heat conducts means that touching the iron to any stripped part of the wire will let me have enough heat to melt the solder where I want. Thanks guys!
I'm planning on getting the regulators ready today, and then probably performing the U10 relocation. After that, I'll trim the board, and we will see if it boots....
I'm planning on getting the regulators ready today, and then probably performing the U10 relocation. After that, I'll trim the board, and we will see if it boots....
- Joined
- Dec 16, 2016
- Messages
- 1,122
- Likes
- 2,709
- Location
- The Oregon Wildlands
- Portables
- just so many i am so cool
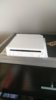
So quick update, my screen came in today. It works, so that's good. My regulators are all set and ready to go, so with the U10 and my perfboard coming in today I should be able to make some good progress with no school tommorow.
I also just wanted to ask a few general questions about the screen. I'm using this screen from the BOM, and wanted to know if there is a way to power it off of just 5v. I also won't cause any problems by removing the VGA/ HDMI ports, right? If there is other useful information about this screen that I've overlooked, please let me know!
I also just wanted to ask a few general questions about the screen. I'm using this screen from the BOM, and wanted to know if there is a way to power it off of just 5v. I also won't cause any problems by removing the VGA/ HDMI ports, right? If there is other useful information about this screen that I've overlooked, please let me know!
Removing the ports themselves almost never causes problems (unless you short or bridge something by accident while removing them) And you can test it yourself by lowering the power supply to 5v. If it doesn't turn on then you may need to remove an on-board regulator or some other shennanigans to get it to work.I also won't cause any problems by removing the VGA/ HDMI ports, right
Just verify that it works with the wii before you take off the ports (meaning make sure the video comes up and that it's on the correct settings.) This will save you a headache later on.
- Joined
- Dec 16, 2016
- Messages
- 1,122
- Likes
- 2,709
- Location
- The Oregon Wildlands
- Portables
- just so many i am so cool
So I've made a bunch of progress in the past couple days, so here we go.
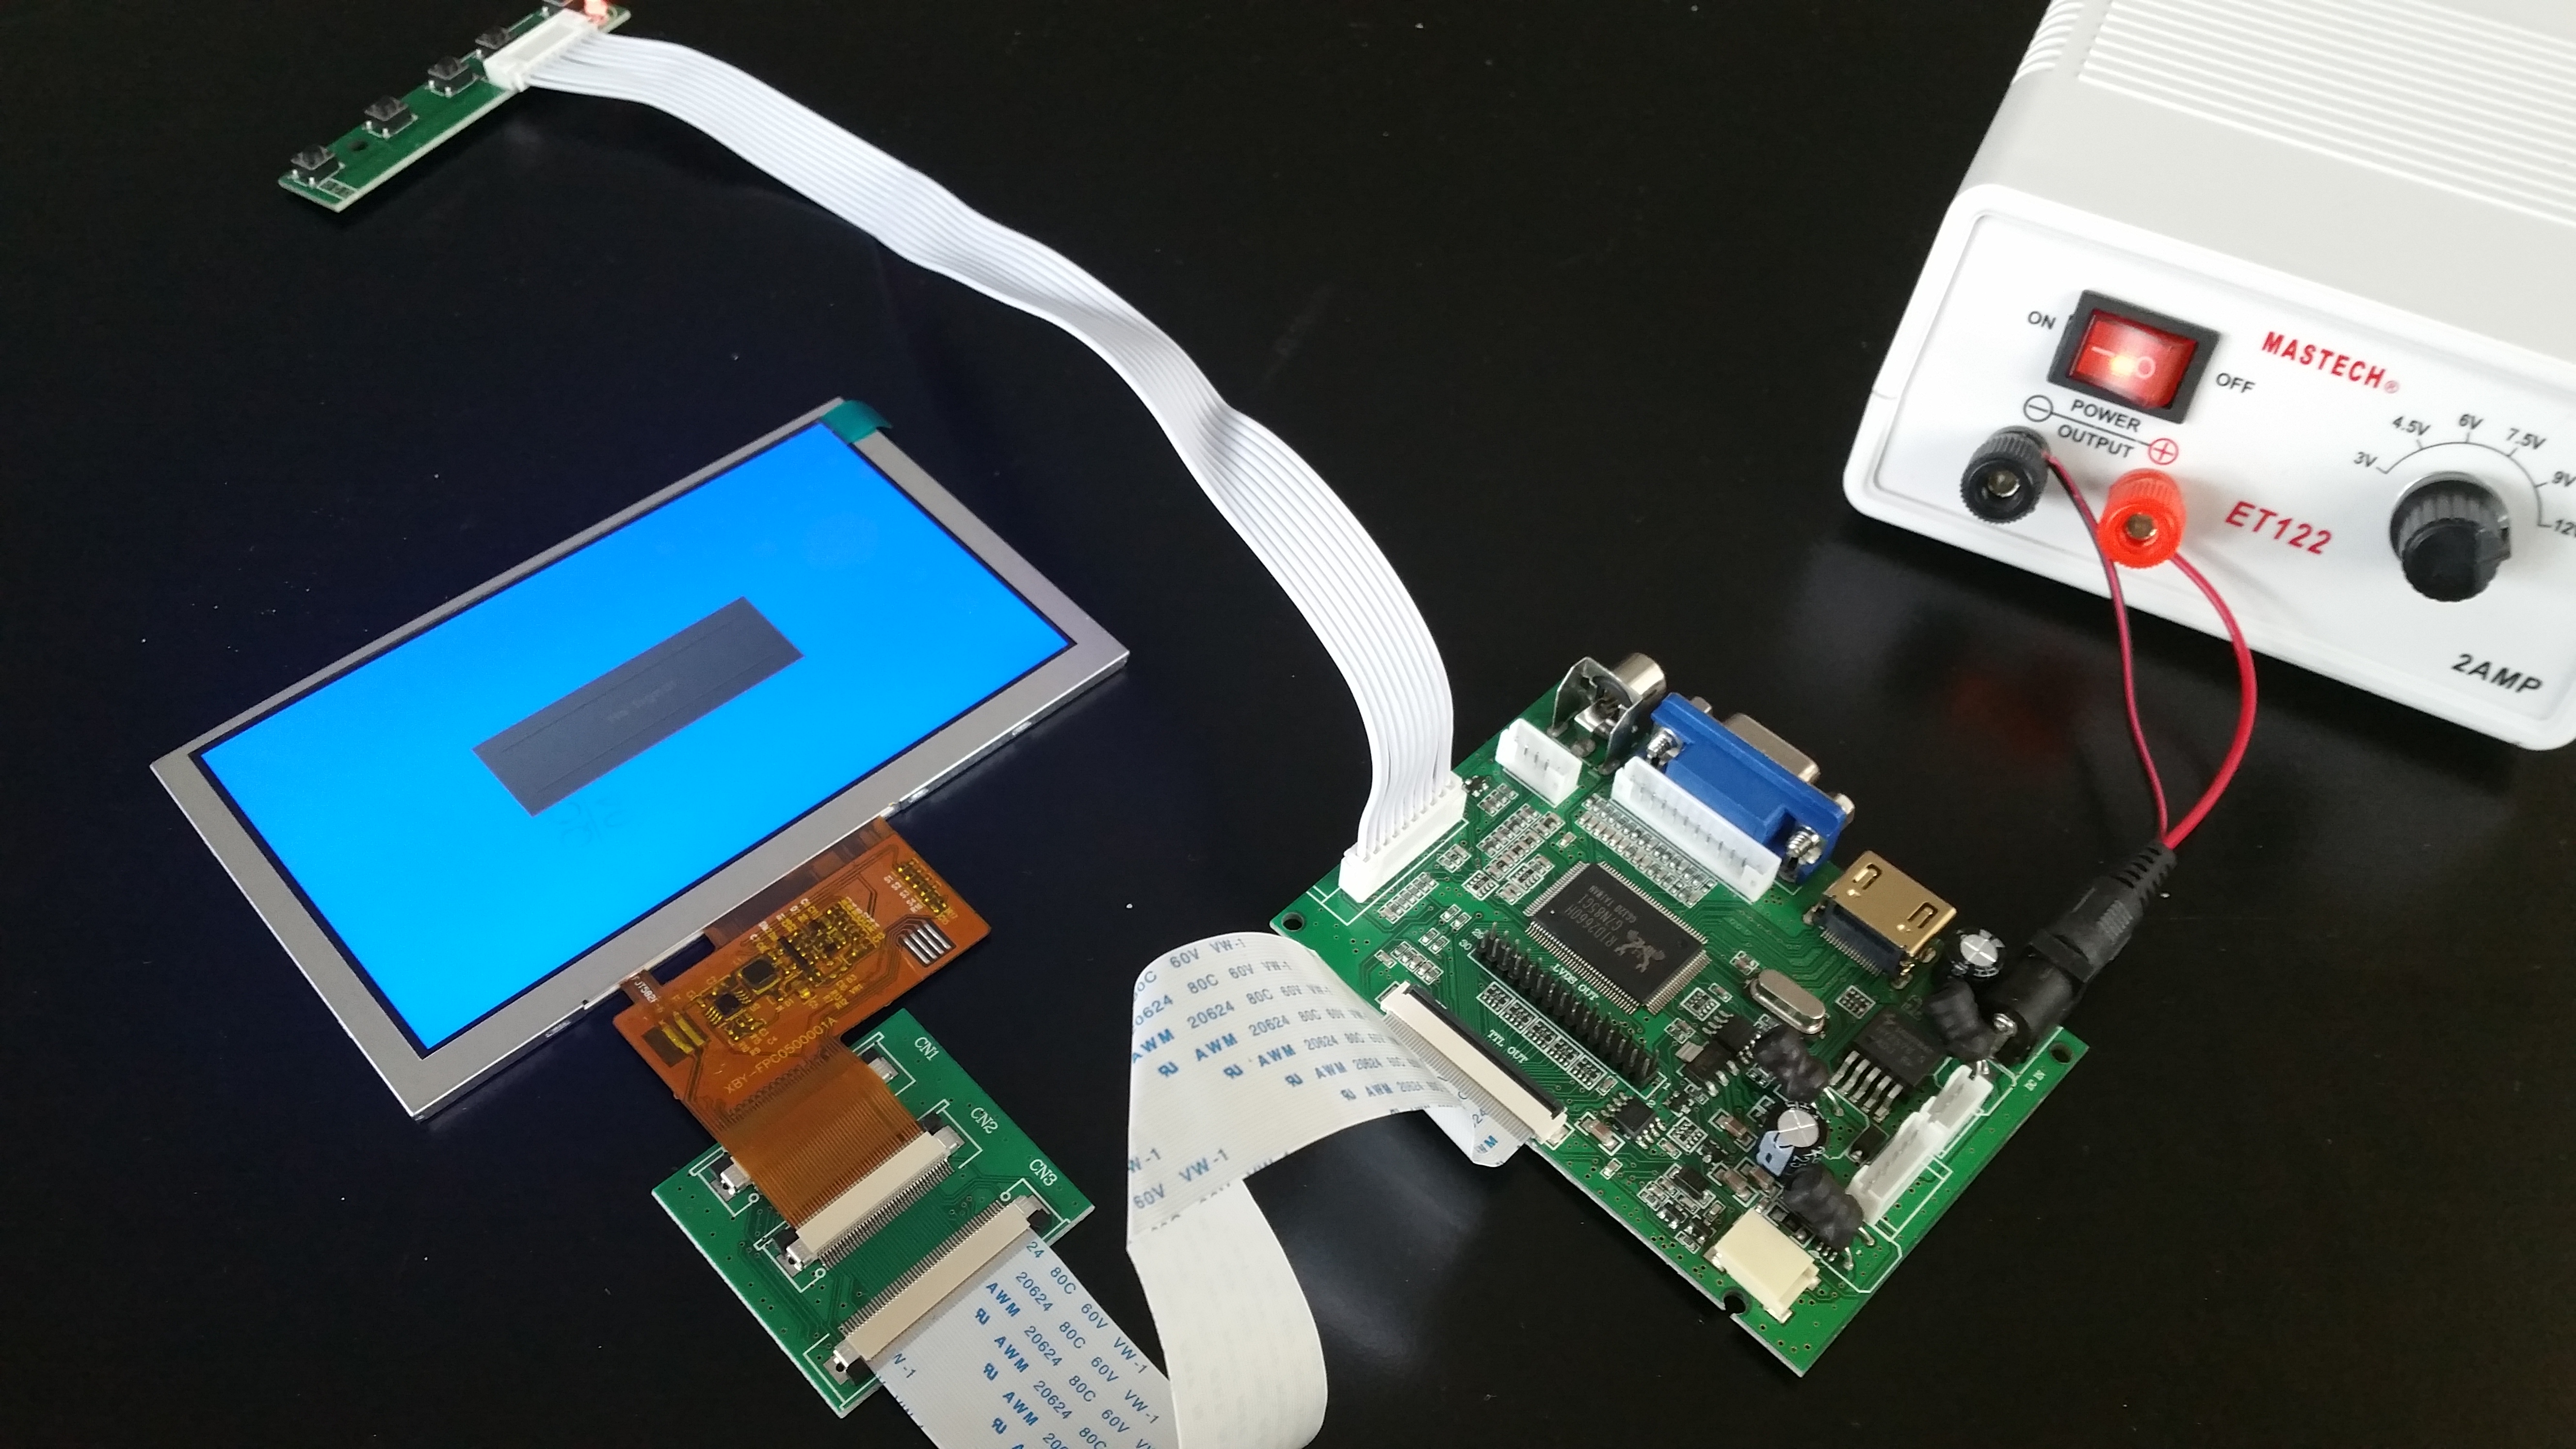
Got the board trimmed, sanded, and relocated! Sanding took forever but was definitely worth it. There was almost no swooshing, so I'm hoping we can get this Wii to boot. U10 went smoothly and was easier than expected, thanks to @Shank for shipping me new ones, and the rest of you for the help with it!
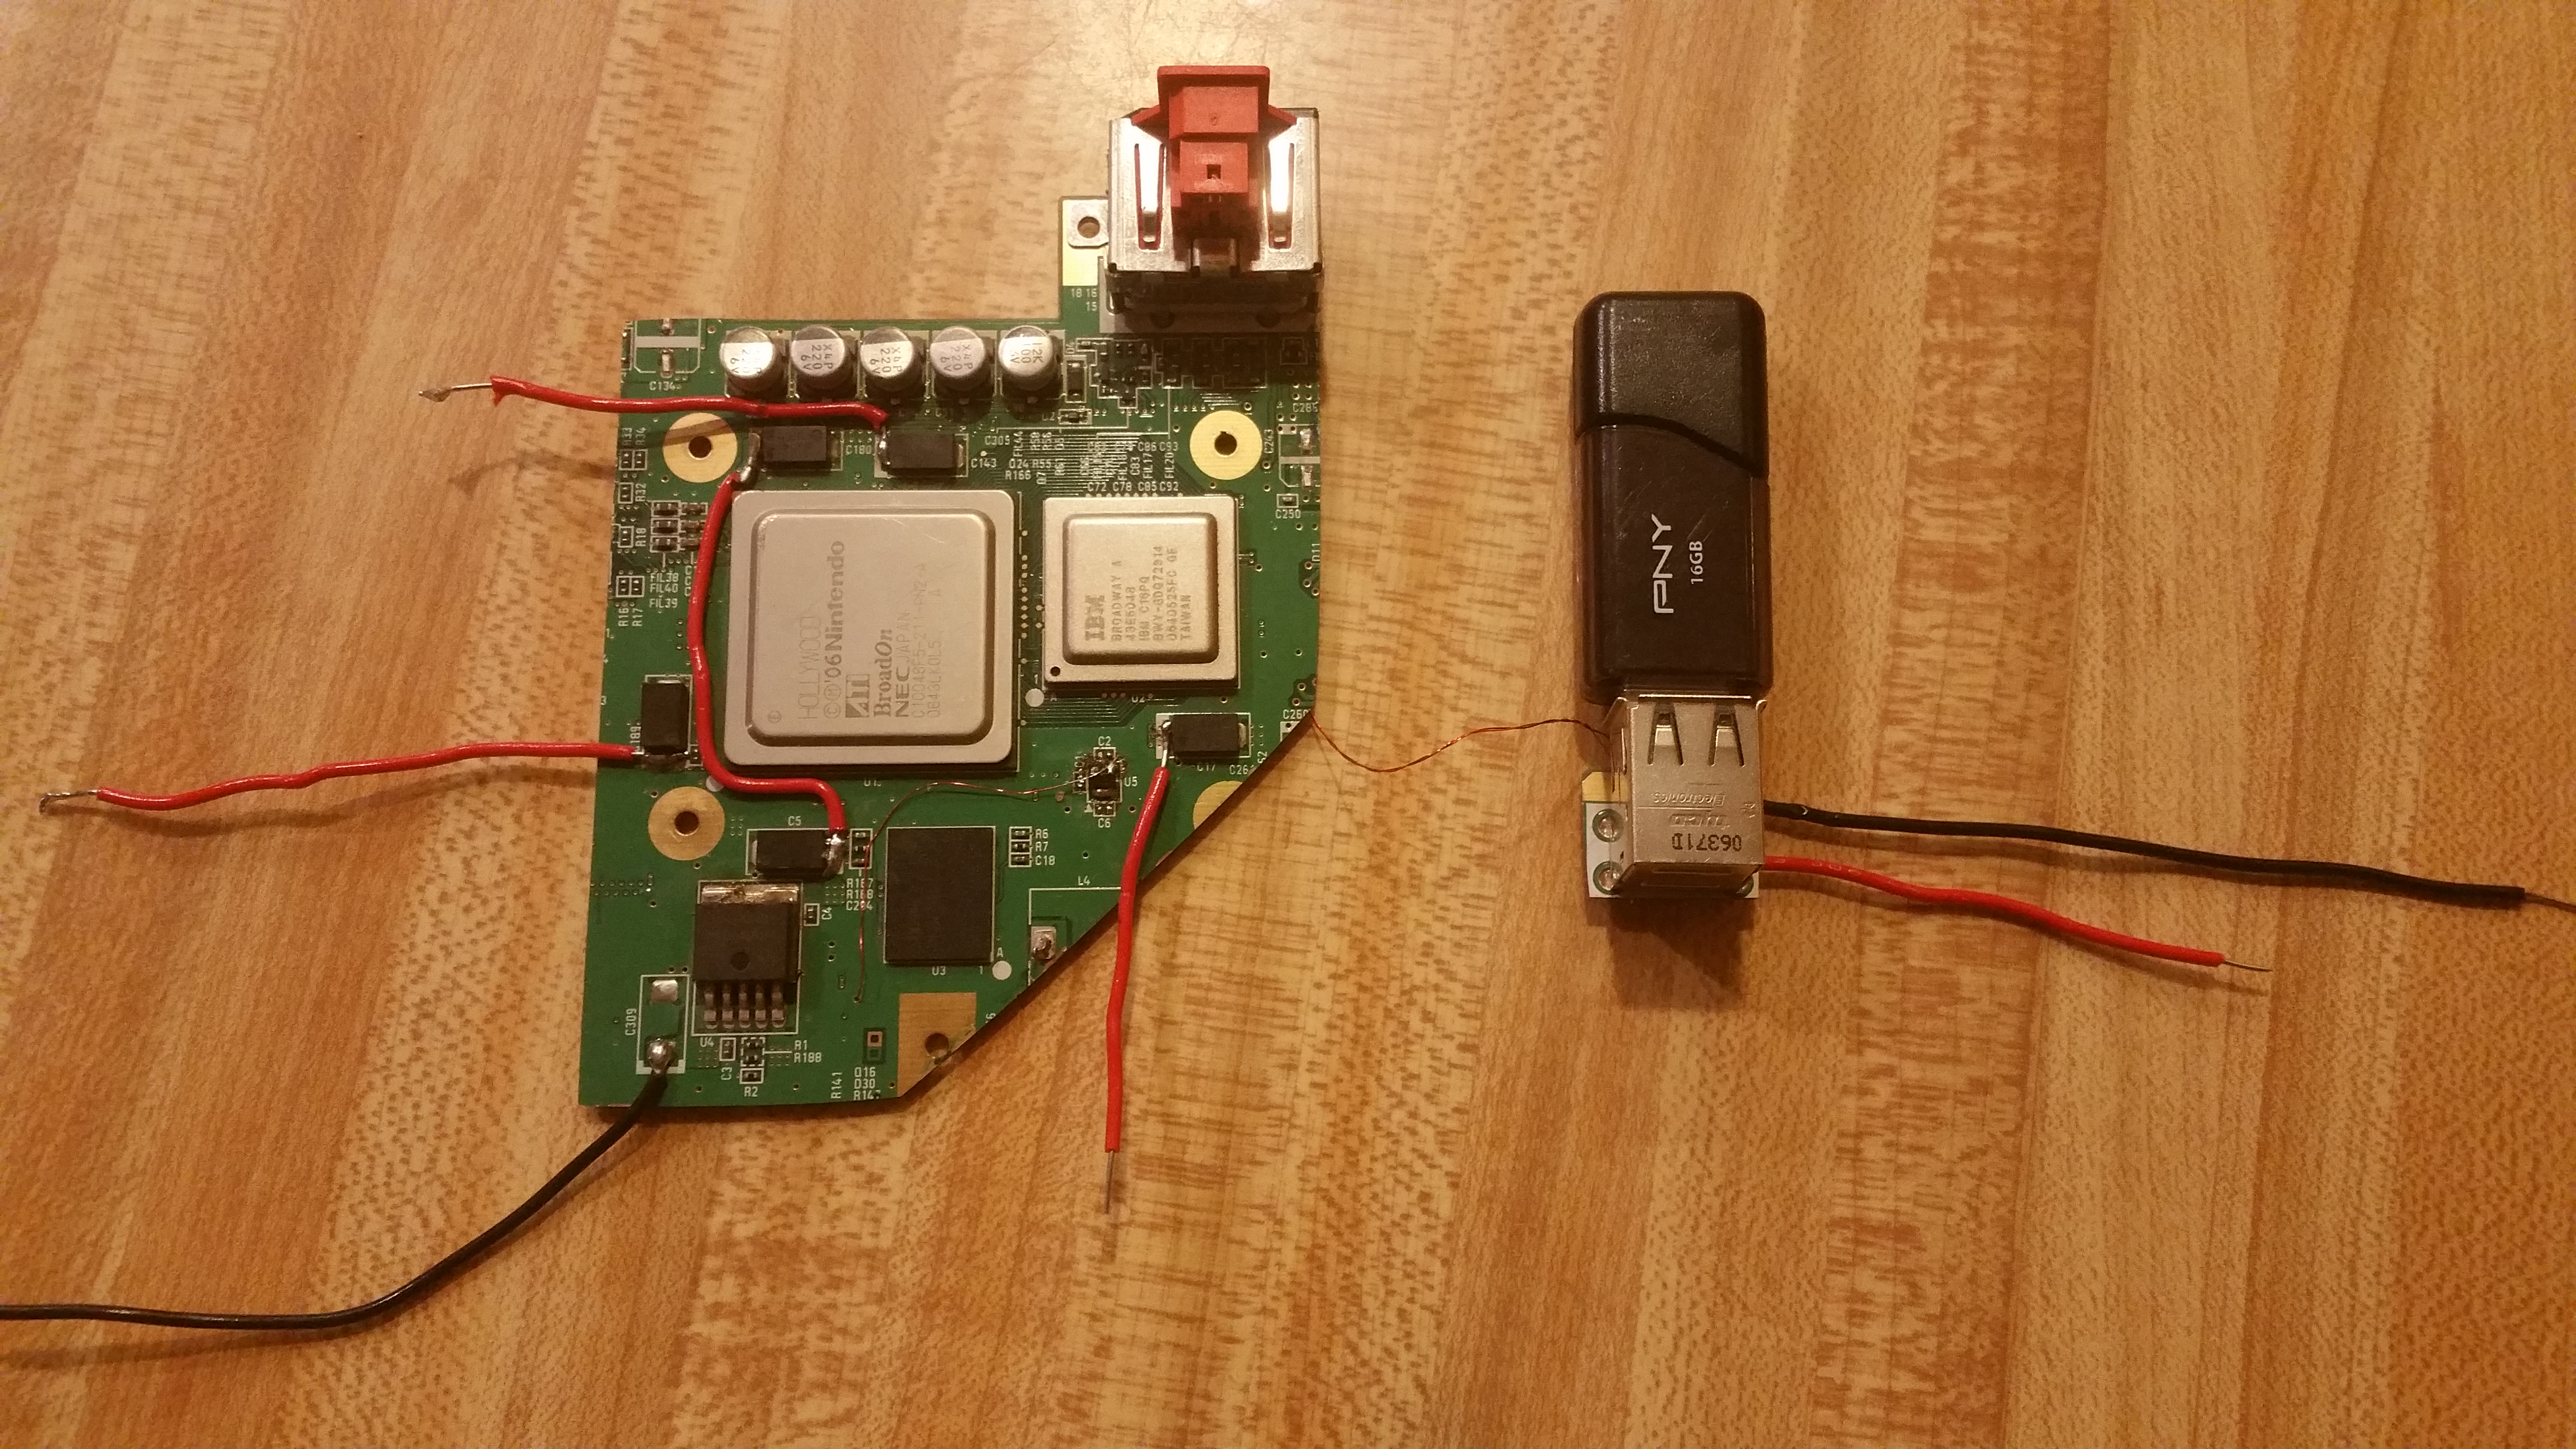
I also went ahead and wired up USB, since I can't get anywhere withhout it. Had to wire to the vias twice because I accidentally pulled them out of their solder job when twisting the wires. 38 gauge wire is a pain. Hot glue is handy.
Regulators are ready to roll and working well, so we're ready for a test run! Except... My perf board got lost in the mail and hasn't arrived yet. It's supposed to arrive tommorow, but I don't really want to solder everything together tonight only to have to desolder it tommorow. Really wish I had access to some alligator clips, but oh well..
Thanks for your continual support!
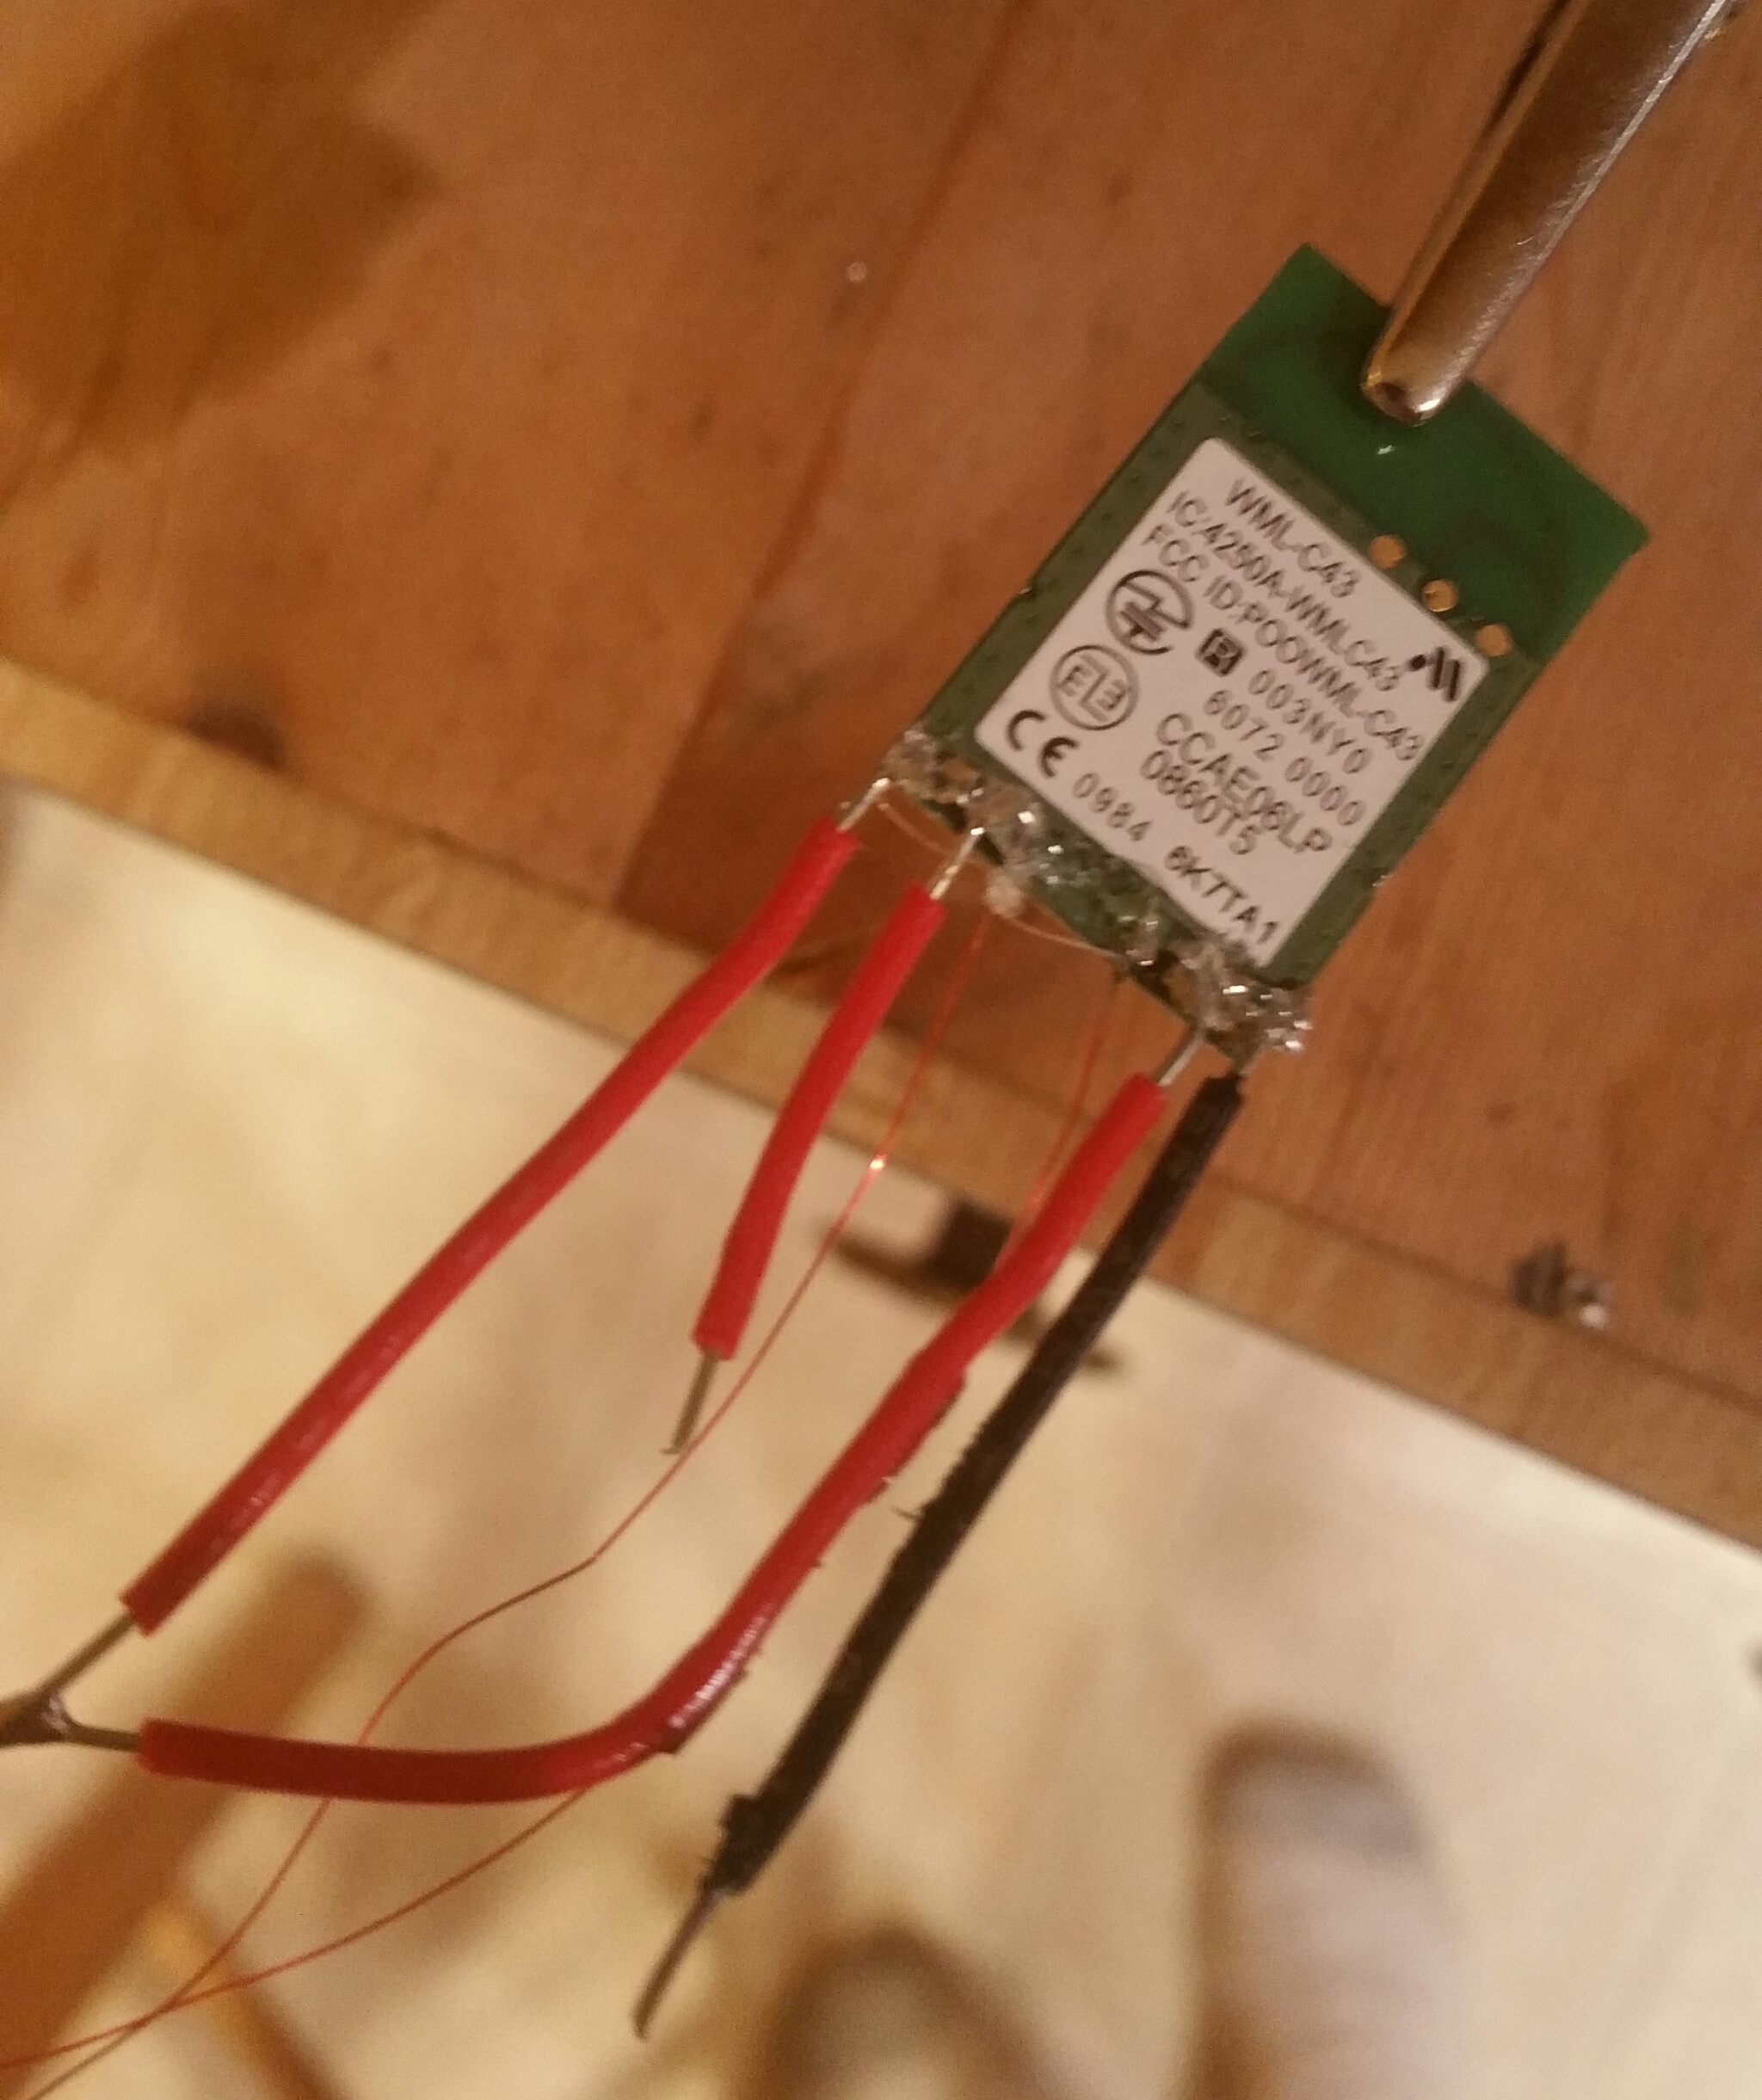
EDIT: Went ahead and prepped the Bluetooth module so that it's ready to go as soon as we get the board to boot!
Got the board trimmed, sanded, and relocated! Sanding took forever but was definitely worth it. There was almost no swooshing, so I'm hoping we can get this Wii to boot. U10 went smoothly and was easier than expected, thanks to @Shank for shipping me new ones, and the rest of you for the help with it!
I also went ahead and wired up USB, since I can't get anywhere withhout it. Had to wire to the vias twice because I accidentally pulled them out of their solder job when twisting the wires. 38 gauge wire is a pain. Hot glue is handy.
Regulators are ready to roll and working well, so we're ready for a test run! Except... My perf board got lost in the mail and hasn't arrived yet. It's supposed to arrive tommorow, but I don't really want to solder everything together tonight only to have to desolder it tommorow. Really wish I had access to some alligator clips, but oh well..
Thanks for your continual support!
EDIT: Went ahead and prepped the Bluetooth module so that it's ready to go as soon as we get the board to boot!
Last edited:
- Joined
- Jan 31, 2016
- Messages
- 1,287
- Likes
- 2,726
- Portables
- 6
- Joined
- Dec 16, 2016
- Messages
- 1,122
- Likes
- 2,709
- Location
- The Oregon Wildlands
- Portables
- just so many i am so cool
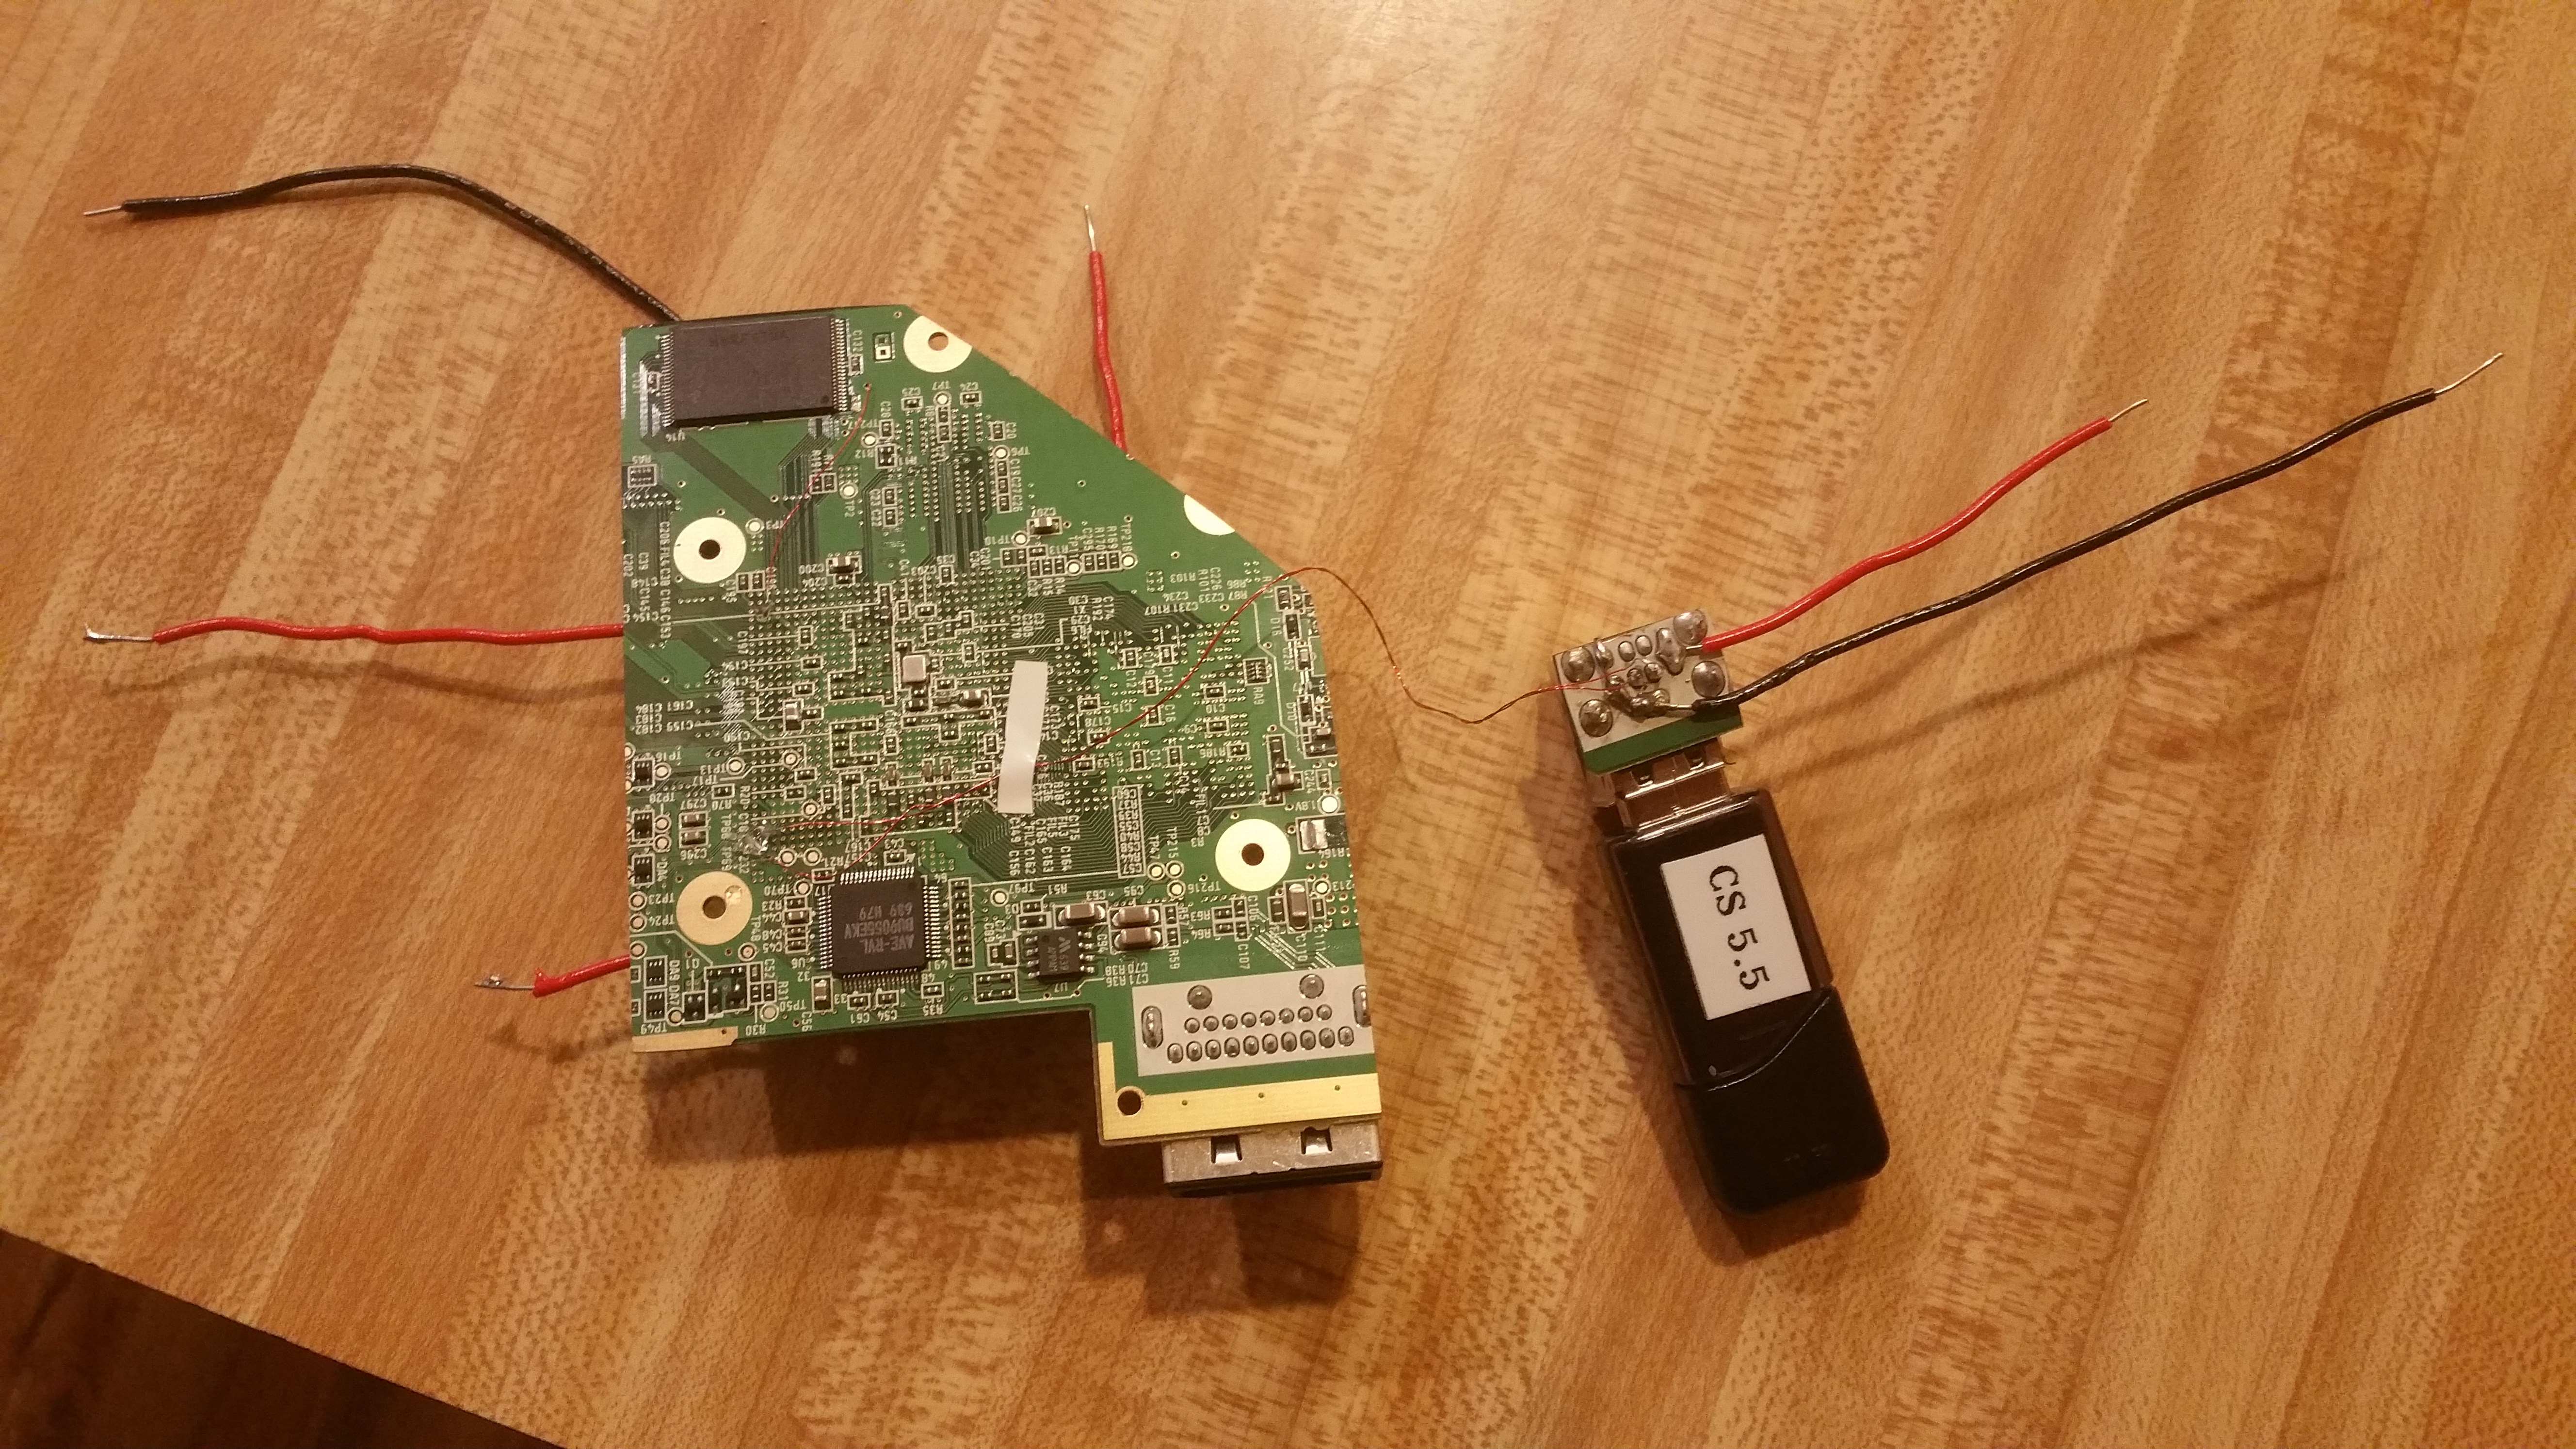
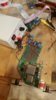
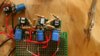
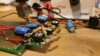
Well, a less exciting update, by I got everything wired to the regulators and it doesn't boot. I've found the reason though, and it seems that the 3.3v regulator isn't doing its job. I get a reading of 0v out of it with my multimeter, but I get a just fine reading out of the power and ground going into it. Pictures are included, and if you have any tips or catch something stupid I did, please tell me.
My voltages going to the board are also somewhat lower than they were before. 1.15 is okay, but my board is only recieving .97v on the 1v line. Will this also be an issue?
Lastly, my 1.8v line was only recieving .24v, but I'm assuming that's because 3.3v isn't working.
Thanks!
My voltages going to the board are also somewhat lower than they were before. 1.15 is okay, but my board is only recieving .97v on the 1v line. Will this also be an issue?
Lastly, my 1.8v line was only recieving .24v, but I'm assuming that's because 3.3v isn't working.
Thanks!
Have you tested the regulators when they are not connected to the Wii?Well, a less exciting update, by I got everything wired to the regulators and it doesn't boot. I've found the reason though, and it seems that the 3.3v regulator isn't doing its job. I get a reading of 0v out of it with my multimeter, but I get a just fine reading out of the power and ground going into it. Pictures are included, and if you have any tips or catch something stupid I did, please tell me.
My voltages going to the board are also somewhat lower than they were before. 1.15 is okay, but my board is only recieving .97v on the 1v line. Will this also be an issue?
Lastly, my 1.8v line was only recieving .24v, but I'm assuming that's because 3.3v isn't working.
View attachment 2151 View attachment 2152 View attachment 2153
Thanks!