- Joined
- Mar 6, 2016
- Messages
- 192
- Likes
- 249
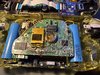
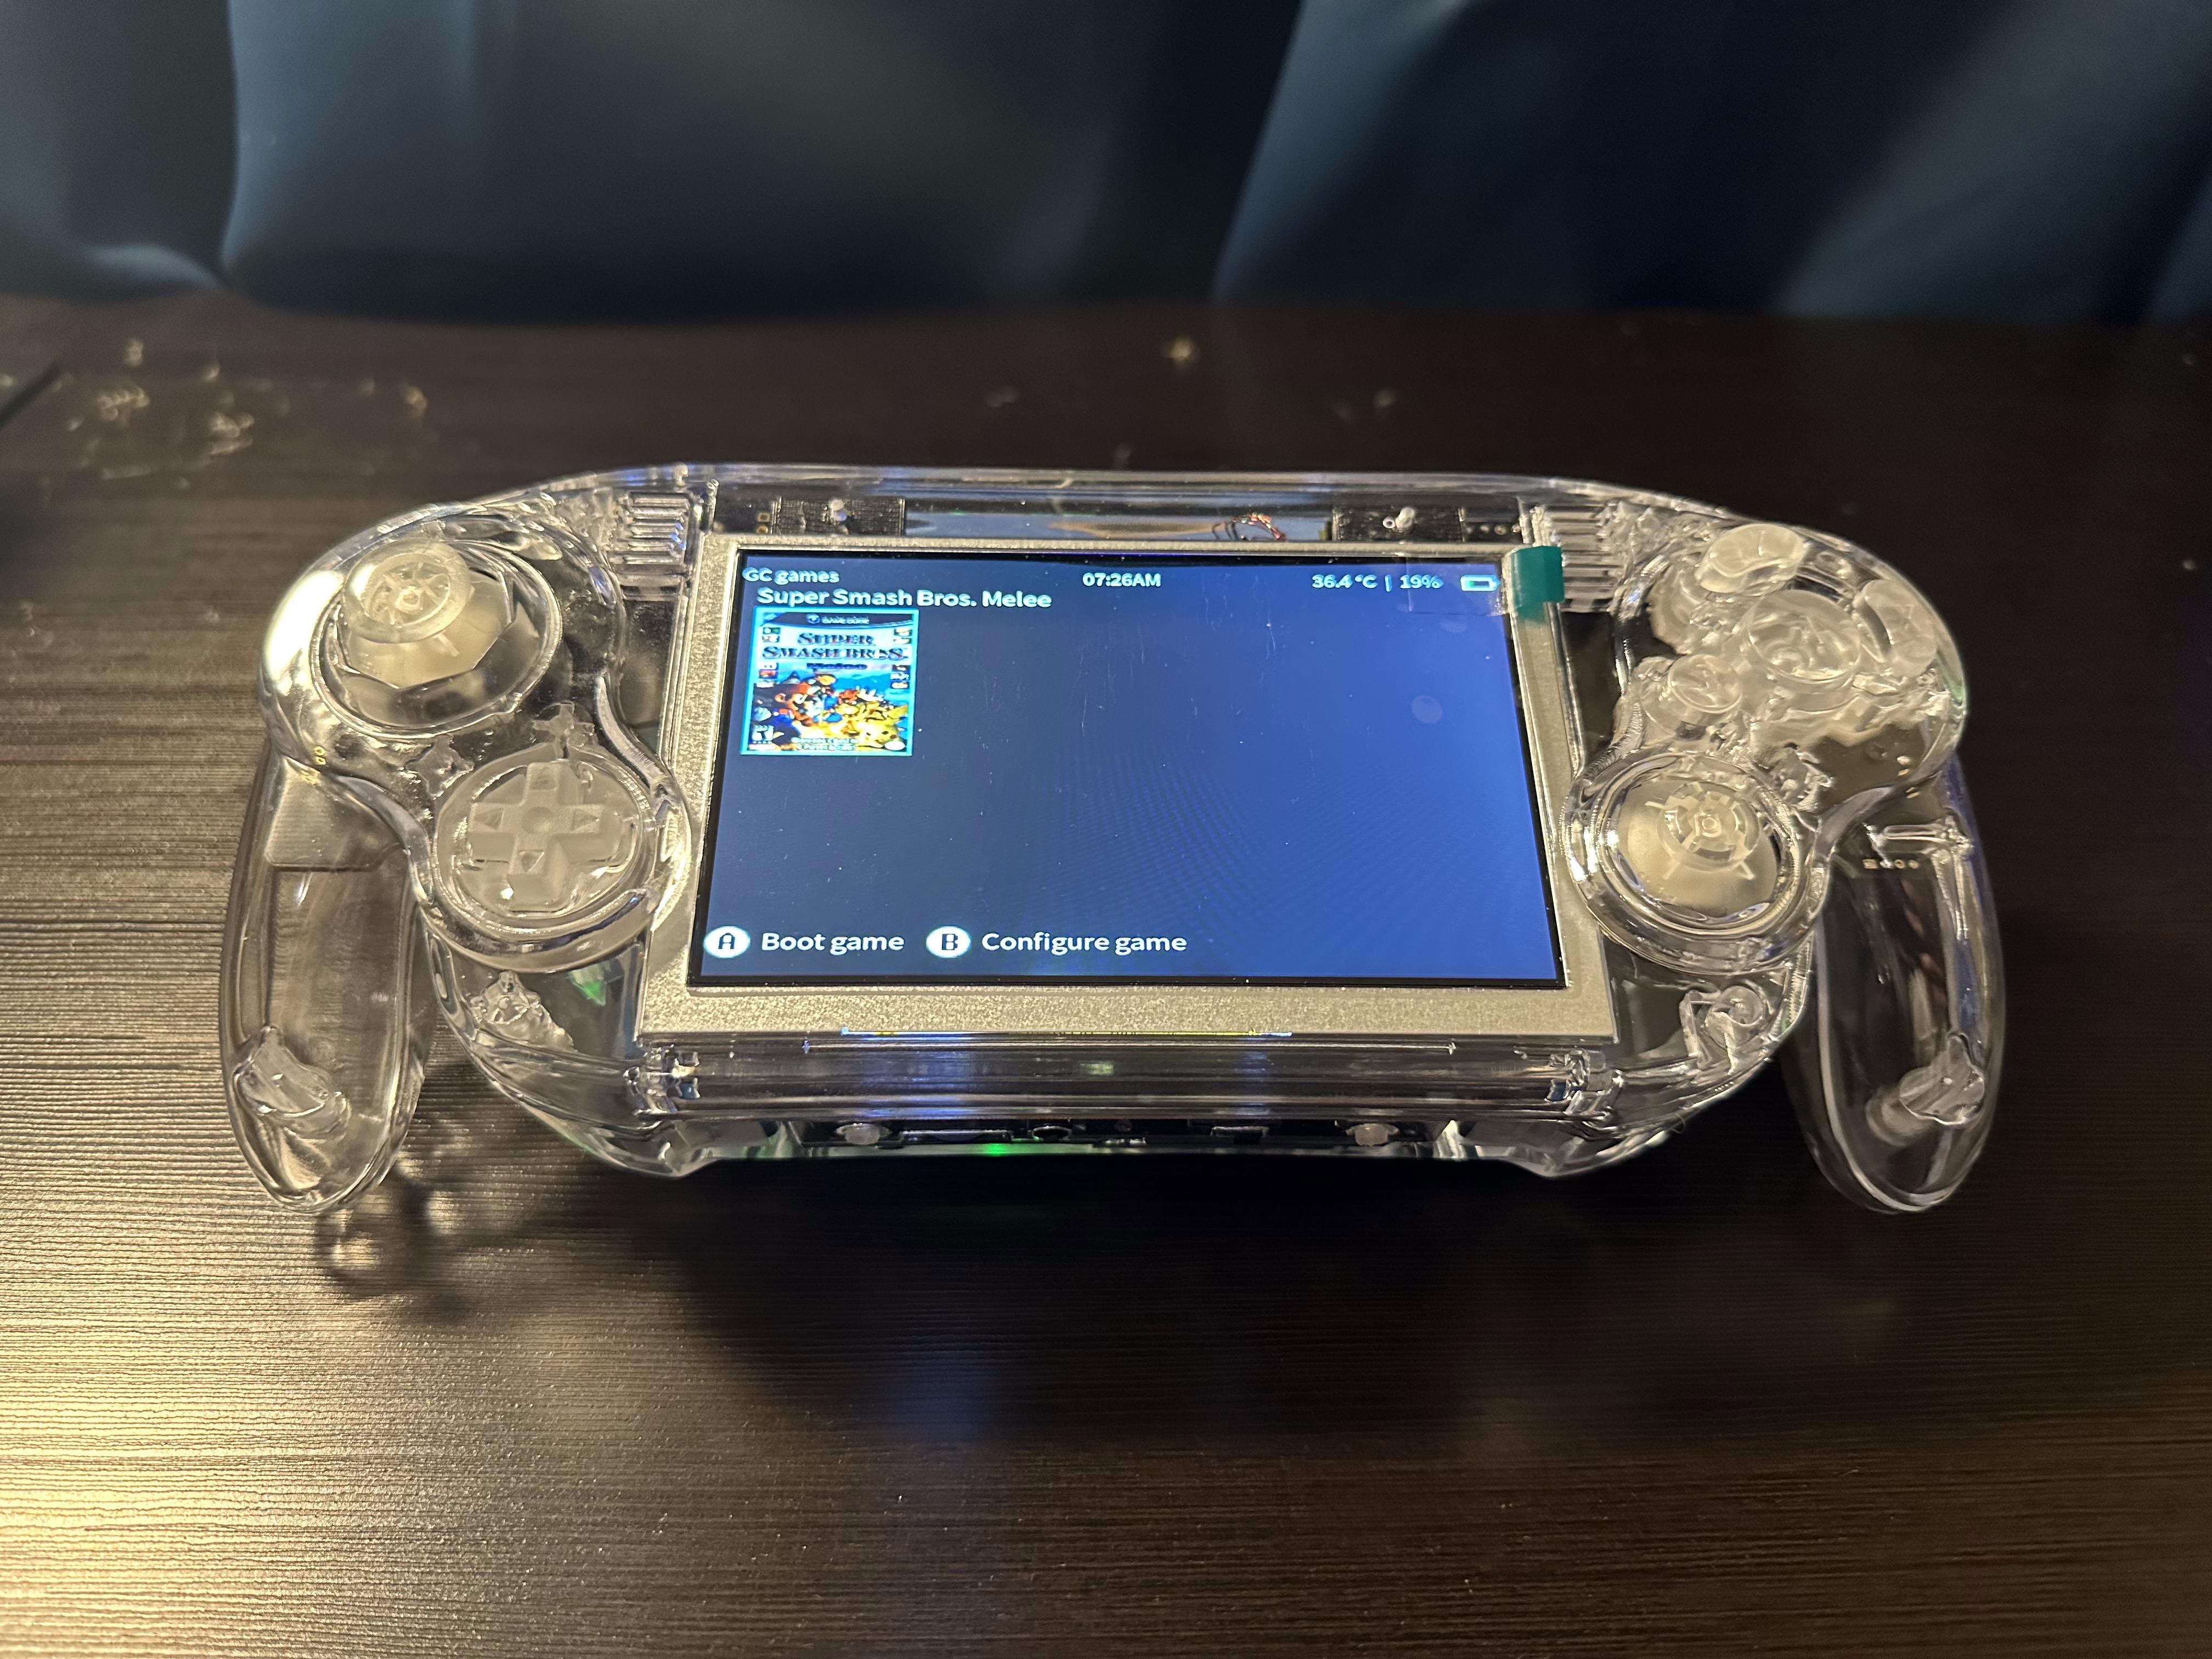
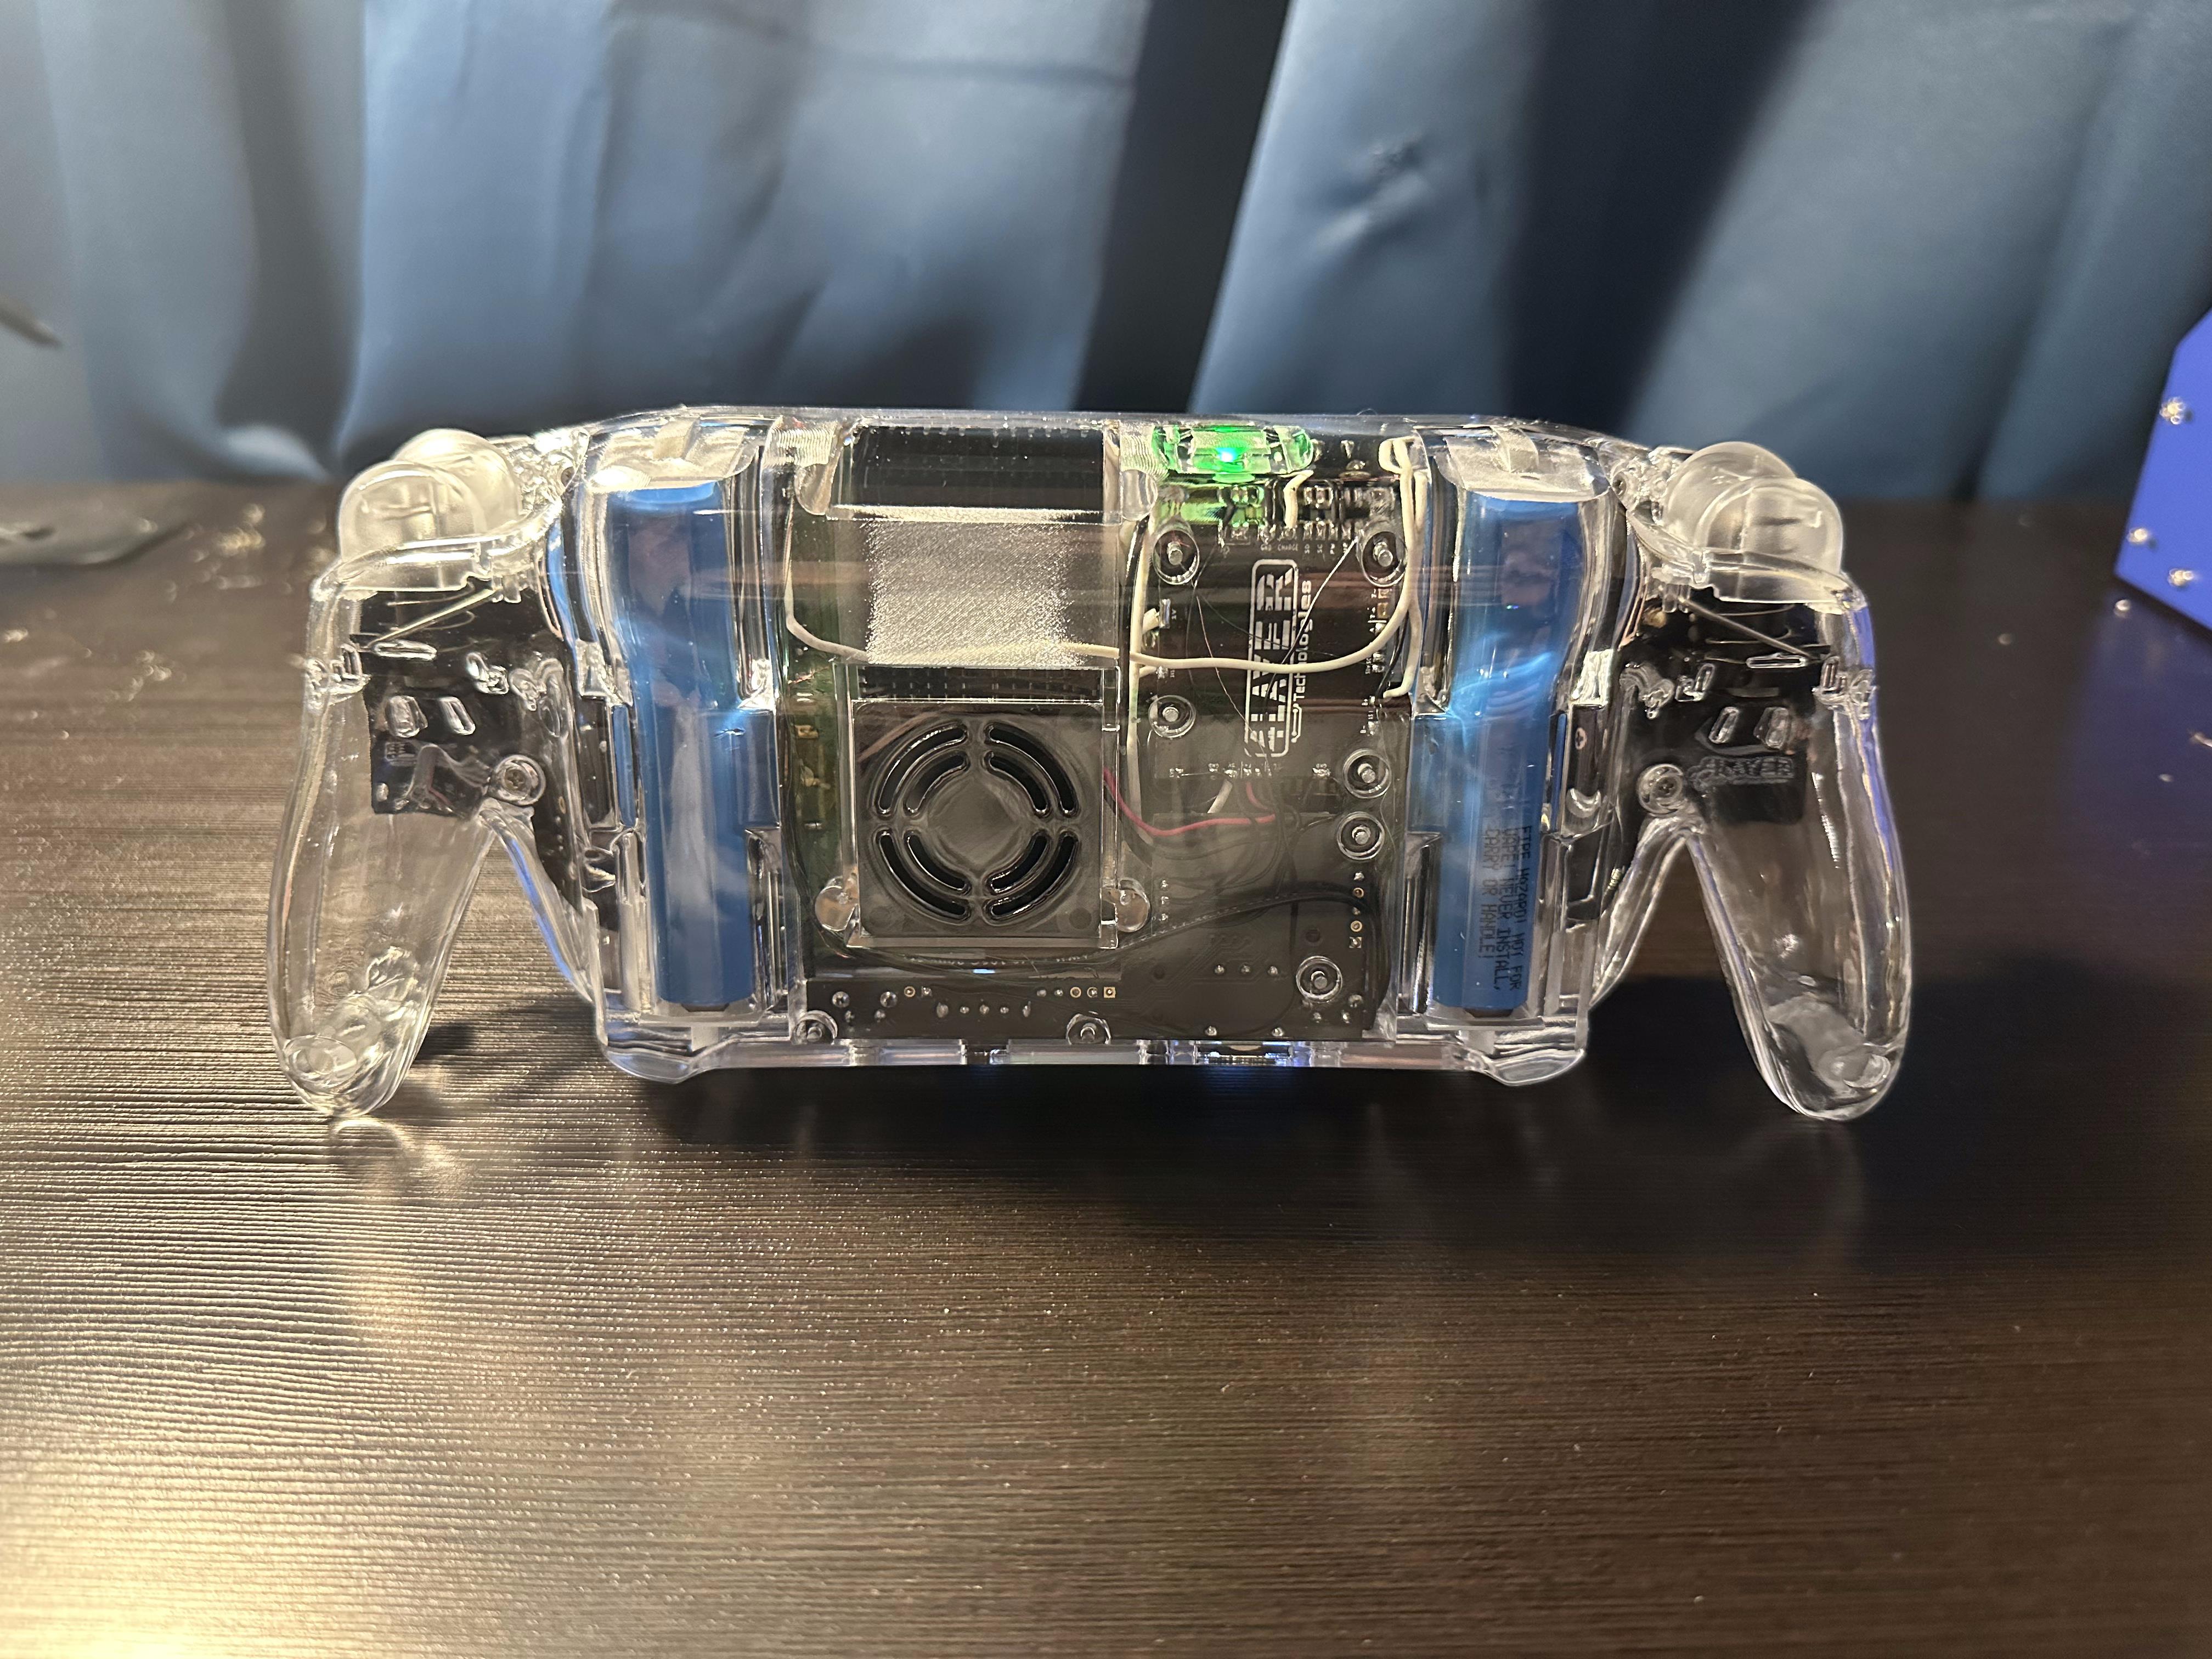
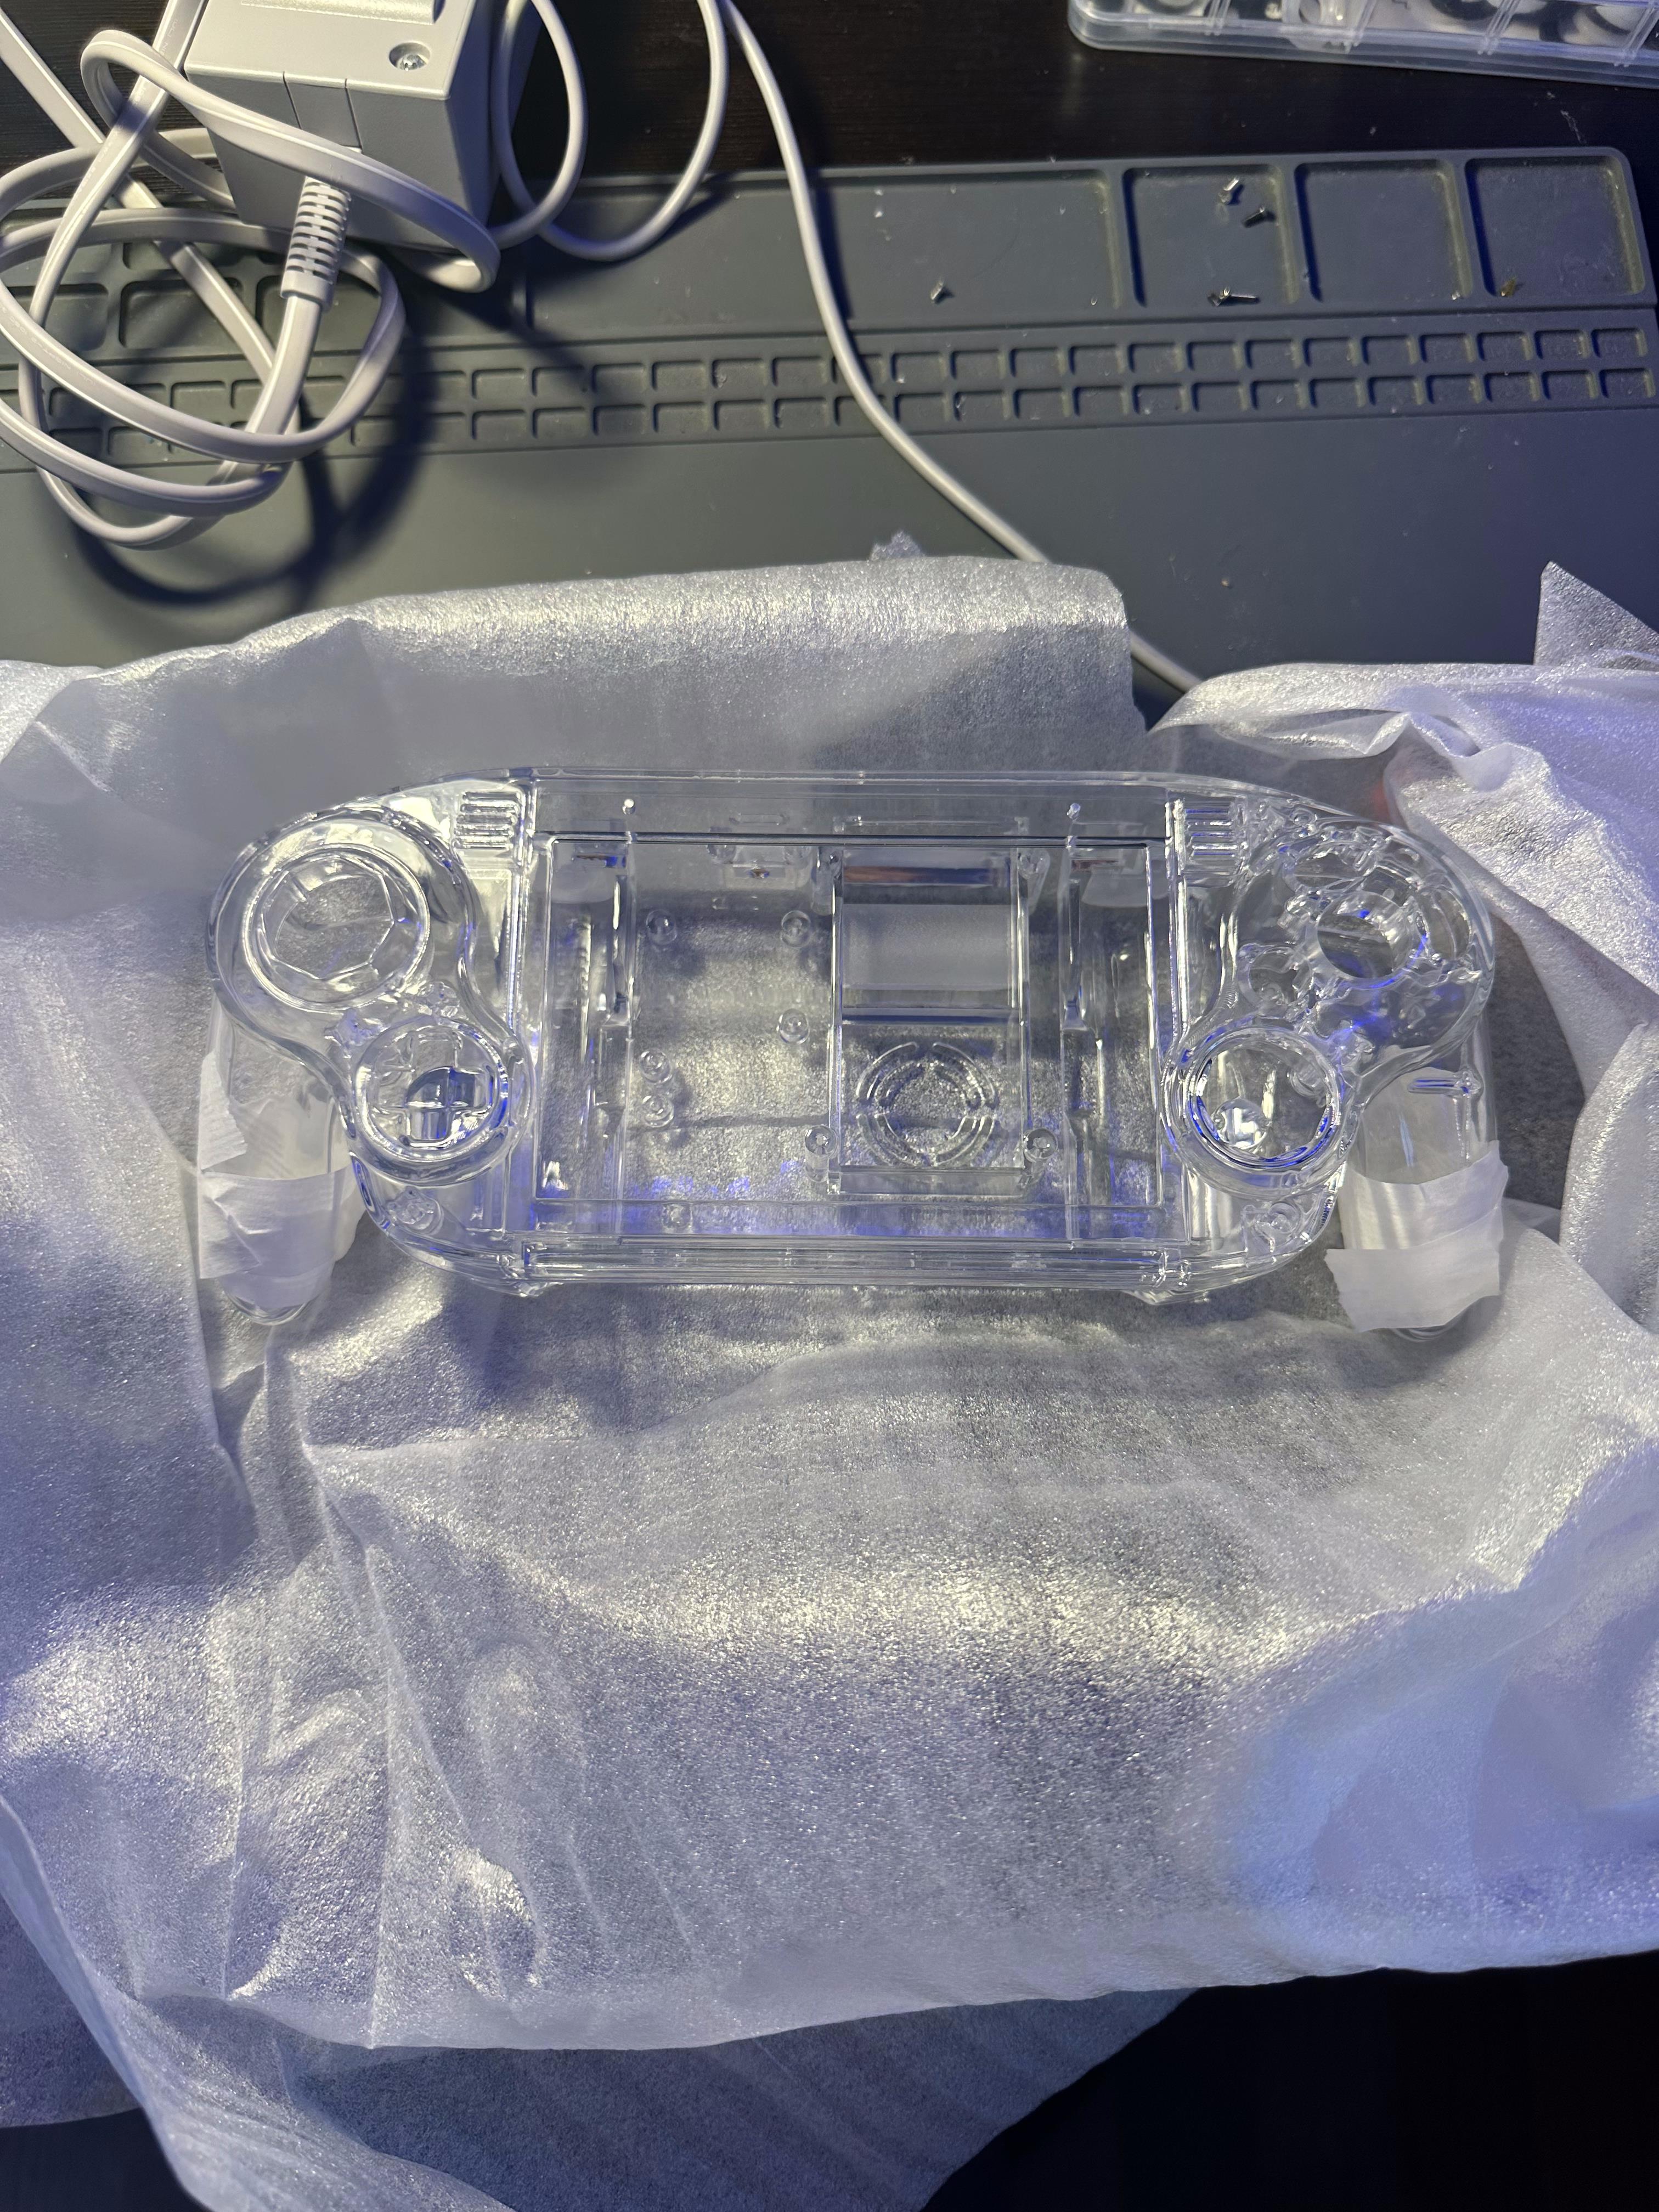
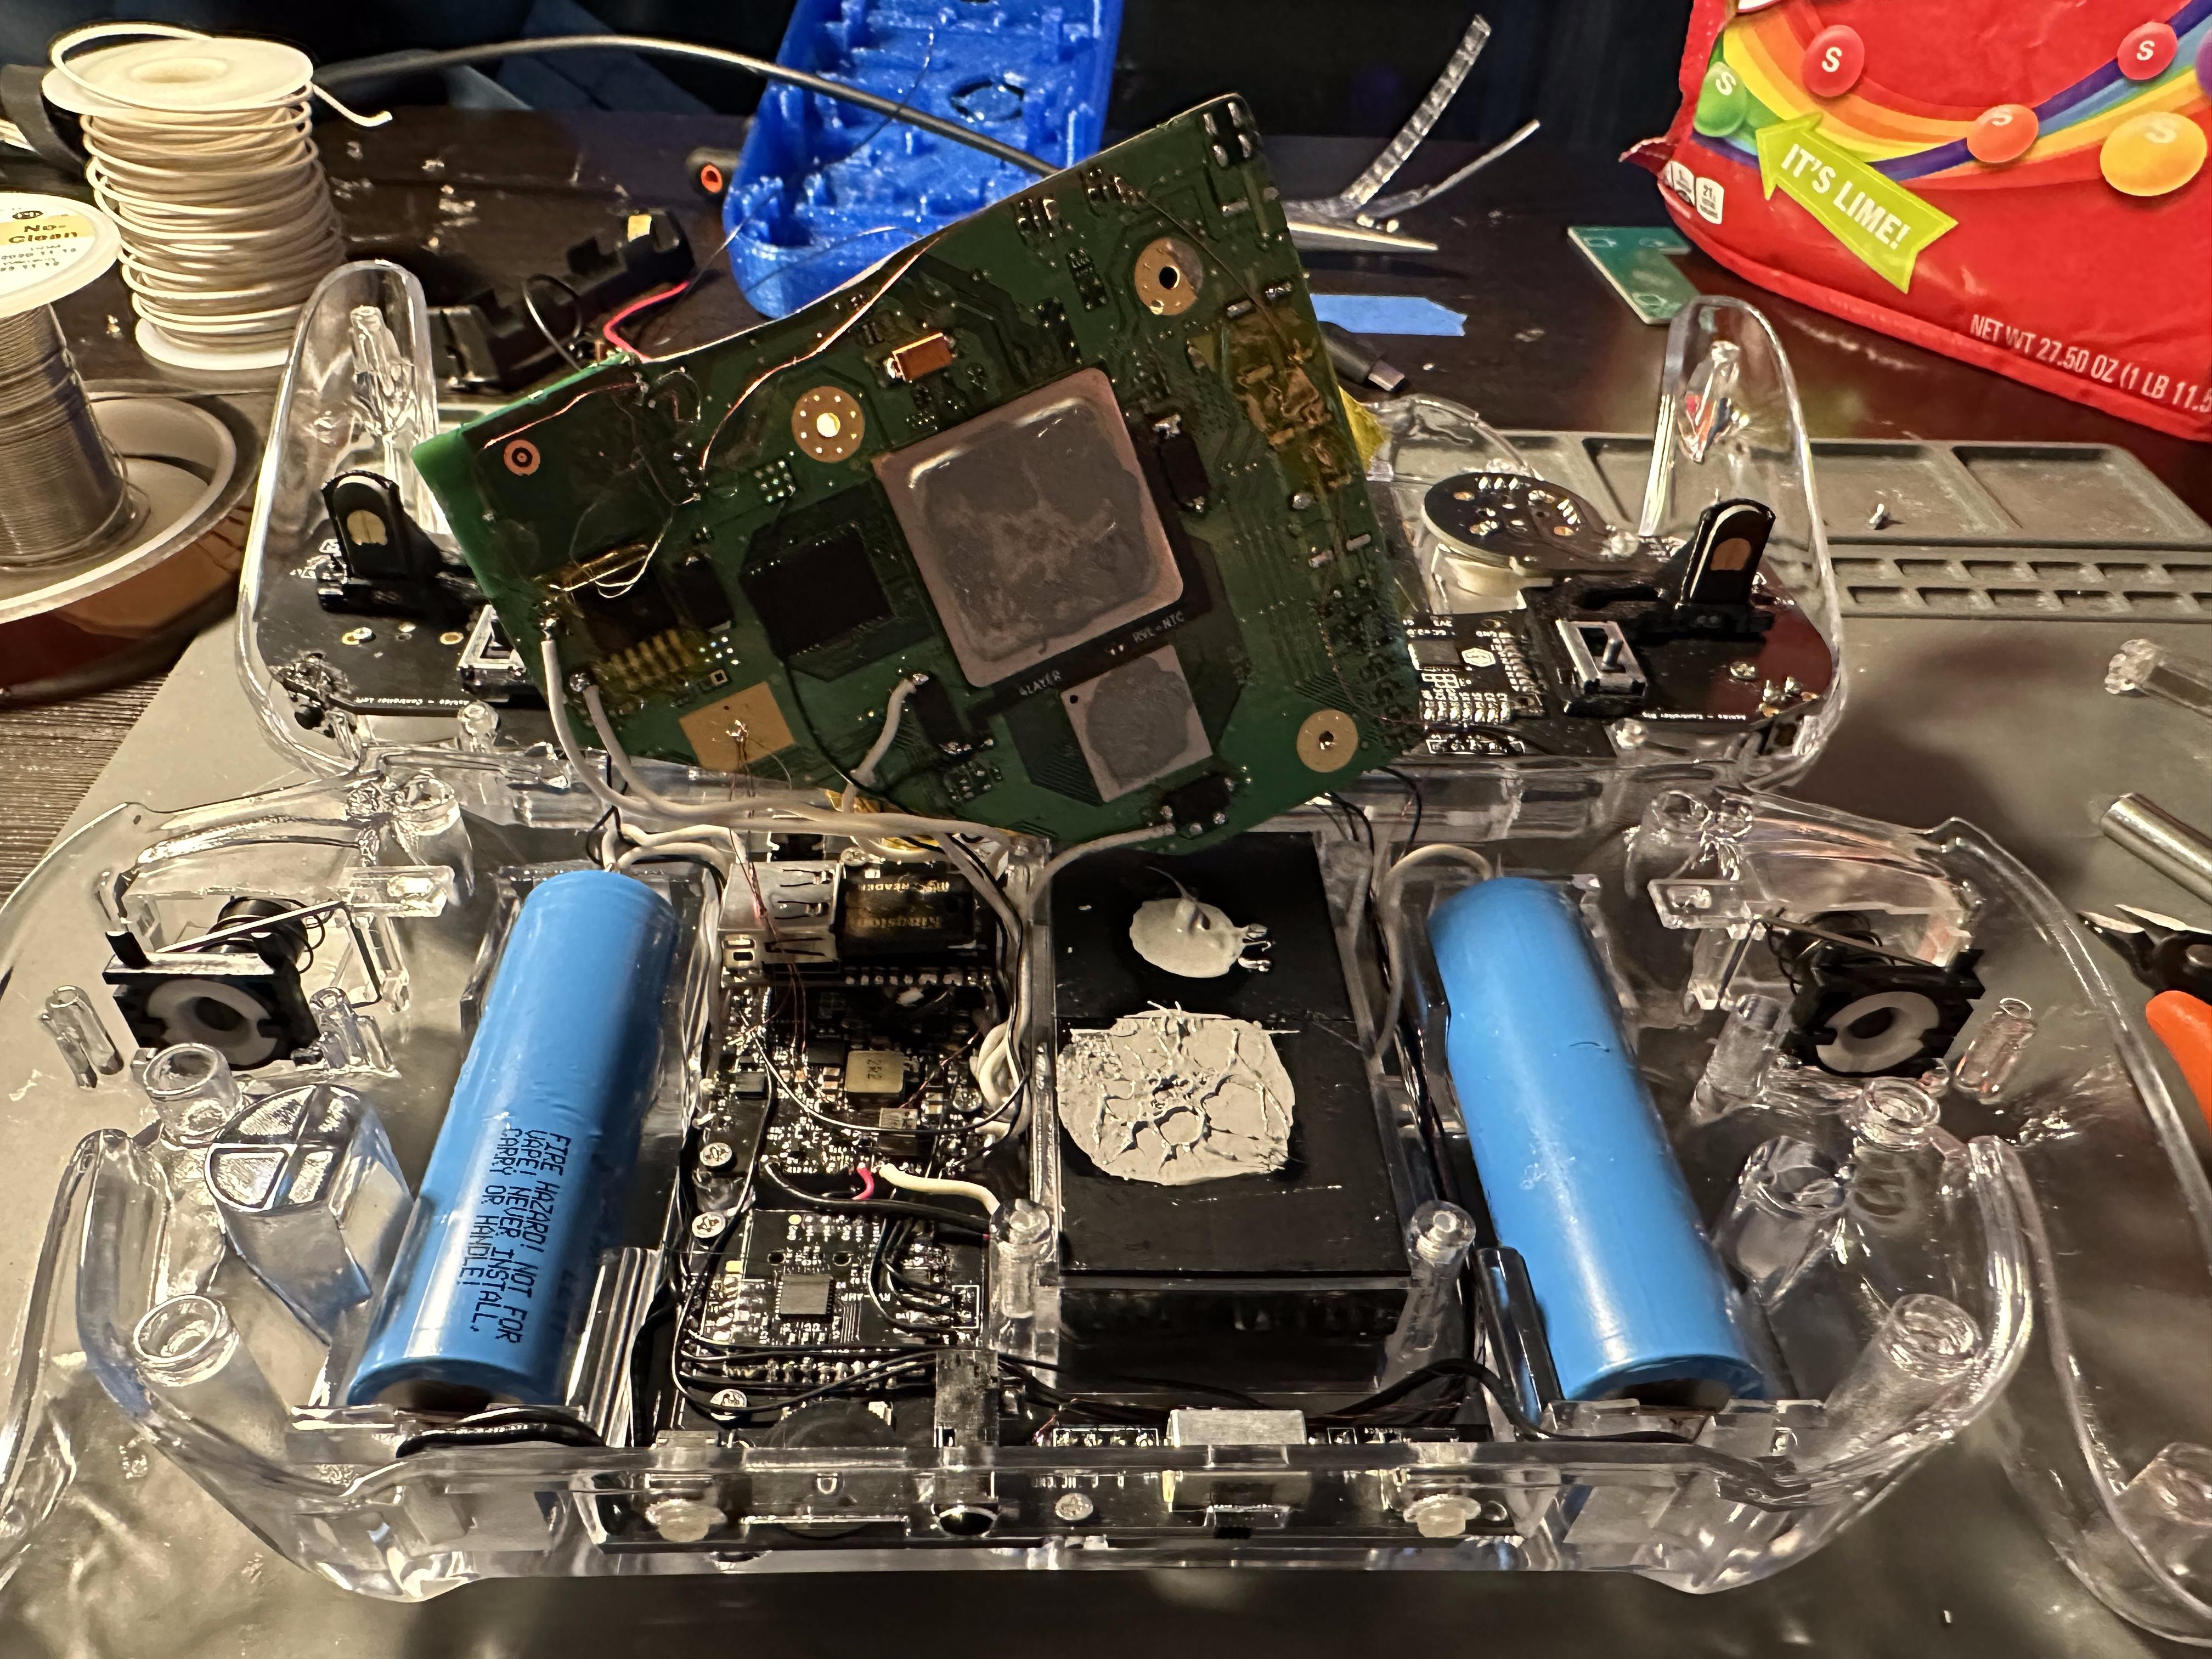
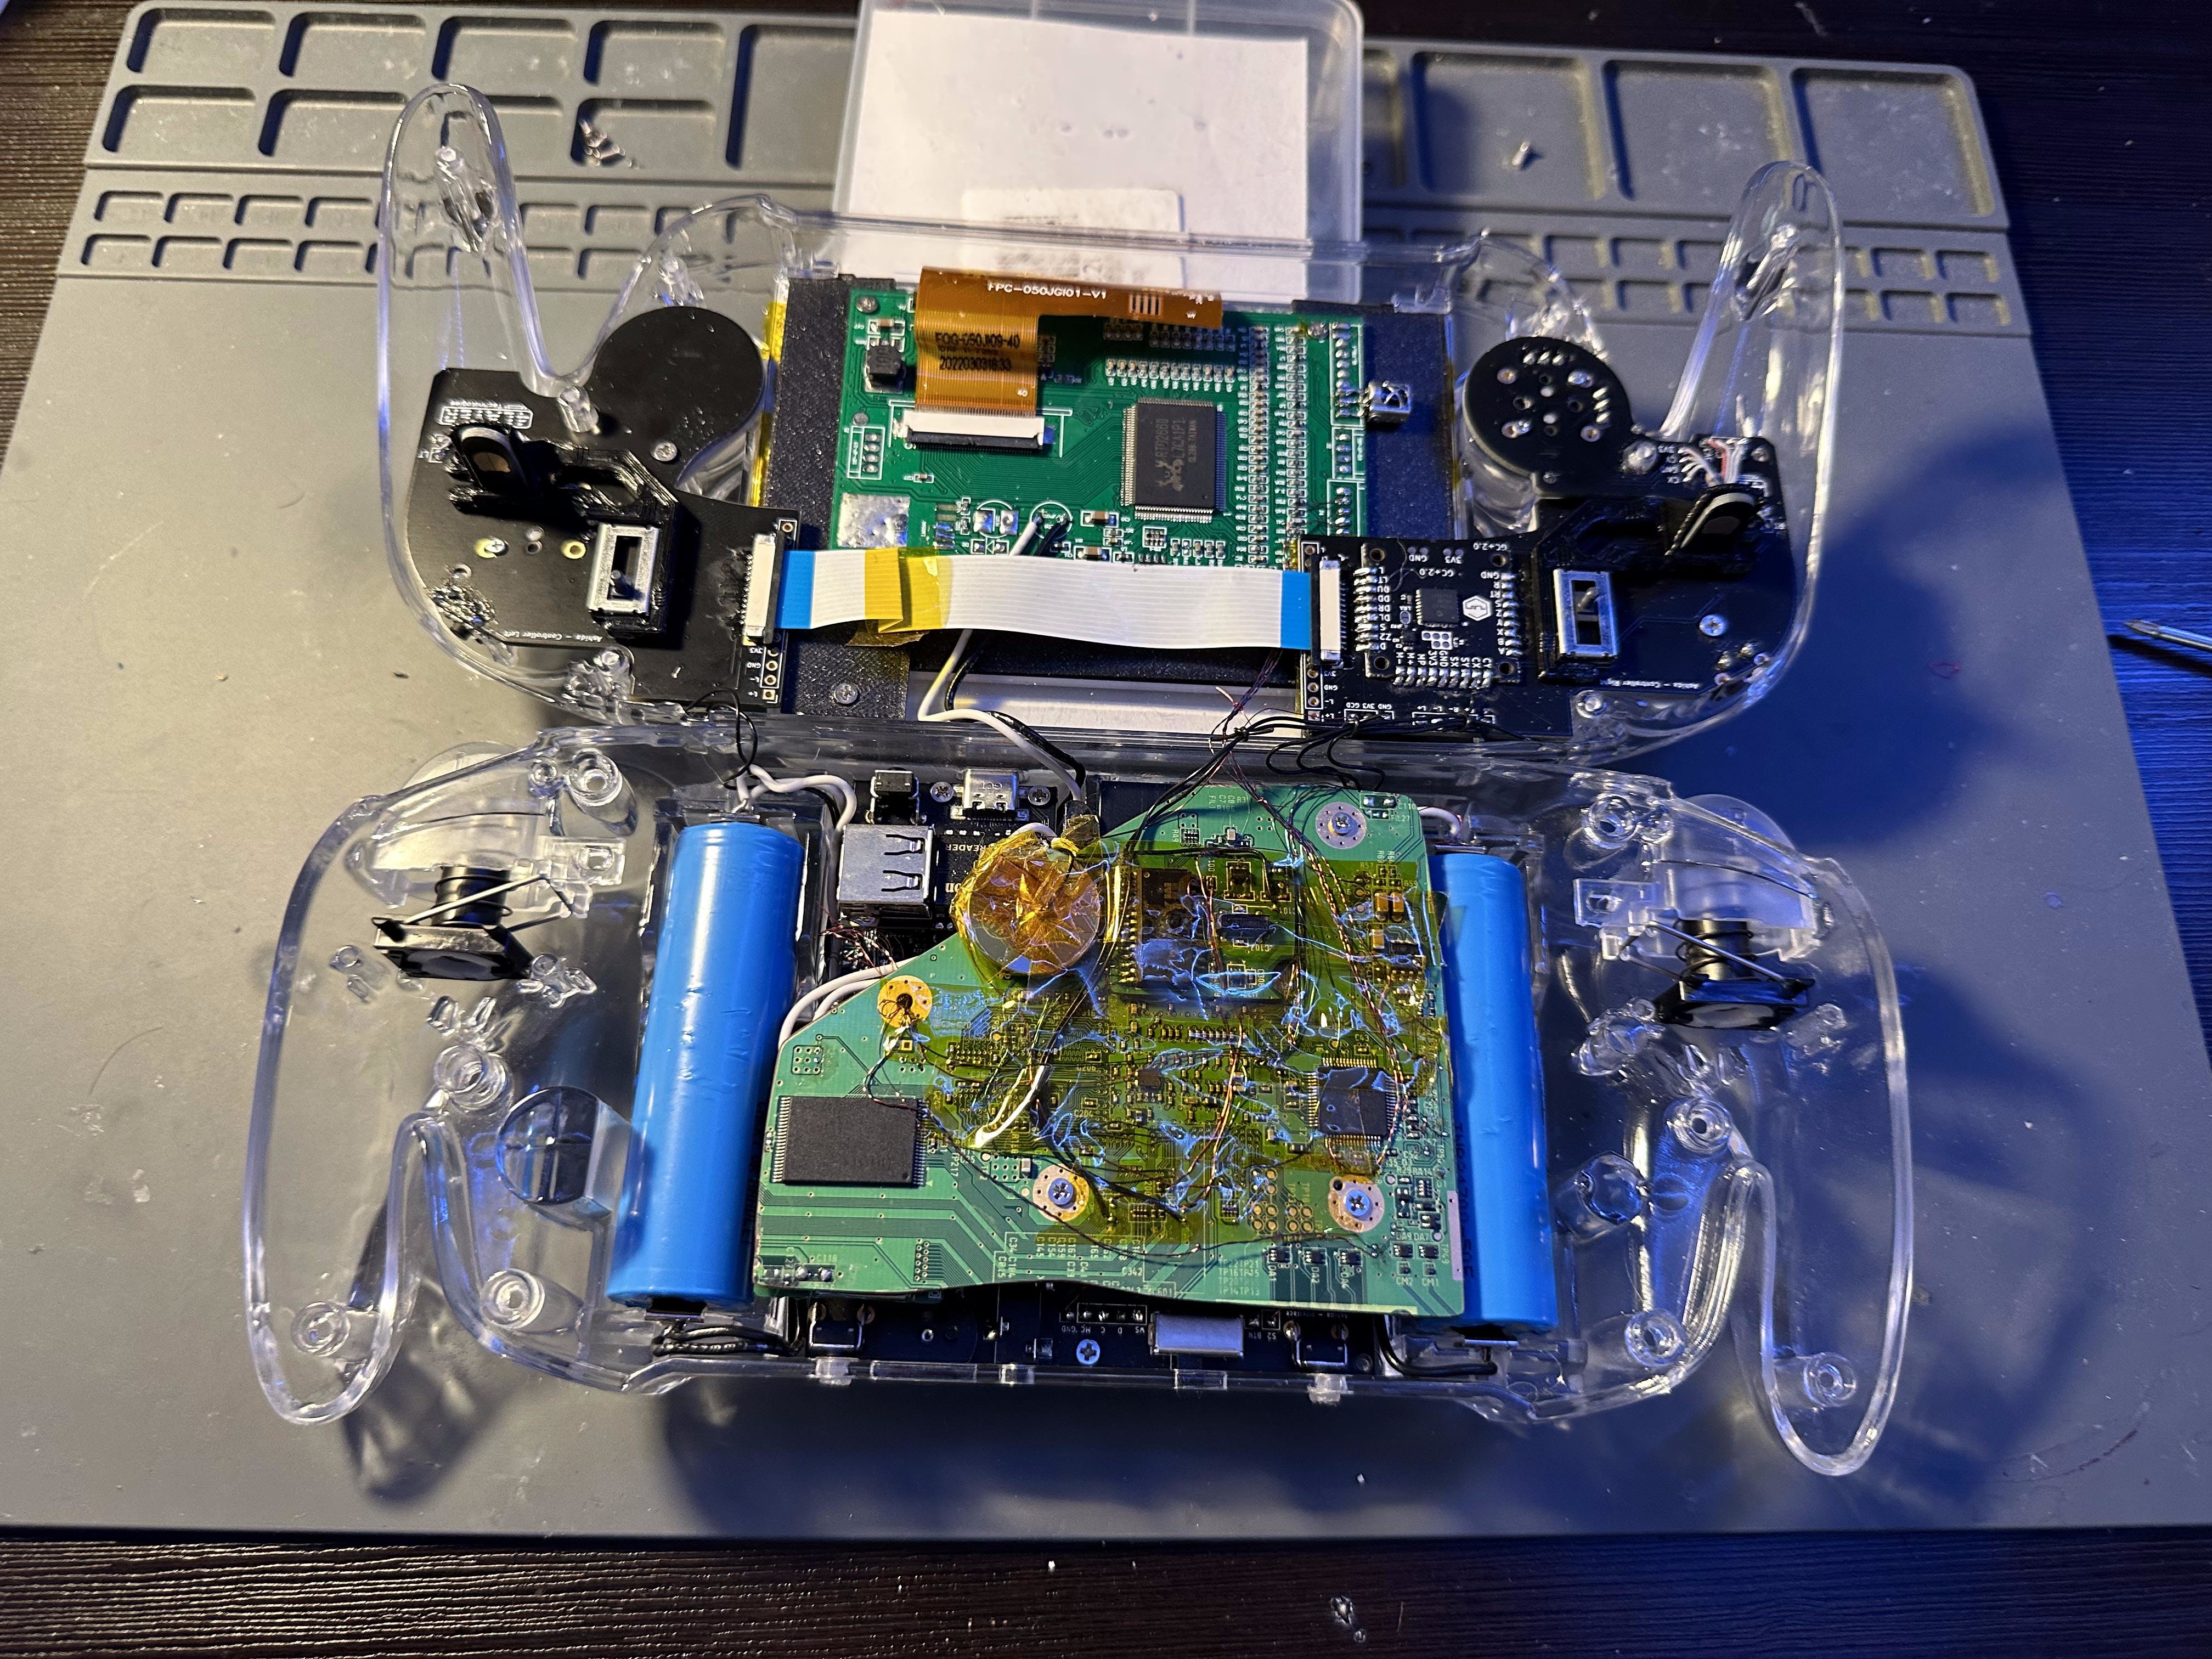
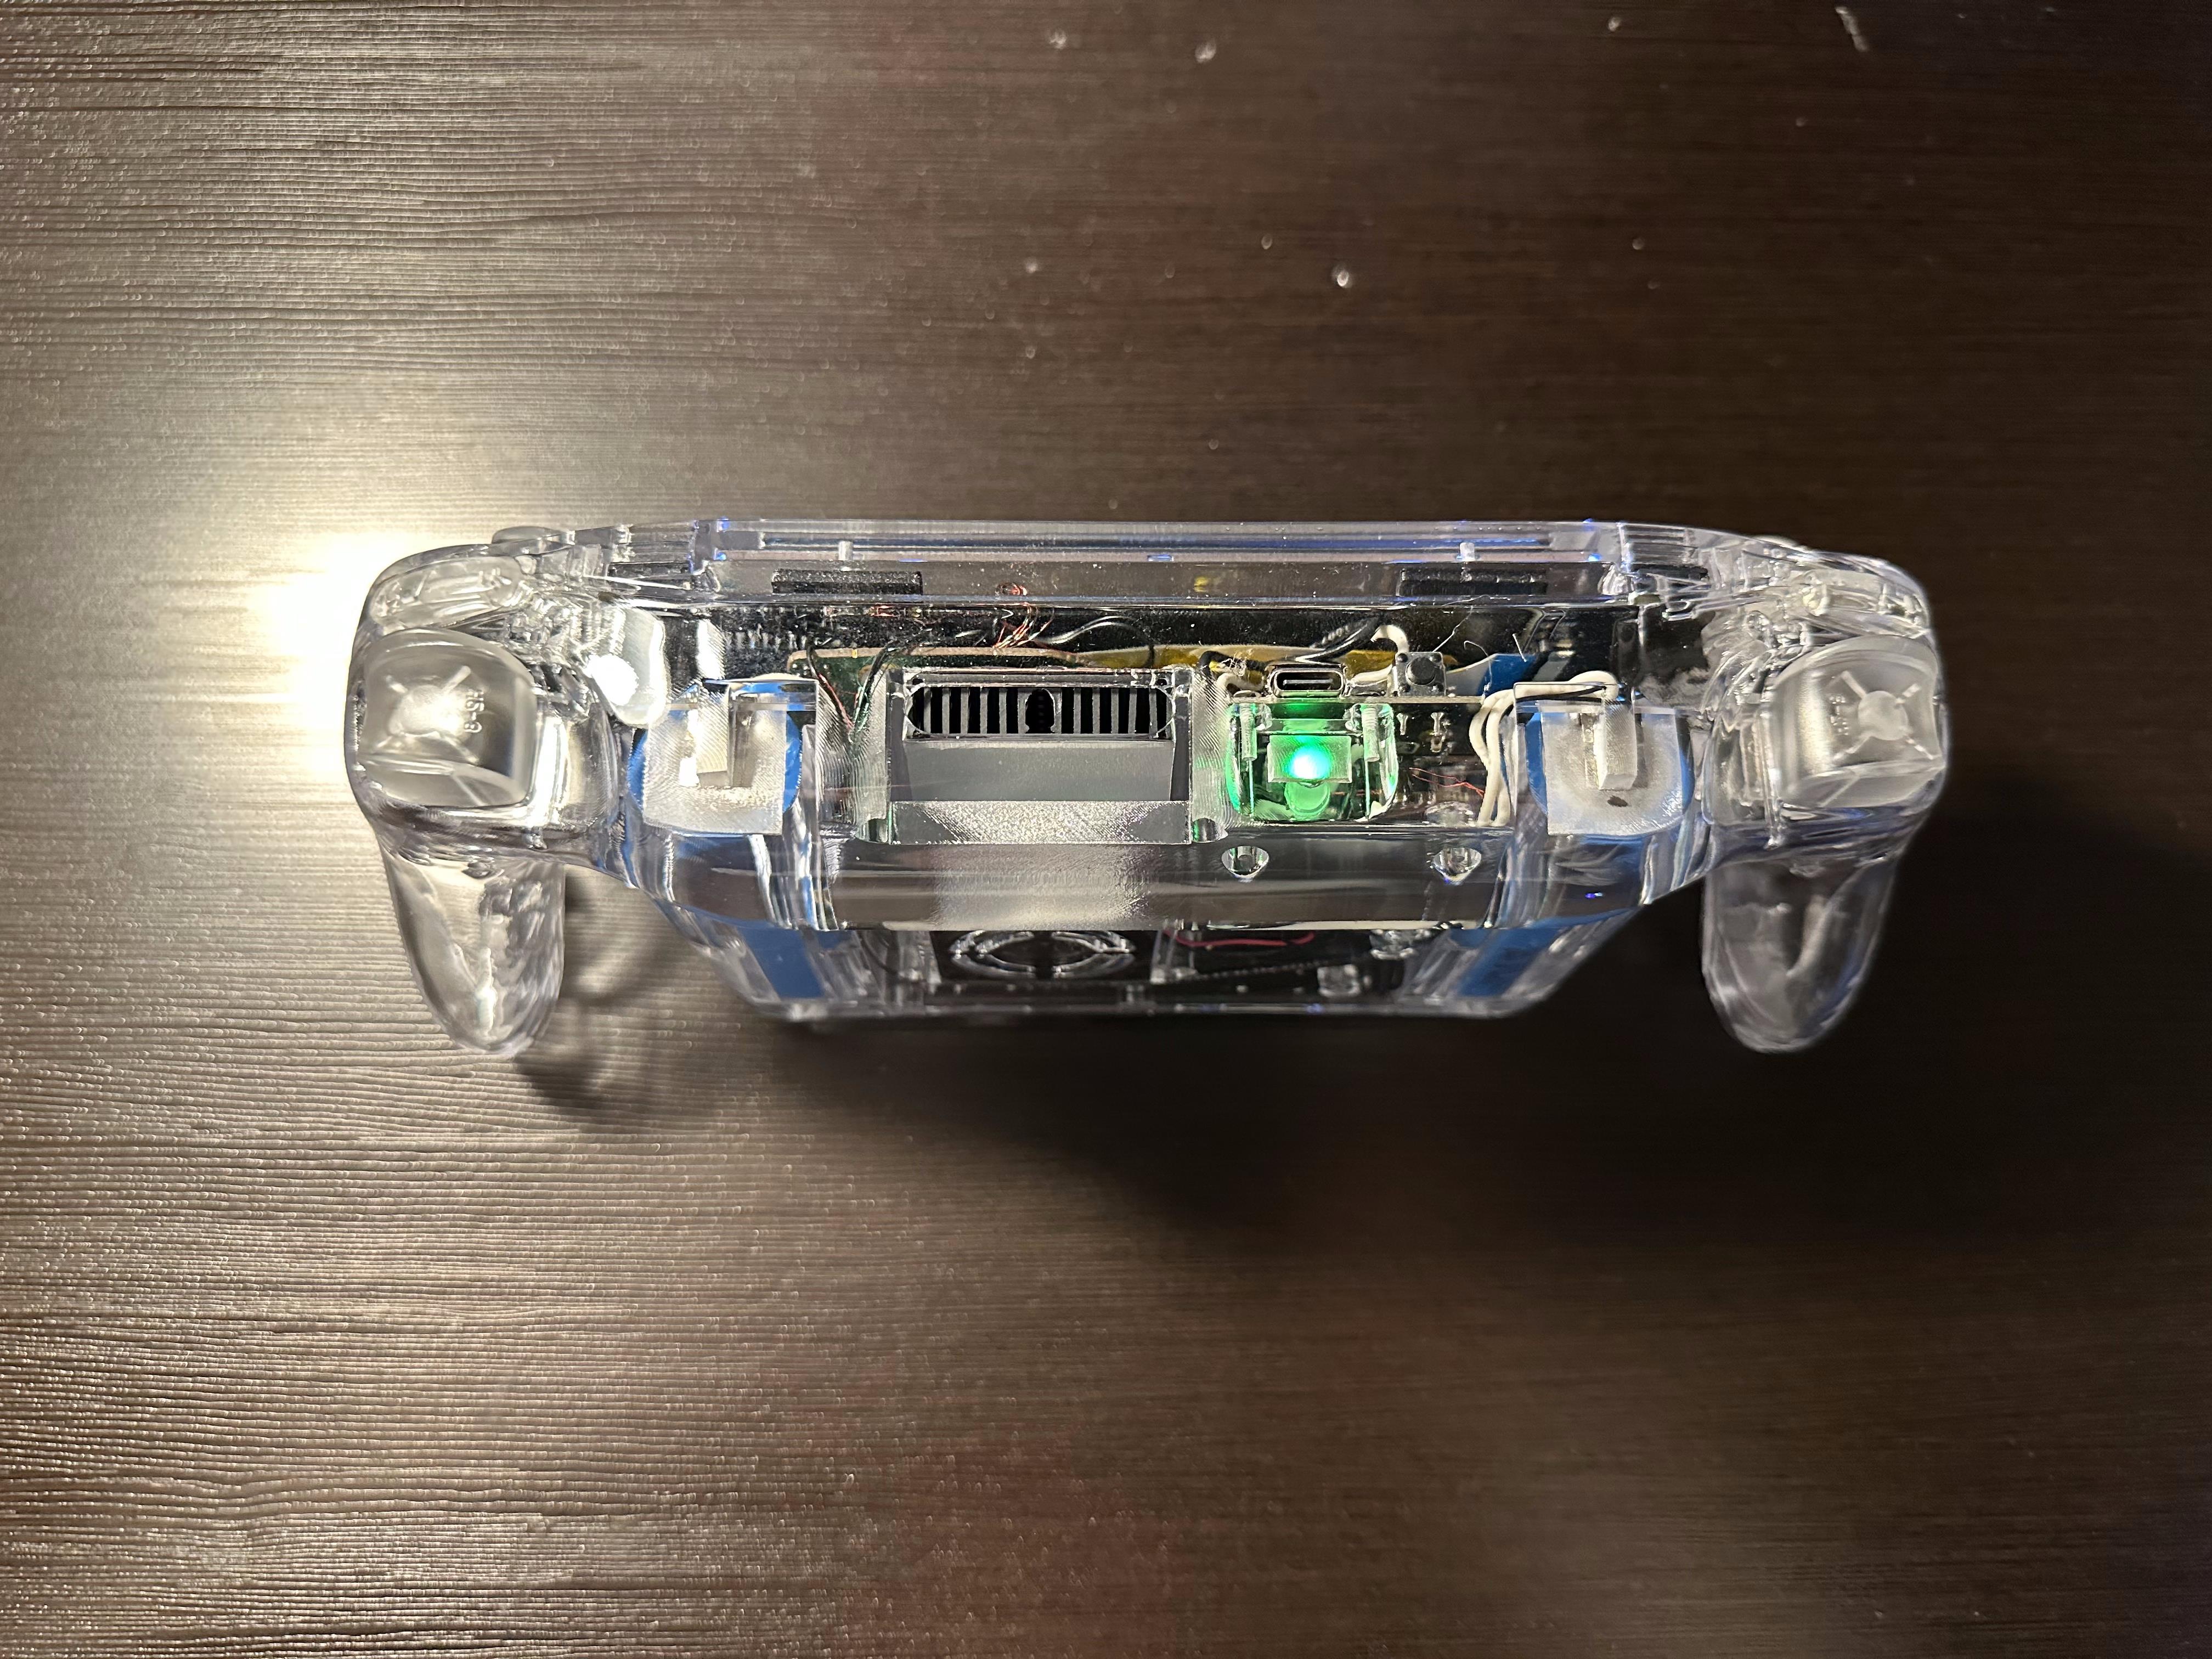
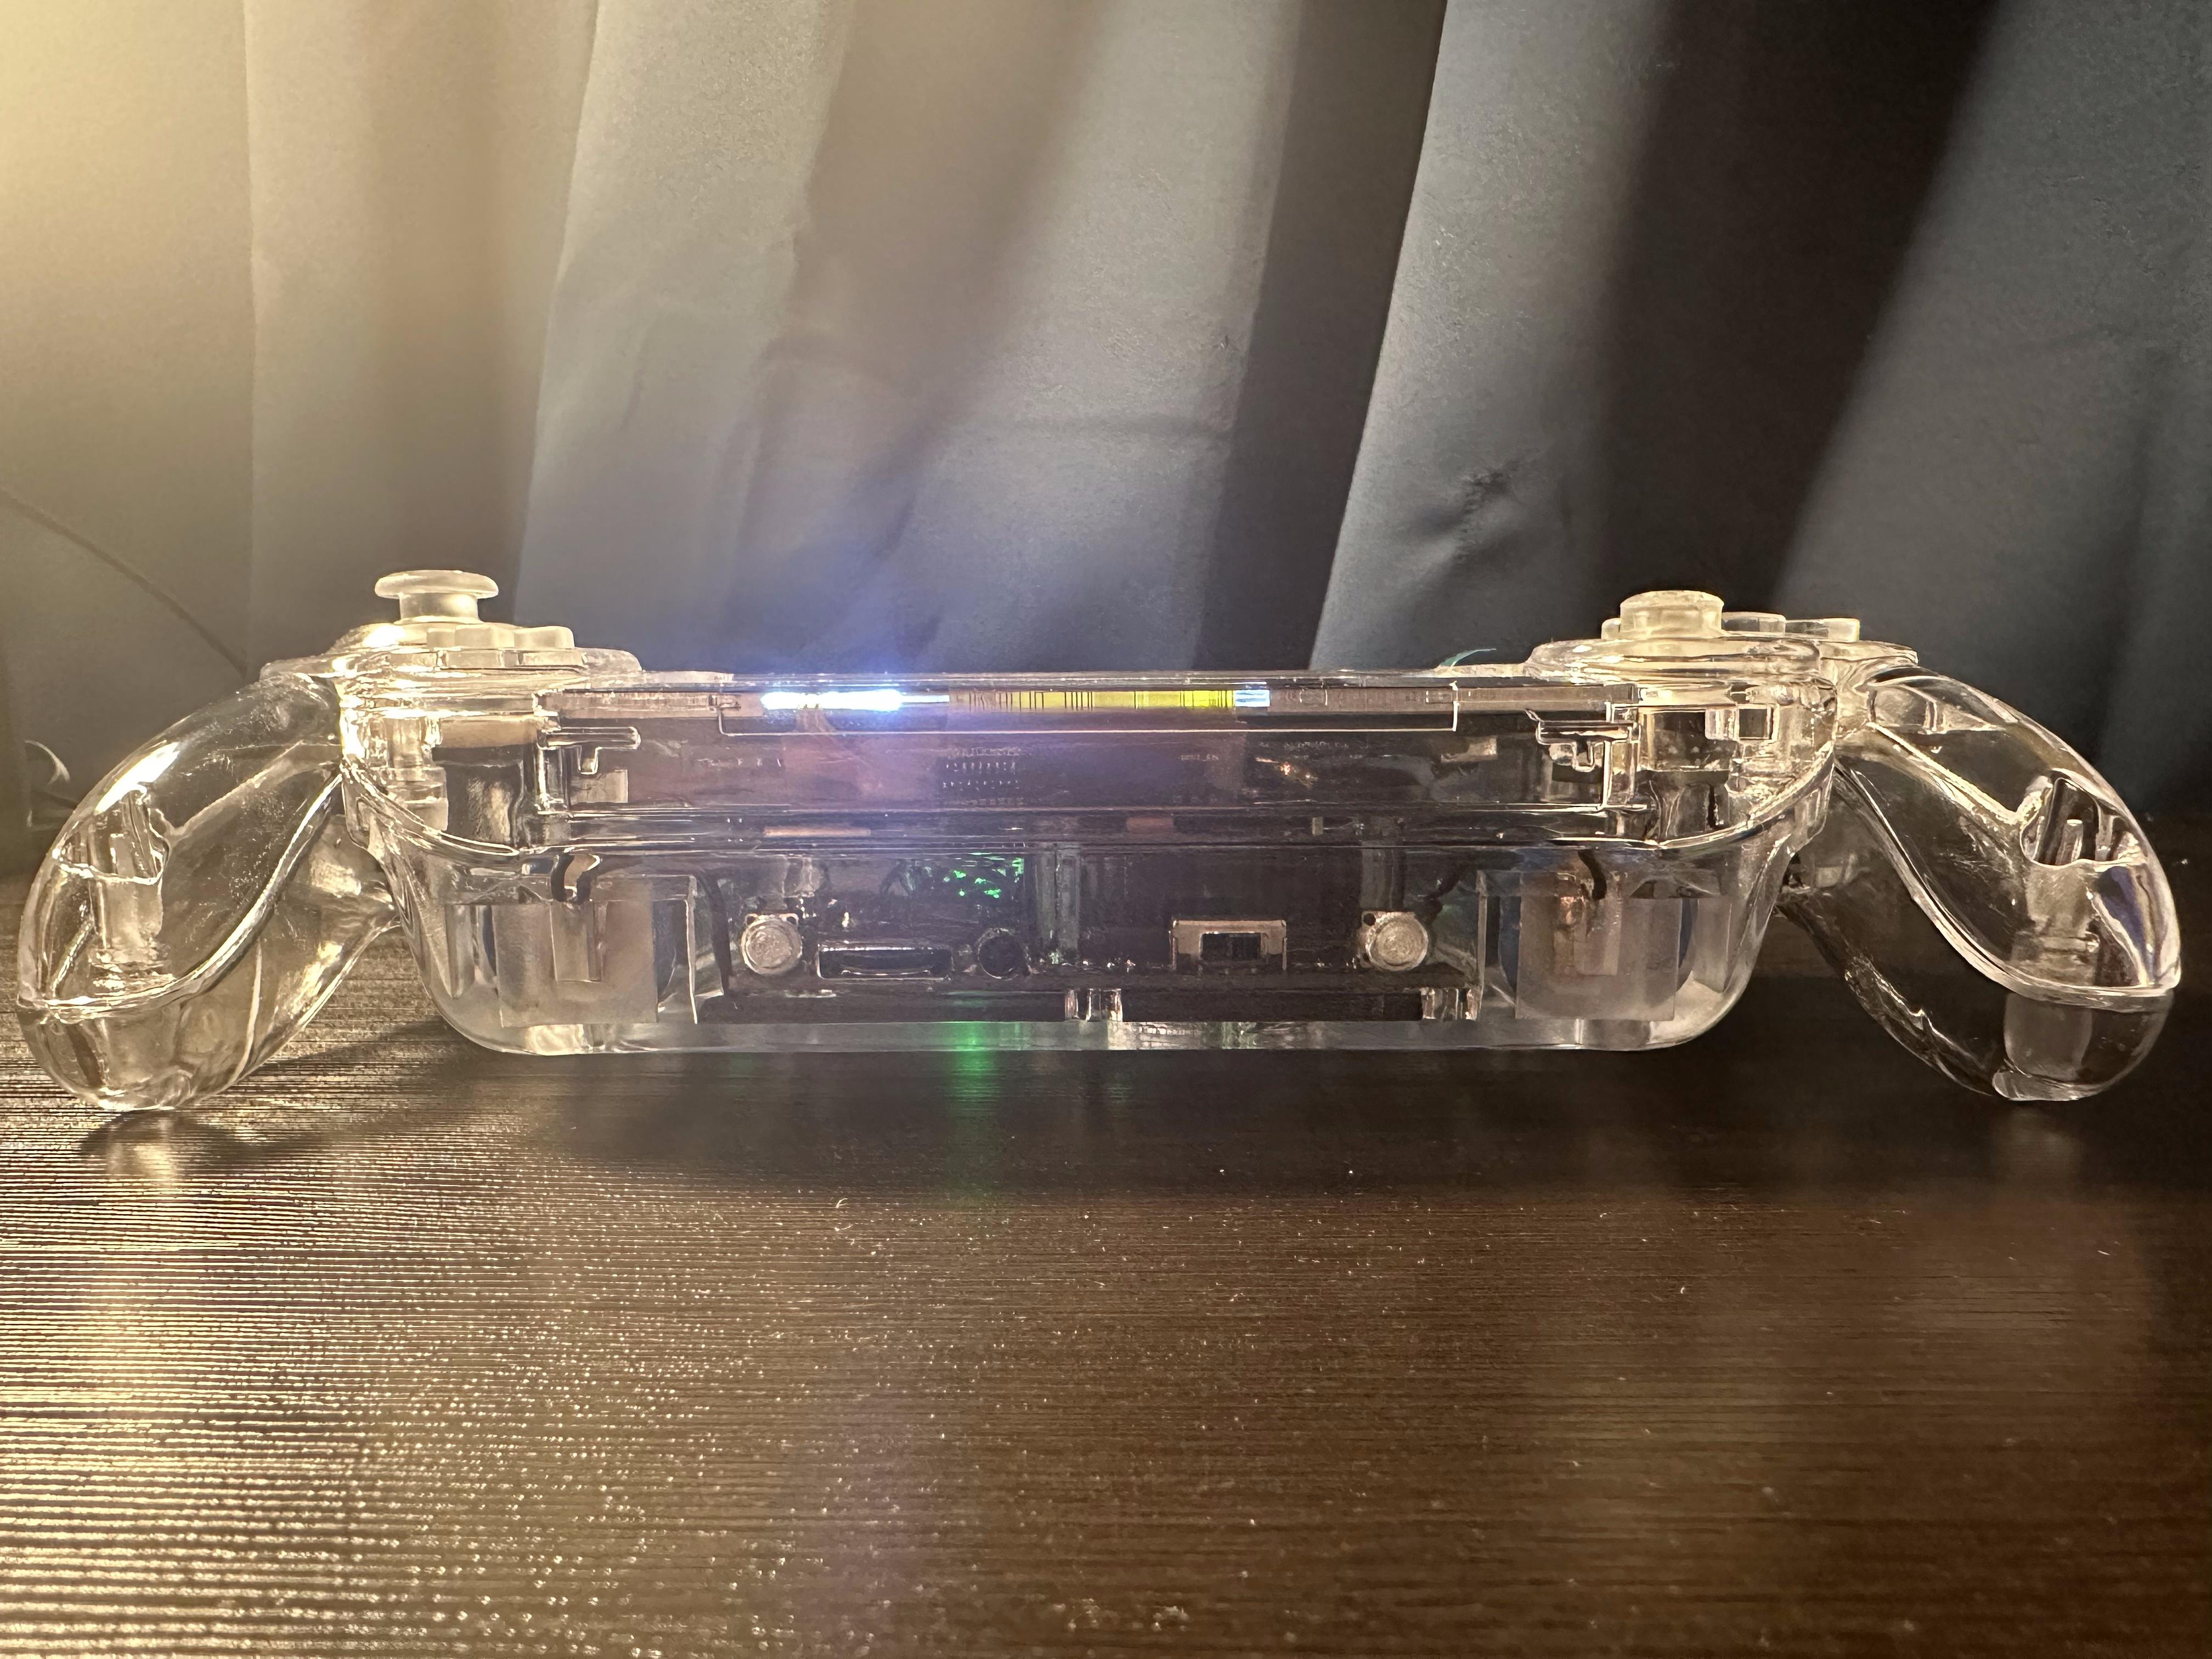
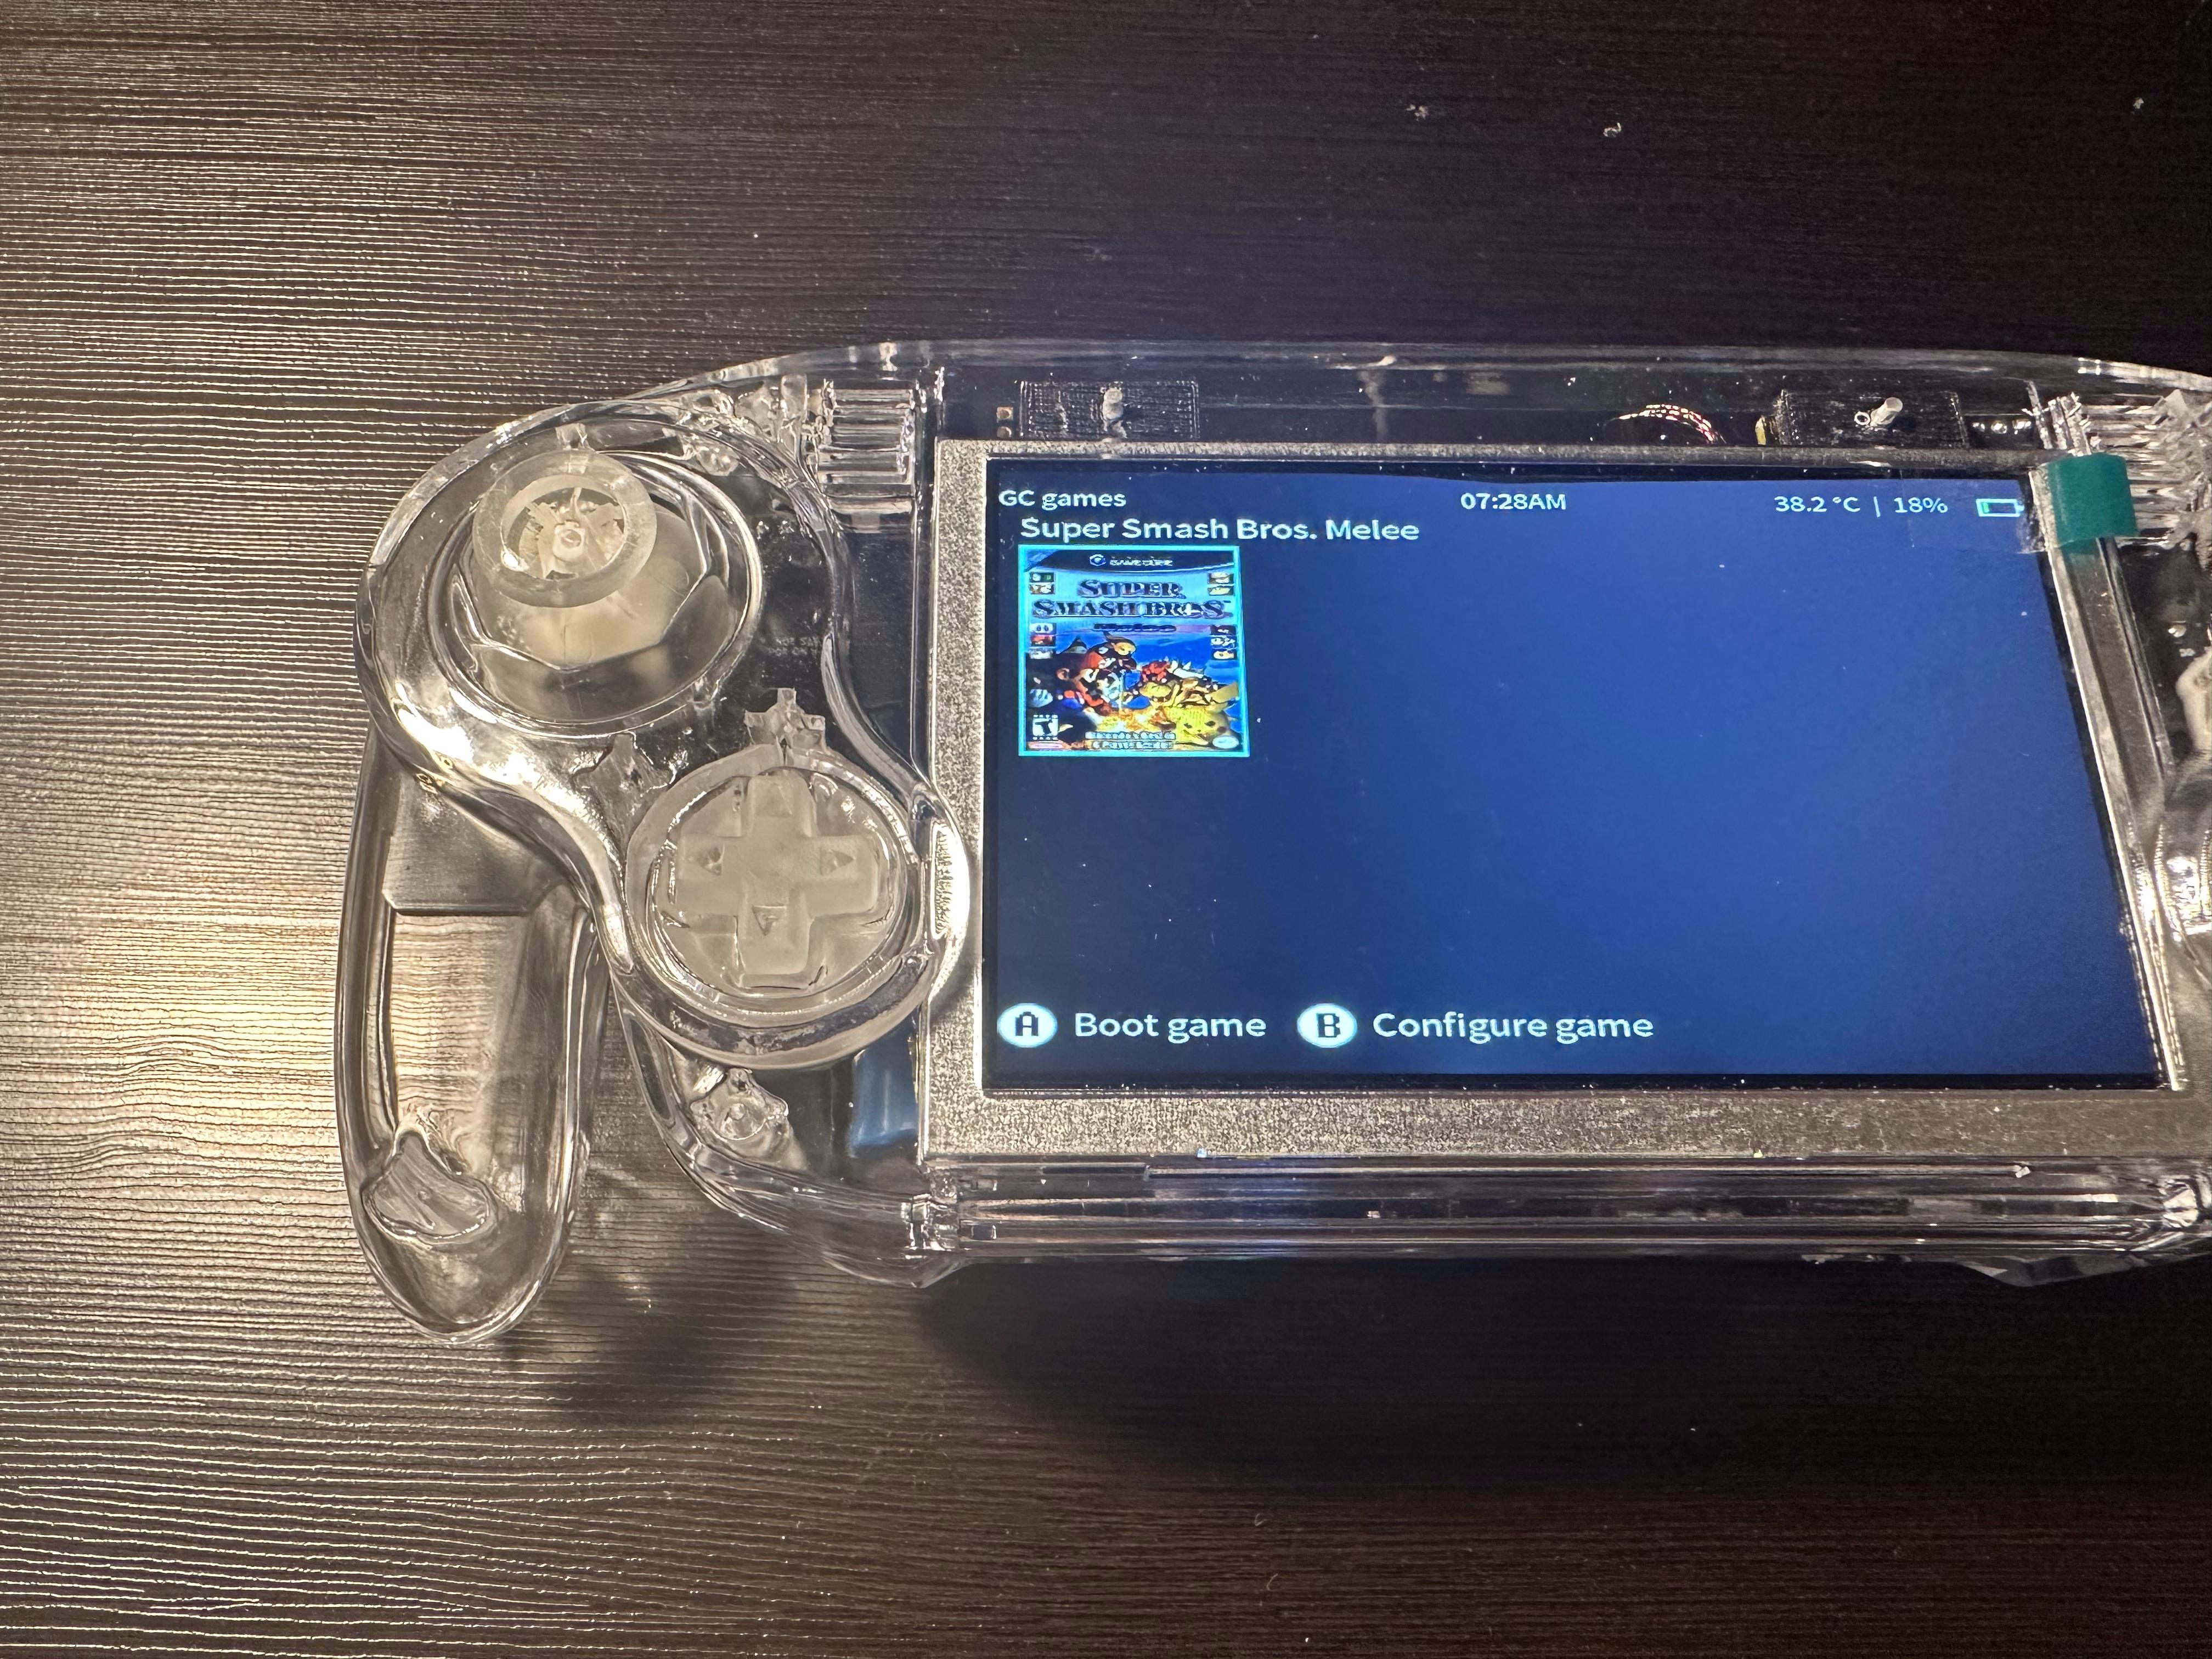
Hey guys I completed this fully clear Ashida build and I thought I'd share it since I really like the look of it. I used resin casted GameCube buttons and tried to keep the internals as clean as possible. The Ashida is such a fun build with all the streamline 4Layer Tech boards and the form factor makes it even more enjoyable to play!
Features:
Clear resin casted GameCube buttons
IPS Display
2x Samsung 21700 50E Batteries
4Layer Tech boards
T4 Stickboxes
256 GB Storage
MX Chip and Bluetooth relocated


Features:
Clear resin casted GameCube buttons
IPS Display
2x Samsung 21700 50E Batteries
4Layer Tech boards
T4 Stickboxes
256 GB Storage
MX Chip and Bluetooth relocated