AFE123
.
- Joined
- Mar 2, 2020
- Messages
- 119
- Likes
- 63
- Portables
- 1ish.
Hi,
This is my worklog for my PlayStation 2 portable. I haven’t come up with a case design, but I’ll think about it when I finally decide on what I'm putting in the portable
Goals
-Having a handheld PS2 is awesome, but my intention isn’t to build a perfect unit. I just want to learn and improve my skills in electronics. I want to improve my soldering skills, 3D printing skills, etc. I also want to use my creativity and problem solving skills to build this.
*Because of this, I’m not going to rely on custom boards from 4layertech (Great stuff, but won’t fulfill my goal).
*I might buy a U-amp for the convenience of switching headphones, and to support their excellent work.
*This might make you cringe, but I’m probably going to use AV out (composite) instead of VGA.
*This is for two reasons: I don’t really care about a fancy screen, I just want to learn. Also, I have a tight budget.
*By tight budget, I mean that I’m not going to spend on “premium” things. I’m definitely not going to cheap out on important things like regulators.
-implementing USB charging. According to the ps2 trimming guide, It'll consume a total of 4.65 watts of power, so I'll need, on paper, a 0.93A 5V power source. This isn't accurate, but I do have a 2.4A power bank, so I have some margin.
In my opinion, now is a great time to do this since my university has an entire makerspace with soldering stuff, wire, 3d printers and a woodworking station (if needed)
-I definitely know that I'll need the option for playing multiplayer, so I'll implement the controller and memory card slots on the portable. I believe in a saying by ben heck, "Make things you can take apart" or something like that. If my free Mcboot card doesn't work, I don't want to deal with the trouble of opening the unit up, and replacing an internal card. I also can't rely on the VMC feature with OPL, because games I enjoyed as a kid, like sonic riders - zero gravity, lacks VMC support. I also want to implement an external video port. I'll probably use 3 female connectors, and attach them to the back of the unit. That way, I can use a regular rca cable.
-Knowing that Ginger hates CD drives, I'll use Free Mcboot (I might do the SD card mod wesk came up with).
Research Notes (From an idiot)
PS2 requires the following to power up:
1.25V - 3.1A
1.75V - 0.1A
2.50V - 0.1A
3.50V - 0.1A
2.5V and 3.5V power line
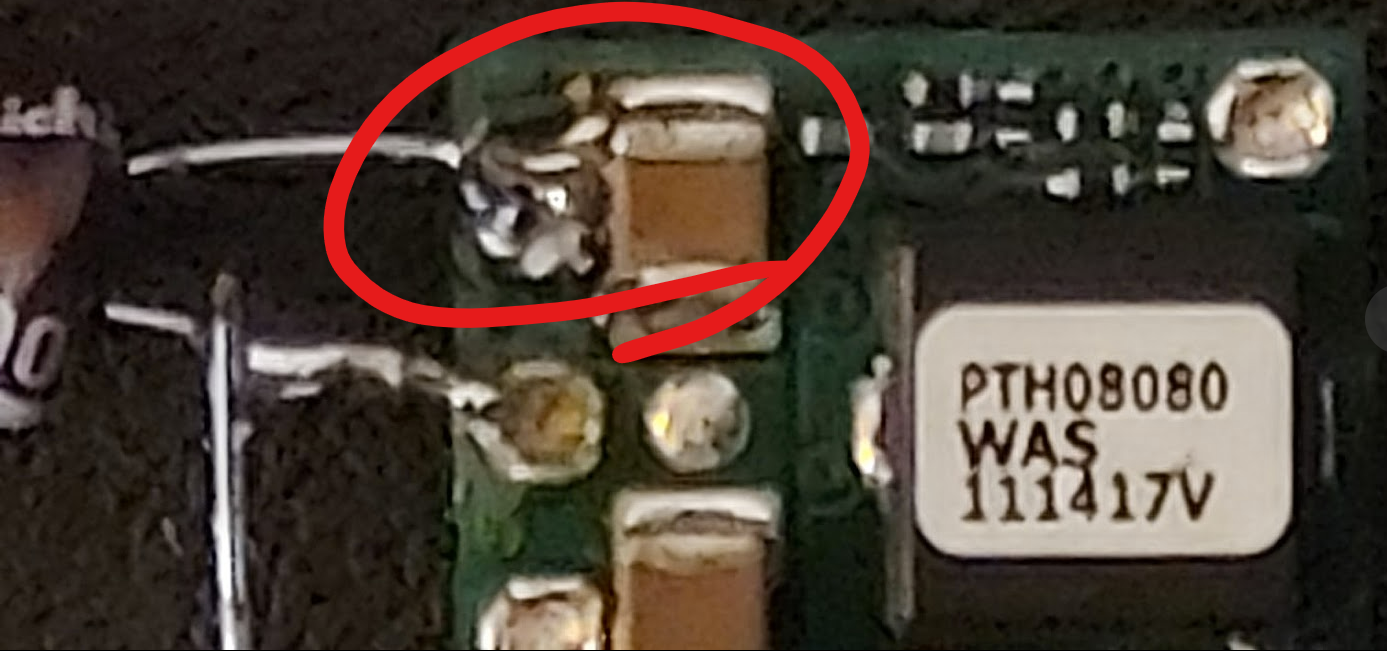
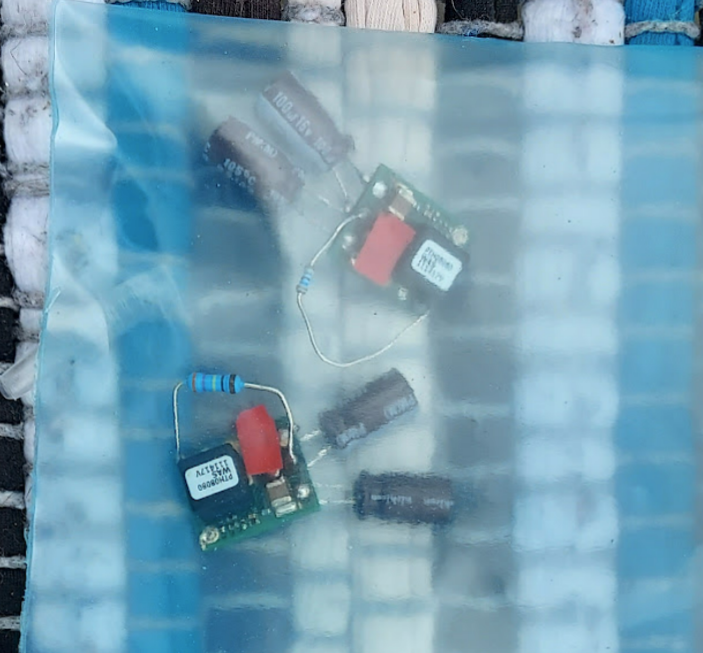
I’ll be using PTH08080W regulators with 100 microfarad caps and the following resistance:
2.5V - 3.75 kΩ
3.5V - 1.61 kΩ
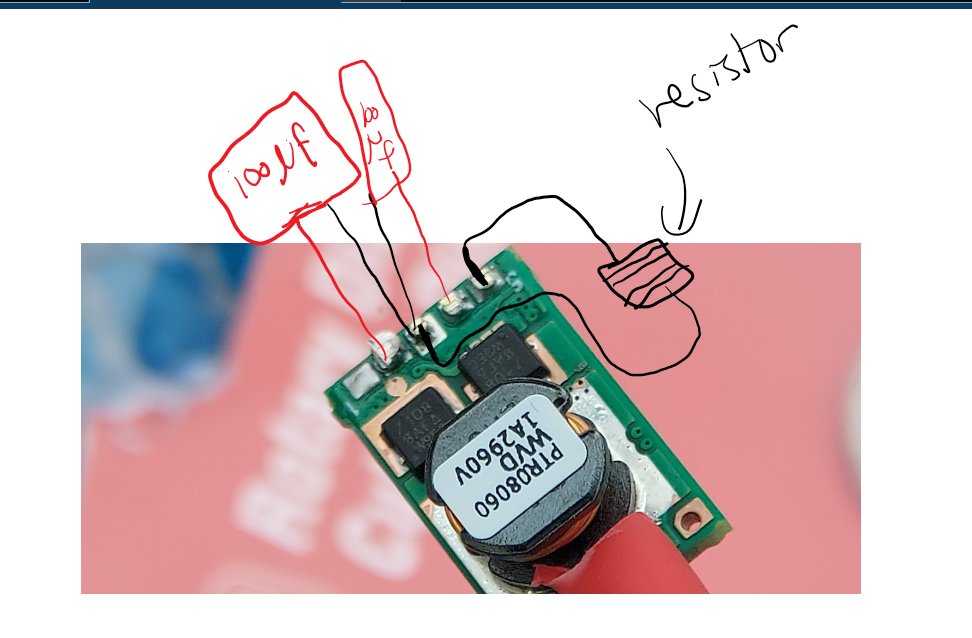
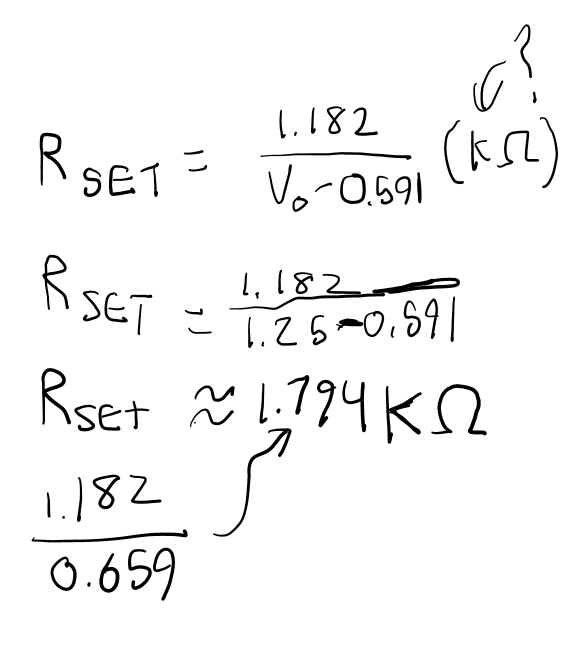
1.25V requirement
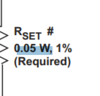
Due to the 3.1A, I’ll be using the PTR08060 with the same cap. For resistance, I used the equation on the datasheet. The equation has KΩ in parenthesis. Not sure if it’s a variable or unit (probably the later)
1.75V
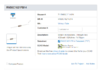
Unlike the other regulators, I need a linear regulator. After watching a lot of YouTube videos and annoying the discord community, I’ve decided to use this regulator
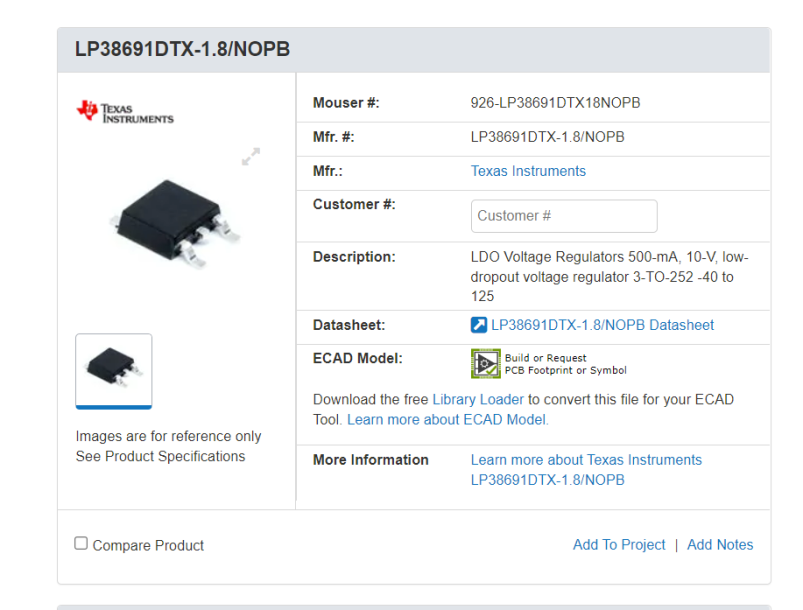
It outputs 1.8 volts and a max of 500 mA (or 0.5A). It should work on paper.
*The datasheet recommends putting a 10 microfarad cap on both ends, so I did that.
With voltage regulators out of the way, the next focus is the controller.
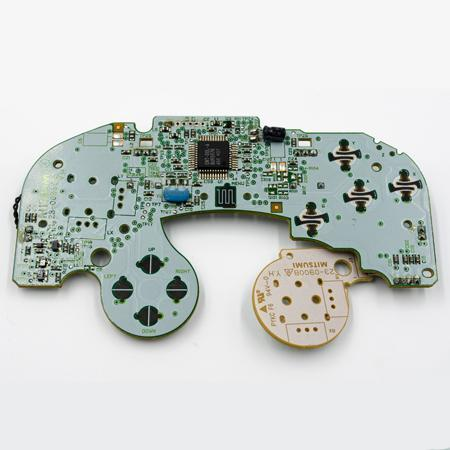
I’m not going to use the PS2+ (Although it'd make things easier, I want to utilize the old fashioned technique of cutting a controller up, and wiring it all together. I’m trying to stay away from the official PlayStation controllers.
*This is because Sony was being quirky and HAD to use this ribbon board:
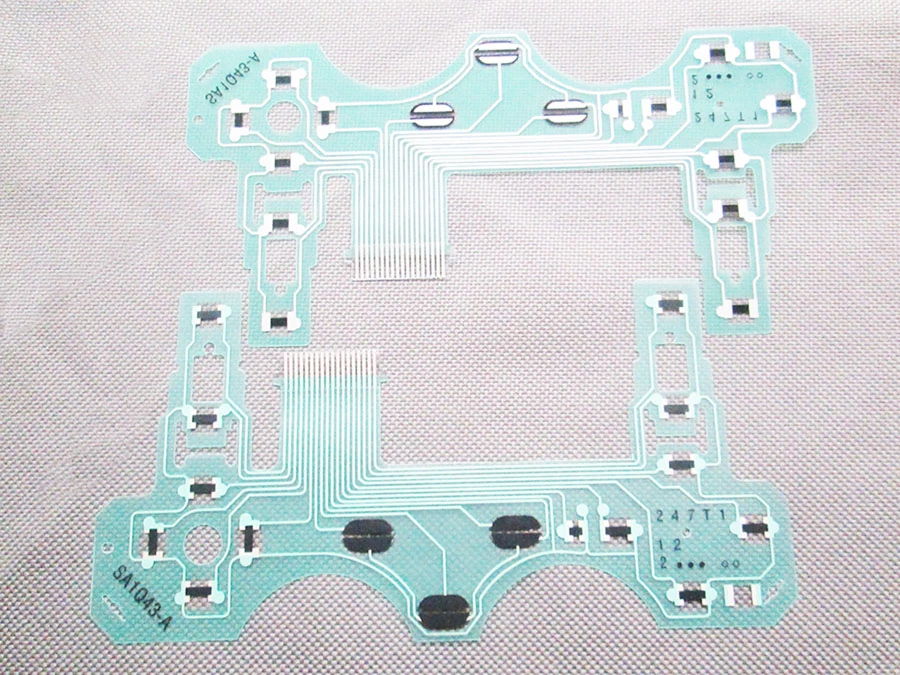
I’m looking at 3rd party controllers with regular pads
Worst case, I’ll use this guide to relocate the controller.
3D printing
-I was quite intimidated with the aspect of 3d printing, but it doesn’t seem too bad. I got comfortable with Fusion 360 in no time and discovered image referencing (Hot stuff )
Now, I await for my 79001 PS2 I got from eBay for 39 bucks to arrive to my house.
I'll provide an update once I get the PS2, but until then
Auf Wiedersehen.
Update:
I ordered some of the parts needed to start. I want to practice soldering the screen to the ps2 soon.
This is my worklog for my PlayStation 2 portable. I haven’t come up with a case design, but I’ll think about it when I finally decide on what I'm putting in the portable
Goals
-Having a handheld PS2 is awesome, but my intention isn’t to build a perfect unit. I just want to learn and improve my skills in electronics. I want to improve my soldering skills, 3D printing skills, etc. I also want to use my creativity and problem solving skills to build this.
*Because of this, I’m not going to rely on custom boards from 4layertech (Great stuff, but won’t fulfill my goal).
*I might buy a U-amp for the convenience of switching headphones, and to support their excellent work.
*This might make you cringe, but I’m probably going to use AV out (composite) instead of VGA.
*This is for two reasons: I don’t really care about a fancy screen, I just want to learn. Also, I have a tight budget.
*By tight budget, I mean that I’m not going to spend on “premium” things. I’m definitely not going to cheap out on important things like regulators.
-implementing USB charging. According to the ps2 trimming guide, It'll consume a total of 4.65 watts of power, so I'll need, on paper, a 0.93A 5V power source. This isn't accurate, but I do have a 2.4A power bank, so I have some margin.
In my opinion, now is a great time to do this since my university has an entire makerspace with soldering stuff, wire, 3d printers and a woodworking station (if needed)
-I definitely know that I'll need the option for playing multiplayer, so I'll implement the controller and memory card slots on the portable. I believe in a saying by ben heck, "Make things you can take apart" or something like that. If my free Mcboot card doesn't work, I don't want to deal with the trouble of opening the unit up, and replacing an internal card. I also can't rely on the VMC feature with OPL, because games I enjoyed as a kid, like sonic riders - zero gravity, lacks VMC support. I also want to implement an external video port. I'll probably use 3 female connectors, and attach them to the back of the unit. That way, I can use a regular rca cable.
-Knowing that Ginger hates CD drives, I'll use Free Mcboot (I might do the SD card mod wesk came up with).
Research Notes (From an idiot)
PS2 requires the following to power up:
1.25V - 3.1A
1.75V - 0.1A
2.50V - 0.1A
3.50V - 0.1A
2.5V and 3.5V power line
I’ll be using PTH08080W regulators with 100 microfarad caps and the following resistance:
2.5V - 3.75 kΩ
3.5V - 1.61 kΩ
1.25V requirement
Due to the 3.1A, I’ll be using the PTR08060 with the same cap. For resistance, I used the equation on the datasheet. The equation has KΩ in parenthesis. Not sure if it’s a variable or unit (probably the later)
1.75V
Unlike the other regulators, I need a linear regulator. After watching a lot of YouTube videos and annoying the discord community, I’ve decided to use this regulator
It outputs 1.8 volts and a max of 500 mA (or 0.5A). It should work on paper.
*The datasheet recommends putting a 10 microfarad cap on both ends, so I did that.
With voltage regulators out of the way, the next focus is the controller.
I’m not going to use the PS2+ (Although it'd make things easier, I want to utilize the old fashioned technique of cutting a controller up, and wiring it all together. I’m trying to stay away from the official PlayStation controllers.
*This is because Sony was being quirky and HAD to use this ribbon board:
I’m looking at 3rd party controllers with regular pads
Worst case, I’ll use this guide to relocate the controller.
3D printing
-I was quite intimidated with the aspect of 3d printing, but it doesn’t seem too bad. I got comfortable with Fusion 360 in no time and discovered image referencing (Hot stuff )
Now, I await for my 79001 PS2 I got from eBay for 39 bucks to arrive to my house.
I'll provide an update once I get the PS2, but until then
Auf Wiedersehen.
Update:
I ordered some of the parts needed to start. I want to practice soldering the screen to the ps2 soon.
Last edited: