At this point with no success I would recommend heeding Gmans advice.
When I built my first ashida I built the entire thing in one go. It didn't work. Then I spent a solid couple days troubleshooting it with no luck. I tore the whole thing down and tested it sequentially from start to finish.
I'd recommend testing it in the following sequence:
1.) Power to Wii board with AV video only:
--This will allow you to test voltage drops on each power rail. Any drop 5% or lower of the intended voltages will cause issues with booting
--If voltage is good then you can troubleshoot your U10 connection causing the boot to fail.
2.) Once it boots, add USB data and boot into RVLoader
3.) Add GameCube controller input
--navigate RVLoader UI. Check that the PMS board, and GC board are showing up.
--use button tester in RVLoader to test all buttons and ensure analog triggers are working.
--boot into a game and play for a little bit to make sure you don't experience any hang ups, or crashes due to noise on the USB wiring. (Common problem that will cause a lot of consistency issues)
4.) Add VGA output to the screen
--leave clamshell open, solder a wire with one end to GND on driver board, and tap the other end of the wire to menu, and ++++, and navigate to autoconfig to adjust your screen positioning.
5.) Add audio board wires
--boot into RVLoader and ensure that the audio board is showing up in RVLoader
--test speaker and headphone output during game play
6.) Button up and enjoy!
Good luck and god speed friend.

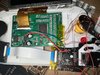
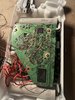
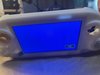
 2.2 MB Views: 73
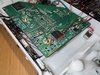
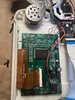
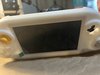
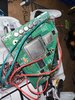 1.7 MB Views: 89
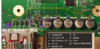
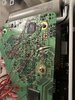
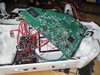
 1.9 MB Views: 86
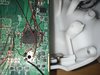
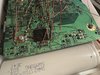
 2.6 MB Views: 92