
Legend
.
Hello again Bitbuilt!
Not so long ago I built my first actual portable, and that portable happened to be the Ashida due to its sleek design and practicality. Since building, I've put many hours into playing my favorite childhood games, and I'm thankful to be able to re-experience those memories on a nice compact device designed by Wesk, but built by myself.
I have been showing this beautiful portable off to some of my friends and they love it due to it being so unique, and for the portability factor of it of course. I had a close friend of mine approach me and ask to build him an Ashida, so I informed him of the costs, wait time for parts, what kind of cases are available, build time, test time etc. and he agreed. We settled on a white JLCPCB case printed with “8000 Resin”, and an agreement to install any extra features available (ie. BT, MX, Rumble etc.)
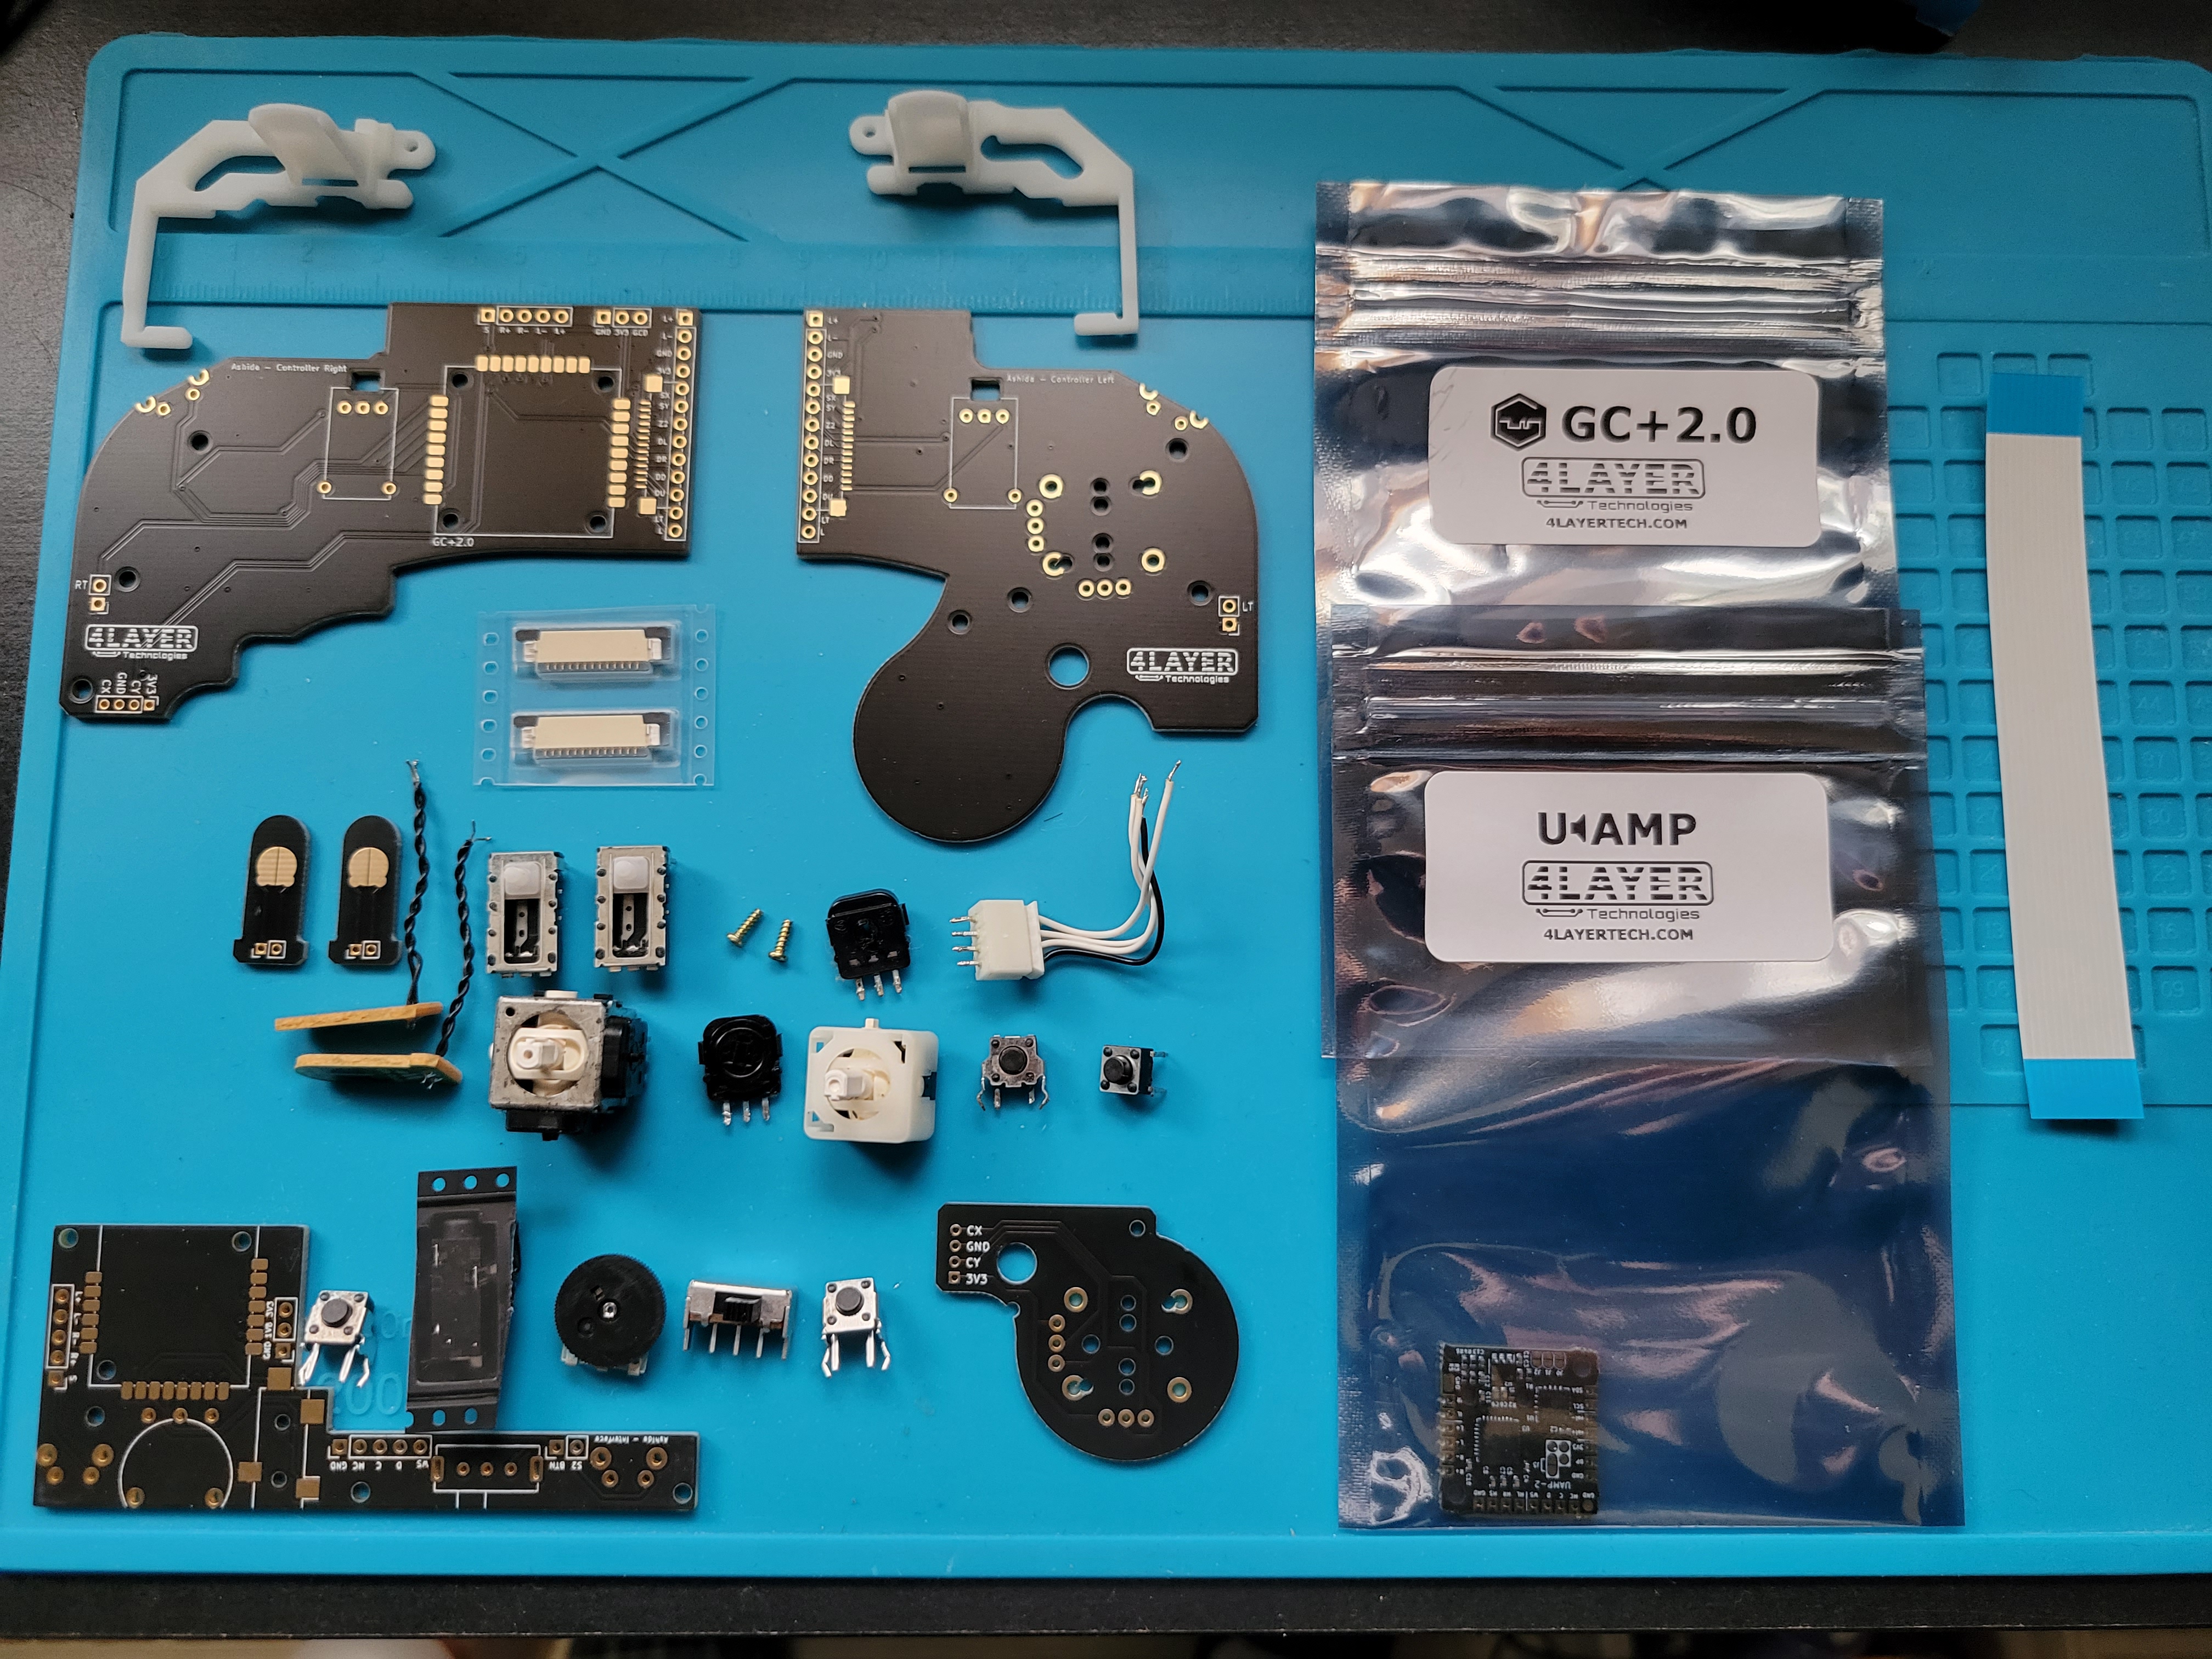
I had to sit back for a moment before fully agreeing to this commission as portable building isn't for the faint of heart and a lot of things could go wrong etc. however I do feel comfortable enough as I used to sell RGH xbox 360’s and have even shipped consoles and have gotten good feedback. I am glad however that one of my first heavy commissions is for a close friend. Regardless, I started planning everything out and figuring out what parts I had on hand and how I could make things cheaper. I consulted the Ashida BOM I made a little while back and ordered everything needed:
- The whole 4-Layer product list not including a few things (will include a PMS-Lite due to chip shortages)
- Digikey BOM
- Mouser Potentiometer as well as the fan to make the individual order worth it
- 2x 21700 5000mah Batteries
- JLCPCB Case
Aside from this I had also purchased some new wire and an AVE-Relocation flex from Electron Shepherd to “riivive” a trim that I had the AVE short on ( I have other Wii’s I can trim for backups). Ended up also purchasing a cheap lot of 3 GameCube controllers that were broken (one OEM GCC), I intend on harvesting the OG Z button tact to put as the right Z button on the Ashida, then for the left I may have to put in a 3rd-Part tact if I can't find another OEM controller. I also have some controller parts on hand as well as a 128gb SD card for the system already.
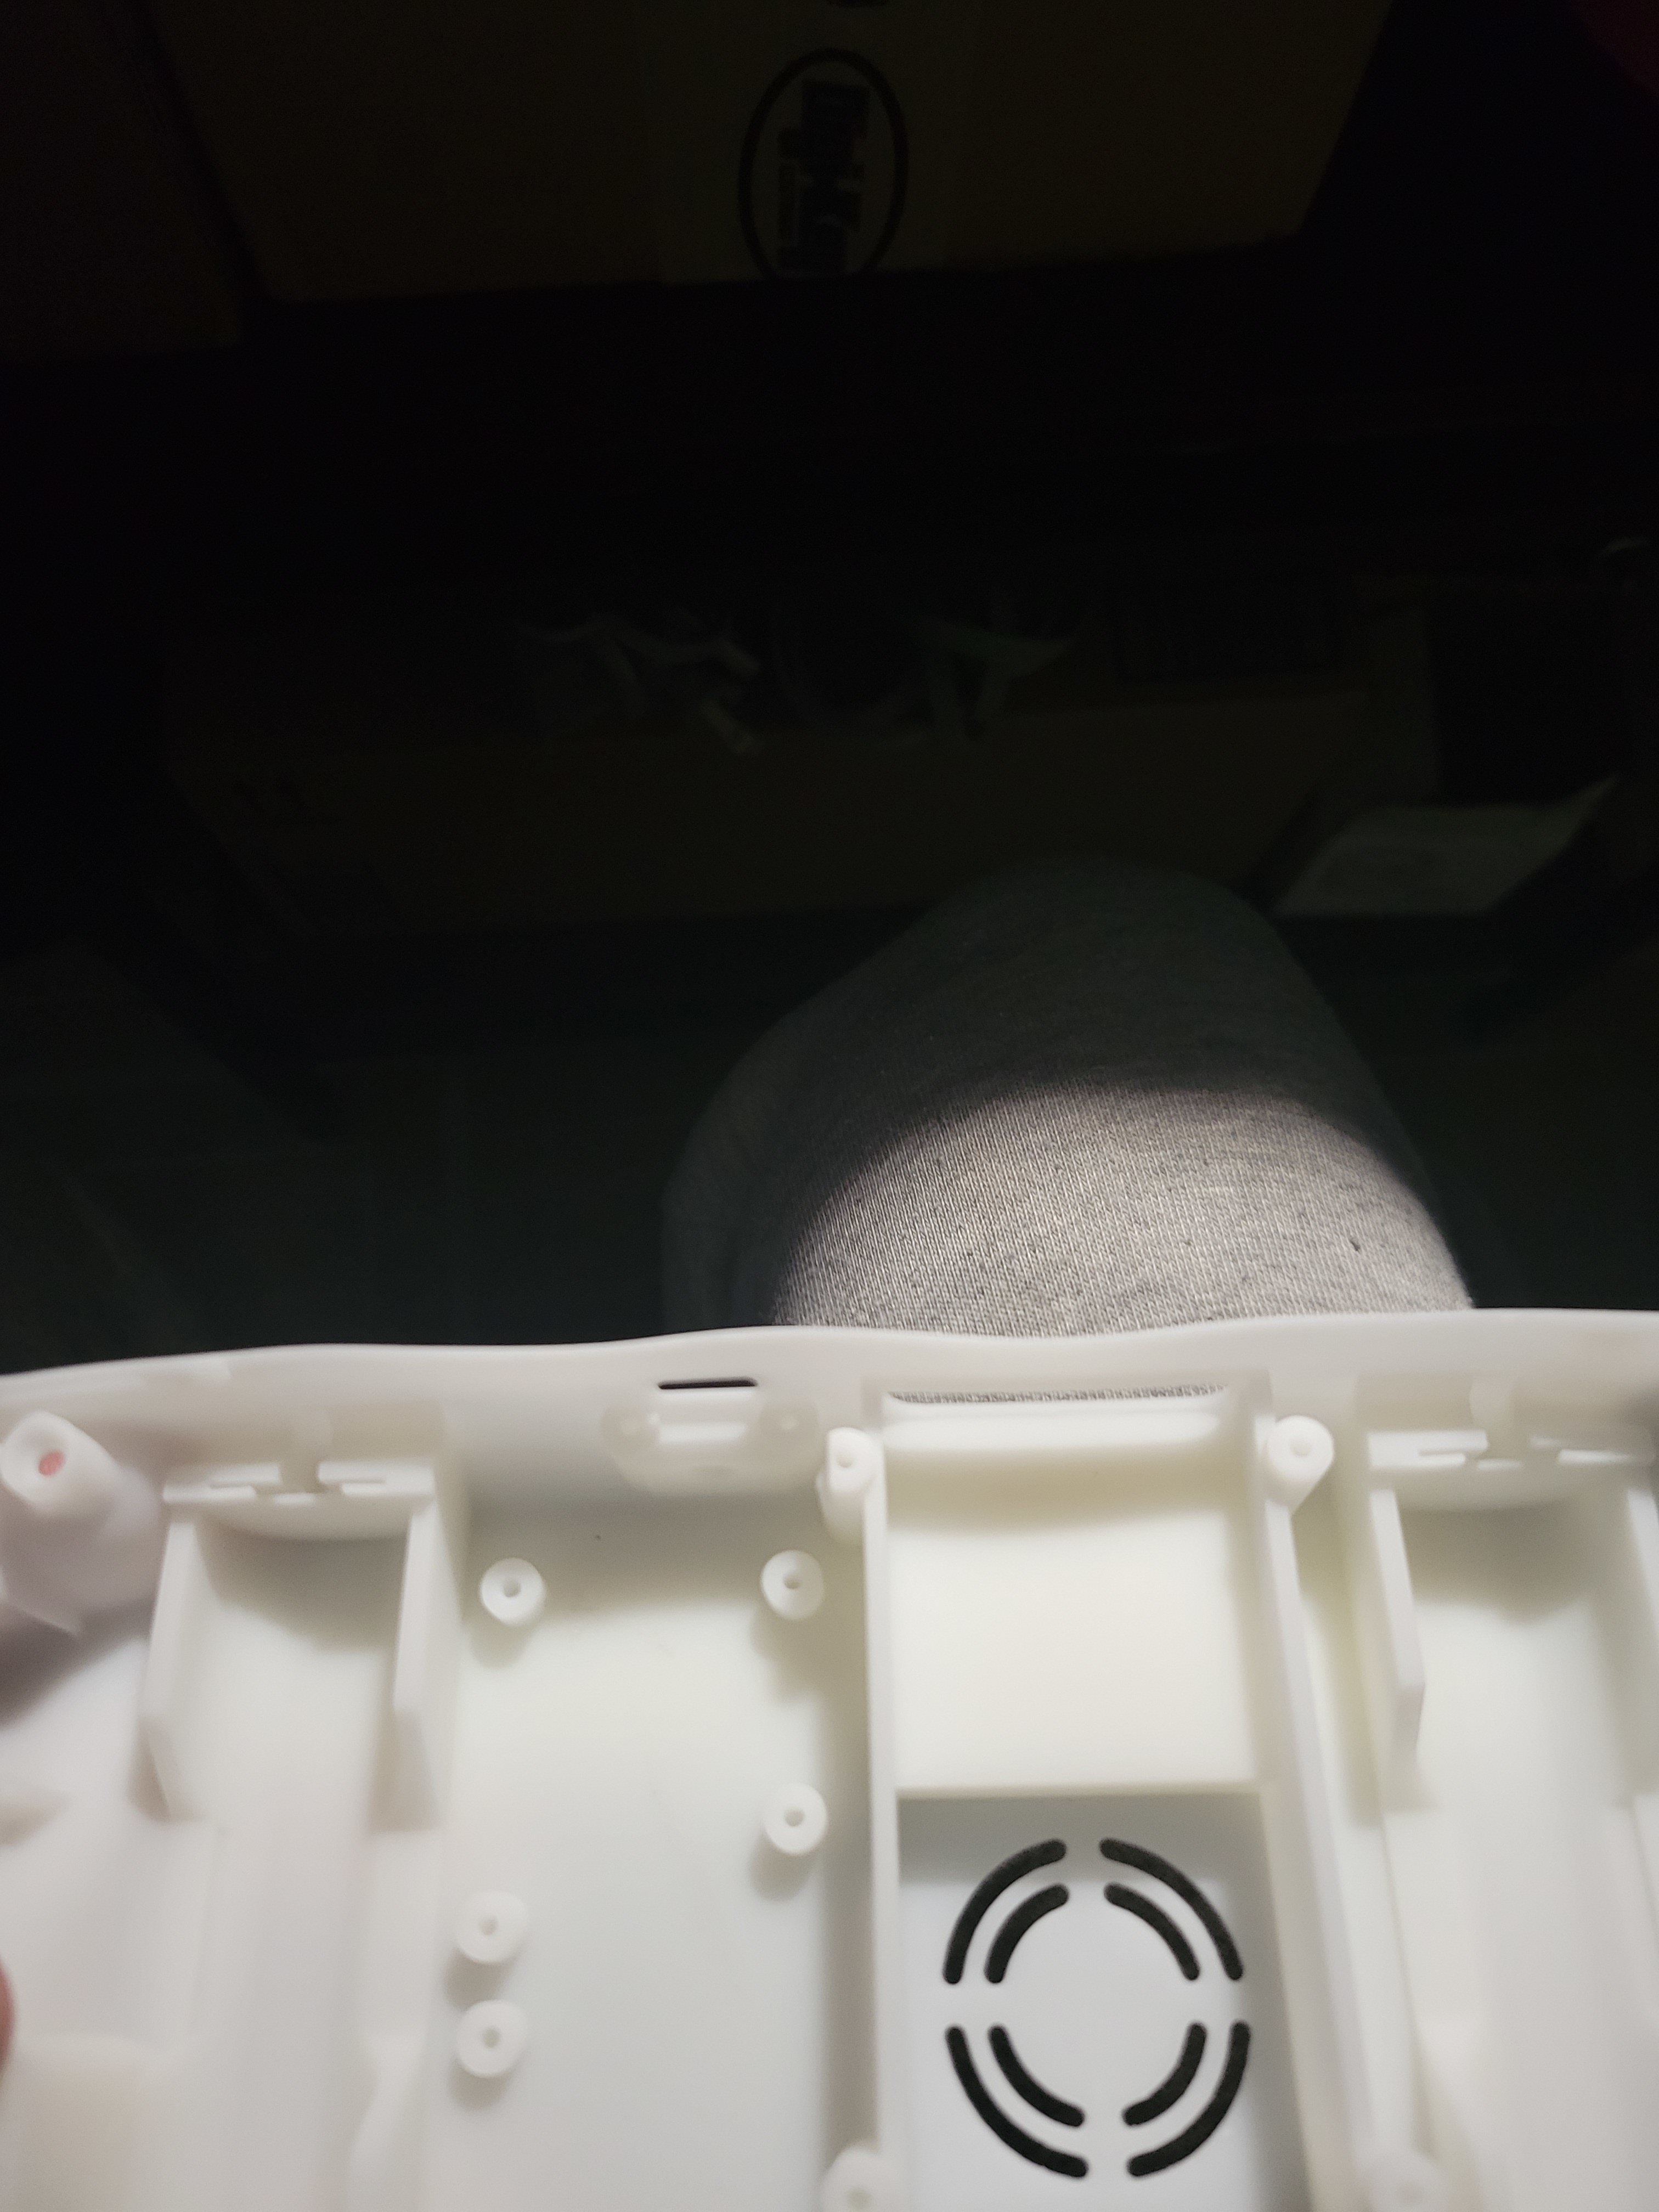
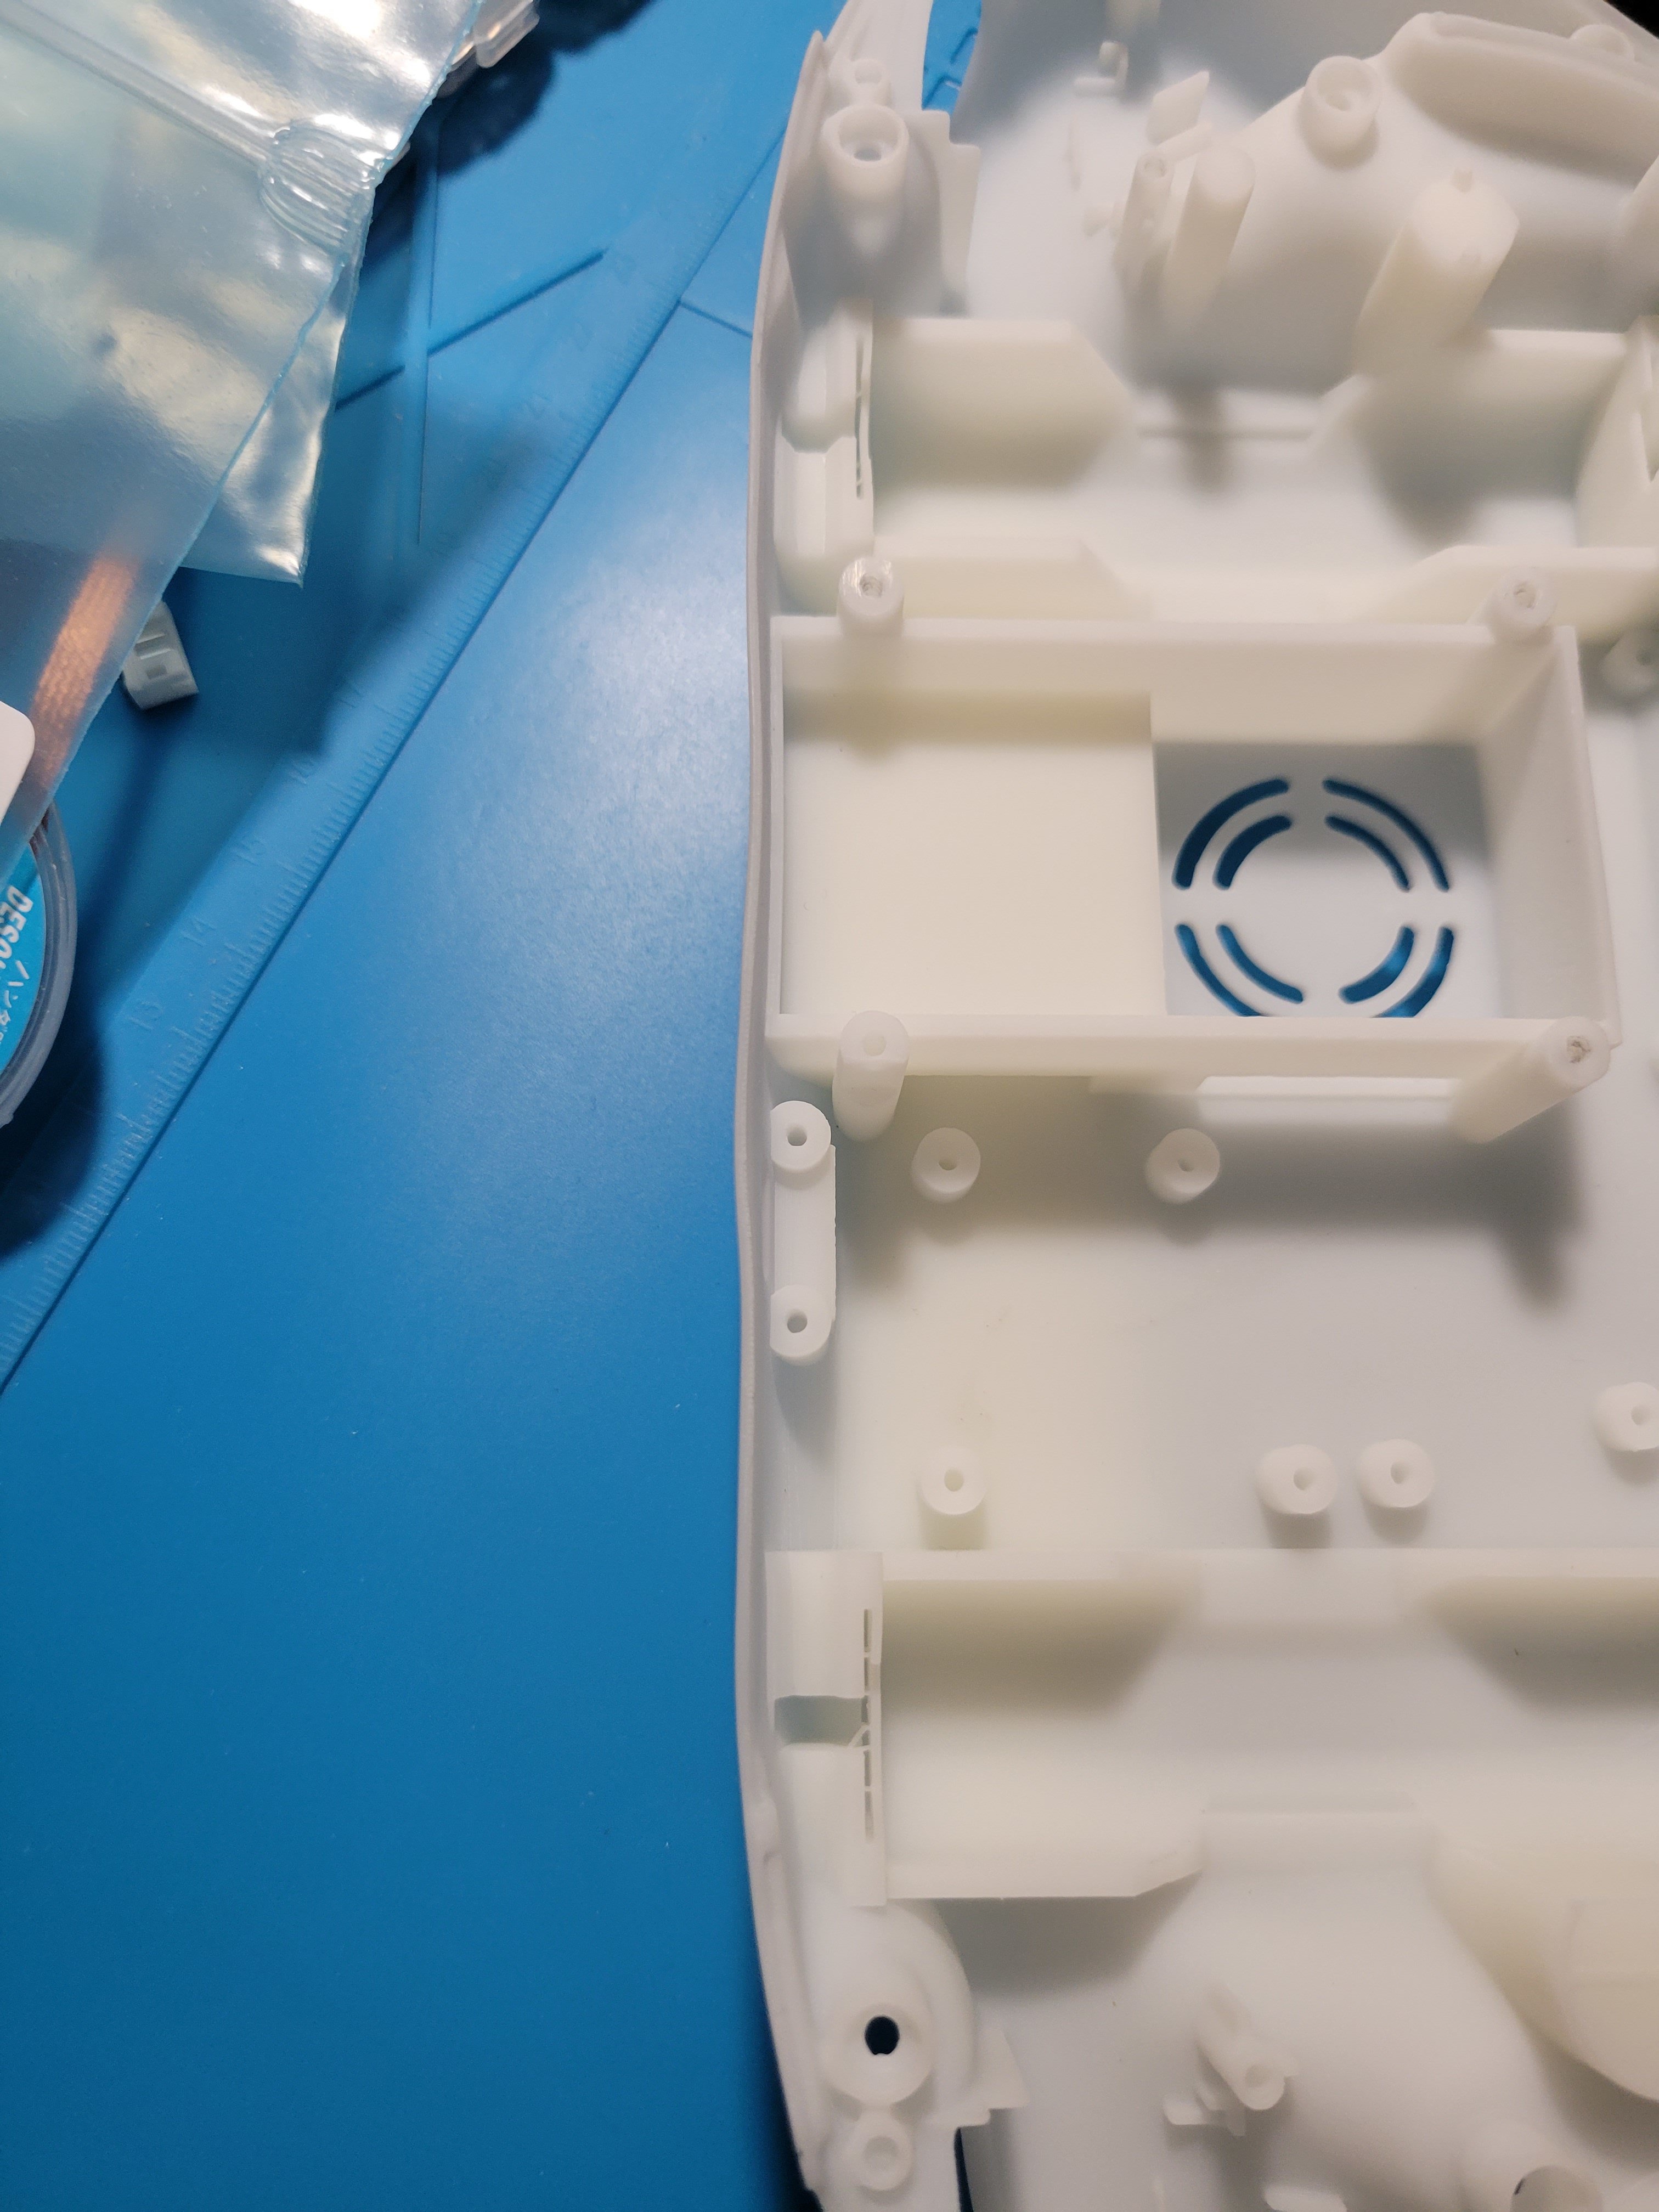
Fast Forward a little: The digikey and mouser orders came in quite quickly, and I did have “expected arrival” dates for some of the other items, however the next to come in was actually the case from JLC. I opened it and initially everything looked good, however it was when I looked closer that I started to see flaws. I noticed there were still nubs and rough edges right around where the buttons were on the front of the case so I may have to sand those down a tad with some fine sandpaper. The biggest issue I have is with the bottom half of the case having some bad warping going on down the back wall. I have asked the discord if there is anything I can do and the suggestions I got were using heat to try and form it back to normal. I’m confident I can do that, however I've emailed JLC to see what they could do about it before touching anything.
Fast forward 2 days: I received a message from JLC through the message “section” of their site however when I try to access it, I get an error. I’ve contacted them through live chat and was advised to wait 9 hours or so for them to look into it as it was night time in china when I contacted them. In the meantime I did have the top half of the case screwed to the bottom of the case and that seemed to have fixed it a little, however there is still a small section over the USB-C port that is kind of popping out.
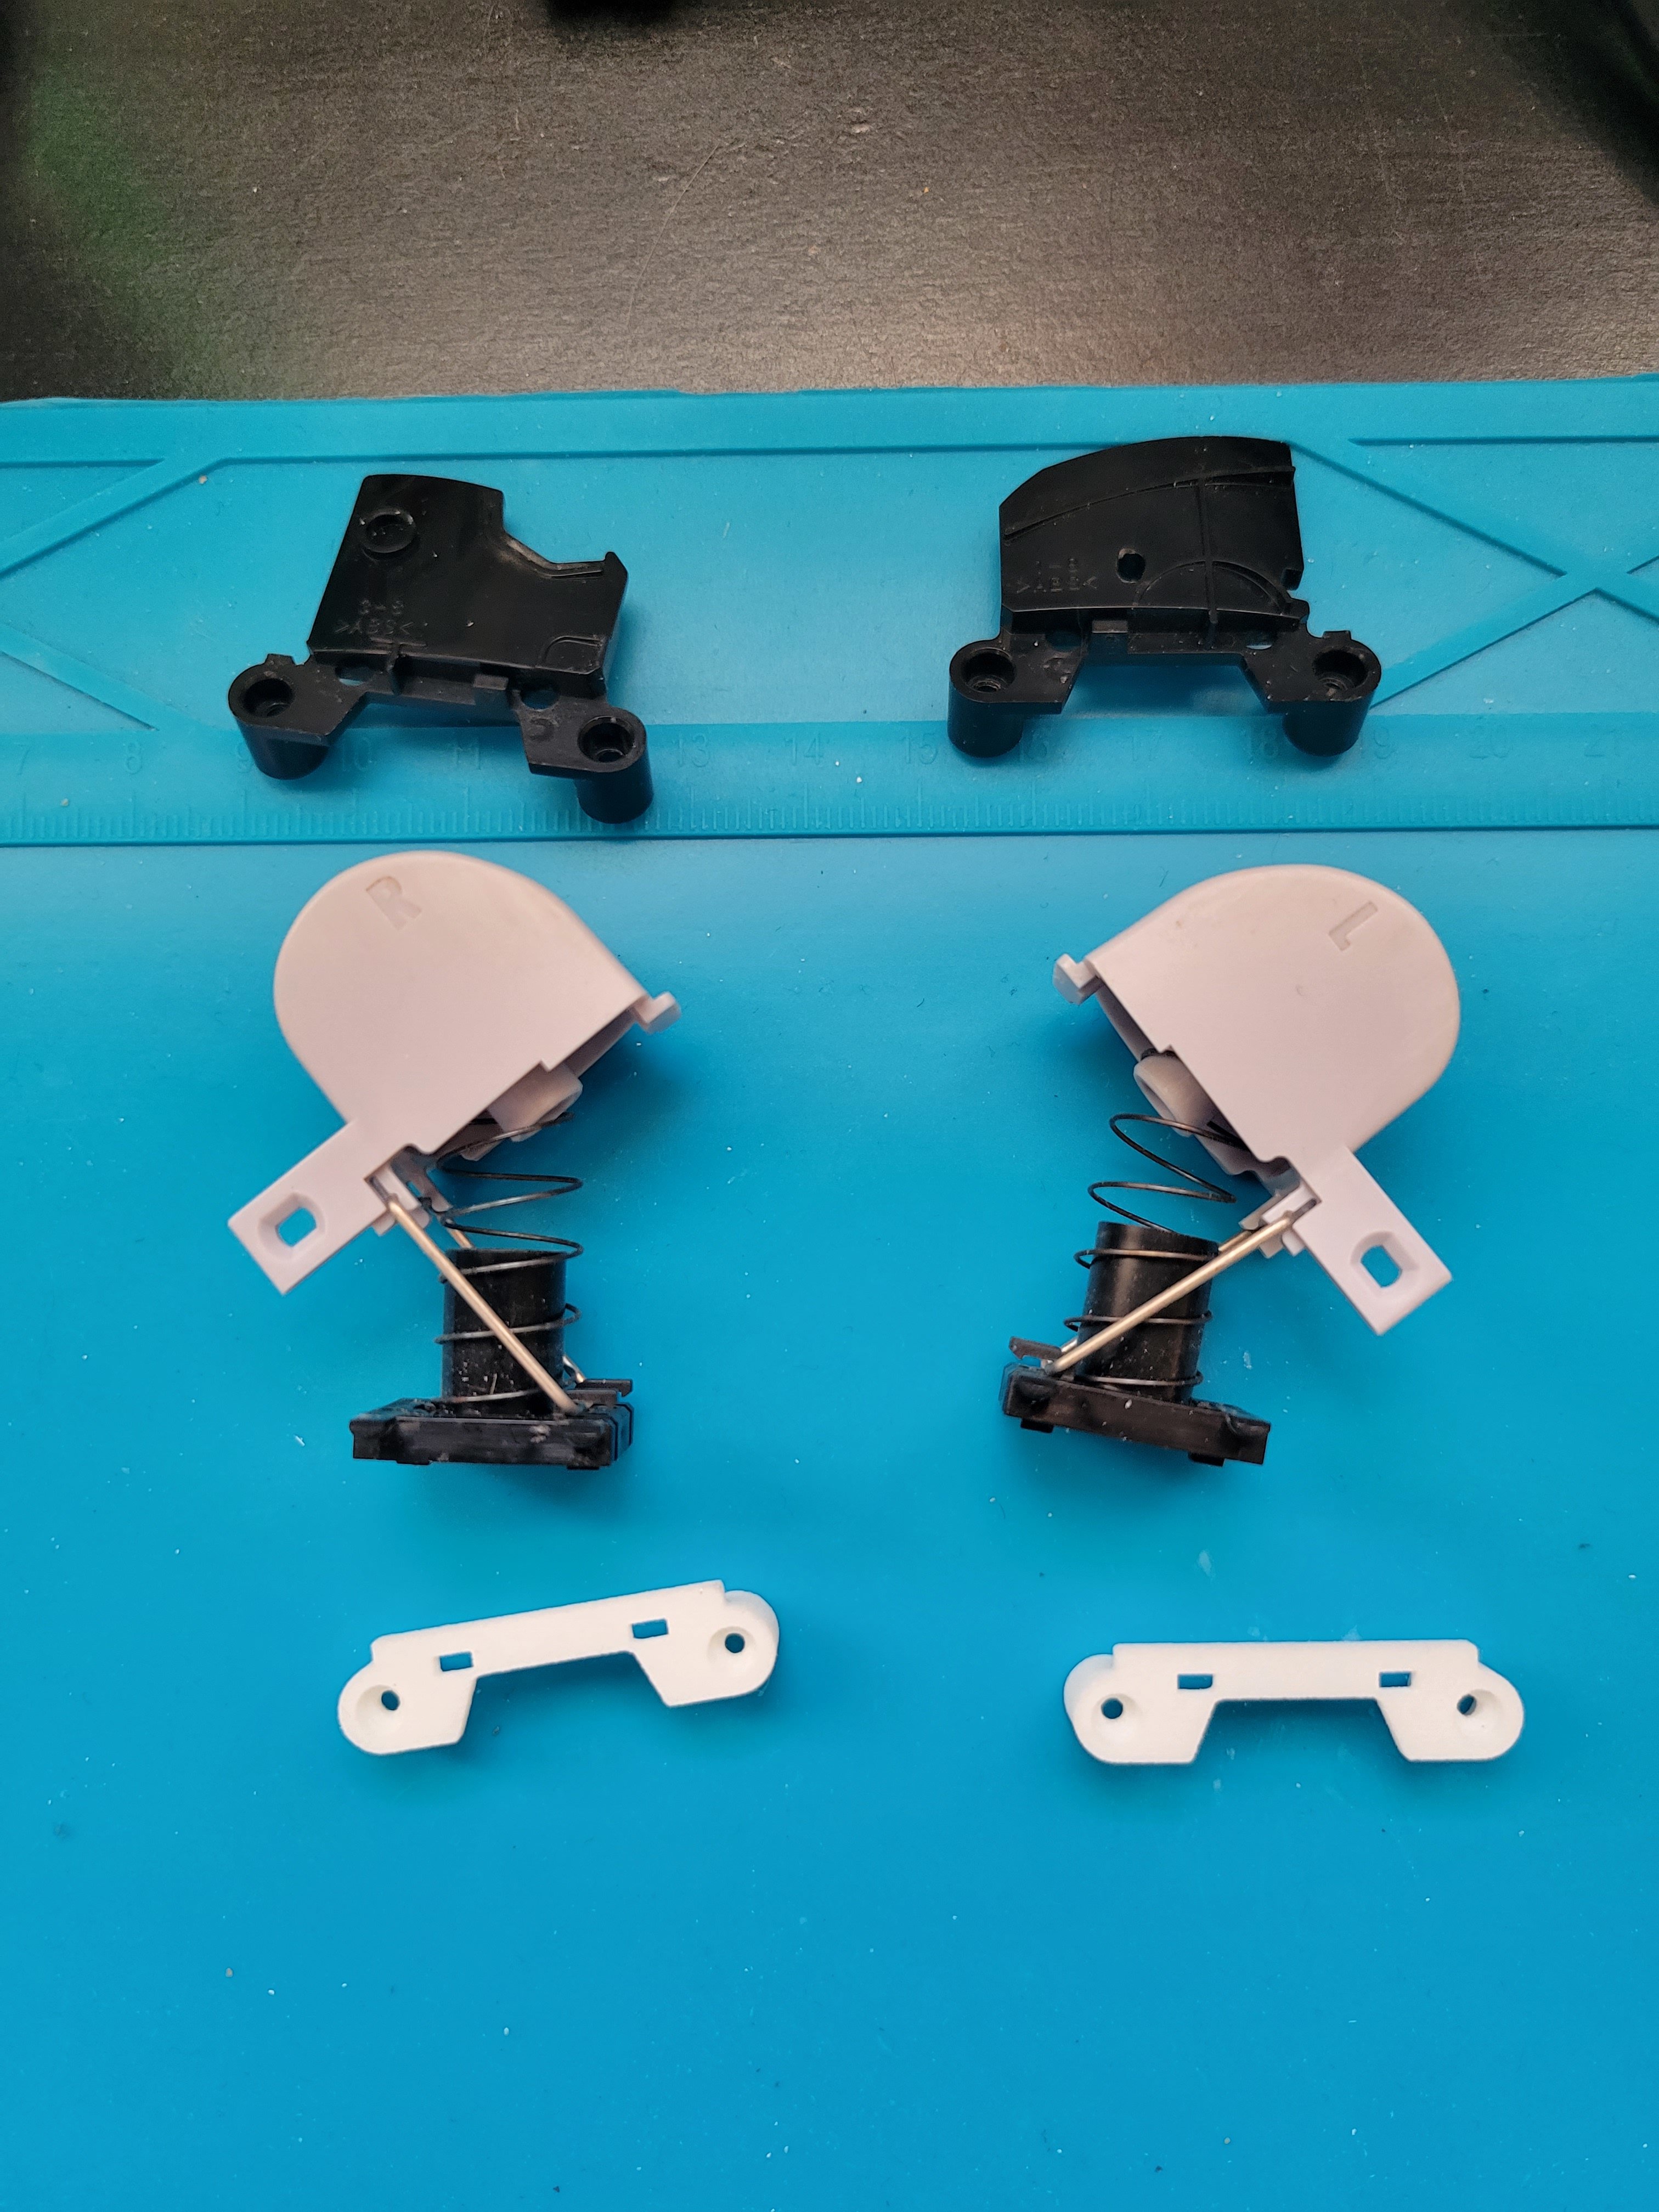
I also did receive my 4-Layer order today but haven't started assembling anything yet. Instead I harvested the buttons out of one of the GCC’s I had as well as the triggers, then took the C-Stick box out as it was good (the other stick box was a no bueno). I've also taken the trigger potentiometers from an old set of Ashida PCB’s that were not treating me nicely when building my first Ashida. (I also took that opportunity to harvest the GC+ that was still attached to it). I did notice the triggers had a big "lid" over them and when screwing them off I noticed there was no support piece. Thankfully I had some printed from the last time I built an Ashida but didn't need them.
All that's left to wait for is the AVE-Relocation, batteries, Magnet Wire (I could build without it as I do already have some but it's one color so I'd rather wait for my multi-colored stuff), and the GC controllers I ordered off of eBay (they are here, I just need to pick them up from the post office). I just want to be sure I can do everything at once or else I'll be all over the place with this worklog and I do not want that to happen lol.
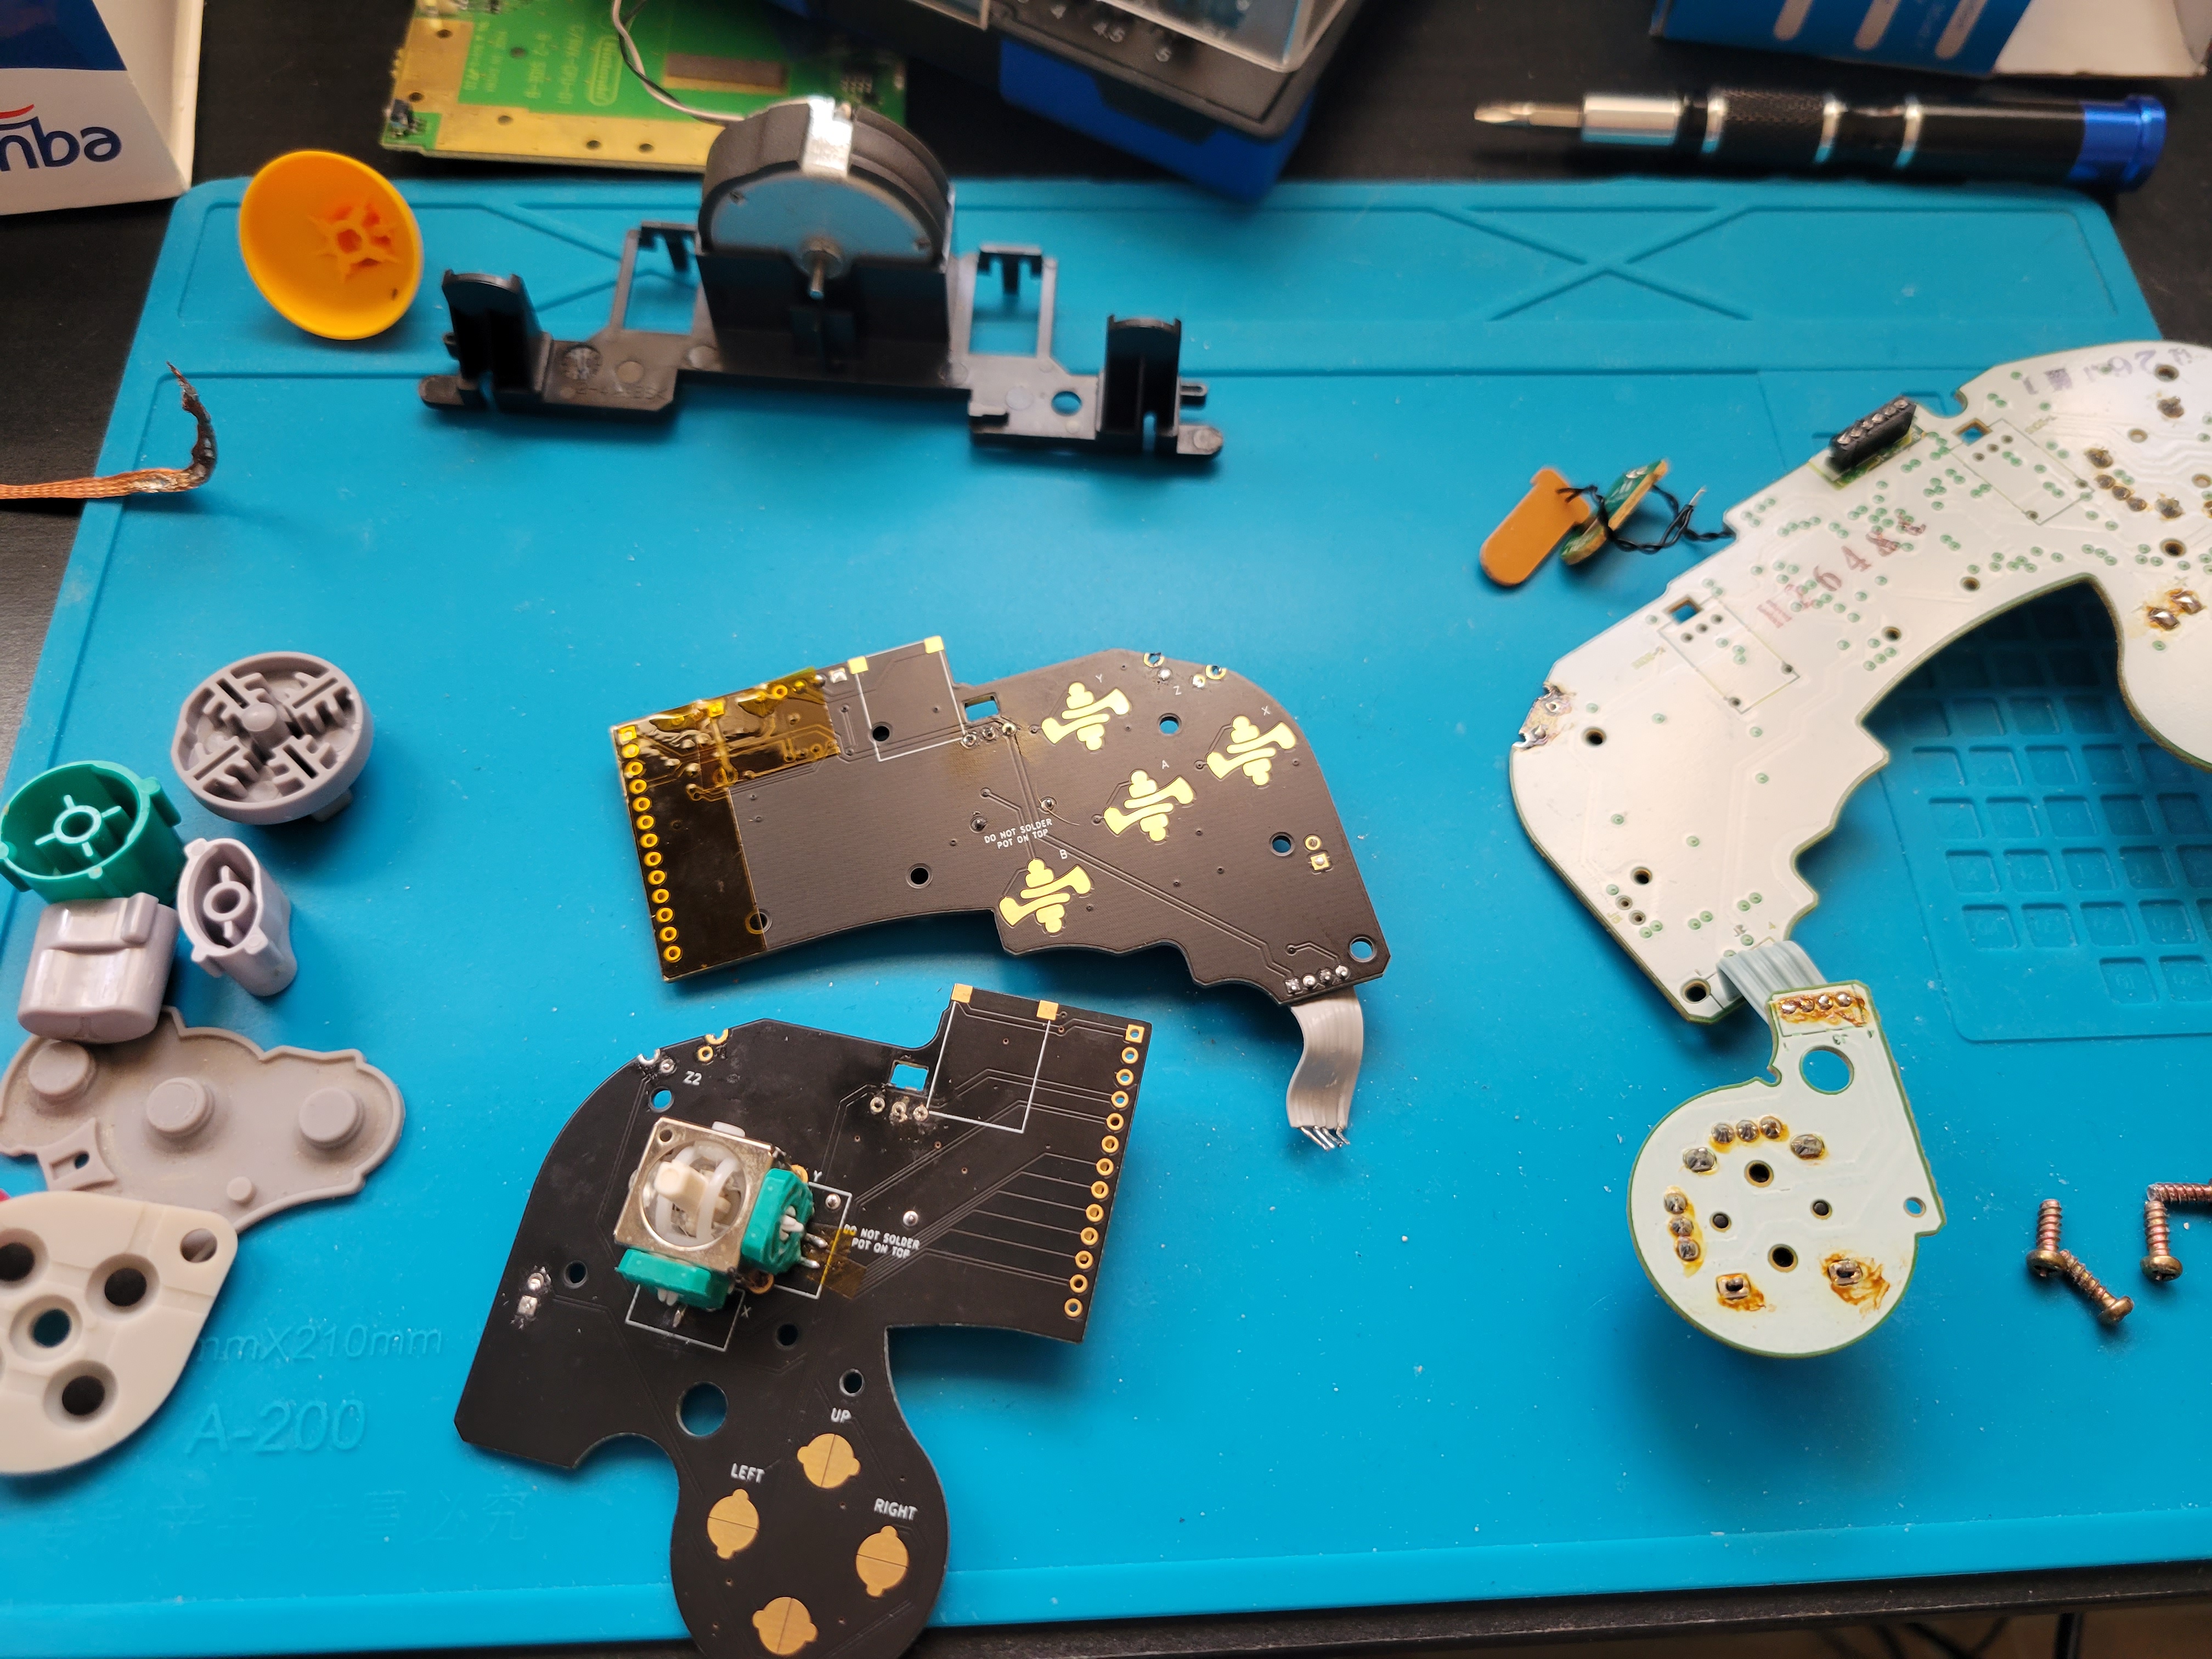
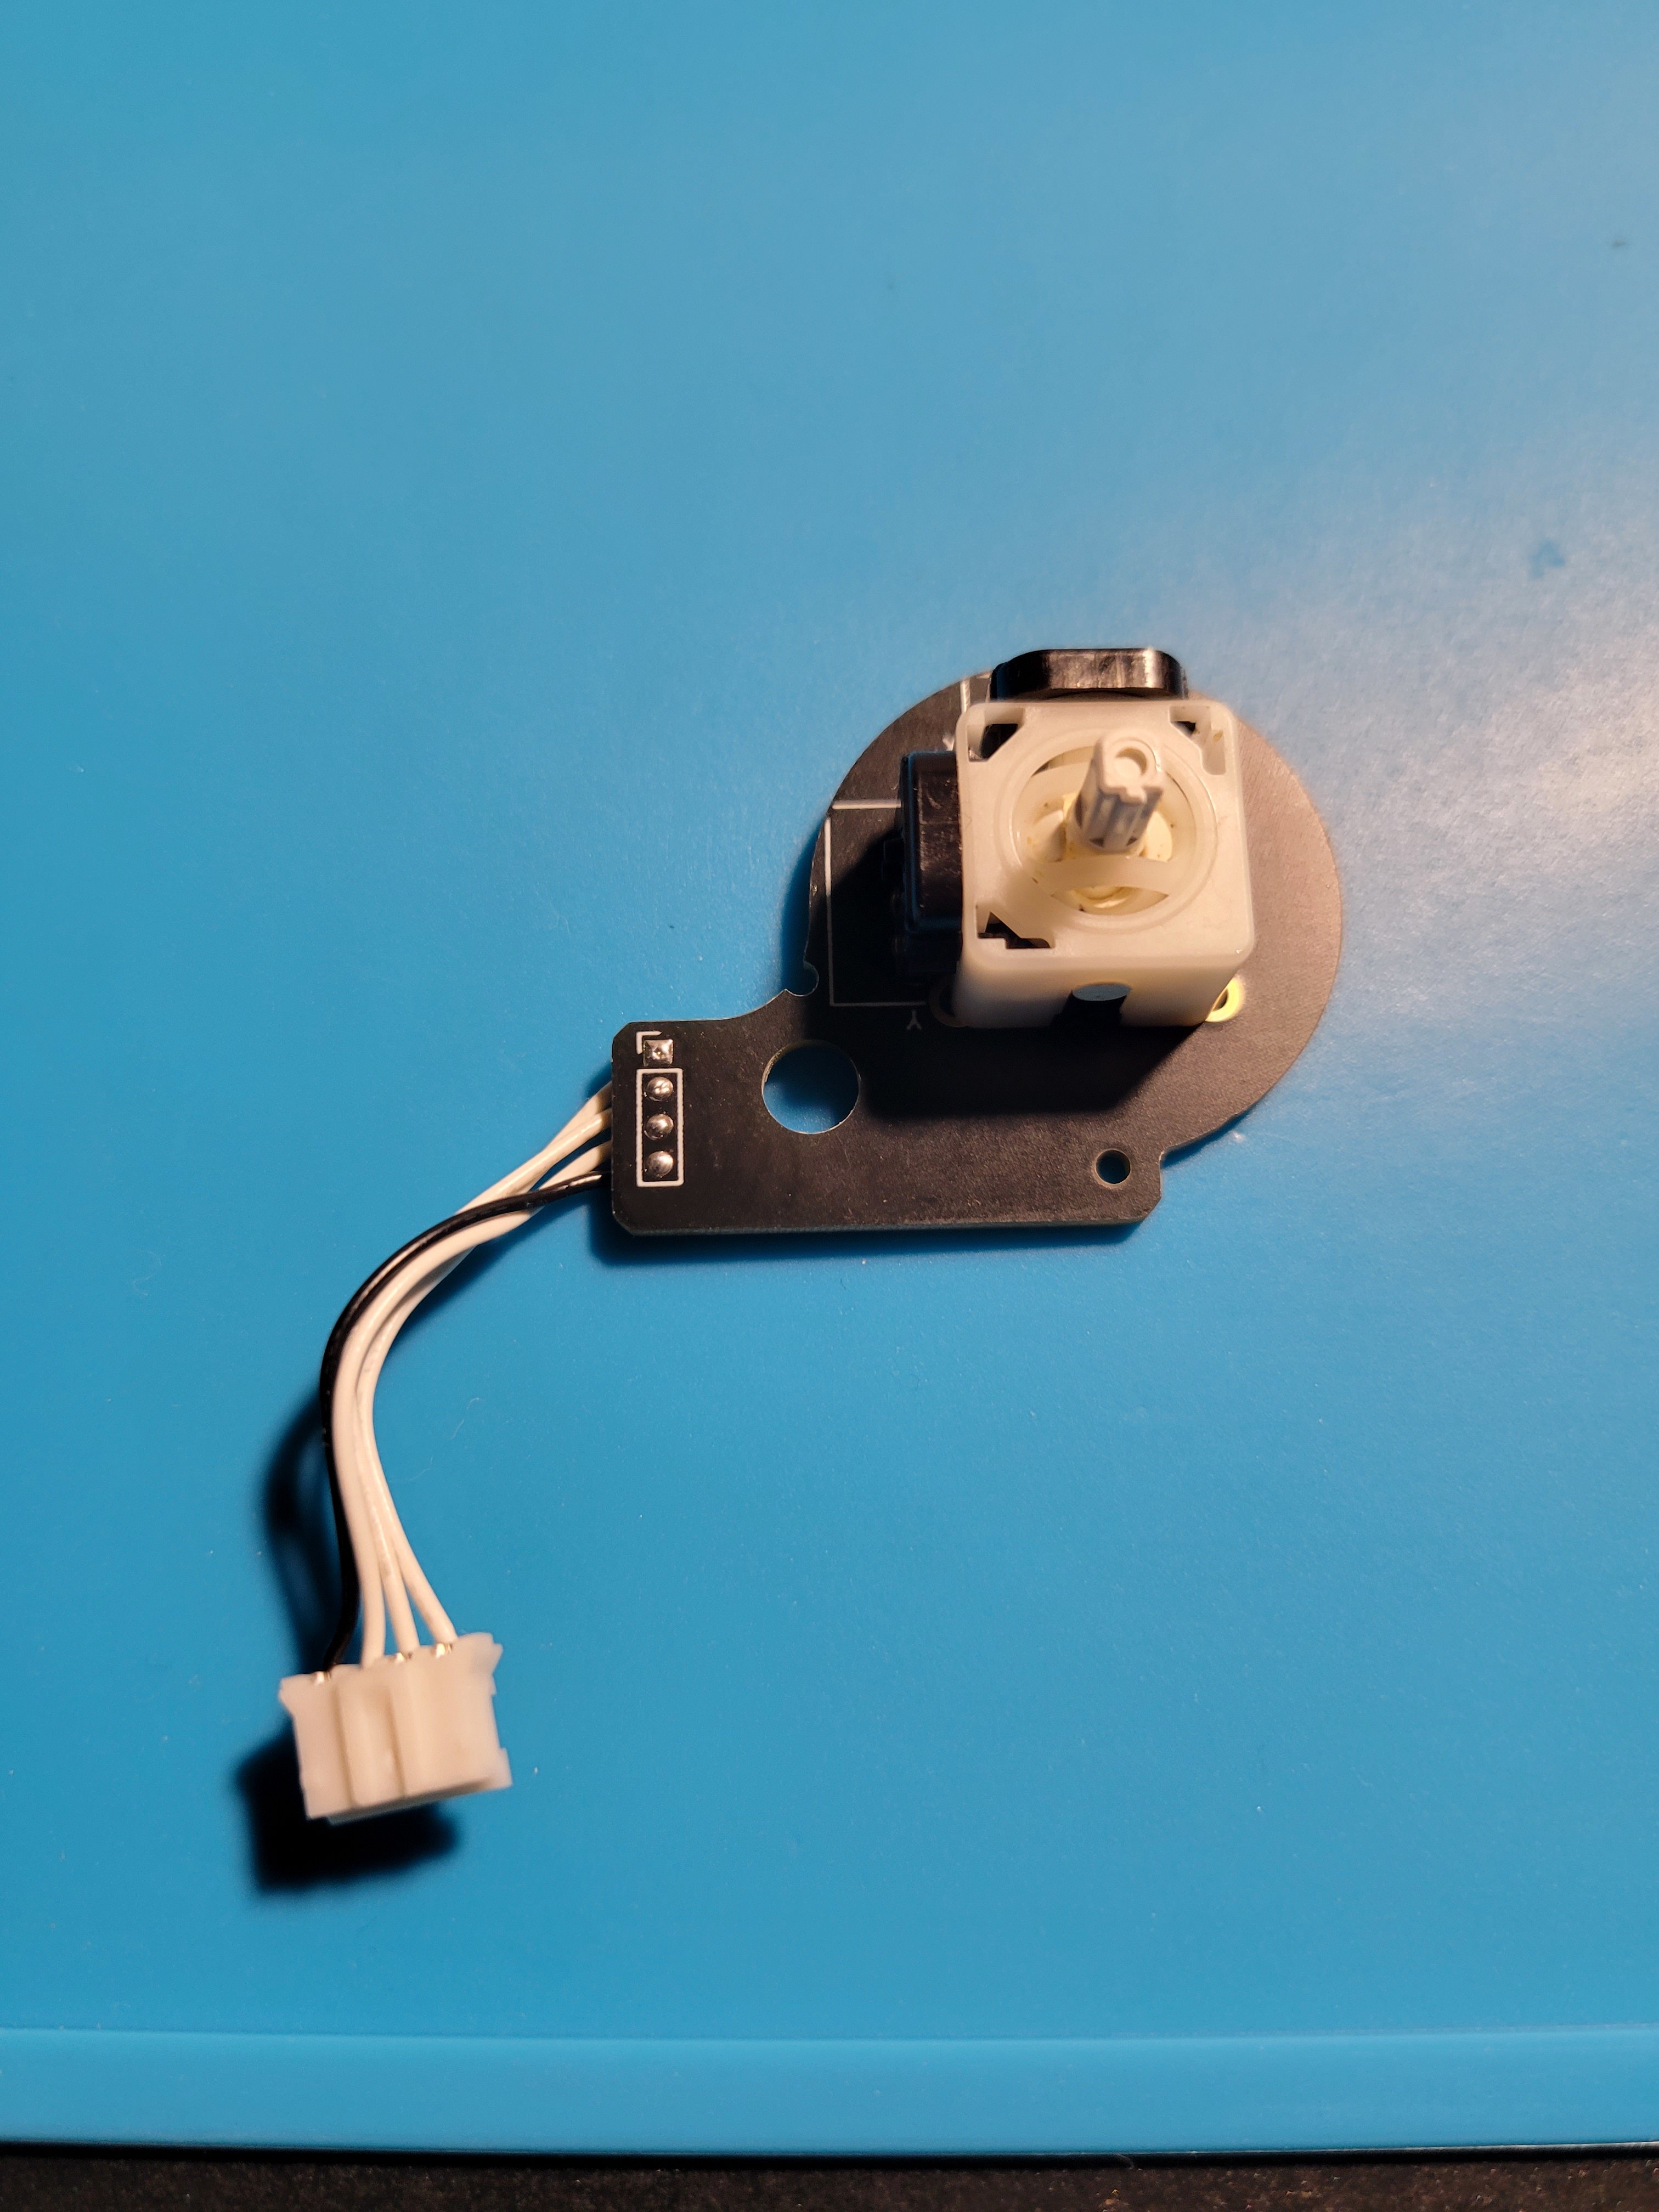
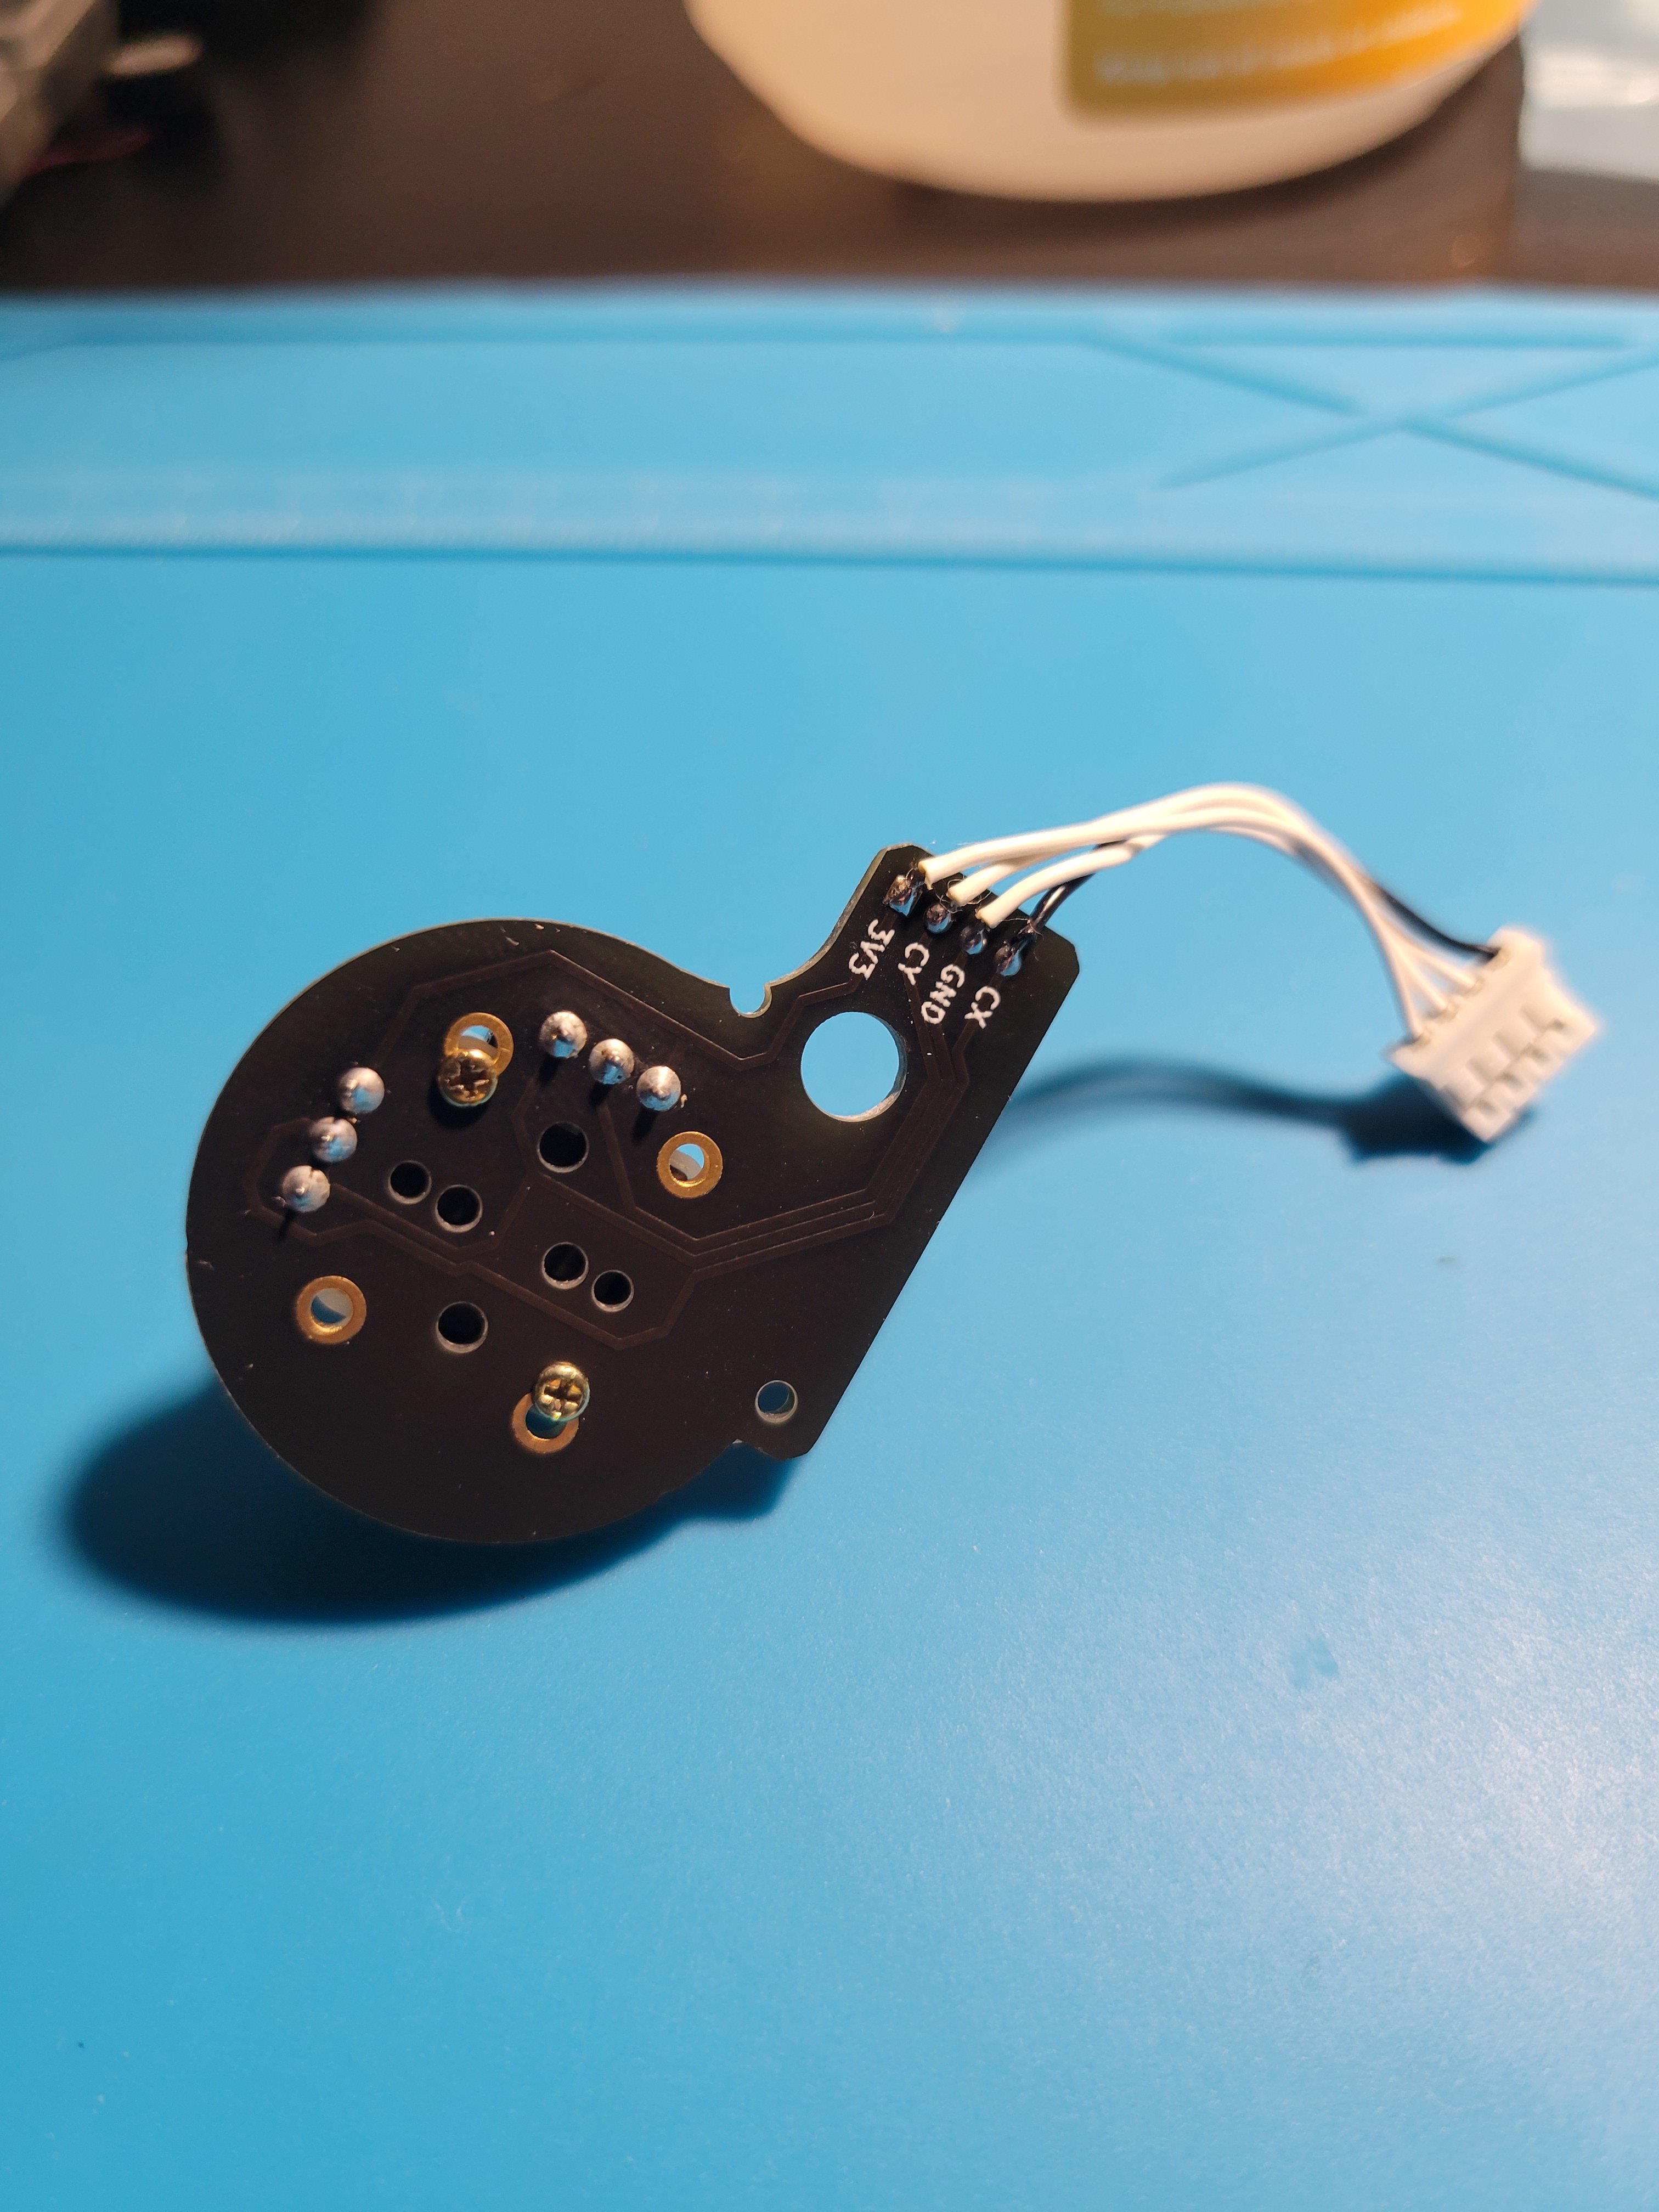
Fast forward again lol, I received the order with the controllers and was able to harvest a good OEM Z button and tact switch, however unfortunately I have to install a 3rd party switch and Z button for the left side. I also noticed on the GCC that I got parts out of that the analog stick config was different from what I'm used to seeing which is cool, so I have 2 OEM stick boxes, but both are a different style. I also noticed that the C-stick board was attached with a connector so I also harvested that to see if it will work in the Ashida. If there is fitment issues, ill just wire it accordingly. Also in the picture below you will see that I kept the OG trigger boards, and that is just for the wires connected to them. I usually just disconnect the little boards and use the wires as they are the perfect length.

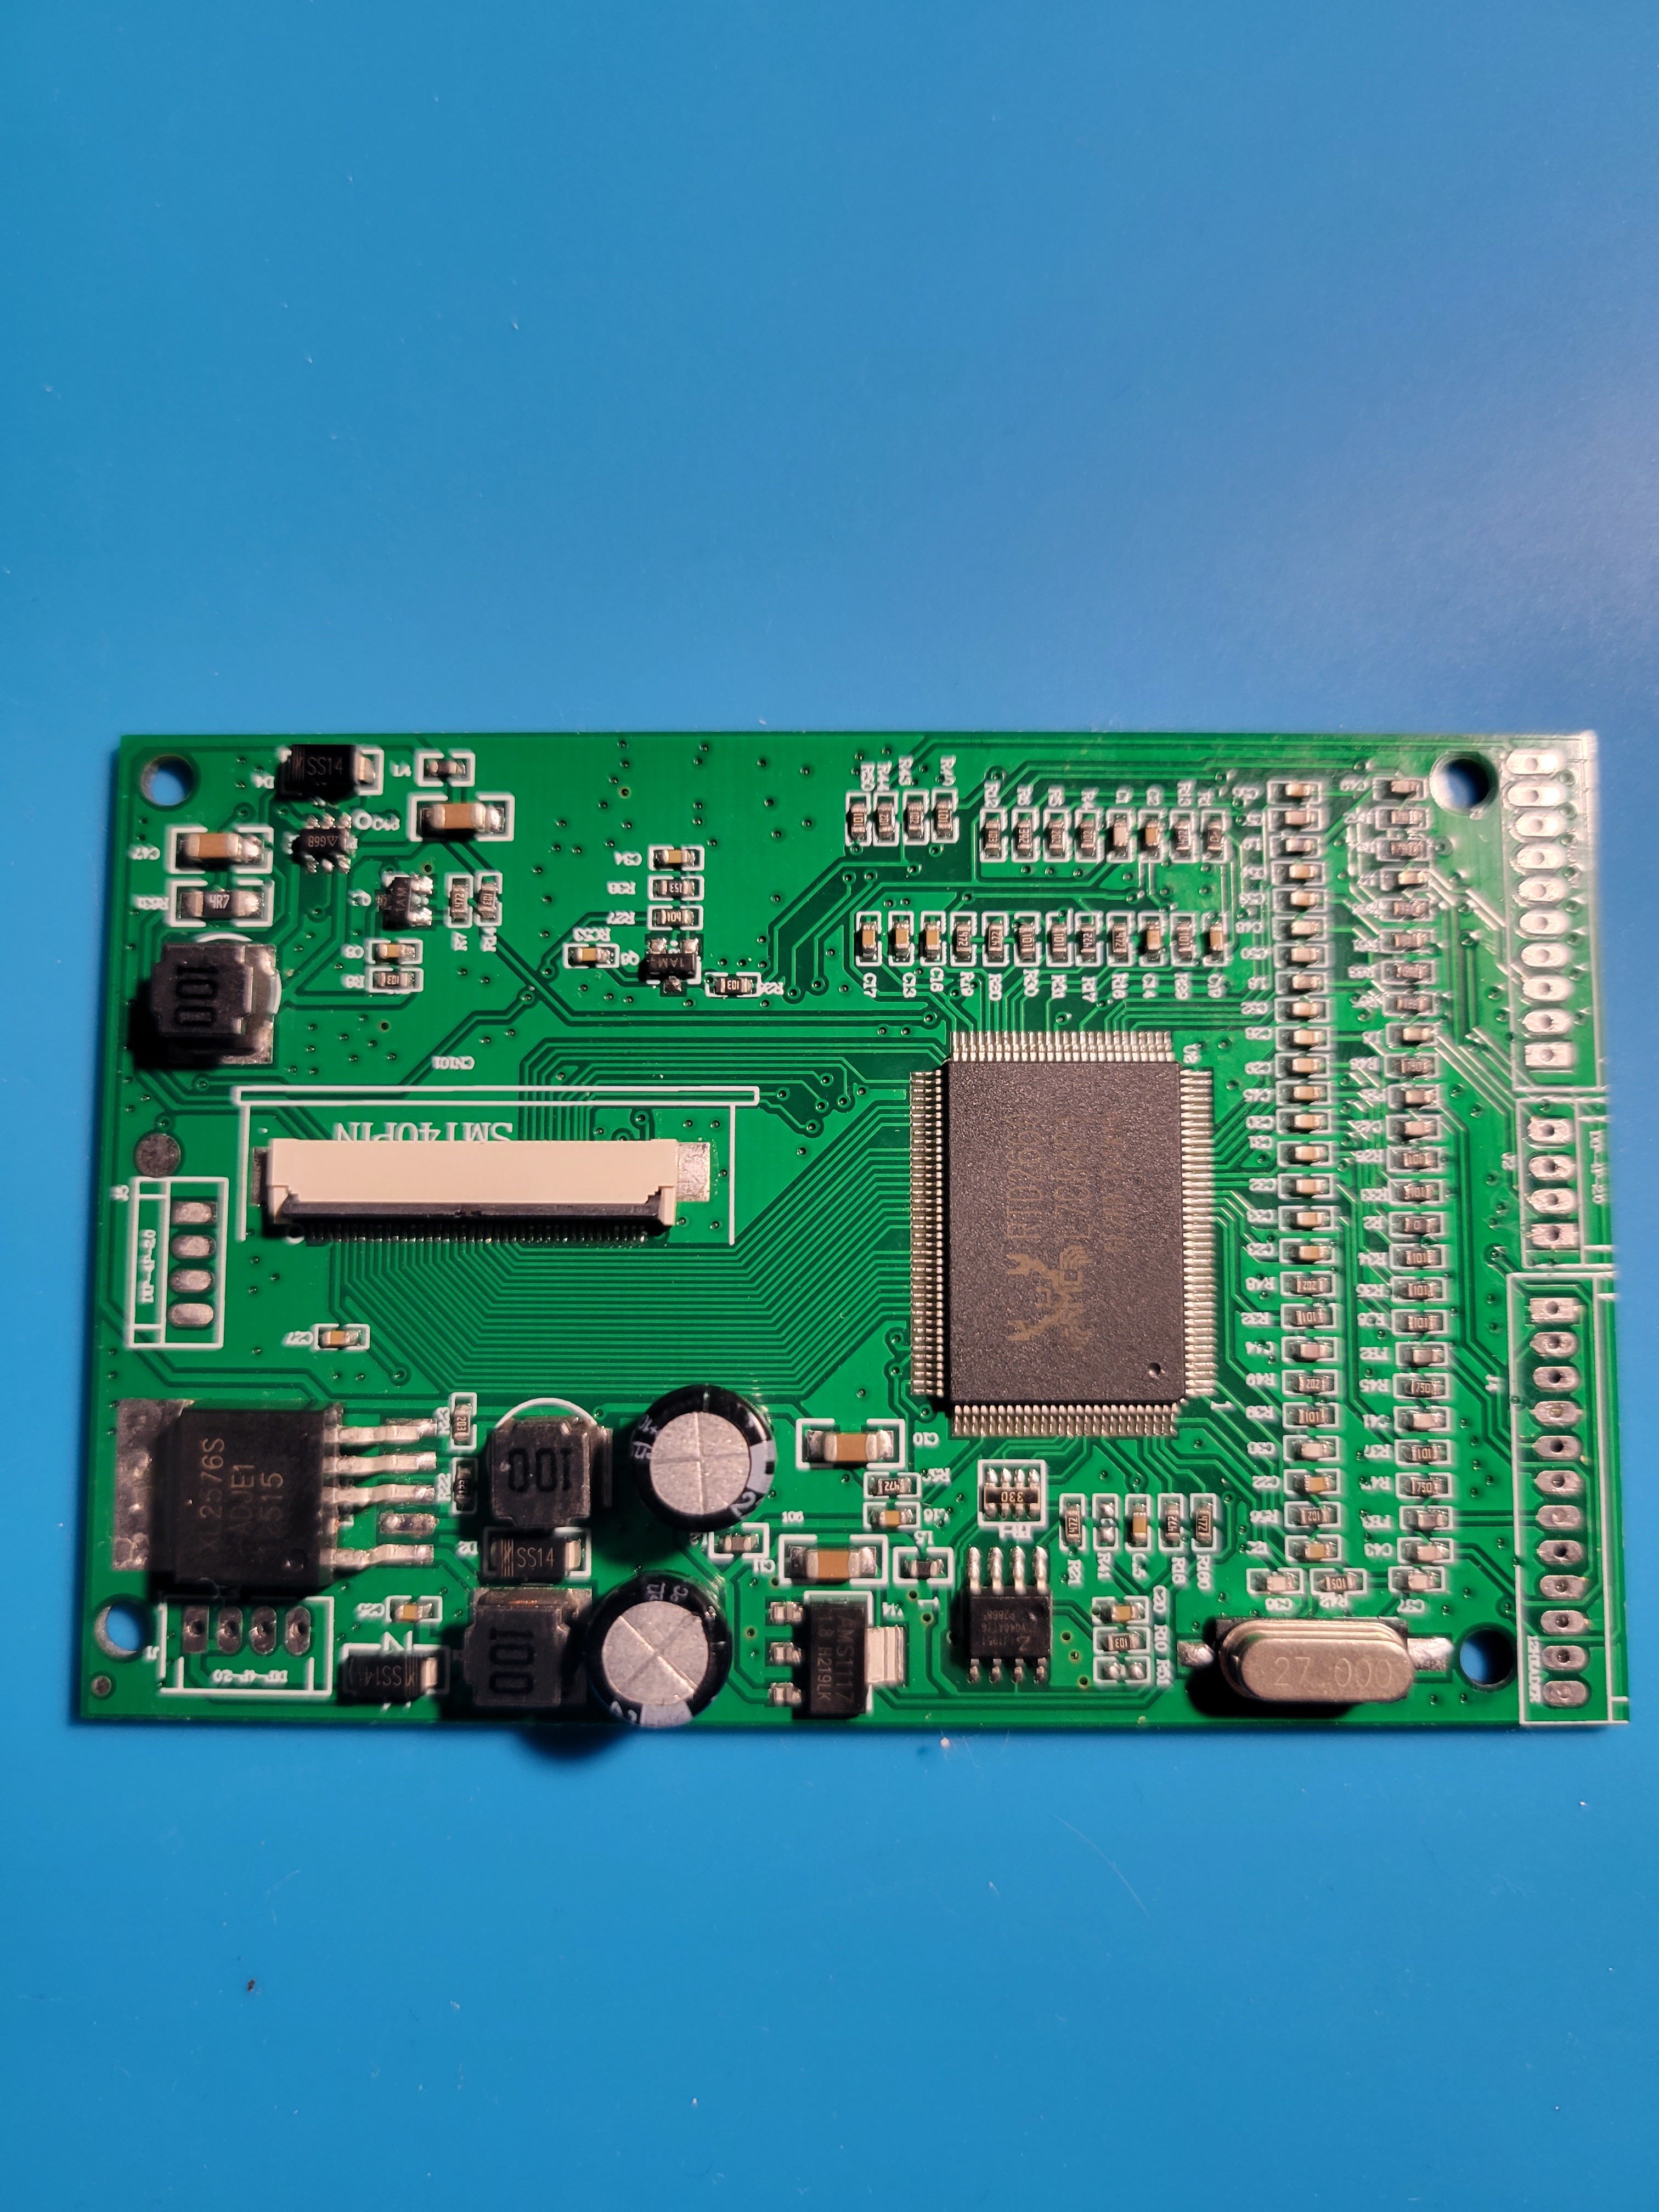
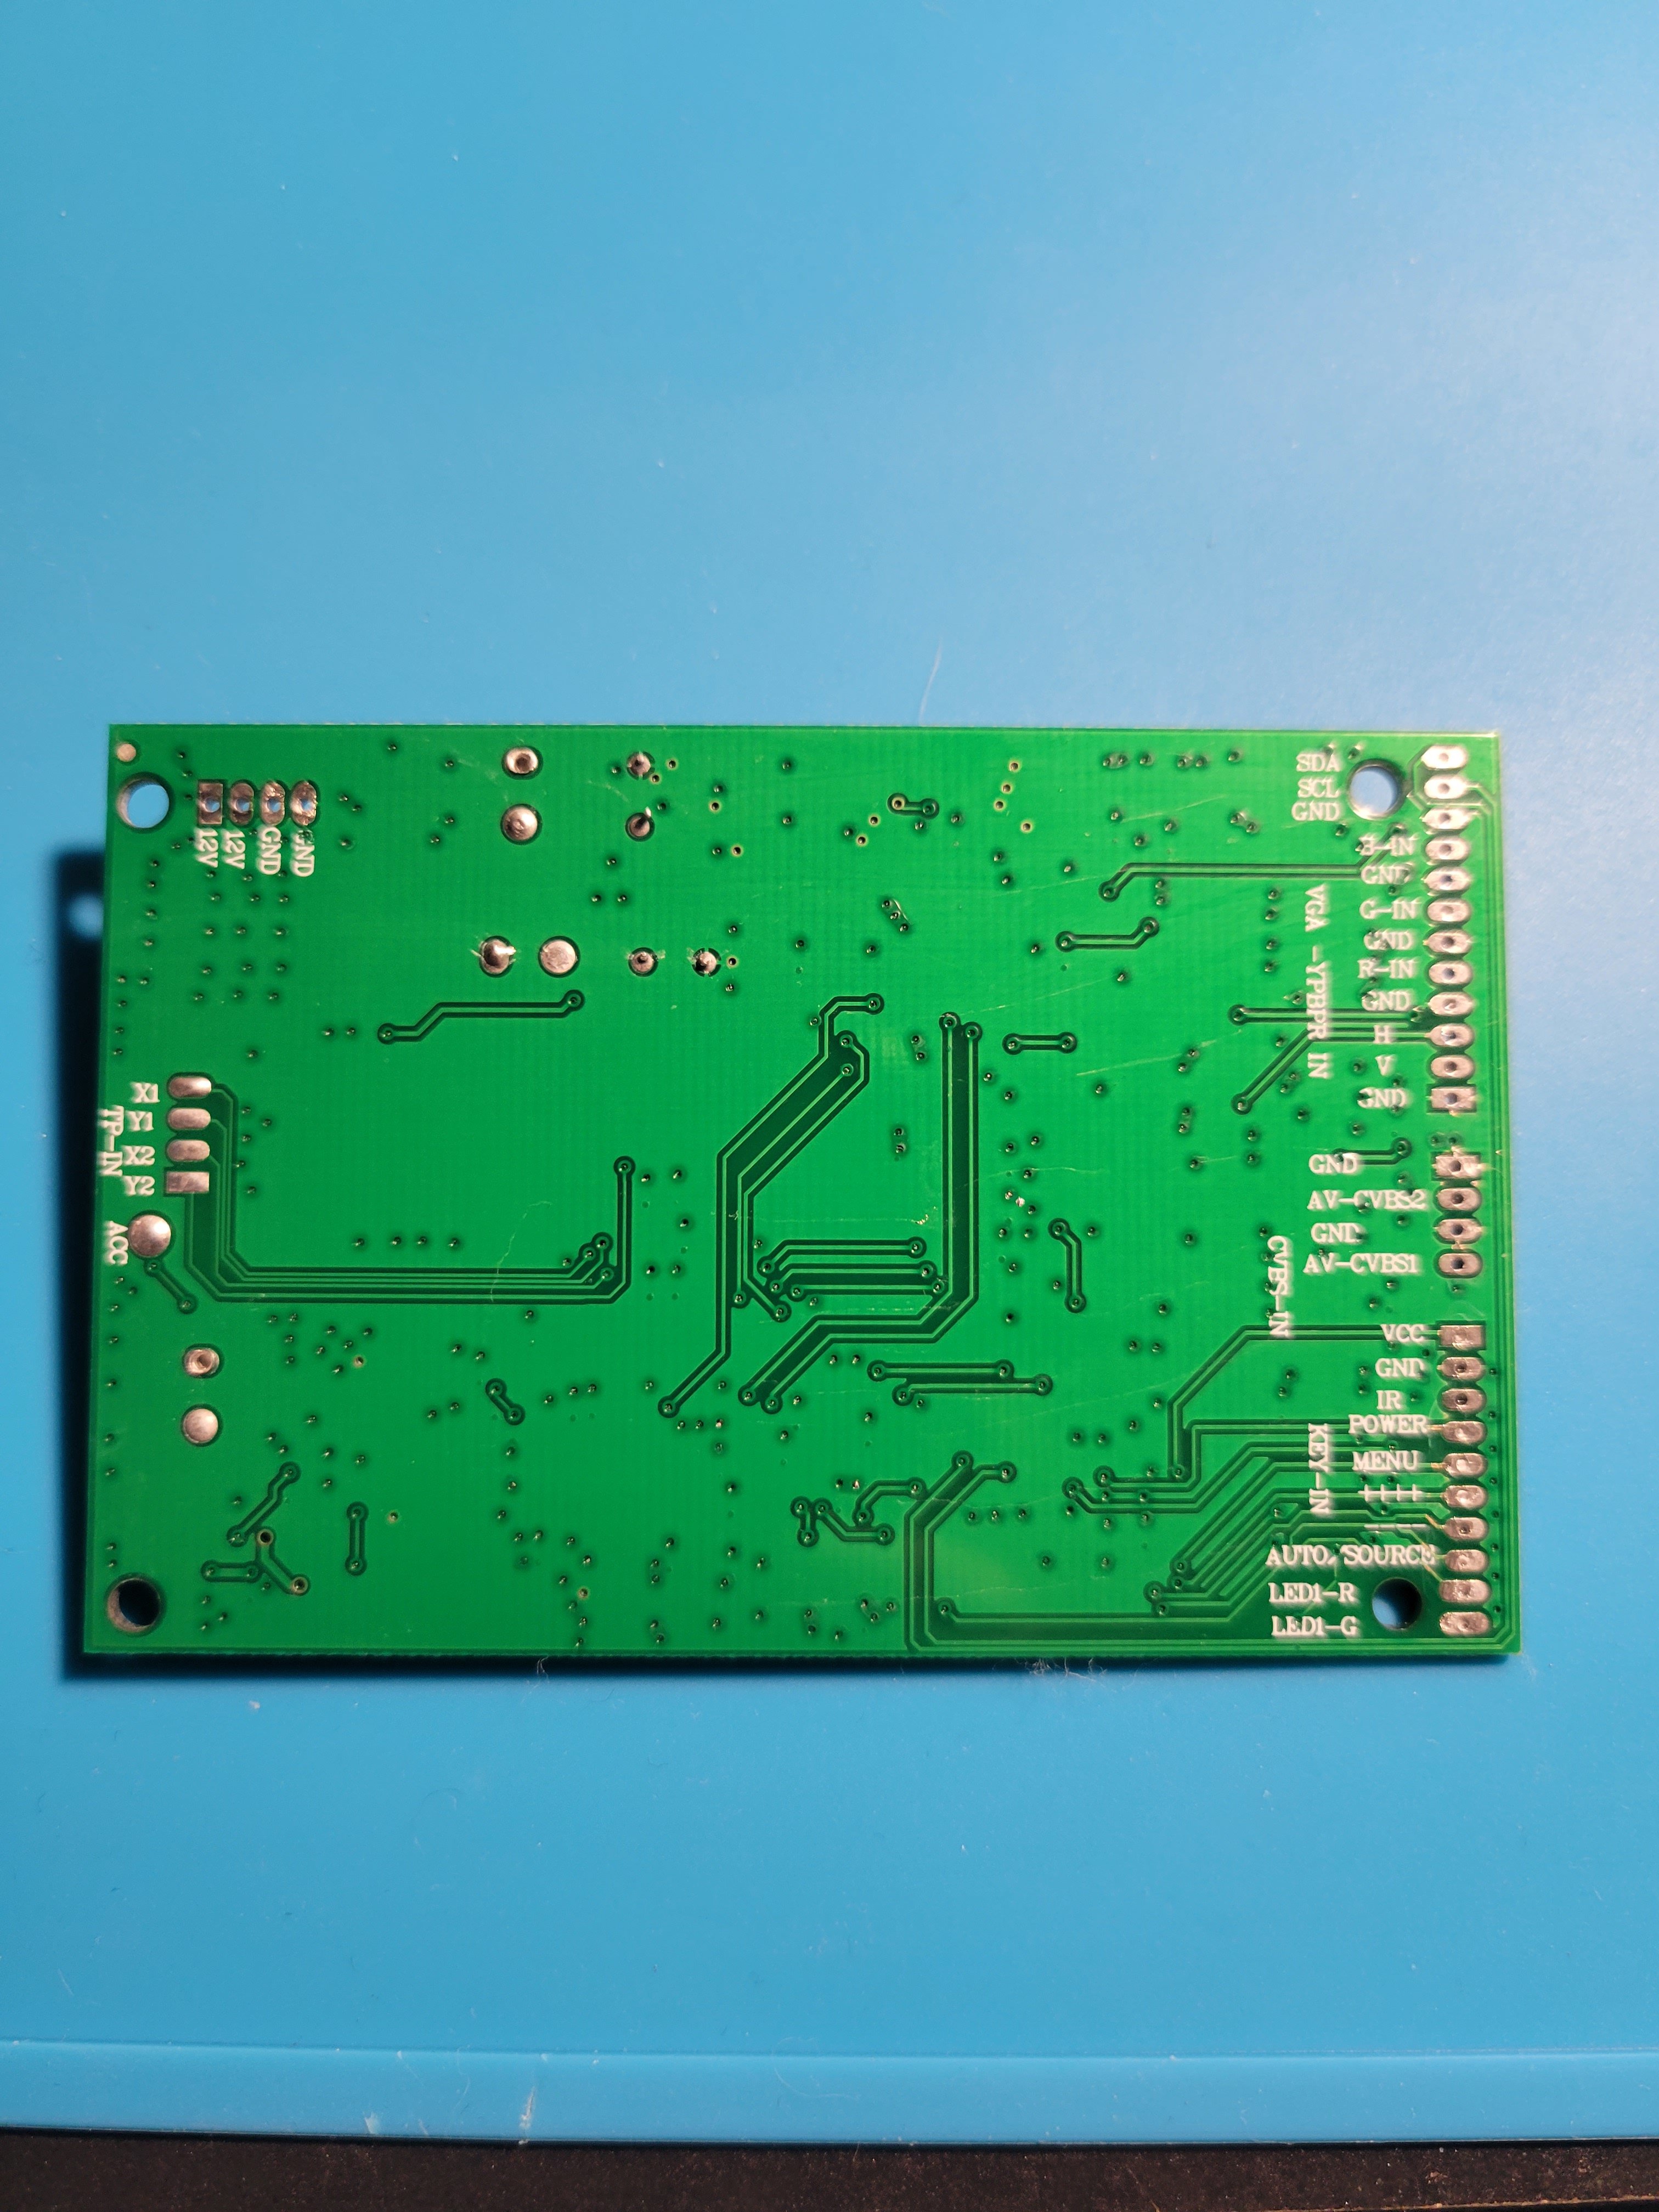
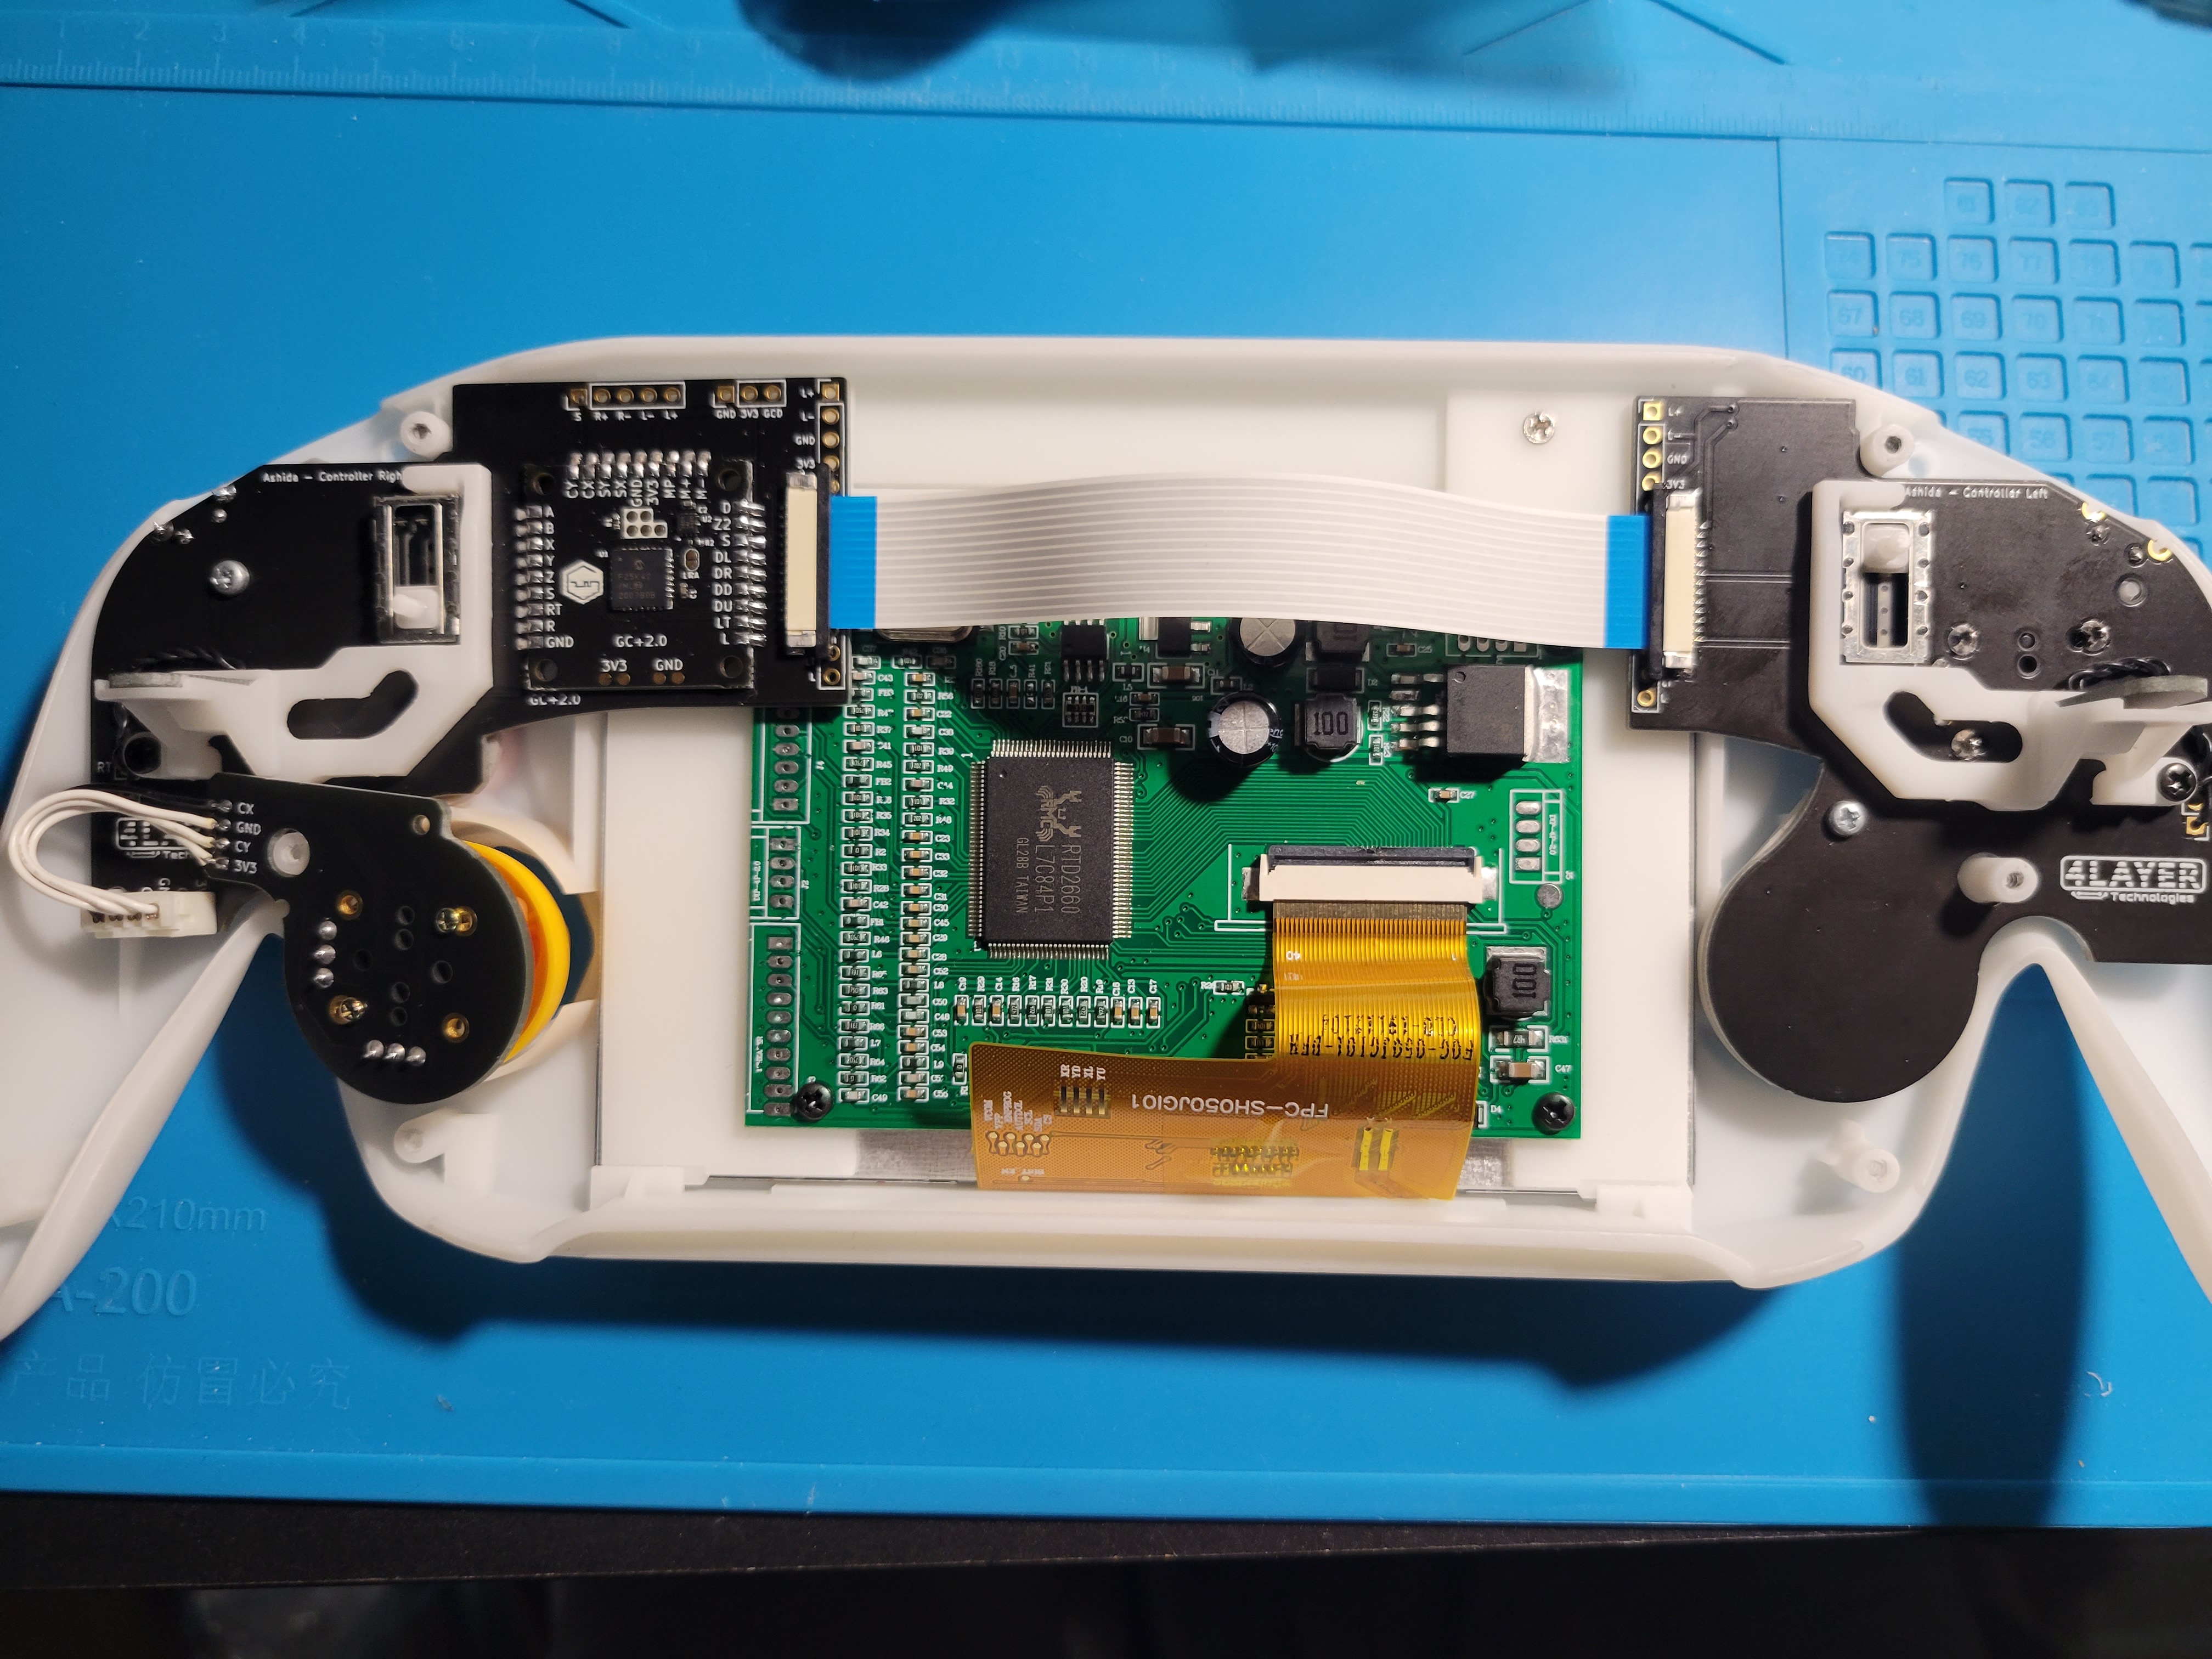
I'm still kind of waiting for an answer from JLC to figure out what actions are going to be taken for the bad warping on the bottom half of the Ashida case, and I haven't received my AVE flex yet so I don't want to do too much trim wise, however I figured Id at least get started on the Ashida PCB’s since I technically have everything I need for them now. I also figured id modify the LCD driver board to take 3.3V, as well as take the connectors off. It was a pretty straight forward process, and I didnt have any issues thankfully so there is nothing to document on that front.
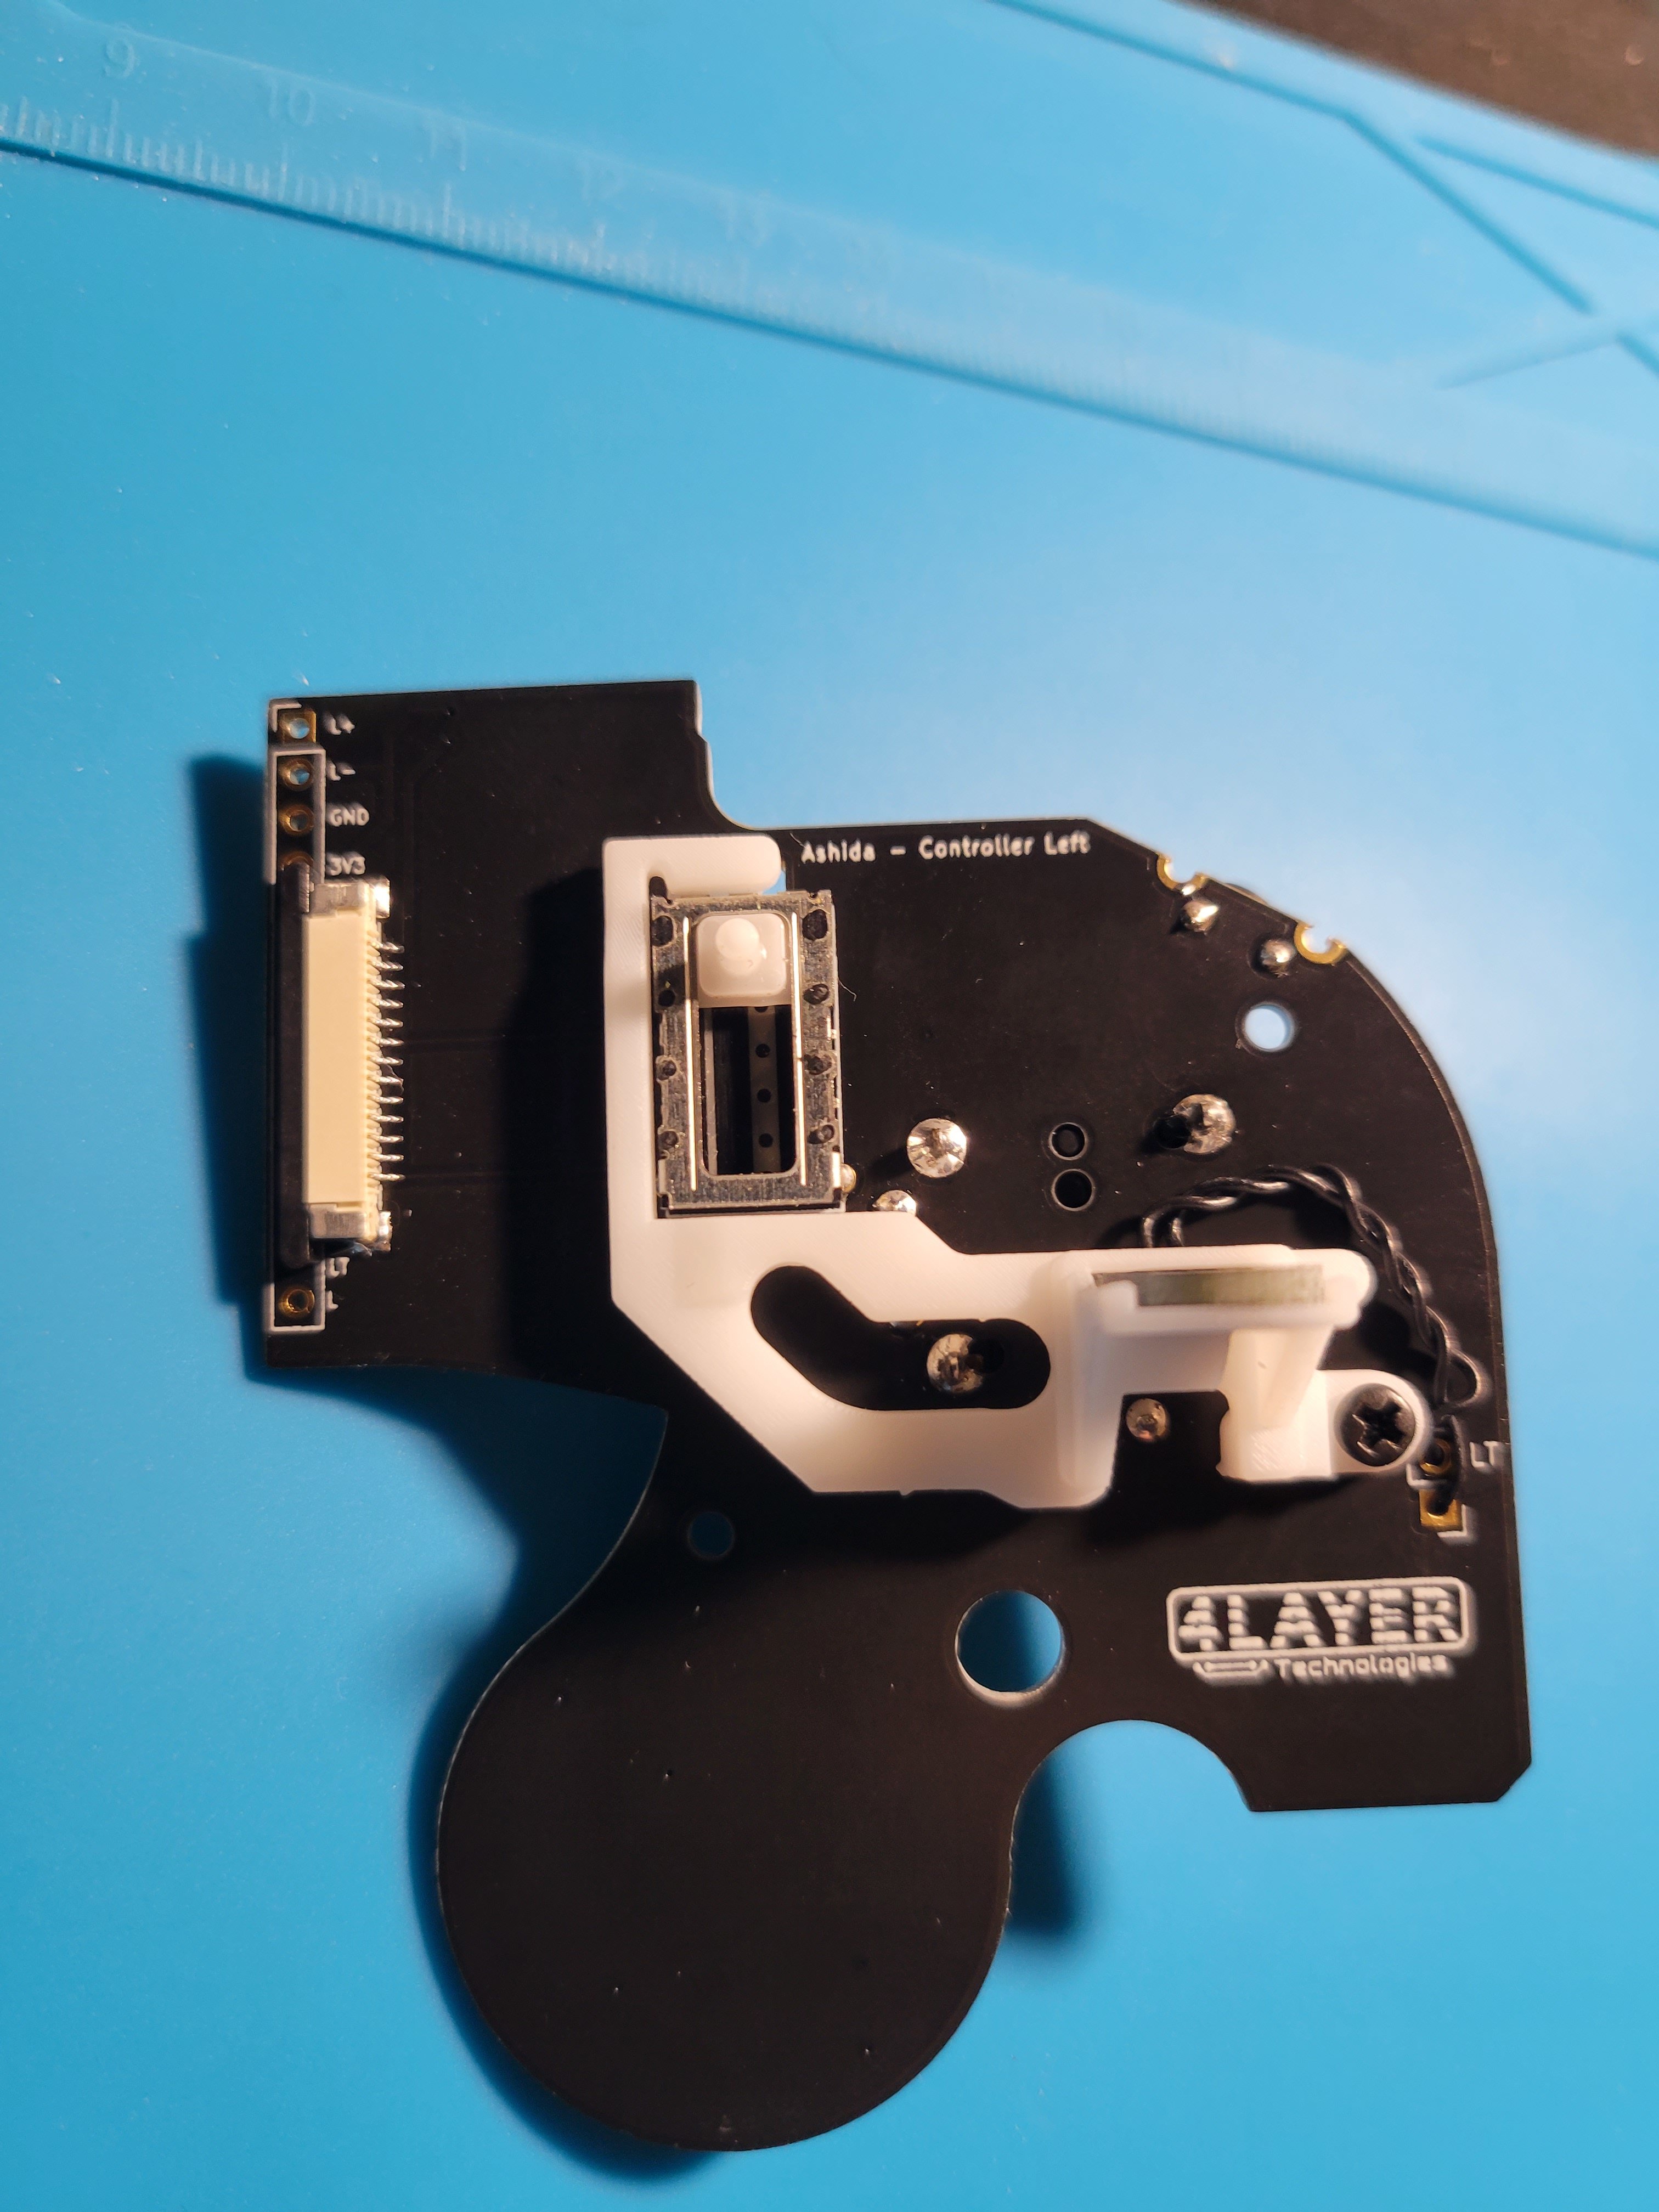
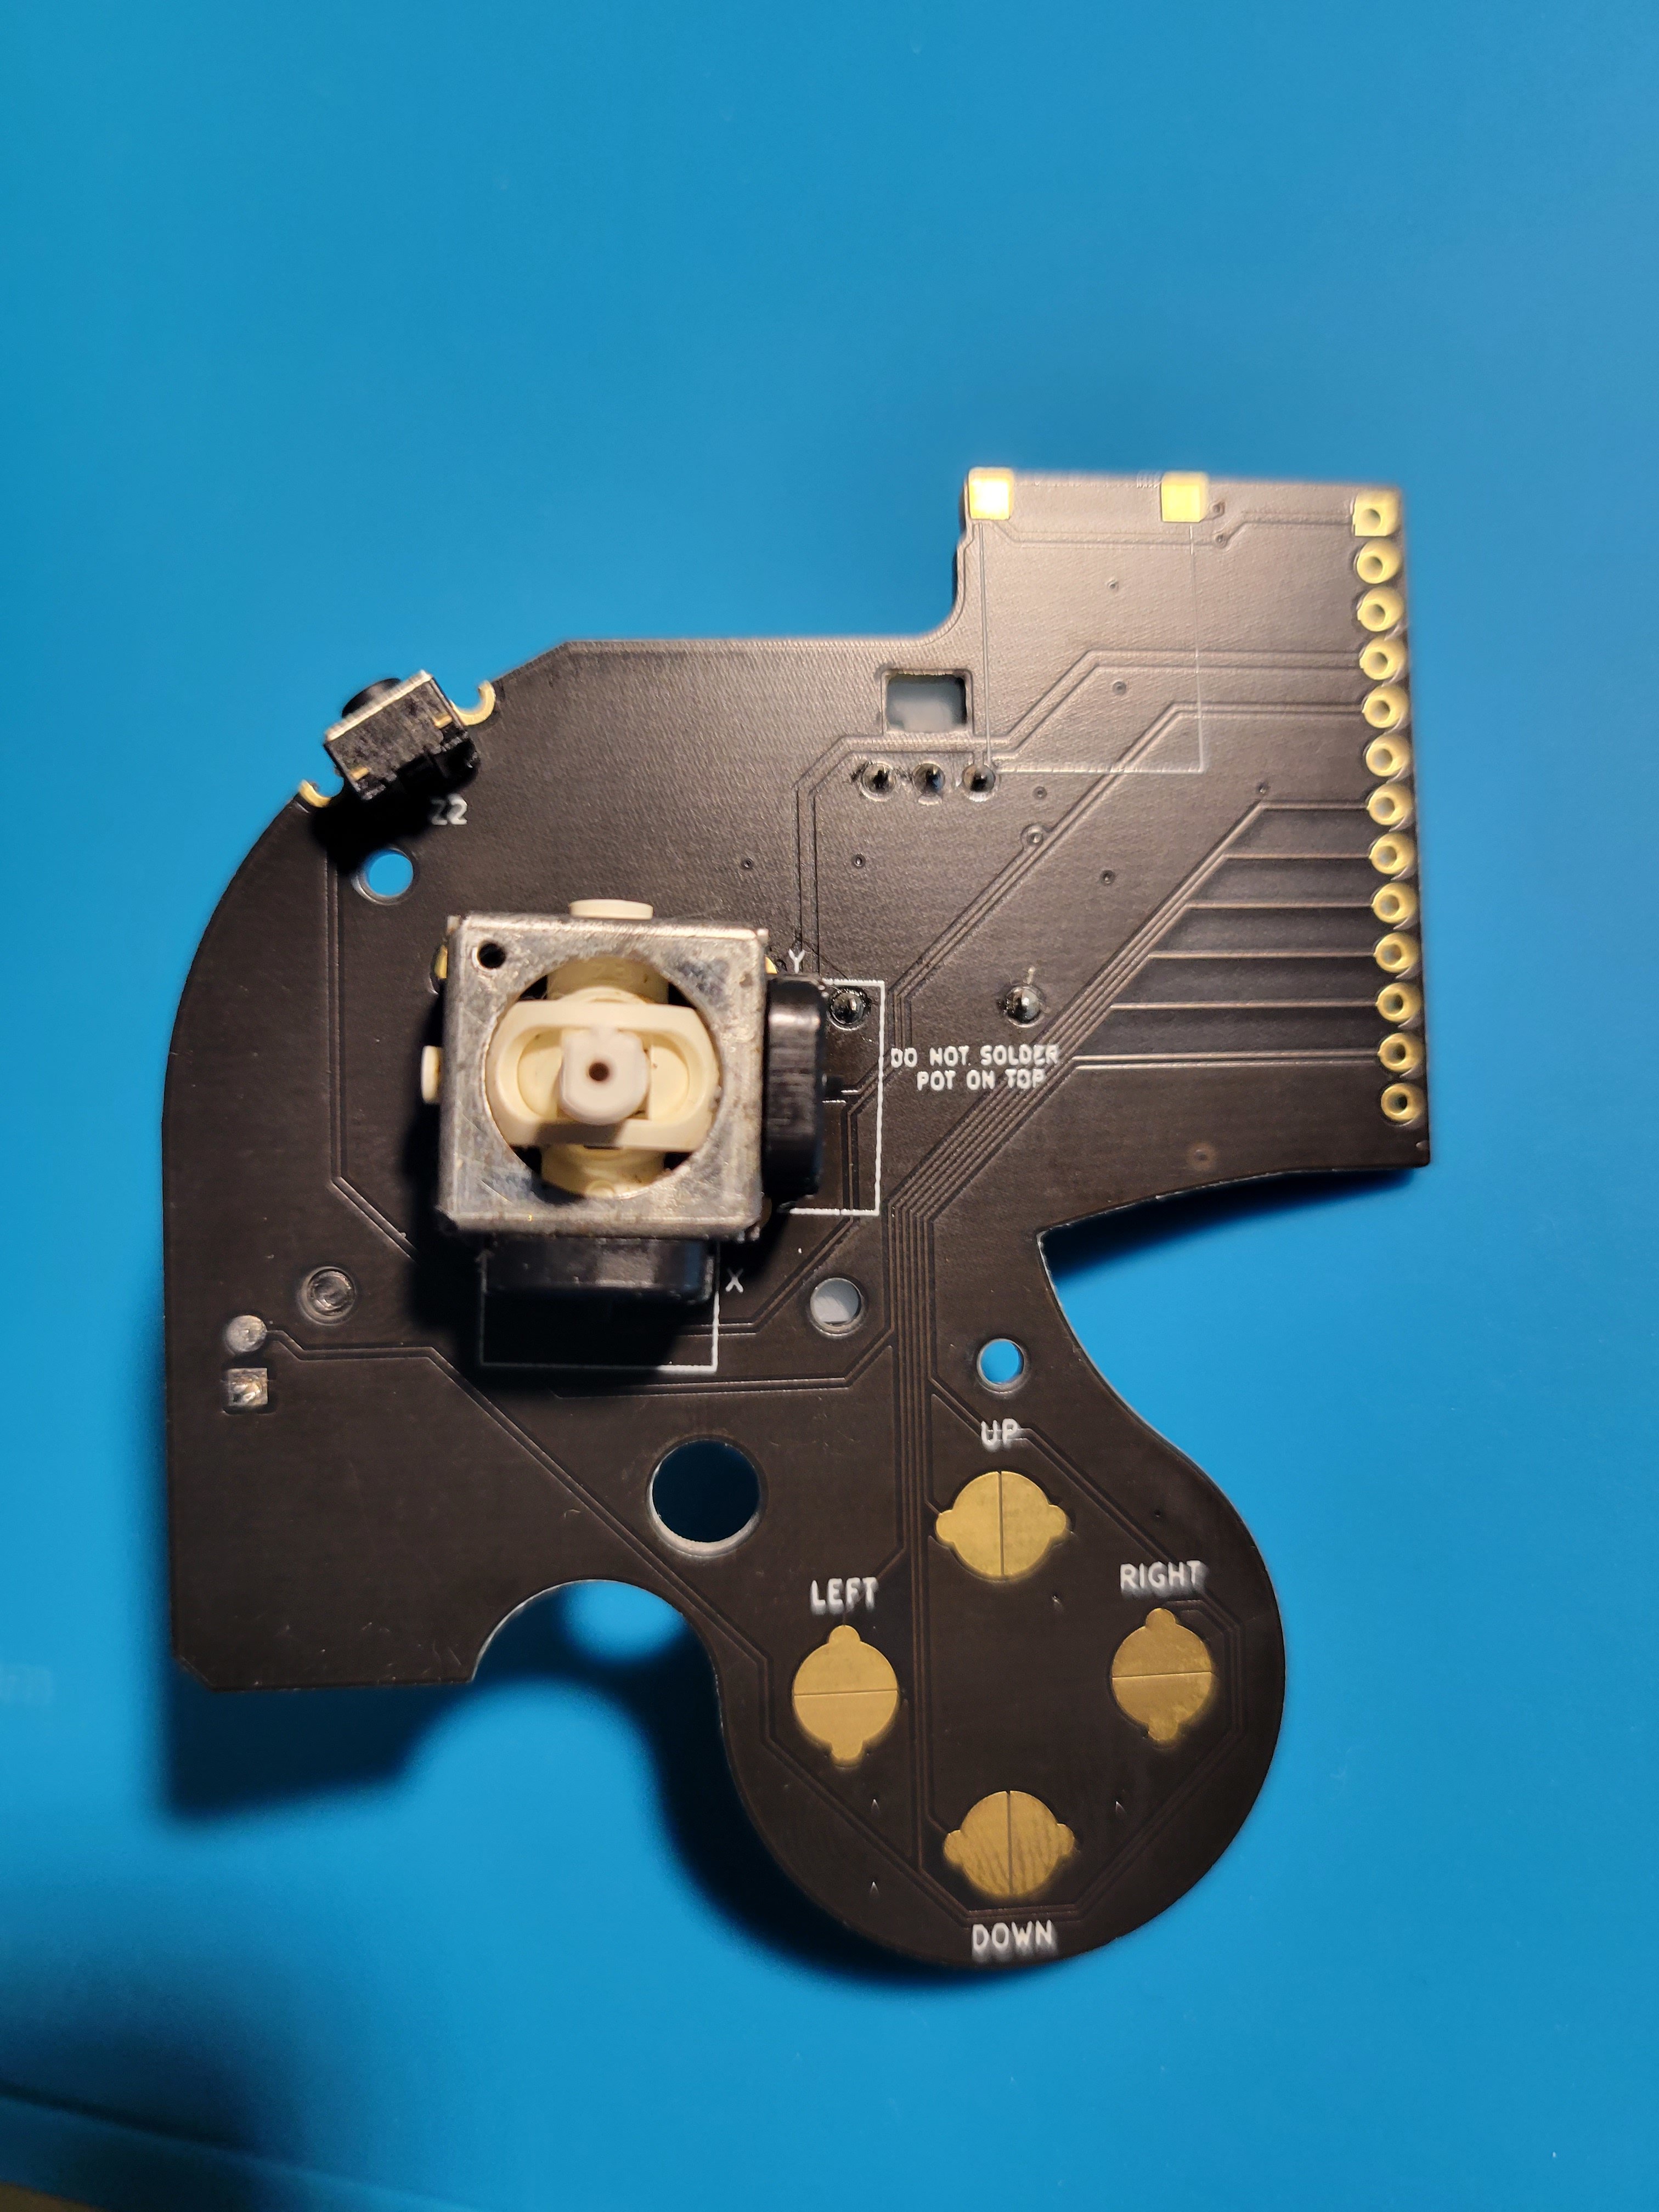
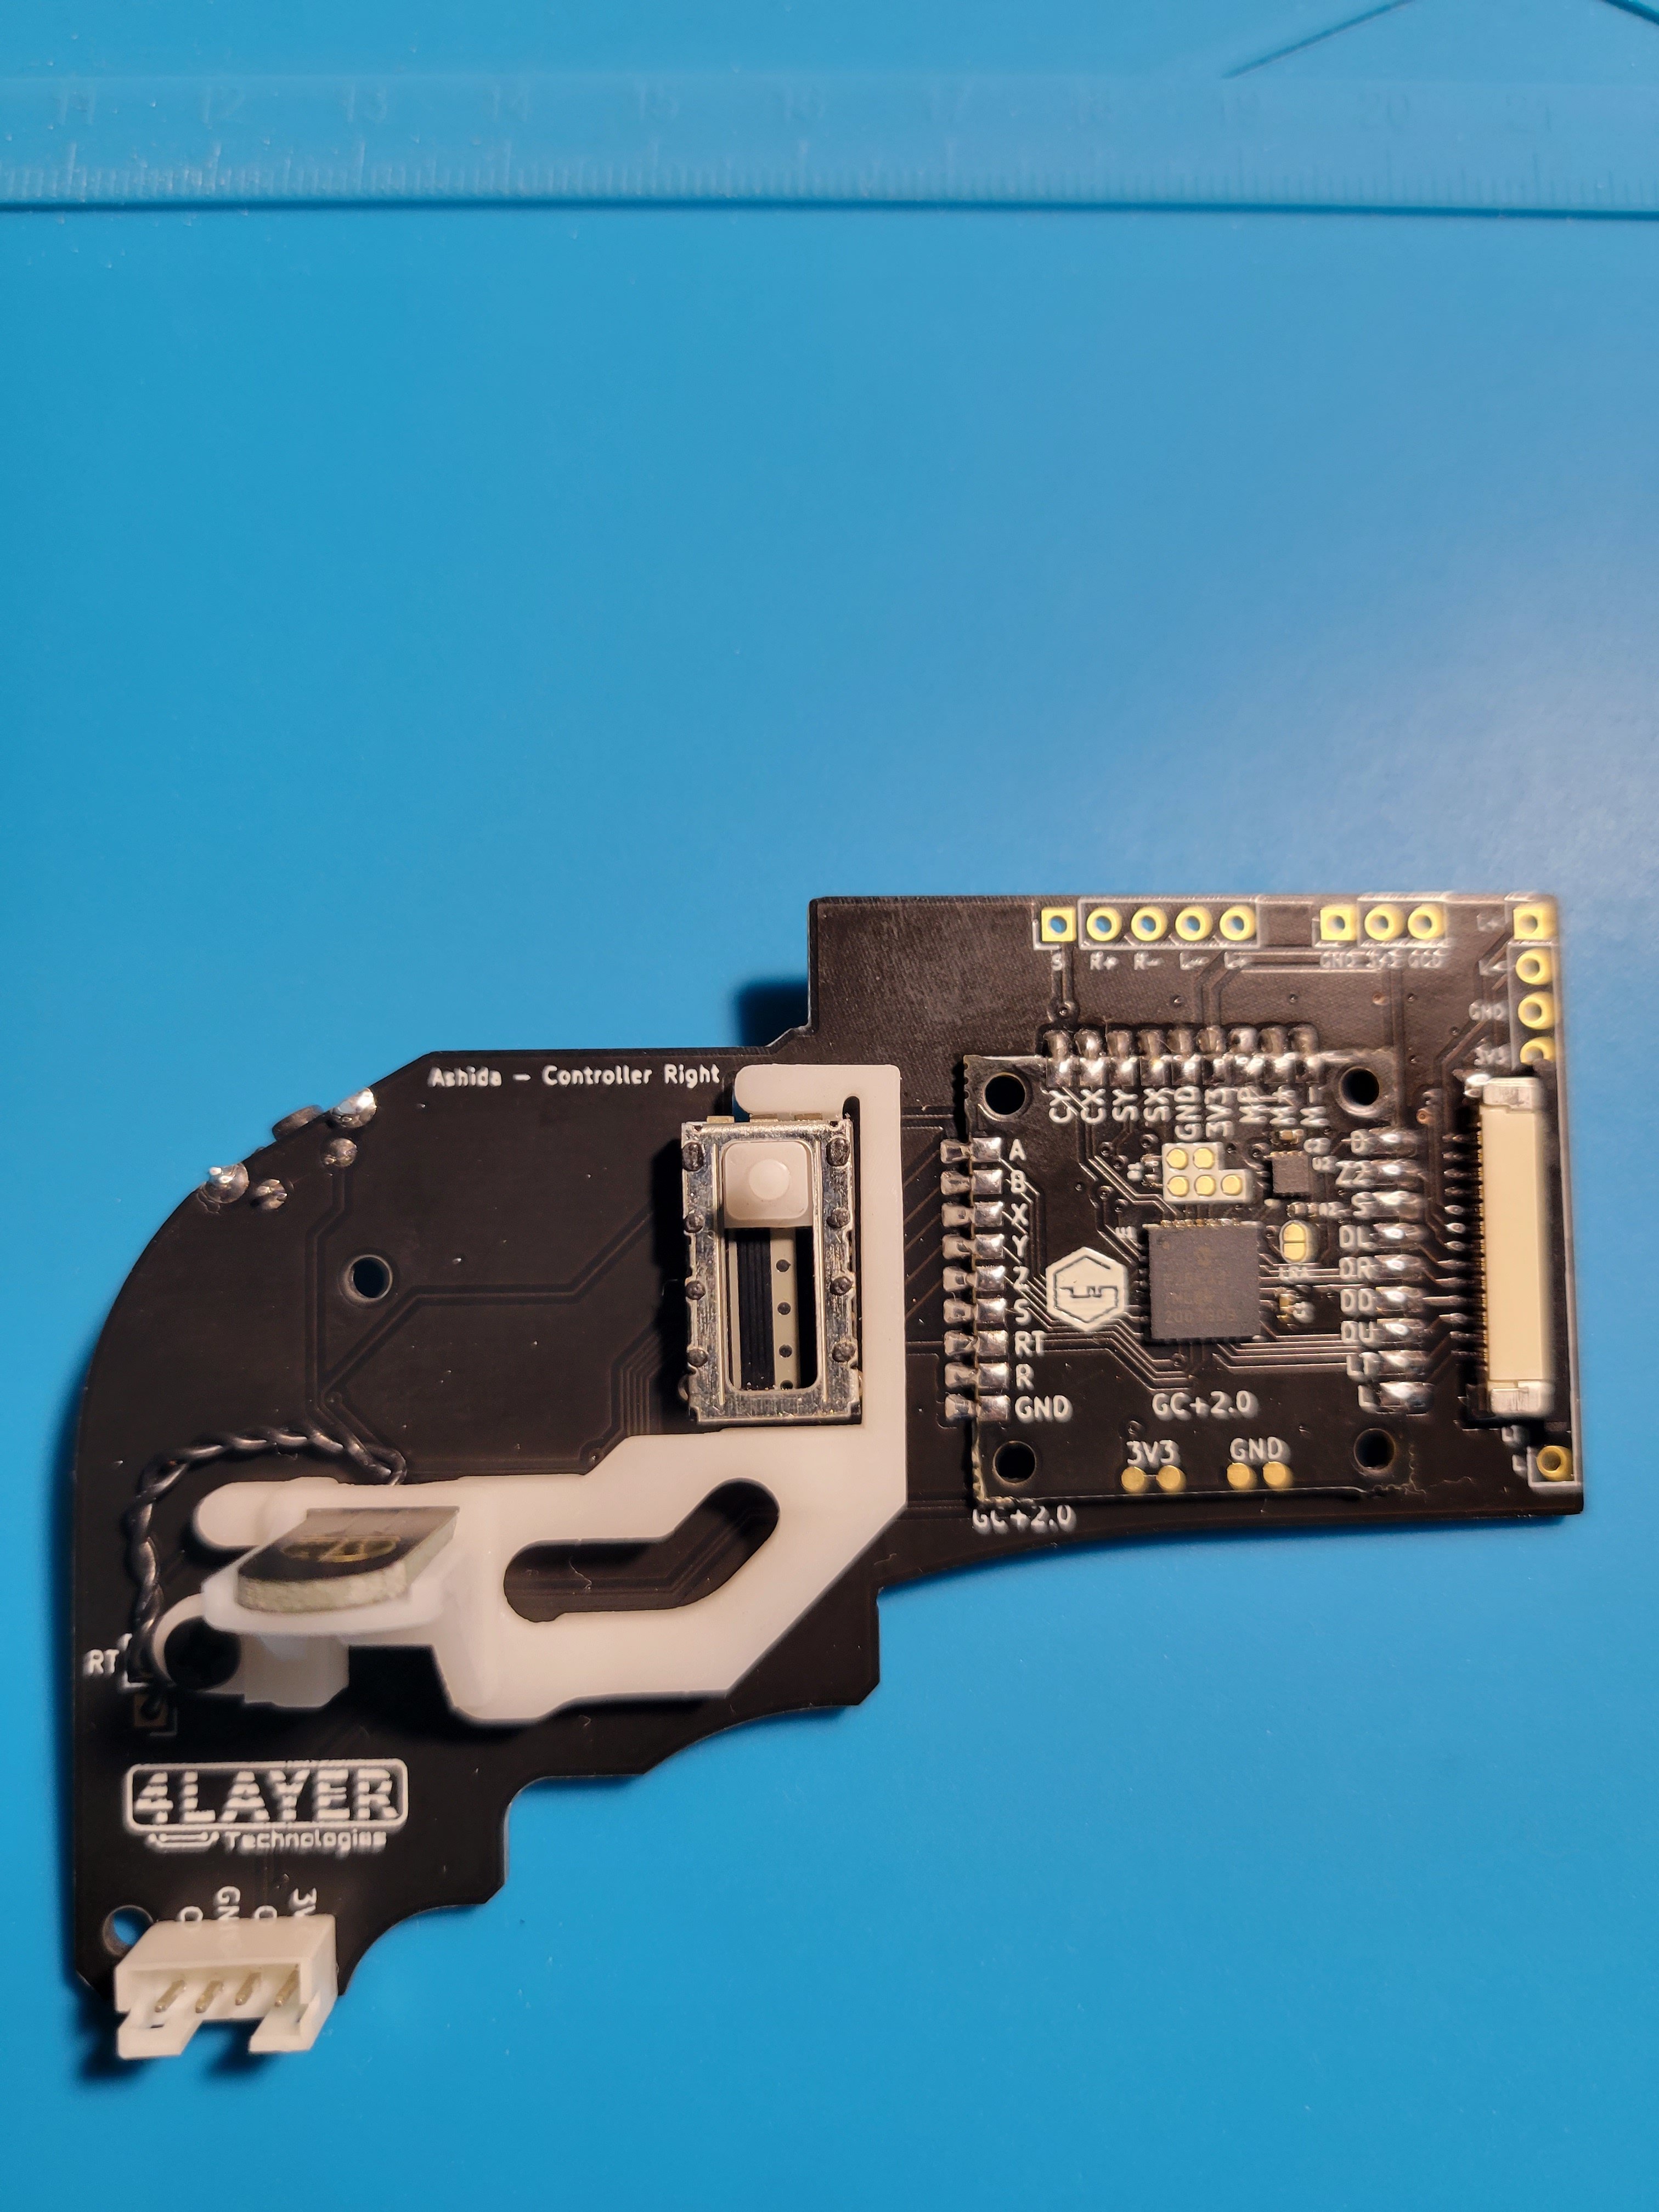
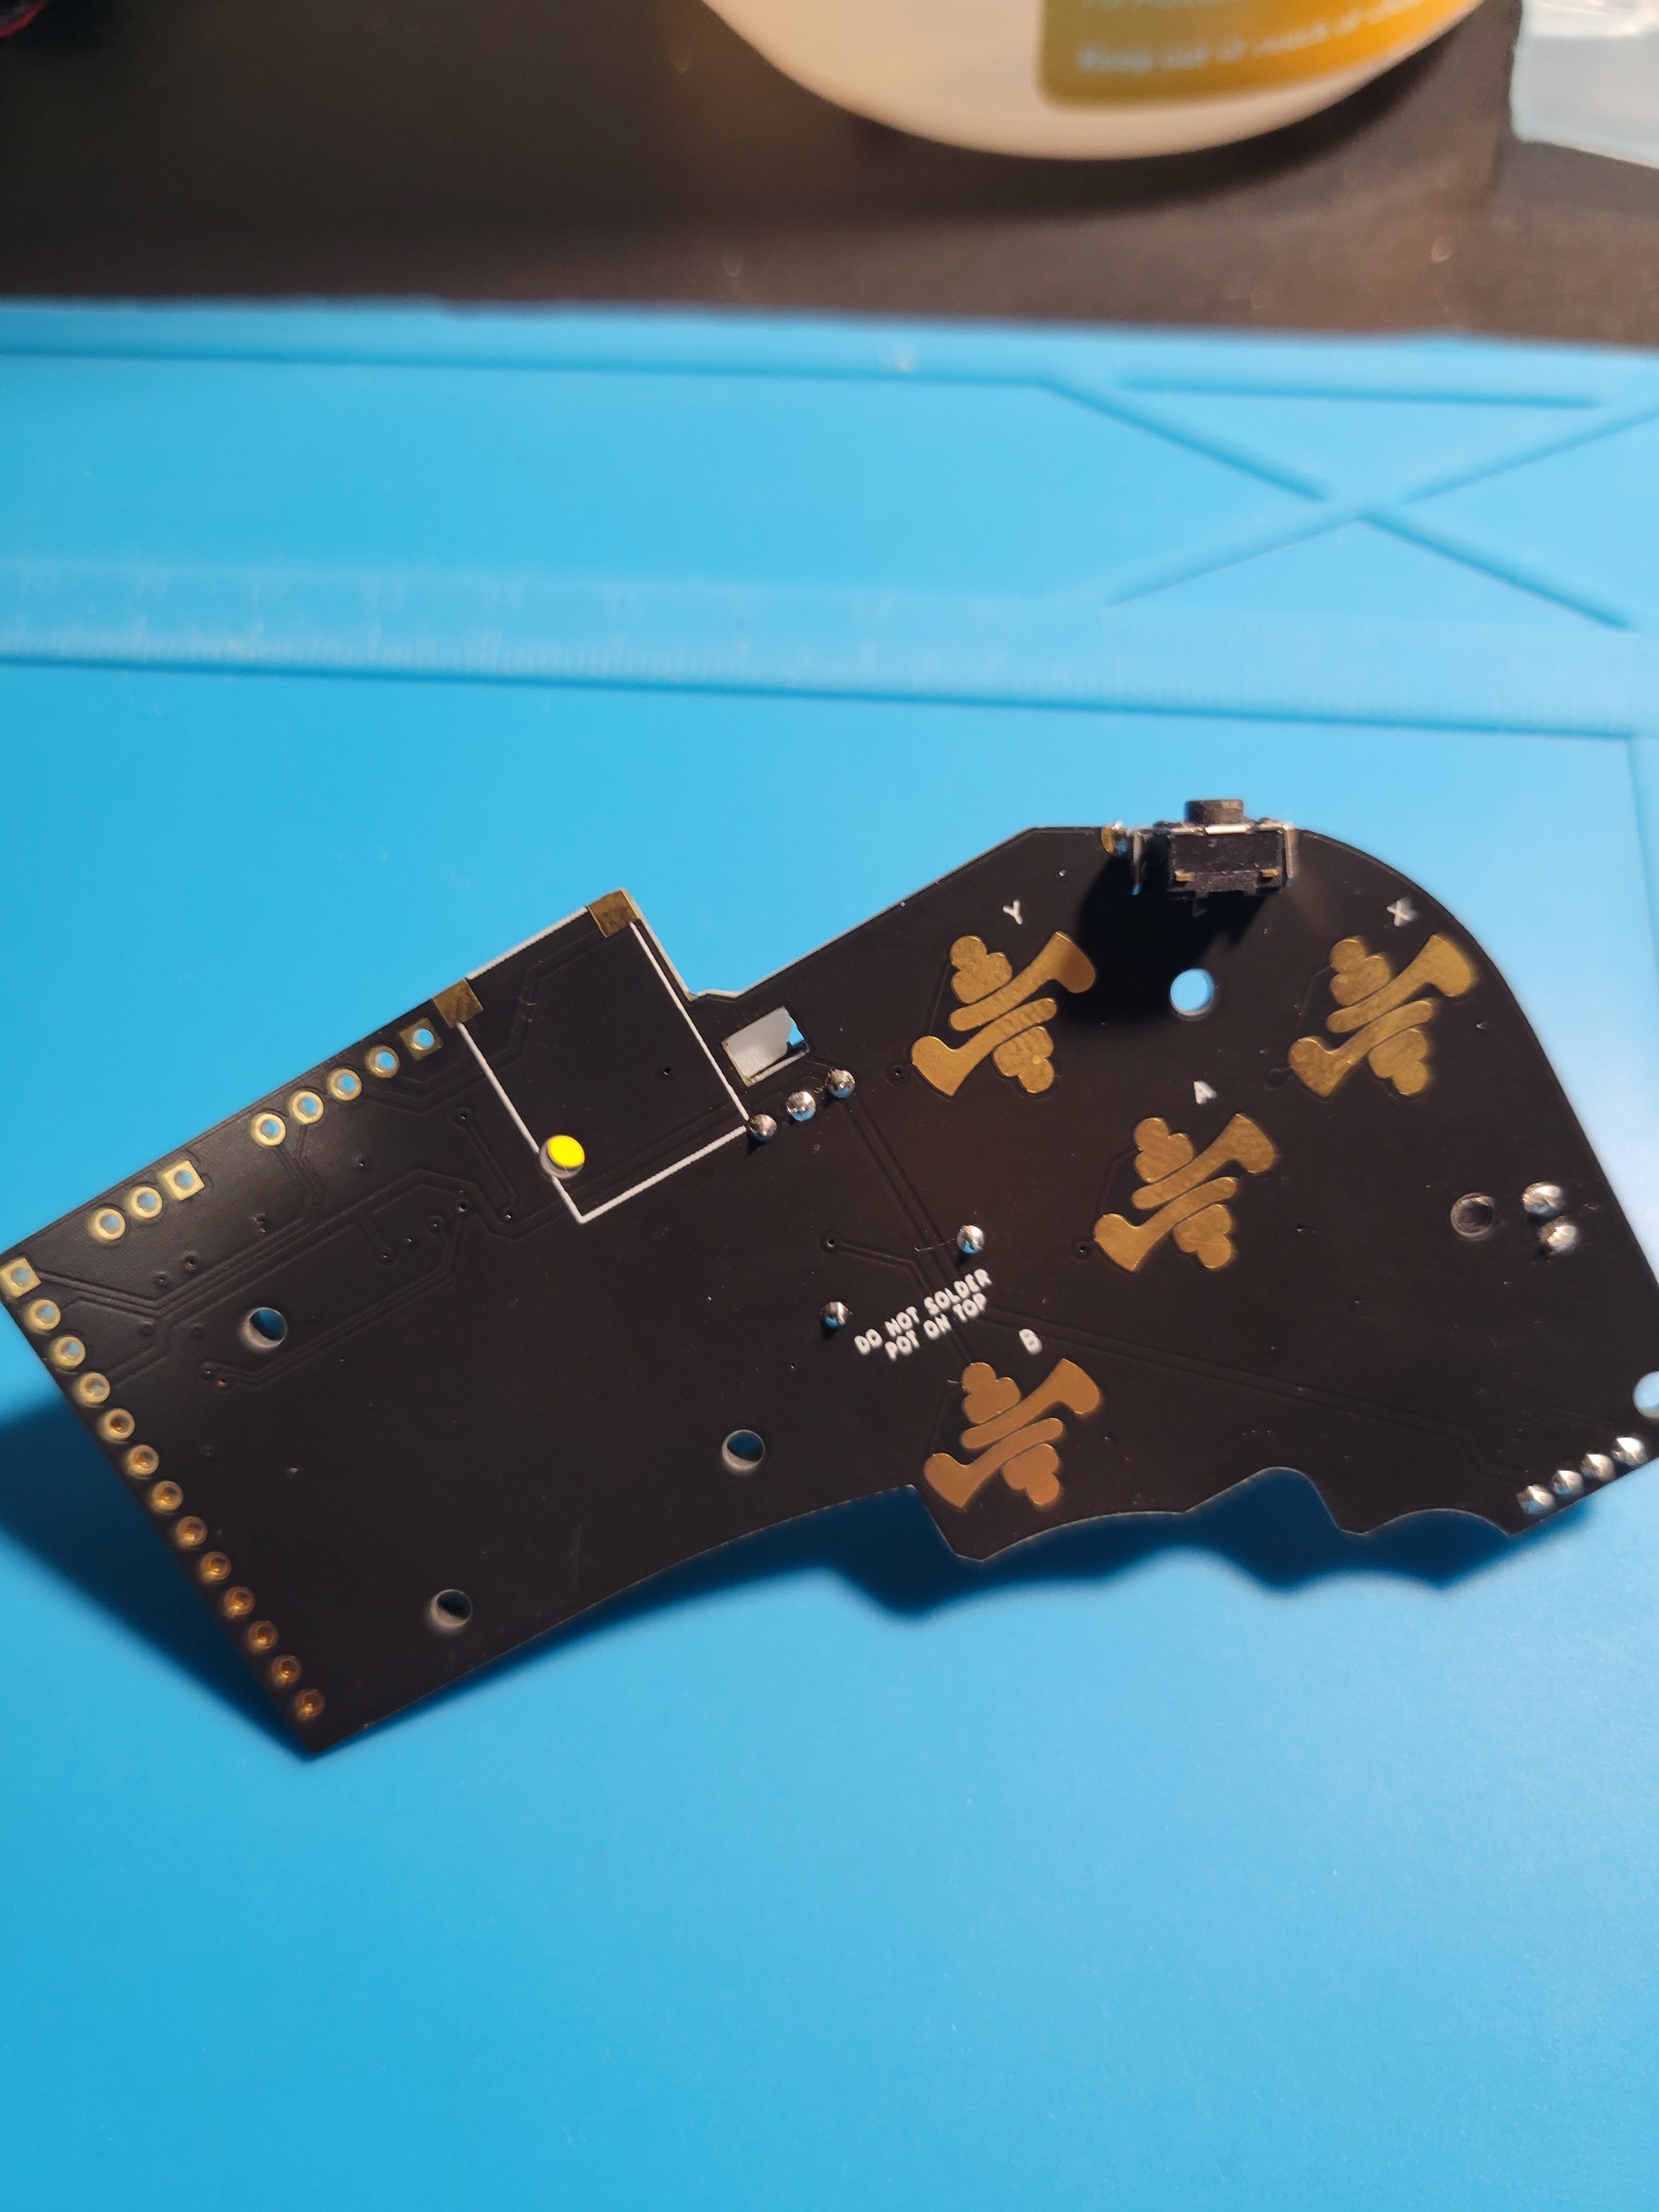
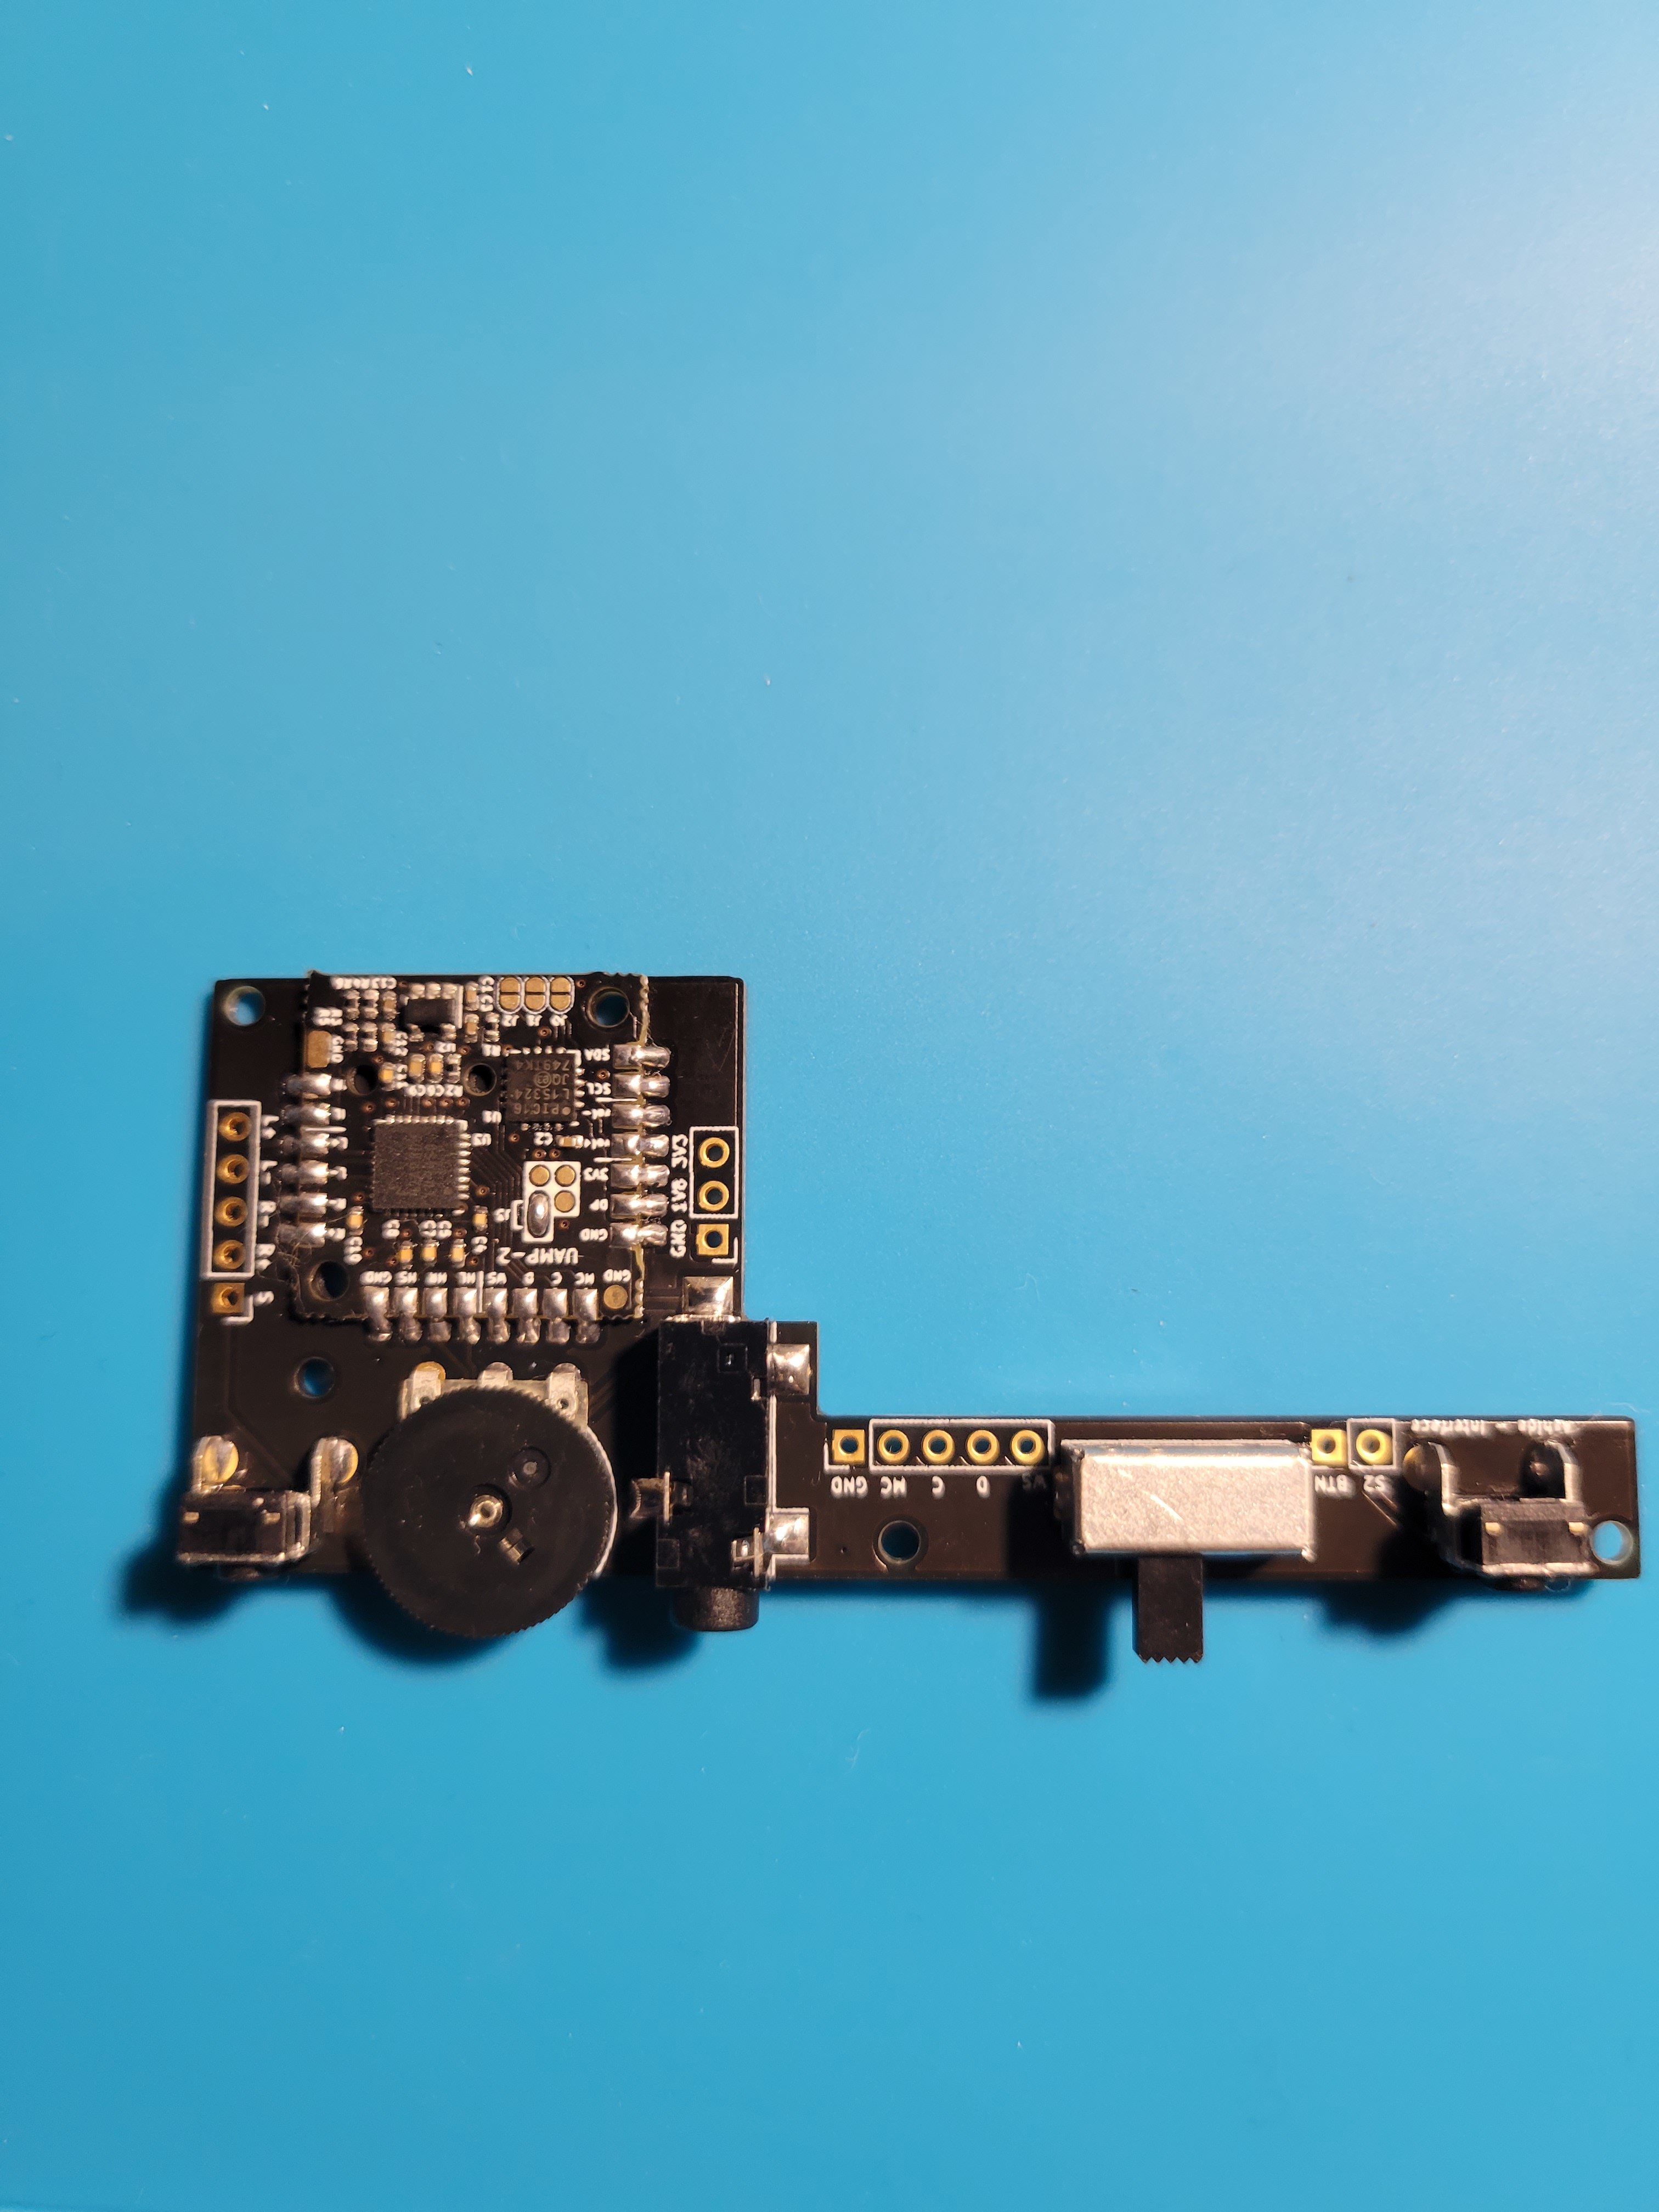
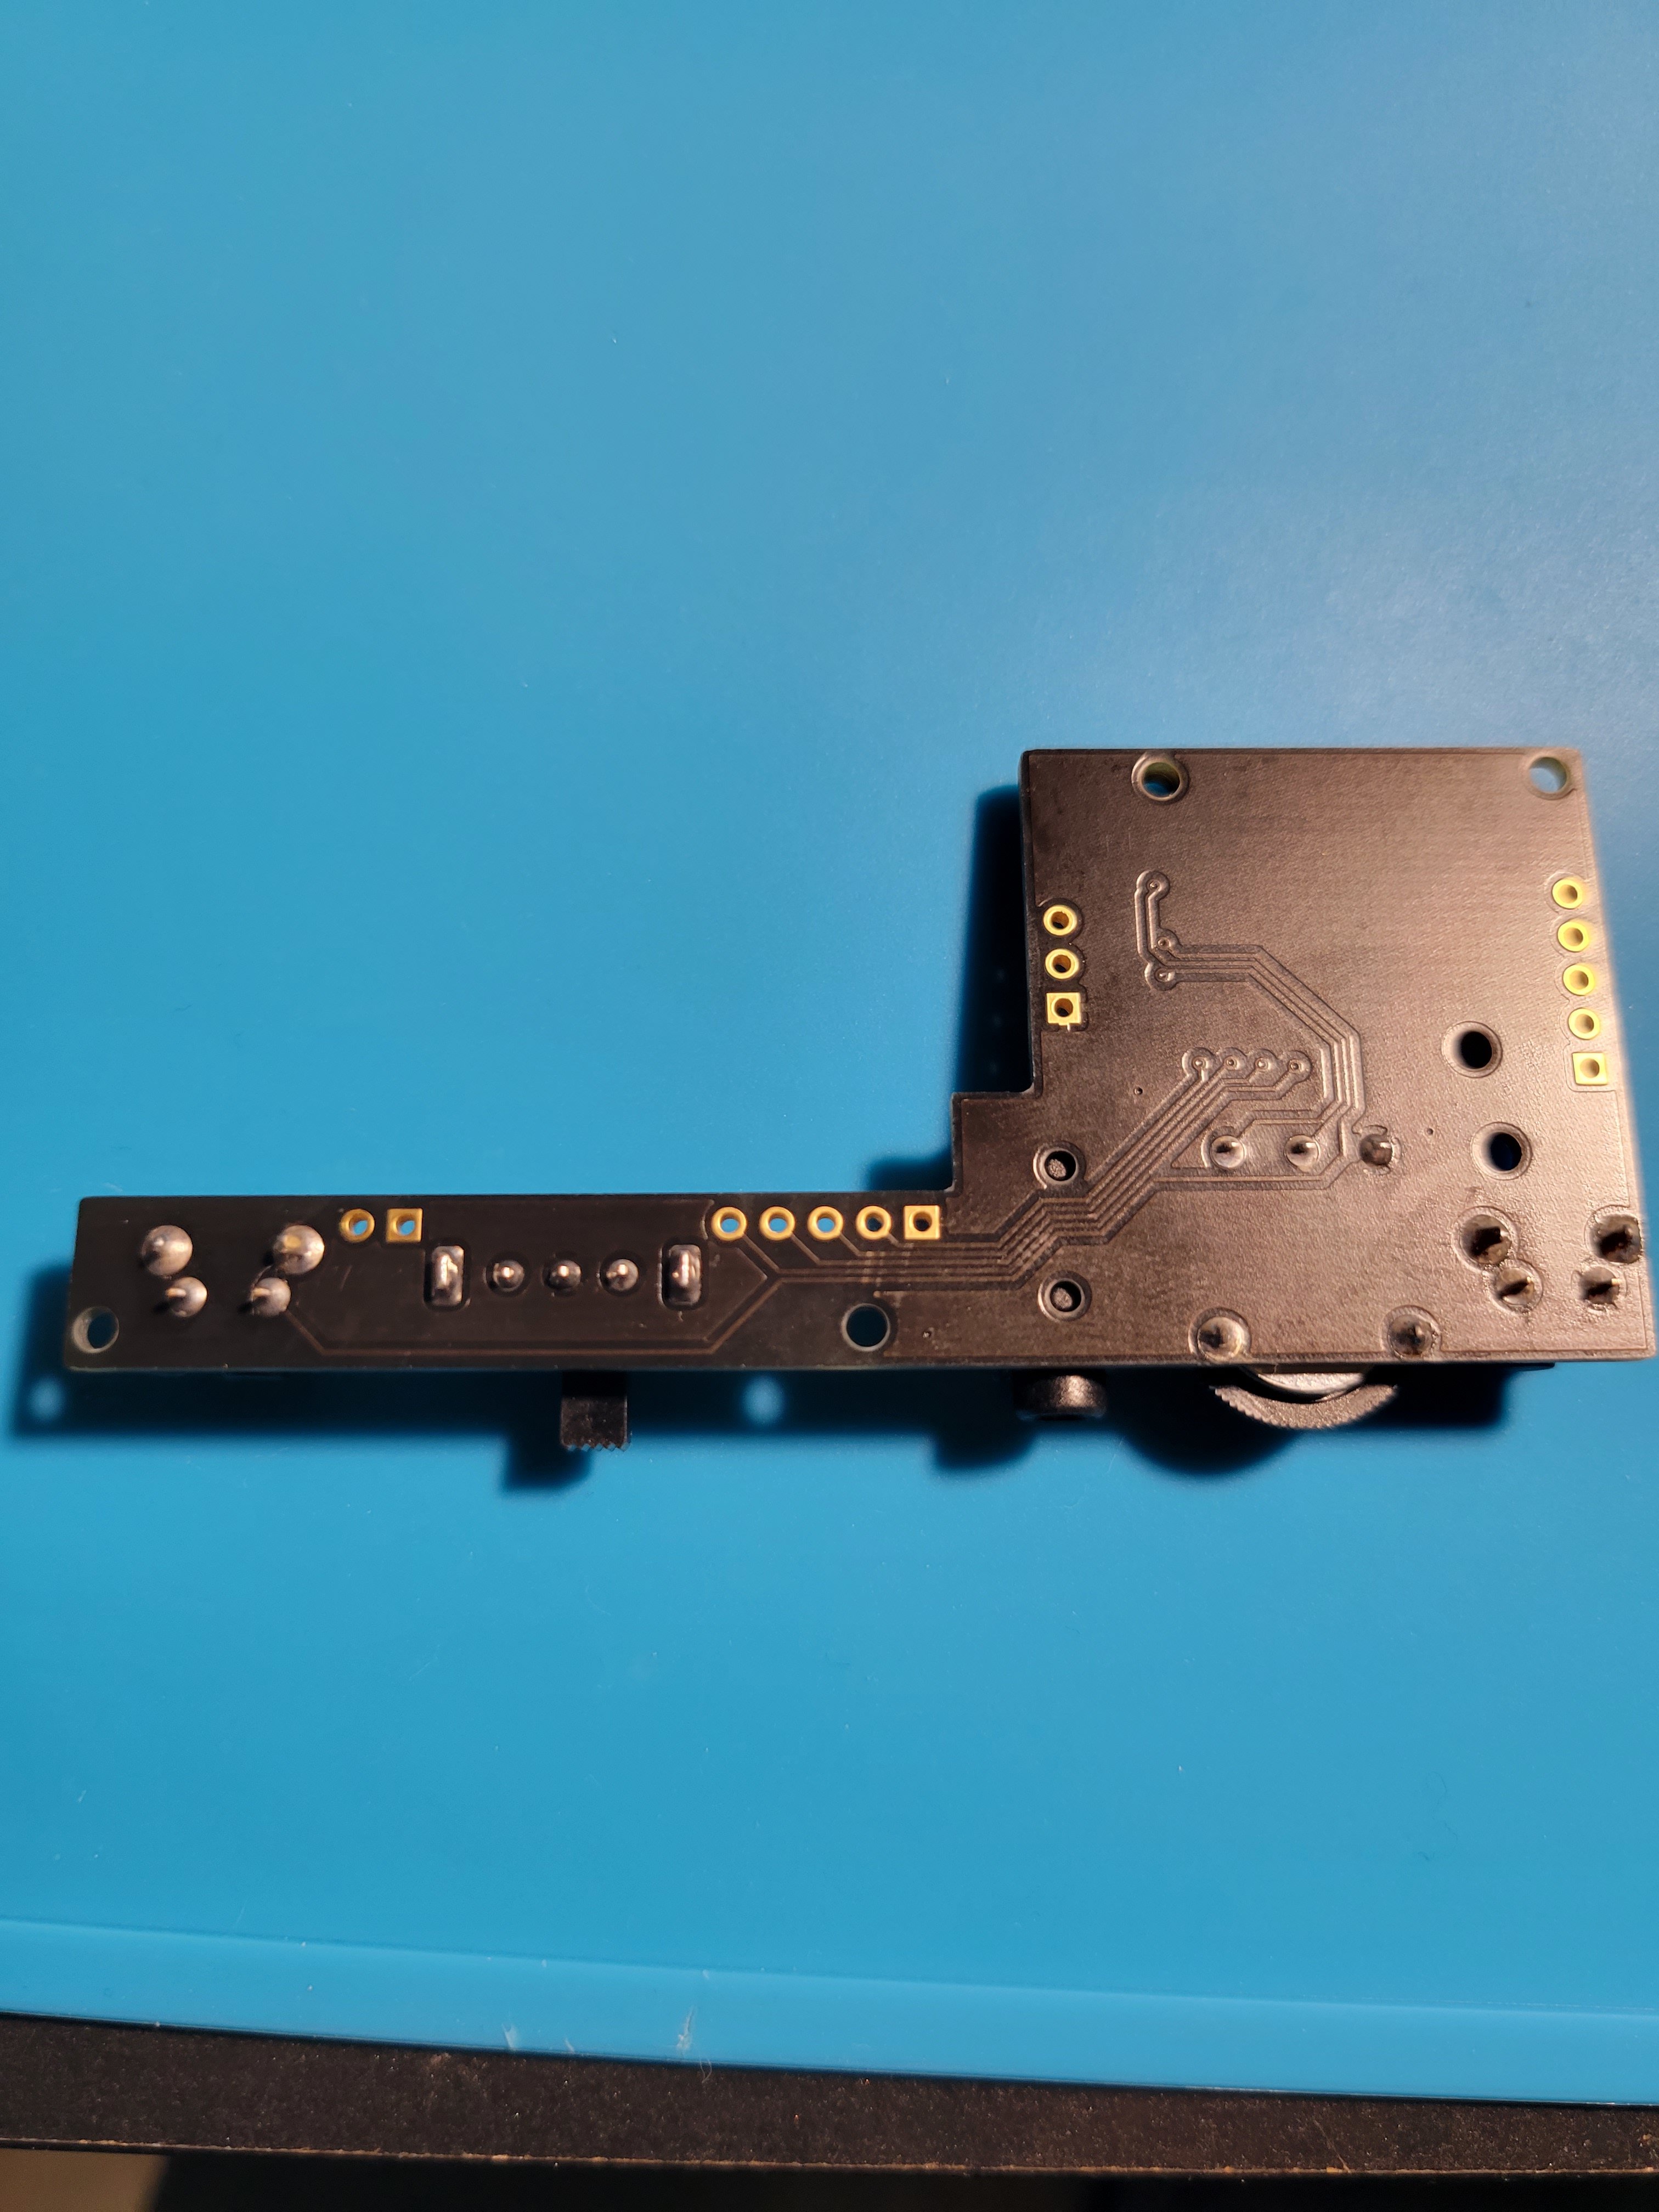
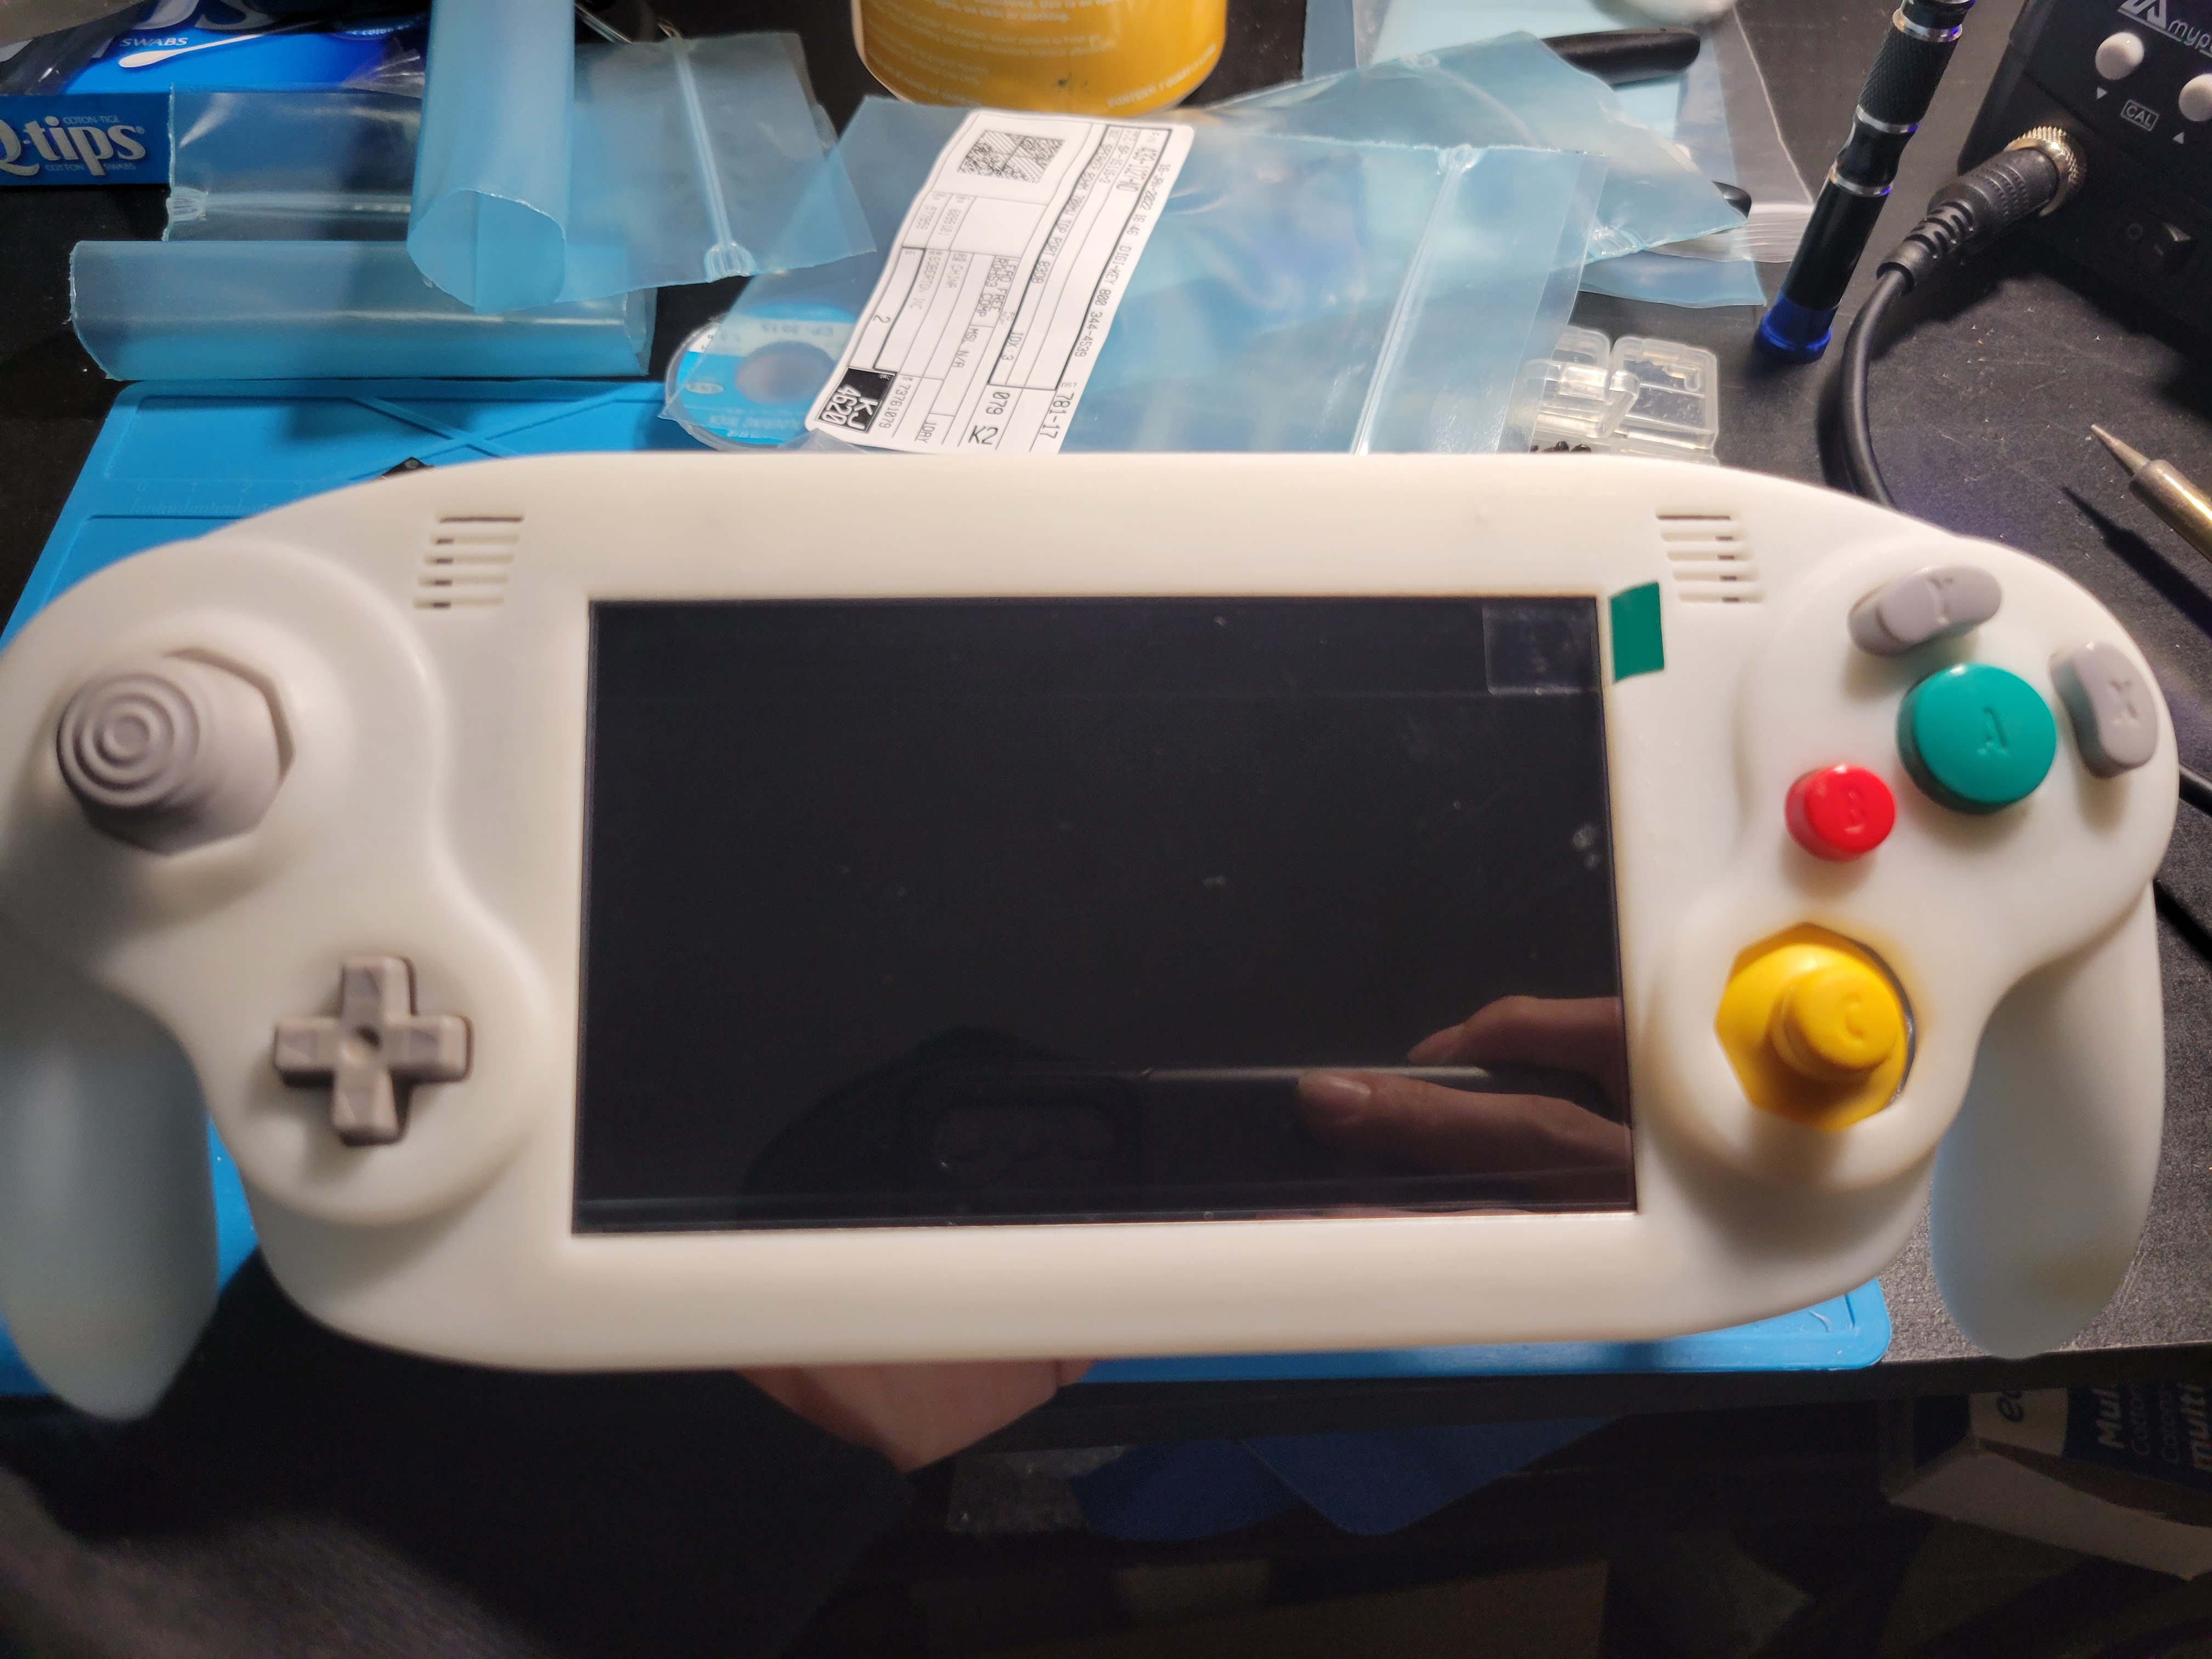
I then threw the interface board back into a anti-static bag and assembled the front half of the case. It looks beautiful so far and I cant wait to get started on the trim and actually wiring it up. I do still need to figure things out with JLC so I can start on the bottom side, but I still have a little bit of time to do that before I get all of my other parts in. That is it for now, ill post more updates soon!
Not so long ago I built my first actual portable, and that portable happened to be the Ashida due to its sleek design and practicality. Since building, I've put many hours into playing my favorite childhood games, and I'm thankful to be able to re-experience those memories on a nice compact device designed by Wesk, but built by myself.
I have been showing this beautiful portable off to some of my friends and they love it due to it being so unique, and for the portability factor of it of course. I had a close friend of mine approach me and ask to build him an Ashida, so I informed him of the costs, wait time for parts, what kind of cases are available, build time, test time etc. and he agreed. We settled on a white JLCPCB case printed with “8000 Resin”, and an agreement to install any extra features available (ie. BT, MX, Rumble etc.)
I had to sit back for a moment before fully agreeing to this commission as portable building isn't for the faint of heart and a lot of things could go wrong etc. however I do feel comfortable enough as I used to sell RGH xbox 360’s and have even shipped consoles and have gotten good feedback. I am glad however that one of my first heavy commissions is for a close friend. Regardless, I started planning everything out and figuring out what parts I had on hand and how I could make things cheaper. I consulted the Ashida BOM I made a little while back and ordered everything needed:
- The whole 4-Layer product list not including a few things (will include a PMS-Lite due to chip shortages)
- Digikey BOM
- Mouser Potentiometer as well as the fan to make the individual order worth it
- 2x 21700 5000mah Batteries
- JLCPCB Case
Aside from this I had also purchased some new wire and an AVE-Relocation flex from Electron Shepherd to “riivive” a trim that I had the AVE short on ( I have other Wii’s I can trim for backups). Ended up also purchasing a cheap lot of 3 GameCube controllers that were broken (one OEM GCC), I intend on harvesting the OG Z button tact to put as the right Z button on the Ashida, then for the left I may have to put in a 3rd-Part tact if I can't find another OEM controller. I also have some controller parts on hand as well as a 128gb SD card for the system already.
Fast Forward a little: The digikey and mouser orders came in quite quickly, and I did have “expected arrival” dates for some of the other items, however the next to come in was actually the case from JLC. I opened it and initially everything looked good, however it was when I looked closer that I started to see flaws. I noticed there were still nubs and rough edges right around where the buttons were on the front of the case so I may have to sand those down a tad with some fine sandpaper. The biggest issue I have is with the bottom half of the case having some bad warping going on down the back wall. I have asked the discord if there is anything I can do and the suggestions I got were using heat to try and form it back to normal. I’m confident I can do that, however I've emailed JLC to see what they could do about it before touching anything.
Fast forward 2 days: I received a message from JLC through the message “section” of their site however when I try to access it, I get an error. I’ve contacted them through live chat and was advised to wait 9 hours or so for them to look into it as it was night time in china when I contacted them. In the meantime I did have the top half of the case screwed to the bottom of the case and that seemed to have fixed it a little, however there is still a small section over the USB-C port that is kind of popping out.
I also did receive my 4-Layer order today but haven't started assembling anything yet. Instead I harvested the buttons out of one of the GCC’s I had as well as the triggers, then took the C-Stick box out as it was good (the other stick box was a no bueno). I've also taken the trigger potentiometers from an old set of Ashida PCB’s that were not treating me nicely when building my first Ashida. (I also took that opportunity to harvest the GC+ that was still attached to it). I did notice the triggers had a big "lid" over them and when screwing them off I noticed there was no support piece. Thankfully I had some printed from the last time I built an Ashida but didn't need them.
All that's left to wait for is the AVE-Relocation, batteries, Magnet Wire (I could build without it as I do already have some but it's one color so I'd rather wait for my multi-colored stuff), and the GC controllers I ordered off of eBay (they are here, I just need to pick them up from the post office). I just want to be sure I can do everything at once or else I'll be all over the place with this worklog and I do not want that to happen lol.
Fast forward again lol, I received the order with the controllers and was able to harvest a good OEM Z button and tact switch, however unfortunately I have to install a 3rd party switch and Z button for the left side. I also noticed on the GCC that I got parts out of that the analog stick config was different from what I'm used to seeing which is cool, so I have 2 OEM stick boxes, but both are a different style. I also noticed that the C-stick board was attached with a connector so I also harvested that to see if it will work in the Ashida. If there is fitment issues, ill just wire it accordingly. Also in the picture below you will see that I kept the OG trigger boards, and that is just for the wires connected to them. I usually just disconnect the little boards and use the wires as they are the perfect length.
I'm still kind of waiting for an answer from JLC to figure out what actions are going to be taken for the bad warping on the bottom half of the Ashida case, and I haven't received my AVE flex yet so I don't want to do too much trim wise, however I figured Id at least get started on the Ashida PCB’s since I technically have everything I need for them now. I also figured id modify the LCD driver board to take 3.3V, as well as take the connectors off. It was a pretty straight forward process, and I didnt have any issues thankfully so there is nothing to document on that front.
I then threw the interface board back into a anti-static bag and assembled the front half of the case. It looks beautiful so far and I cant wait to get started on the trim and actually wiring it up. I do still need to figure things out with JLC so I can start on the bottom side, but I still have a little bit of time to do that before I get all of my other parts in. That is it for now, ill post more updates soon!